
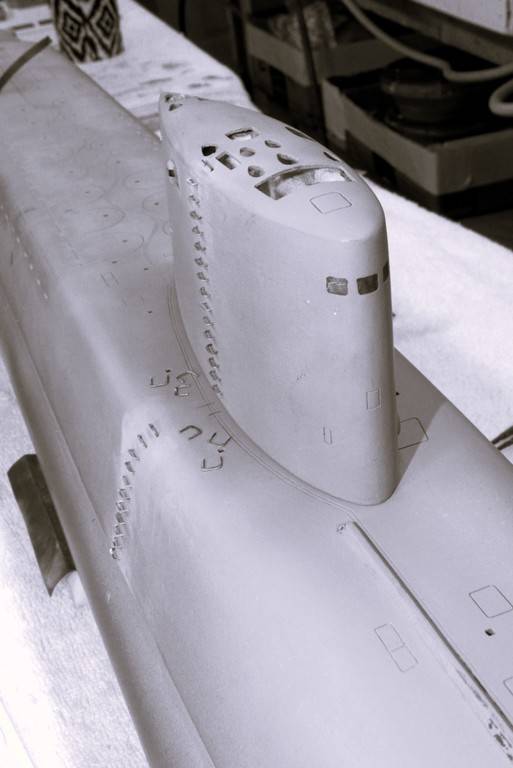
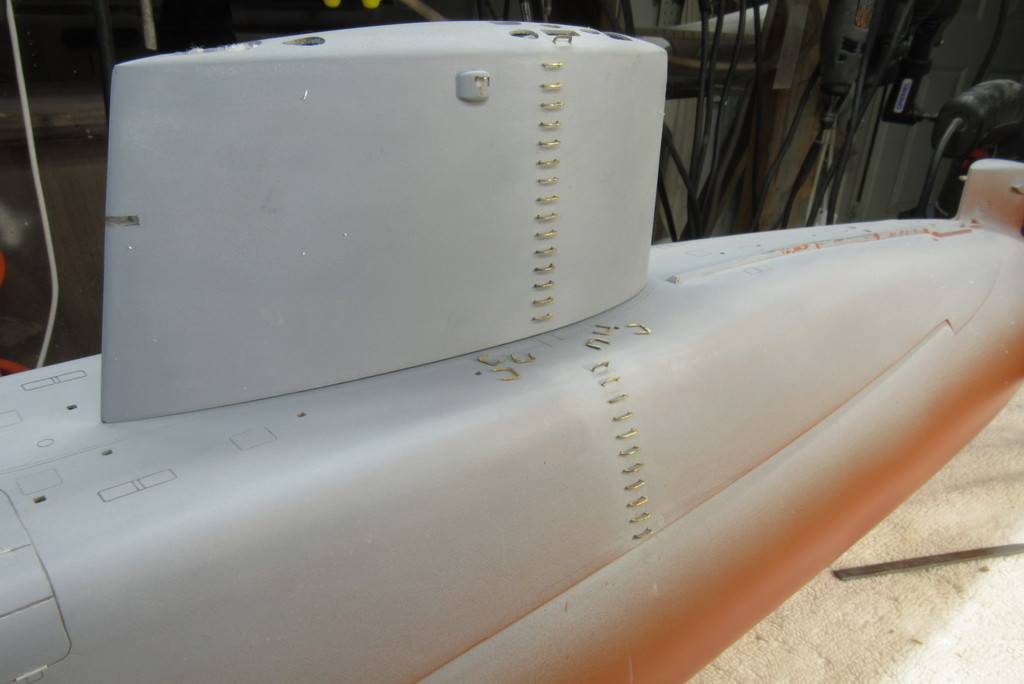
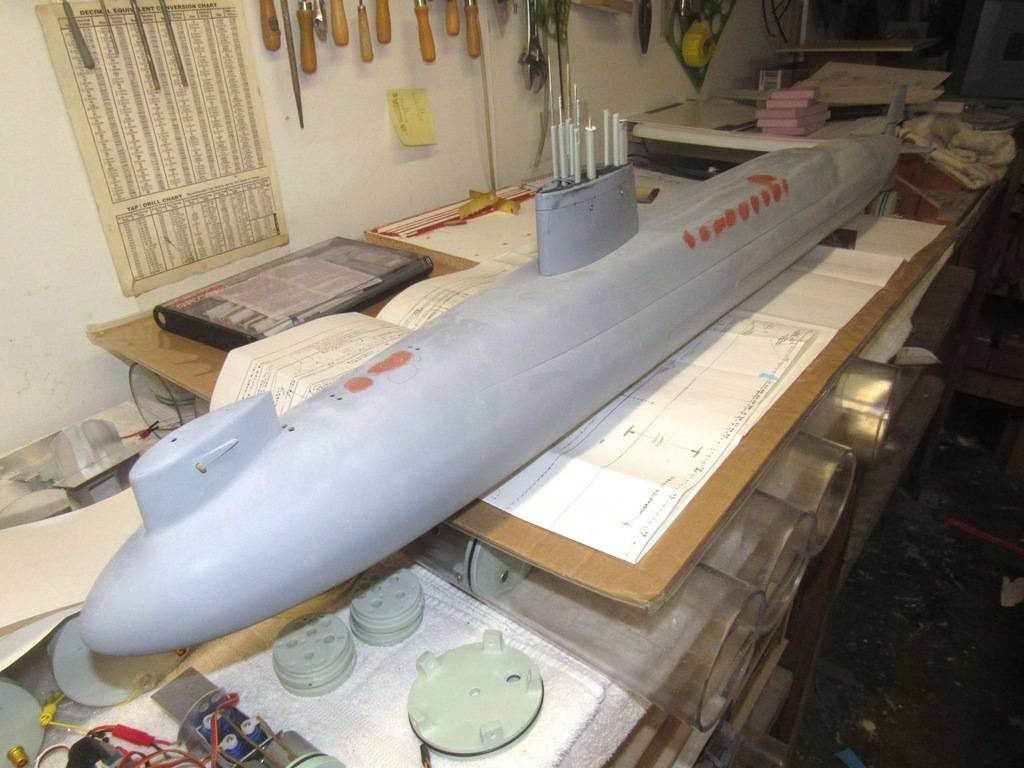
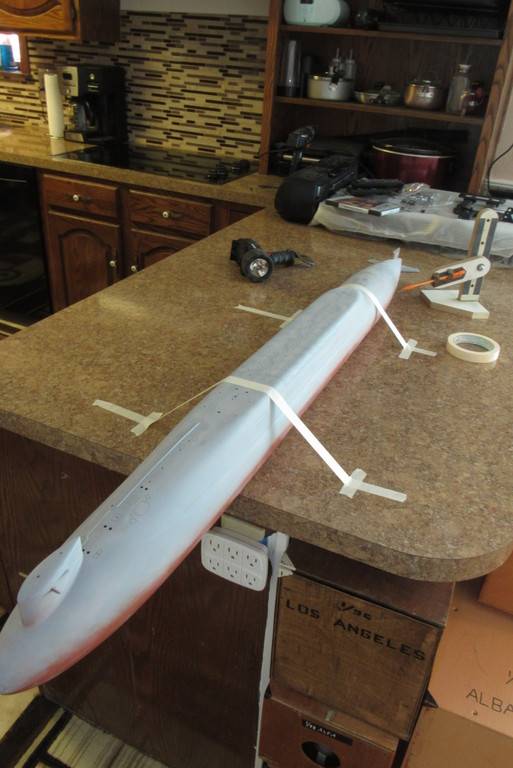
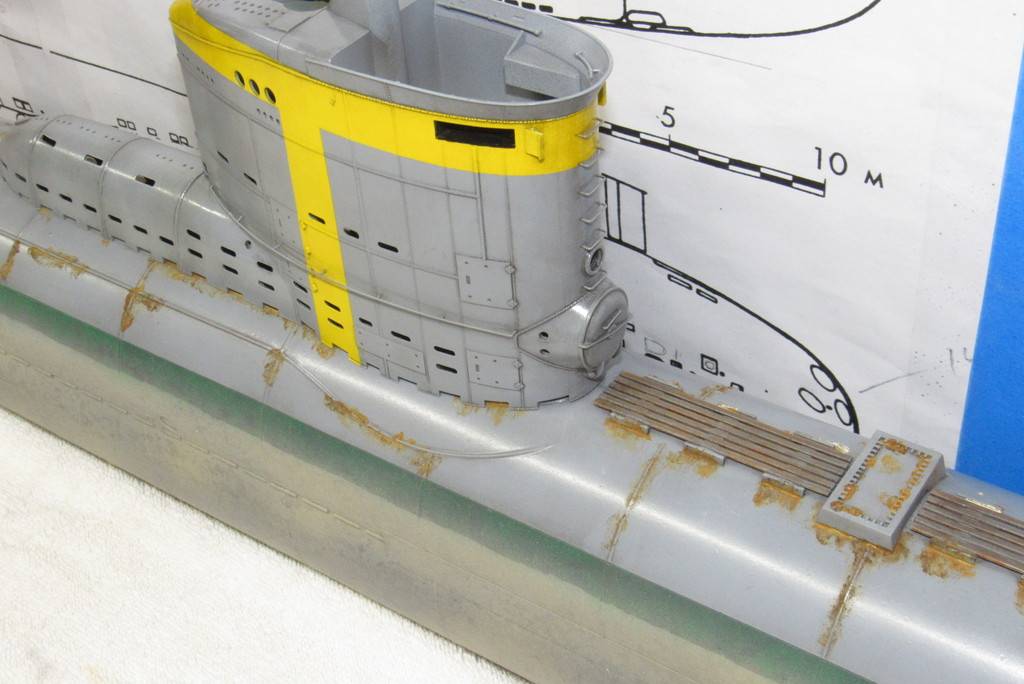
This big model demanded all the little details I could apply to it. That included the many ladder rungs that ran up from the waterline to the top of the sail. It's the small stuff that turns a toy into a proper display piece.
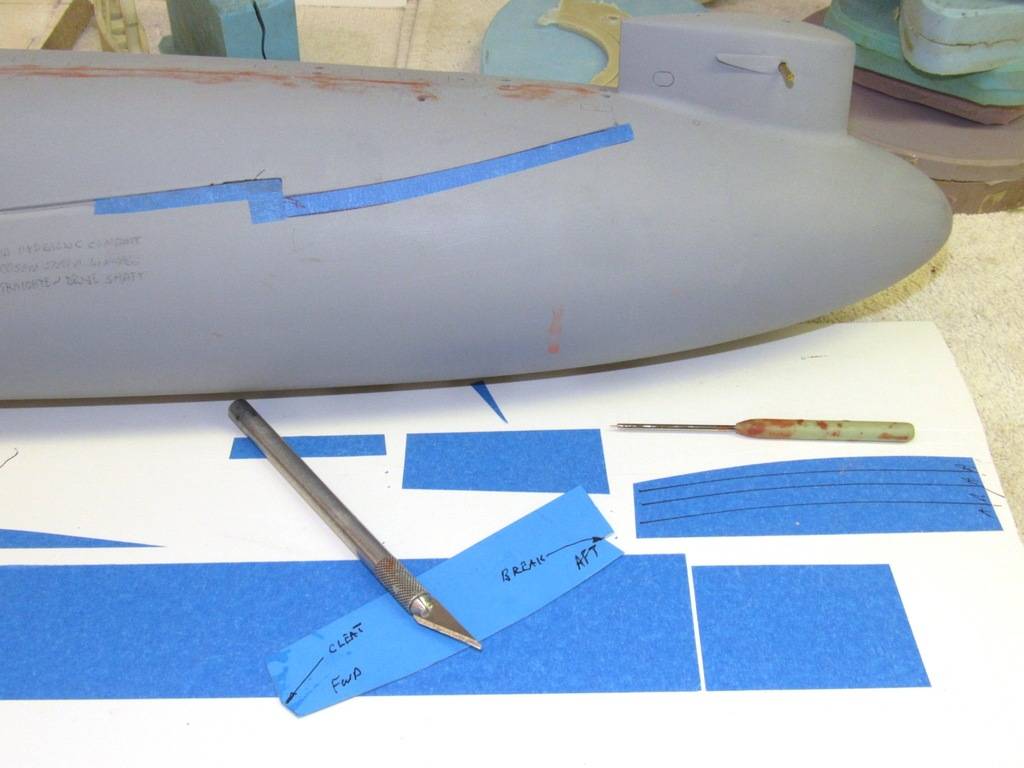
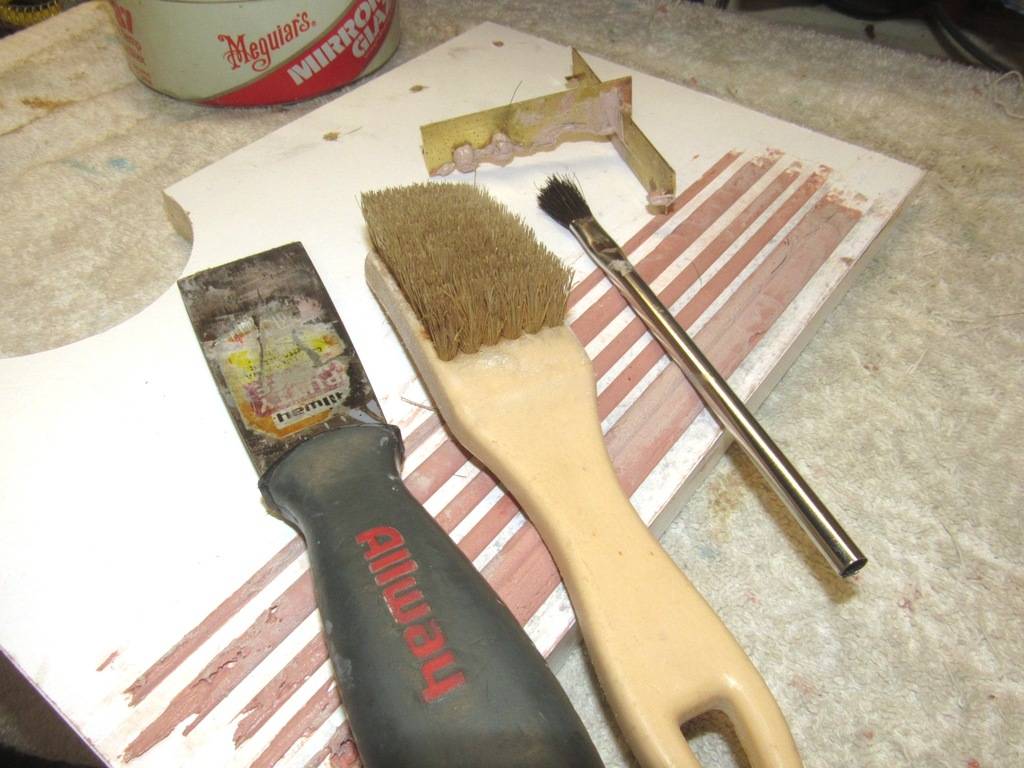
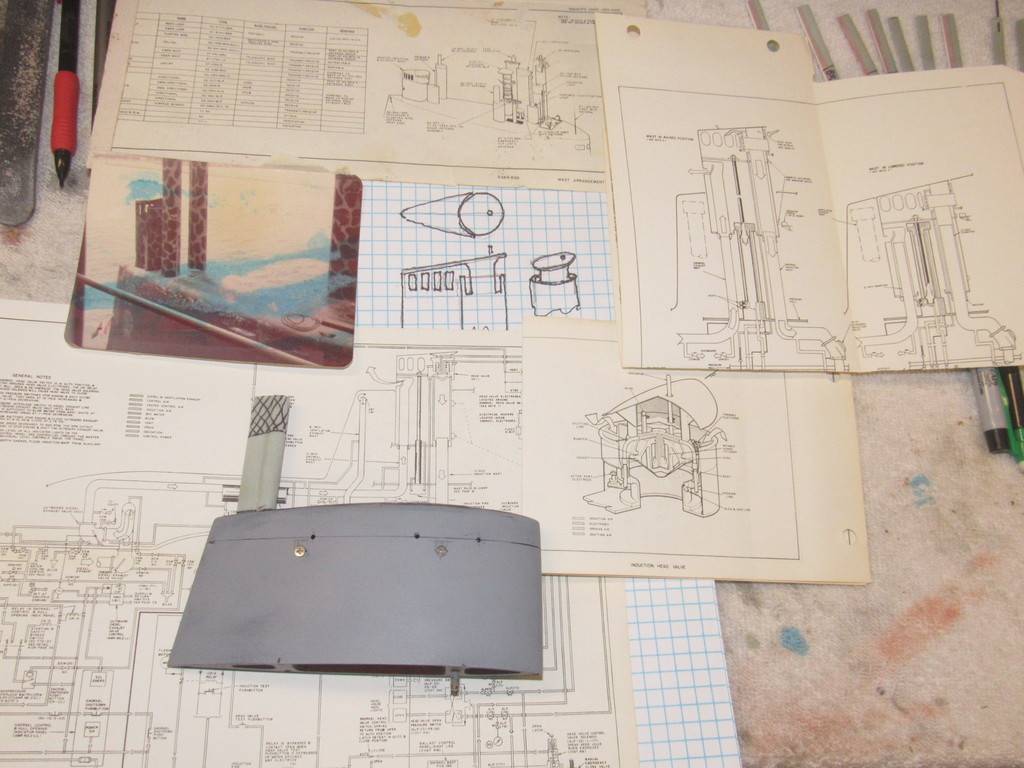
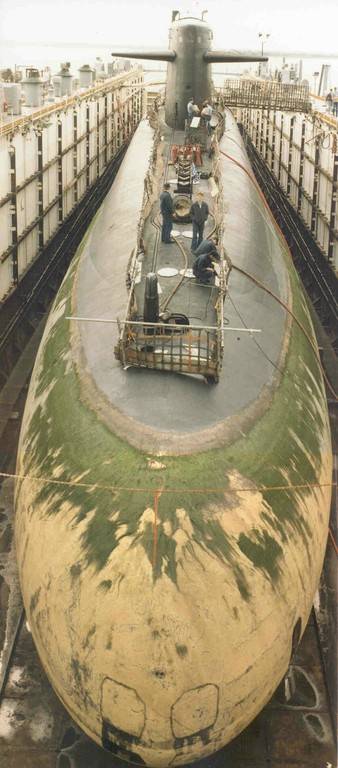
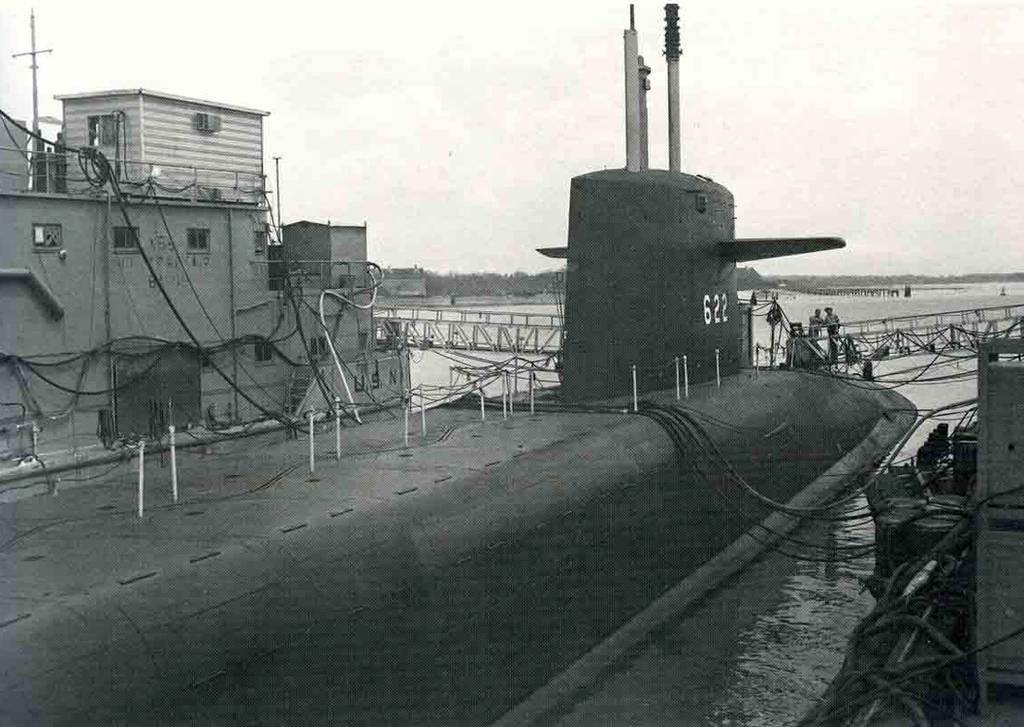
Some of the documentation and layout tools used to position the ladder rung stem holes. The two rather faded color photos were taken by me of the boat during one of her re-fits in Guam, as we worked the boat up for another patrol.
... Hell, I snapped those over a half-century ago. Sobering.
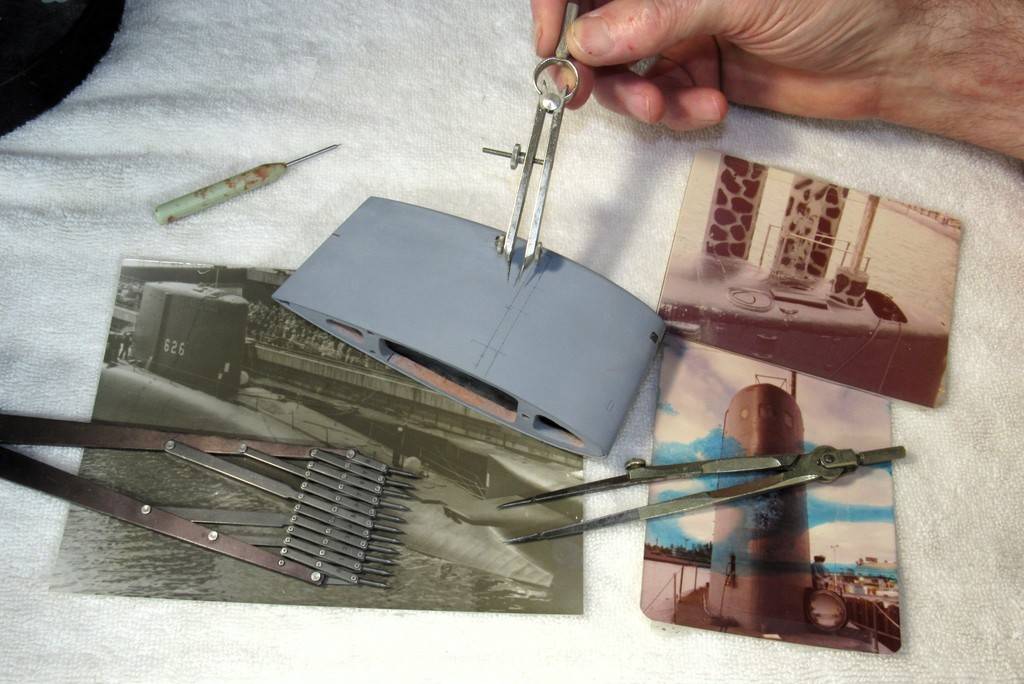

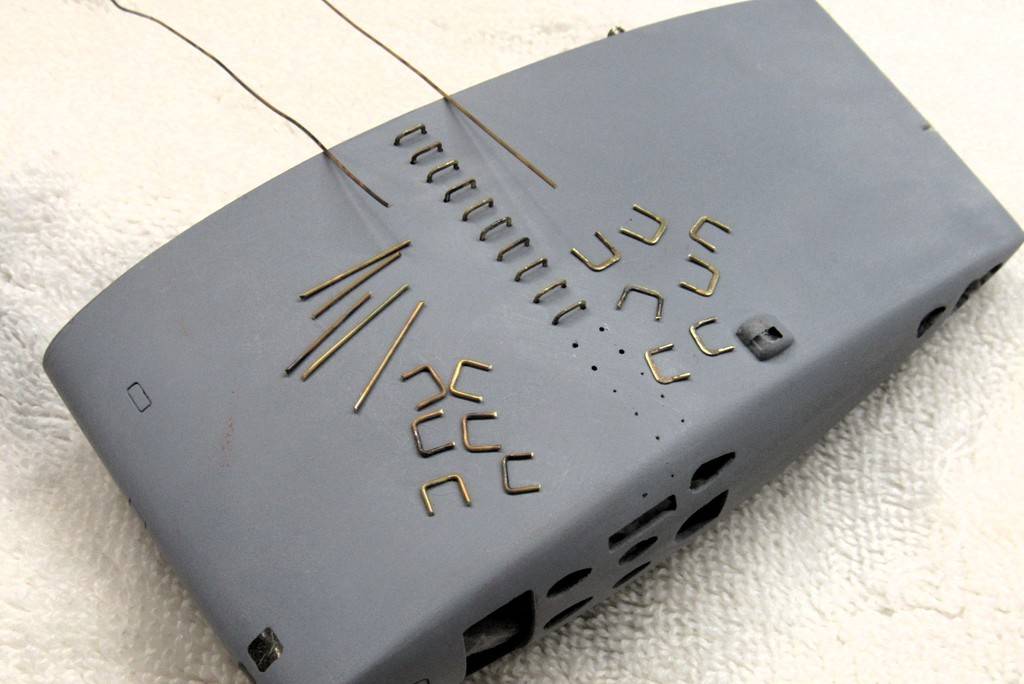
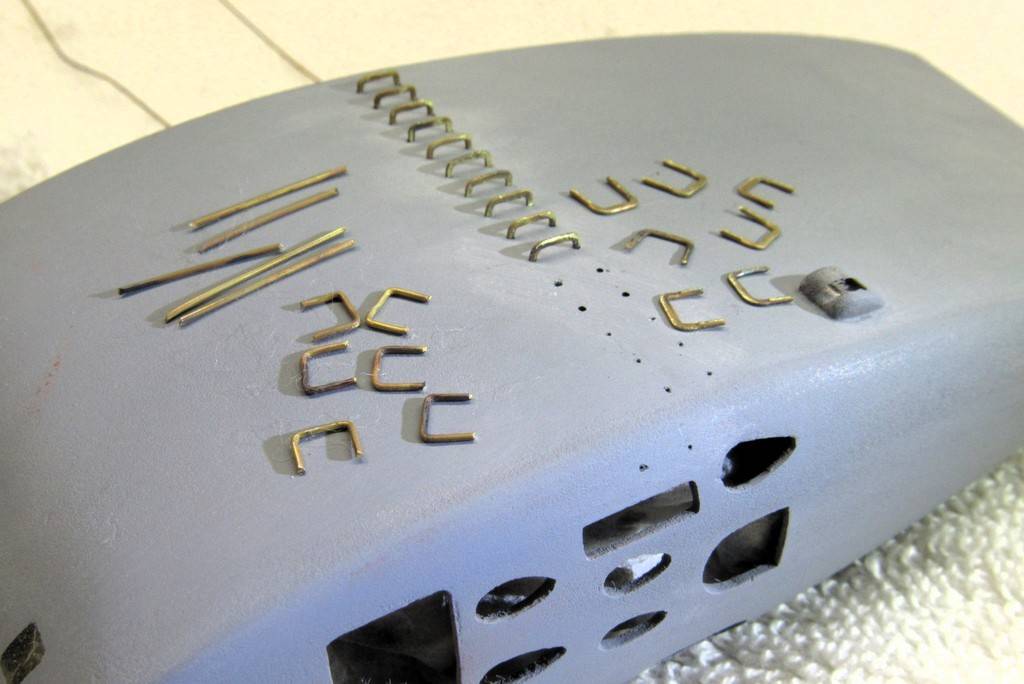
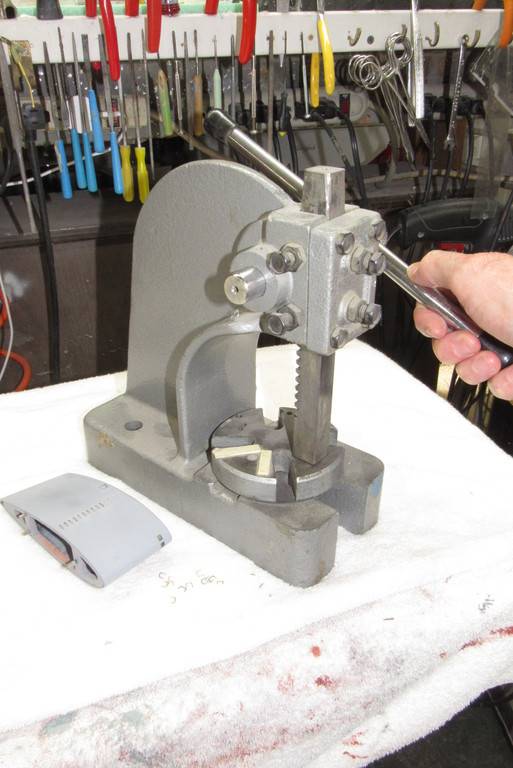
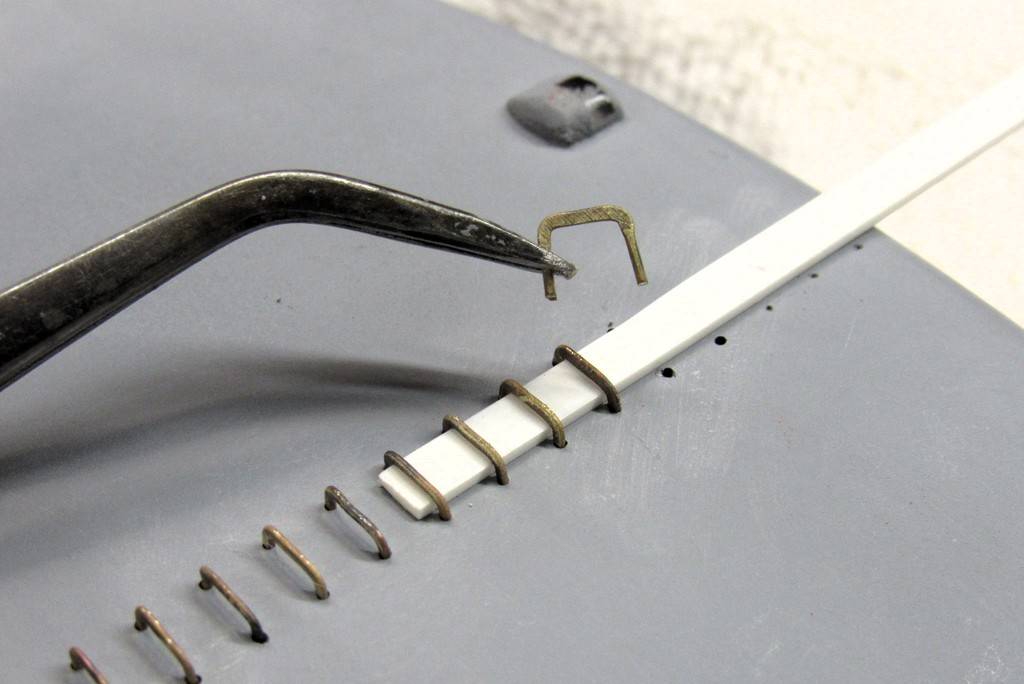
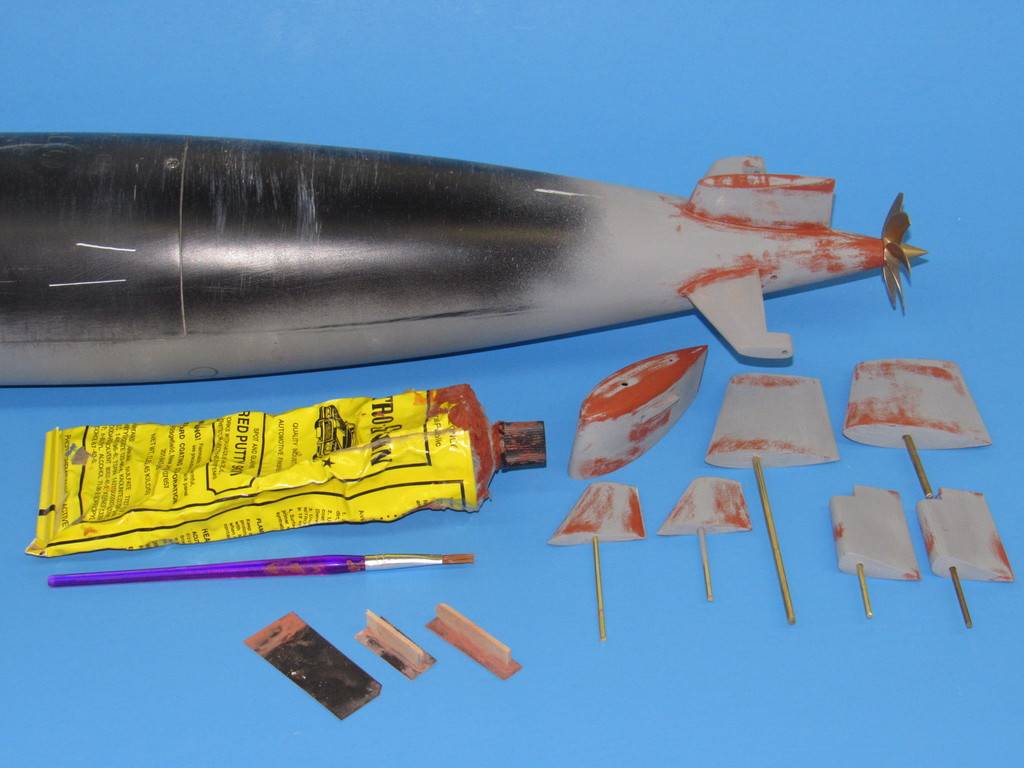
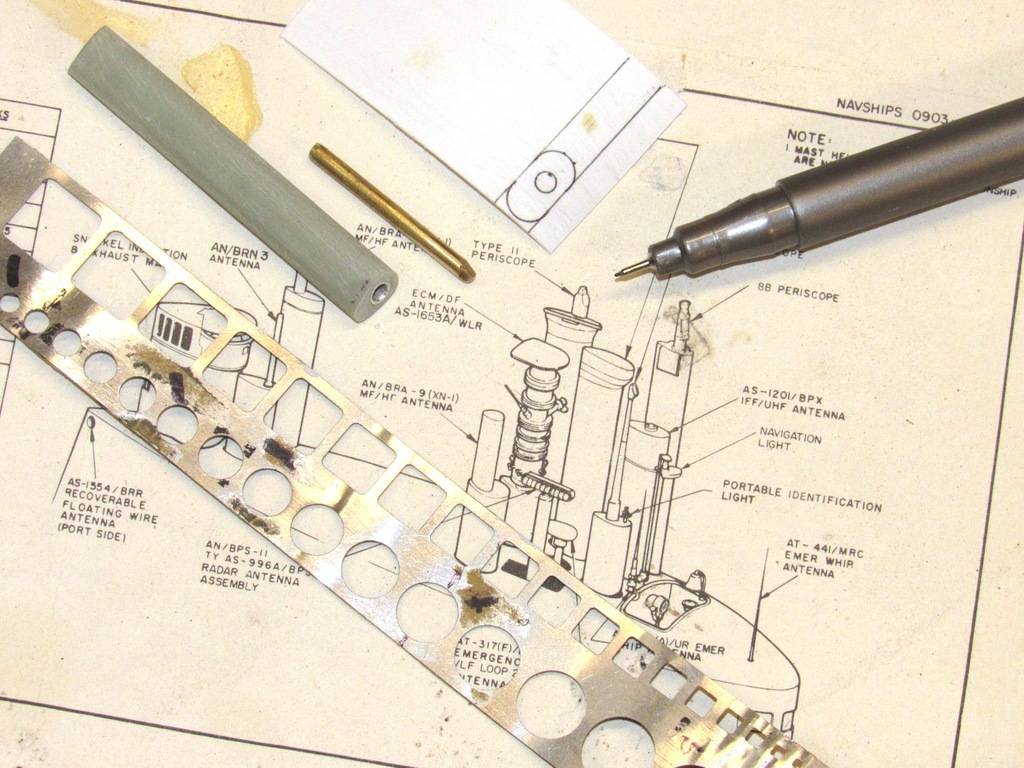
To the left are raw ladder rung blanks, still in the round. To the right are properly flattened ladder rungs ready for installation onto the model. These were made from annealed .020” diameter K&S brass wire.
A hand-press was used to flatten the annealed brass rung blanks.

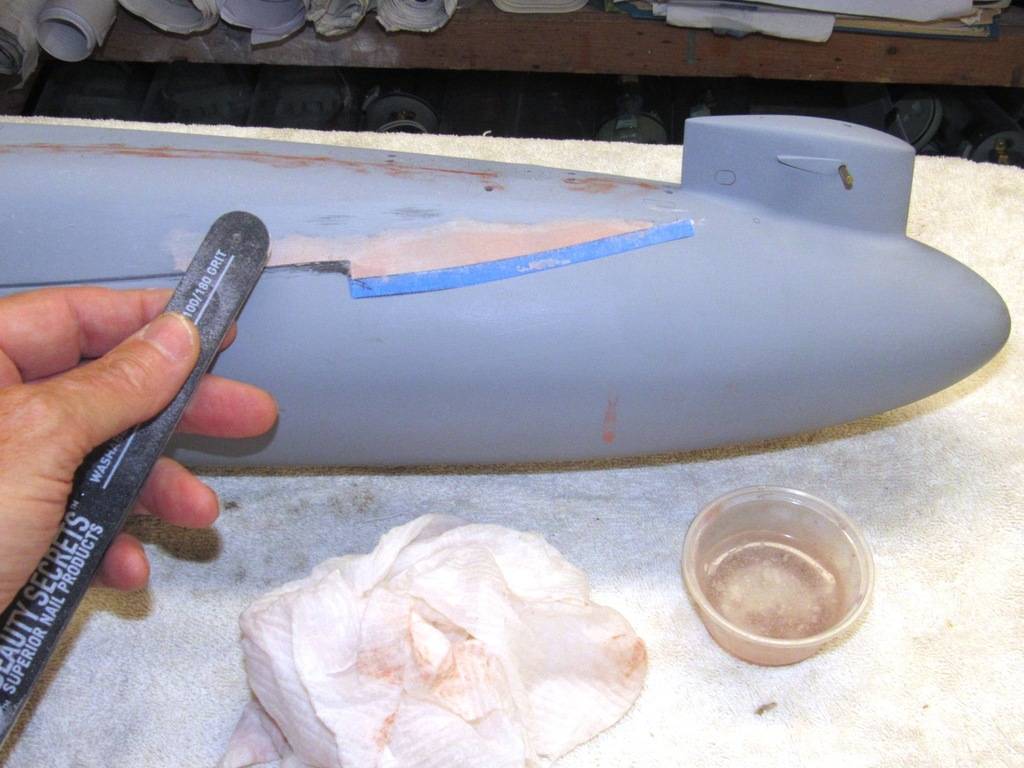
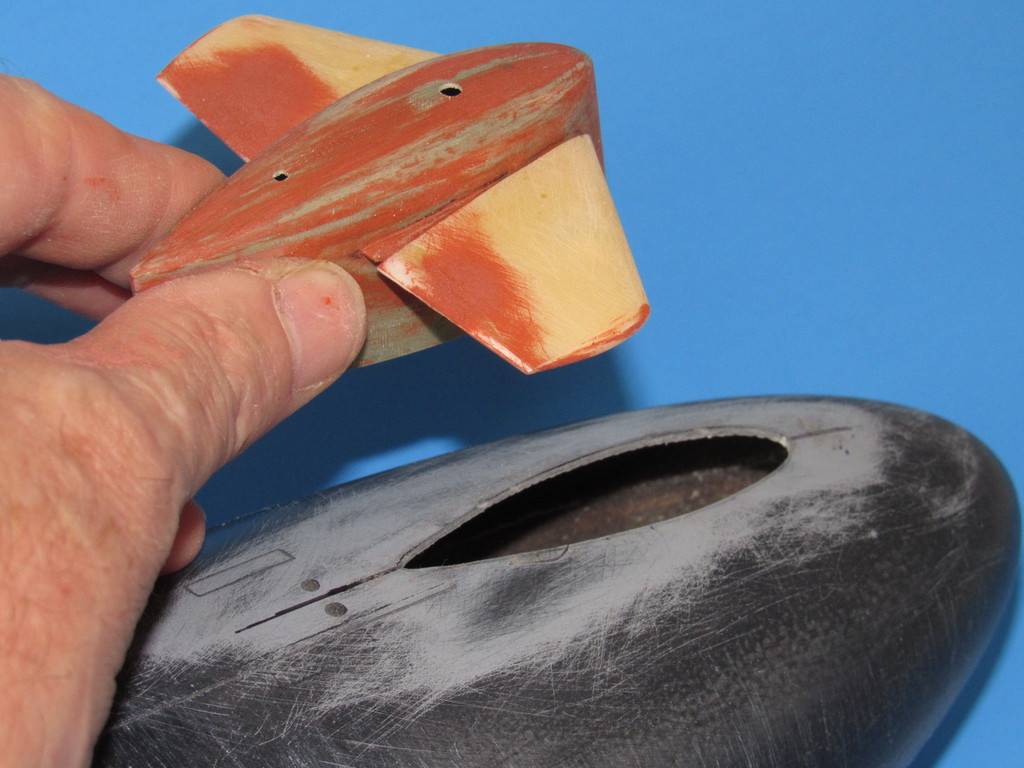
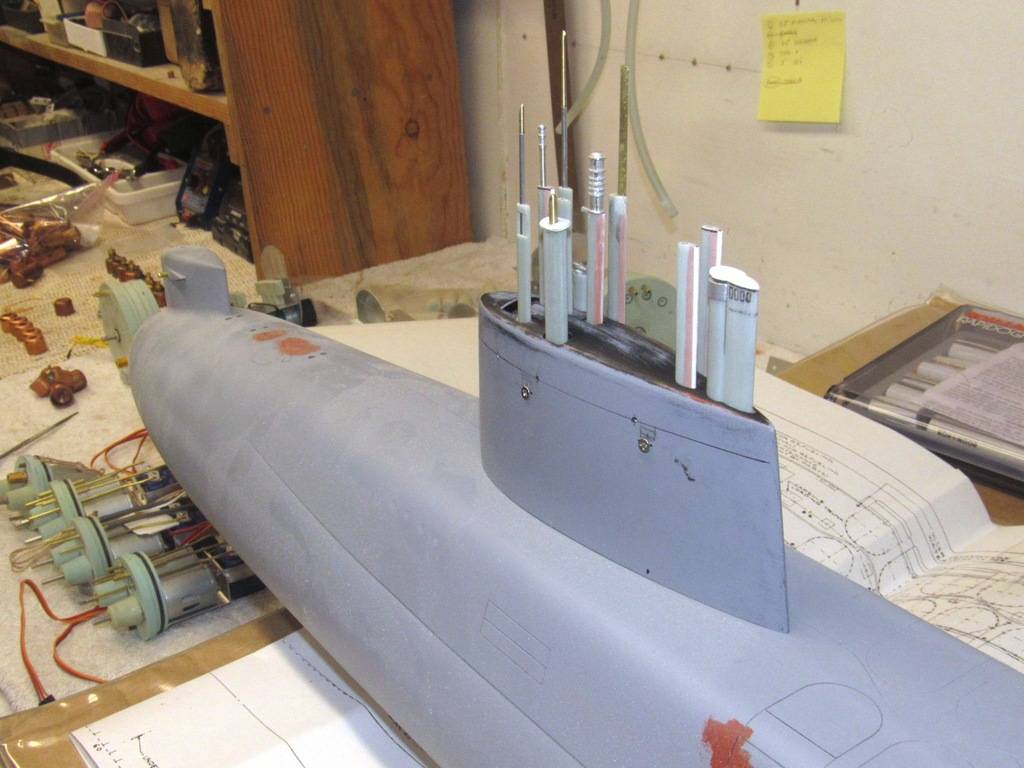
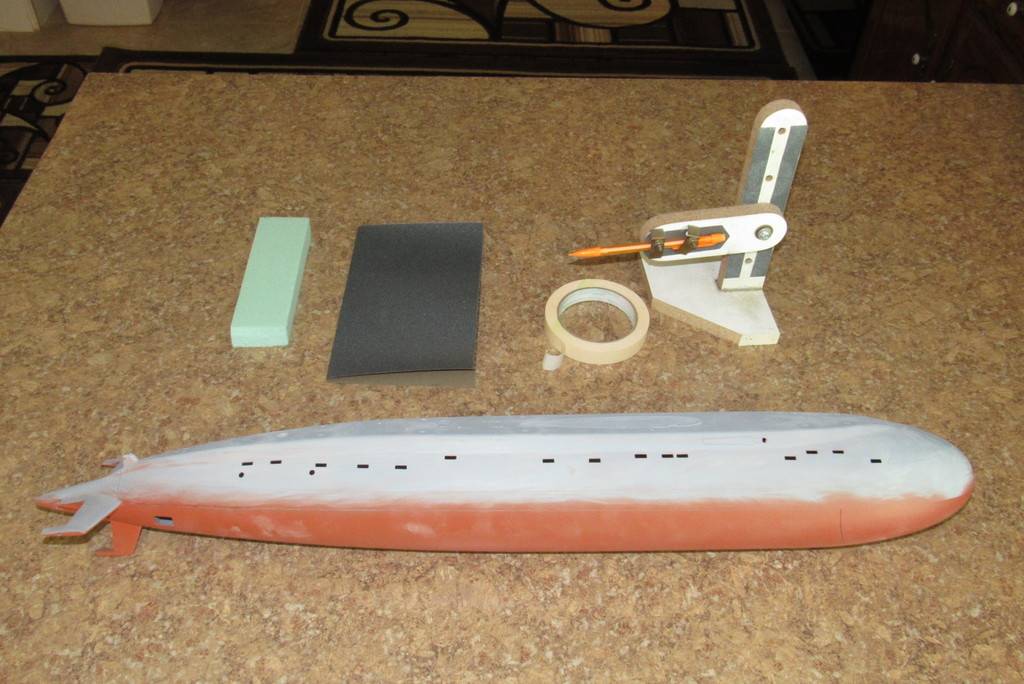
This length of plastic strip was used to set, exactly, the height of the rungs off the surface of the models sail and superstructure.
The drafting compass insured equal vertical spacing between rungs and the temporary strip of masking tape insured correct horizontal spacing between the holes that would secure the stems of each ladder rung.

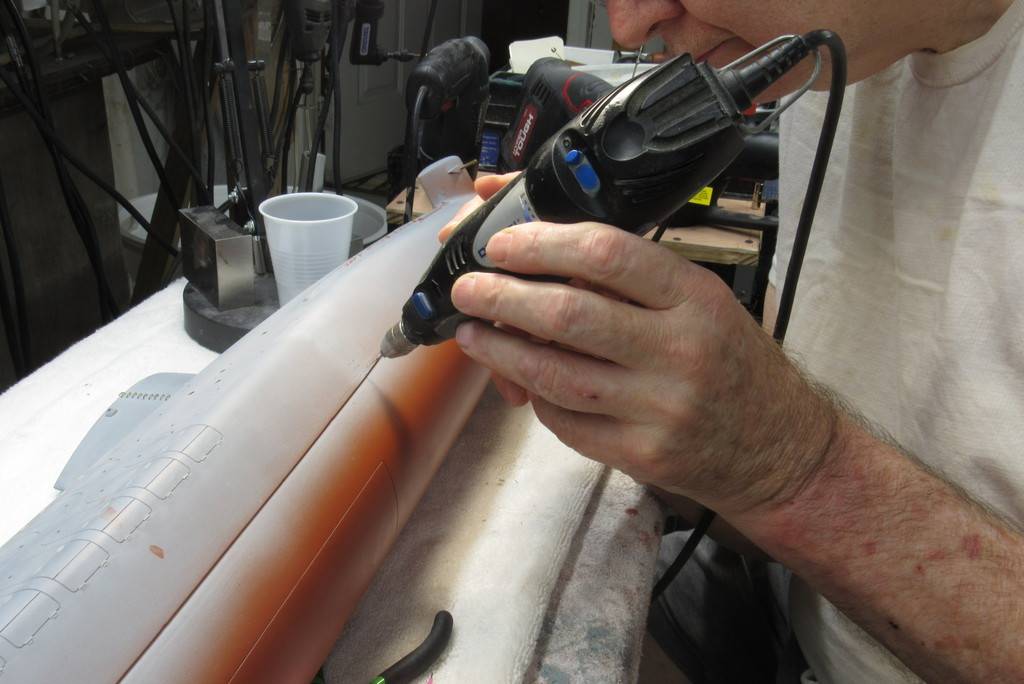
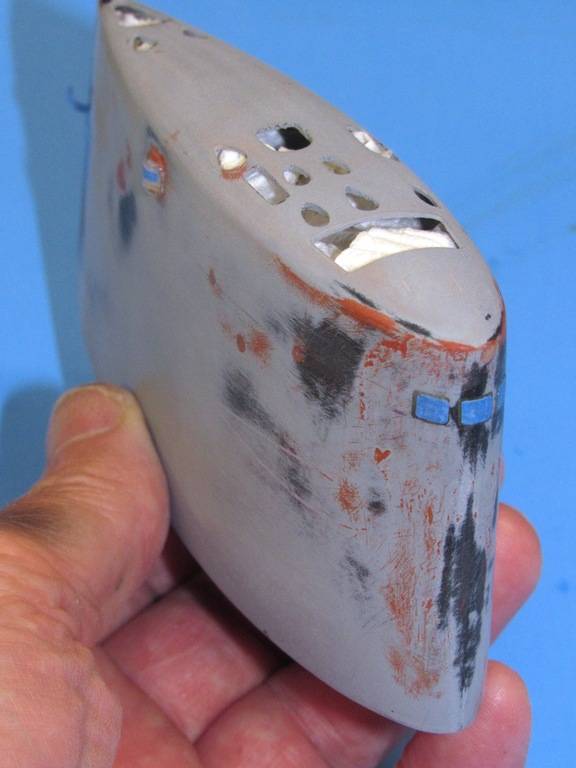
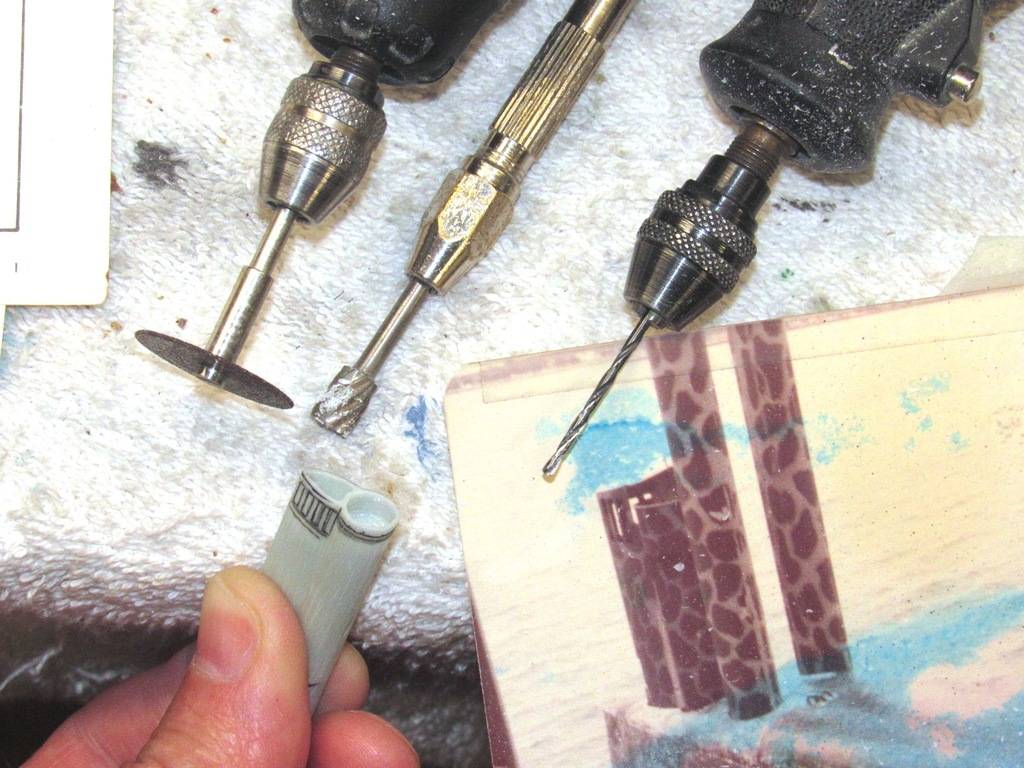
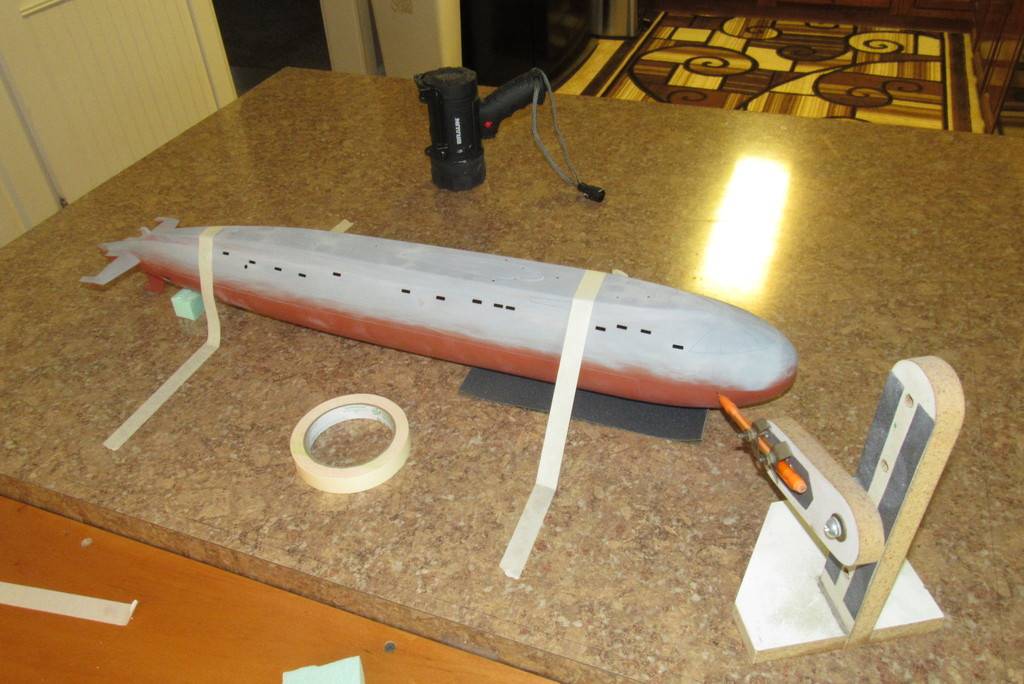
The moto-tool equipped with a .020” diameter bit drilling holes that will accommodate, via an interferrence fit, the stems of the ladder rungs.
Note the use of a modified set of pliers here – they started life as a common needle-nose type but were truncated and the tips ground back to better hold a rung yet not make contact with adjacent rungs as a rung was installed/removed from the sail and superstructure.
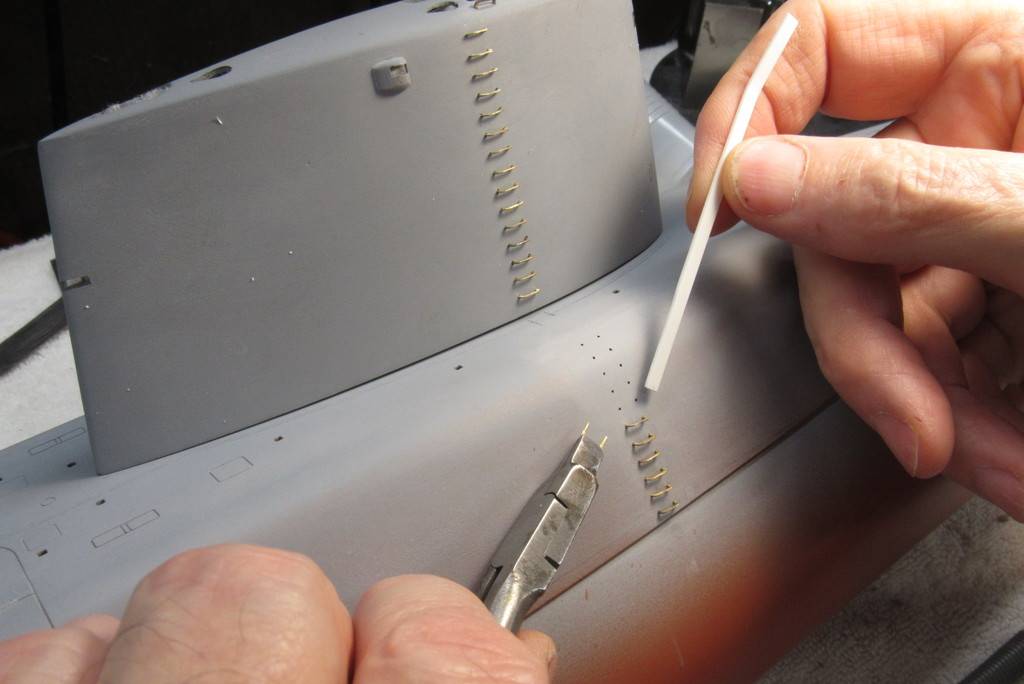
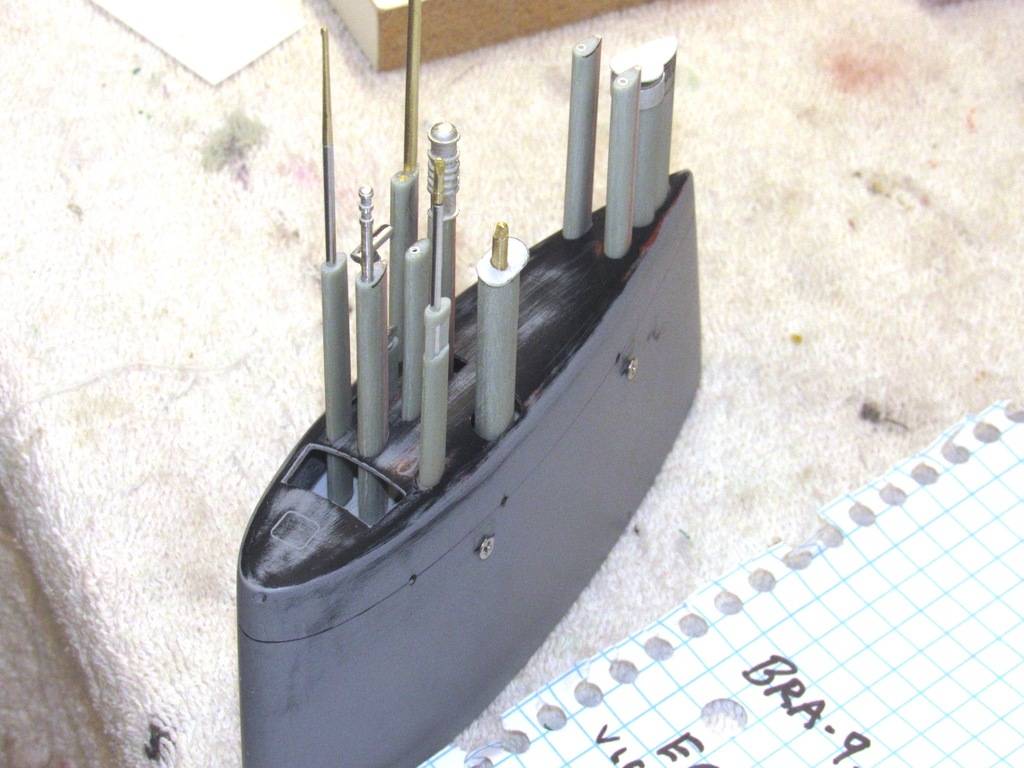
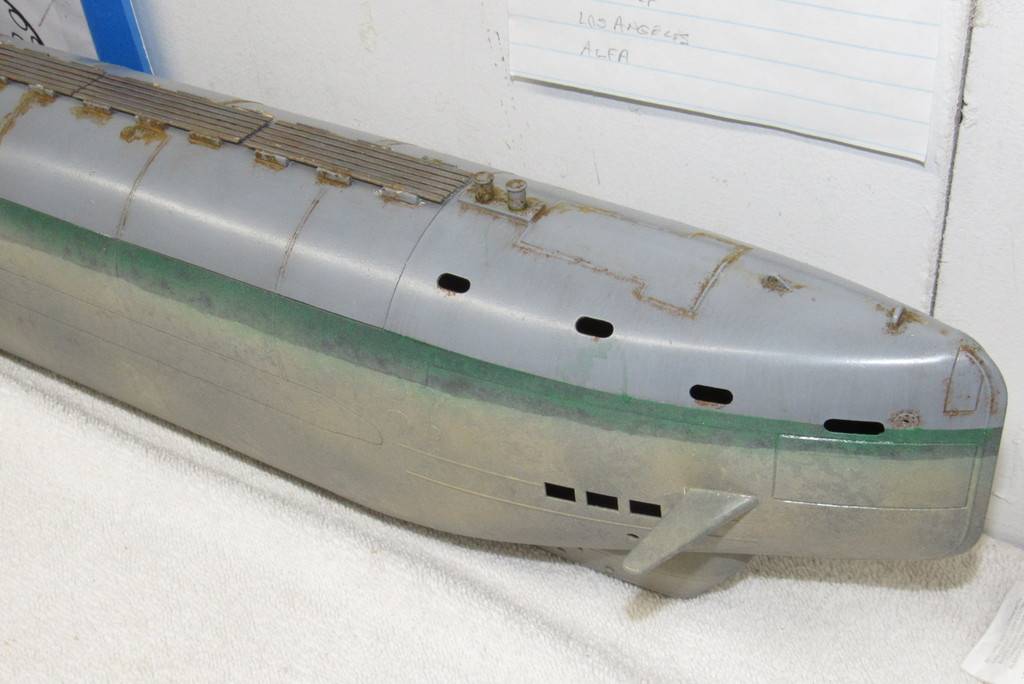
All of the ladder rungs are tight friction fits to the sail and superstructure, so no glue is required to retain them in place. This permits me to now remove the rungs and carry on with the painting and weathering of the model without the rungs getting in the way. The rungs will be painted separately and installed before the final flattened clear-coat goes down.


Comment