
Yep, that's my intension, the problem with replacing the battery pack is always the difference in weight, or position of the batterypack, normally you can adjust both packs to the same weight and make a cradle to get them into the same position, just to keep your CG at the same place.
Still, all the fuzz of replacing the pack will mess up your interior, on the long run you can get a defect on your wires, my run time will be around 1,5 hours, plenty of playing time, i still have some other subs to play with.
Manfred.
-
-
So, you can charge your battery pack without removing it from the sub interior?
Nice!! I like that a lot!!
Thank you, Sir!Leave a comment:
-
Gary,
I made a extra positive and negative wire connection to my batterypack, soldered those two wires to my brass charging points, this way i don't have to remove or unplug my batterypack each time.
With all my dryhull boats i made the same connection, those batteries can't be removed, since they are located down on the keel and covered with all the things to make them run.
As for the tubes, i have good hope that they will work like intended, only had to rebuild them twice, which is rather quick, normally it will take some more tinkeringtime to get them right.
David,
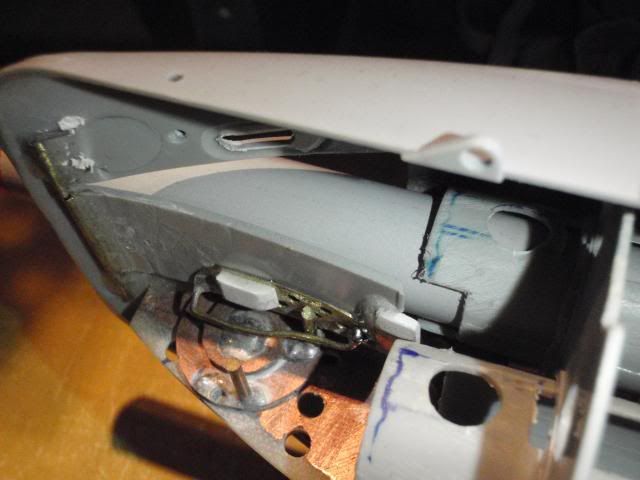
It's a SAS droplet catcher, my levelkeeper is positioned straight under the air inlet inside the SD, so if some droplets will fall down, i'm screwed with a wet levelkeeper.
Manfred.Leave a comment:
-
OK ... I gotta ask, Manfred:
What's with the little conformal tank? SAS induction sump? Trim tank? Sanitary tank for the crew? What!!???
MLeave a comment:
-
Hello, Manfred!!
Very interesting bit of engineering with regard to your battery pack "issue"!
I would appreciate if you could go in to detail as to how it will work!
I have an idea, but not absolutely sure. Would it have anything to do with connections being
made involving an end cap??
Hmmm!! The possibilities are endless if that is the case!!
Great looking torpedo tubes, also!! I like them a lot!!Leave a comment:
-
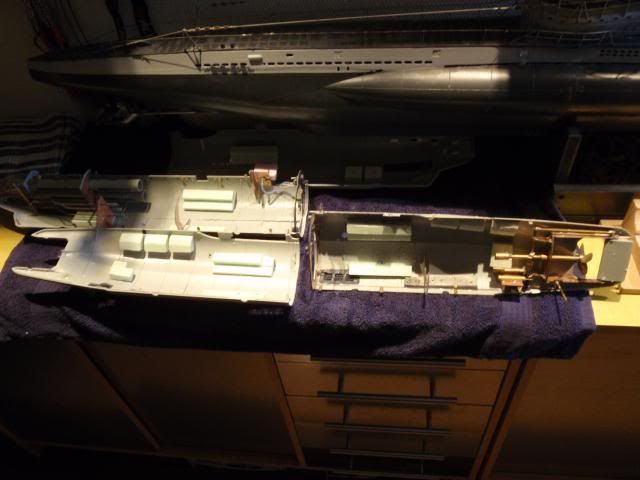
Flipped on the lights inside the cave, and scared away the spiders, this baby has to be ready before next spring.
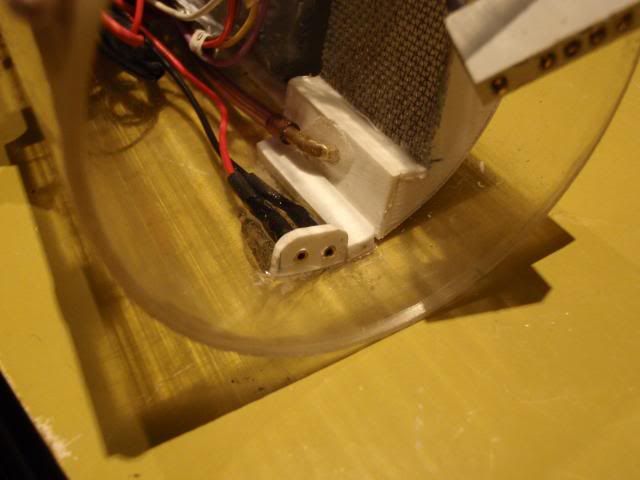
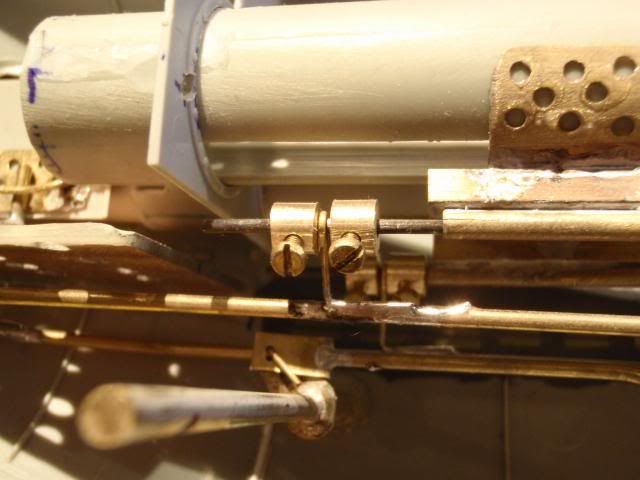
First something that was a bit annoying for me, getting the battery pack out each time for charging, made me go out of my mind, so a better solution had to be made, placed a small bracket from styrene with some homemade brass loading points, this will ease my workload.
The launchtubes are almost ready, all parts glued down, have to place them back inside the hull, tinker the magnets and shutters, so i can try some dry and wet testruns.
For now i'm also collecting details about the inside of the conningtower, Bronco did offer a good base, but not good enough for me, i want some more details.
Manfred.Leave a comment:
-
Thanks Laurent,
Due to my new job the work on the XXIII is on hold, next few weeks i'll scare away the spiders from the cave, and finish up the torpedo tubes, then she will be ready to get her final trimming session.
From Tom his video i know she will be a good runner, if the tempartures stay as they are, i hope to get my testrun soon.
Manfred.Leave a comment:
-
Sorry for my late respons Tom, my job is sucking away most of my free time.
Now i can show what is going on inside the shop, i decided to scrap the first design of the torpedo tubes, had two problems, the way of connecting the triggerbars to the sliding rods gave to much problems.
And the space, left by the open torpedo doors, jammed now and then my torps, had to find a proper solution.

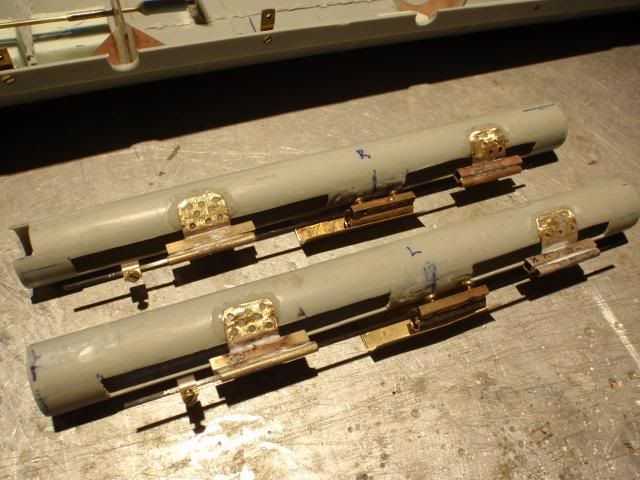
First a pic of the completed new design, as you can see, i made some changes with the bulkheads, had to remake the one on the right.
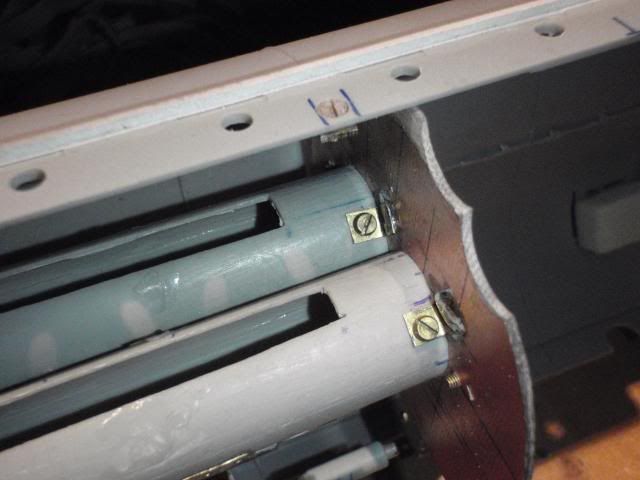
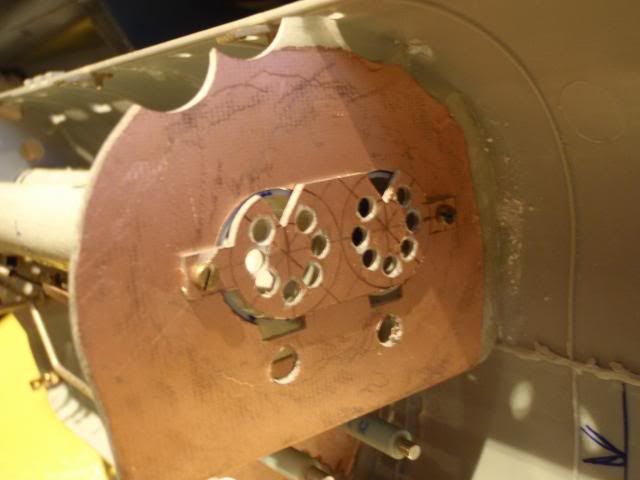
To prefent the jamming and get some more room i placed the tubes at the end slightly inwards, not scale like, but i have to get a comprimise for running torps.
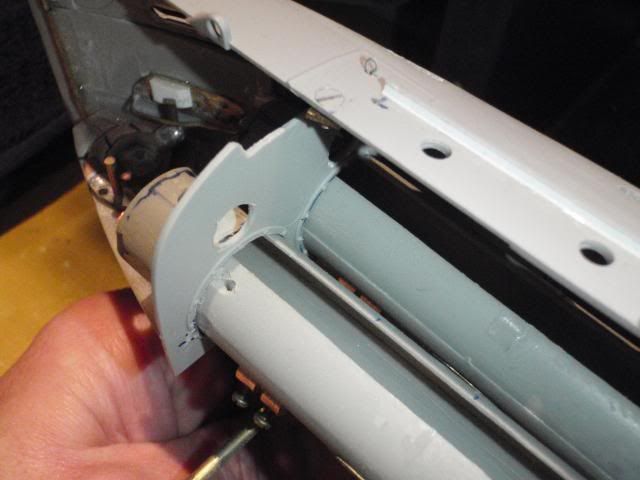
The front bulkhead i used at the same position, only enlarged the holes to push the tubes through, had to remove the ball locks for this.

Took the old design of my type VII to keep the torps at their positions, simple and effective.
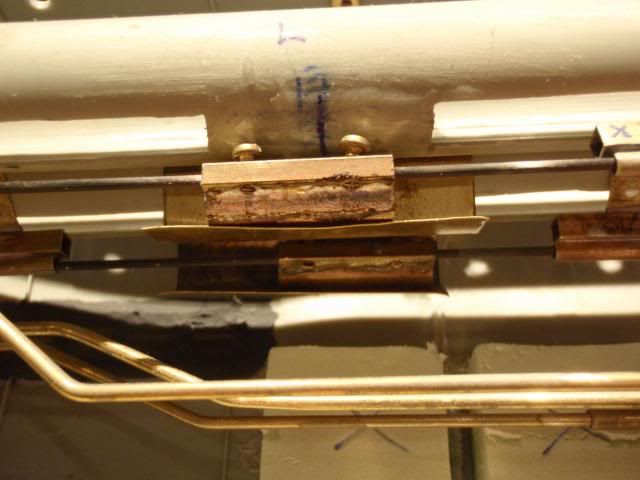
The sliding magnets to start up my torps, made a thin copper bracket to support them.
Redesigning the complete setting resulted in a simple way to connect the sliding bars to my trigger bars, used carbon bars for smoother sliding action.
Remaking and replacing the rear bulkhead gave room for this contraption, it will lock the tubes at the end, and still allows water to entry freely.
Getting the tubes pointed slightly outwards solved for me the jamming problem, as long as the hull is closed, nobody will know, unless you guys tell them.
Manfred.Leave a comment:
-
Congratulations! I am happy that you are working again! We can wait for updates!Leave a comment:
-
There's good news, and bad news.
First the good news, i've got me a new job, the bad news is, less time to build on the XXIII, making long days now, i did manage to get some progress on the rudder issue and working torpedotubes, love the design Simon made, techno porn of the first order.
As for my design, i made a new mark III version, which is in the final trails of tinkering, next weekend i'll make some pics, or a vid to show the progress, back to the cave !!!
Manfred.Leave a comment:
-
-
I think that you thrive on challenges Mr. Manfred. If it was easy, youd get sick of it.Leave a comment:
-
Last few days some hair raising moments, having the vertical split is a pain in the butt, i managed to get those chuncks of foam in, had to split them in more usable parts,

Had to cut away the lower part of the foam, yet again i have to add more lead for the next session, because the captain has serious problems with staying at his post inside the conningtower.
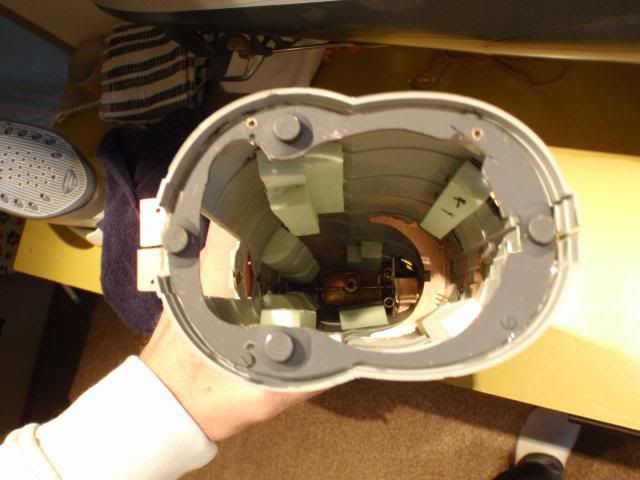
Using the "snap on" connection did force me to fiddle the foam around my SD, it's a lot more work when using the traditional waterline cut, hopefully the last arrow i've got to dodge.
I guess it will take another few sessions to get her right, noticed some issue's with my rudder and charging points inside the SD, that can be fixed when the glue is drying at the next try to stuff more foam in.
Manfred.Leave a comment:

Leave a comment: