You're very kind (yes, yes. I'm magnificent. I know, I know).
On a role now. Should have a mock-up of the masters to show off soon. I'm about two weeks away from sending you resin and metal ALBACORE packs. How many sets should I send, Scott? And will assemble the prototype 1/96 ALBACORE SD over the weekend as well.
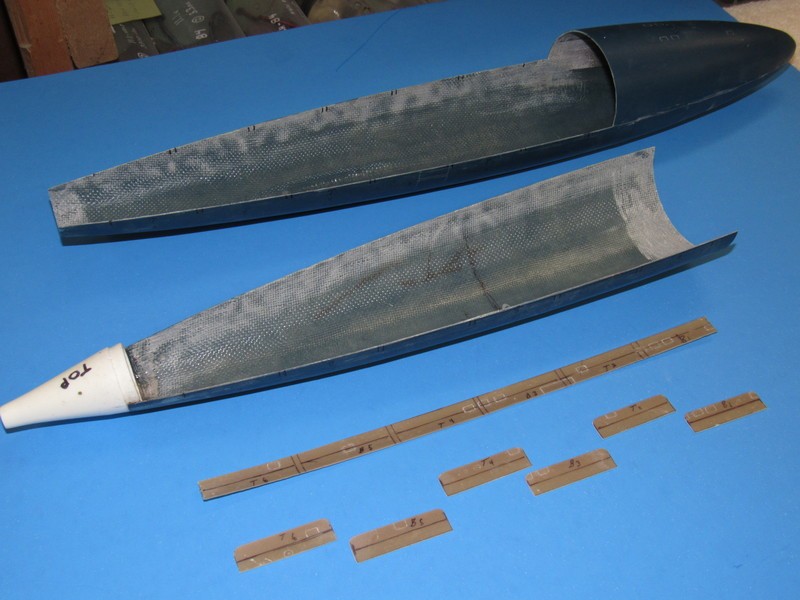
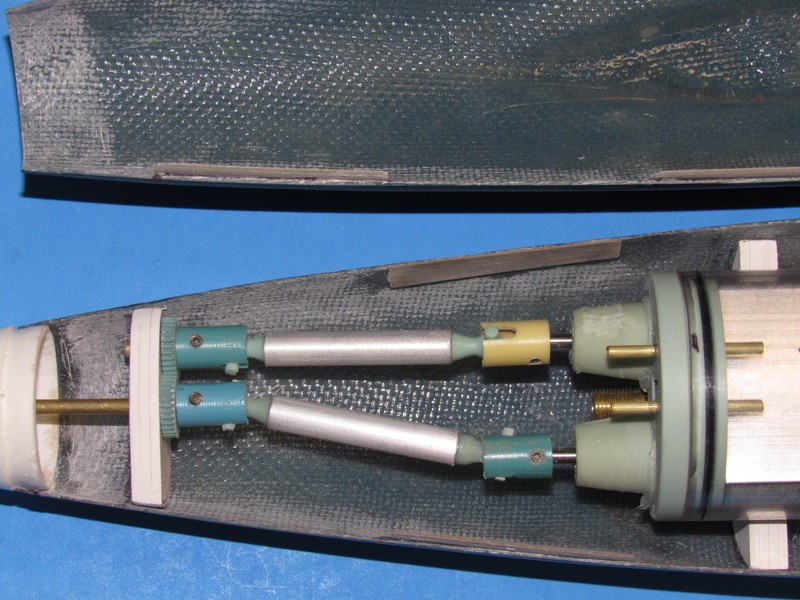
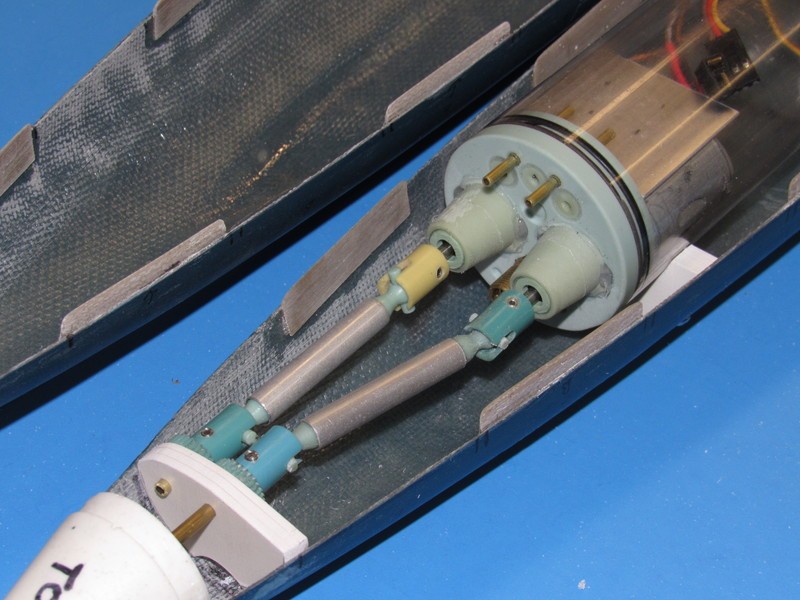
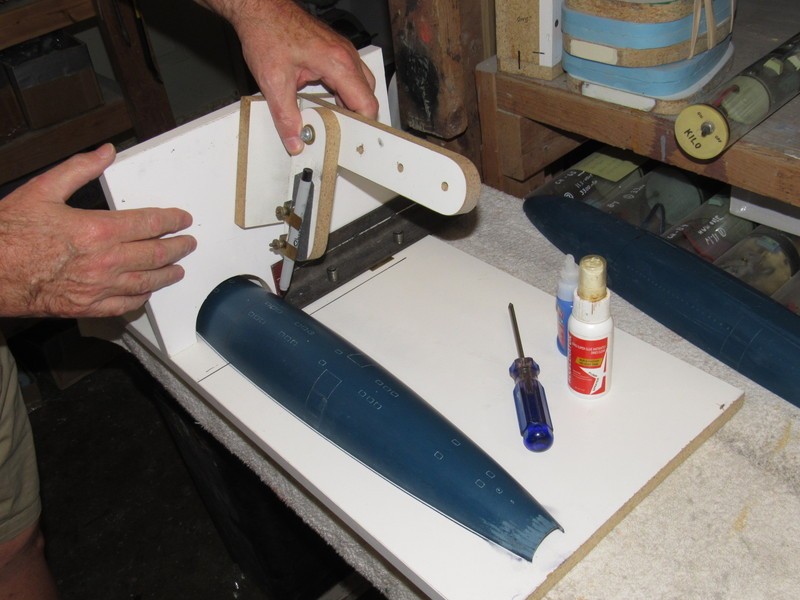
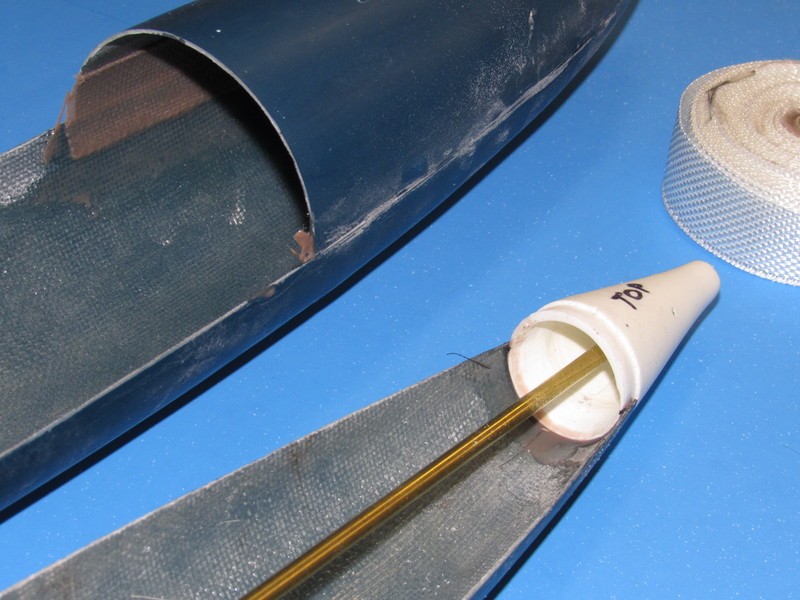
And the running gear you see in those shots is a simple mock-up, the production master goes together today. I've settle on the after propeller shaft being 3/32" diameter and the forward propeller shaft (within which the after propeller shaft spins) is 1/8" o.d.
The two hull halves fit like a glove. No warping to speak of at all. What a beaut this beast is going to be.
David
-
-
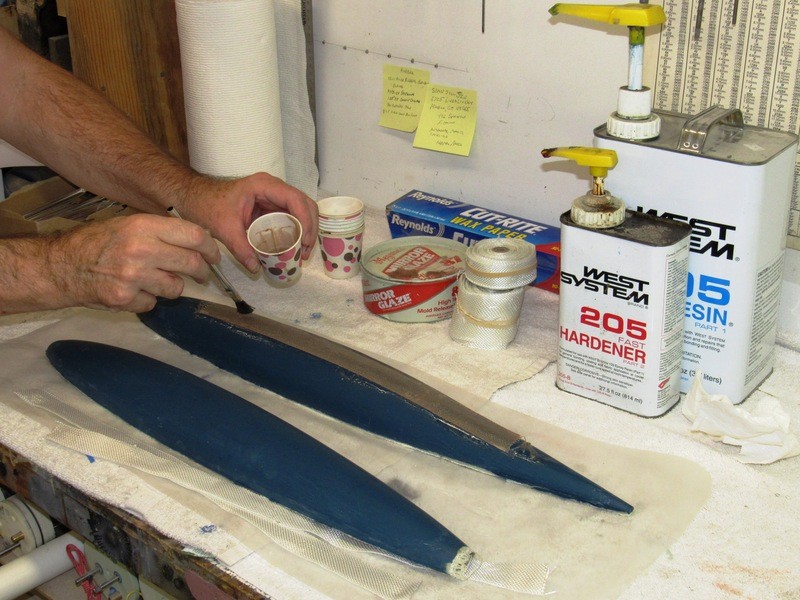
I doff my hat and surrender, Your Eminence. Spent this afternoon laying up Bart's boat. Looks like I'll have to do one for Manfred as well!Leave a comment:
-
-
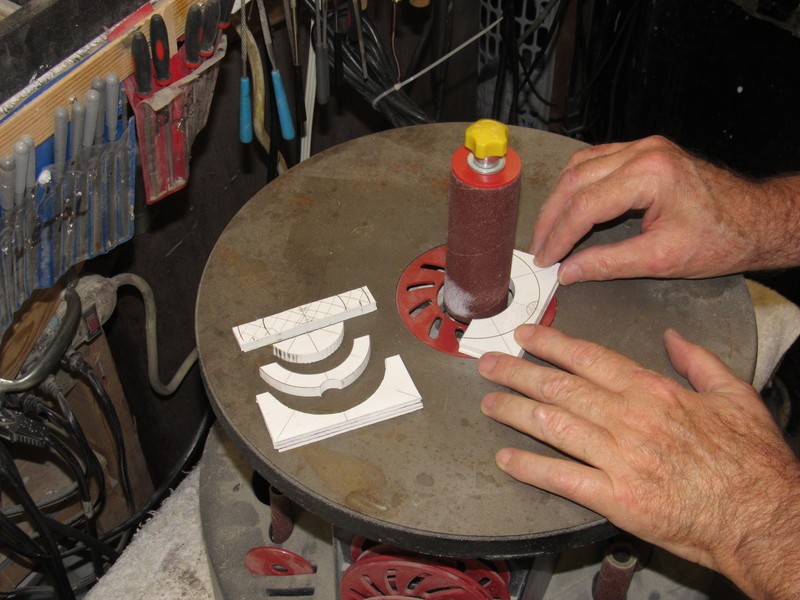
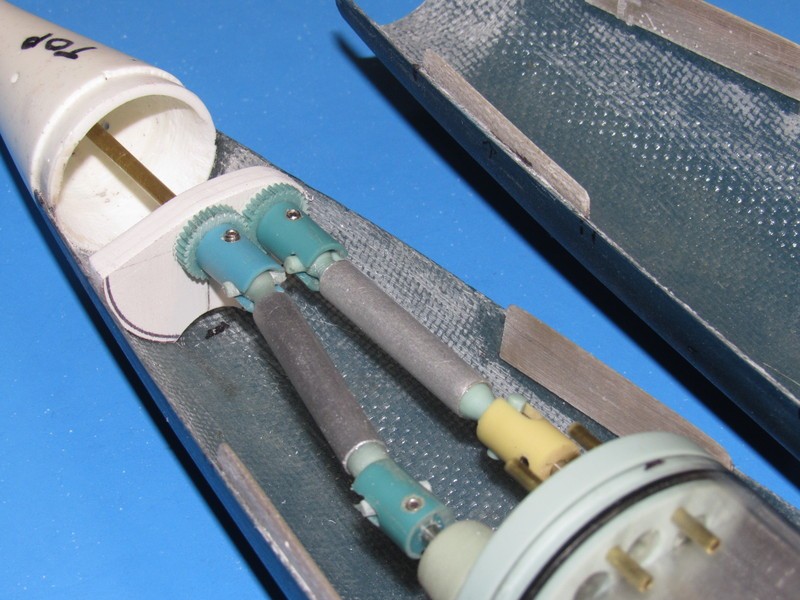
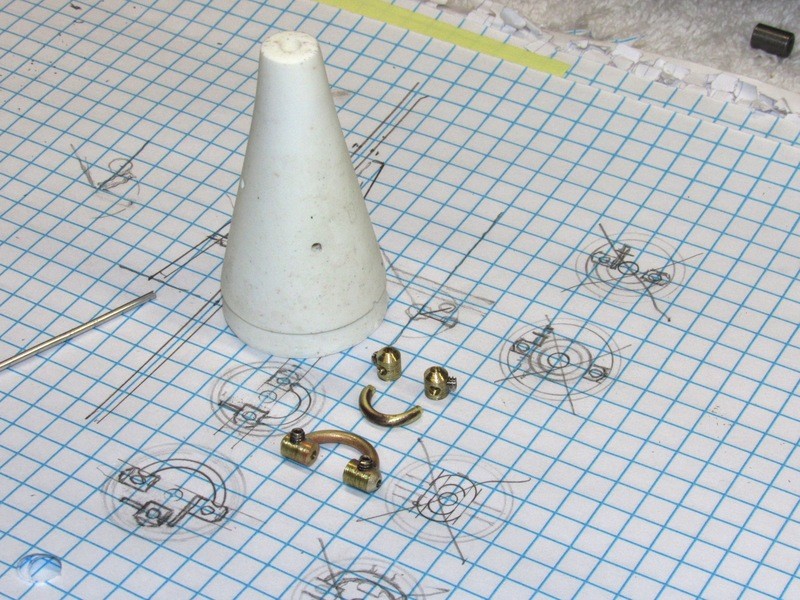
I can blame Bart for this, this evening i made a kind of mockup of his idea.
These are the needed parts
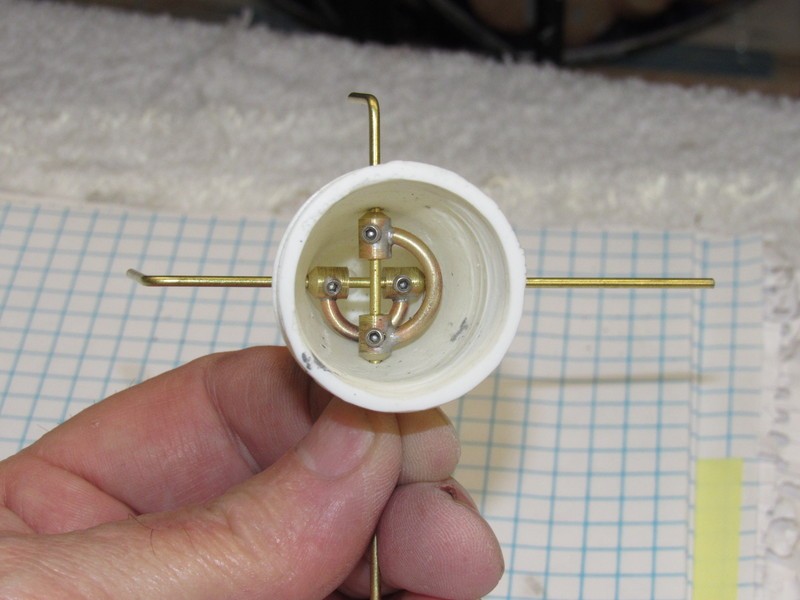
Step one, placing the gears together.
The tube which will contra-rotate placed.
Placing the needed O-ring
Ready for a testspin.
To my amazing it worked like a charm, it has some more friction due to the tension of the O-ring, more as my other gearsystem, but the idea can be used, all things where quickly glued together with CA and some baking soda.
The size is only 1/4 of my other gears, and more important it's light and simple.
Manfred
Attached FilesLeave a comment:
-
-
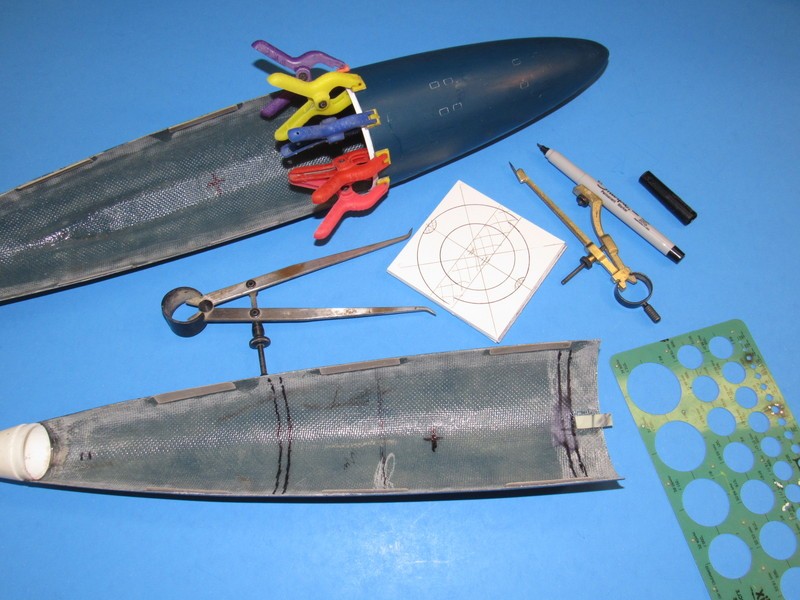
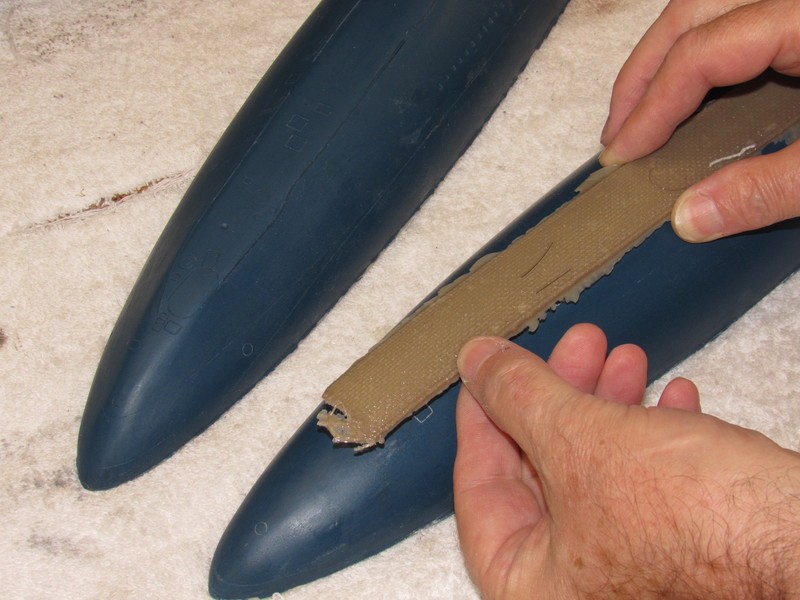
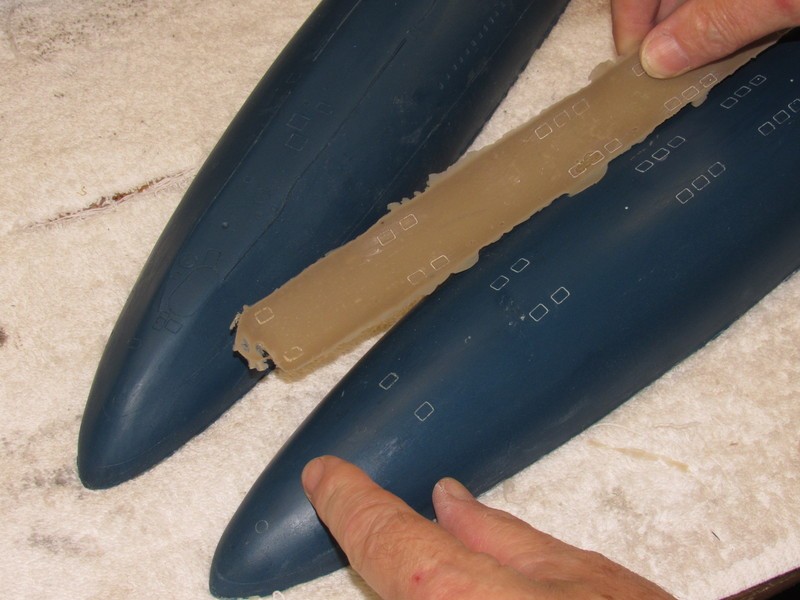
Harrah! That looks great. I did wonder what the hell you were doing with that piece of brown fiber glass however. All became clear in the second set of photographs.Leave a comment:
-
Thanks, Scott. I so enjoy wallowing in my own magnificence!
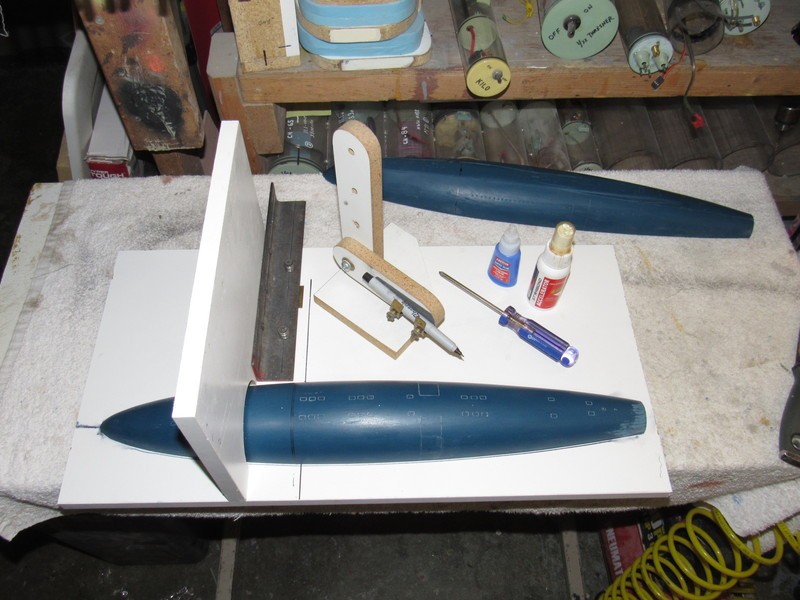
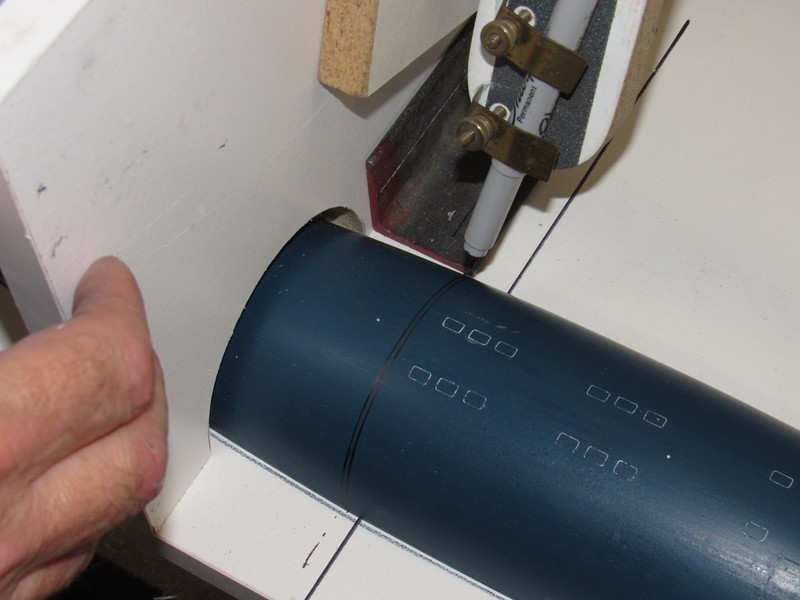
I've had to shoe-horn ALBACORE work in between bouts of production work for the boss-man. This weekend I hope to scribe the sail, finish the deck hatches (three to be safe), and work up masters for the SD saddles and indexing pin-Velcro strap foundation. I'm also going to scull out the workings of a simple counter-rotation gearing scheme (I'm using two motors, so it's a relatively easy matter).
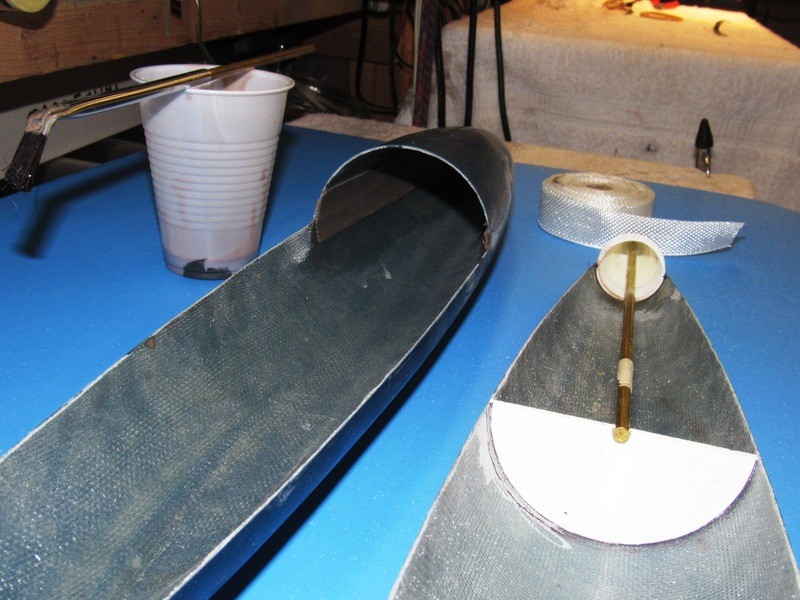
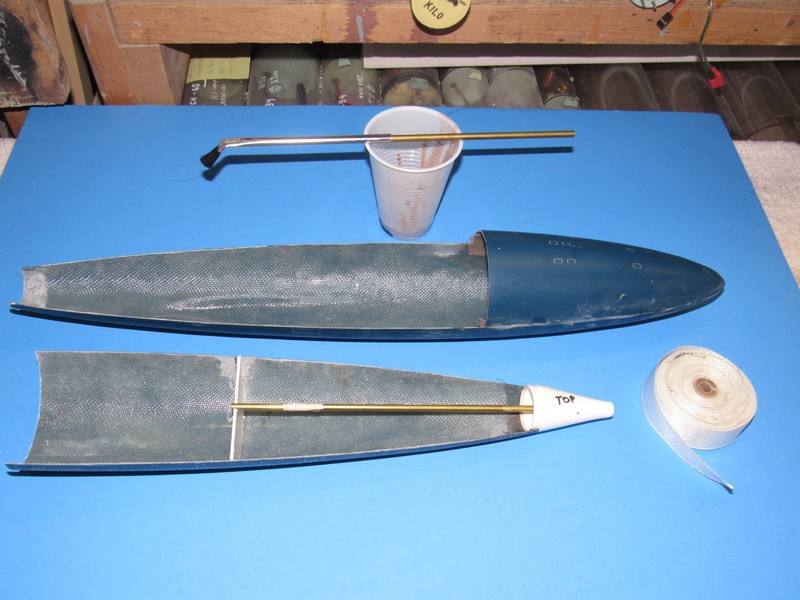
I was pleasantly surprised to find that even with your heavier than normal glass layup the total water weight displaced by the above waterline portions of structure amounted to just under five-ounces. I can get a 2", two-motor SD with a proper ballast tank (sized for six-ounces) in the hull with room left over for the in-the-wet gears and such. You and Bart will get your SD's just as soon as I can validate that mine can indeed lift the model to the correct water line.
The more I look at your ALBACORE hull (and much improved BALUGA) the more I come to appreciate your attention to detail and ability to hold things to a tight tolerance. And that concludes the kissing-your-kangaroo-tasting-ass portion of this post.
David
Leave a comment:
-
Sorry guys. Internet connection problems. David: those props look fantastic and the control brackets are first class. I can�t wait to get my hands on those.
Bart: I saw that system offered commercially a while back and had to look at it for quite a while before I figured it out. I rejected it because I was too dumb to consider mounting it on the rear end of the SD - which is genius by the way.
I�m away from home for a few weeks so coverage will be intermittent at best.Leave a comment:
-
Catching up��nice work Scott.
Contra rotating prop:- Gearbox takes to much space
- For the motors you need two ESC
- When two gears are engaged the two gears are rotating in opposite directions.
- When two pulleys are connected to each other by a belt, the two pulleys are rotating in the same direction.
- Provide the main prop shaft outside the WTC with a gear that engages with an idler gear mounted on the encap.
- Provide the idler gear with a pulley fixed on top.
- Provide a free running pulley over your propshaft connect poth pulleys by an o-ring.
- Connect the 2nd propshaft which slided over the main propshaft to the driven pulley.
Now you have a slim mechanism (I think 1 -1.5cm max) that does not take a lot of space and results in contra rotating propshafts.
Summery:- Rotating direction of the main propshaft is reversed by the idler gear.
- This reversed direction is transmitted by a pulley assembly to the 2nd propshaft.
How about that to chew on.......no the idea is not mine (but that does not make it less brilliant LOL).......I found a pic on the www only showing the pulleys....so I was triggered and figured out how it was done.
I made a sketch to clarify..........red are the gears.....green the pulleys
Grtz,
Bart
Last edited by bwi 971; 10-24-2018, 04:08 PM.Leave a comment:
-
With Scott's permission, yes. I've already broached the idea to Kevin Rimrodt (he's marketing the 1/96 THRESHER), and he's game to take over production and sales. But, no one has come to terms yet.
We'll see. There's a big untapped market for quality 1/96 GRP, resin and metal kits.
DavidLeave a comment:


Leave a comment: