Welcome to our forums. For the best in R/C submarine kits, components and accessories, be sure to visit the Nautilus Drydocks
If this is your first visit, be sure to
check out the FAQ by clicking the
link above. You may have to register
before you can post: click the register link above to proceed. To start viewing messages,
select the forum that you want to visit from the selection below.
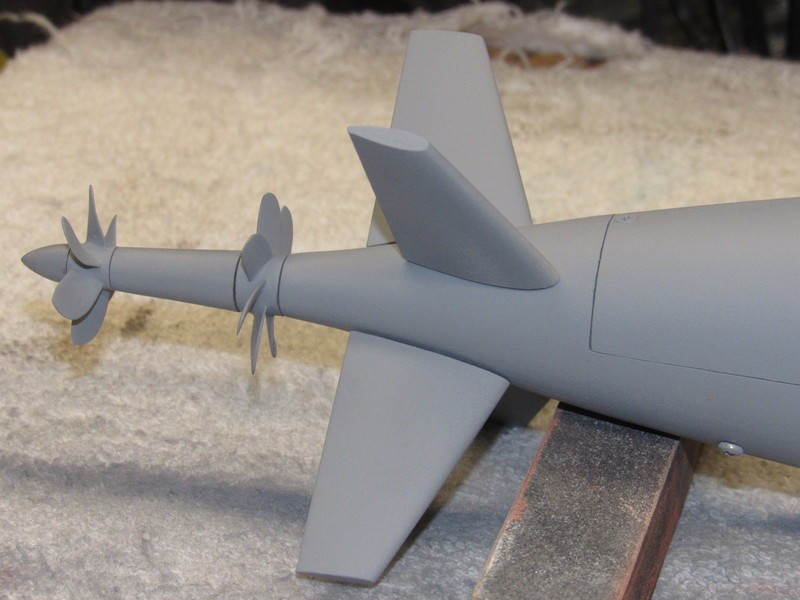
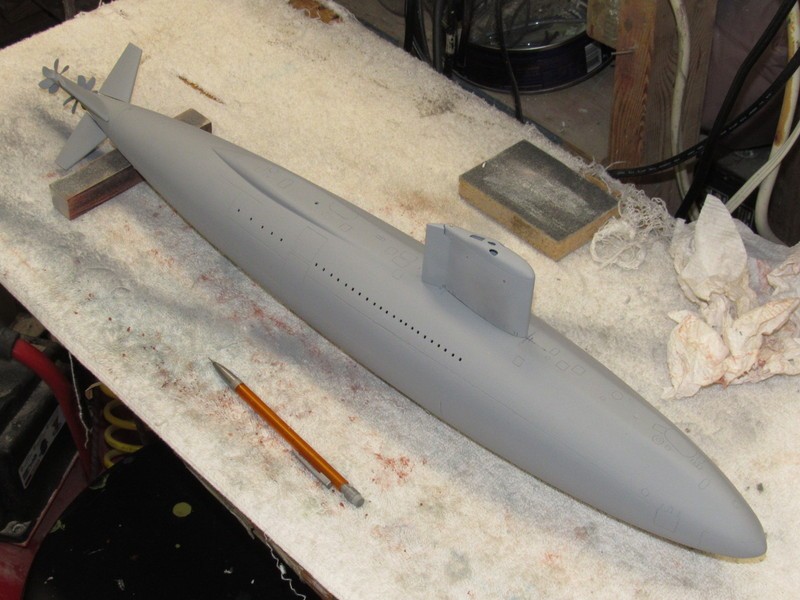
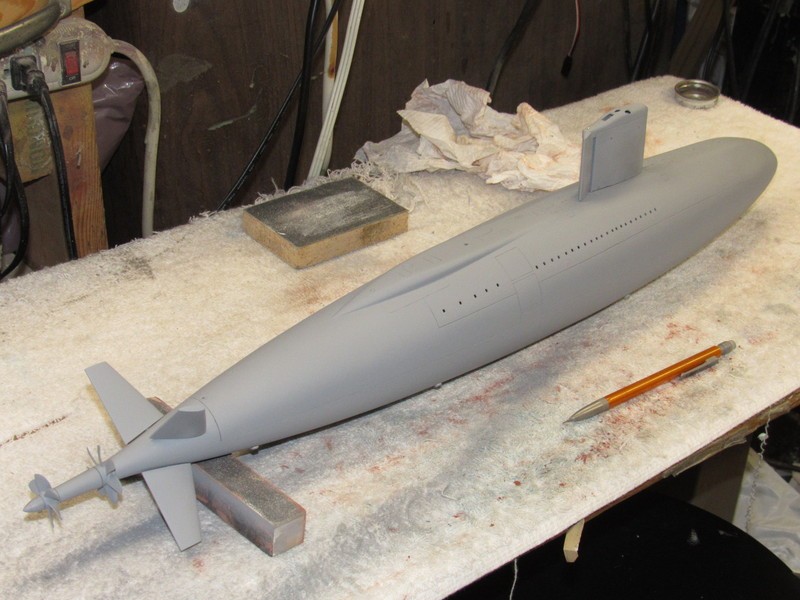
That looks fantastic. Where'd that safety rail go!
Yes it is starting to look like the phase-3 isn't it?
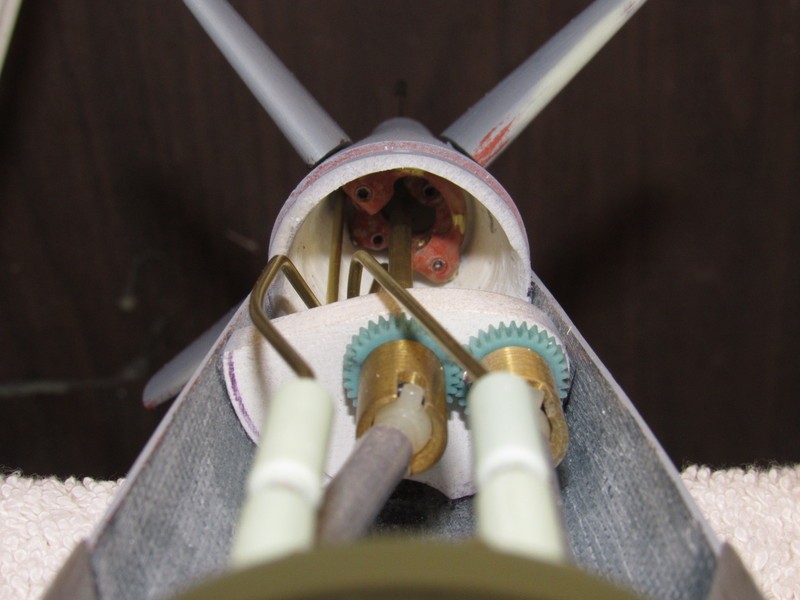
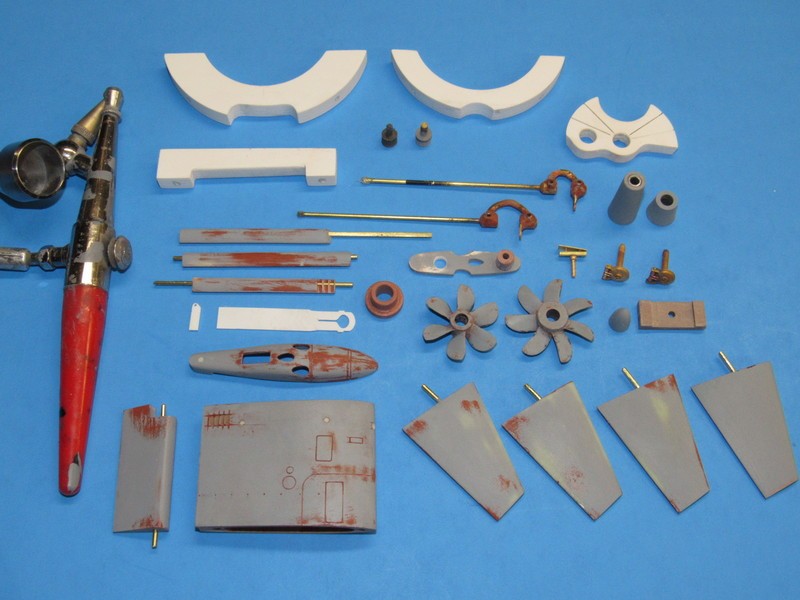
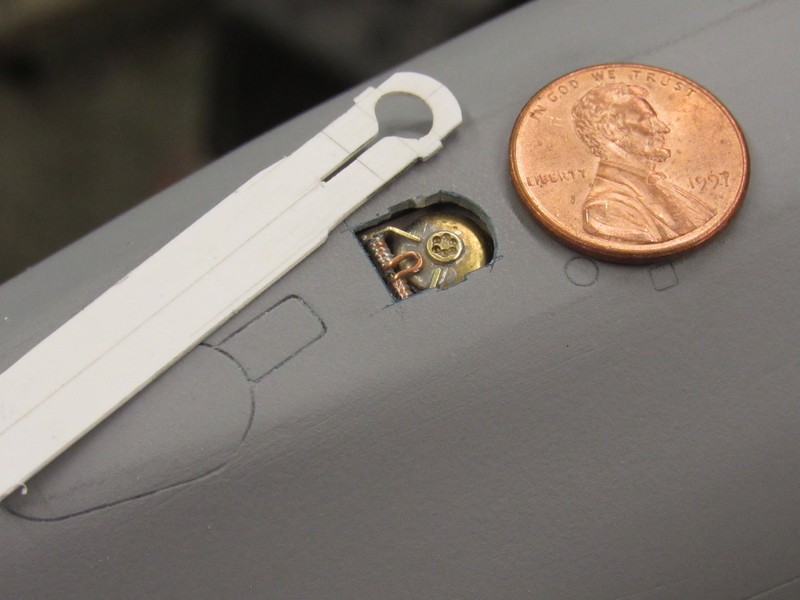
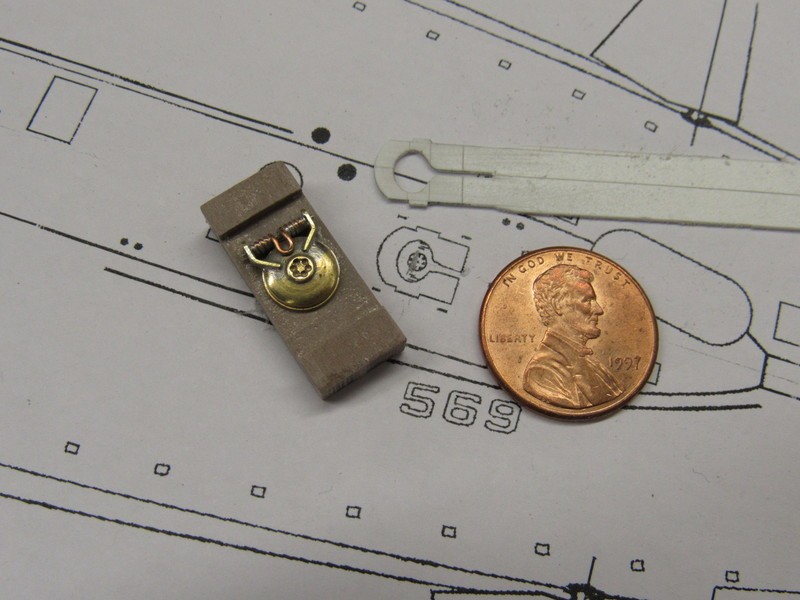
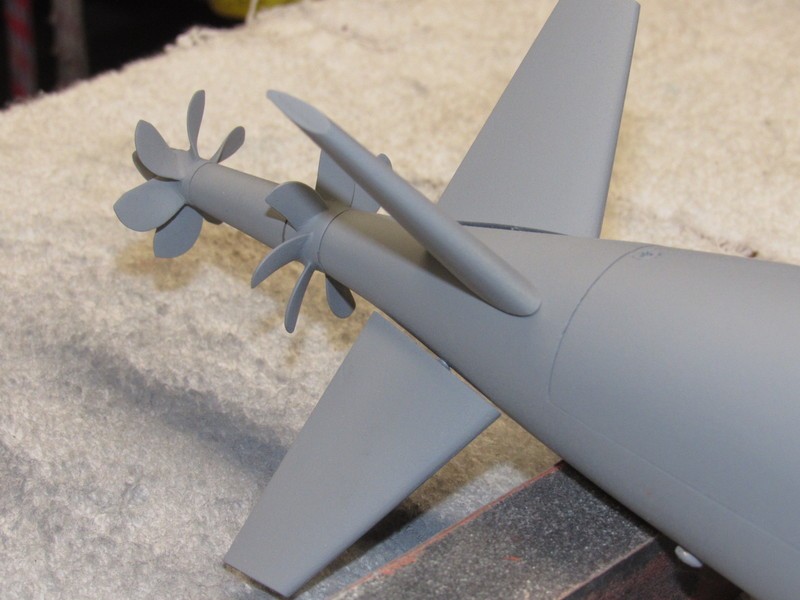
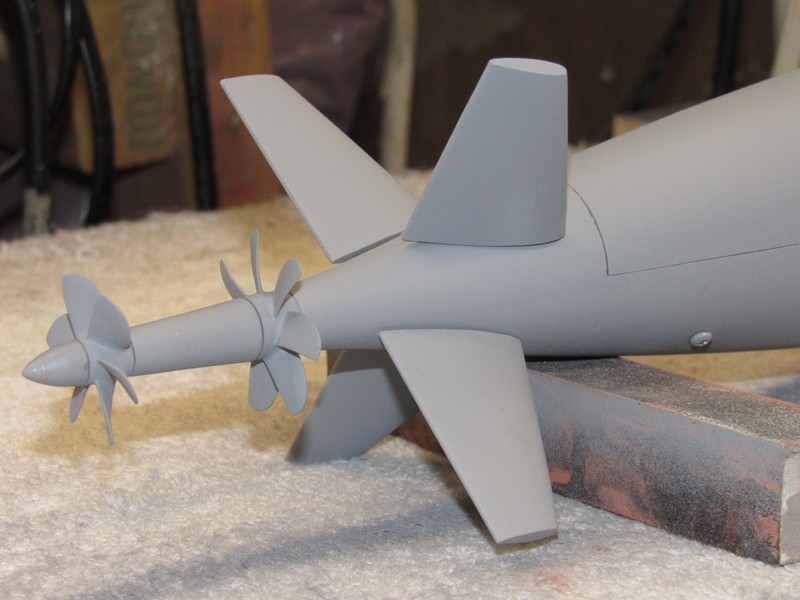
You're looking at the integrations of masters to your hull -- this to validate fit and function. All the running gear is working, the sail fits properly above the hull, and the control surfaces line up correctly without their yokes getting in the way of the outer propeller shaft. Now I can finish the detail work on the masters, make the tools, then the parts which go off to you and Bart (and anybody else on you givme list). Your SD's will follow shortly thereafter as I affirm that my SD has a ballast tank of the correct volume.
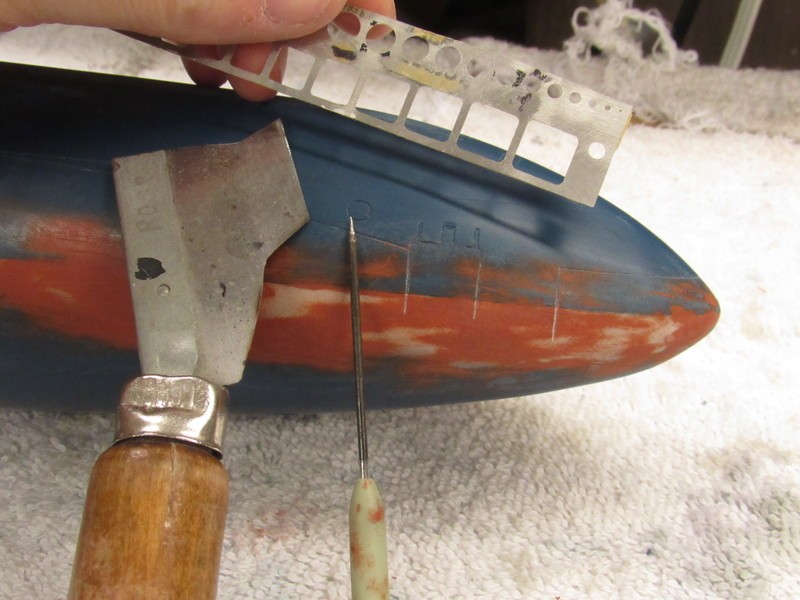
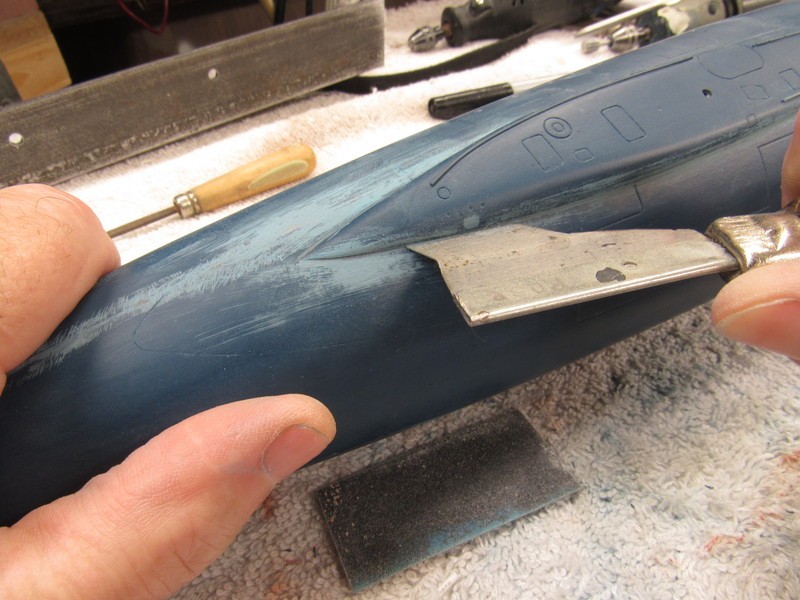
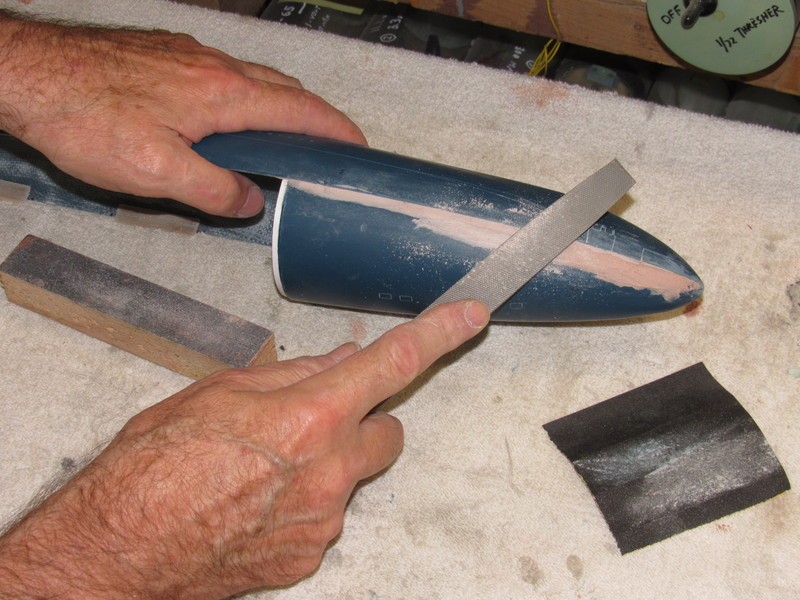
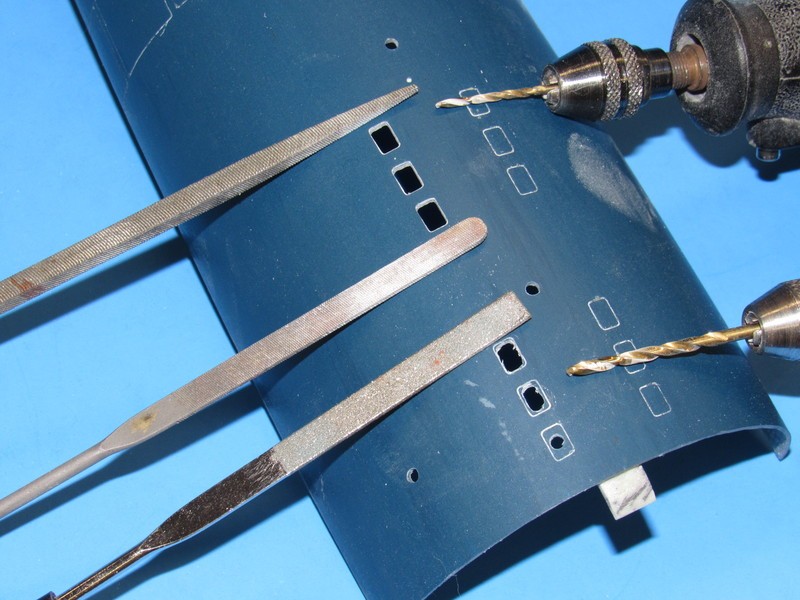
I ground off the after conduit and safety tracks for two reasons: The aft conduit got in the way of my removing the soft radius between turtle-back and hull -- I actually cut in a slight gape where the two structures intersect, more in keeping with what we see on the prototype. And the safety tracks, at this scale, were two high and wide. The conduit and safety tracks will be reestablished after all scribing and priming work is completed. Stop whining!
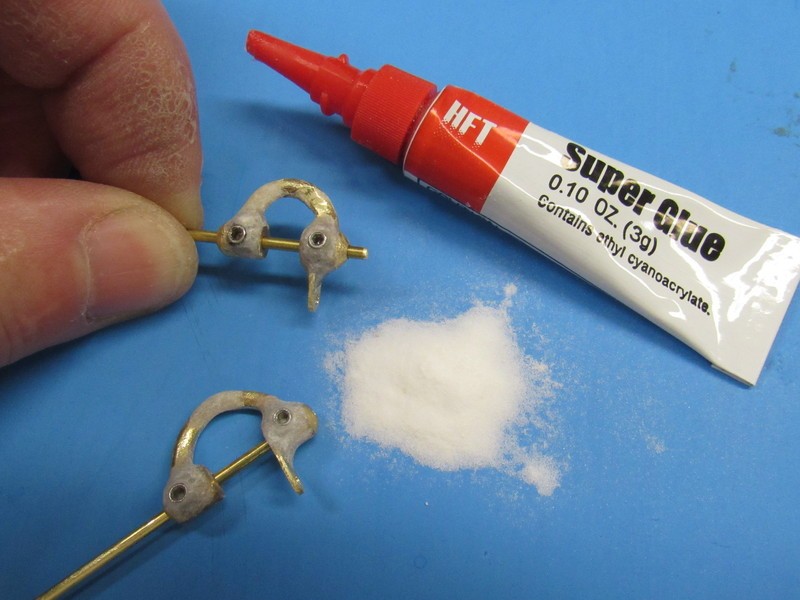
AHA! Thank you for that description, never thought about this before. So excuse me now, need to apply some CA...
J�rg
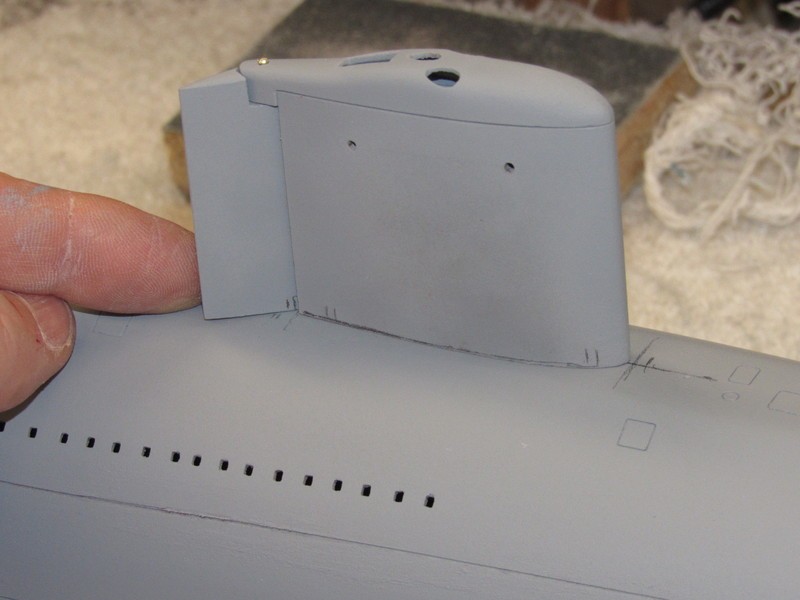
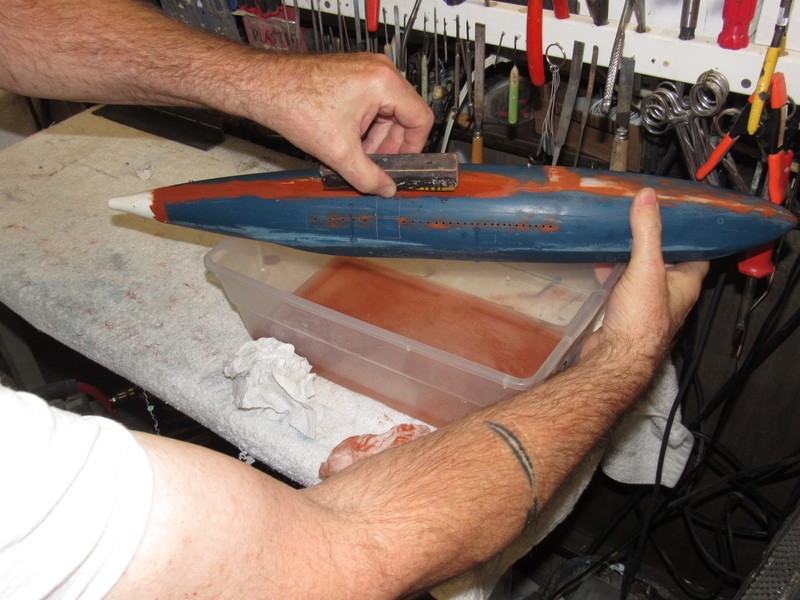
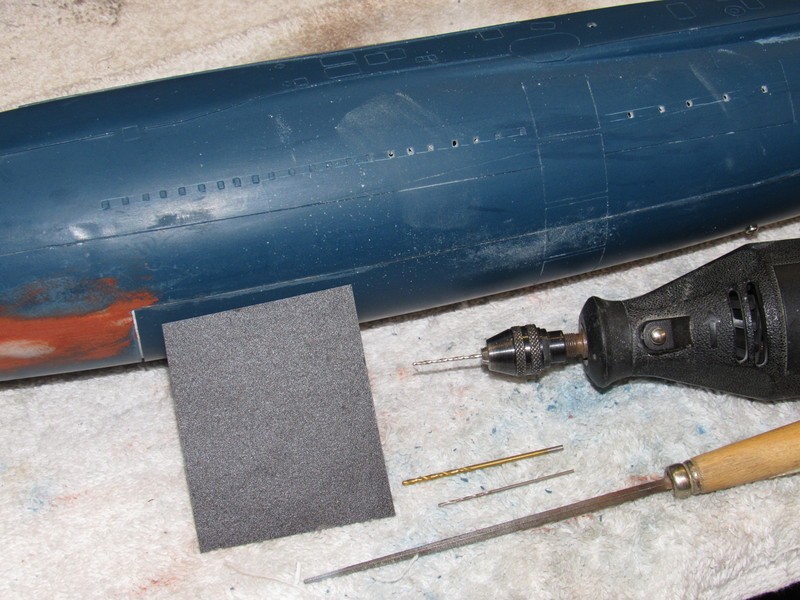
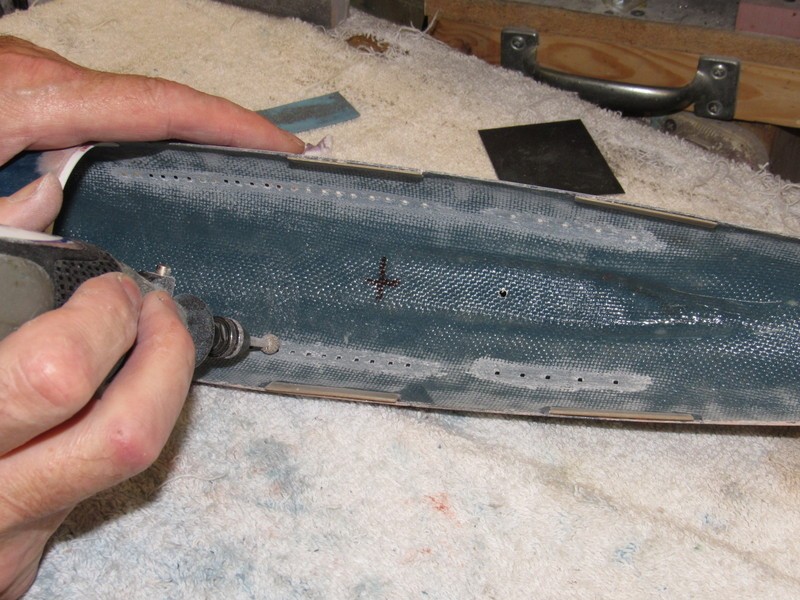
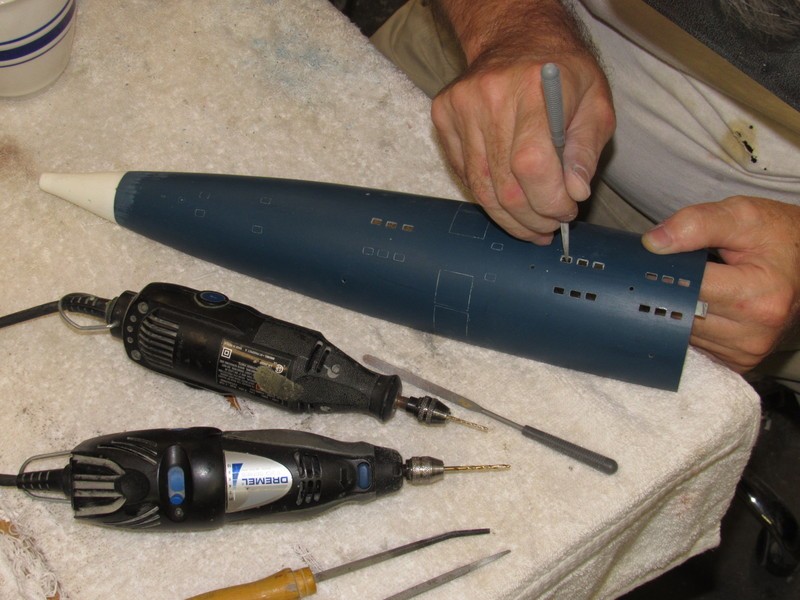
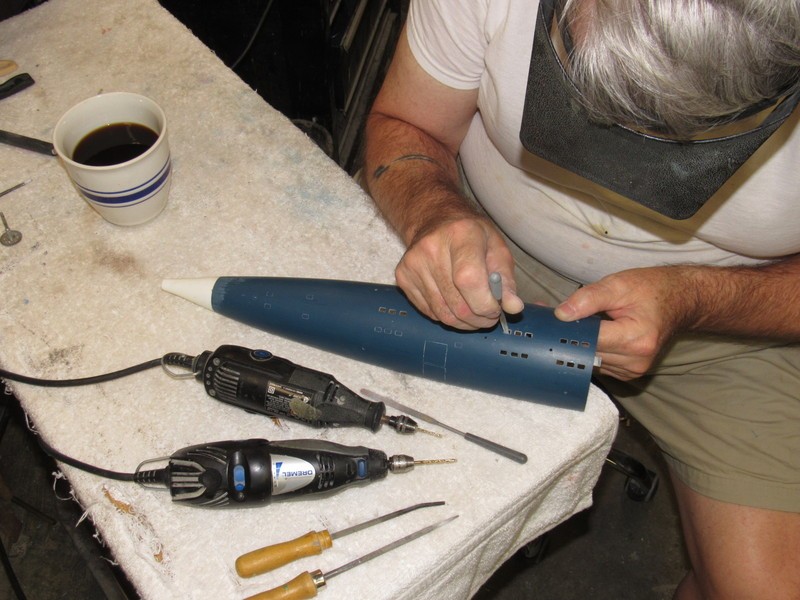
PS does the filler on the pre-drilled floodholes prevent fractures and cracking on the edges during filing?
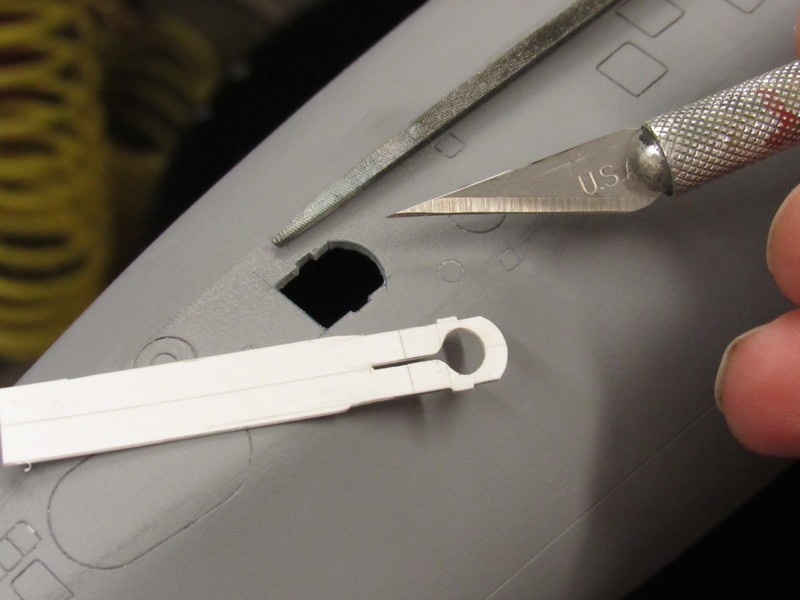
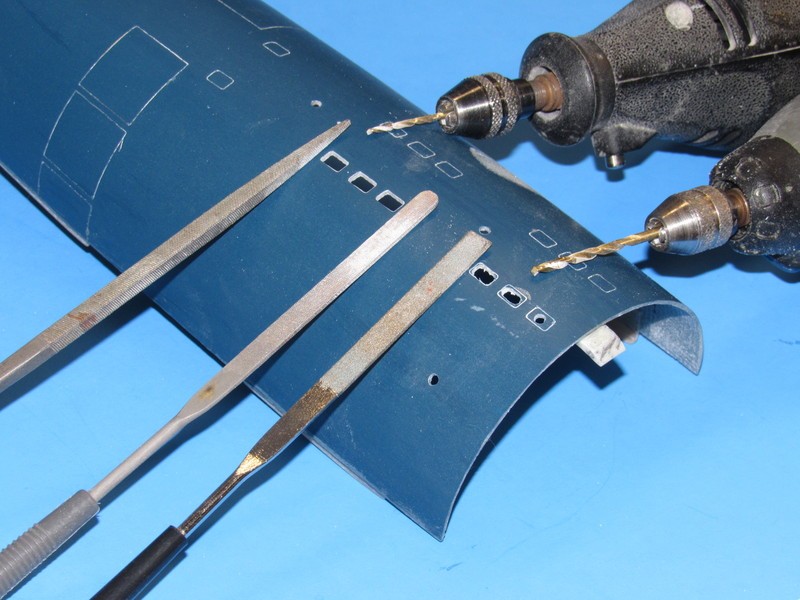
The only substrate I've found prone to crack propagation has been pure silica glass and acrylic (and, recently, some poor quality Lexan extrusions). GRP and most of the styrene and ABS injection formed materials typically don't suffer crack propagation and I can cut and machine those with no risk of shattering or cracking as a consequence of the stresses imposed during the work. So, short answer: no cracking around the square holes I punched into the GRP hull of this fine kit.
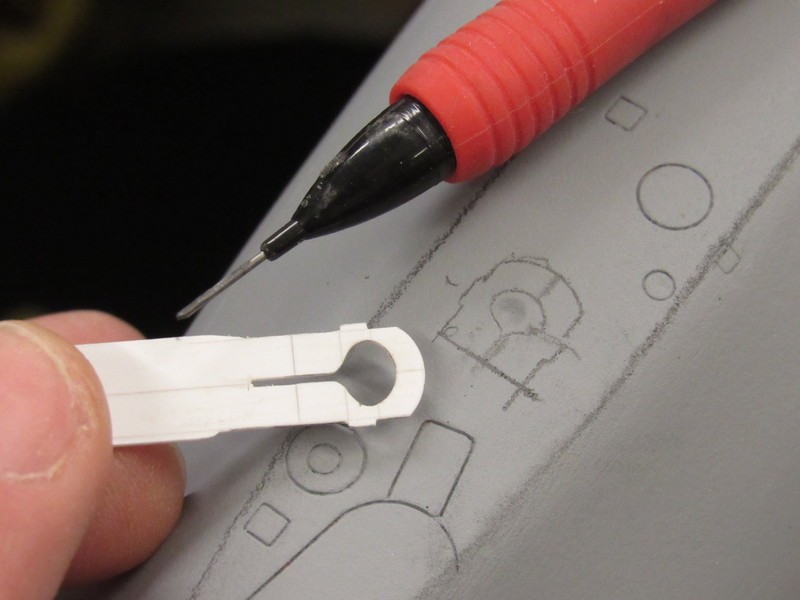
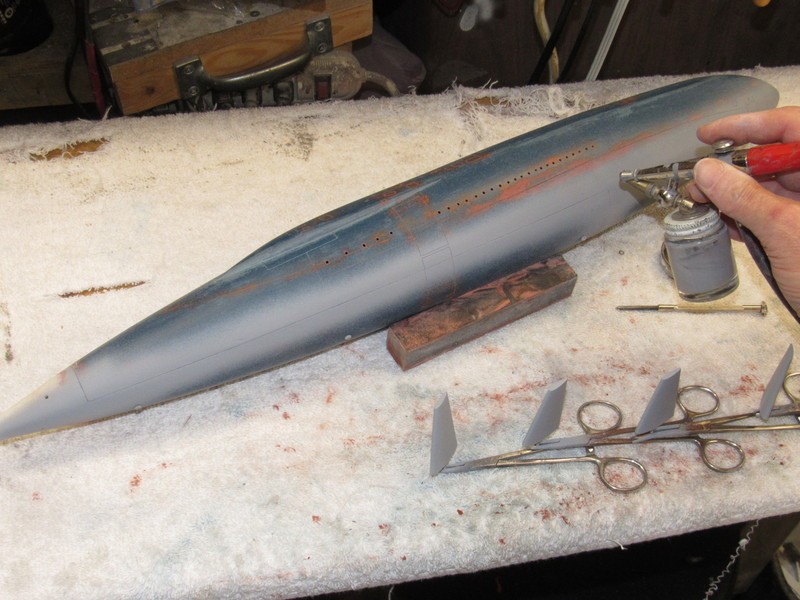
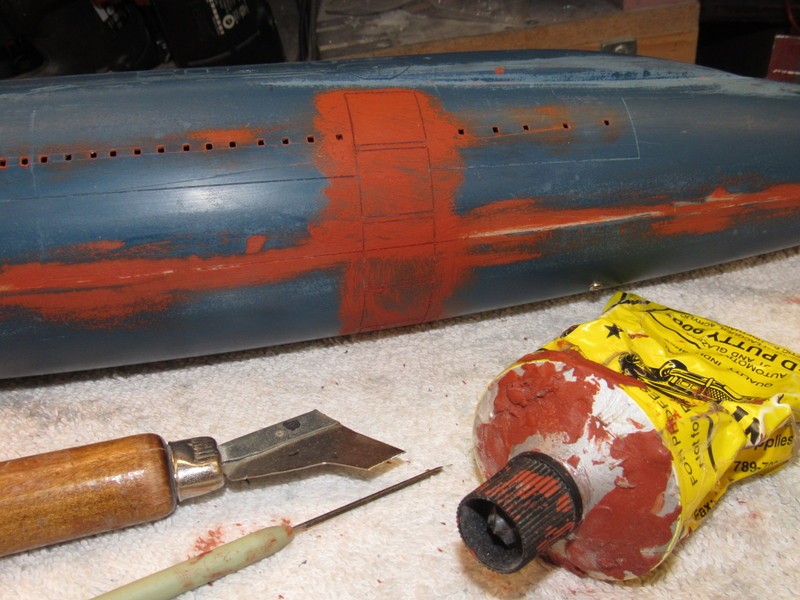
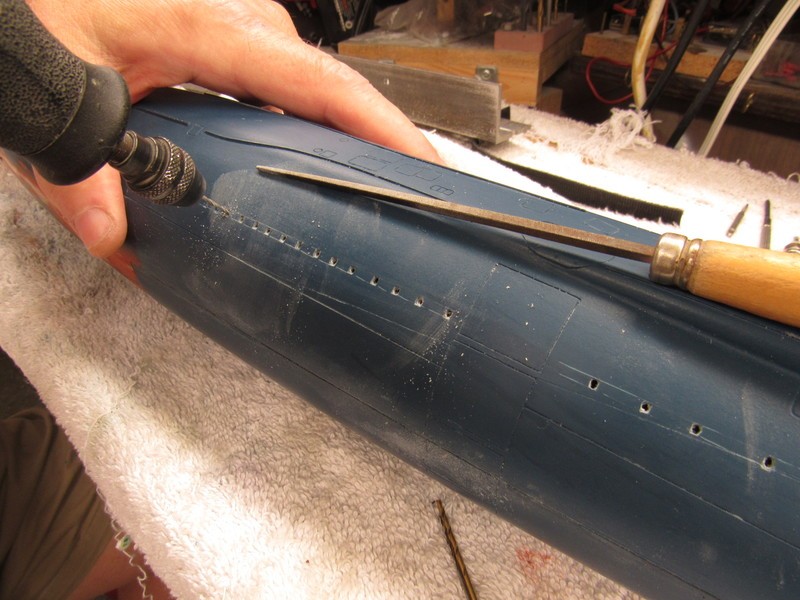
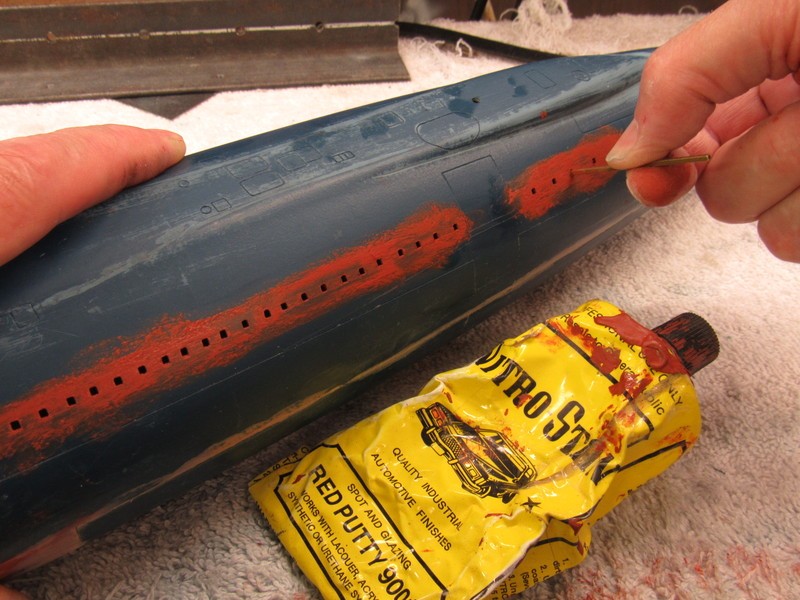
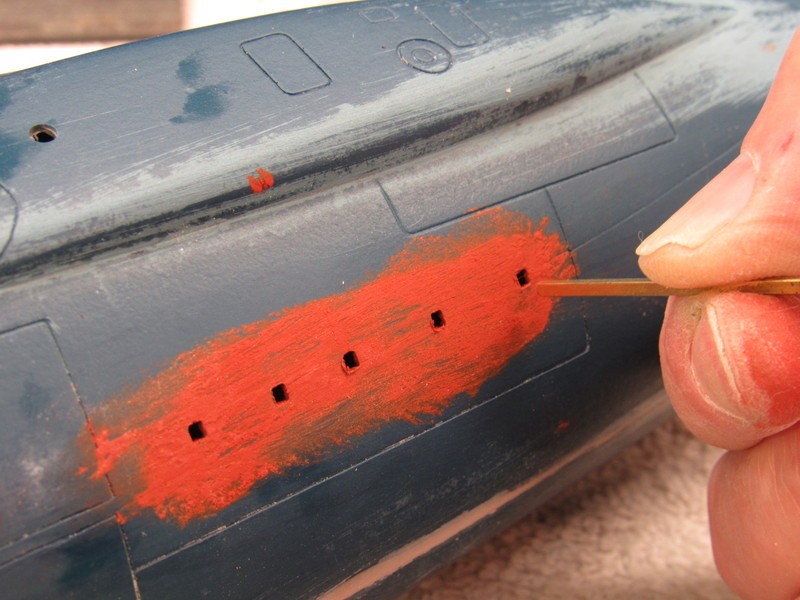
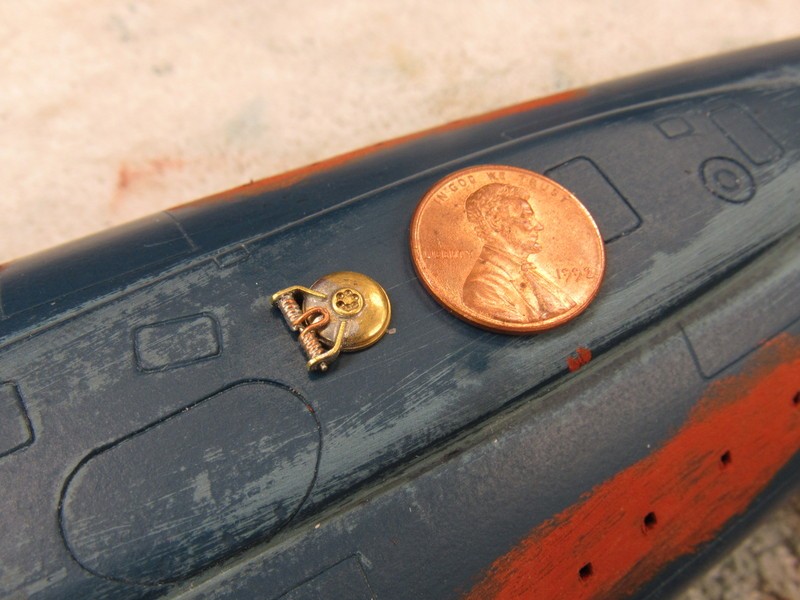
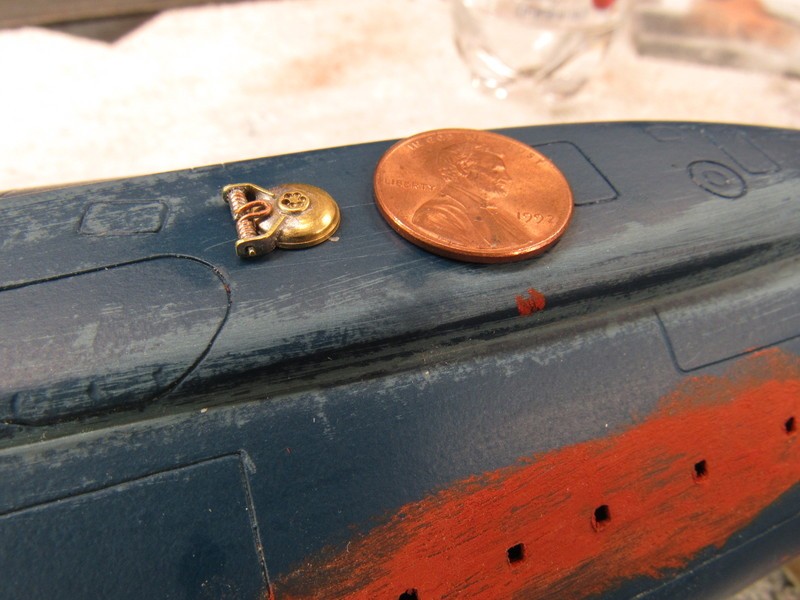
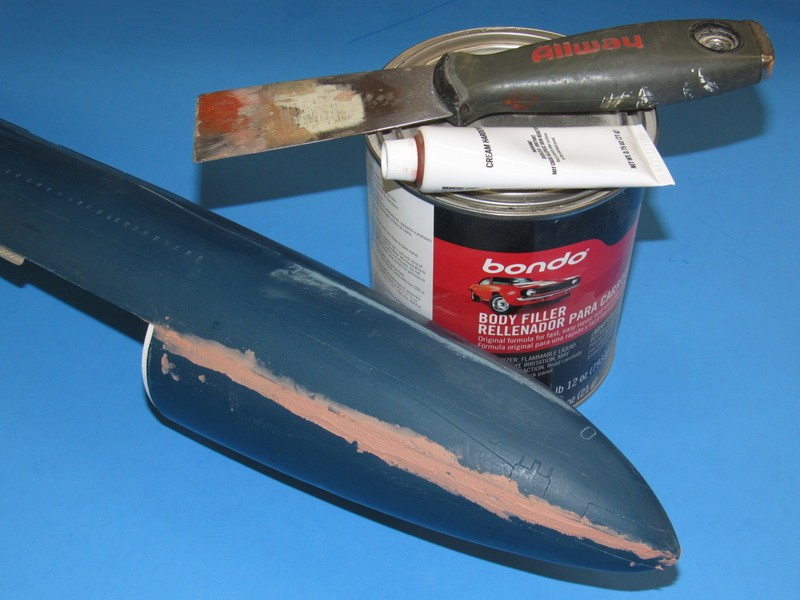
The only reason filler and putty have been applied is to cover surface scaring (scribe, knife and abrasive marks) and to tighten up the form of the square shaped limber holes on the sides of the upper hull.
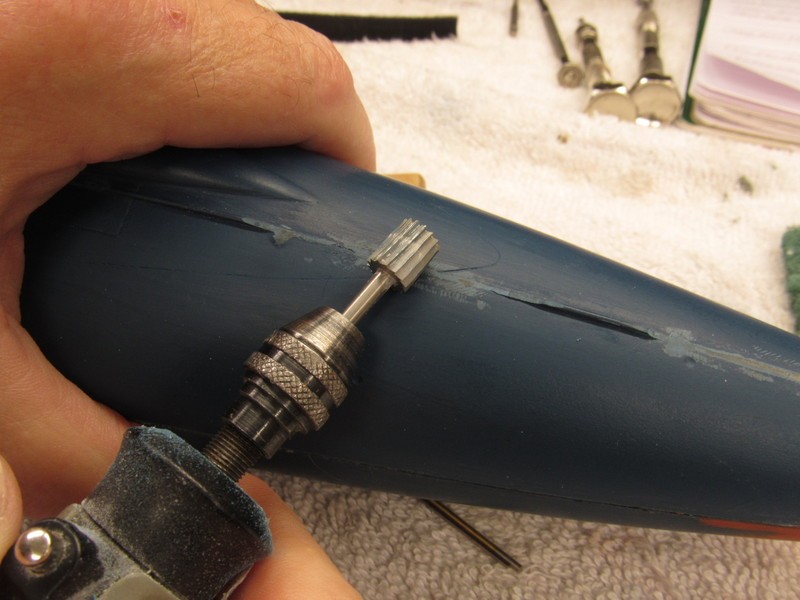
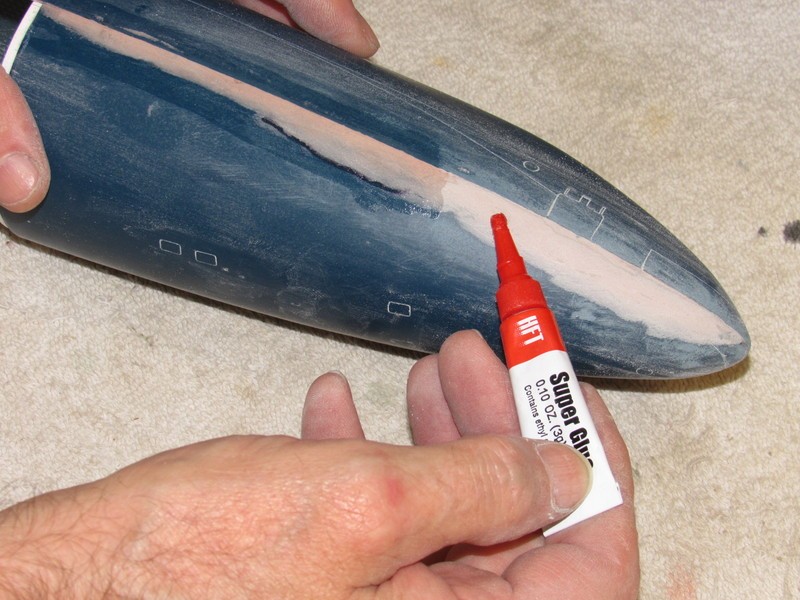
David, why did you apply superglue on the filled seam? Regards, J�rg
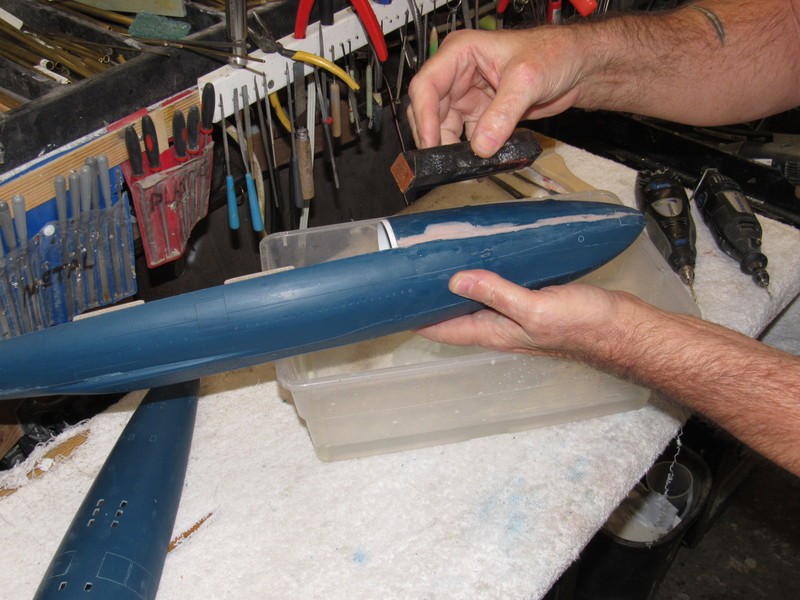
Bondo and similar automotive two-part fillers are polyester based, heavily filled adhesives. They stick well to many substrates but are relatively weak to shear and tension forces -- forces at play as the Bondo and substrate expand and contract at different amounts with changes in temperature. The thin formula CA penetrates the porous filler and bonds it to the substrate. Sticks the filler to the substrate better than just the adhesion properties of the filler alone.
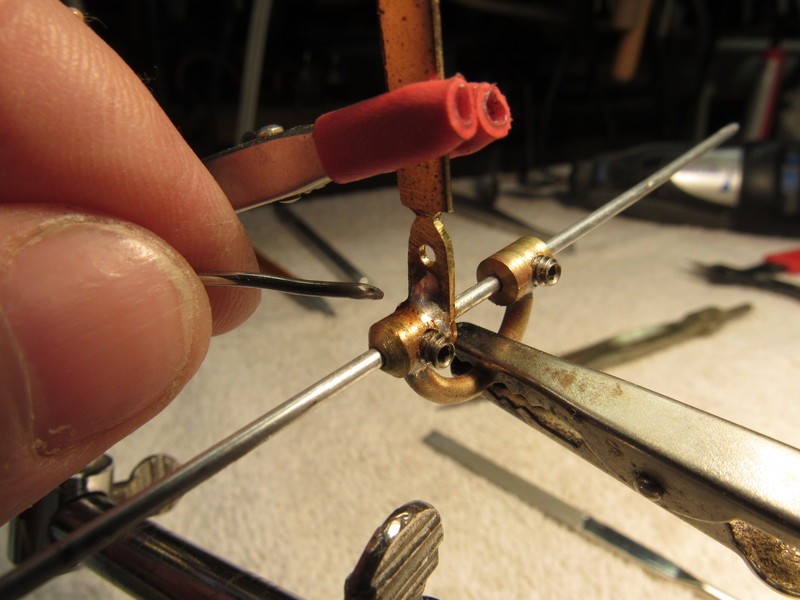
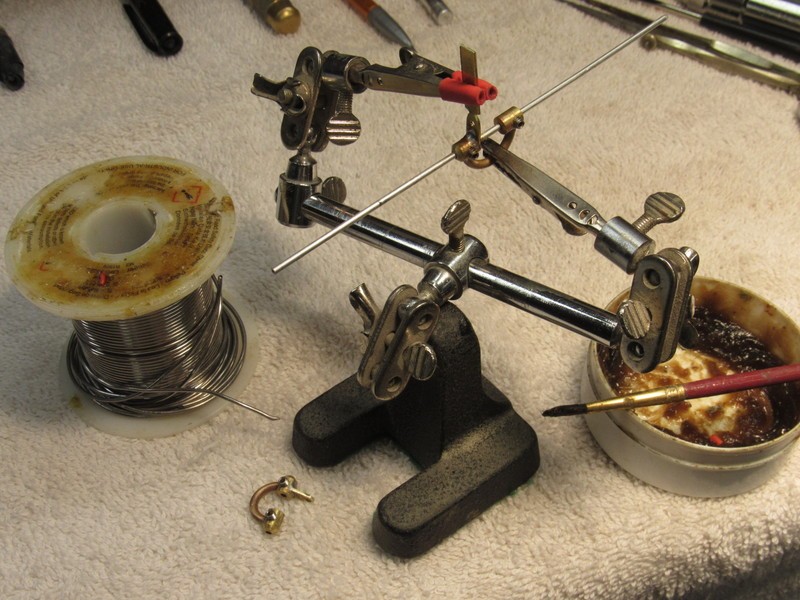
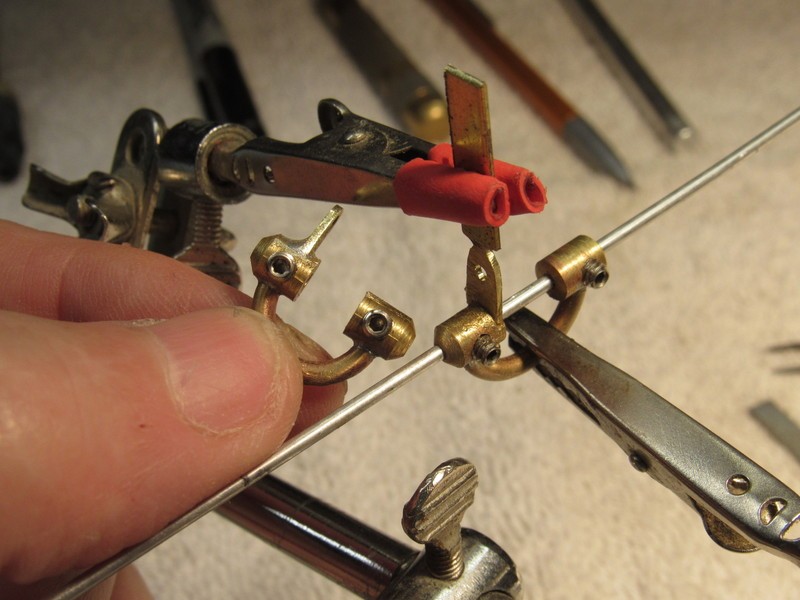
Got the full-blown running gear working -- film at Eleven!
David you are on a roll. Take a file to that thing, that's my advice. I only need one set of everything please. I've been playing with the polyester boat that I did as a test for the moulds and its rather rough and ready. Not sue if I'll do an epoxy version for myself or not. I might just battle on with the old one for now.
Thanks, don't need another boat, my plate is full with all my projects, i was simply interested in the mechanical part Bart told about and tried to get it working.
Manfred.
No problem Mate. I would have liked to have seen that mechanism in place.
Thanks, don't need another boat, my plate is full with all my projects, i was simply interested in the mechanical part Bart told about and tried to get it working.


Leave a comment: