
This should be David's new avatar 
-
Make it simple, make strong, make it work! -
Finally. A reasonable question.
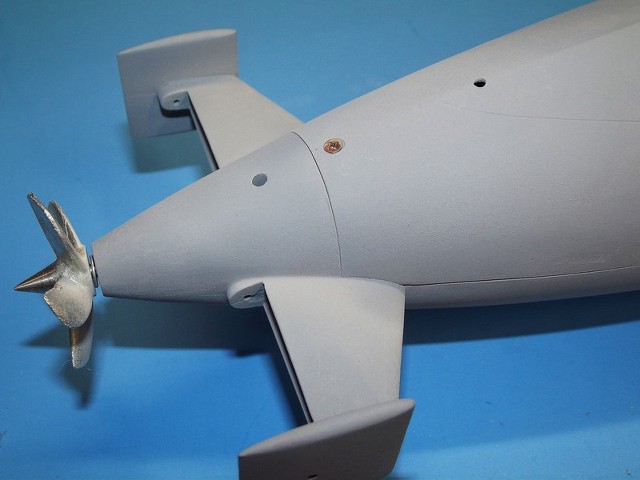
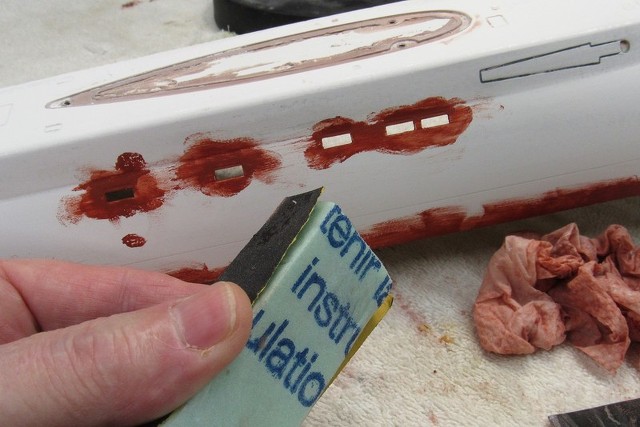
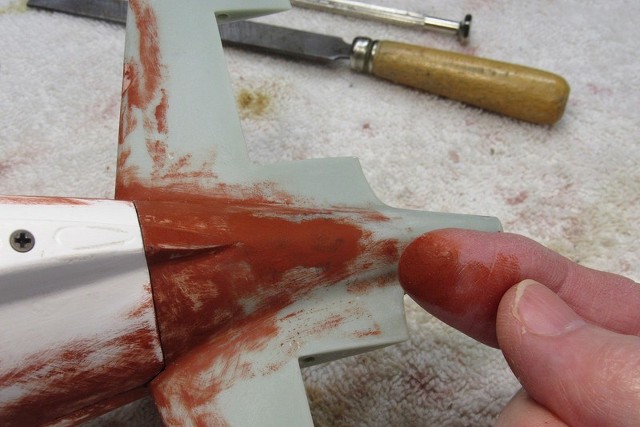
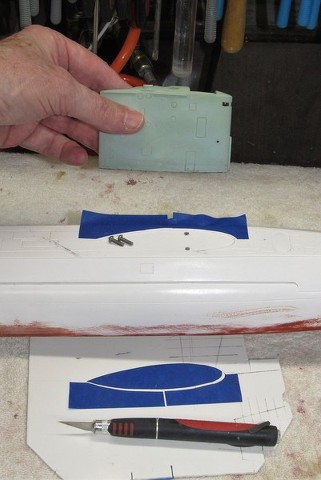
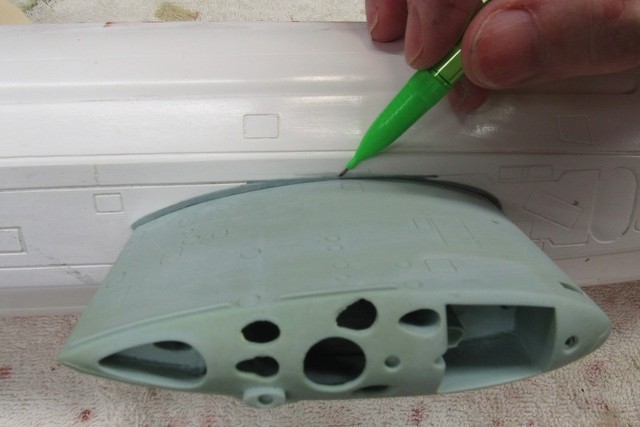
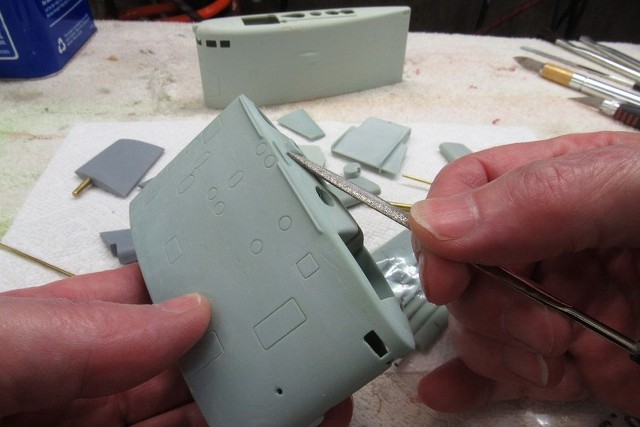
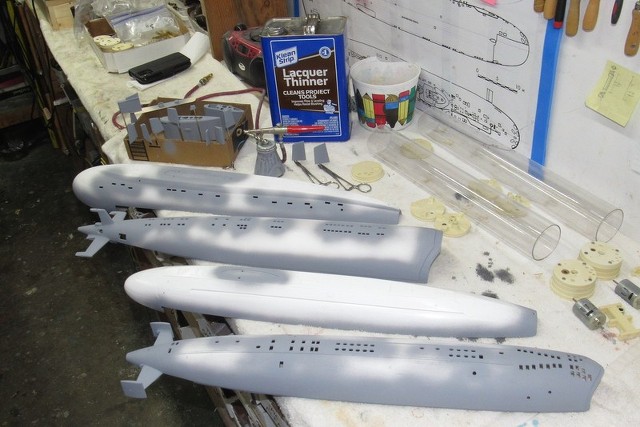
The marked portions of the upper and lower hull indicate lateral mismatching of the seam created when the two hull halves are joined. The hash-marked areas indicate location and depth of Bondo build-up required to get a hull half in symmetry with its neighbor.
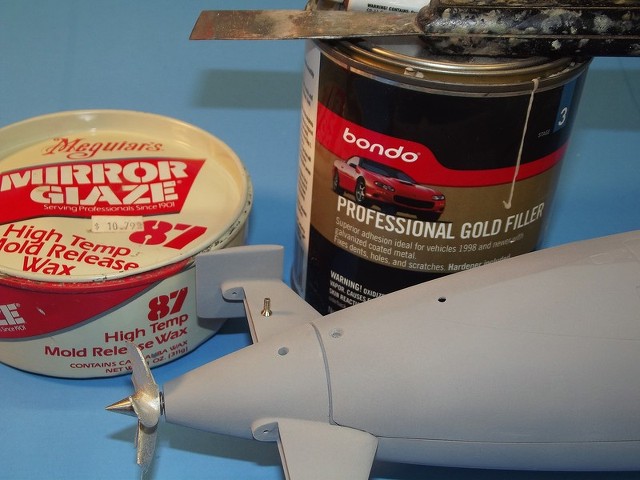
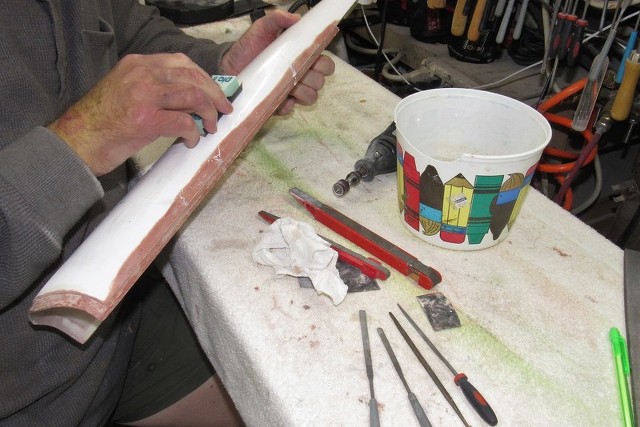
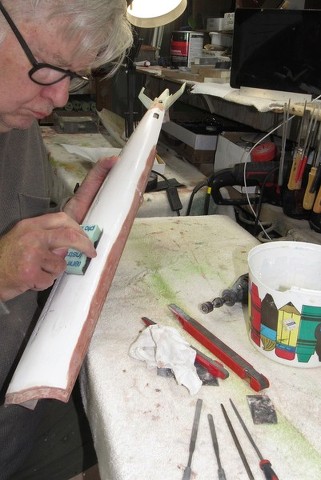
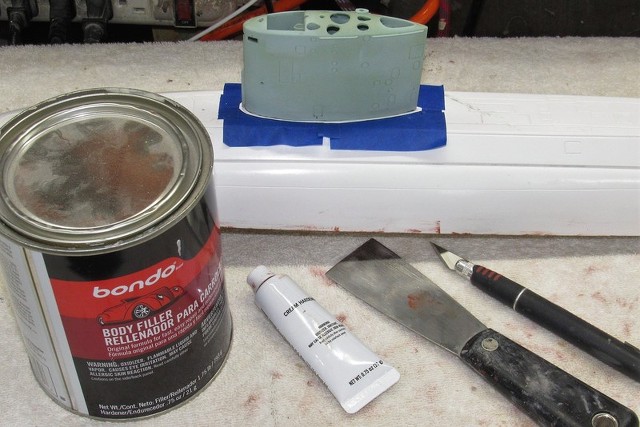
Let's look at other use of Bondo automotive filler to tighten up hull seams:

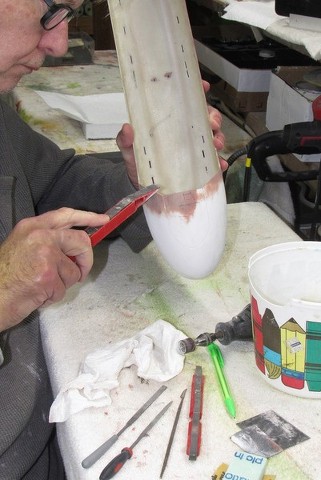
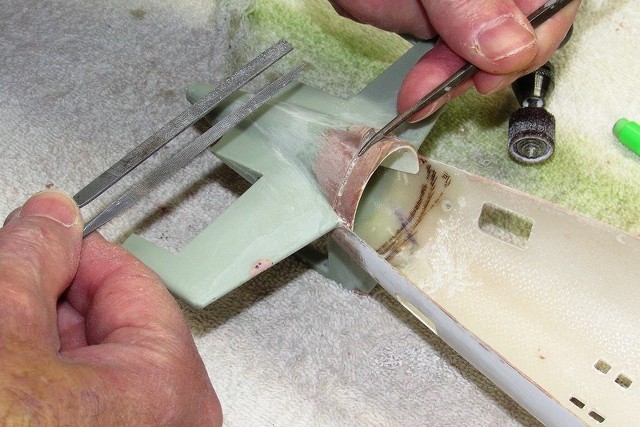
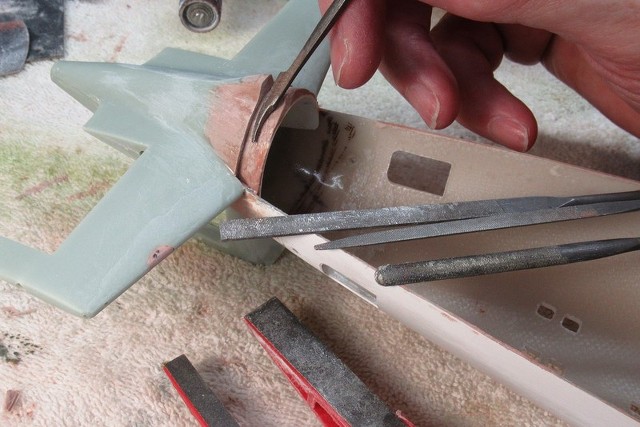
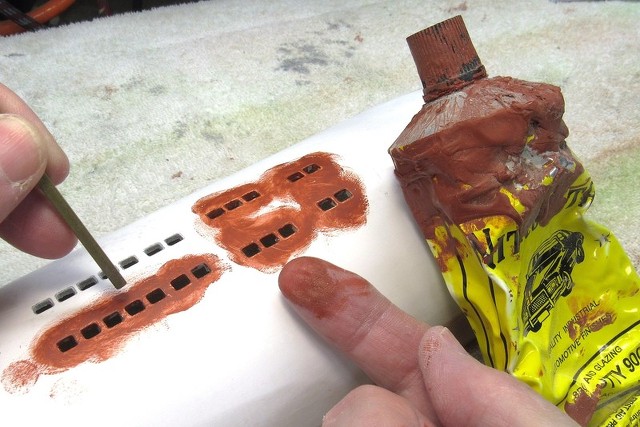
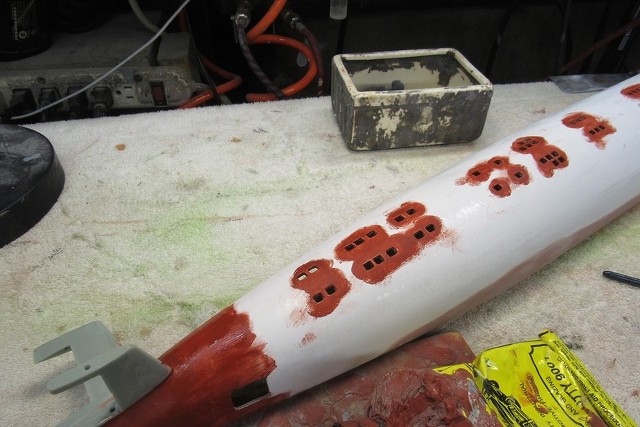
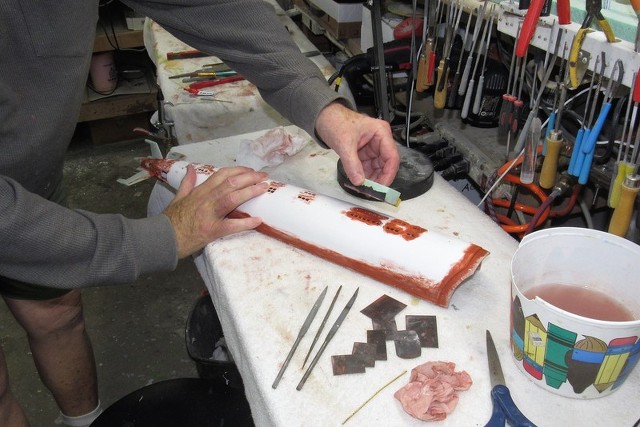
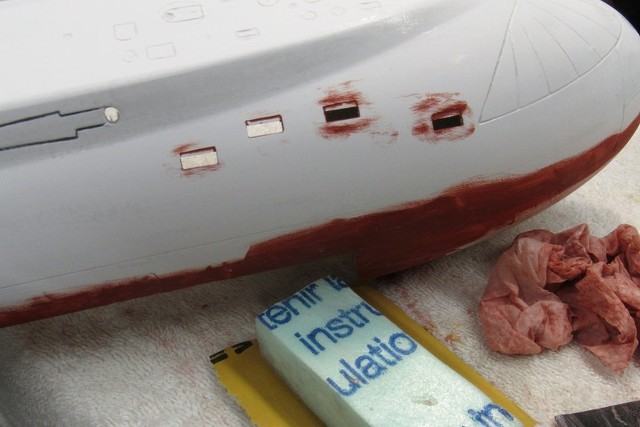
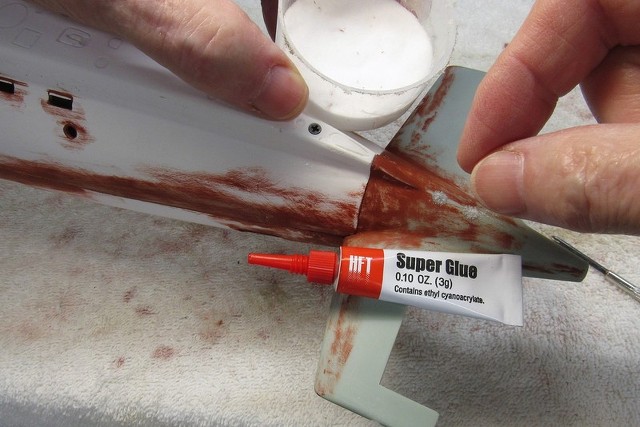
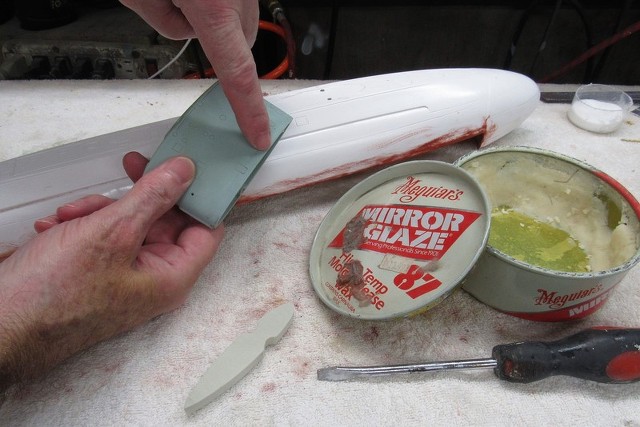
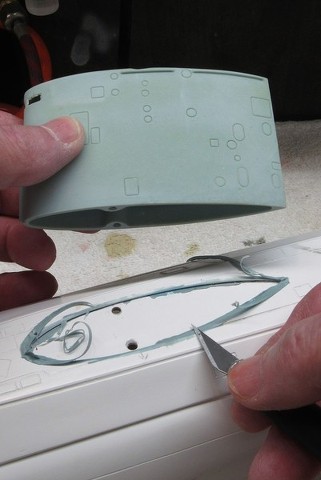
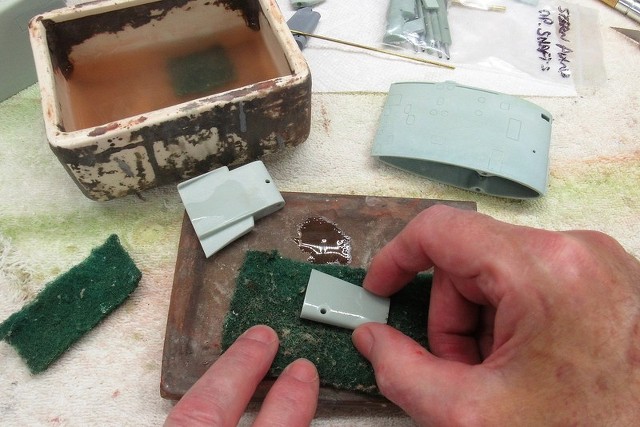
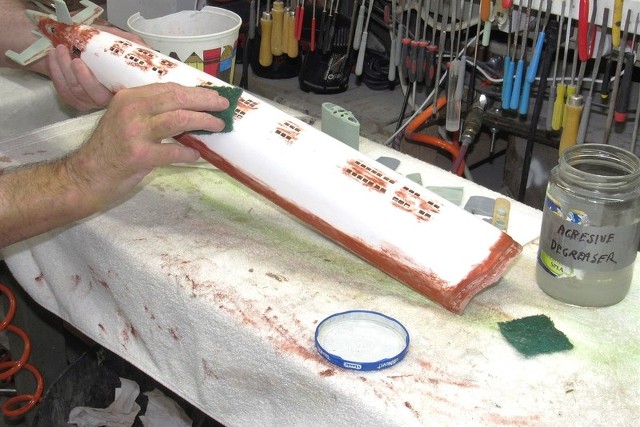
There was a slight mismatch between the hull halves of this beautiful Scott Terry 1/96 ALBACORE kit. The join is permanent with reinforcing glass tape on the inside. The area to be Bondo'ed was roughed up with #100 sandpaper and the catalyzed Bondo screeded on with a putty knife.
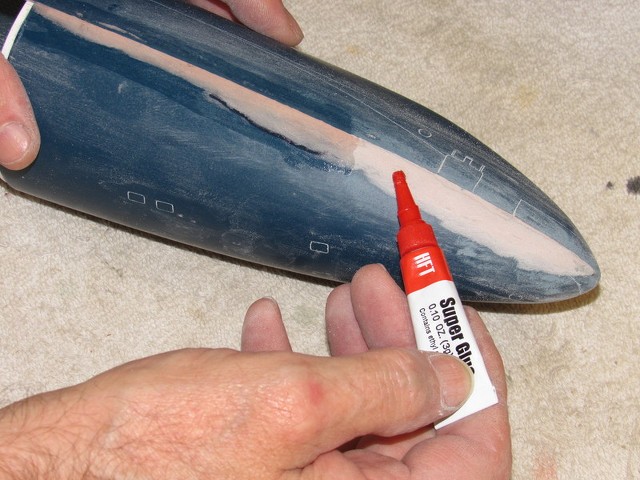
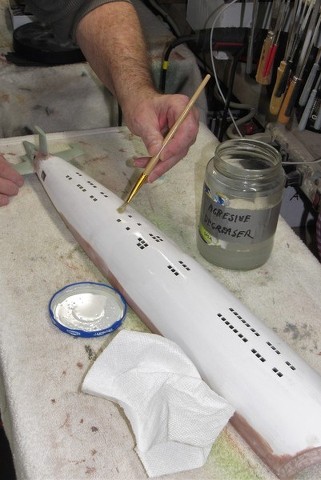
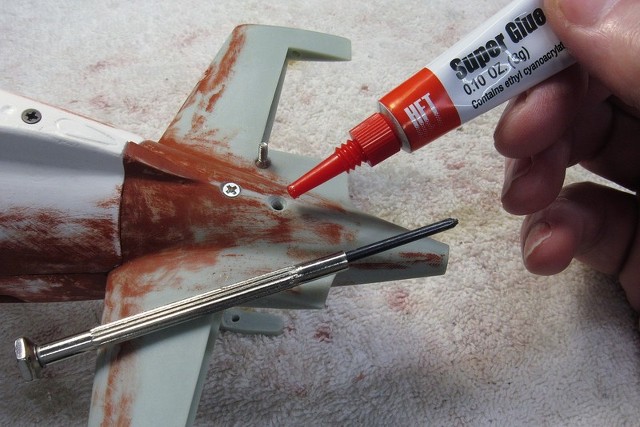
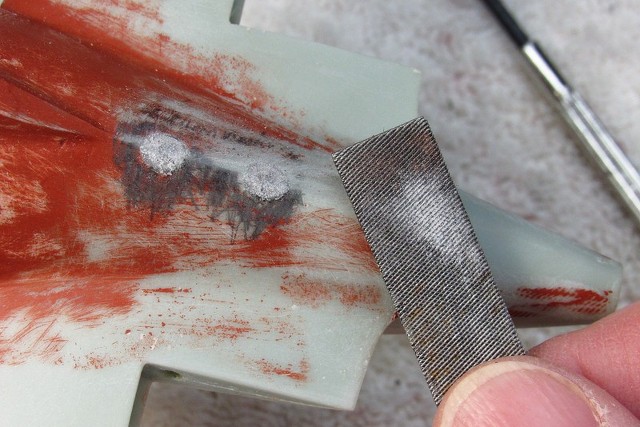
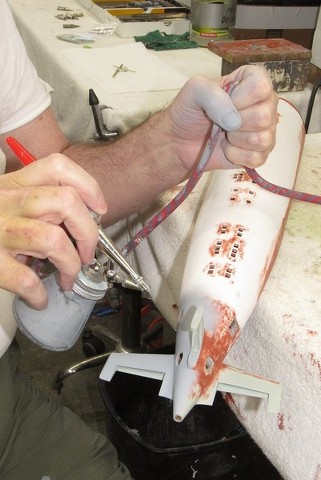
Cured and sanded Bondo is porous and weak. I waterproof and strengthen it with a quick wipe of thin formula CA.
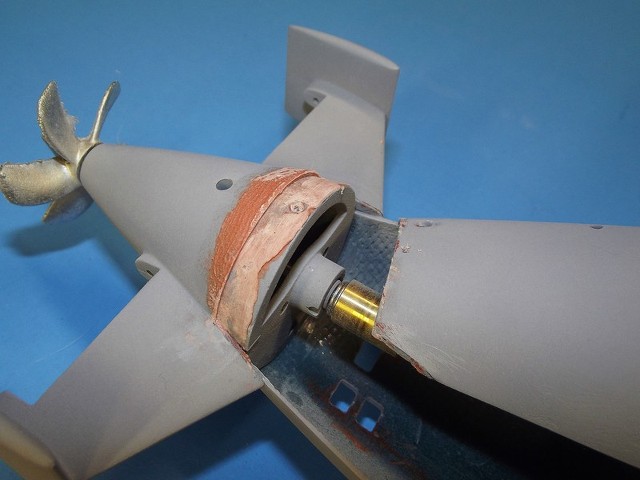
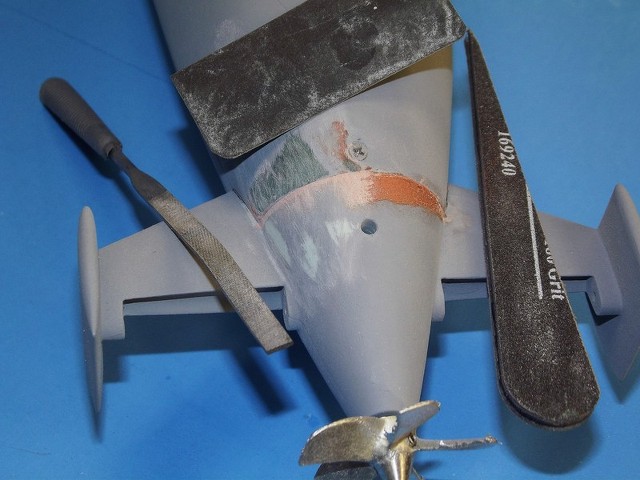
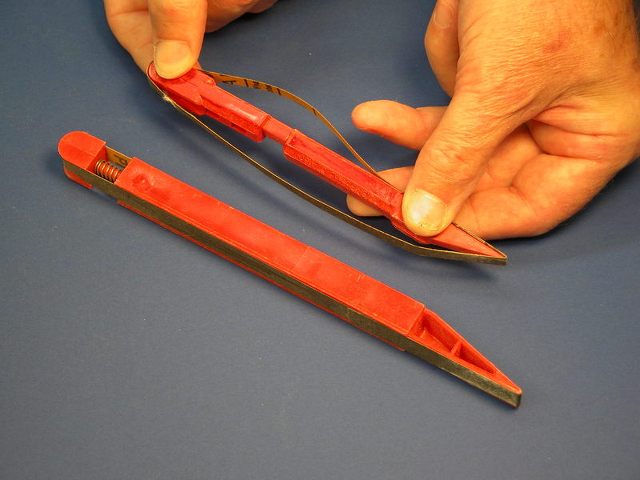
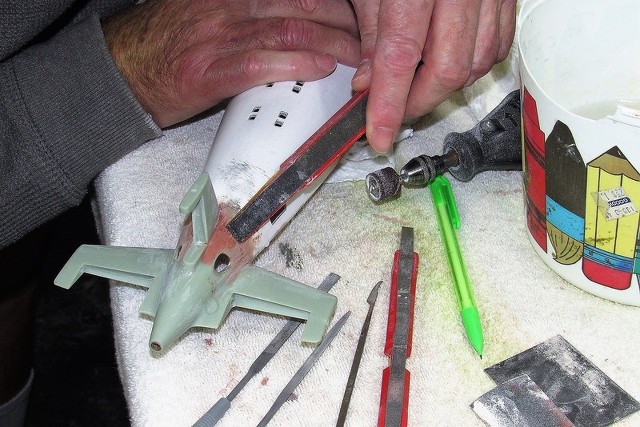
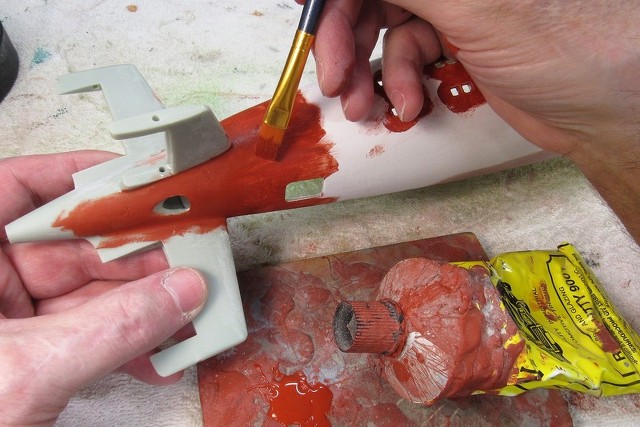
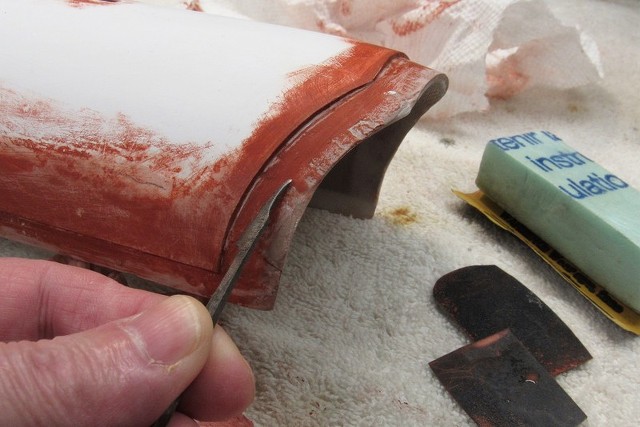
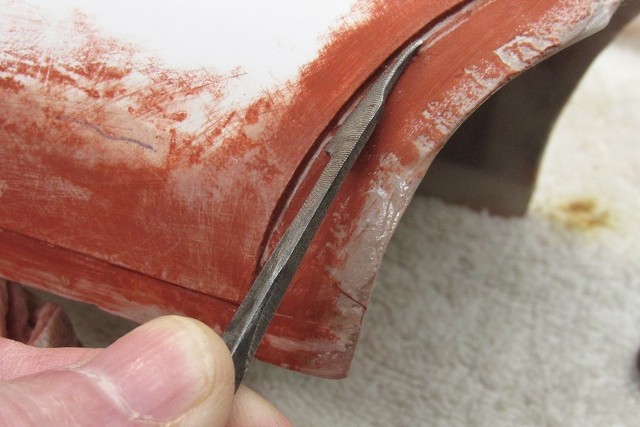
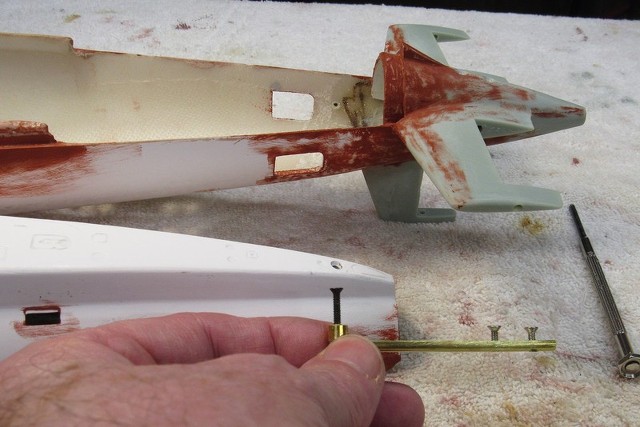
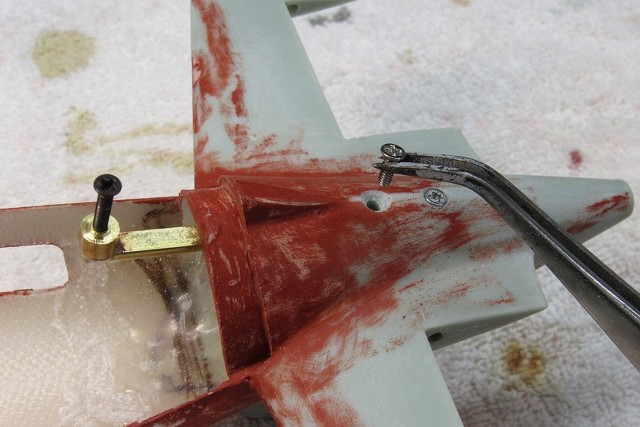
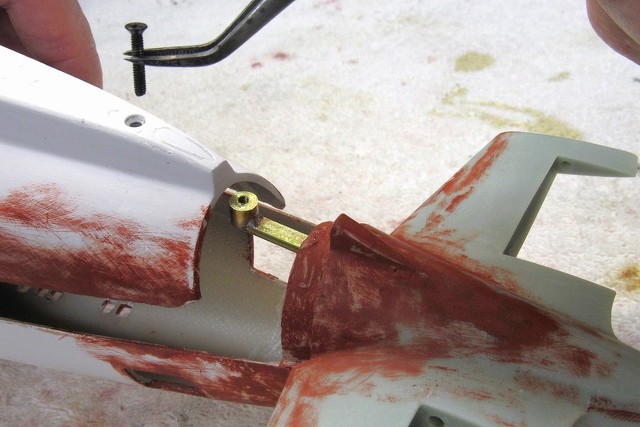
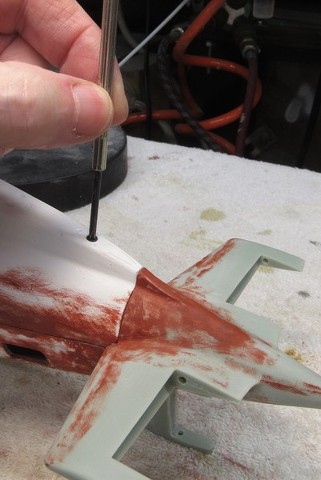
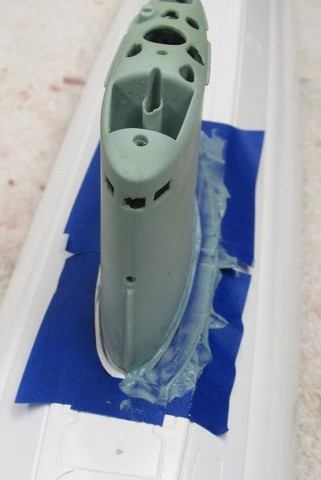
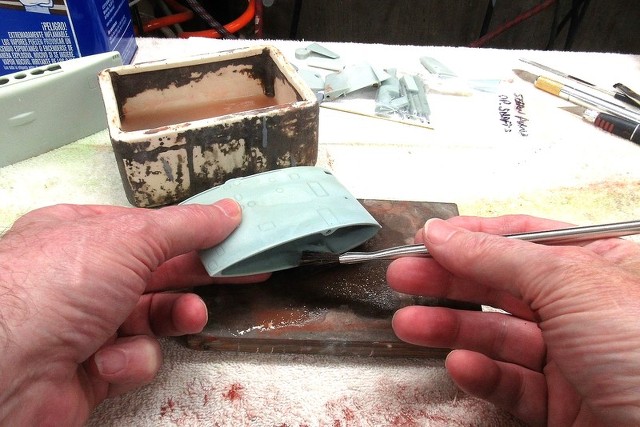
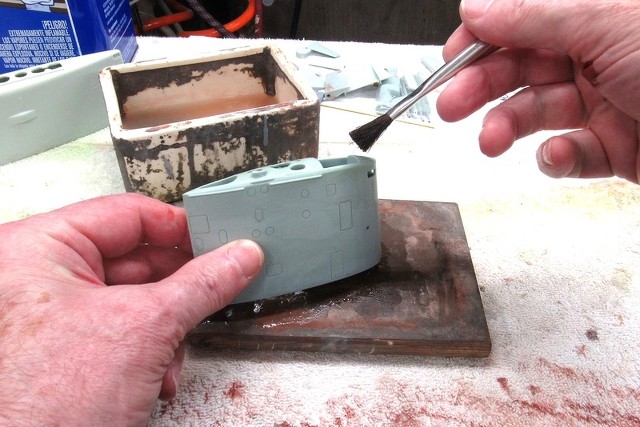
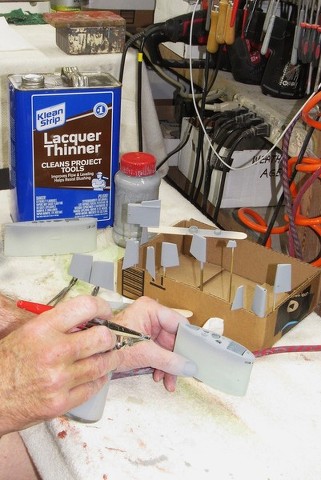
Here I'm tightening up the radial seam at the stern. The edge and inside of the upper hull was waxed to prevent any Bondo from sticking; Bondo was slathered upon the after radial flange and the upper hull quickly secured in place, creating a conformal union between upper and lower hull radial break.
DavidLast edited by He Who Shall Not Be Named; 02-23-2023, 09:23 AM.Who is John Galt?Comment
-
Thank you.Make it simple, make strong, make it work!Comment
-

Who is John Galt?
Who is John Galt?Comment
-


Who is John Galt?
Who is John Galt?Comment
-
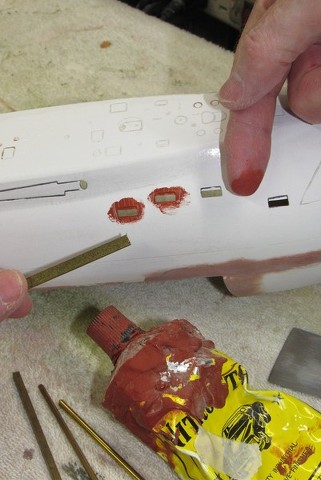
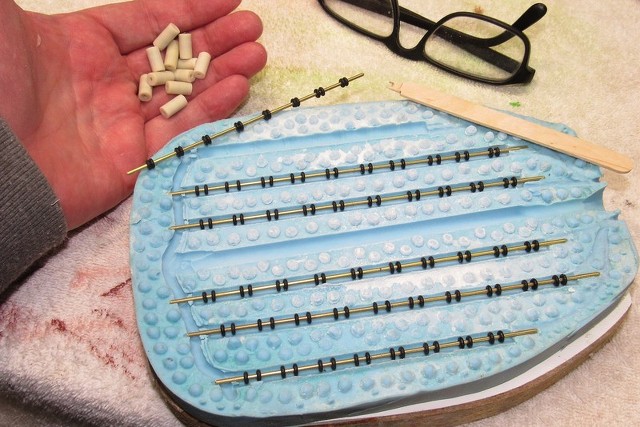
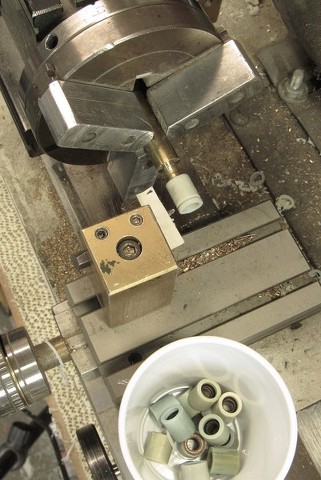
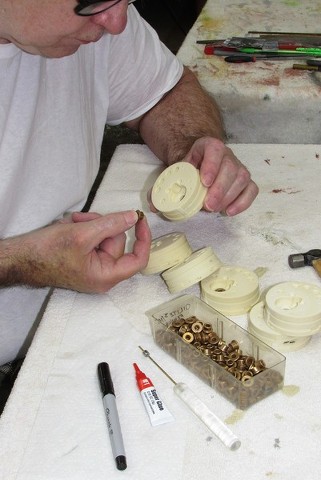
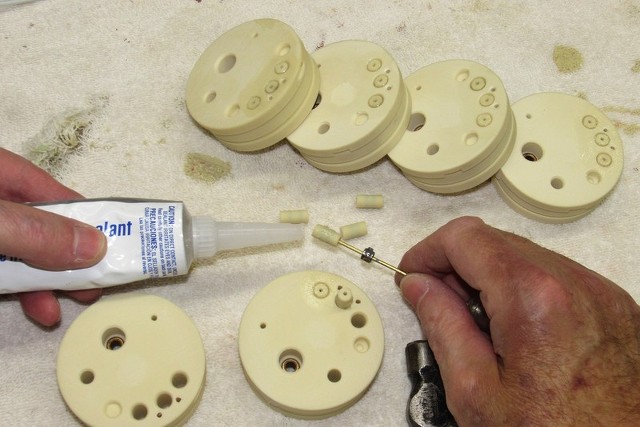
Sorry, not sure of what I am looking at in the last five pictures. Multiple pushrod seals? But looks like a lot on one shaft for multiple casting????
Comment
-
Yes. And yes.
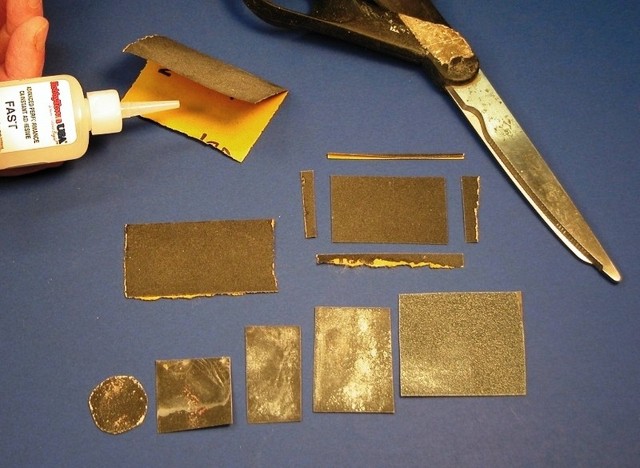
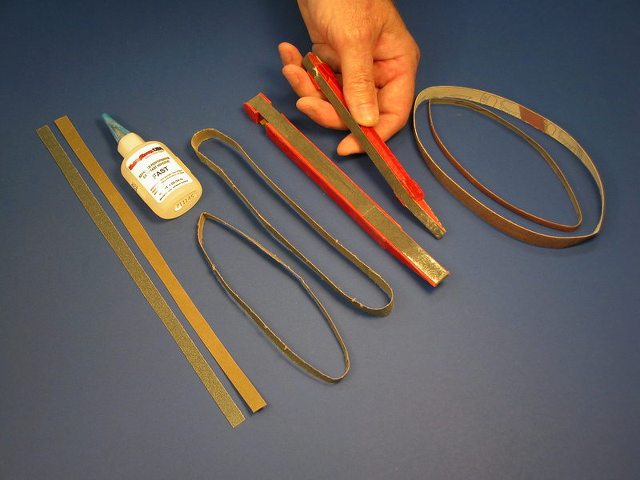
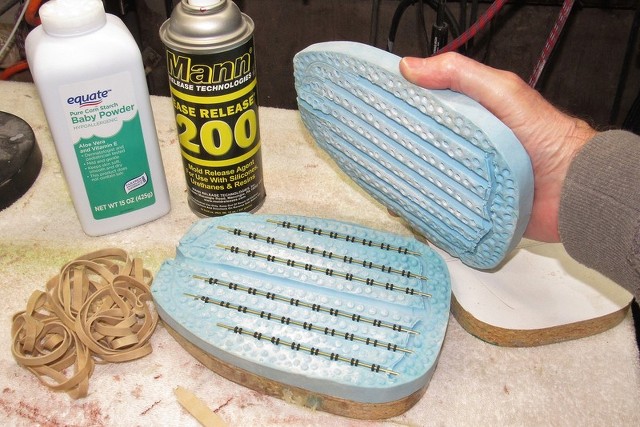
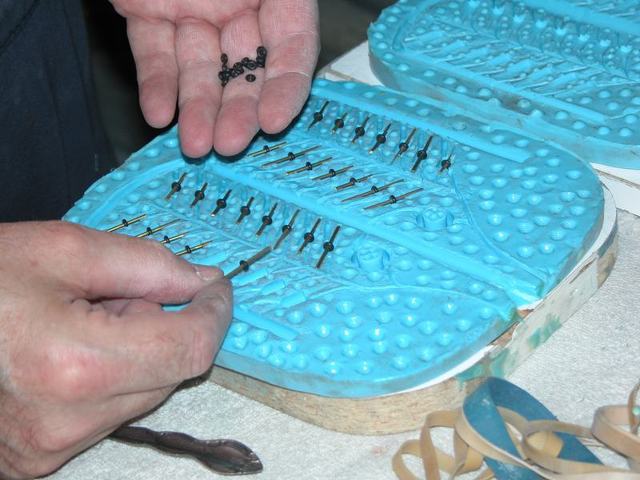
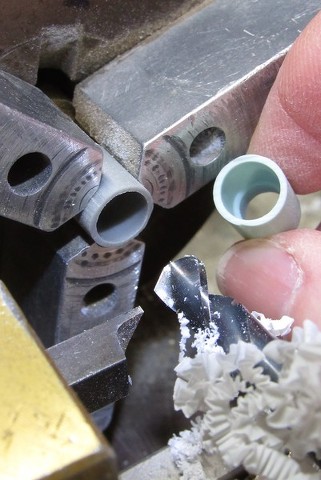
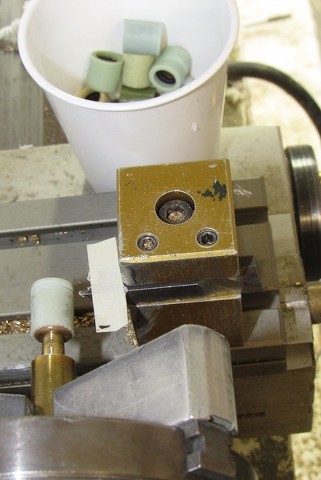
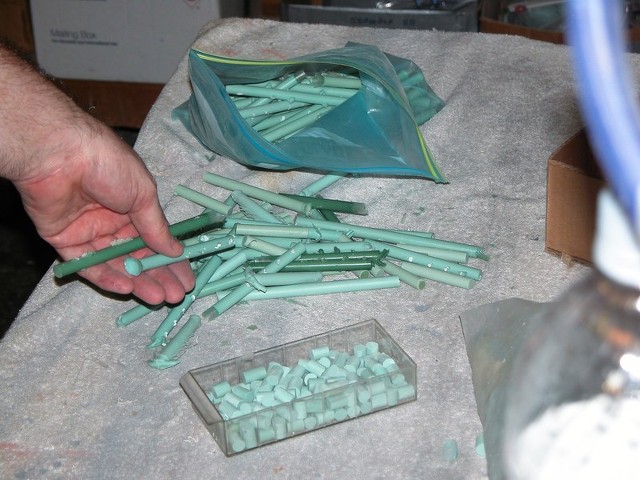
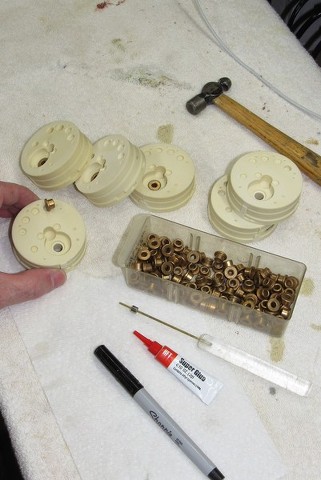
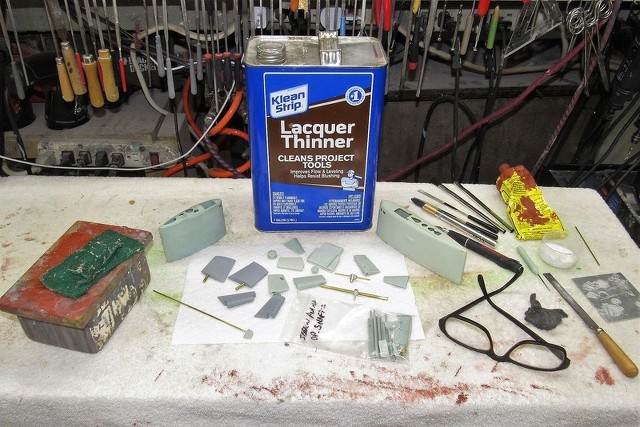
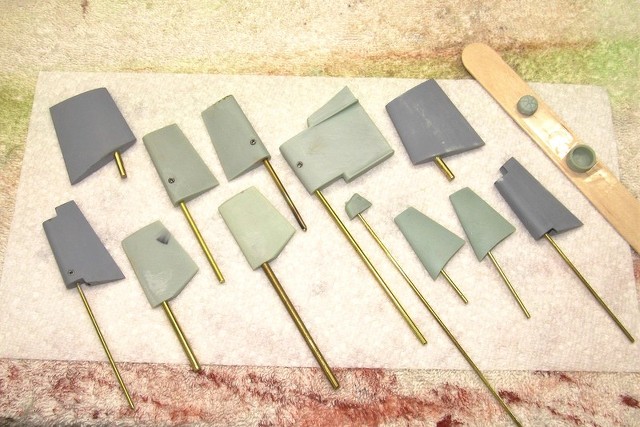
It's easier to use one long brass rod core than a bunch of short cores. The current tool has three ten-seal castings, and two eight-seal castings. After casting each core rod is pulled and the individual pushrod seals separated on the bandsaw.
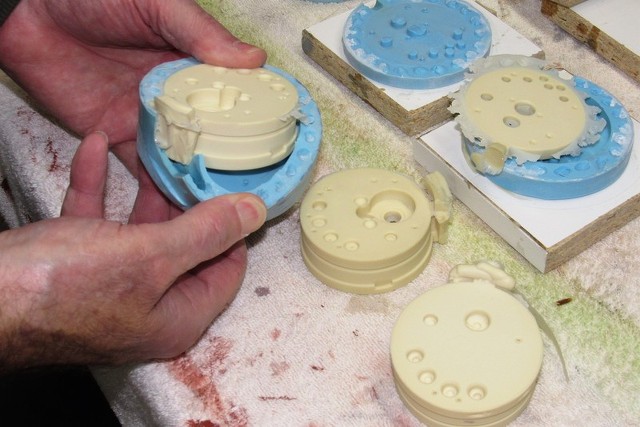
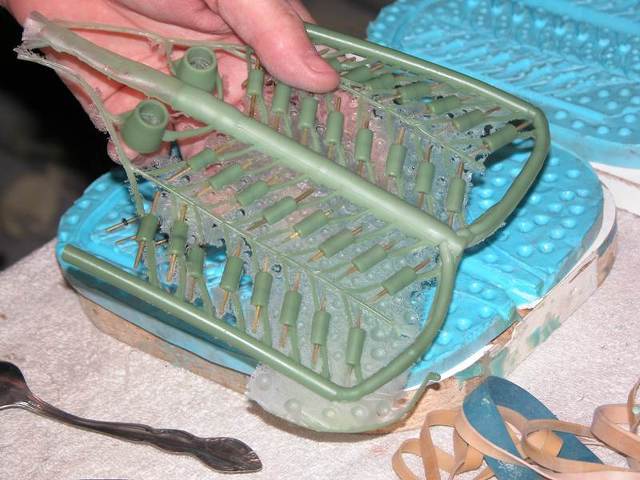
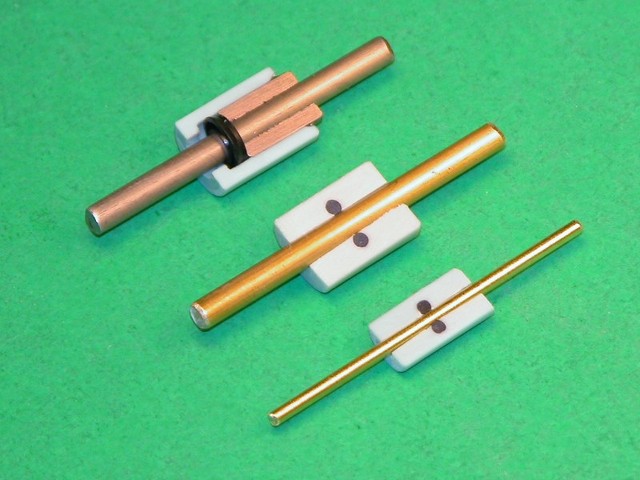
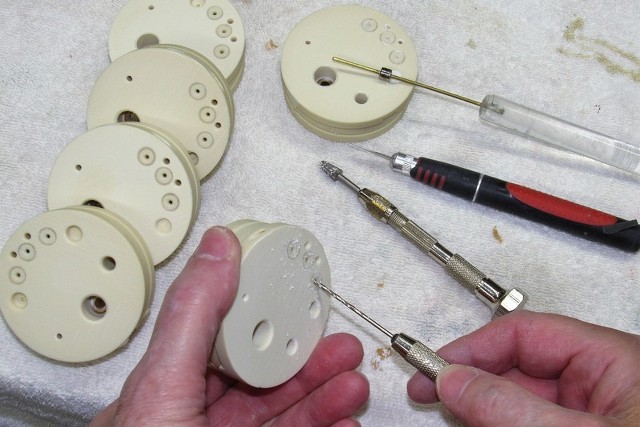
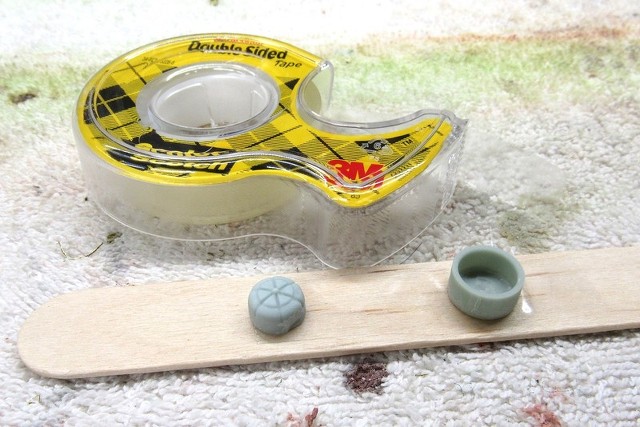
Here's the less efficient 'old-school' pushrod seal tool and casting -- too labor intensive.
DavidWho is John Galt?Comment
-
Who is John Galt?
Who is John Galt?Comment
-
Ah, Thank You for your reply and educational lessons, Master Sir.
Comment
-
Who is John Galt?Comment
-
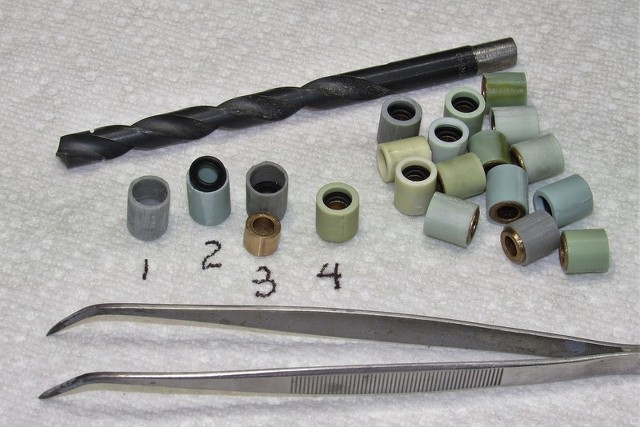
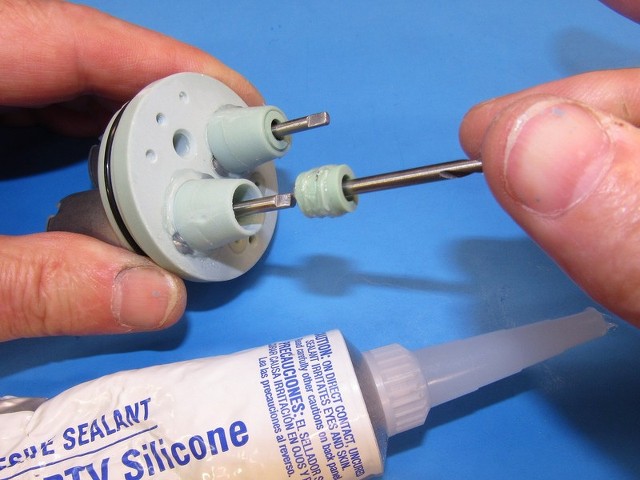
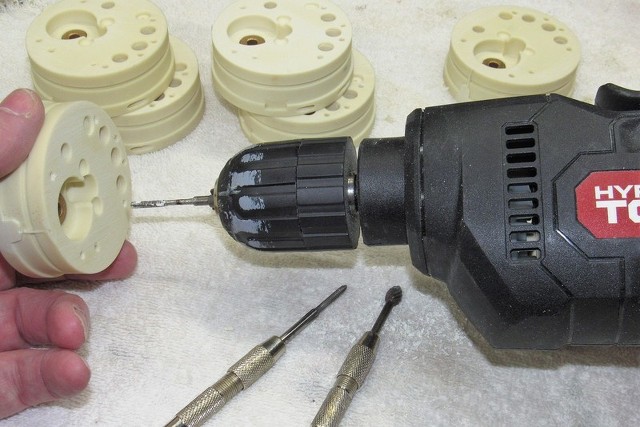
The drill bit pictured in post #1688, is it the size of the O-ring? Was there any mod done to the drill bit before using it?
Comment
-
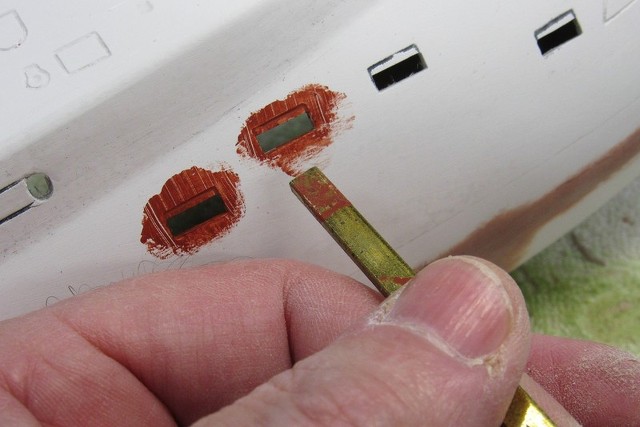
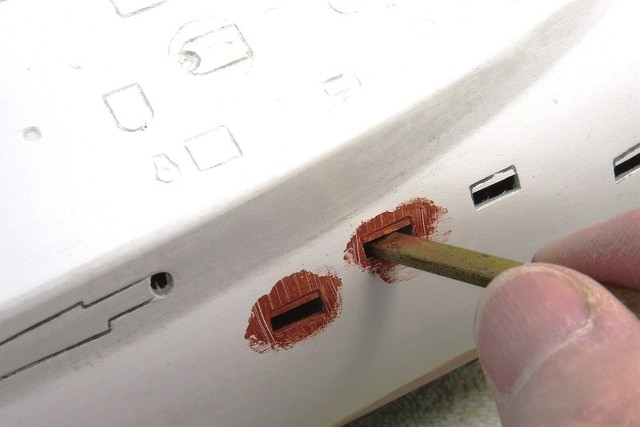
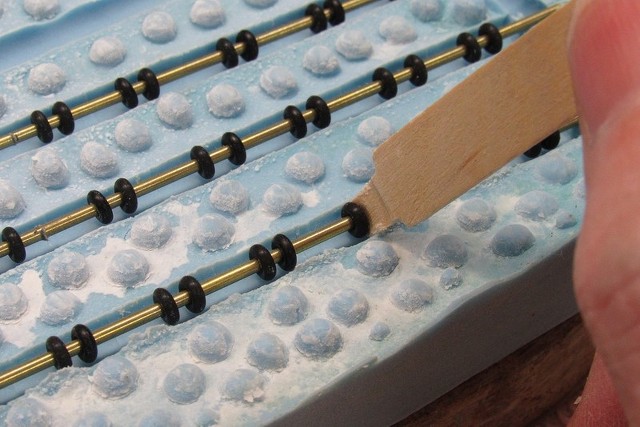
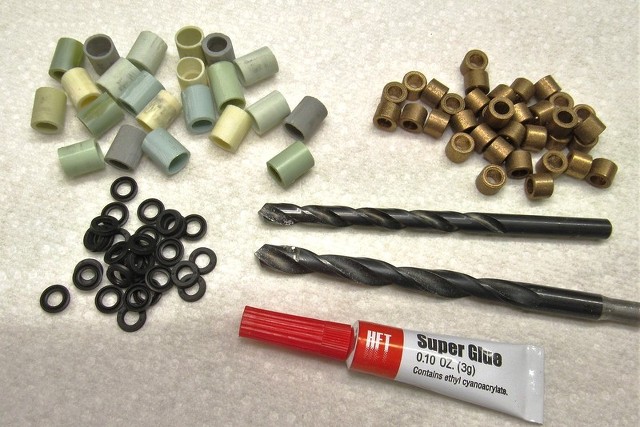
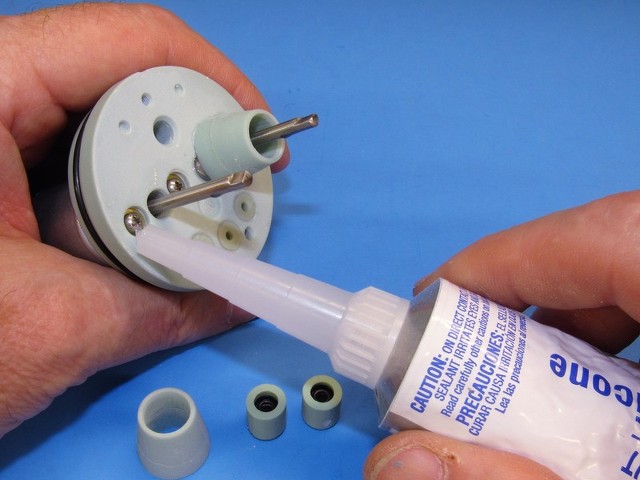
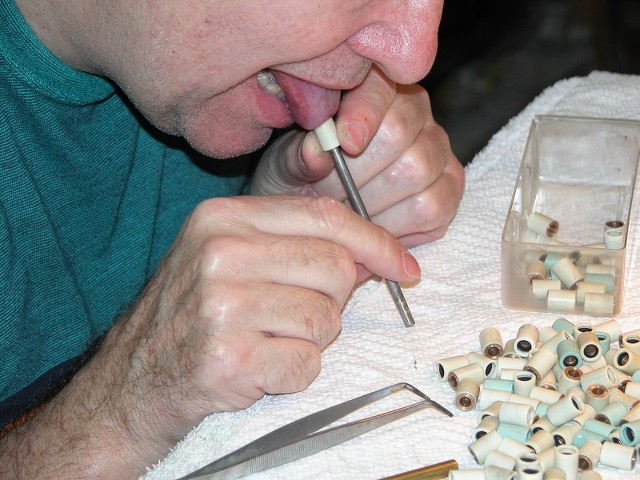
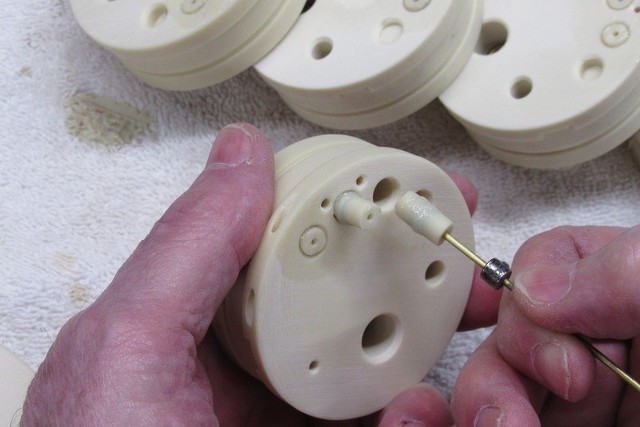
To render a non-interference fit to the raw castings .062" bore -- created by the brass rod core during the casting operation -- it is hand reamed with a standard (non-modified) .065" bit.
The two encapsulated O-rings, within the seal body, have a nominal .060" inside diameter, but those surfaces (being much more elastic than the surrounding resin) scoot out of the way when reaming with the over-size bit. This leaves the resin bore enlarged enough to easily pass the pushrod, with the O-rings projecting into the bore enough to girdle and make watertight the fit between pushrod and seal body.
DavidWho is John Galt?Comment
-

Who is John Galt?Comment
-


Who is John Galt?
Who is John Galt?Comment
-
Who is John Galt?Comment


Comment