
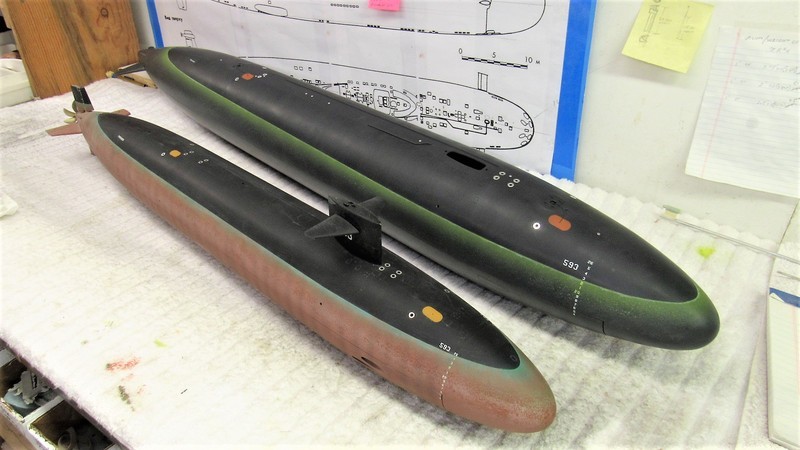
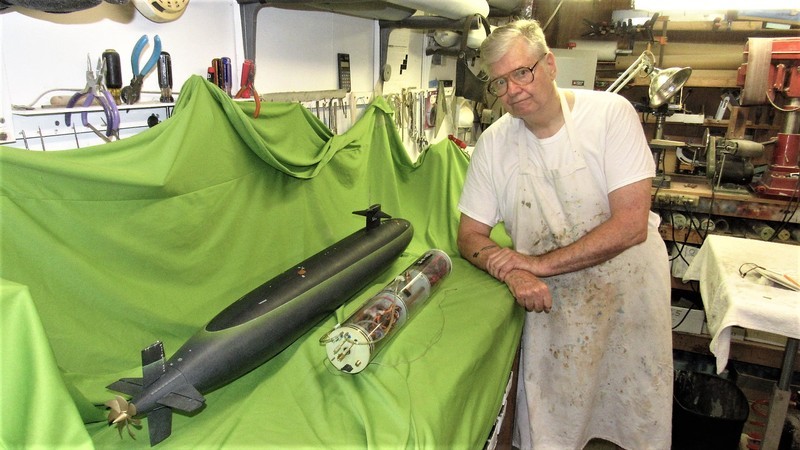
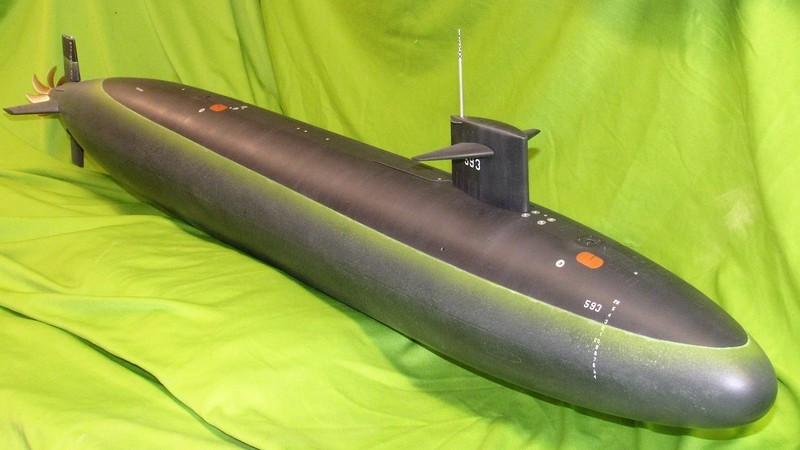
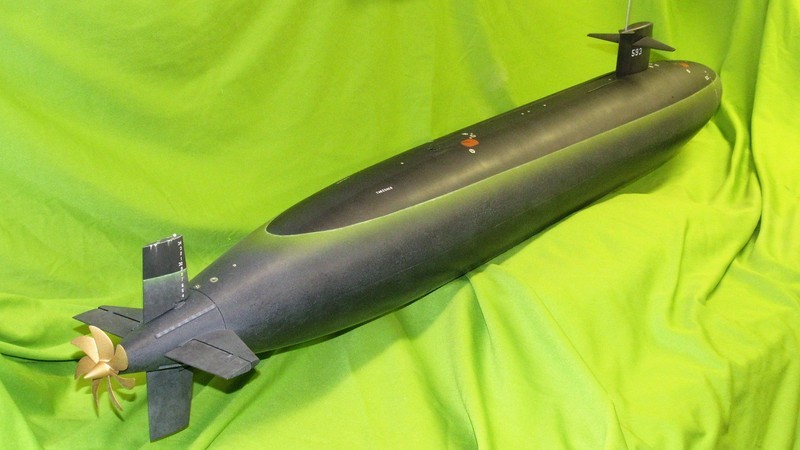
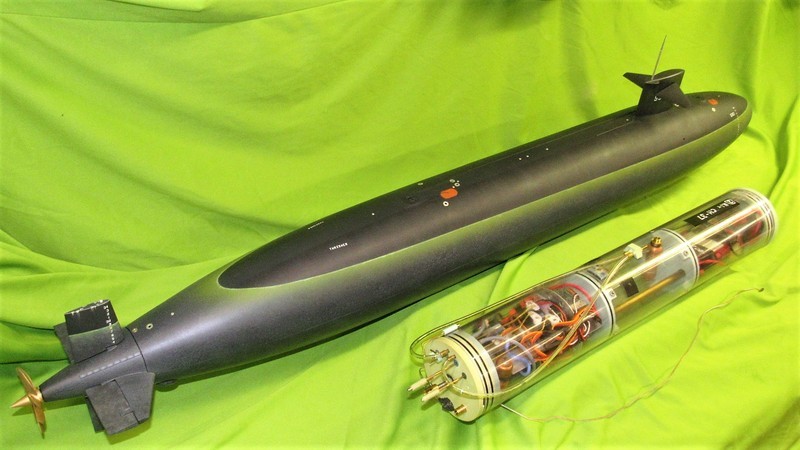
While working on the 1/72 THRESHER I remembered that I had to get my old Mat Thor 1/96 THRESHER model dressed up and tested for the upcoming Groton sub-run next month. So, during the touch-up painting – chronicled later – I pulled the 1/96 model off the wall and addressed it while I still had wet paint left over from the 1/72 model paint touch-up and weathering.
This picture clearly shows that I don't have a clue as to the THRESHER's anti-foul color at any time during its service life. Was it all black, or did it sport anti-foul red from waterline down/from centerline down? Beats the hell out of me; I simply don't know! Anyone out there who can give me a solid answer, I would appreciate hearing from you.
Different yards, different ways of doing things. Confusion is the by-product.
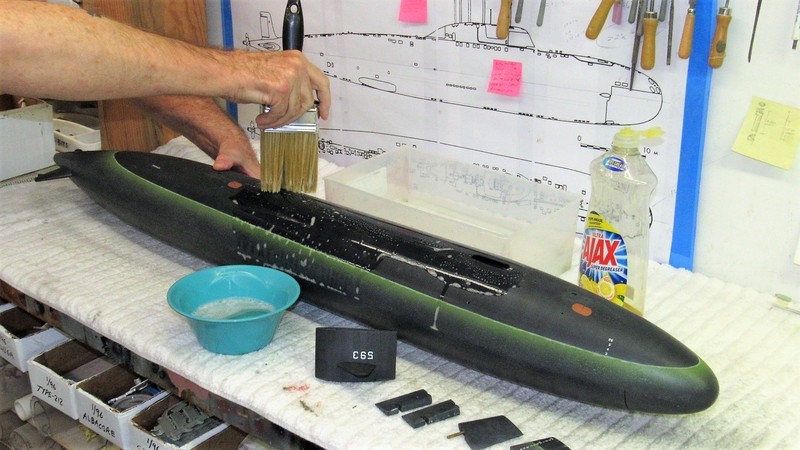
During all that detailing and handling my grubby finders stained the work. So, before committing to the markings, touch-up painting, and well flattened DuPont ChromaClear clear-coat the entire model – including all its removed appendages – was scrubbed with soapy water, rinsed, and dried and hit with a tack-rag to (hopefully) reduce its static charge, a move to limit accumulation of dust between the cleaning and the other operations.
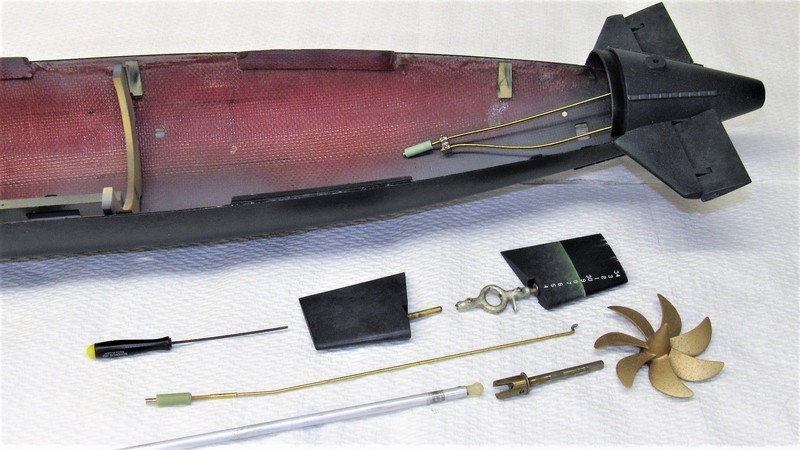
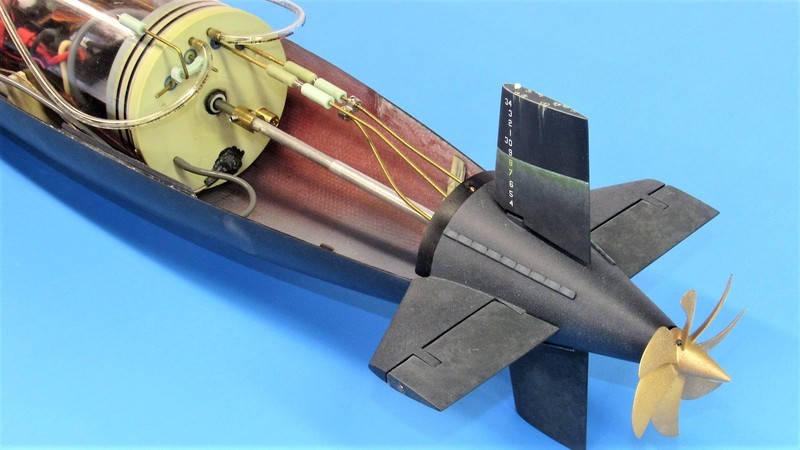
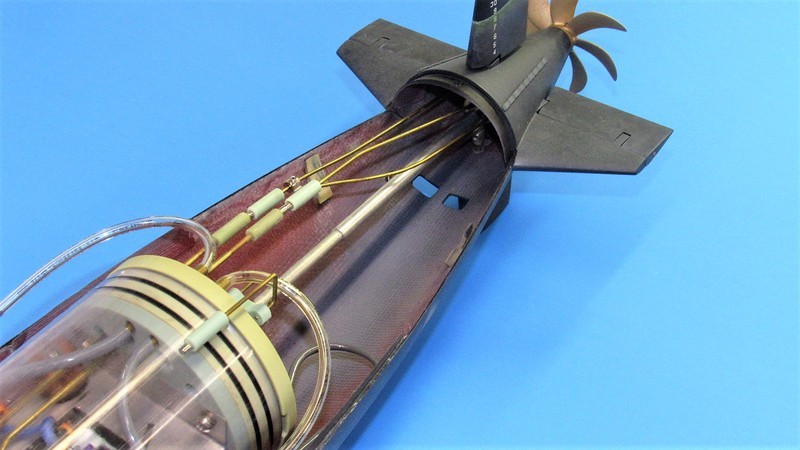
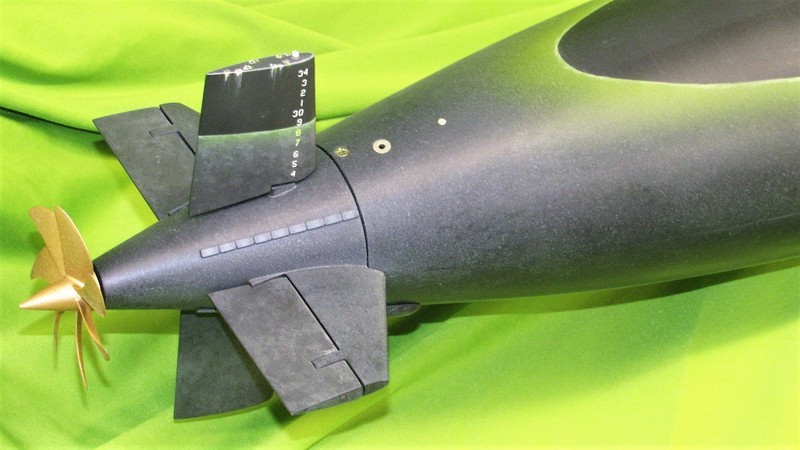
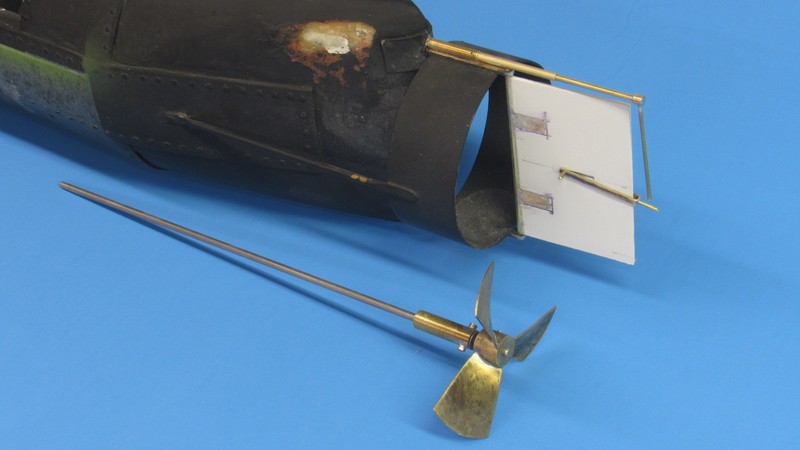
Four rows of cathodic protection – owing to the dissimilar metals of brass and steel hull at the stern – in the form of sacrificial Zinc anodes, were highlighted by scrubbing onto them brownish-white oil paint applied with a brush, then rubbed in with a paper-towel.
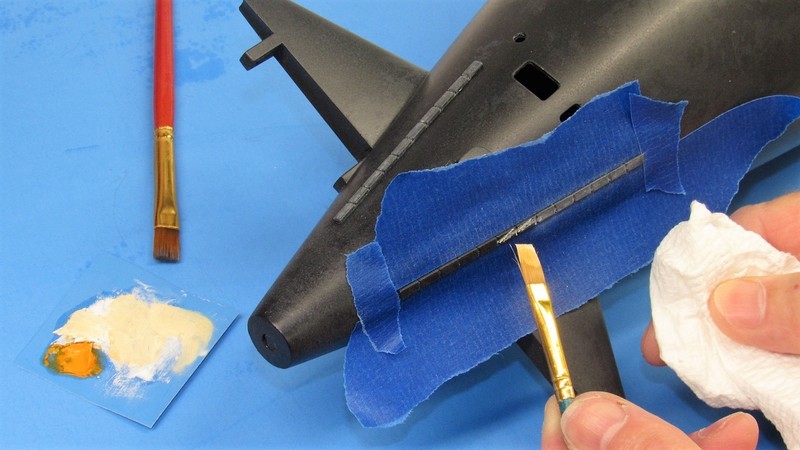
The objective was to suggest mild oxidation of the Zincs as a consequence of galvanic action (two dissimilar metals, sea water, all in close proximity = battery).
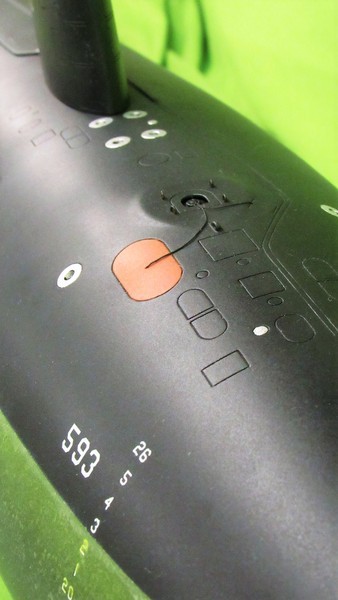
Nothing looks like shiny metal like shiny metal. In those modeling situations where you need that 'look', a self adhesive aluminum foil is often the medium of choice. Such is the case with the THRESHER's deck mounted main ballast tank vent (MBTV) retaining rings, and disc shaped compartment salvage covers. As a practical matter most boats that go out on patrol have these items painted the same flat black as the other structures. However, I have seen pre-commission and post-overhaul shots of boats that have these items unpainted.
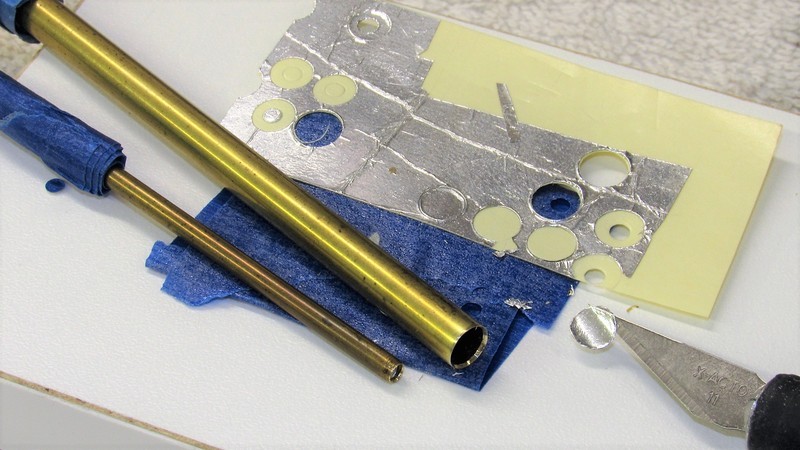
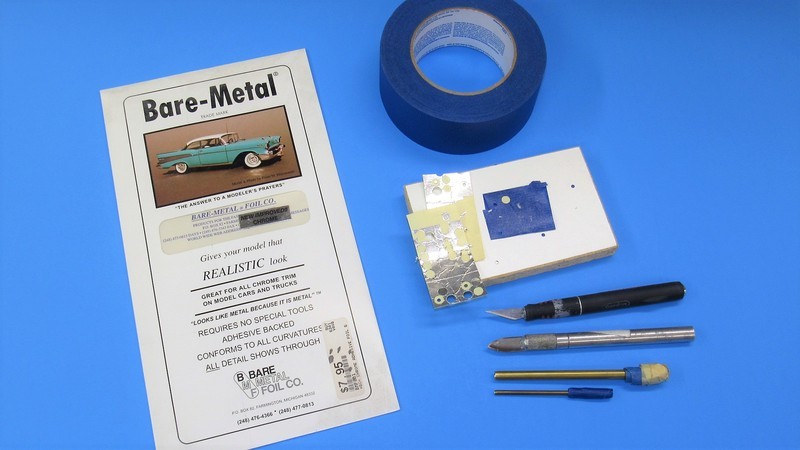
Bare Metal Foil is my go-to product for self-adhesive foil. They offer several shades of Aluminum. And, as they say in their advertising: “It looks like metal because it is metal”. Can't argue with that!
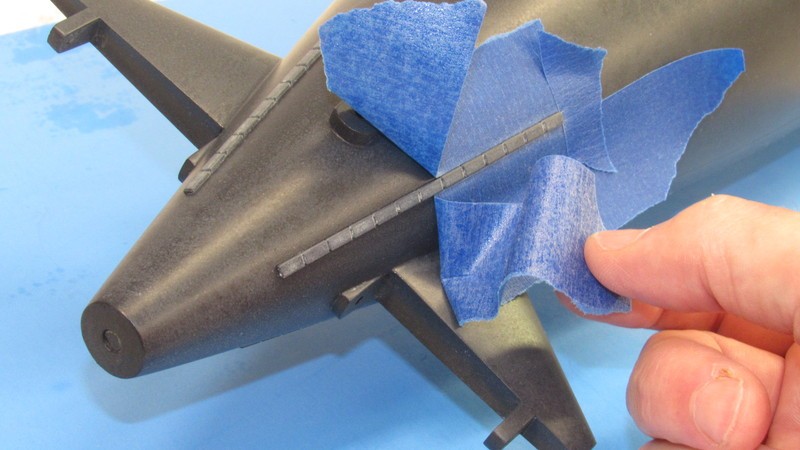
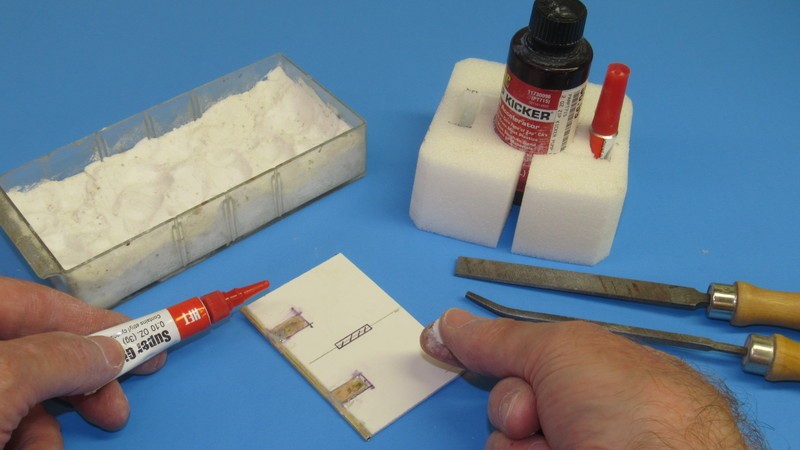
You either cut out the desired shape of foil while it's still attached to its backing; or you lift an over-sized piece of foil off the backing, place it on the model, burnish it down, and then cut to outline and pull away those portions not needed. On this job, which required simple circular pieces of foil, the cutting was done off-model with the aid of appropriately sized punch-cutters.
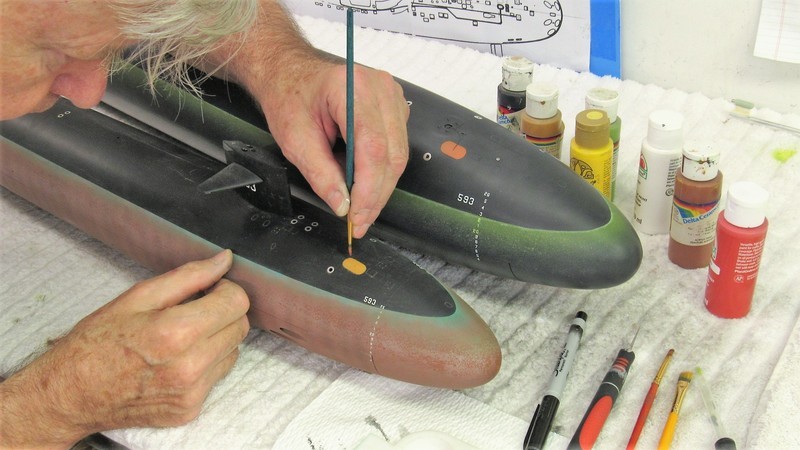
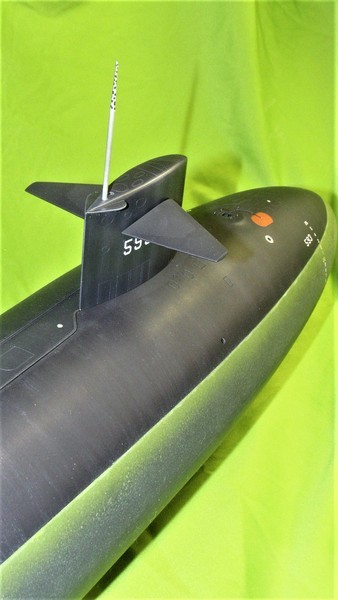
The reason I take every opportunity to make things on an r/c submarines topside structures stand out is, visibility! When operating submerged I have to see something. And metallic items, or garish 'international orange' escape marker-buoys, hull and draft numbers, and even weathering – help one to make out the submerged models location and attitude. Vital. If you can't see it, you can't drive it!
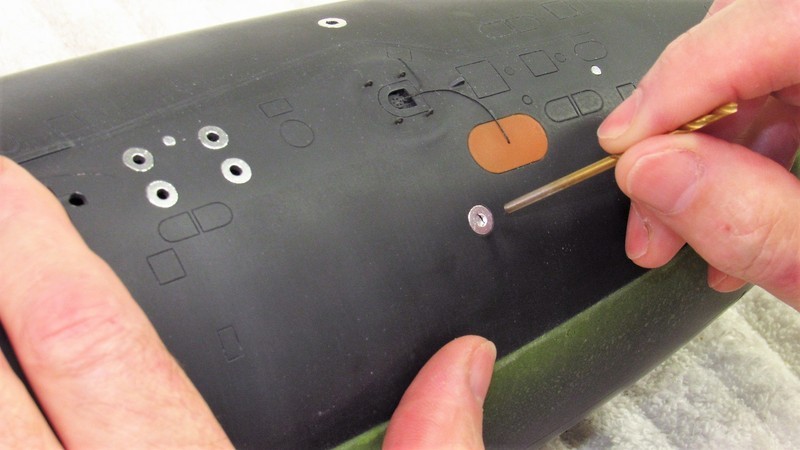
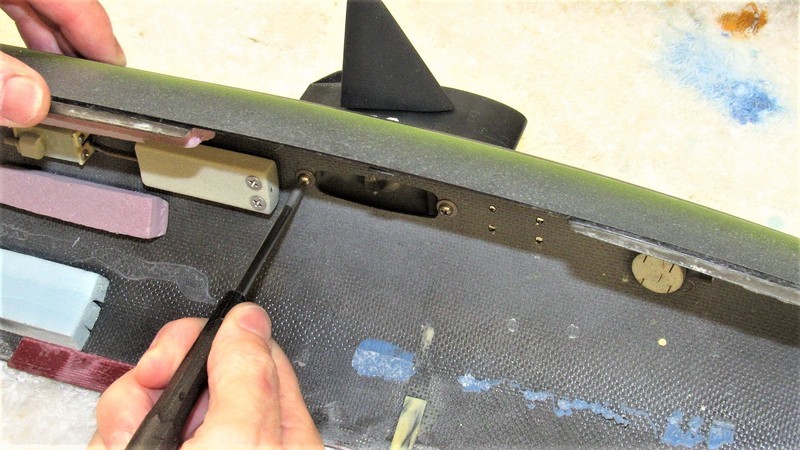
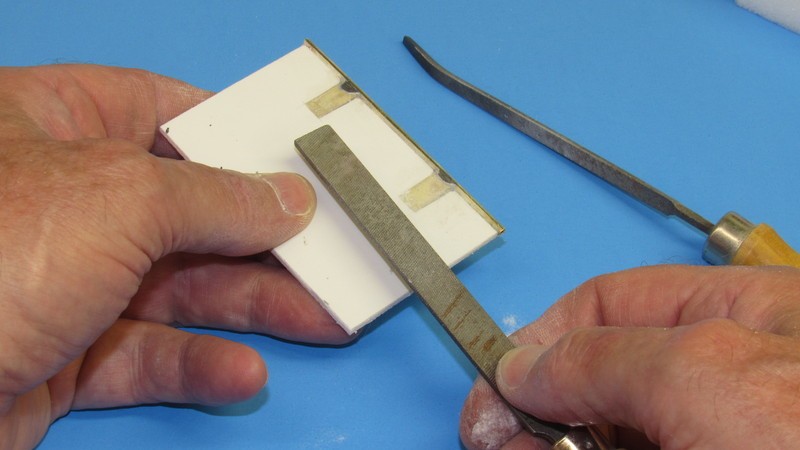
Here I'm refining the open hole of the MBTV by pushing the shank end of a drill bit into the hole which forces the foil to fail and punch through the hole, leaving a crisp opening where air can quickly vent in or out of the hull as the model submarine transitions back and forth between surfaced and submerged trim.
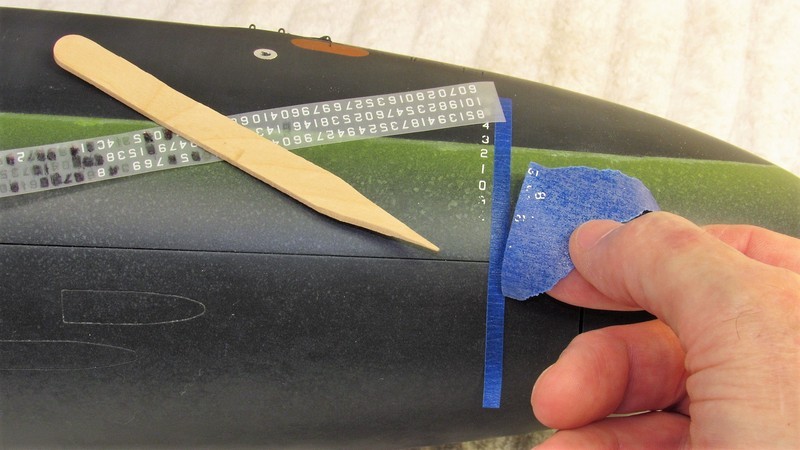
Use of dry-transfer markings produces crisp, clean markings of the desired size, font, and color. But, the process does demand of you correct use of lay-out tools to place each marking in the correct spot, with proper spacing between the markings.
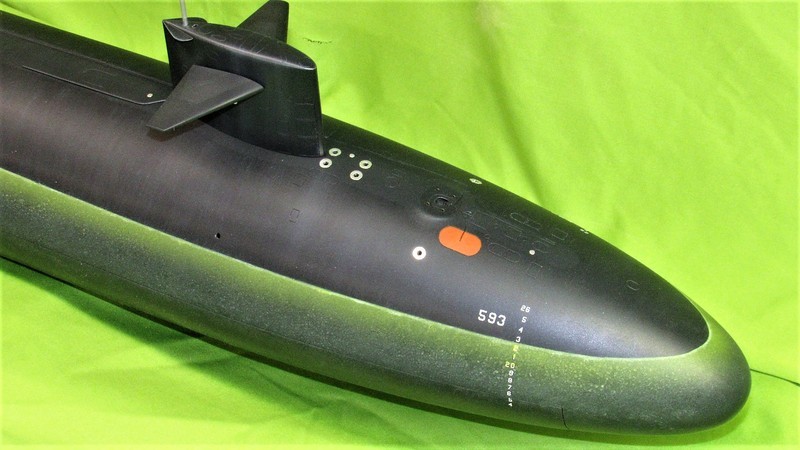
Woodland Scenics, their Model Graphics division, produces an all encompassing sheet of white transfers suitable for almost any US submarine. You want MG747 45-degree, USA No. GOTHIC-WHITE. Sizes of the numbers are suitable for both hull numbers, and draft numbers in 1/192, 1/96, 1/72, and 1/32.

Care is taken to employ a masking tape guide to help keep the individual markings in correct location on the model as well as in correct spacing from one another. The wax-like markings, are available in many different fonts, sizes, and colors. US Navy numbers and letters on ships are usually white and are a block type font. The marking itself is bonded to a carrier-film. The marking is transferred to the work by placing the carrier-film – which is transparent enough for you to see through it and the marking you will press onto the model – where you want it, then pressing over that marking with an embossing tool to force the sticky marking to break its weak bond to the carrier-film and stick to the models surface. That accomplished, the carrier-film is pulled away, leaving the marking on the model.
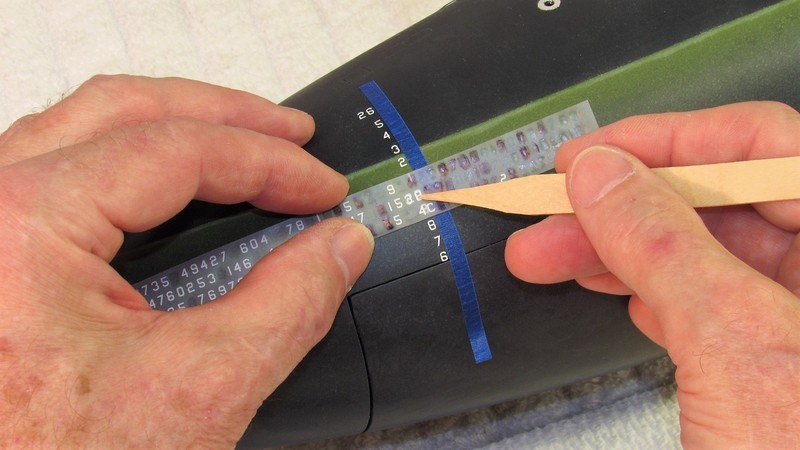
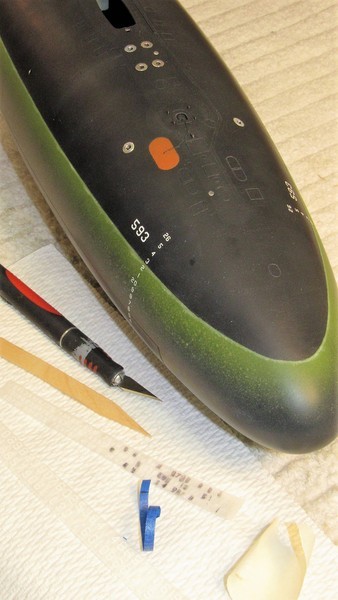
Nice thing about self-stick dry-transfers is that if you make a mistake (here I've gotten the '9' and '8' slightly out of alignment, so they had to go) its an easy matter to lift the offending marking off the model with masking tape. The inherent weakness of the marking is countered later when the model is given a heavy clear-coat, which goes a long way in making the dry-transfer marking more durable.
Though there are commercially available 'burnishing tools' out there, it's been my experience that the pointy end of a stick – or sharpened end of a popsicle-stick – will do the job equally well. A slightly blunted point works best for the smaller sized transfers.
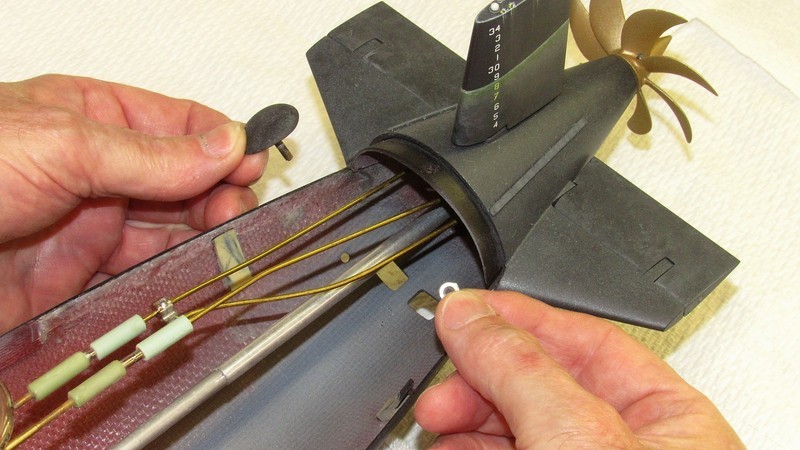
Here I'm using some very watered down green to slightly discolor the just applied white dry-transfer draft numbers just below the models waterline.
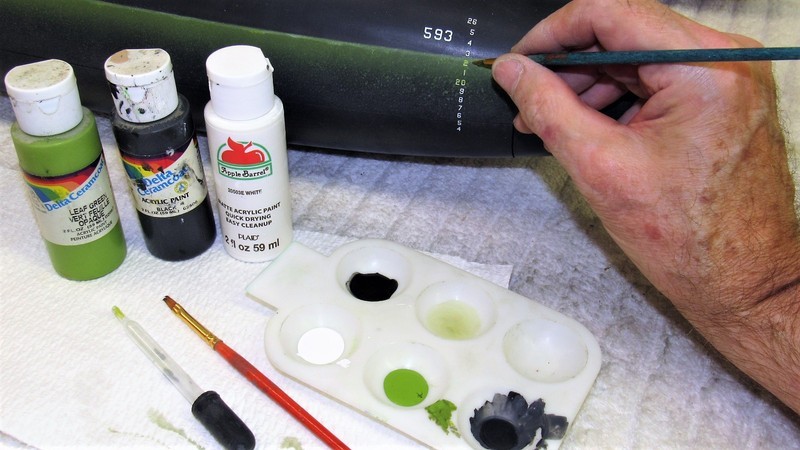
While the water-soluble acrylic paint was out I did some touch-up paint repair work to the 1/72 THRESHER, as well as to a 1/96 THRESHER I have to get ready for the upcoming Groton Sub-Run. Color matching submarine models is pretty easy: black and white to get any gray you need, some green, and the three primary colors which give you the ability to mix any color or shade to suit the job.


Comment