A Skipjack in Ireland

Collapse
X
 
  • Time
  • Show
Clear All
new posts
  • The Boattrainman
    Commander
    • Mar 2016
    • 443

    #76
    The sail plane mechanism will unite with the arm from the servo from the Subdriver using a lever device.

    The construction of this is simple, two pieces of 2mm Plasticard are bonded together to form a bar 4mm X 5mm square, the length of the diameter of the hull at the rear break point.

    Click image for larger version

Name:	IMG_0572 (800x600).jpg
Views:	189
Size:	34.9 KB
ID:	113911 Click image for larger version

Name:	IMG_0573 (800x600).jpg
Views:	200
Size:	37.0 KB
ID:	113914


    The end shapes are drawn on to more 2mm card and two holes created, and by cutting around the holes and splitting into two you get four mounting pieces the same size as the ends of the bar. Using a spare servo arm and a stainless steel screw and washer a lever is made to transfer the 'throw' of the sail plane servo to the sail plane linkage.

    Click image for larger version

Name:	IMG_0574 (800x600).jpg
Views:	192
Size:	34.7 KB
ID:	113912 Click image for larger version

Name:	IMG_0576 (800x600).jpg
Views:	178
Size:	34.0 KB
ID:	113913


    The mounting pieces will be stuck top and bottom against the inner hull at the break point near the screw that holds the two halves together, with the plastic bar held between them (note, the bar is not glued in place, it's a tight fit into the two mounting squares), the screw holding both halves of the hull together will also compress the bar tightlyinto the mounting holes.

    The bar has to be an odd shape at either end to accommodate the shape of the hull and to relaease it you just squeeze the sides of the hull at this point together and it clears the mounting squares.


    Click image for larger version

Name:	IMG_0577 (800x600).jpg
Views:	193
Size:	36.2 KB
ID:	113915

    Nothing is glued in place just yet till the next few phases are sorted, but using 'fuzzy engineering' there's plenty of room for adjustment, the bar can move to either side and the servo arm can be shortenend top or bottom, plus the mounting screw can be moved up or down the bar, moving the whole servo arm.

    The Boattrainman
    Last edited by The Boattrainman; 04-25-2016, 04:54 PM.
    ''We're after men, and I wish to God I was with them........!''

    Comment

    • He Who Shall Not Be Named
      Moderator
      • Aug 2008
      • 12323

      #77
      You're making the fairwater plane linkage so much more complicated than it has to be! Do this instead of all the Rube Goldberg stuff:


      Who is John Galt?

      Comment

      • The Boattrainman
        Commander
        • Mar 2016
        • 443

        #78
        Had to look up Rube Goldberg, similar to Heath Robinson!

        Click image for larger version

Name:	image_23476[1].jpg
Views:	214
Size:	90.9 KB
ID:	113939


        No mention of Rube during this build log, as one can see this is exactly the same solution to transferring the throw of the sail plane servo to the sail plane linkage, I've just moved the mechanism back to the break point in the hull and replaced the brass with plastic fittings.

        I've an issue with transfering the movement through a u-shaped fitting, I believe that where pushrods are being used, the load should be sent down the pushrod along it's strongest point that is from end to end. Once you put bends in a pushrod linkage this exposes the weakness of a pushrod that is it easily bent by pushing in the middle. In my experience bent pushrods always result in some kind of play or slop (as the builder above experienced), and where motion transfer is required some sort of lever mechanism is in fact simpler even though it introduces more mechanics.


        The Boattrainman
        Last edited by The Boattrainman; 04-26-2016, 04:40 AM.
        ''We're after men, and I wish to God I was with them........!''

        Comment

        • trout
          Admiral
          • Jul 2011
          • 3547

          #79
          If your sail plane can move easily, the U shaped connection is a non-issue. Try it, you might like it.
          If you can cut, drill, saw, hit things and swear a lot, you're well on the way to building a working model sub.

          Comment

          • The Boattrainman
            Commander
            • Mar 2016
            • 443

            #80

            Here is the build for the light on top of the sail, I spent some hours trying to figure a way of putting it on its small retractable mast but it would be tiny and need optic fibre to do it in scale. So I had a tiny LED, the top is just 1.8mm wide and it sits in a larger hole to get the top out of the sail enough to be visible.

            Click image for larger version

Name:	IMG_0579 (800x600).jpg
Views:	187
Size:	34.9 KB
ID:	113942 Click image for larger version

Name:	IMG_0580 (800x600).jpg
Views:	192
Size:	33.6 KB
ID:	113943

            Click image for larger version

Name:	IMG_0582 (800x600).jpg
Views:	215
Size:	31.6 KB
ID:	113944


            Once glued in place, my usual backing is made of a piece of scrap metal behind the resistor as a heat shield and a well of epoxy to completely encase all the components.

            Click image for larger version

Name:	IMG_0583 (800x600).jpg
Views:	207
Size:	37.6 KB
ID:	113945 Click image for larger version

Name:	IMG_0587 (800x600).jpg
Views:	181
Size:	37.5 KB
ID:	113947


            Again I opted for a soft yellow as the white LEDs look like marine flares they are so bright.

            Click image for larger version

Name:	IMG_0584 (800x600).jpg
Views:	176
Size:	34.3 KB
ID:	113946

            I'm not all that happy with the light just sitting on the top of the sail, it really should be on that short mast to fulfil the requirements of the COLREGS (assuming submarines have no special exemption once surface running at night). Also, as per the green/red side lights, I'm sure the sail and tail light would have a view limiter to ensure they are only seen from certain angles, might see if I can achieve that with paint later.

            The lights will be switched off once a dive is under way.

            The Boattrainman

            Last edited by The Boattrainman; 04-26-2016, 10:03 AM.
            ''We're after men, and I wish to God I was with them........!''

            Comment

            • The Boattrainman
              Commander
              • Mar 2016
              • 443

              #81

              Here is what the COLREGS say about lights:-

              "Masthead light" means a white light on the centreline of the vessel showing from right ahead to 22.5 degrees abaft the beam on either side of the vessel.


              "Sidelights" means a green light on thestarboard side and a red light on the port side each showing from right ahead to 22.5 degrees abaft the beam on its respective side. If the vessel is less than 20 metres (66 ft) long, the sidelights may be combined in one fixture carried on the centreline of the vessel.

              "Sternlight" means a white light placed as nearly as practicable at the stern showing 67.5 degrees from right aft on each side of the vessel.


              ''We're after men, and I wish to God I was with them........!''

              Comment

              • He Who Shall Not Be Named
                Moderator
                • Aug 2008
                • 12323

                #82
                Fair enough. And I agree that your arrangement will have much less play and back-lash than mine. However, as the loads presented to the linkage are small (the sail planes are hydrodynamically 'balanced'), the forces that would flex the linkage at the U-turn do little to distort the linkage. But, hey, you're a conservative (safe) Engineer. I respect that.

                ​M
                Who is John Galt?

                Comment

                • The Boattrainman
                  Commander
                  • Mar 2016
                  • 443

                  #83
                  Thanks David.

                  As you said yourself on another thread, there are lots of different ways to arrive at the same goal, I'm just going for ways I've always used and I'm trying to iron out any wrinkles now, rather than have to re-engineer a solution later, probably when the model is painted and more prone to damage.

                  I've become convinced over time the better the internal build quality, the better the external 'Scale'part of the model as illustrated by the following.


                  Click image for larger version

Name:	IMG_0591 (800x600).jpg
Views:	432
Size:	38.7 KB
ID:	113955


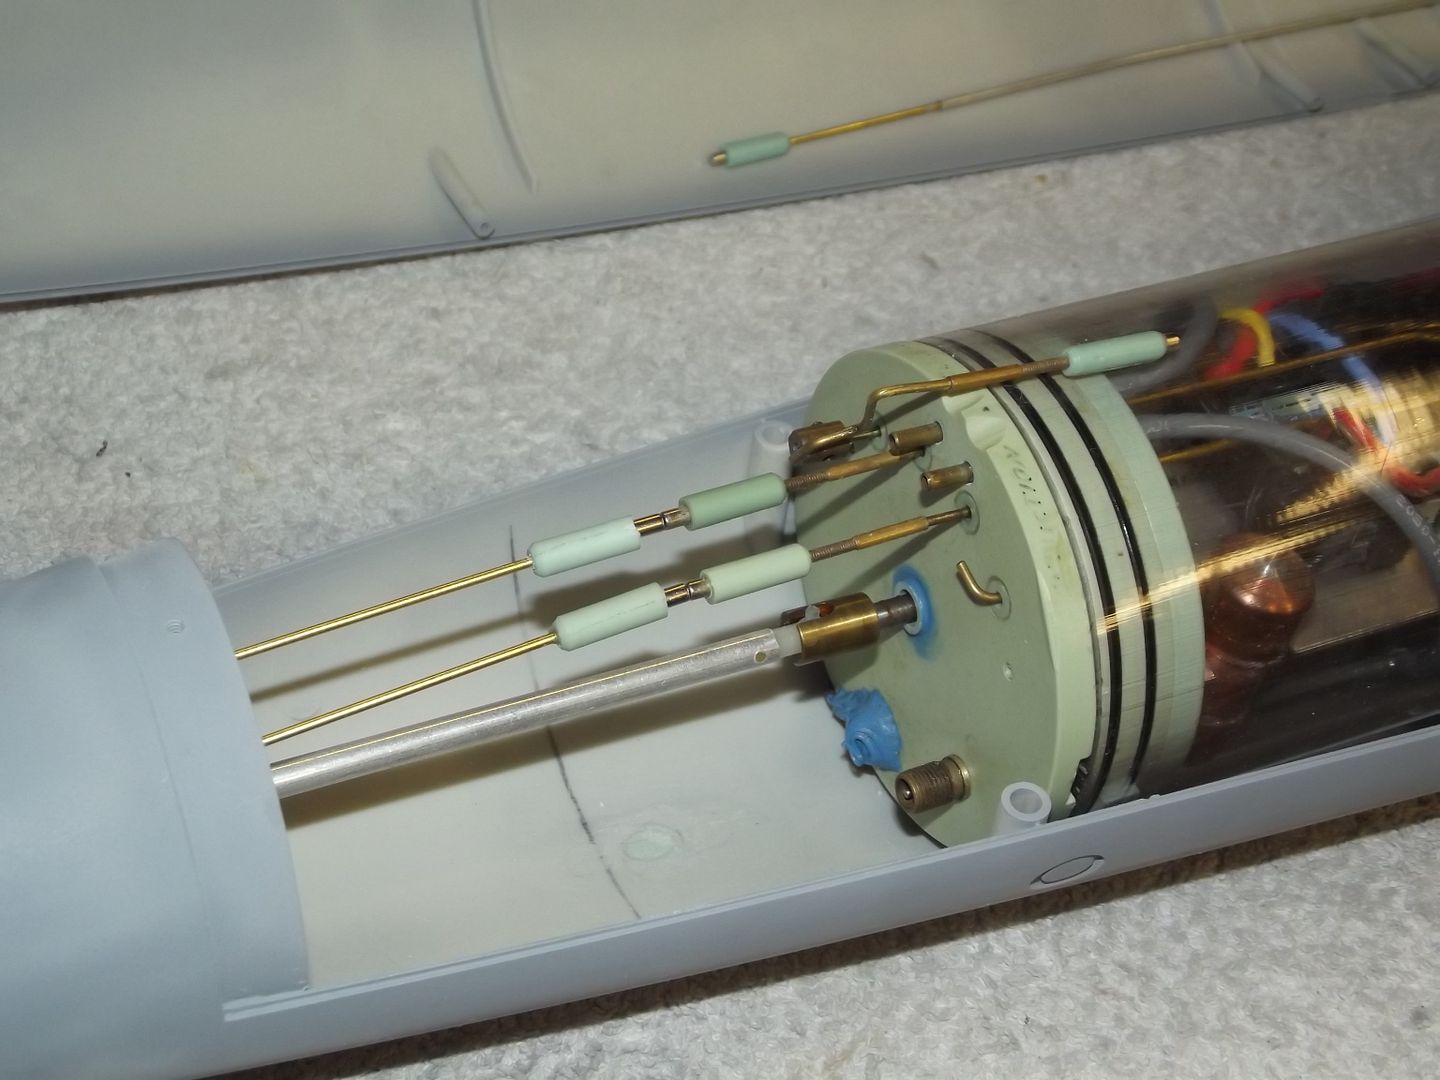
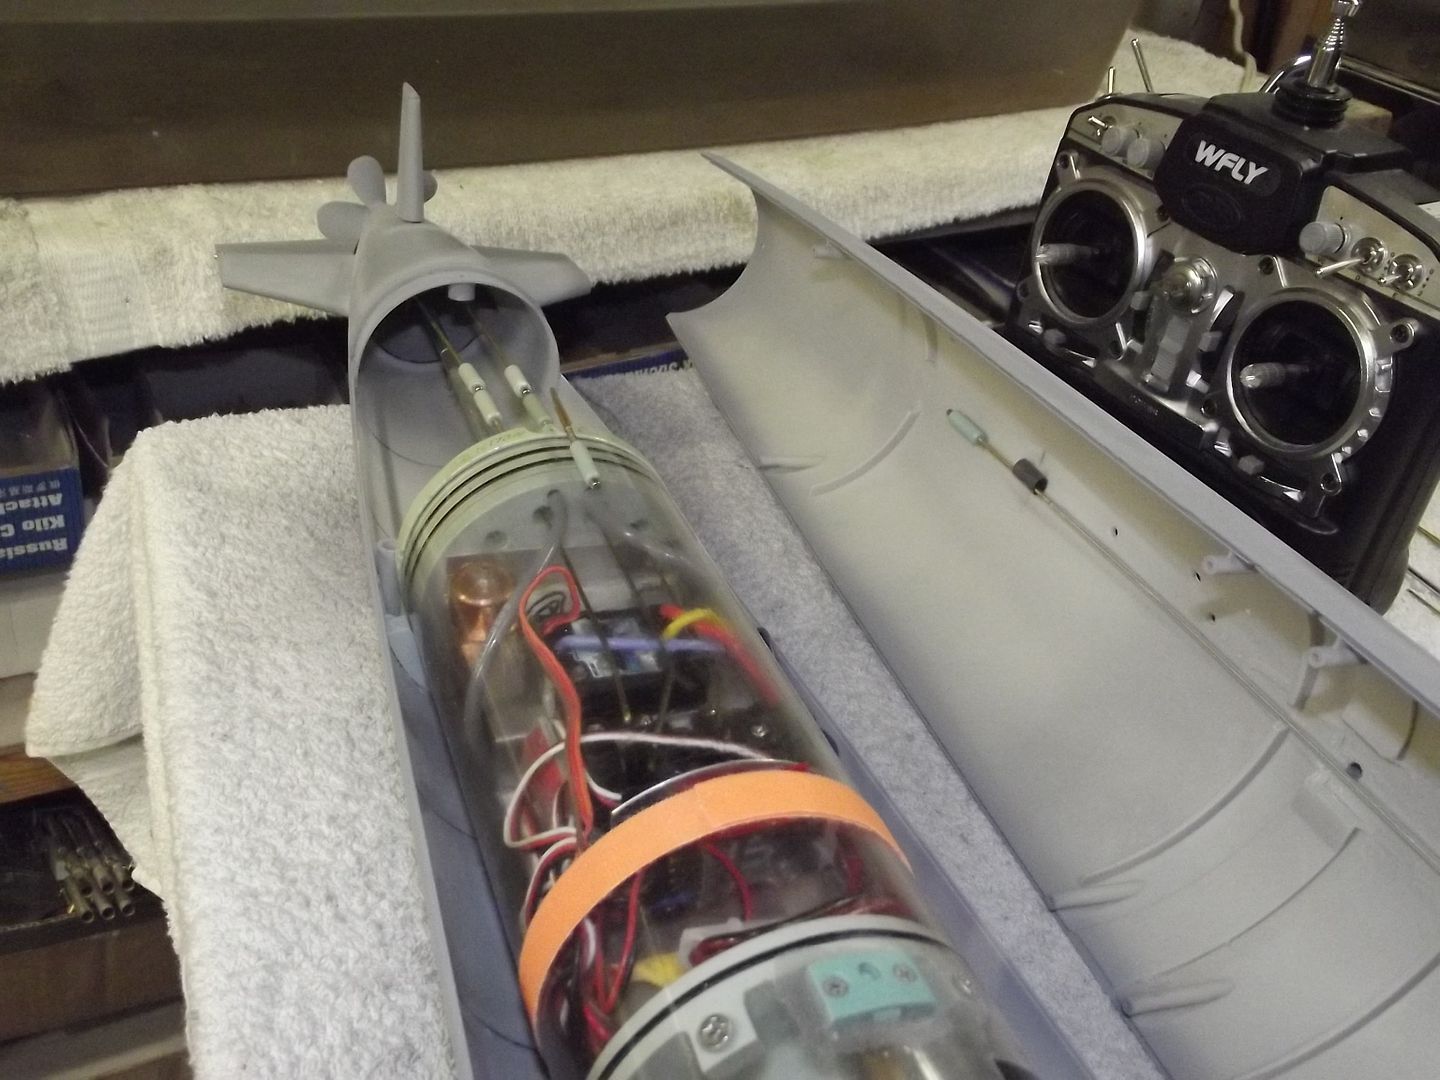
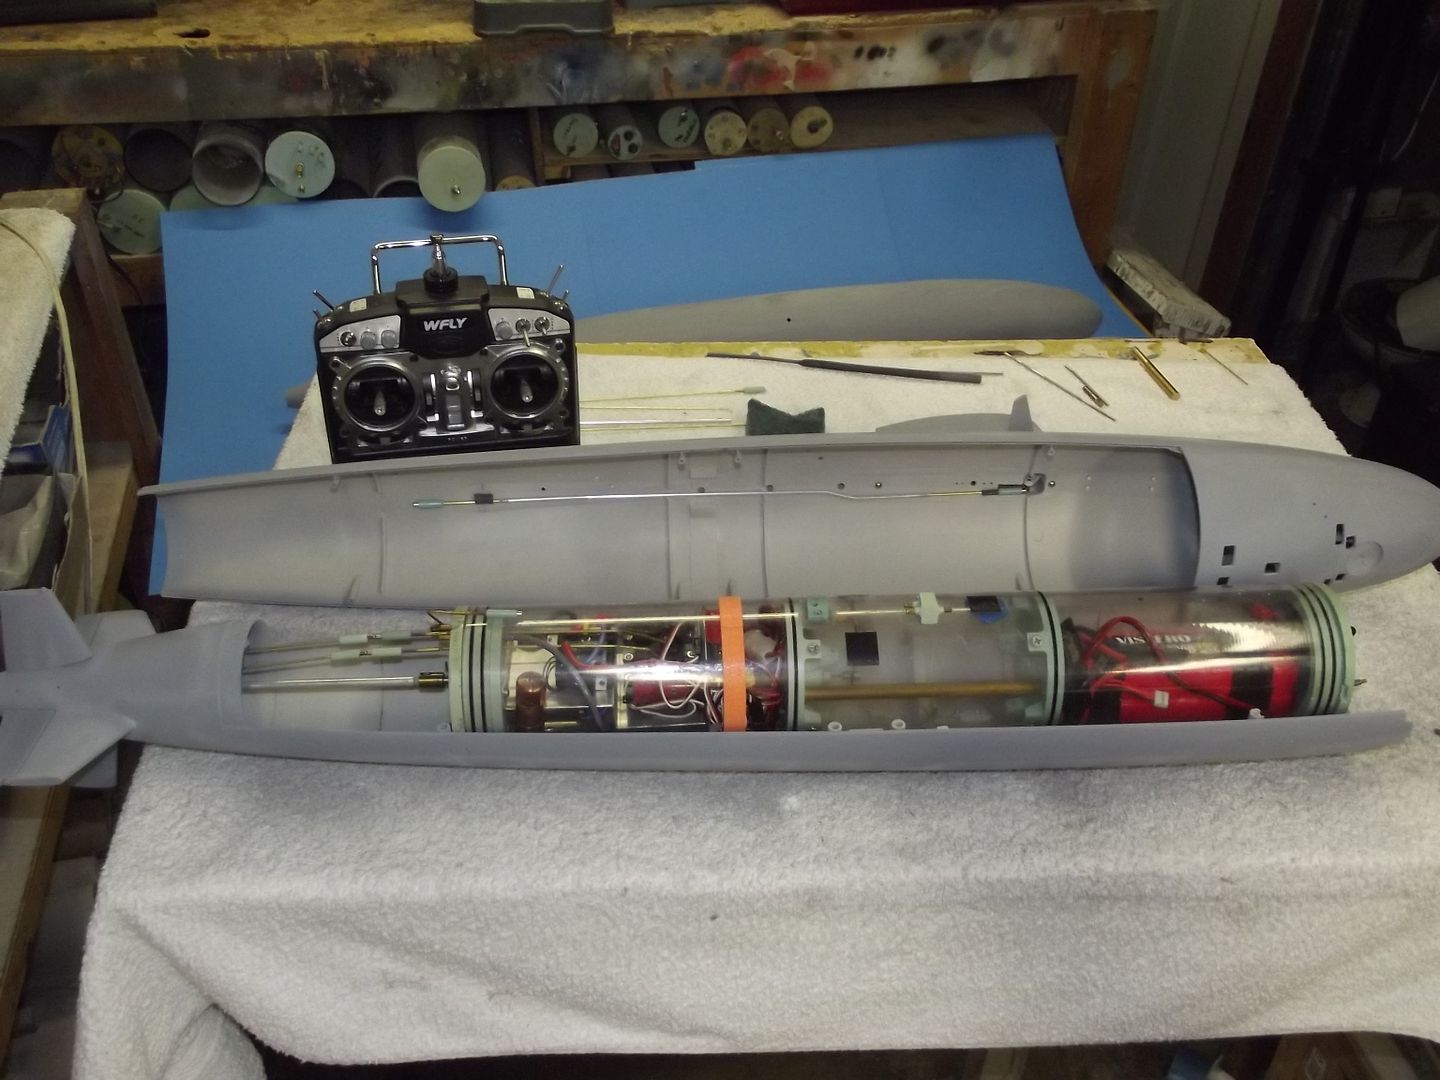
                  While my Ben Ain is a decent build of a quality kit, it is founded on rock solid internals, everything clearly labelled, all wiring tidy and the electronics in their own enclosures and separately switched if necessary.


                  Click image for larger version

Name:	IMG_0588 (800x600).jpg
Views:	171
Size:	38.6 KB
ID:	113952 Click image for larger version

Name:	IMG_0589 (800x600).jpg
Views:	192
Size:	39.0 KB
ID:	113953

                  Click image for larger version

Name:	IMG_0590 (800x600).jpg
Views:	207
Size:	39.6 KB
ID:	113954

                  I've lost count of the times you see good quality R/C models ruined by poor internals, what passes for 'wiring' in most models looks like a bowl of coloured spaghetti.

                  Here is the run/off/charge switch hidden under some barrels, with a tiny extra bit of effort it can be made to look professional, including a tiny ON light.


                  Click image for larger version

Name:	IMG_0592 (800x600).jpg
Views:	188
Size:	37.4 KB
ID:	113956


                  I'll be trying to use some of this learning throughout the Skipjack build, but it's just my thoughts and ideas, no more valid than anyone else.

                  Rob


                  Last edited by The Boattrainman; 04-26-2016, 12:01 PM.
                  ''We're after men, and I wish to God I was with them........!''

                  Comment

                  • He Who Shall Not Be Named
                    Moderator
                    • Aug 2008
                    • 12323

                    #84
                    We share a philosophy: it should make sense, in and out! I love your work, sir. OK, enough of this ... before some smart-ass suggests we get a room.

                    David


                    M
                    Who is John Galt?

                    Comment

                    • HardRock
                      Vice Admiral
                      • Mar 2013
                      • 1609

                      #85
                      Here's an option for your mast head light. [ATTACH=CONFIG]n93461[/ATTACH]

                      This is a size 23 hypodermic needle, a .8 mm pico LED and a turned, clear plastic top.

                      Its an easy fix to make this retract as the boat dives.

                      Comment

                      • HardRock
                        Vice Admiral
                        • Mar 2013
                        • 1609

                        #86
                        Hummmmm. Image did not copy for some reason. Once more:

                        Comment

                        • HardRock
                          Vice Admiral
                          • Mar 2013
                          • 1609

                          #87
                          And when illuminated: [ATTACH=CONFIG]n93461[/ATTACH]

                          Comment

                          • HardRock
                            Vice Admiral
                            • Mar 2013
                            • 1609

                            #88
                            Nope. This is the most frustrating bloody thing...Click image for larger version

Name:	fetch.jpg
Views:	119
Size:	93.9 KB
ID:	113999

                            Comment

                            • The Boattrainman
                              Commander
                              • Mar 2016
                              • 443

                              #89
                              Fantastic mast light, that's what I get for working from my spares box.

                              Thanks for info, much appreciated.

                              Rob


                              ''We're after men, and I wish to God I was with them........!''

                              Comment

                              • trout
                                Admiral
                                • Jul 2011
                                • 3547

                                #90
                                excellent mast.
                                If you can cut, drill, saw, hit things and swear a lot, you're well on the way to building a working model sub.

                                Comment

                                Working...