Welcome to our forums. For the best in R/C submarine kits, components and accessories, be sure to visit the Nautilus Drydocks
If this is your first visit, be sure to
check out the FAQ by clicking the
link above. You may have to register
before you can post: click the register link above to proceed. To start viewing messages,
select the forum that you want to visit from the selection below.
Sam sounds a little like my youngest grandson. Likes to run whatever I've built, but not into learning how to do it
for himself!!
Loves to "play" with my finished "targets", but not interested in the "blood-sweat-and-tears" part!! However, "You can build one for me if you want, Grampa!" Instant gratification me thinks?? Hah!!
Kinda like those who prefer non-alcoholic brew!! " All the prestige; non of the committment"!! ( Absolutely no offense intended to those who partake of such a beverage! ) Just not me bloody cup o' tea!!?
Listening to Dad go ballistic as he worked on the ALUMINAUT kit must have traumatized the poor kid for life.
M
HAHAHAHA, maybe......
Gary, if anyone has hurt his enthusiasm it is me. My patience is short when Sam asks for help, but then does the opposite. He is smart and that gets him in trouble.
I have a lot to post and will do it in sections. Got the WTC wet and the hull wet. lots of stuff to cover. So here is just some photos of putting in the pushrods.
Sorry got to go to dinner..... more later tonight. Might be able to trim tomorrow.
If you can cut, drill, saw, hit things and swear a lot, you're well on the way to building a working model sub.
The prop shaft is fun for me. I like the way it snaps apart when you scribe a line around it with a blade.
To recap, scribe line all the way around by rolling it on the edge of an x-acto blade.
Then bend the pipe and it will split on the scribe.
Nice clean break.
The nylon ends from the Dumas drive coupler get pinned into the aluminum tube.
A view of the drive shaft installed.
I mentioned I water tested the Sub-Driver no leaks, but two issues popped up.
The first was one servo froze up. The second was the pump made strange noises and would not run.
The solution for the first issue was replace the servo - no biggie there.
The solution to the pump was not so clear. It was touching the aluminum bulkhead, so I was guessing it was shorting somehow.
Placed a rubber pad as an insulator and put rtv silicon down to hold the pump and a zip tie to secure it.
Created an extension to the float. Still playing with it.
Glued the aft end mount.
It stands a bit proud and will need to be trimmed down.
The forward mount fits like a glove.
The front mount fits like a glove is true, but it should have been shaved down a bit before installing. There is a small raised area the conning tower straddles. The front mount prevents the front edge of the tower from reaching the hull.
I carved out the mount to accommodate the raised area.
Now the front mates up to the hull.
Installed the tabs. Like a zipper the tabs are alternated with more to the aft end because if the bends there.
The forward tabs on the top dec were cut to angle the sides, this allowed the piece to drop down and start the securing of the deck.
The forward edge of the deck piece, a rectangle of styrene is installed to be the tab that will slide under the bow end of the lower piece.
The aft end is secured with a screw and mount. First loosely measured were I wanted to drill and assembled the two hull pieces together. Then drilled straight down through the deck piece and the lower hull piece. Again, I should have made the tab stick out a bit more, but the drill did pierce the upper deck and through the tab (barely). The mount is CA'd in. Then I put some baking soda (sodium bicarbonate) and CA round the mount to build up the area and make the mount more secure.
If you can cut, drill, saw, hit things and swear a lot, you're well on the way to building a working model sub.
Just had a thought as far as small quantities of lead shot for ballasting:
SCUBA diving soft weights! Usually in 1,2, 4 lb. sizes! Lots of them on Ebay, and pretty cheap to boot!!
Just cut open the soft pouch, and have at it!!
Me too!
Fresh out of the tub, initial trim done.
It worked out nice that while surfaced, I got the aft end to set low unless I over filled the ballast tank, but level while submerged.
The total weight was 12.5 ounces. Aft weight was 54.5g
Mid section has two weights, the aft most is 76g and the foreword most is 118.5g
The bow is 106g
If you can cut, drill, saw, hit things and swear a lot, you're well on the way to building a working model sub.
David came up with the solution to the pump. It has a 11 Ohm resistor to limit the voltage going to the pump. Since I am currently running at 7.4 volt instead of 11.1 volt as designed, he recommended I cut it out. Since I might use 11.1v in the future, I went ahead and strapped the resistor out. When I do use 11.1v I will remove the jumper.
Tomorrow will be a pool run!
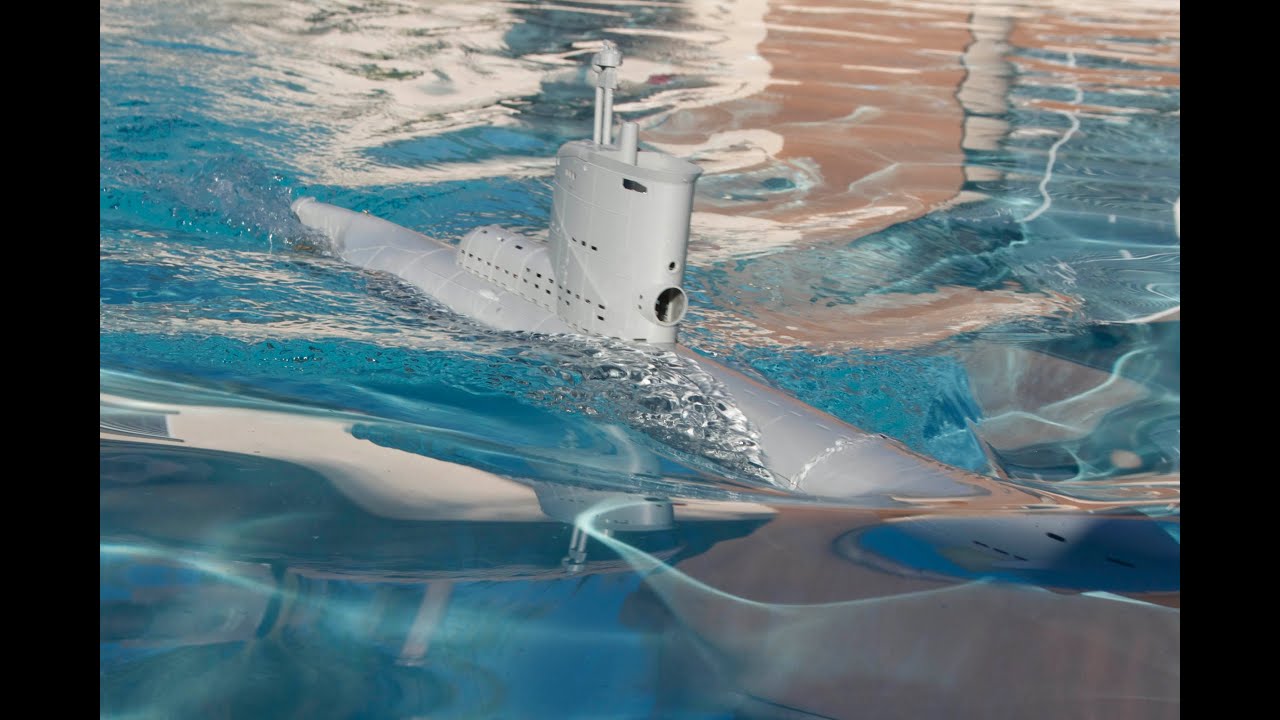
Here is the pool report. She ran great. I did have issues with chlorine, in fact in the first segment you will see the sub pop up from losing radio contact.
Happy New Year!
If you can cut, drill, saw, hit things and swear a lot, you're well on the way to building a working model sub.


Comment