Japanese BI I-25 in 1/72

Collapse
X
 
  • Time
  • Show
Clear All
new posts

  • oztruck
    replied
    Back to the hull.

    I went to a tire fitter the other week and asked him for some old wheel weights and Schroeder valves, I had $10 in my pocket but after telling him what I was going to do with them he said I could have them for free, It's good when good things happen.

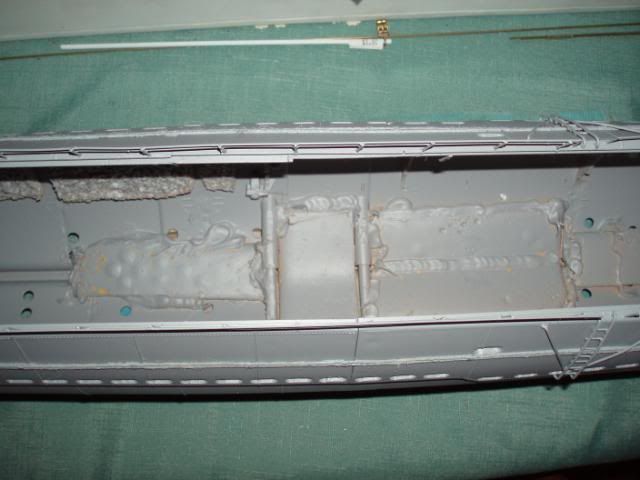
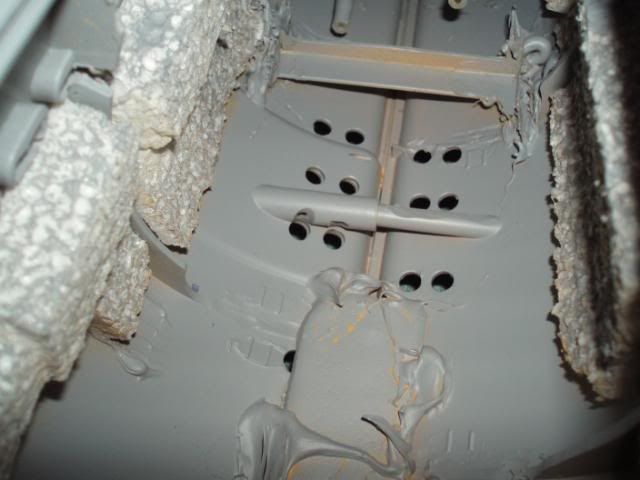
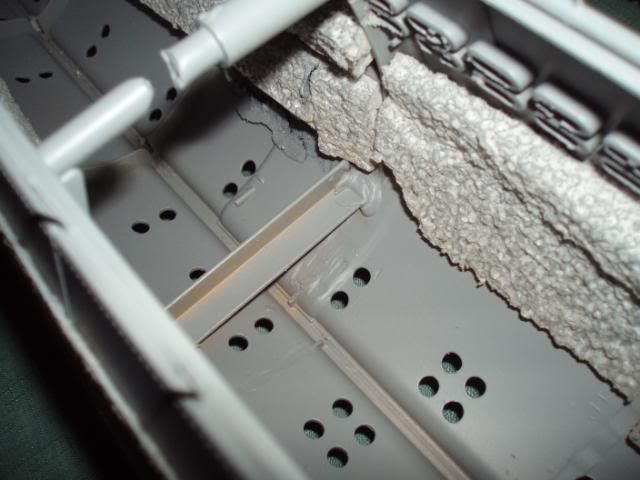
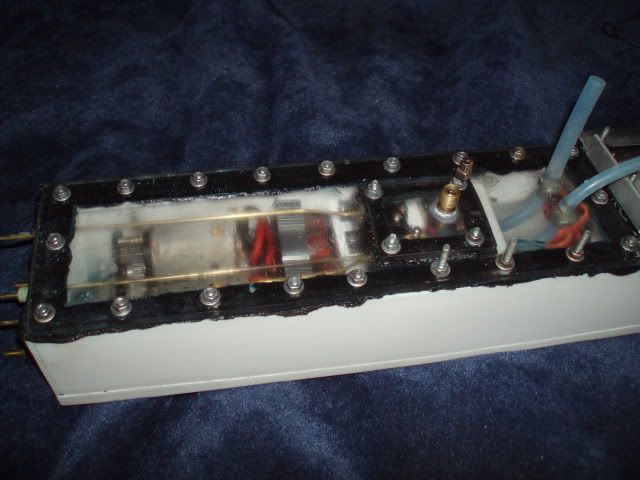
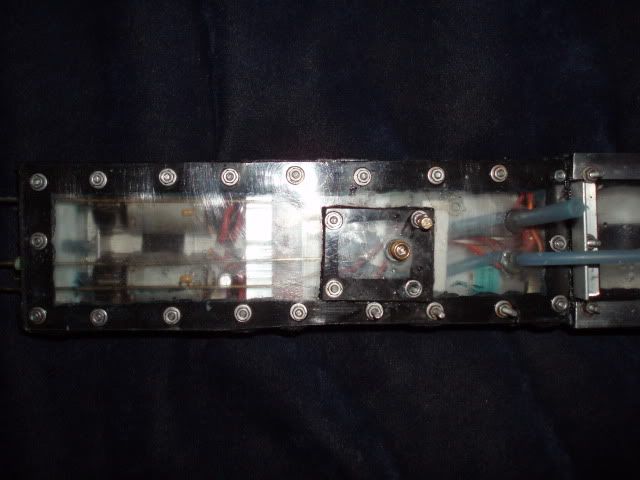
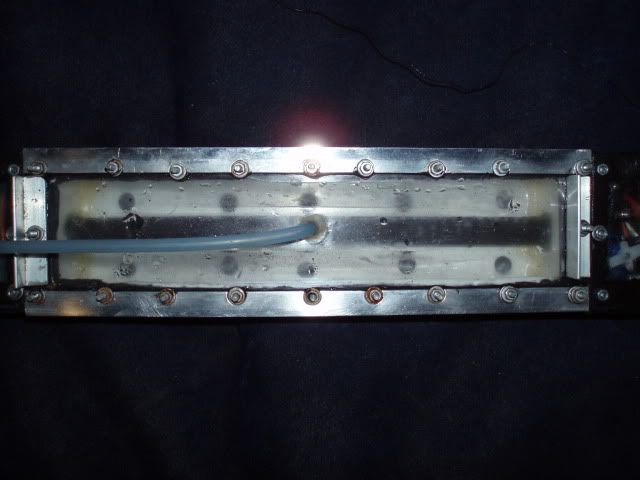
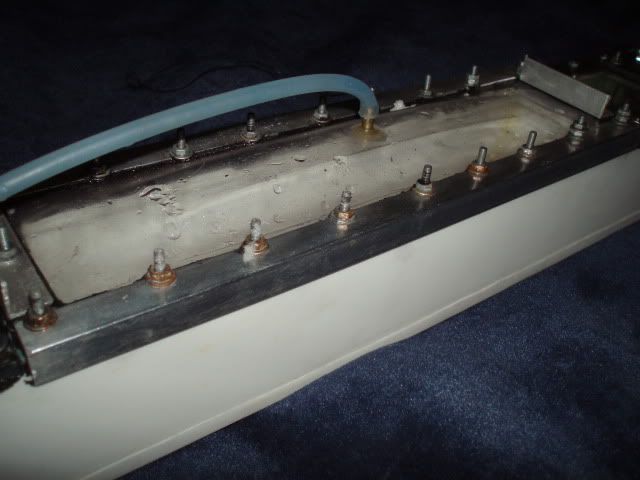
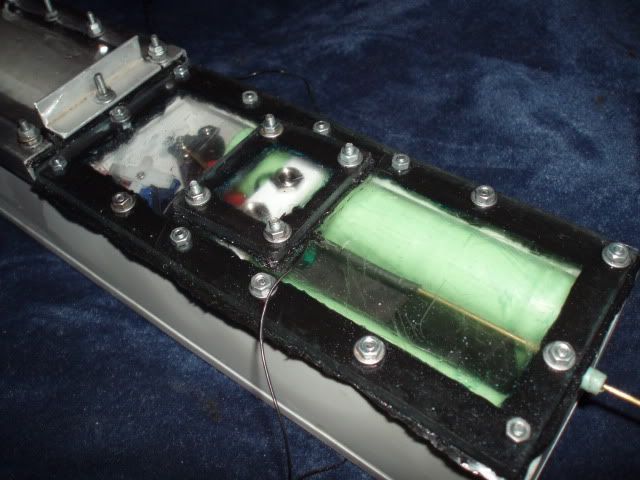
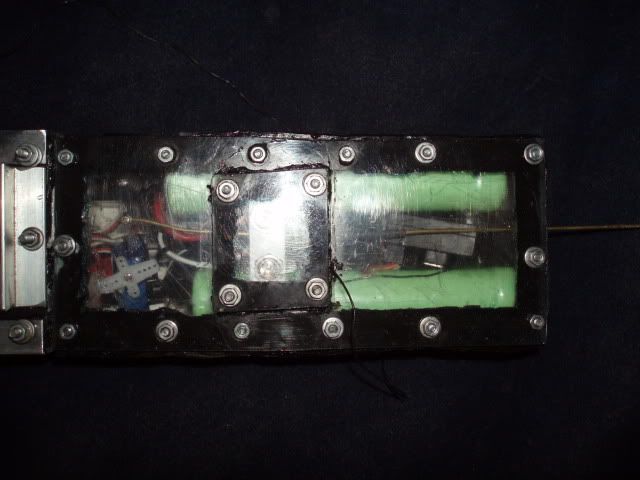
    I melted down the wheel weights and poured the lead into a mold 2" wide and 18" long, let it cool. I then cut it up to fit where it will work best. I then installed the lead ballast and the "water tight thingy" holders. I made them using "L" shape aluminum, I also put some foam in areas where I knew it would be hard to do after the thingy was in place.

    The lead was primed and painted before being installed and it and the foam are held in place with silicon then hit with a bit of undercoat.


    Leave a comment:


  • oztruck
    replied
    Sorry for being slow in getting back to you on this, I have been interstate and away from my computer.
    Thanks David for the heads up on the Ariel and the problems I might come across.

    At the moment I am using 36MHz but so does a lot of surface runners where I sail/sink, been thinking of going 40MHz.

    On my other sub I have sealed the end of the Ariel with shrink tube filled with silicon but I can see it could be a problem.

    If I was to run the Ariel up to a water tight stud that passes through the water tight thingy and attach my Ariel to it, do I cut the Ariel to a convenient length on the inside and then add the rest to the out side.?

    I have been told not to cut the Ariel or join it, is that true?

    Leave a comment:


  • He Who Shall Not Be Named
    replied
    The antenna lug is not cast as an insert. First I drill through the bulkhead with a 7/64 drill, then I cut threads through the hole with a 6-32 tap, I then run a length of 6-32 all-thread through the hole with about 3/8" sticking proud of the wet and dry sides, and apply CA to hold fast and make watertight the stud . Make up fasteners to the internal and external lengths of antenna as required.

    Punch your hole through the auxiliary lid.

    David,

    Leave a comment:


  • Outrider
    replied
    The Antenna post that David puts into his SubDrivers™ appear to be cast into the resin end-caps, which isn't an option in this type of application.

    What part should Oztruck use?

    How would it best be sealed?

    What should the antenna length be outside the WTT? (Oztruck can help by letting us know what RF band he's using. The optimum length is related to the radio frequency being used.)

    Leave a comment:


  • Pablo
    replied
    Very interesting built.
    Your model is very nice.
    Your "Water Tight Thing" is very similar to the one I built for my first sub :

    Leave a comment:


  • He Who Shall Not Be Named
    replied
    WTT? Yeah.

    Good sound engineering: provision for battery ventilation during charging, auxiliary access points, and compartmentalization. Good stuff, Oztruck. And a severe testing-qualification protocol. You are a careful, methodical type.

    Only fly in the ointment is the antenna. Keep in mind that any break in the antenna insulation will be a flood-path for water to get onto the receiver board. I've seen it happen! Provide a stud interface between receiver and exterior portion of the antenna and you'll be good.

    So far this is the best read on the site.

    David,

    Leave a comment:


  • redboat219
    replied
    She's a brute. Love the Russian philosophy you used in building her.

    Leave a comment:


  • oztruck
    replied
    OK, my WTT (watertight thingy) is now out of the rain water tank. It had a bit of condensation in the rear area and anything on the outside that was not plastic seems to have rusted but it looks like it could be ready to install into the sub after a bit of a clean up.

    This is the rear area.

    Here are the 2 drive motors and gear boxes, 2 ESC's, 3 servos- One for the rudder, one for the rear dive plane and one for the gas blow/recovery buoy, and the 2 Air pumps.

    On the lid there is a section that is removable with 4 screws to help vent and dry the unit after missions and if needed make small adjustments to the control linkages. It also has a Schroeder valve to pressure test the unit.
    The air hoses also exit through the lid


    Here we have the center section or ballast tank.

    The lid is made of 1.5mm clear plastic that I heated up and formed a raised section in it and that is where I installed the air outlet/inlet. This I thought will make it easer to remove ALL the air even in a 15 deg dive, because without it air could get trapped at one end of the ballast tank if it was not sitting flat.
    Because each section has it's own lid I can add extra material under the ballast tank lid to give me more volume if needed.


    This is the front section (Reactor room). Living in here is the 2 drive batteries, the front dive plane servo and the servo/mini switch for the 2 air pumps and of course the receiver. The lid on this section also has a removable panel and the Ariel cable passes through the gasket to the outside world. Under it is the twin recharging jacks for the batteries and a ready made power source for a vent fan to blow through the front hatch and out the rear hatch after a mission. The idea with this is to be able to service my water tight thingy without having to remove it from the hull.


    Now I am off to install it in the hull, connect all the linkages and begin the fun part, TRIMMING IT.

    Leave a comment:


  • oztruck
    replied
    Thank you David, complements are always welcome and help to lift the standard of all of our model building.

    But when it comes from the MAN it means a lot to me.

    Leave a comment:


  • He Who Shall Not Be Named
    replied
    I hate it when a post is simply praise with no constructive comment other than stupid gushing. Well ... I'm gushing, Oztruck!

    What a magnificent accomplishment you have pulled off here -- you have turned what otherwise is a waste of plastic, into an interesting, well detailed, and reasonably faithful representation of a specific class of Japanese submarine.

    Wow!

    David,

    Leave a comment:


  • oztruck
    replied
    The WTT or water tight thingy is still being tested, because it is too cold and wet outside to get it out of the rain water tank.

    I did a bit more detail work on the hull, hand rails, boarding ladders and Ariel mast


    Leave a comment:


  • oztruck
    replied
    OK back to it.

    With the BOX all assembled and everything inside it working it is now time to test it.

    I am going to test it the same way I tested my other one in the ALFA.

    Here in South Australia our water quality is not all that good so most houses have large rain water collection tanks.
    They are all about 6' deep or 2 mtrs.

    The way I test my water tight thingy is to assemble it, run it, then drop it in the rain water tank with enough weight on it to keep it on the bottom.
    I leave it there for 10 min then pull it up and have a look for water inside, if all is OK it then will go back in for a day or two.

    24/48 hours at a scale 432 feet is in my opinion a good test. If it survives it is then put into service, if not ?????

    Leave a comment:


  • He Who Shall Not Be Named
    replied
    Originally posted by redboat219
    Wouldn't it have been easier just to go with a dry hull with this boat?
    Would have been a complete nightmare.

    David,

    Leave a comment:


  • oztruck
    replied
    I have a "Glen" on order, hope to have it soon. Fujumi do a very nice 1/72 scale Glen and it even comes with a catapult.
    Last edited by oztruck; 05-26-2011, 07:22 AM.

    Leave a comment:


  • redboat219
    replied
    Ok.

    BTW, Ever considered getting a 1/72 aircraft kit to place on the ramp to spice up the look while running on the surface?

    The 1-25 carried the Yokosuka E14Y floatplane http://en.m.wikipedia.org/wiki/Yokosuka_E14Y

    looks similar to the Arado ar 196 carried by the Bismarck. So if you could find one in 1/72 you can dress it up to look like an IJN plane.
    Last edited by redboat219; 05-26-2011, 02:36 AM.

    Leave a comment:

Working...