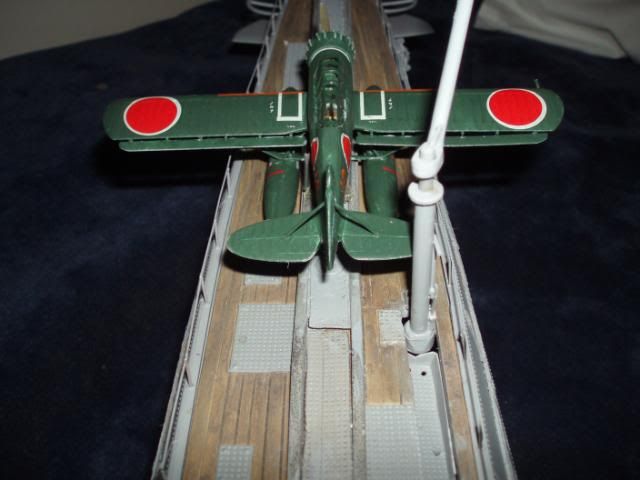
Perfect trim!
The job you've done to get that awful kit presentable is simply magnificent!
Weather that thing!
David
-
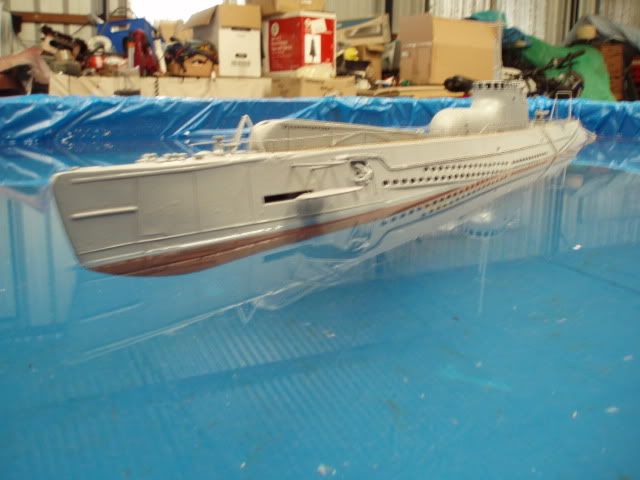
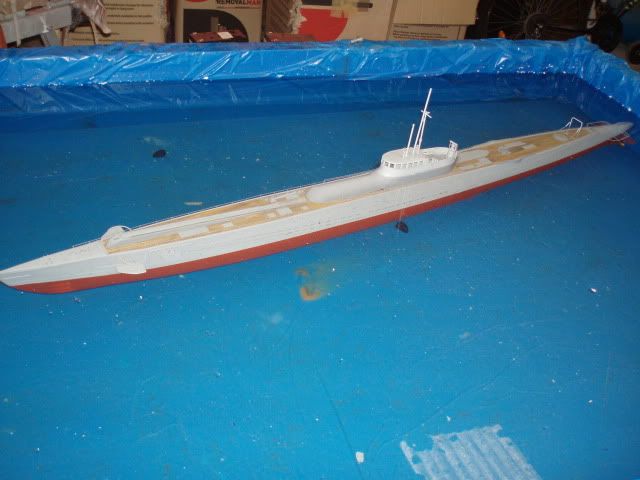
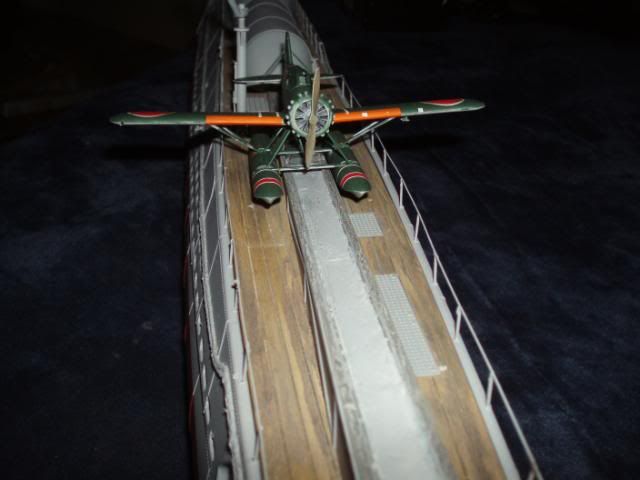
Still held up with the emergency gas system but I could not help myself. Just had to get it wet.
Trimmed for both surface running and snorting. Can't wait to take it for it's shake down run
Leave a comment:
-
I have made a bit of progress on the recovery buoy system.
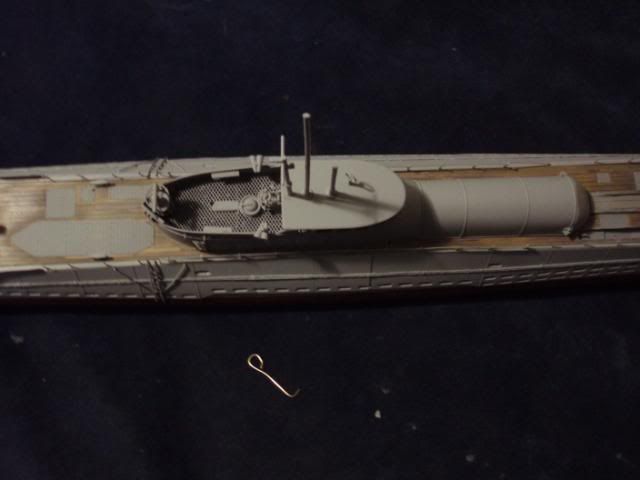
As we all know one of the BIG problems with the "Lindberg" kit is the hatches on the deck. They are in the wrong place and are way too big.
To correct the problem I first filled the hole where they were to go with 3mm plastic card cut the same size as the hatch, glued it in place them scribed a wood pattern into the plastic and cut the board lines.
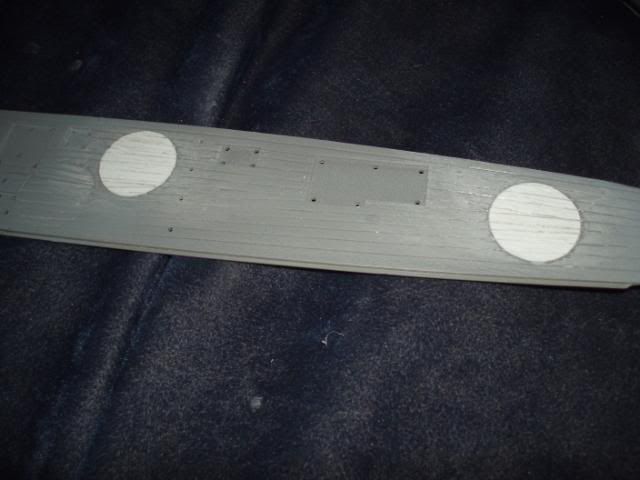
That worked well for most of them but it still left me with the one on the rear deck. It stood out like a pimple on your nose.
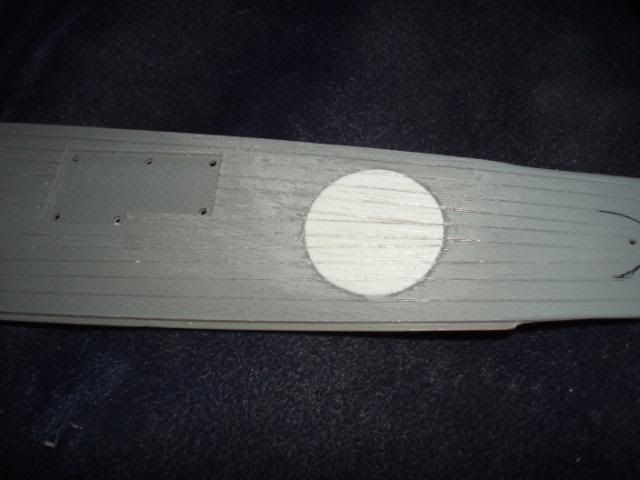
Because it was the problem I thought why not turn the problem into a solution. A solution as to where to put the recovery buoy.
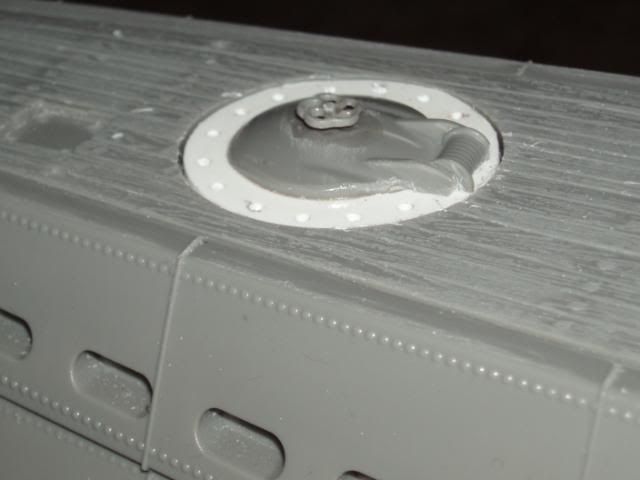
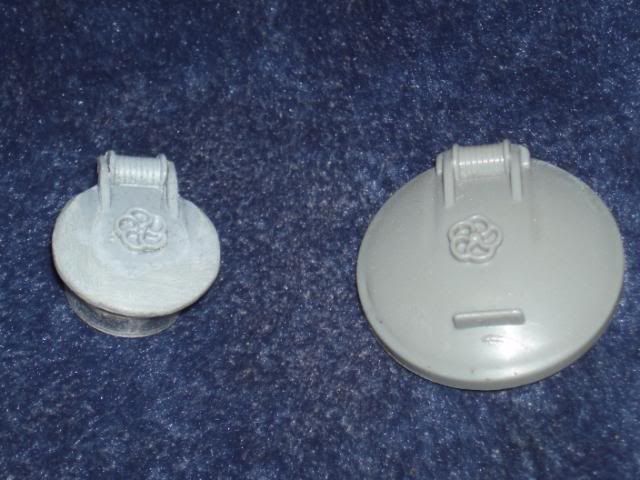
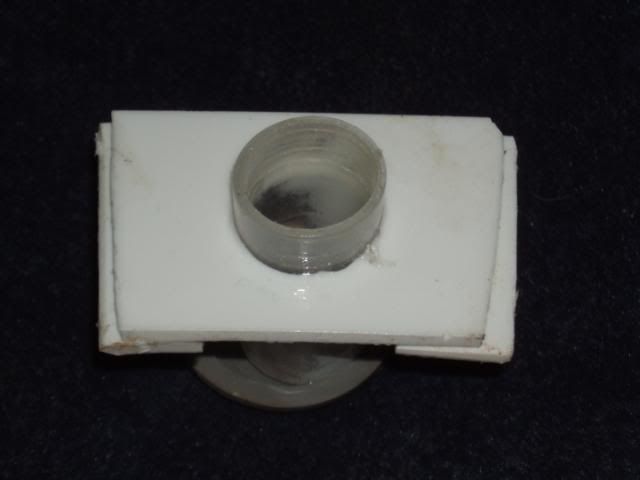
As you can see the hatch was still too big even at half it original size, so I converted the hatch to be even smaller. It's still too big but what it does will make up for the size of it.
This is what I ended up with
And this is why I don't mind that it is too big
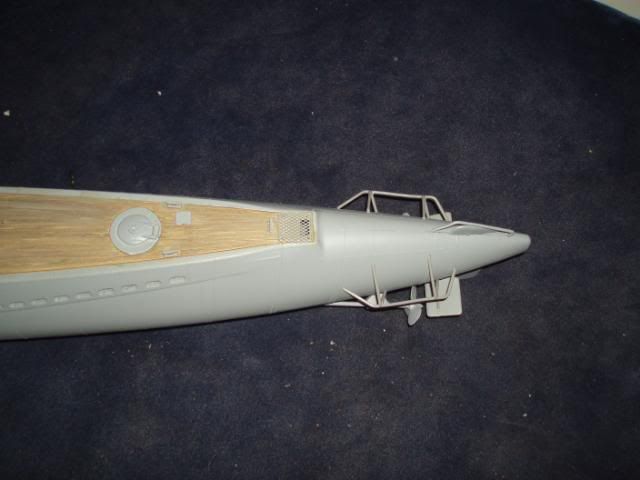
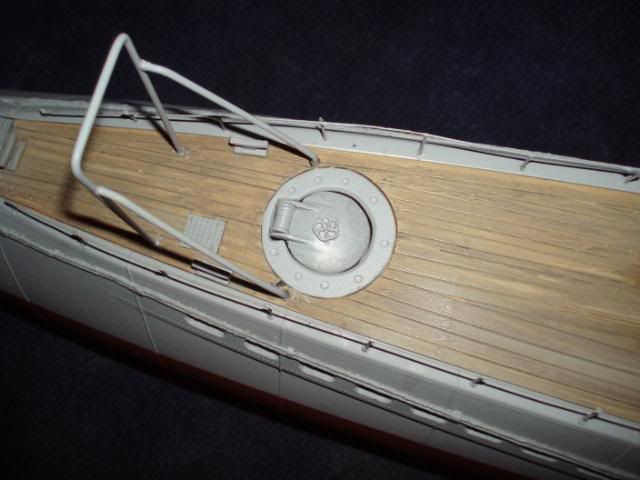
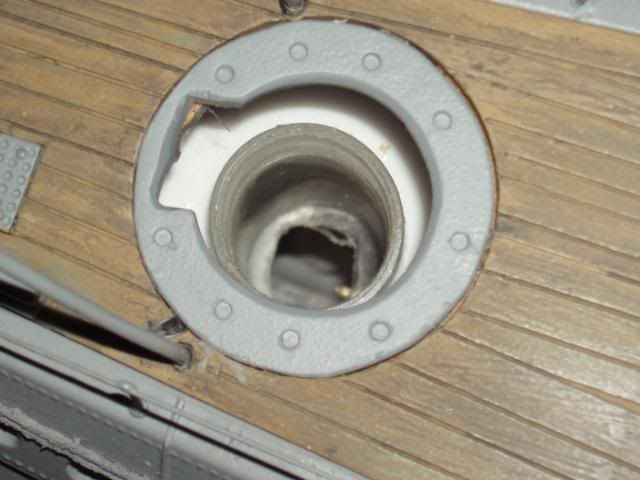
And how it looks on the boat now
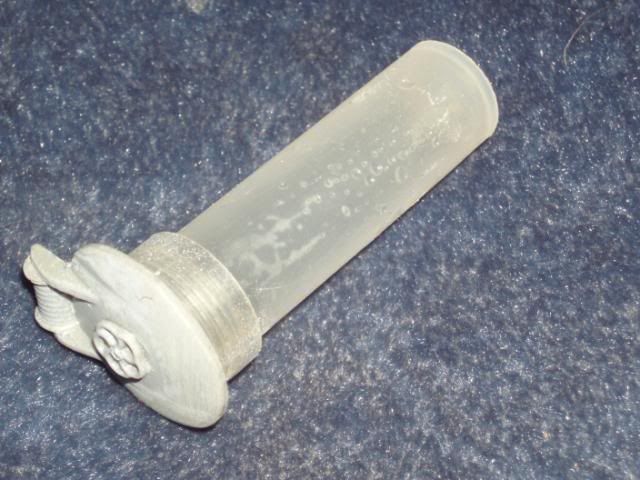
As you can see glued to the underside of the hatch is an air tight tube with a brass ring fitted to the bottom of it, the tube fits inside an other tube with holes each end and mounted into the hull
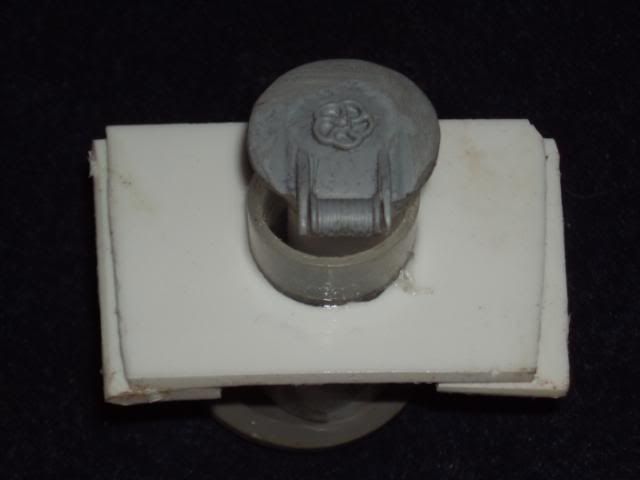
The air tight tube when installed is firmly connected to feet of lb fishing line which in turn is firmly connected to the rear of the hull.
A piece of brass rod passed through the ring on the bottom of the recovery buoy to hold it in place when not needed.
The other end of the rod is connected to a servo which is connected to a fail safe circuit. If I loose signal the failsafe kicks in, pulls the pin, the recovery buoy bobs quickly up to the surface and then I decide who is going to get wet.
I have painted the recovery buoy a bright yellow to make it easy to see and if needed I could put a self powered bright flashing LED in the buoy as well. At the moment I think I will just stick with the bright yellow paint.Leave a comment:
-
OK back to the mechanics.
I still need to make the emergency gas blow tank and control.
What I am planing is an external gas tank, one not inside the W.T. Thingy. One that can be easily recharged and hopefully 100% safe. The last one I built is on the inside of the W.T.Thingy of my Alfa look a like.
Although it has never given any trouble there is always a chance of a leak, and we all know happens if we let off gas when we don't want to.
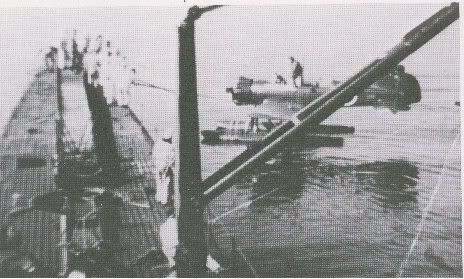
The other project is a recovery buoy that is activated manually or by a fail safe. My plan is that it should have enough buoyancy be able to float to the surface still tethered to the sub by a cable and be easily seen from the shore.
We put too much time into our subs to turn them into an artificial reef for the local fish.Leave a comment:
-
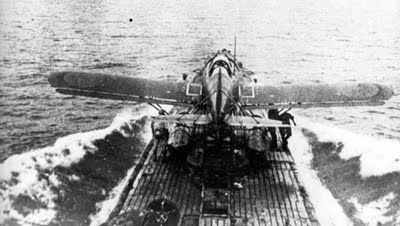
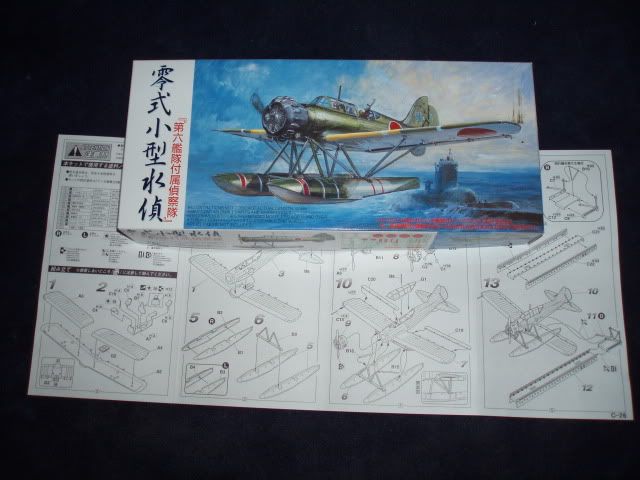
Looking good, i also have that floatplane kit, but not built, so gives a good impression of the size.
Seems to me proof , you can polish a turd, in the nicest possible wayLeave a comment:
-
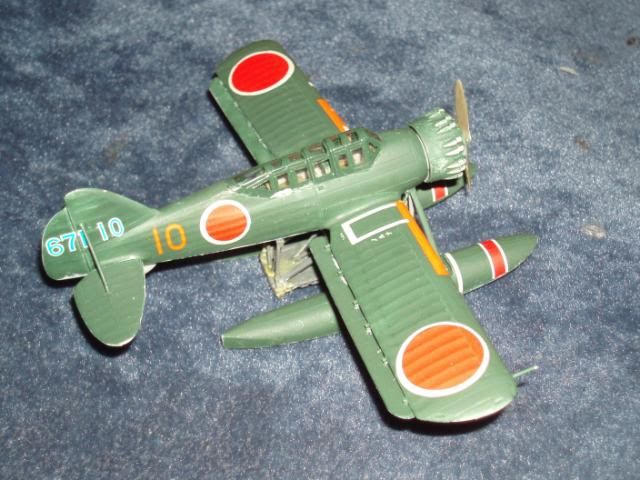
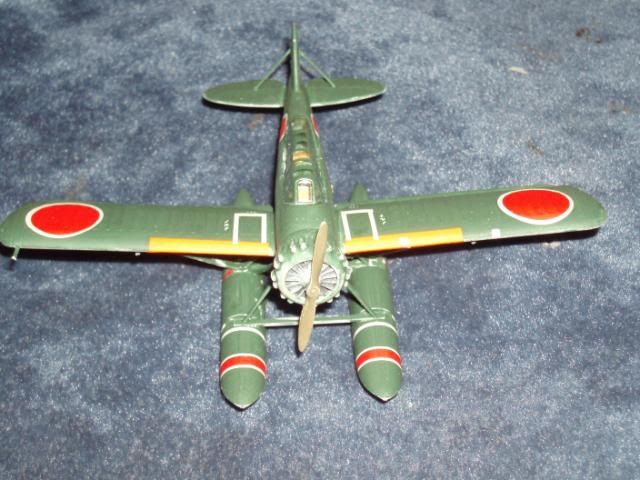
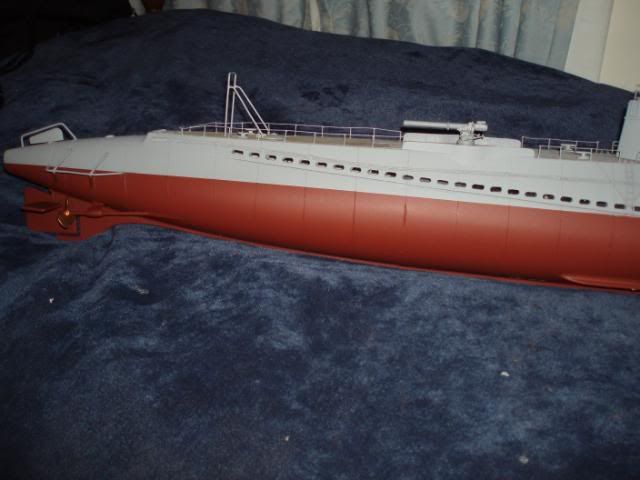
Boy, am I having fun with this!
Got the Glen float plane stuck together and painted over the long weekend (Our Queens Birthday)
Very happy with the quality and fit of the kit.
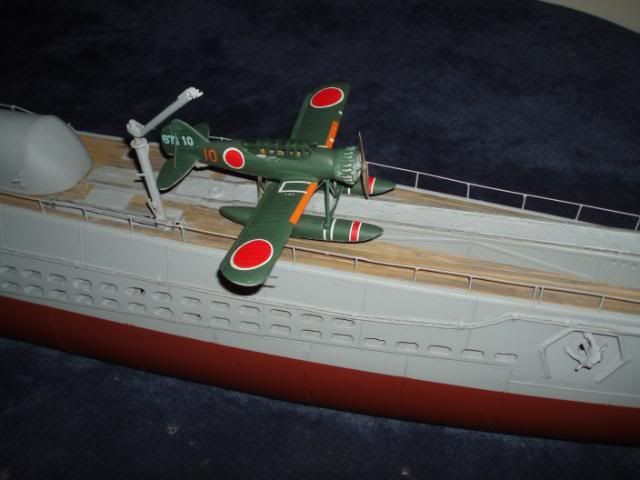
I built into the catapult stand a rare earth magnet and placed with super glue a couple of metal washers on the ramp.
Strong enough to hold the plane on the ramp but still easy to remove when not running on the surface.
Leave a comment:
-
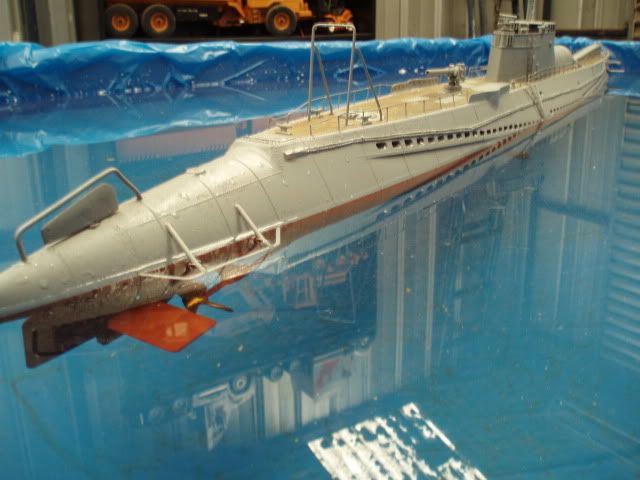
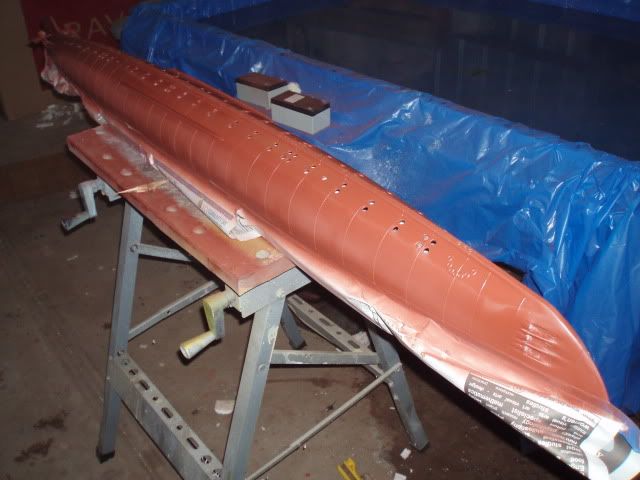
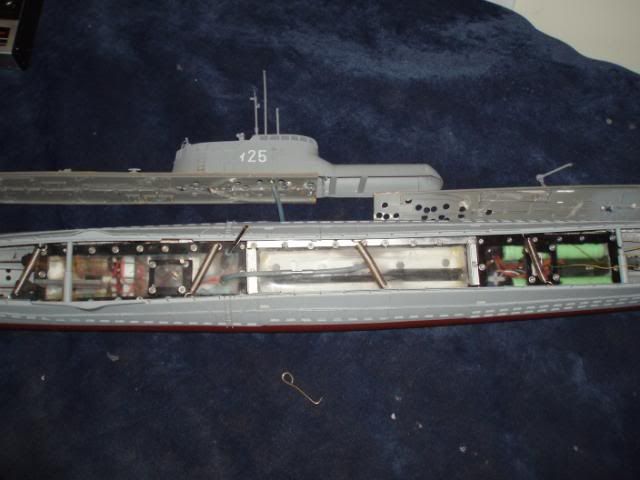
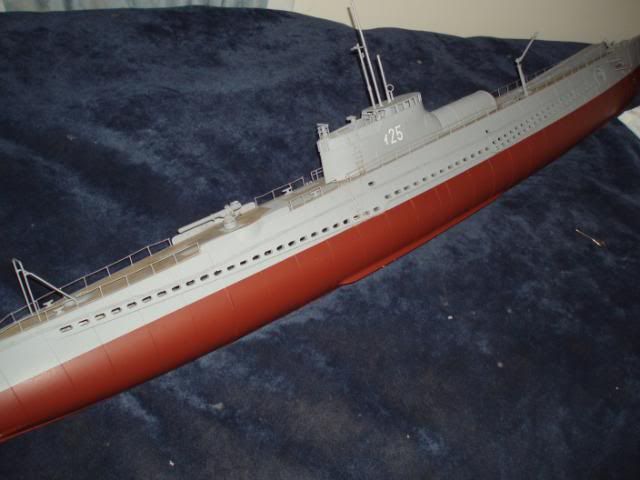
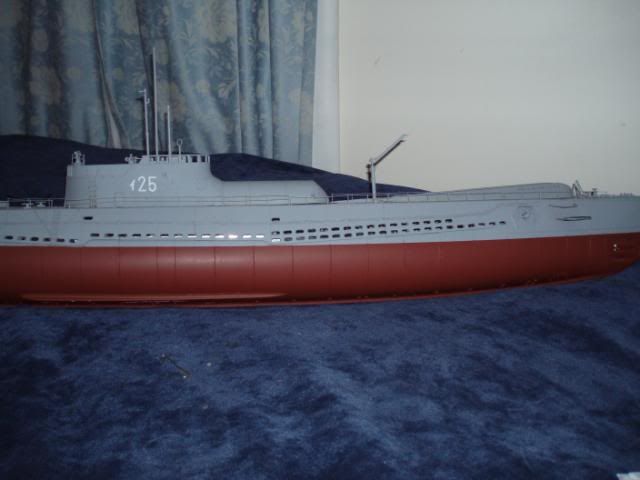
Splashed a bit of red paint on the hull, added the sail numbers.
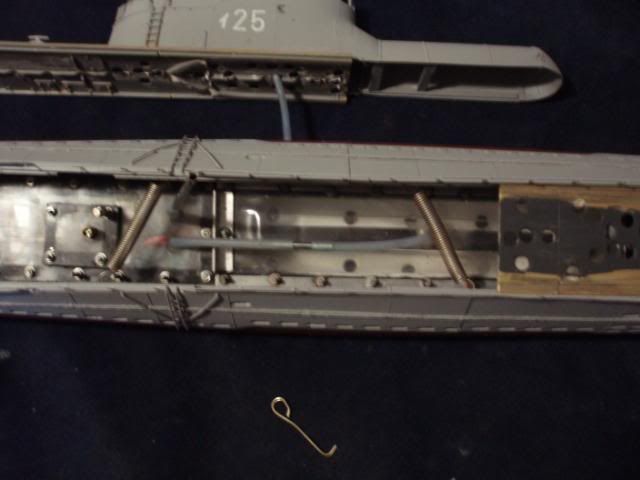
Fitted the water tight thingy and developed a fitting system for the decks.
In the photo there is a brass "KEY" for pulling the hull out when fitting/removing the decks.
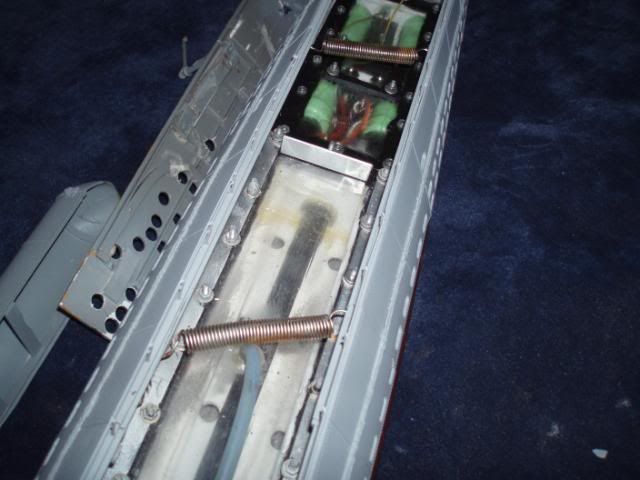
There are 4 springs that pull the hull in and when the deck is installed they pull the hull into the deck and give a good solid join.
Going this way I can still have entry into the hull and w.t.thingy,have a good strong hull with no twisting but, when needed can spread the hull just enough to remove/replace the w.w.thingy.
Leave a comment:
-
This is going to be a build for the record books.
I hate you!
David,Leave a comment:
-
My mother used to tell me "There are many ways to skin a cat". I guess it is what works best for us, is what we tend to run with.Leave a comment:
-
Ha Merriman dont cheat. if i want an external antenna ( I usually leave em inside, i havent noticed any difference with them being out of the tube usually) I drill hole, and stick wire throught and seal with CA. Lazy huh ;)Leave a comment:
-
Just as long as the internal length of antenna plus the external length of the antenna add up to be the length of the original, fresh-out-of-the-box receiver antenna, you're as good as gold!
Cut, splice, heat-shrink, molest, and verbally abuse that antenna all you want. Just, at the end of the day, have no breaks in the insulation on the wet portion of antenna; insulate well around the wet side of the antenna lug; and keep the installed total antenna length equal to its original length, you can't go wrong. Cut and solder away without fear or embarrassment!Leave a comment:

Leave a comment: