-
Thanks for the input gentlemen. Yes David the Shafts are toed out just a bit so I will give it a go with the stronger inside wash hitting the rudder. That is how I set it up last night. If it does not improve it is a simple matter of changing the ESC leads over to make it work in the other direction. While I am at it I will enlarge the rudder, got nothing to loose. Again thanks for the help. -
Are the shafts parallel with the boats centerline or toed-out? If toed-out then they will be less effective at differential steering -- the closer the shafts nexus is to the boats center of gravity, the shorter the turning moment arm, the less effective differential throttle will be to effect a yawing force.
Enlarge the lower rudder and blow water off it with the screw opposed to the direction of turn.Leave a comment:
-
Im thinking "Fast prop pushing clear water" and slow down and even stop and reverse the inside prop. You may have to resort to using a seperate channel for each prop and control them independantly so that you can go ahead on one and stop or reverse the other one.Leave a comment:
-
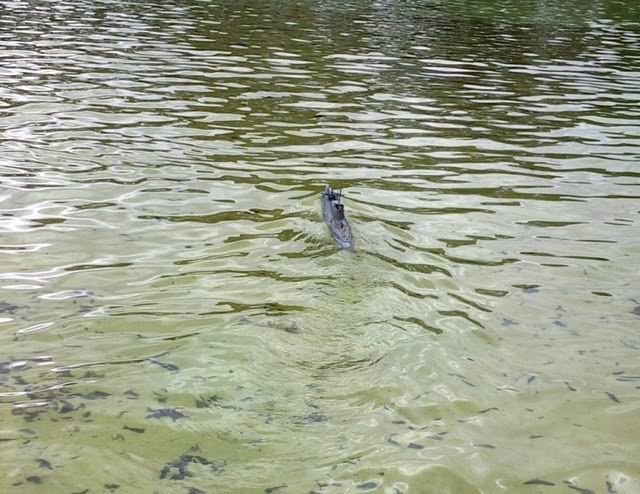
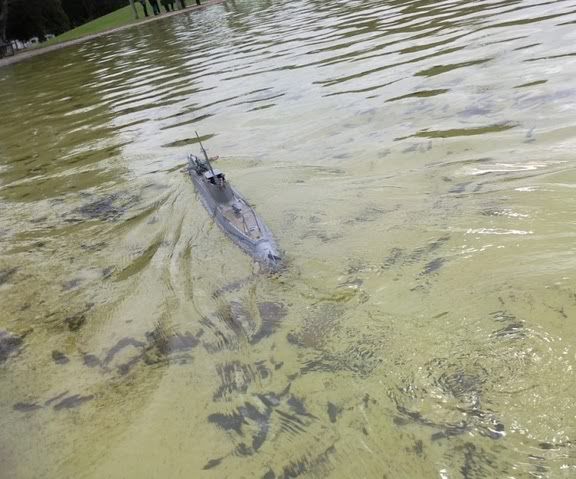
A few more photos were sent to me
Starting to dive
Doing what a sub should do
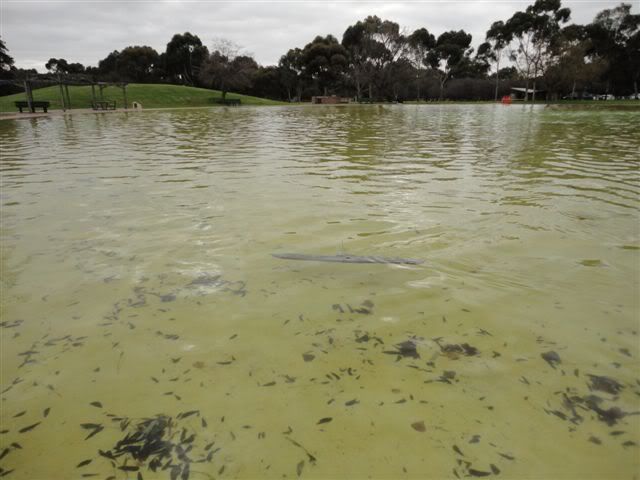
One of the targets

Leave a comment:
-
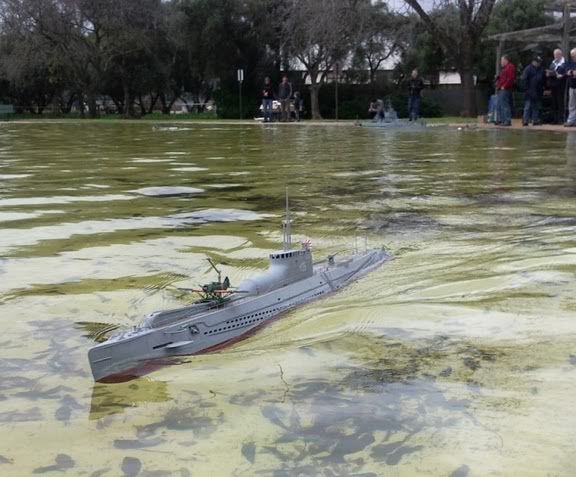
The photos were taken with a phone camera, not to bad hay. The water tight thingy did it's job well and if I can only get it to turn better I will be a happy chappy.
I am going to try an aircraft mixer on the motors and rudder to see if that helps.
The idea is that when the rudder is turned one of the motors speeds up and the other slows down.
Because I-25 only has one rudder and 2 props it will be a bit of trial and error to figure out which motors to speed up and which one to slow down.
Will it turn better with the fast prop pushing clear water or pushing against the inside of the rudder? If it had twin rudders it would be a lot easier.
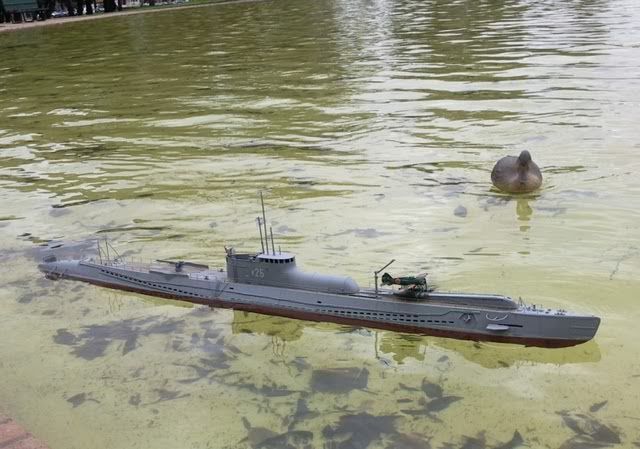
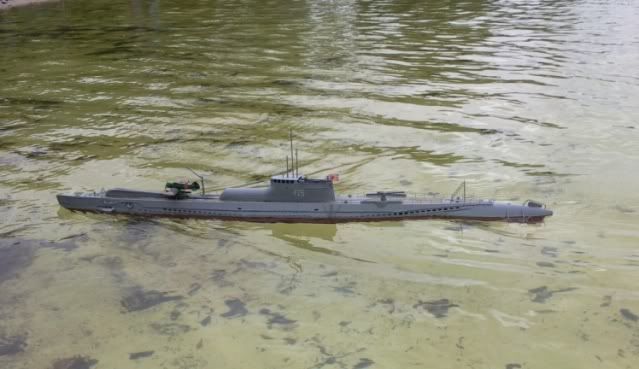
Got some more photos of the day from Bruce and his phone camera.

Leave a comment:
-
Really looks good. If you can get someone to help you take pictures and video , you could post some operational shots. Just curious, did you get any leaks in you water tight areas?Leave a comment:
-
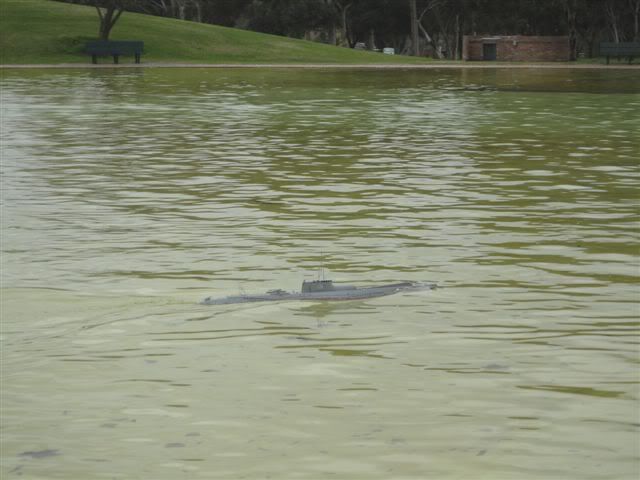
There is a new pond reopened here in Adelaide, South Australia.
It is a lot larger than any of the others and the water is clear. It's not very deep, only about 2 feet but the surface of liner of the pond is a sand colored smooth membrane.
Took I-25 down to it yesterday just to have a look. She still is not turning as good as I would like but even without a ADF I was able to keep it running submerged for the most part of 3 laps.
I also took the ALFA down to play with and as always it was fun to play with. Also there were several 1/72 TARGETS.
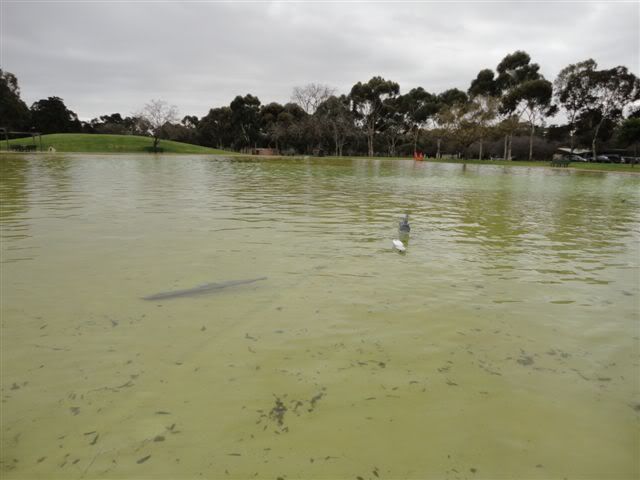
Several of the guys that were there took lots of photos but I have only see 2 of them so far.
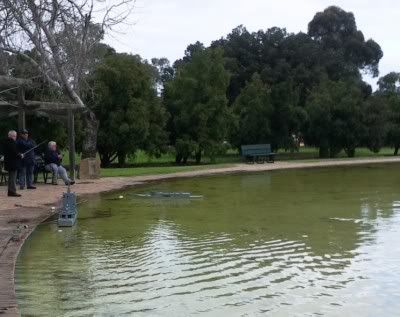
Can you see the sub?Leave a comment:
-
Thanks for the nice words guys.
Yes it did start out as a pig and even after a bit of work it is still a long way off being 100%.
But even with all its faults, when I took it out on its first run I was pleased that the people that know about subs (all 3 of them) had no trouble spotting it was a B1 class.
I guess its a bit like when you own a particular model and make of car, you can tell the difference between the top end of the range and the cheap version.
I am happy with the way mine looks and there is still a lot of work that others can do to make these models even better and I am happy with that too.
I think I have found a solution for the emergency gas blow system but can't tell until I get the rest of the parts and try it out.
I have also done a bit of work on the rudder and at the moment I am swapping out the radio system with a more up to date set with EPA's to help to get the boat to turn better and give me a bit more scope with the fine tuning of the submerged running.
Looking forward to getting it wet again soon.Leave a comment:
-
Great job, OZ! Talk about making a purse from the proverbial sow's ear.
Once again, with all the available reference data on these I-boats, I still shake my head at how Lindberg's guy got this kit so f'd up! That exaggerated line of vents on upper hull is so wrong but there isn't much you can do about that unless you want to do some major corrective surgery.Leave a comment:
-
Impressive to say the least Oztruck. Here are some pictures that you may already have , Im not sure. Better late than not.Leave a comment:
-
Well I couldn't help myself.
Even though it is still not complete I had to get the boat wet.
We had a club run day last Saturday with NO public visitors so I could be self indulgent and concentrate on what I was doing and not on what I was being asked.
As shown in the video the boat ran well. On the surface it sits nice and starts and stops without any sideways movement, the props spin but not the hull. It does not turn as good as I want it to YET but that is because of the radio I am using and the rudder could be a bit bigger. Both an easy fix.
Submerged running is another story.
It sat at the correct depth when still but when moving forward it wanted to poke it's nose out of the water and while I was trying to get that sorted out, on the second lap of the pond I found the bottom and got the props caught it the weeds.
Two of three of my fail safes worked, because only two are fitted at the moment. The first one is a weak link in the prop shafts, a piece of silicon tube acting as a universal and fail safe. If the props get caught up on something the idea is for the silicon tube to let go before the the ESC cooks its self. That seemed to work but only on one shaft. So I guess it half worked.
The next fail safe is the recovery buoy that worked very well. I knew as soon as the buoy surfaced just where it was and was able to use the buoy cable to free it from the weeds and get it back to the pond side.
The fine tuning on the submerged running is very close to being complete. The next time I try and fine tune the submerged running it won't be a full steam ahead.
Sorry about the quality of the video but trying to drive and video at the same time is a bit beyond me.
When it is all working as it should I will get someone else to video it for me.
Hope you enjoy the video.
Leave a comment:
-
Thanks David for the encouragement. Just like the real ones though, it won't get the final paint/weathering till it is a reliable runner.
It already has some natural weathering. The black iron hand rails and steps that come in the kit that I changed and mounted on the sail have started to rust already. Giving rust stains down the sail where they go through the plastic.

Leave a comment:


Leave a comment: