Here's your feed-back:
(But, first, I must say how truly amazed I am at the speed and quality of your work -- pulling such a great looking scale model submarine out of that horrible POS kit you started with)
Your methodology, determining the floodible volume of your ballast tank, is spot on. Now, lets see the cylinder or box you're using.
-
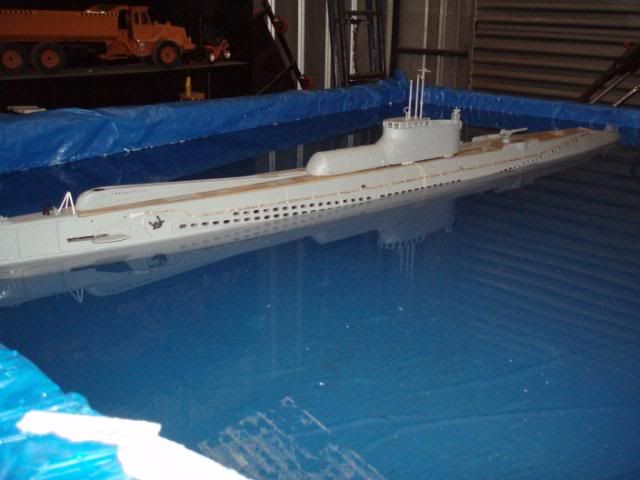
Today is the day it got wet. The first thing I had to was put a liner in my 6' X 4' box trailer and fill it with water. It is good as a test tank, big enough to fit most of my surface boats and plenty big enough for my 2 subs. I don't have to bend down to far to put them in the water or take them out when they are full of water(heavy)
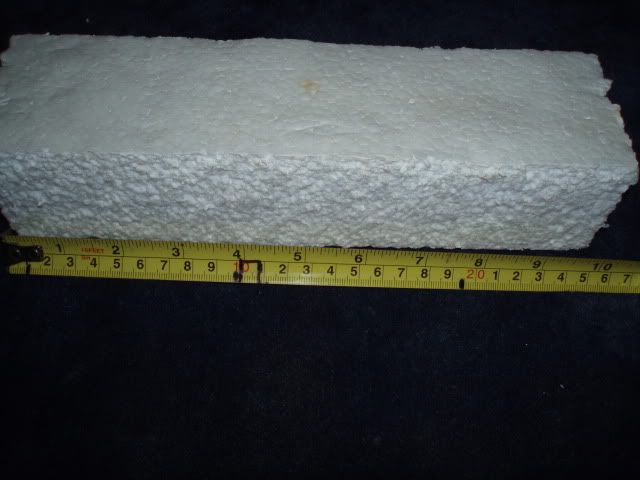
The first part was to get the boat to float with just the sail (conning tower) out of the water. I did this through trial and error and a block of surf board foam
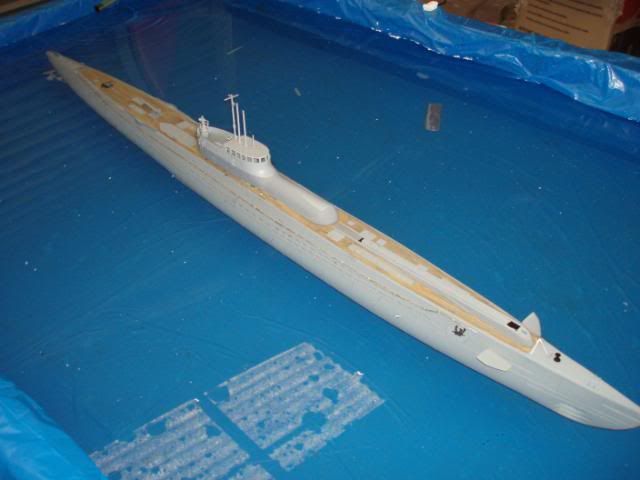
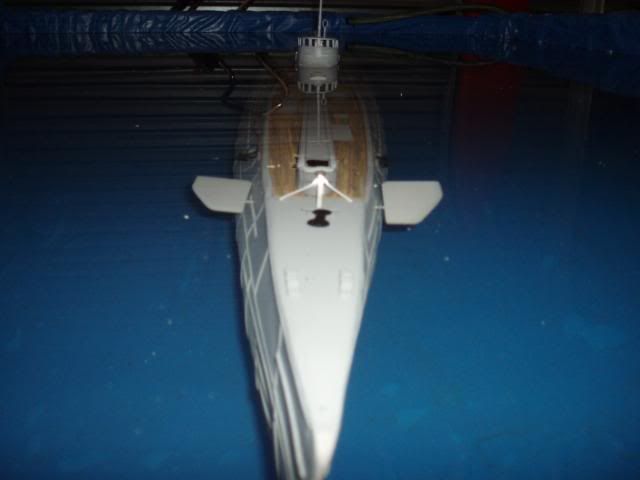
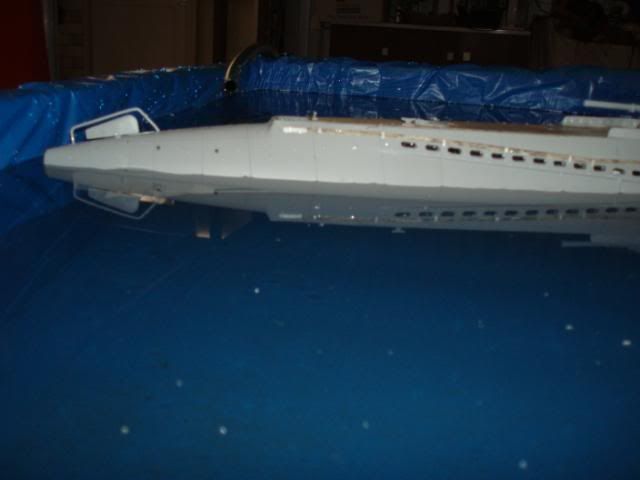
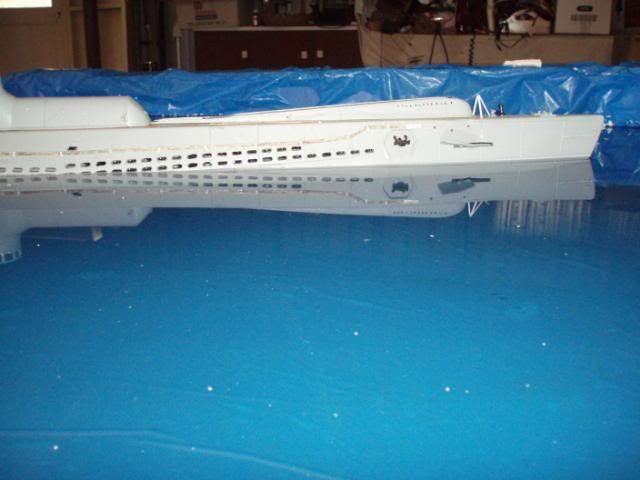
Now that it is sitting in about the correct height for snorting, I had to find out how big the ballast tank would have to be to get it to sit at the correct surfaced water line.
Again I used some surf board foam. I cut a block out of the board 12" X 2 1/4" X 2 1/2" and placed it on the balance point or mid section.
Then through a bit of trial and error I ended up with the block 10" long which seemed to get the boat to a good water line.
I think this will help workout how big my ballast tank is going to be.
This is what it looks like with the 10" block in it.
Any feed back from you guys will be appreciated Very much
Am I headed in the right direction?


Leave a comment:
-
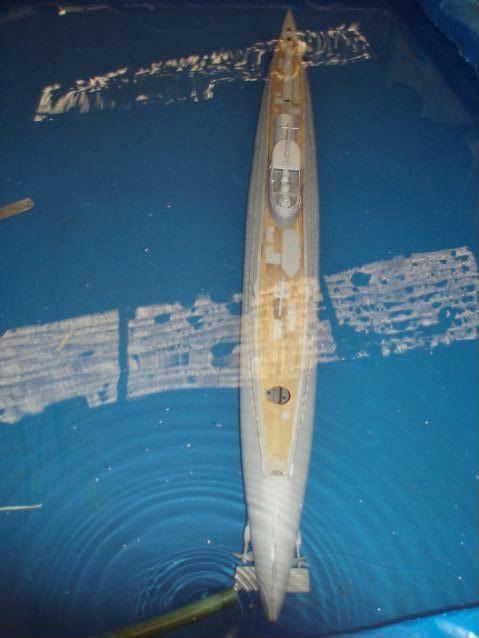
Had a bit of time this week to spend on the boat. Did a little bit of detail work on the hull, painted the hull again with primer (still fixing faults)
Painted deck, still needs a coat of Dull Coat and made some headway to fixing the sail and catapult to the deck.
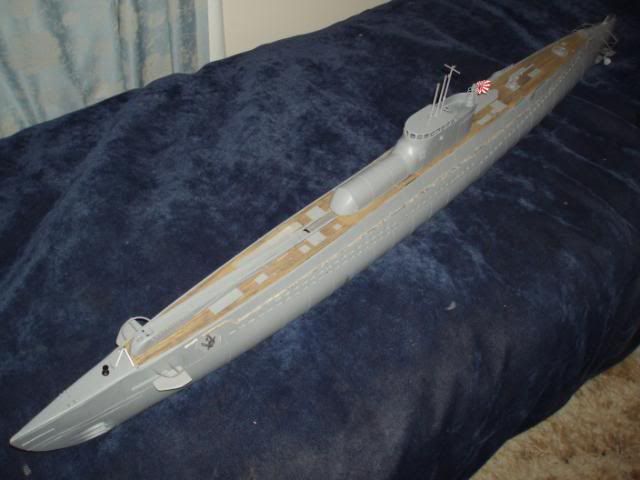
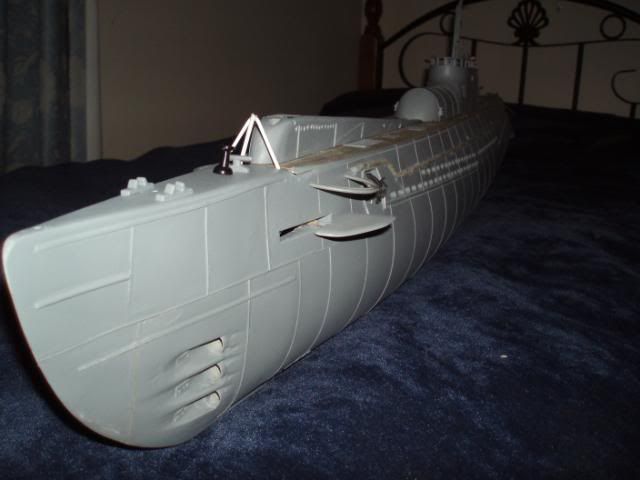
Now that the boat has its basic shape and before I do any fine detail work it is going to go for a swim.
What I intend to do is trim the boat with just the top of the sail sitting out of the water, then add foam till it is sitting at the correct surfaced water line. That should give me a good indication of how big my ballast tank is going to have to be.
I will add a bit more than I need to compensate for the different types of FRESH water we have here in South Australia and the weight of any extra details added above the waterline.Leave a comment:
-
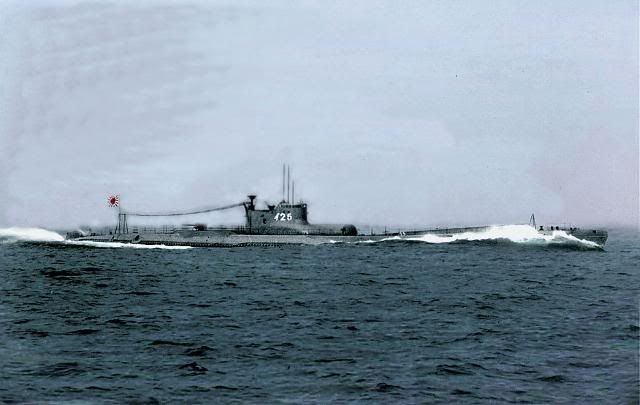
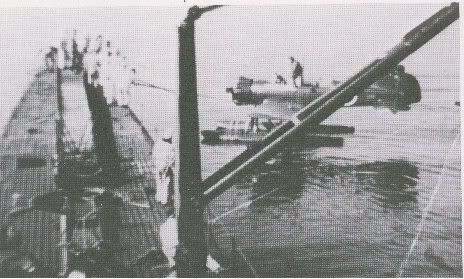
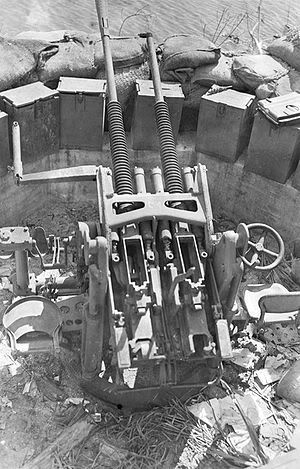
You're right, I took these pics a few years ago in the Australian War Museum in Canberra.
On this pic :
You can see a pic of the midget sub on the C1 deck. The picture is not really very good but it can give a general ideaLeave a comment:
-
Thanks Pablo. That sub is in the Australian War museum in Canberra. Would love to get that photo of the midget on the deck of the C1 type. Looks like I will have to do more digging.Leave a comment:
-
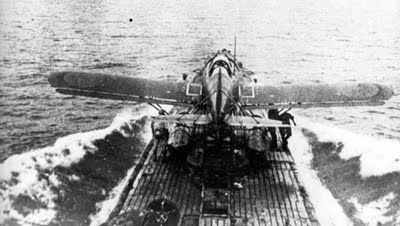
Do you mean this midget sub ?
Leave a comment:
-
Looking damn good! As stated on another forum, its a shame that Ernie Petit of L-H didn't think ahead when he proposed this kit. Imagine how well it could have sold if 1) it was done by a competent designer such as our very own Mssrs. Merriman or Palumbo & 2) they had offered several variations of the B for both original scout & late war kaiten carrier.
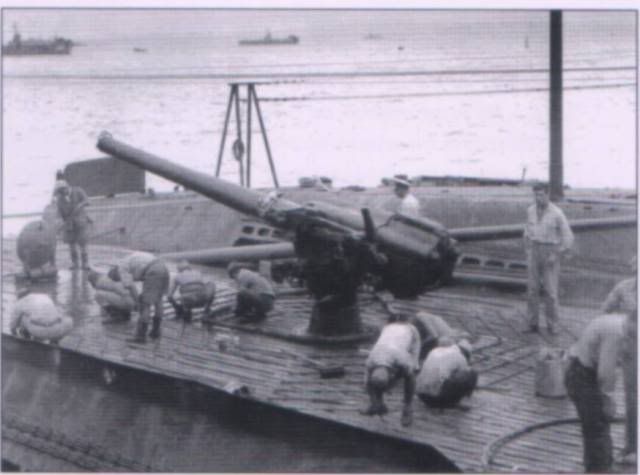
On a related note, would anyone have clear photos of the midget sub cradle used on the C1 type? My buddy Steve Lund has decided to backdate his I-53 to this earlier version & is looking for reference info.Leave a comment:
-
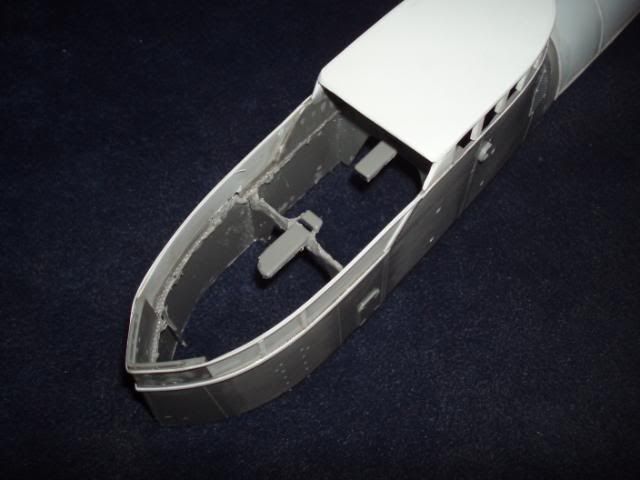
The next item to be looked at is the ramp for the float plane. Again after looking at several photos of the ramp from a few different angles I came to a shape that I was happy with the way it looked. It, like most of the other custom made parts is built from plastic card and a bit of putty. It will also be a good brace to stiffen the front deck area.
Leave a comment:
-
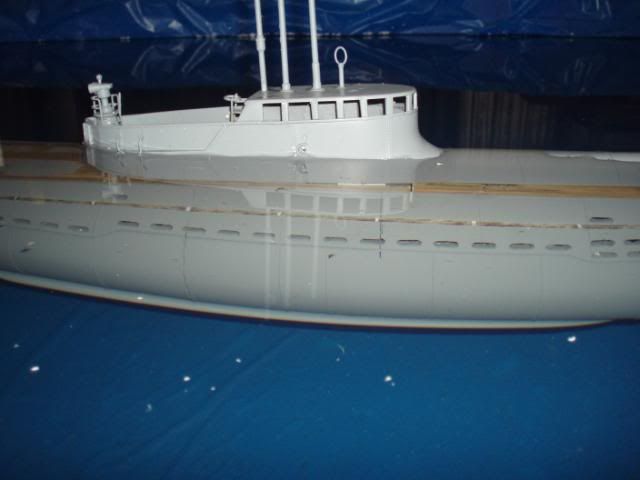
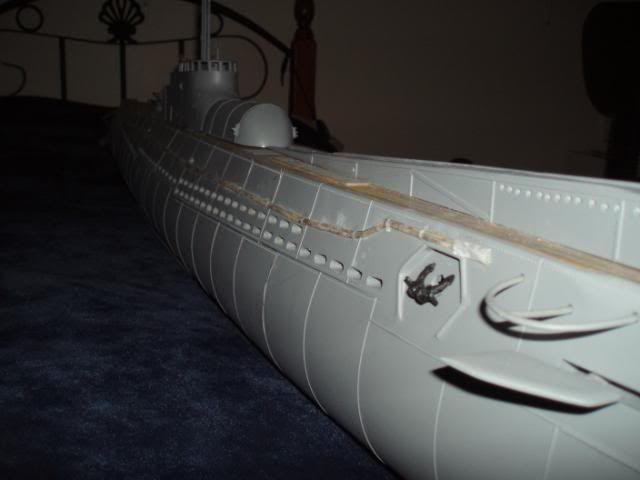
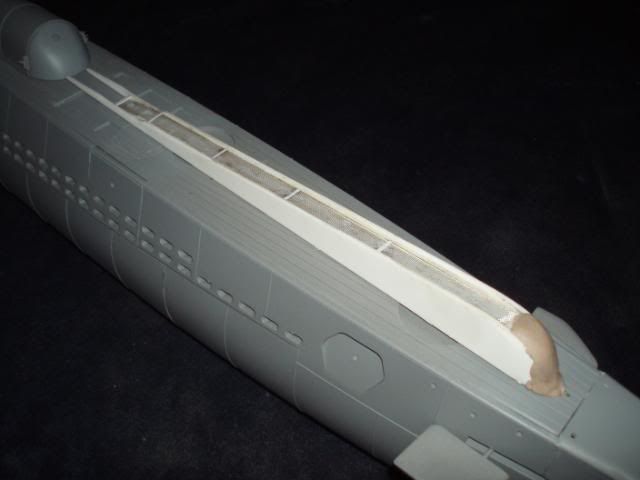
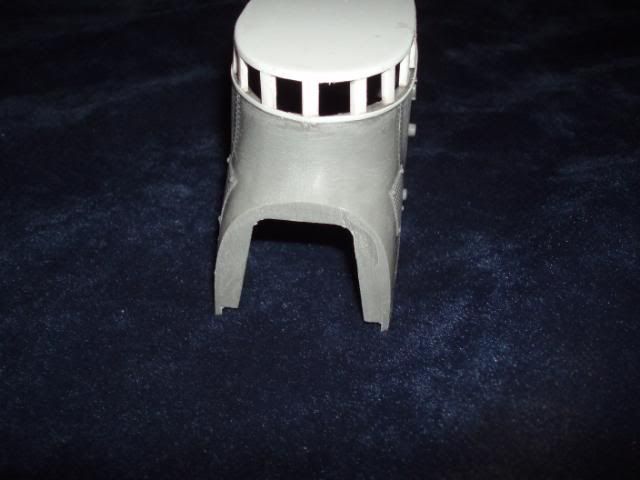
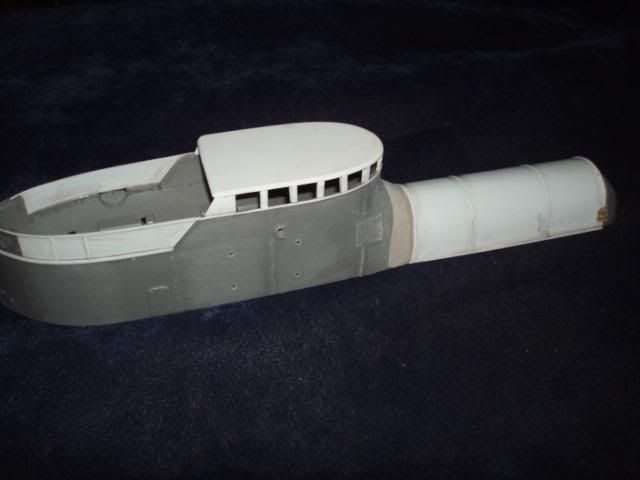
As one of my goals for this build is to have the boat work as good if not better than it looks, the deck area of the sail was going to cause a potential problem. It had a large flat deck with a lot of bracing under it and would be a huge air bubble trap, making trimming almost imposable.
To solve this was easy. Remove the deck and replace it with mesh. Easy to do and no more air bubble traps with out spoiling the look of the boat.

Leave a comment:
-
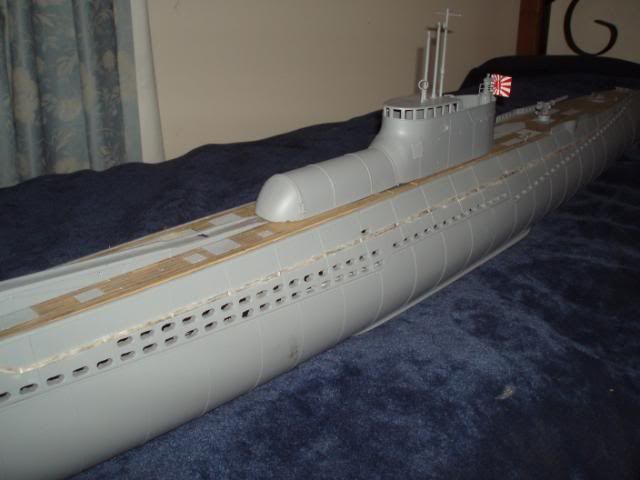
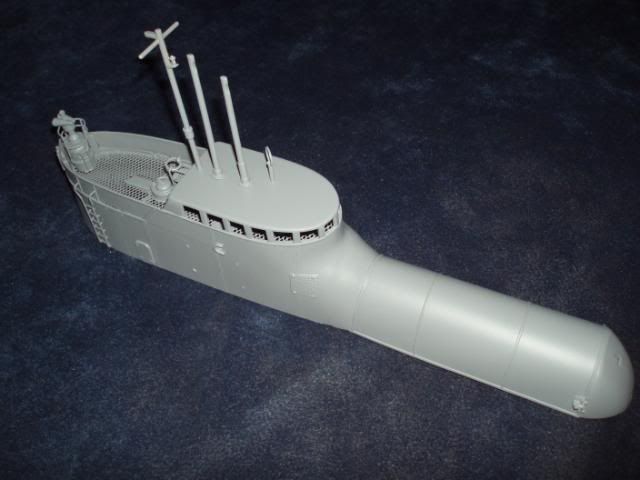
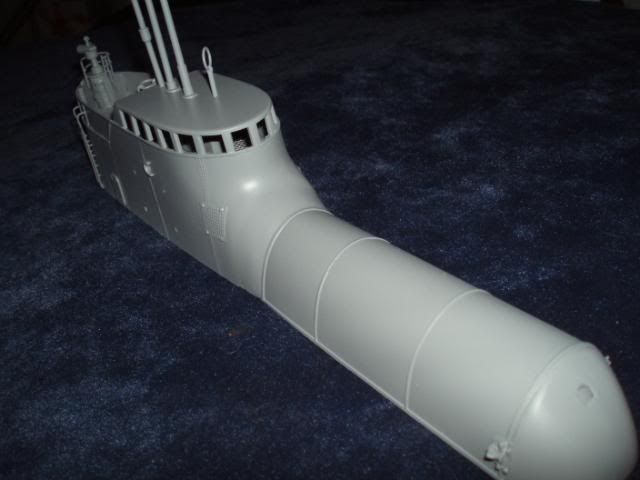
The next part of the conversion is to add the air craft hanger to the sail, I did this the same way the IJN did, cut the front of the sail off and add the hanger and door in its place
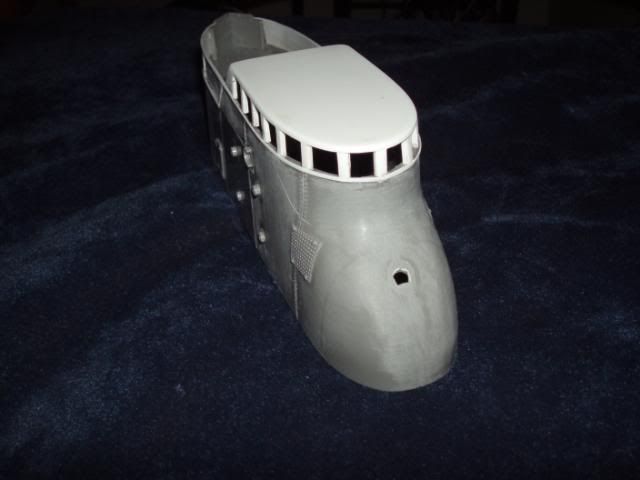
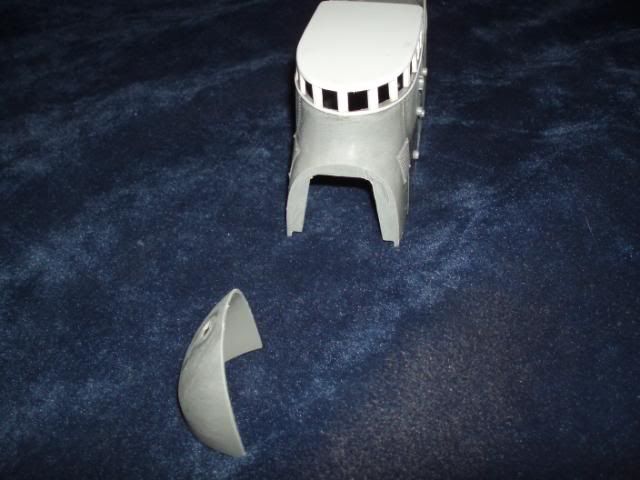
With the front cut off it was time to build the hanger. I used some 1mm plastic card for the main part of the tube and added some .5mm plastic card to add to the detail. Also some extra details from the parts box.
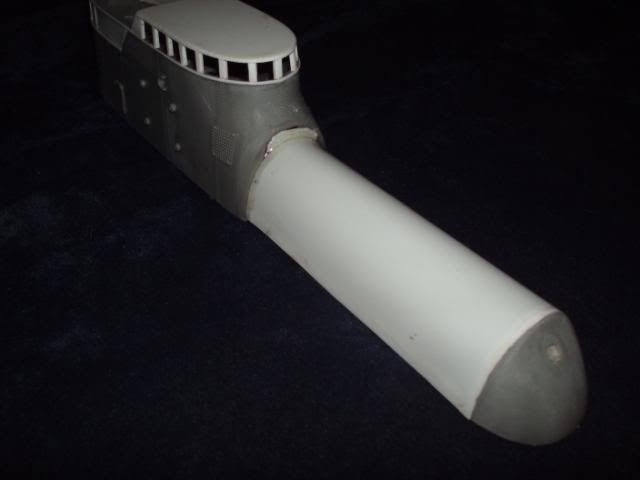
The hanger was then blended into the front of the sail with some 2 part epoxy and finished with body filler.
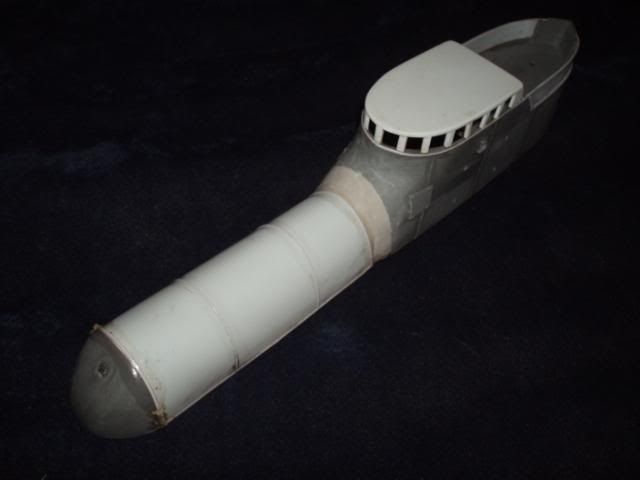
Then put aside for a coat of primerLeave a comment:
-
Haven't seen the deck gun but you could probably adapt one of the 5" deck guns offered by Great Little Ships, IBS, Nautilus, Sirmar or WEM.
Pit-Road offers a 1:72 Type96 25 triple MG metal/resin display model that you could modify but at 4800yen, it ain't cheap & might be hard to find since its been discontinued. Contact Scott Herds at Hobby Link Japan to see if he knows of any other sources.
You might want to contact one of the 2 gents on Modelwarship.com who are currently doing 1:72 Yamatos since they'll need the Type 96 single & triple open mounts for their late model versions.Leave a comment:
-
I guess so "herrmill" but I am not any where near thinking about detail parts yet. Where can I get a 1/72 5" IJN deck gun or a twin 96 type 25mm machine gun and its mounts?
Leave a comment:
-
Looking good! Are you going to fabricate any of the detail parts to replace much of the toy-like sprue Lindberg is famous for?Leave a comment:


Leave a comment: