

-
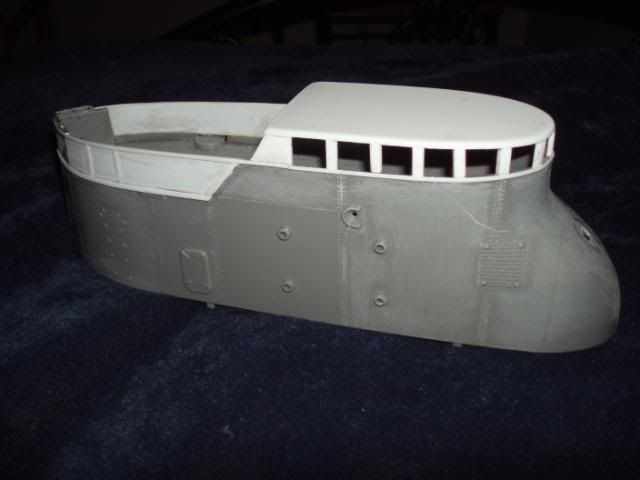
I am happy with the way the hull and deck are starting to look and before I get too carried away with just one area I thought it is time to look at the sail.
What comes in the kit is nice and strong but not what is needed to make my boat a B1 type. After a long time looking at photos of the real thing I have worked out a plan of attack to convert the kit sail into a sail that looks at home on my I-25.
The first thing that needed to be done was fill in the area at the rear of the sail. I have used 1.5mm Evergreen sheet for this and some .5mm bits for some of the detail parts. The next part was the roof and windows for the con area. Here I used 2.5mm plastic card, cut to the shape and then rounded the sides and blended in the windows. The unit was then put aside to give the glues time to dry and harden. This is what it looks like so far.
Leave a comment:
-
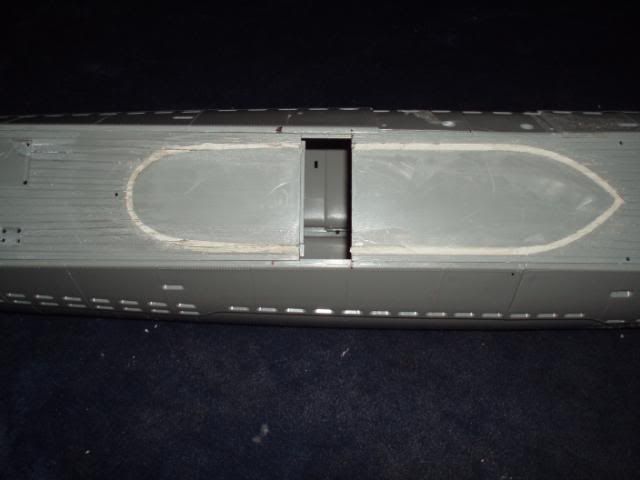
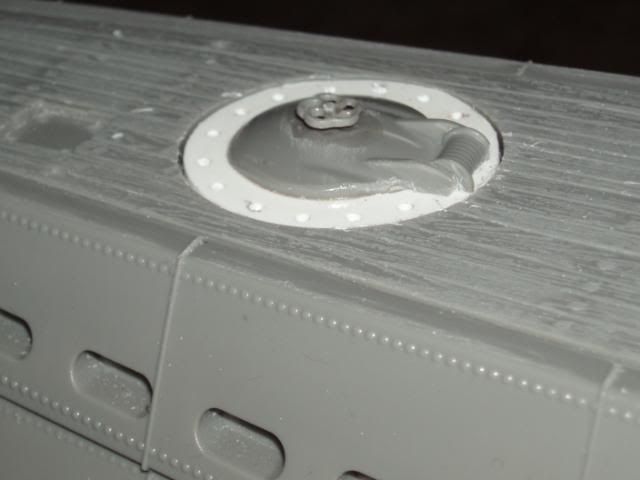
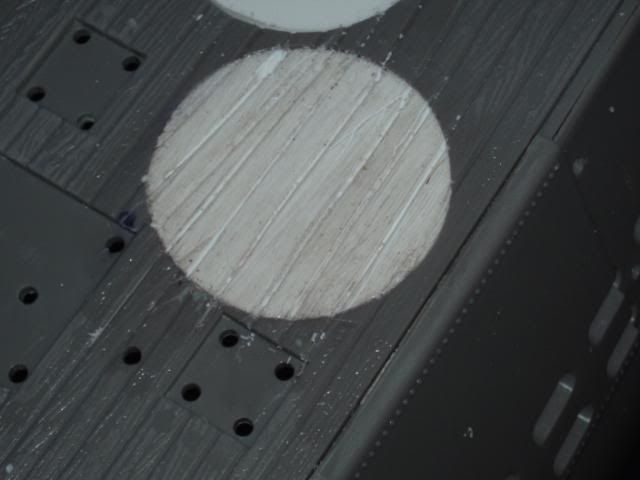
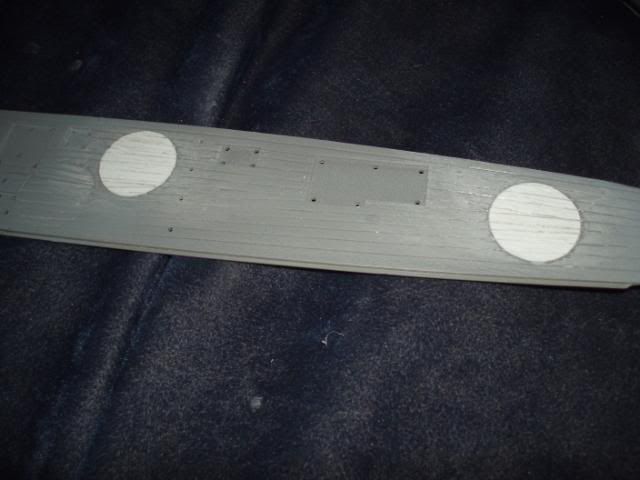
I had to add 36mm to the front deck to get it to join up with the rear section. While I was at it I also removed all of the cast on rivet detail on the deck, in scale they were about the size of a foot ball and just had to go. As other people have already mentioned the deck hatches are over 10 foot in diameter which is a bit too much even for Lindberg. Not only were they too big they were in the wrong places, so what I have done is fill the holes where they were to go with plastic card and then re scribe the wooden plank detail.
The sail was also in the wrong place and needs to be moved back about 60mm and the slots for the old position needed to be filled and also re scribed.
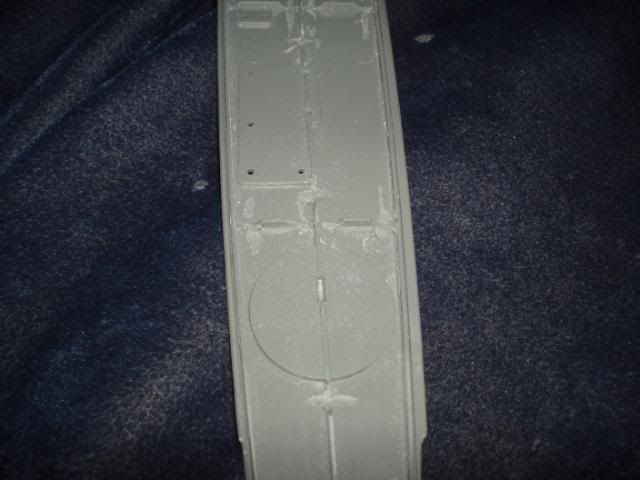
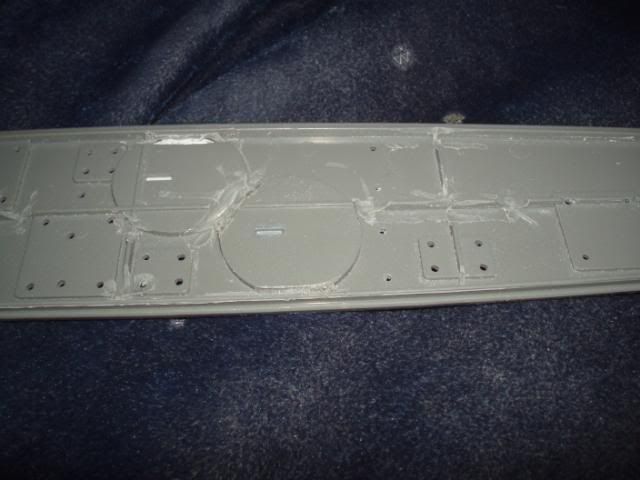
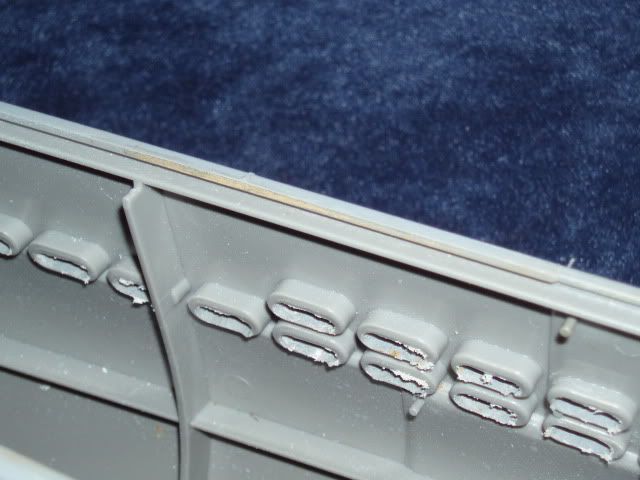
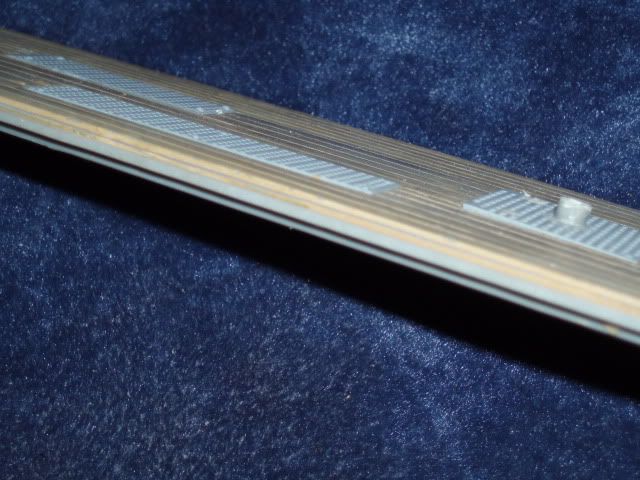
While I still had the decks at hand I turned them over and with my trusty dermal removed any thing that might want to trap air under the deck. I did this by making each section join the next by removing any plastic molding that might act as a air dam. The photos show better what I am trying to say.
Leave a comment:
-
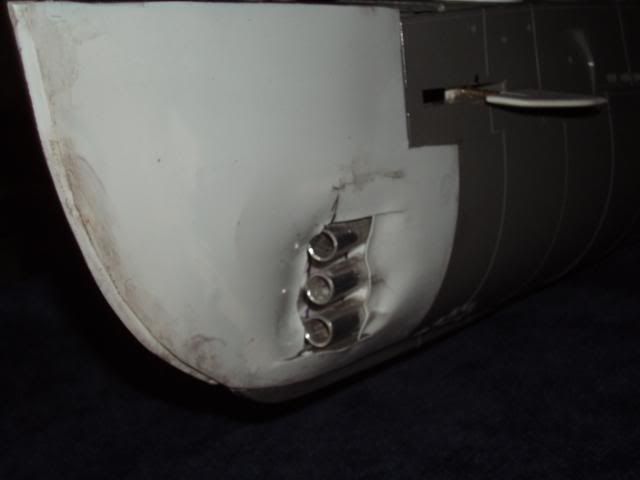
There is plenty of room in there for 6 of your working torpedo tubes similar to what you have in the "Gato", now that would be cool. All in a one piece pre-cast bow with the torpedo mountings all ready there and easy to install. Just cut the old off and replace with the new.Leave a comment:
-
Time to join the 4 pieces of the hull together permanently.
They glue and screw together making a very strong hull with lots of room on the inside to work with.
The hull pieces have groves around to top edge to accommodate the 2 piece decks that have tongs that fit into grooves giving a good fit.
But because the front of the hull has changed shape the front deck section is too short one end and the wrong shape the other.
Life is never easy when you don't follow the instructions but it is a lot more fun.
The next step will be sorting out the deck pieces and charging the battery in the camera.Leave a comment:
-
A magnificent job!
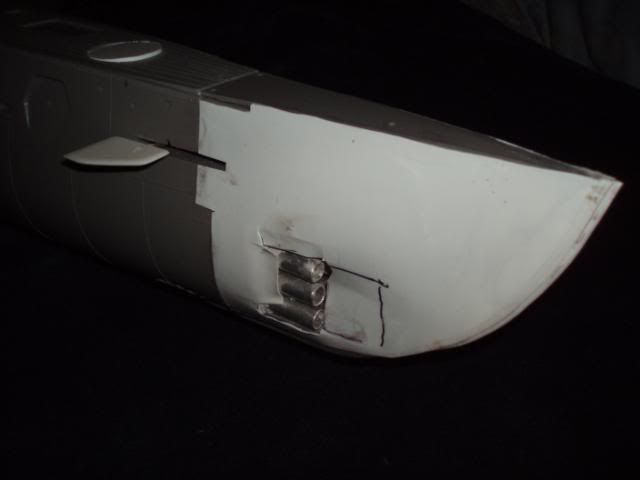
I love how you pre-positioned the tubes in there to guide you as you worked out that complicated muzzle fairing and well detailing. I'm going to steal that idea when I once again address my poor I-53 kit.
Well done!
David,Leave a comment:
-
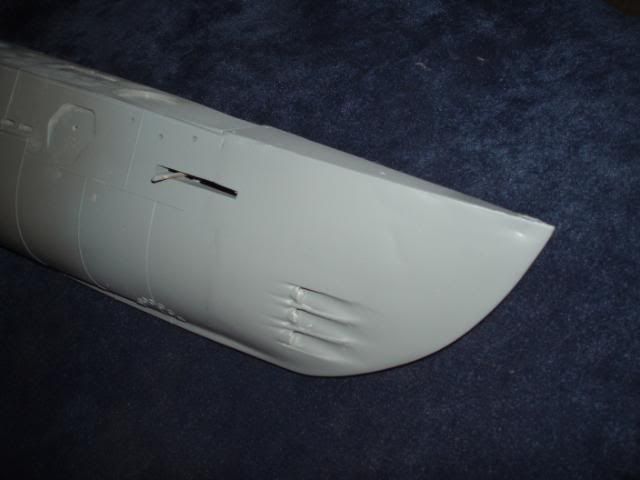
Did a bit more on the bow, this is what I am aiming for
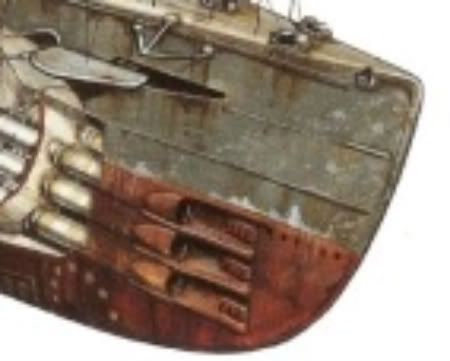
and this is what I have so far. Not finished yet but a lot closer than before.
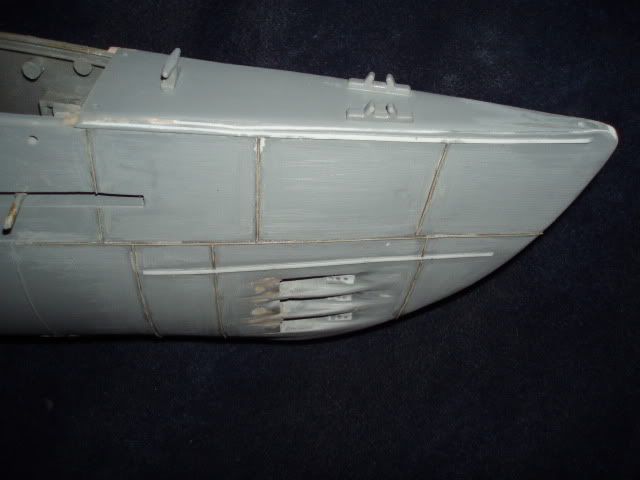
I ran out of primer but I think you can see how it will look.Leave a comment:
-
You off to a great start with transforming that bow closer to a B.Leave a comment:
-
I like what your doing there. Being the brave man that I am Im going to sit back and let you figure this thing all out and then Ill buy one for myself and "borrow" your ideas. Looks great!Leave a comment:
-
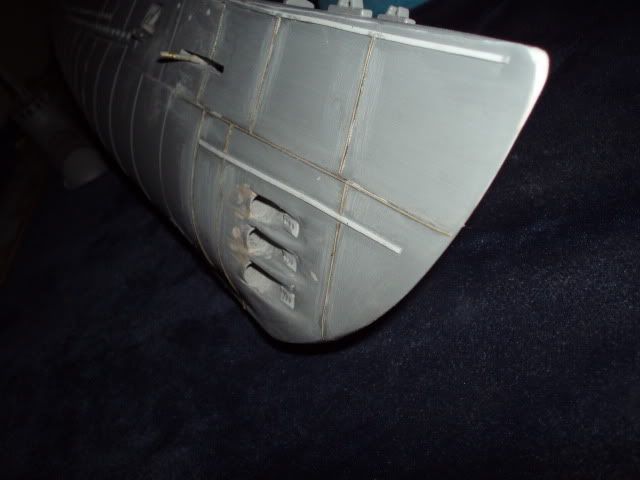
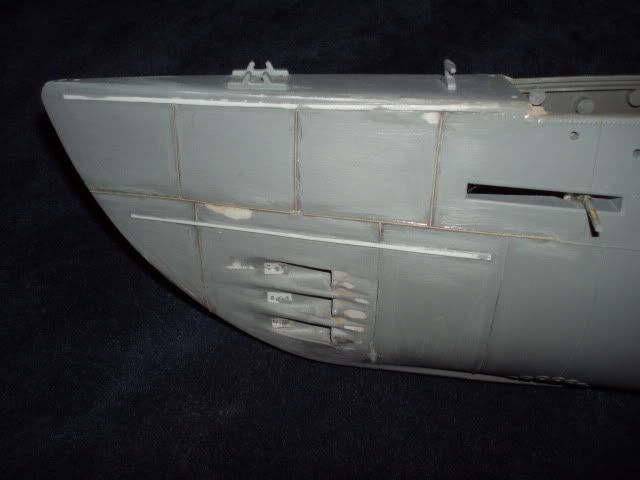
Once the torpedo mounting was ready to be worked on without moving I then started covering the new bow section with some .75mm plastic card.
I used liquid glue to weld the new plastic to the hull and to the new bow shape, cutting out the area where the torpedo tubes go and forming the plastic to a rough shape.
Then started the slow job of filling and blending the old with the new.
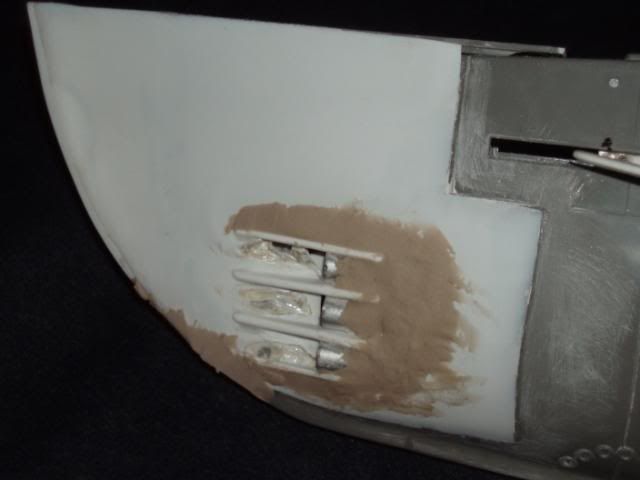
Its a slow job but it is getting there.Leave a comment:
Leave a comment: