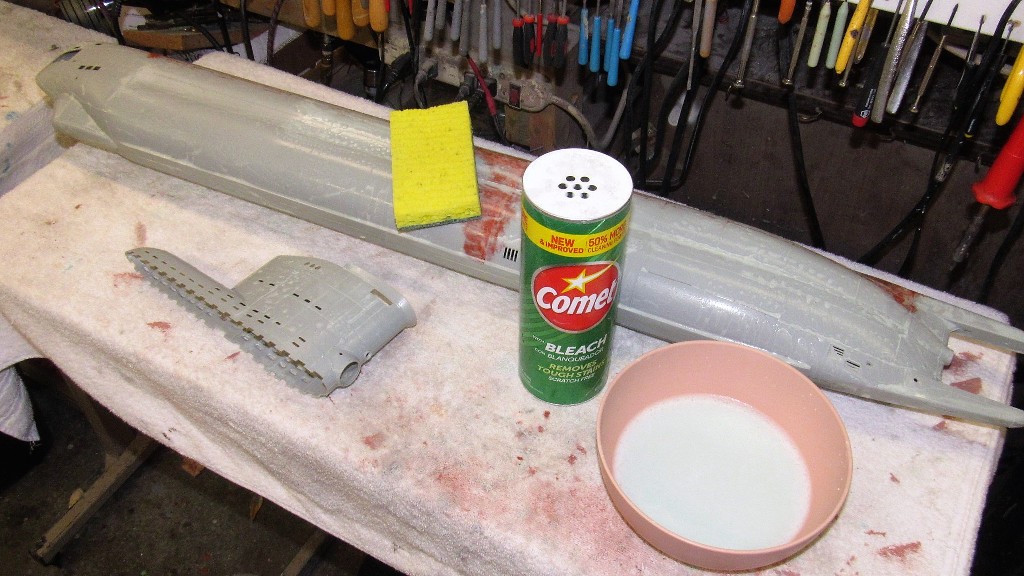
Well, for some reason, the automotive de-greaser and abrasive pad was not enough to clean the surface of this model good enough to assure tight adhesion of some of the putty I applied. So, after an initial sanding of the putty work I resorted to that tried-and-true method of surface preparation: a slurry of abrasive scouring powder and water, scrubbed ruthlessly on all model surfaces that would receive adhesives, fillers, putties, primer, and paint.
THERE! Now, stick. ******!
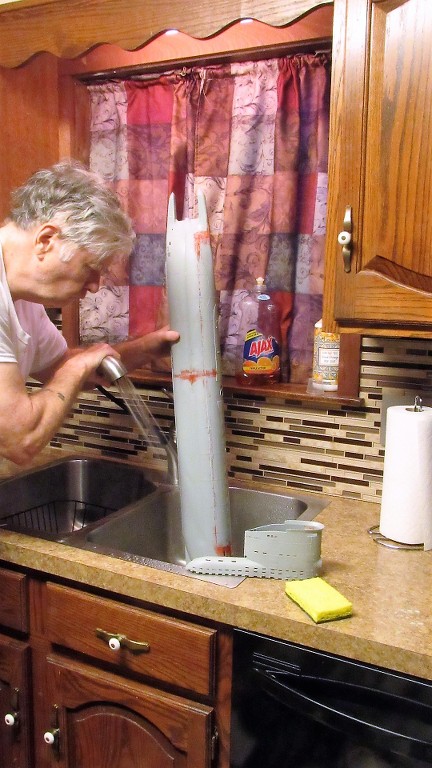
... and rinsed off with plenty of fresh water, then toweled and left to dry.
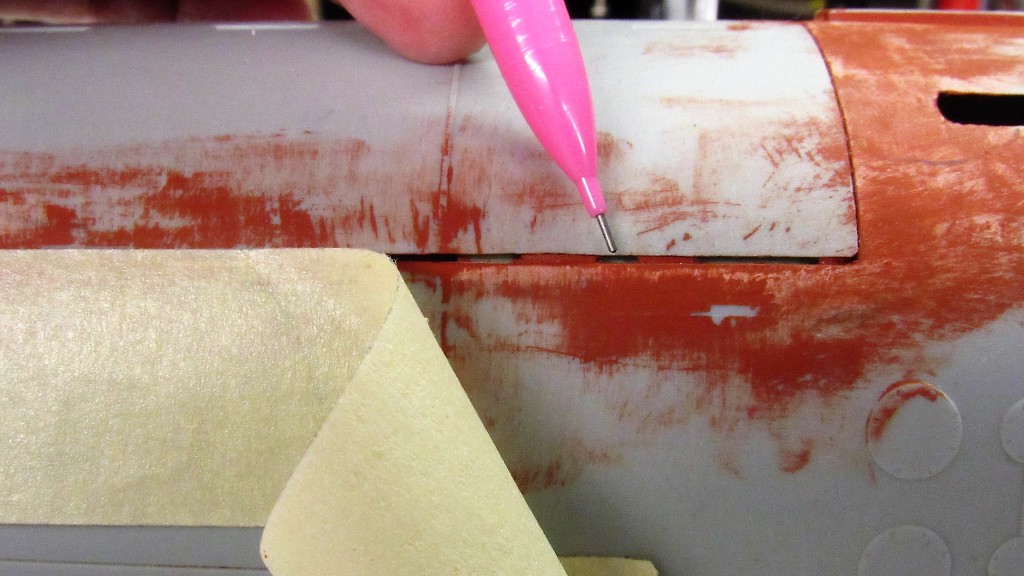
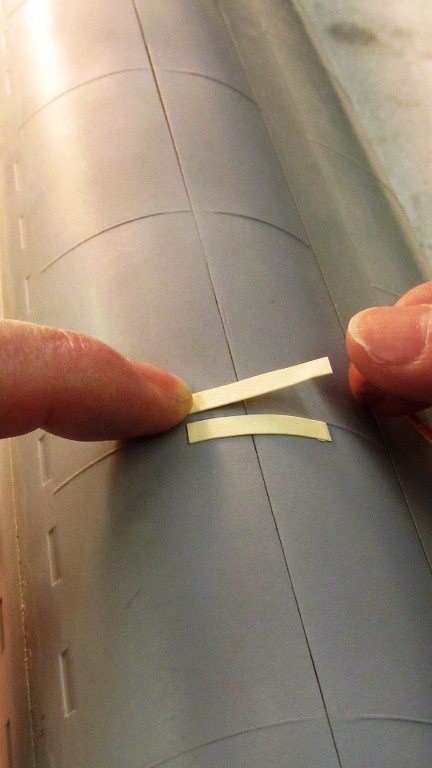
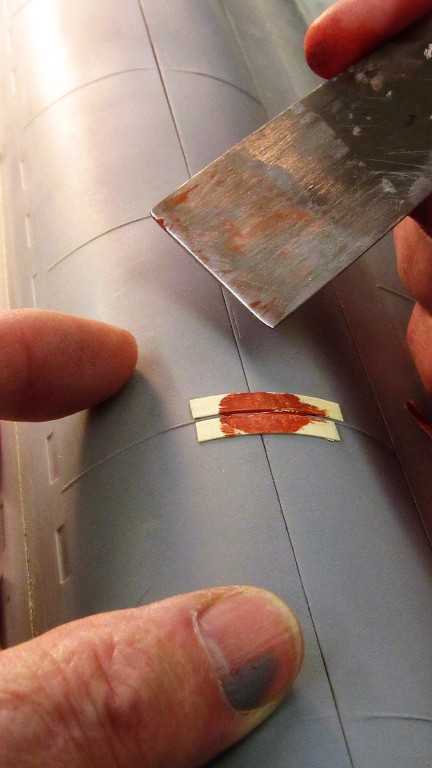
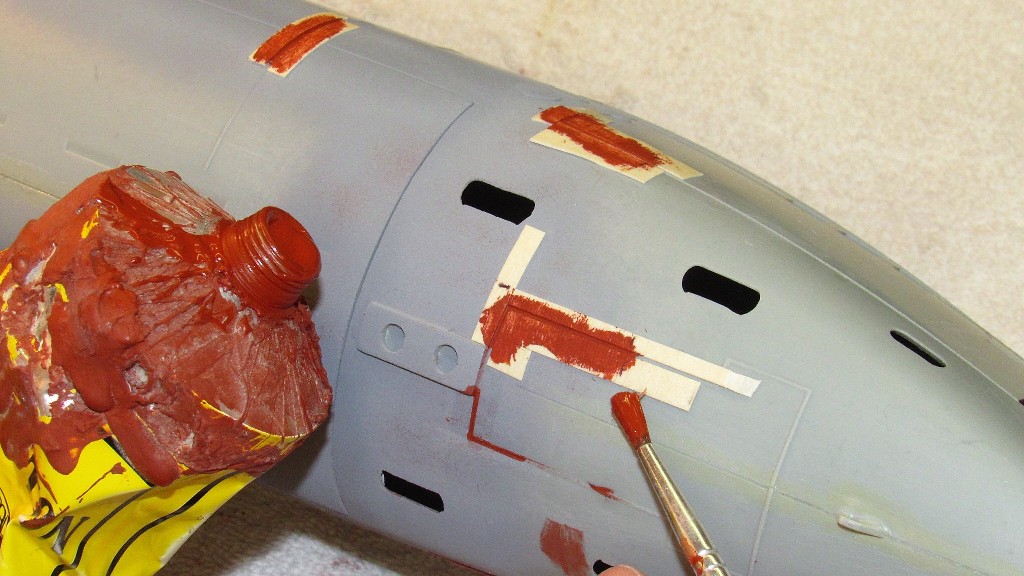
The forward, starboard longitudinal edges of the upper and lower hull presented a significant gap. Too high for an air-dry putty. So, I elected to build up the lower hull edge with Bondo. First strip in that process it to place two pieces of masking tape, inside and out, with their upper edges even with the upper hull lower longitudinal edge.
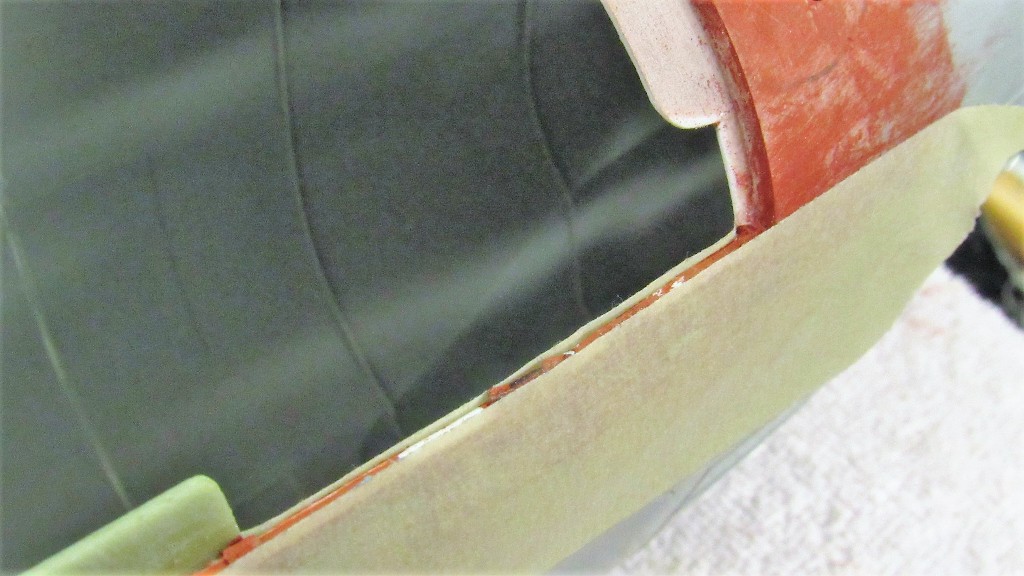
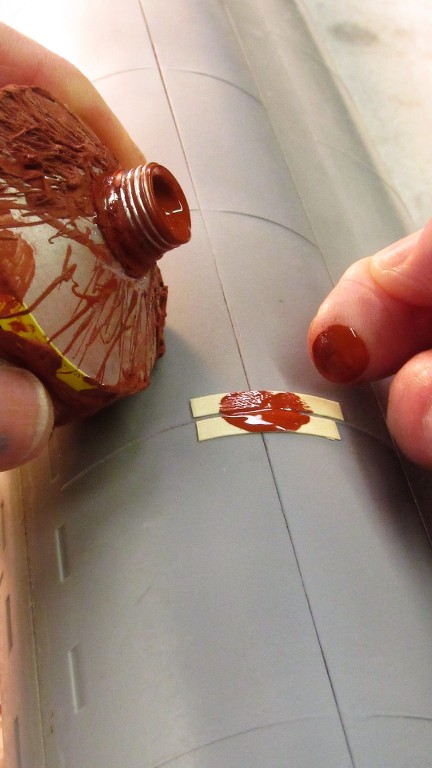
Like so. Now, with the two pieces of masking tape forming a dam that would not only form the Bondo to the wall thickness of the hull but would also define the depth of the Bondo after it was troweled on and screeded off.
After troweling the Bondo into the masking tape dam I laid the blade down flat (with very slight pressure) atop the edges of the tape and screeded away the excess Bondo.
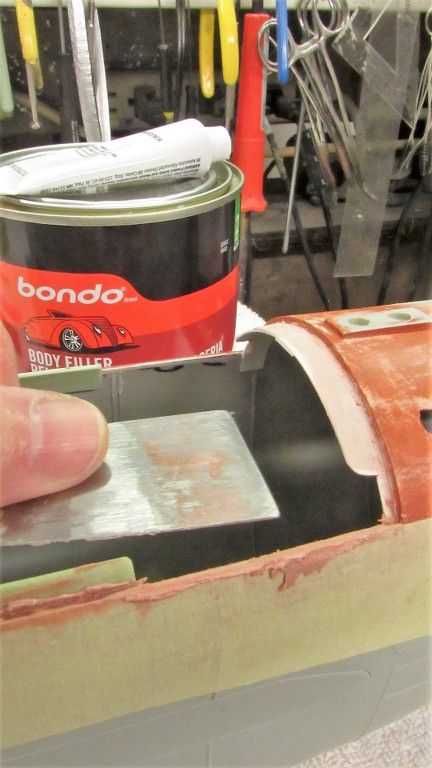
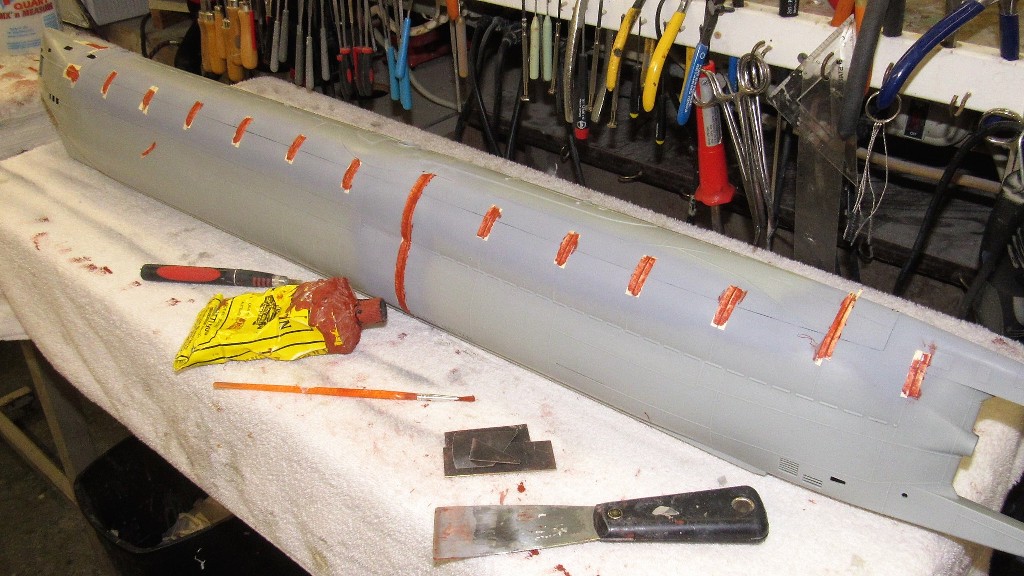
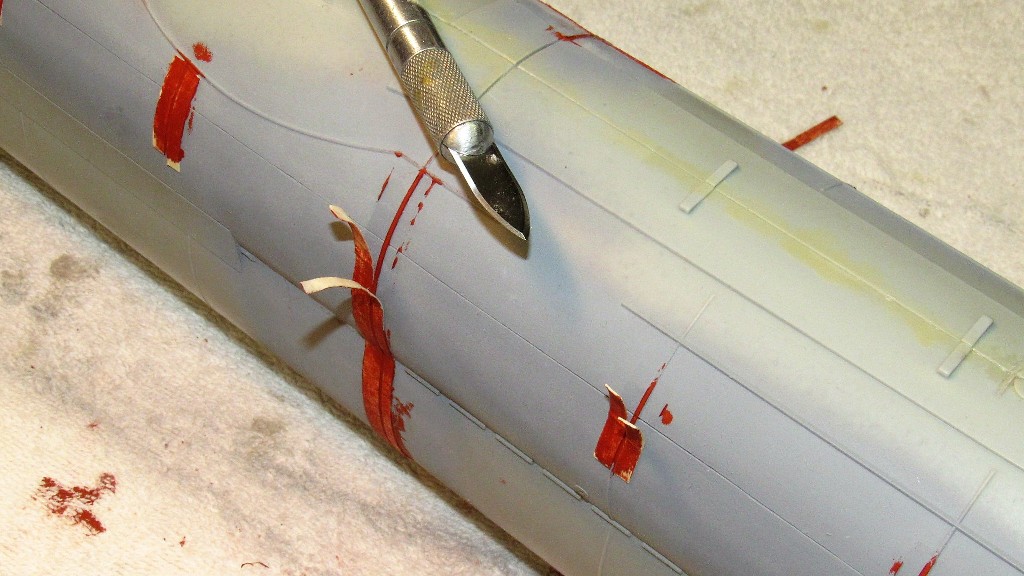
The work was left to cure to a state where I could remove the tape and proceed with fine-tuning of the built-up edge. As the bond between the Bondo and the previous edge of the lower hull is weak, I took exceptional care as I pulled down and aft on the masking tape as it was removed -- the objective was to avoid any force on the Bondo that would pull it away from the model.
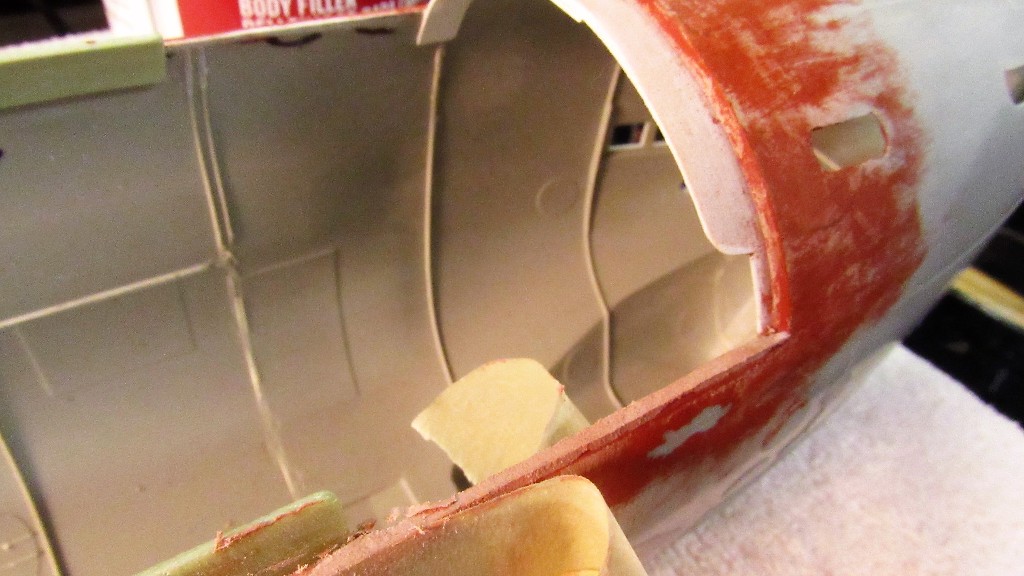
Before anything else I strengthened the bond between the just applied Bondo and the previous edge of the lower hull by soaking in some thin formula CA. The process was the same as with the previous Bondo work: slather the CA over the work, then quickly wipe away the excess. Enough CA works into the porous Bondo to strengthen it as well as bonding the Bondo to the previous edge with assurance that it won't break off later.
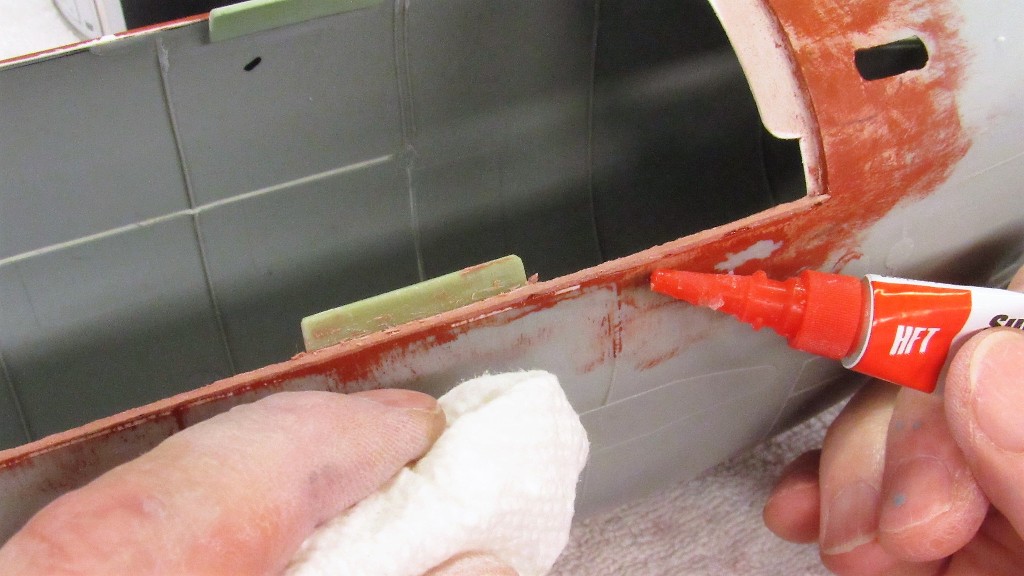
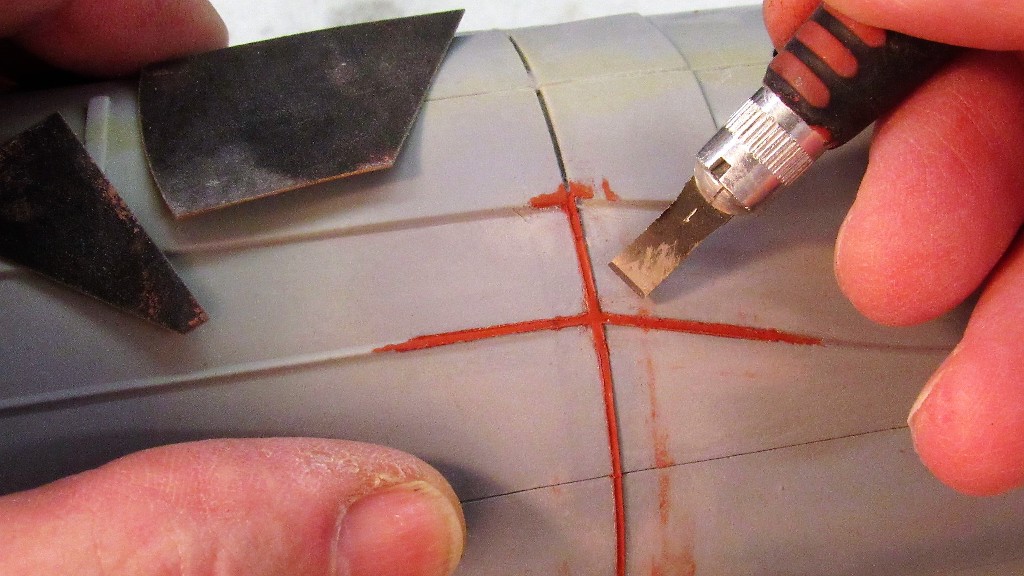
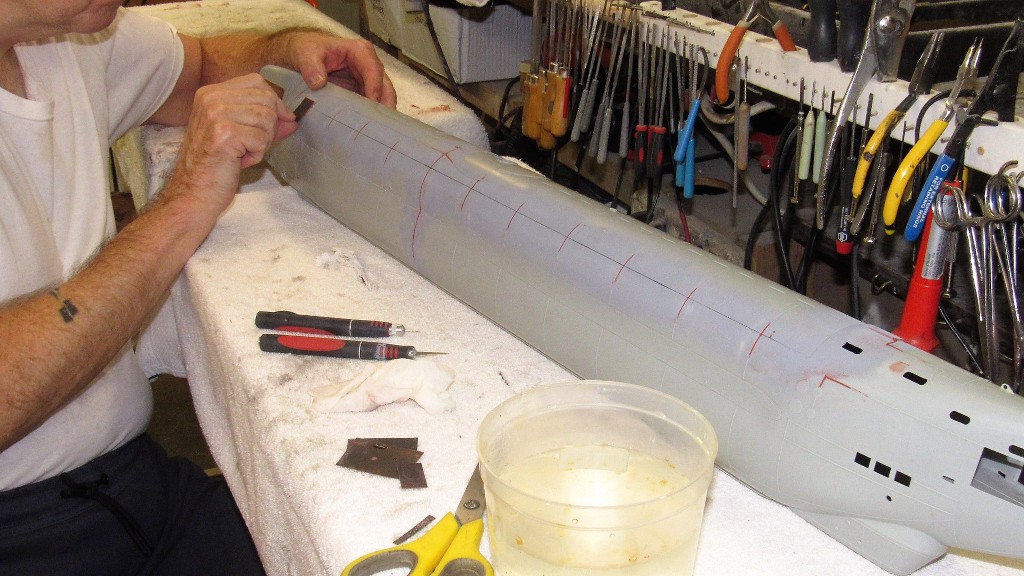
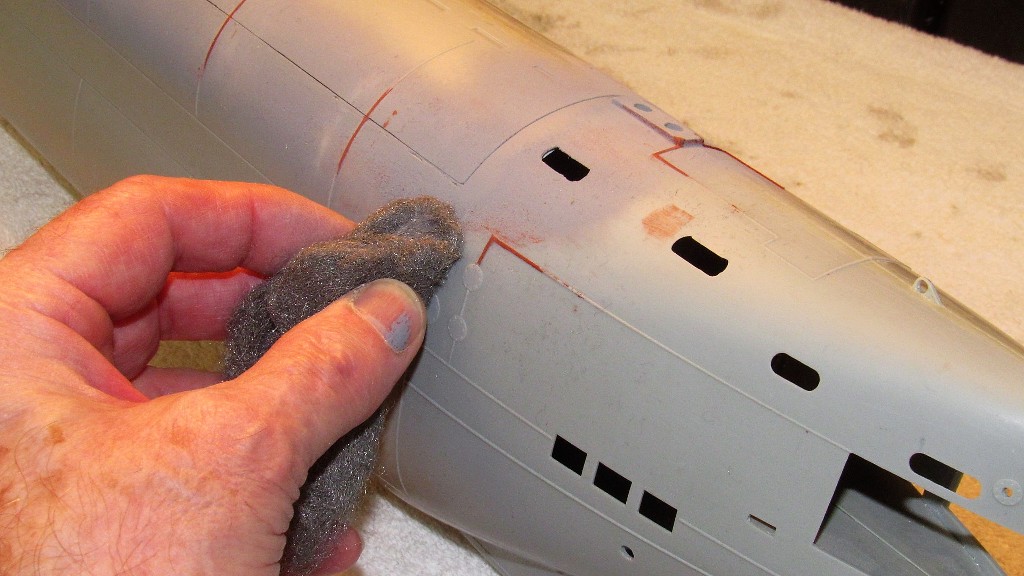
The edge of the Bondo repair was trued up with file and a stiff length of #220 sandpaper. The hull was then assembled, and the worked areas given a few passes with #00 steel-wool. The model was blown down with low pressure air to dislodge any shards and sanding dust.
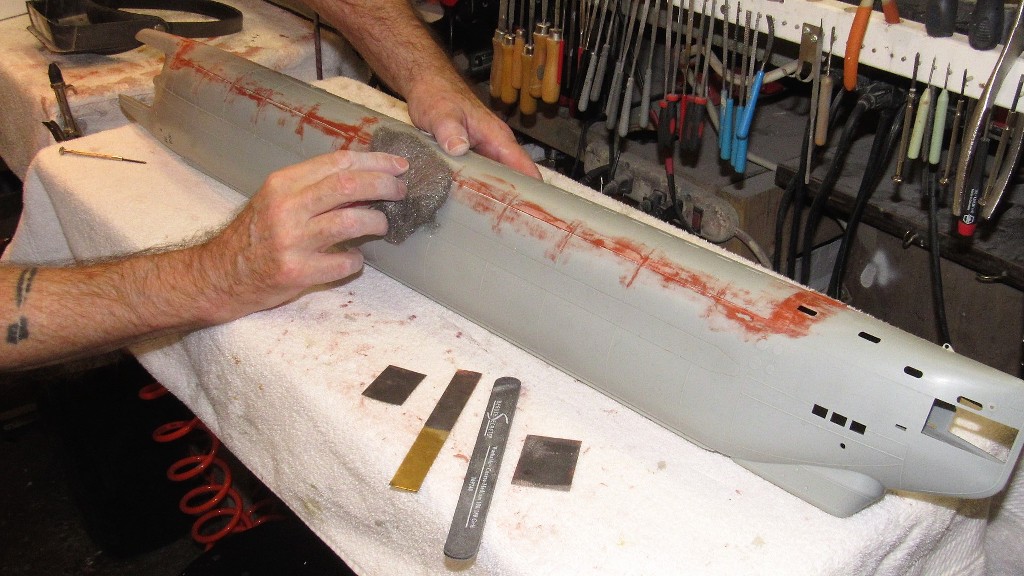
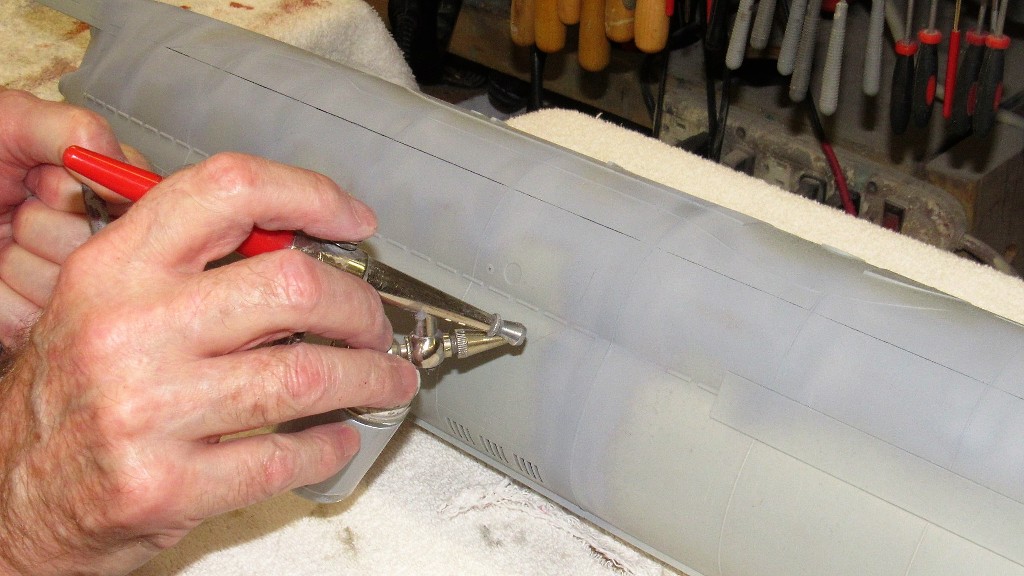
Time for primer... at last!
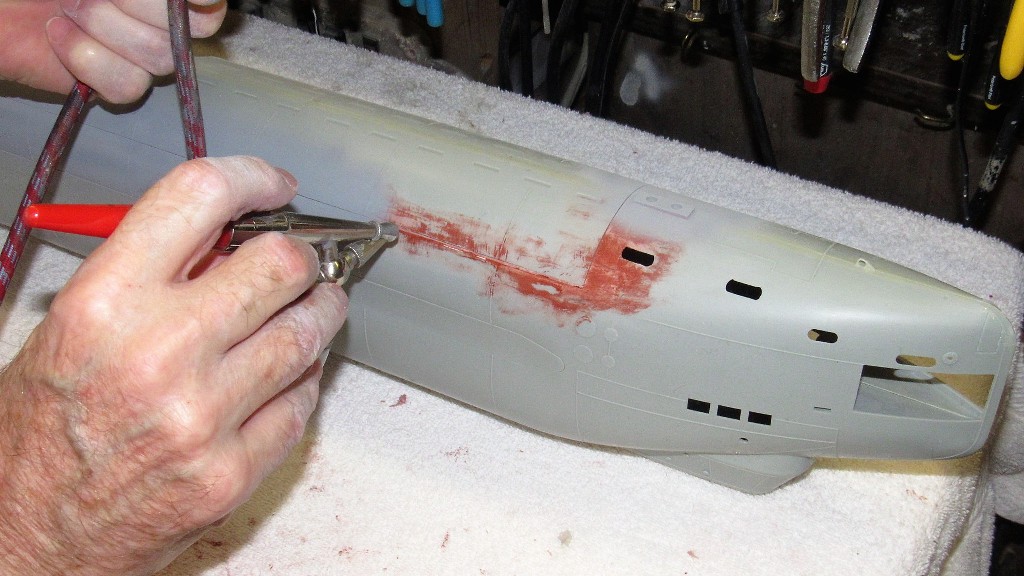
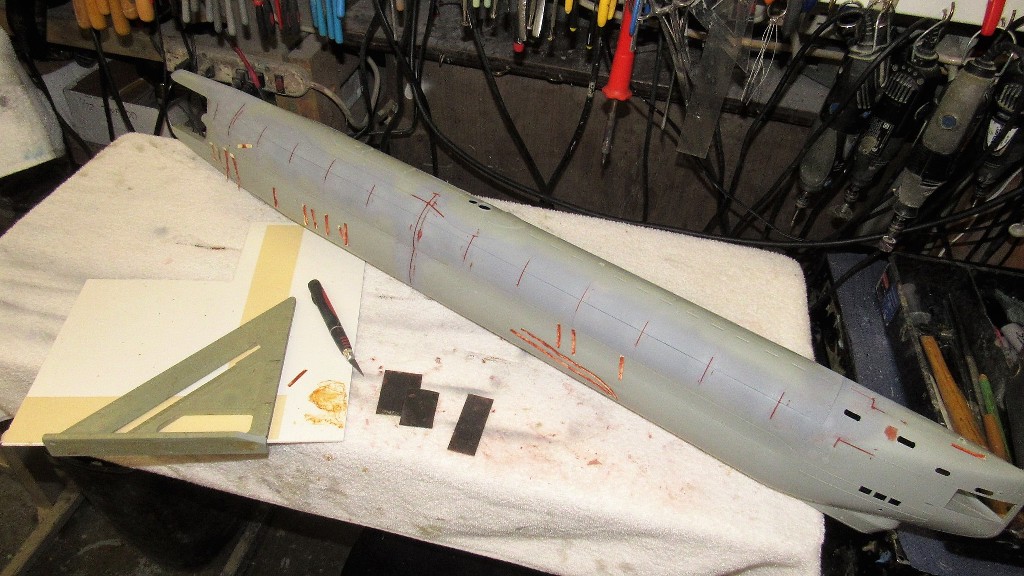
OK. The radial and longitudinal edges between the two hull halves are nice and tight. But all that cutting, grinding, filing and sanding removed some of the nice high-profile 'weld beading'. I want to restore that detail. So that's the next operation: re-building the beading and other high-relief items lost as I worked to separate and make tight the two hull halves.

THERE! Now, stick. ******!

... and rinsed off with plenty of fresh water, then toweled and left to dry.

The forward, starboard longitudinal edges of the upper and lower hull presented a significant gap. Too high for an air-dry putty. So, I elected to build up the lower hull edge with Bondo. First strip in that process it to place two pieces of masking tape, inside and out, with their upper edges even with the upper hull lower longitudinal edge.

Like so. Now, with the two pieces of masking tape forming a dam that would not only form the Bondo to the wall thickness of the hull but would also define the depth of the Bondo after it was troweled on and screeded off.

After troweling the Bondo into the masking tape dam I laid the blade down flat (with very slight pressure) atop the edges of the tape and screeded away the excess Bondo.

The work was left to cure to a state where I could remove the tape and proceed with fine-tuning of the built-up edge. As the bond between the Bondo and the previous edge of the lower hull is weak, I took exceptional care as I pulled down and aft on the masking tape as it was removed -- the objective was to avoid any force on the Bondo that would pull it away from the model.

Before anything else I strengthened the bond between the just applied Bondo and the previous edge of the lower hull by soaking in some thin formula CA. The process was the same as with the previous Bondo work: slather the CA over the work, then quickly wipe away the excess. Enough CA works into the porous Bondo to strengthen it as well as bonding the Bondo to the previous edge with assurance that it won't break off later.

The edge of the Bondo repair was trued up with file and a stiff length of #220 sandpaper. The hull was then assembled, and the worked areas given a few passes with #00 steel-wool. The model was blown down with low pressure air to dislodge any shards and sanding dust.

Time for primer... at last!

OK. The radial and longitudinal edges between the two hull halves are nice and tight. But all that cutting, grinding, filing and sanding removed some of the nice high-profile 'weld beading'. I want to restore that detail. So that's the next operation: re-building the beading and other high-relief items lost as I worked to separate and make tight the two hull halves.


Comment