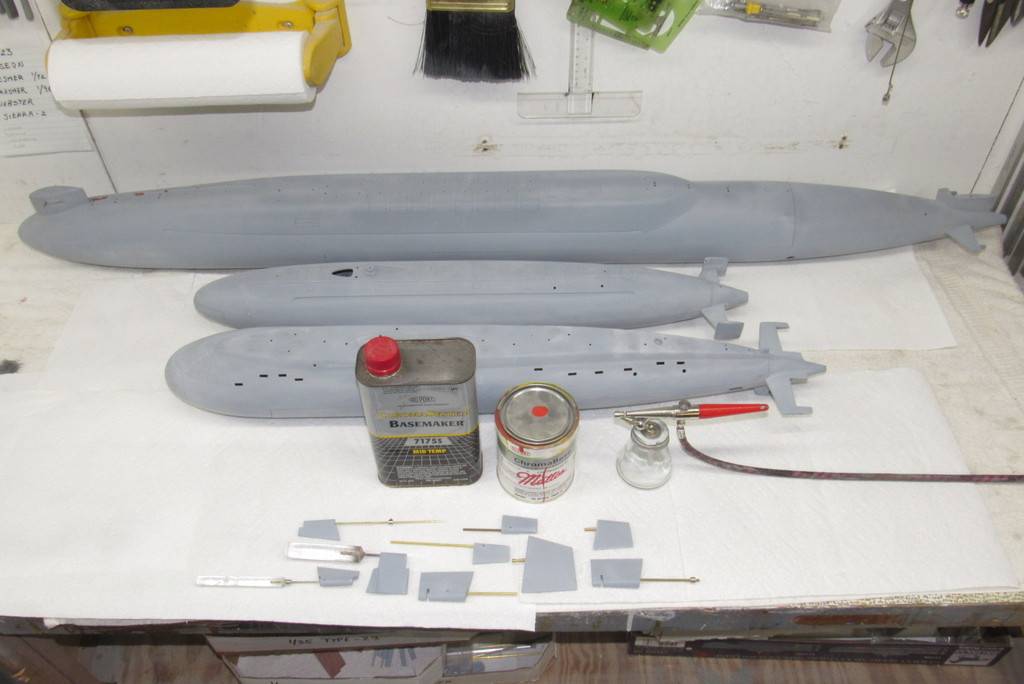
today's work

Collapse
X
 
  • Time
  • Show
Clear All
new posts
  • He Who Shall Not Be Named
    Moderator
    • Aug 2008
    • 12320


    Cleaning up the over-strikes and poor quality engravings, I can assure everyone, is at least as mind-numbing a task as it is to read about it. But it's a task that's gotta be done if a quality product is to be the result!

    So, strap yourself in and make what you will of the following procedural.

    The initial scribing done forward I've applied some putty.

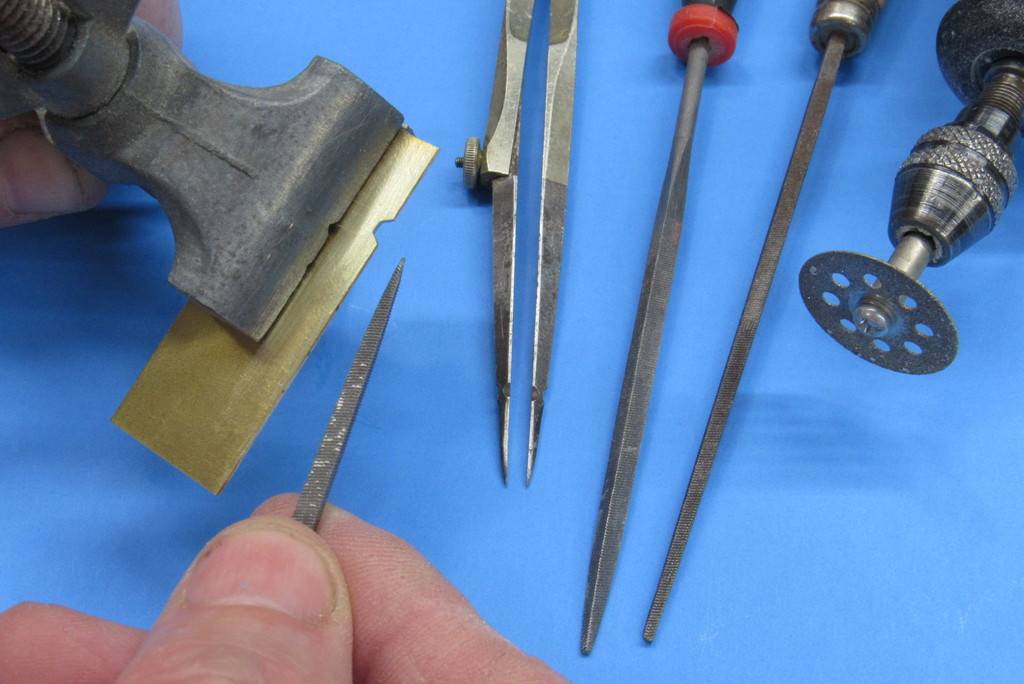
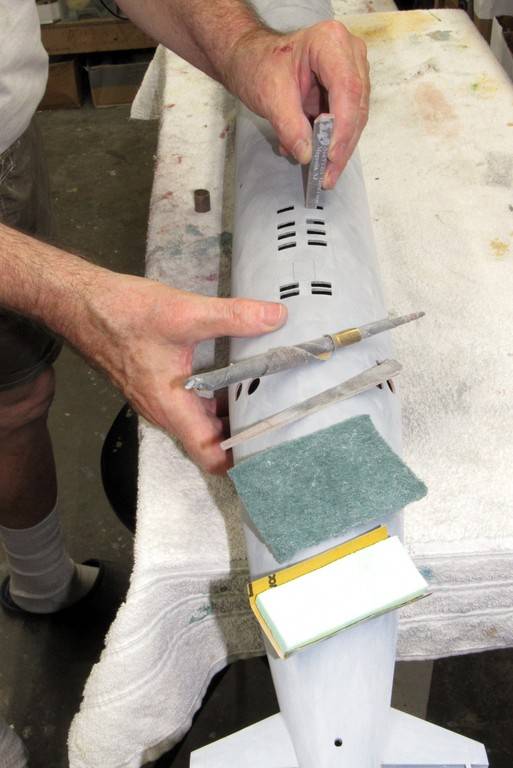
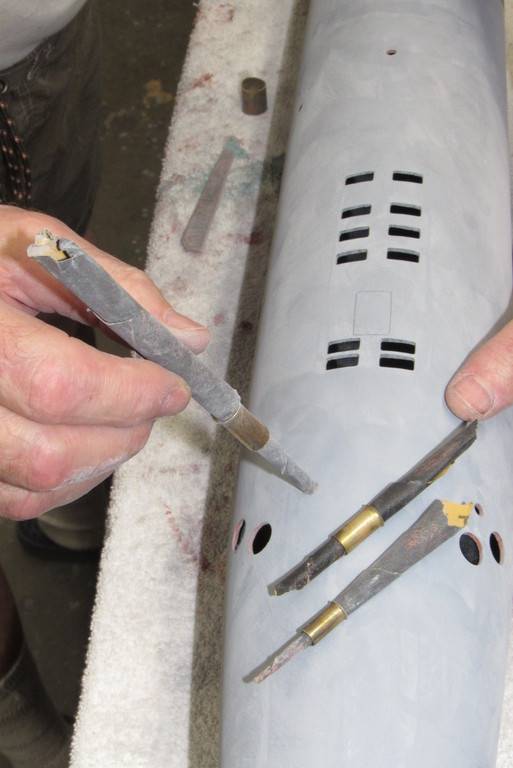
    Here I'm deepening the straight running engravings with the modified razor-saw. While continuing aft along the model deck with scribing tool and saw, the putty, up forward, has plenty of time to dry.


    As soon as an engraving task was completed, I brushed on air-dry Nitro-Stan touch-up putty over that work, promptly chasing out any putty that gets into the engravings.


    Air dry putty is never applied thick, its only to address shallow scratches and gaps. Since this putty polymerizes (changes state from liquid/paste to solid) through evaporation of its solvent – if put on too thick it takes forever for the buried solvents within the mass to be liberated to the air. The top surface will skin hard, but underneath that the putty is still soft. A killer later!

    (Two-part fillers, on the other hand, change state quickly if put down thick as the polymerization process – how the filler changes state from liquid/paste to solid – is through an exothermic reaction between the resin base and catalyst. So, with a two-part filler, the denser the mass the greater the heat generated, the quicker the cure of the filler.)

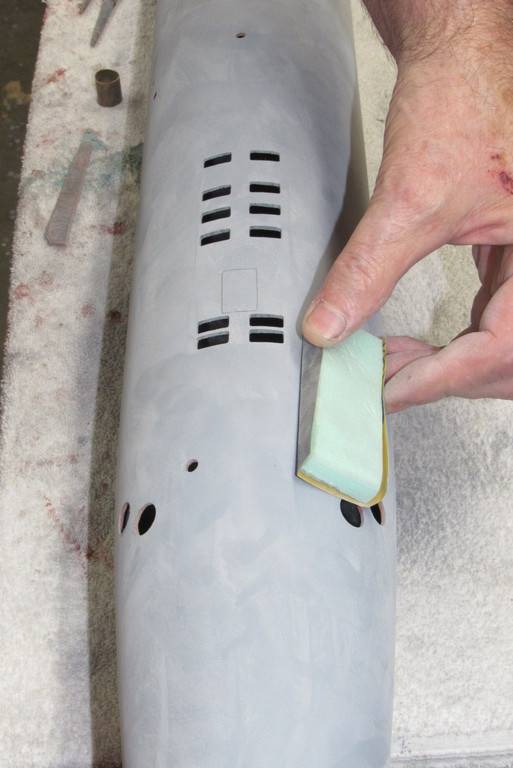
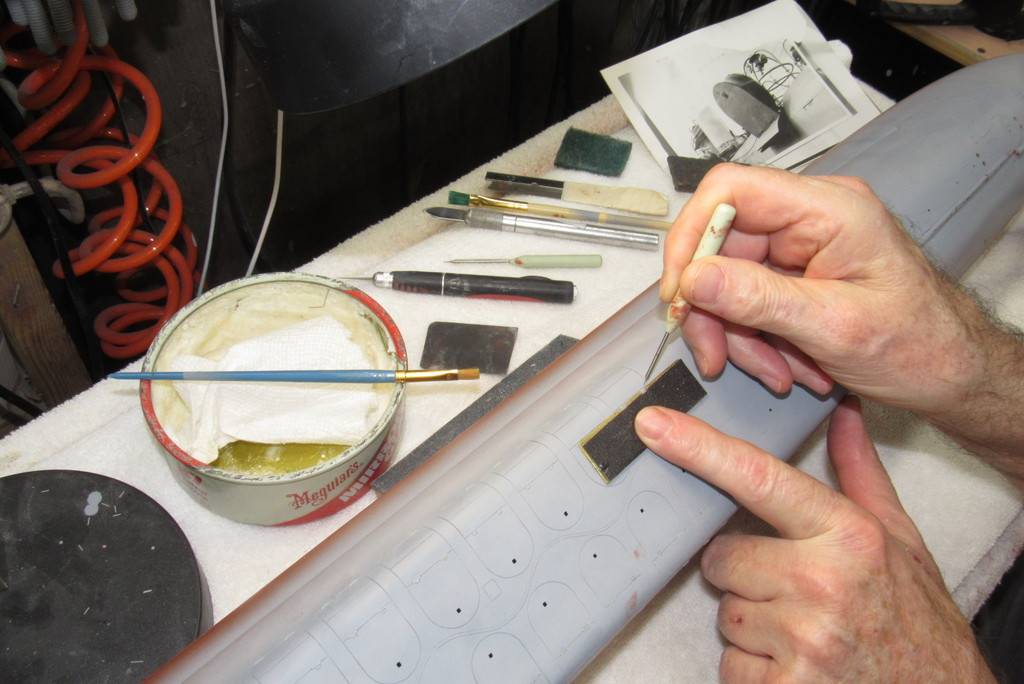
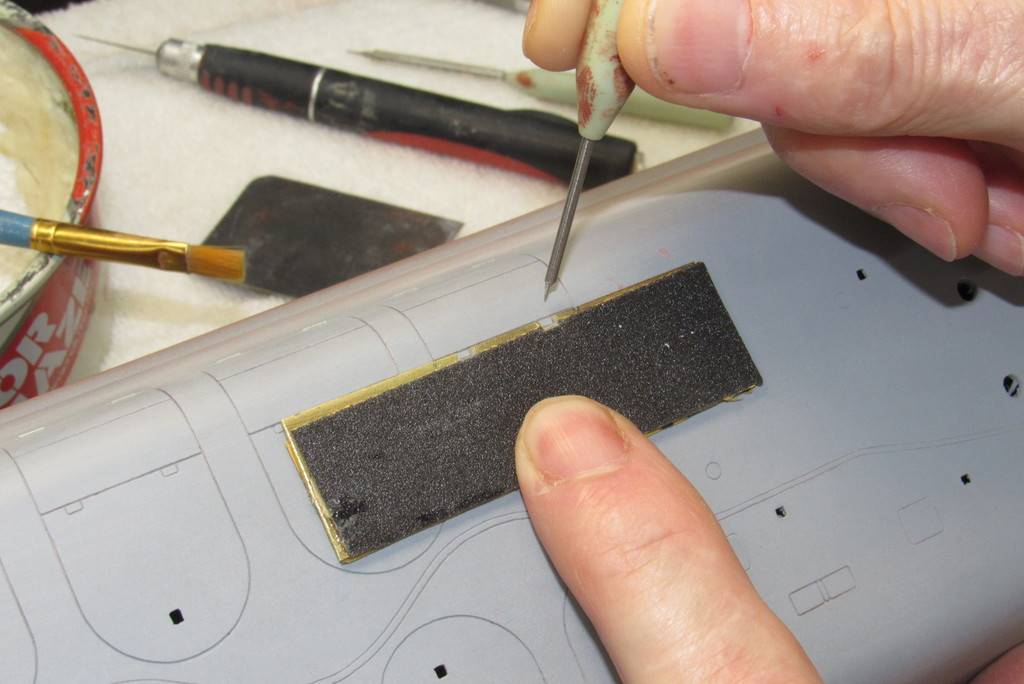
    The dried putty is wet-sanded with a small hard-rubber sanding-block backing up a piece of #400 grit sandpaper. Copious amounts of water are the order of the day.


    The sanding done; a wet paper towel is used to remove the water suspended sanding dust.


    Followed by a blow-down with low pressure air to chase out any water still hiding in the engravings.


    And... just to be sure... some hot air to evaporate the last traces of water.


    At this stage I'm chasing out sanding dust from the THIRD scribe-putty-sand cycle!

    God!... will it never end????

    Now that the engraved lines are deep enough to guide the tool there's no need for stencils or straight-edge, just push the tip of the tool into the work and gently guide it along. This pushes any stubborn dust clear of the work. Making things ready for another coat of gray primer which further fills scratches and at the same time renders an easier to examine models surface.


    To check for any missed over-strikes, misshapen engravings or other flaws, a coat of primer to fill and identify the problem children.


    … and the process repeated until perfection (who am I kidding?!...) is achieved.


    Who is John Galt?

    Comment

    • He Who Shall Not Be Named
      Moderator
      • Aug 2008
      • 12320


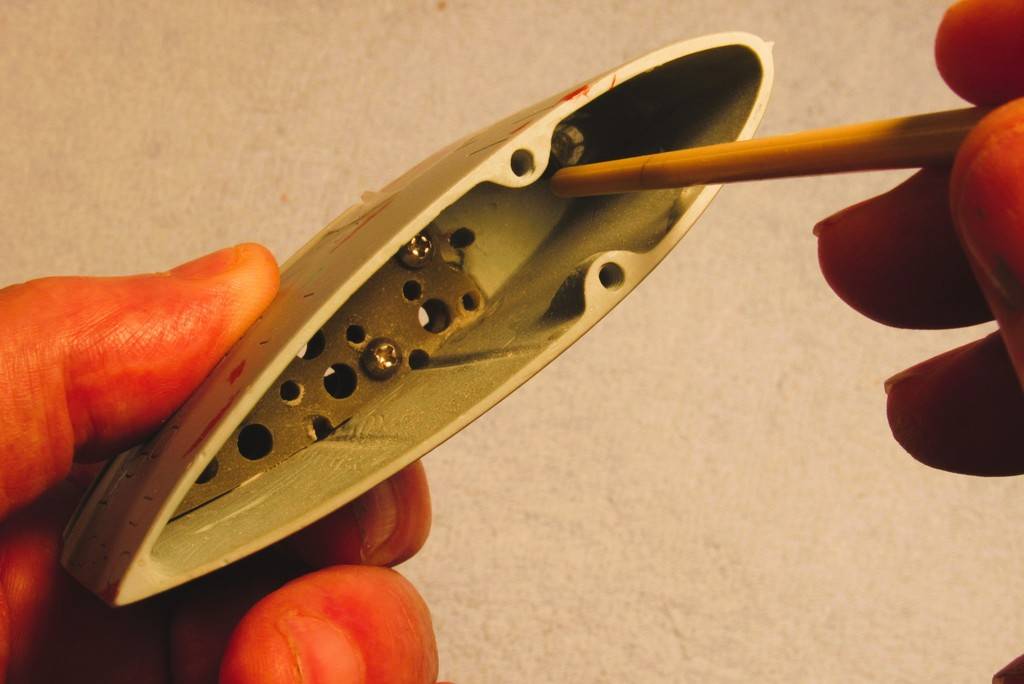
      Deadlights is navy lingo for 'windows', or for that matter any transparency built into the hull or superstructure of a ship to permit the passage of light. Important before the advent of electrically driven interior illumination. Of course if the glass does not distort light too much, that same deadlight becomes a window to the outside world.

      The KILO and BLUEBACK models featured these deadlights atop their respective sails. In the case of the Russian boat, the deadlights are used by the Helmsman stationed behind those deadlights when the boats maneuvering on the surface. Not so with American submarines outfitted with such deadlights – the BARBEL class boats were nearly the last class of US submarines to employ deadlights – as the space behind the deadlights was a hidy-place for the topside watch to duck into when green-water came crashing over the sail; and also offered the OOD a place to lay out and study his chart without wind and spray making a shambles of everything.

      A couple of years ago I built three BLUEBACK models. Using a technique outlined by the kits originator, Dave Manley to pour-in-place resin deadlights – that work done with 5-minute epoxy glue followed by a coating of CA adhesive.


      Here's the end-game: the hardened epoxy glue and CA deadlights sanded and polished flush with the leading edge of the BLUEBACK sail; masking applied, and the area around the masking given a heavy coat of black paint to prevent any 'light leakage' through the eventual paint-job.


      The technique does not produce a useful transparency, but good enough for a little 1/96 scale model submarine.


      Imperfections in the deadlight are cut away and thin formula CA applied and activated. The repaired area is then filed flush and all transparent surfaces are given repeated coats of CA to form a tough, clear film over the deadlights and adjacent areas of the sails leading edge.


      Who is John Galt?

      Comment

      • redboat219
        Admiral
        • Dec 2008
        • 2759

        Did the same with my 1/144 Kilo. For some reason the clear epoxy didn't dry clear but with a yellowish tinge. Must be the bubbles from the mixing.
        Click image for larger version

Name:	Picture 001.jpg
Views:	321
Size:	60.0 KB
ID:	172736Click image for larger version

Name:	Picture 009.jpg
Views:	322
Size:	57.4 KB
ID:	172737

        Those UV cured resin might be a good alternative for small windows, portholes etc.
        Last edited by redboat219; 08-04-2023, 12:58 PM.
        Make it simple, make strong, make it work!

        Comment

        • He Who Shall Not Be Named
          Moderator
          • Aug 2008
          • 12320


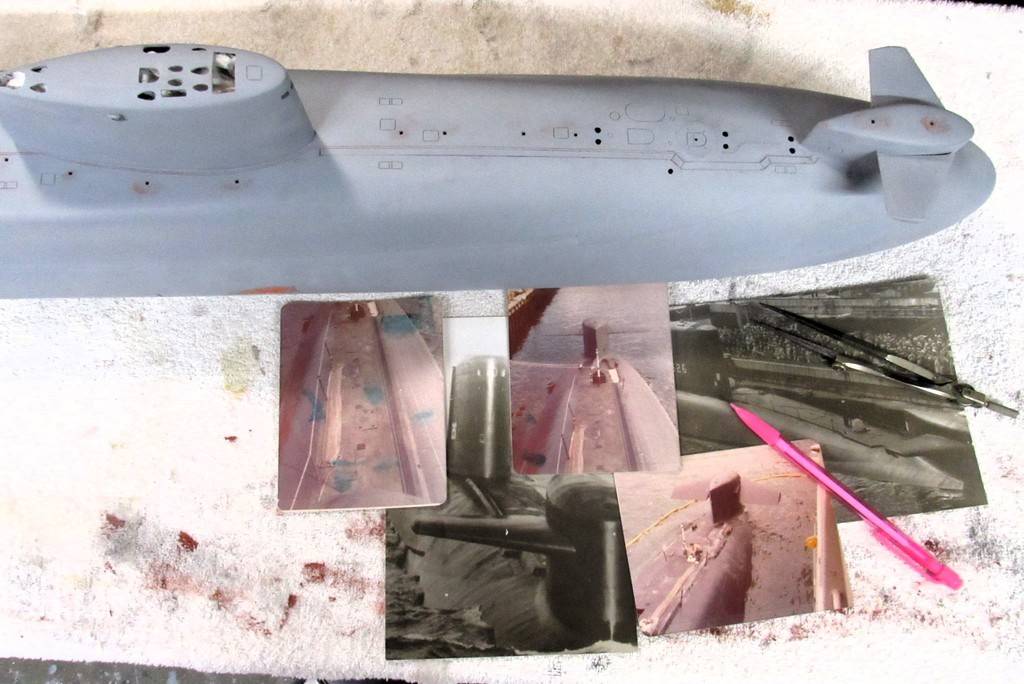
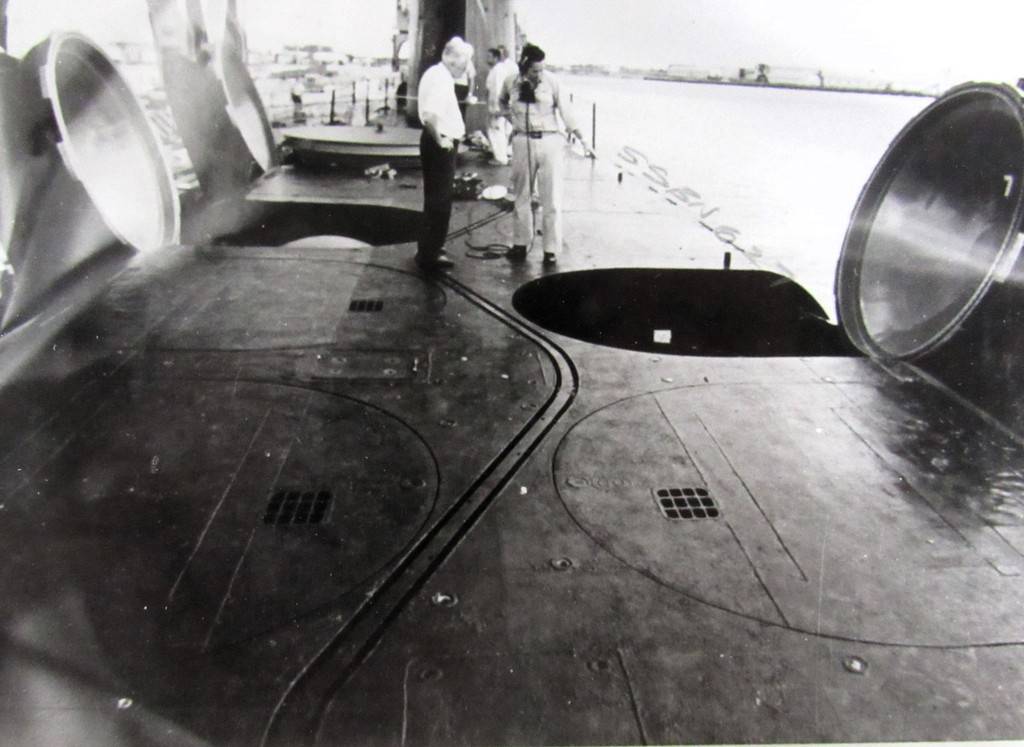
          One last scribing job to be performed on the 1/96 KILO was engraving the two concentric circles around the two escape trunk hatches. The white circles will be applied after the basic red and black are laid down. On the actual boats these white circles serve as a target, a visual aid to help guide a manned or remotely controlled rescue vehicle aiming to mate with the escape hatch seating surface. Here you see some of the documentation used to determine location and size of these markings.


          Moebius Models, with the skillful help of SF vehicle researcher and draftsman, Garry Kerr, developed the definitive injection formed kit of the SEAVIEW from the movie-TV show, Voyage To The Bottom Of The Sea. The 1/128 scale, 38.5-inch long submarine was produced in both the movie and TV versions. I've assembled four of these kits, having converted them to r/c operation. Here's a quick video to show how that worked out:


          The operational movie SEAVIEW next to a partially assembled TV SEAVIEW in their common storage-transportation box.


          Last week I was challenged by one of the drones at the Nautilus Drydocks forum to bring the movie version SEAVIEW – not completed, it still needs a proper paint-job and some low-key weathering – to the big all r/c submarine SubFest regatta at Cohutta, Georgia next month. So, out of its storage box, plopped onto the workbench, and a quick affirmation that the SubDriver sub-systems were working and all dialed in with the models control surface linkage. That took about three days of part-time work.

          If you're in the area, try and make this event – a beautiful venue and three days of solid r/c submarine action:

          SUBFEST 2023 | Drydocks (rc-submarine.com)


          Who is John Galt?

          Comment

          • redboat219
            Admiral
            • Dec 2008
            • 2759

            No manta ray dive plans?

            can you show more of the compressible dog bone?
            Make it simple, make strong, make it work!

            Comment

            • He Who Shall Not Be Named
              Moderator
              • Aug 2008
              • 12320

              Originally posted by redboat219
              No manta ray dive plans?

              can you show more of the compressible dog bone?
              Nope.

              Here's the shaft extensions between the SD and pump-jet rotors.

              Click image for larger version

Name:	052.jpg
Views:	270
Size:	55.8 KB
ID:	172750Click image for larger version

Name:	DSCF8899.jpg
Views:	263
Size:	51.6 KB
ID:	172751Click image for larger version

Name:	DSCF8896.jpg
Views:	254
Size:	88.8 KB
ID:	172752Click image for larger version

Name:	DSCF8912.jpg
Views:	260
Size:	38.1 KB
ID:	172753
              Who is John Galt?

              Comment

              • He Who Shall Not Be Named
                Moderator
                • Aug 2008
                • 12320

                Take your basic Mark-1, Mod-0 LAFAETTE class SSBN submarine, and move the sail planes to the bow, and you get the one-off boat of the class, the USS DANIEL WEBSTER.

                A laudable effort: putting the planes forward greatly improved the ability of the ship control party to seek, obtain, and stay put on assigned depth. However, by placing the ever clanking ram, squeaking operating shaft bearings, and linkage back-lash – put all those noise sources so close to the boats bow mounted sonar arrays and you've taken a step too far. The kind of stuff that makes the sonar gang nuts.

                The WEBSTER was a joy to drive in depth, but the noise those planes produced rendered the passive sonar gear near useless when running shallow in any sea-state other than glass smooth. The WEBSTER finished her career with the planes placed on the sail. Where they belong. The grand experiment was over. Boomers don't have to be agile, but they do have to be quiet.


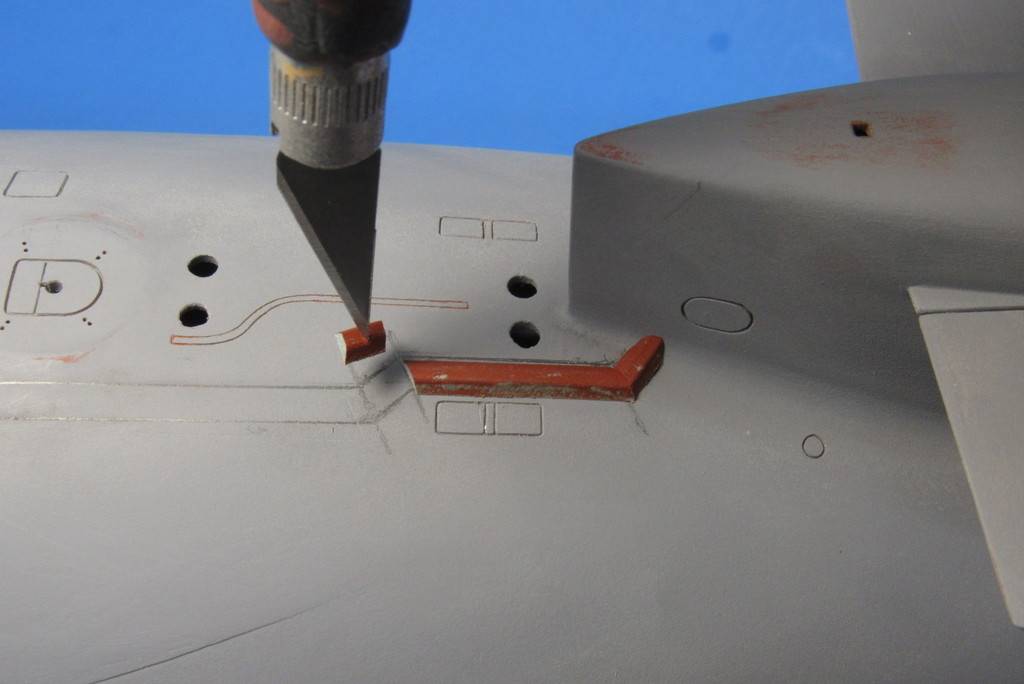
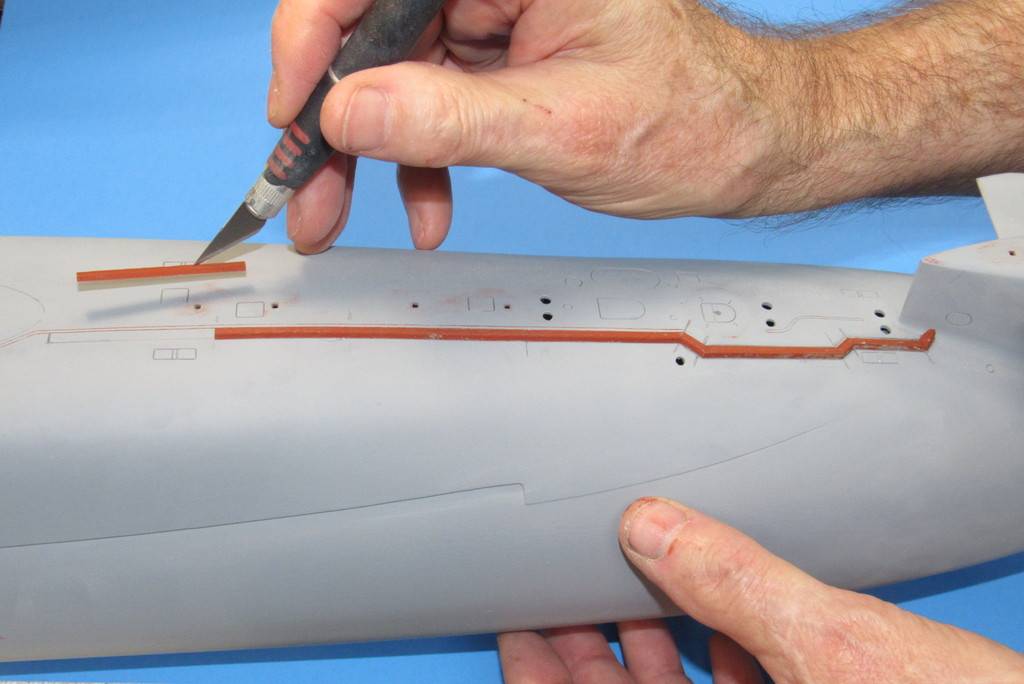
                The hydraulic lines to the bow planes ram ran on the starboard side of the deck and were covered by an armored conduit. That conduit, which ran a rather twisting path along the deck in order to clear cleats, safety track, and main ballast tank vents – had a section of a truncated cone; sloping sides, with a flat top. This of course was a unique feature of the boat when she sported bow planes. A feature that had to be represented on my 1/96 model of this most iconic SSBN.

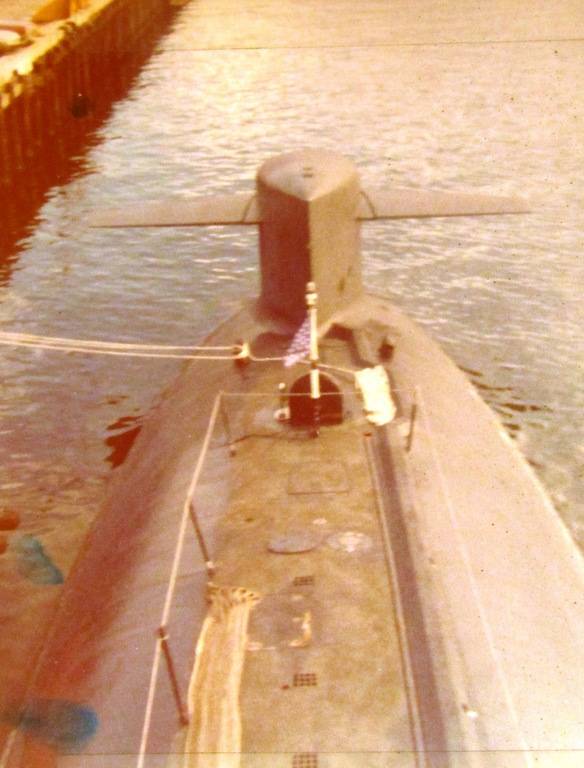
                I snapped this shot from the bridge of the WEBSTER while we were at Pearl, getting ready for our canal crossing to Groton for a major yard period and missile upgrade, from Polaris A-3 to Poseidon.


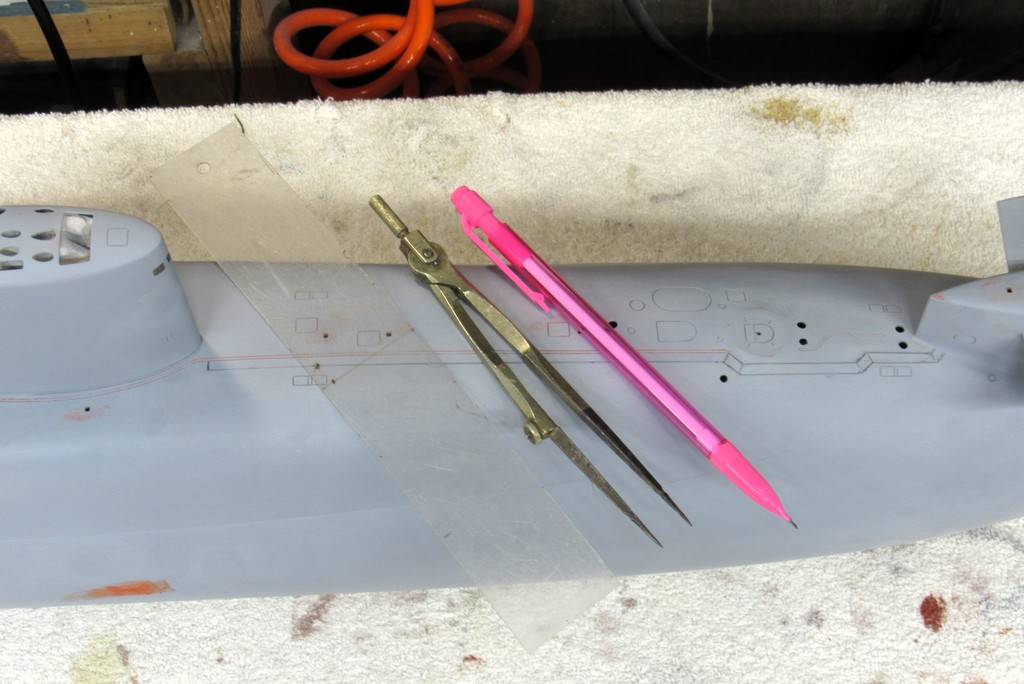
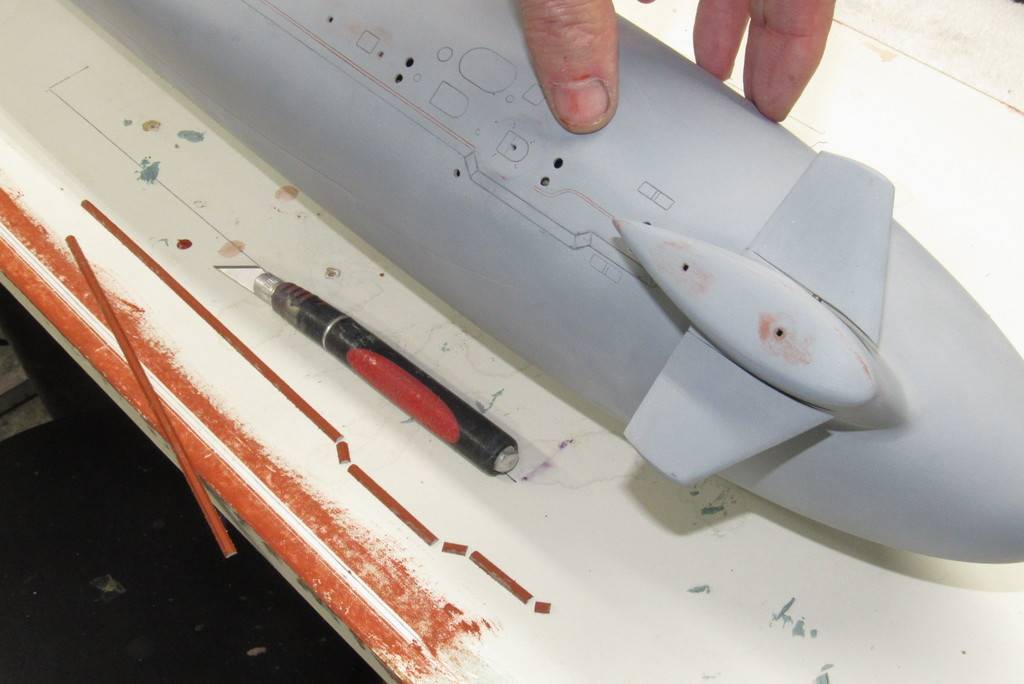
                Study of my documentation gave me a pretty accurate layout of the conduit. After a few poor attempts, I finally penciled onto the models hull the path of the conduit from just off the sails leading edge to the starboard side of the bow plane fairing (often referred to as the 'wart').


                As no commercially available lengths of plastic shape had the geometry or dimensions needed, I elected to screed out a length of properly sectioned conduit from Bondo.

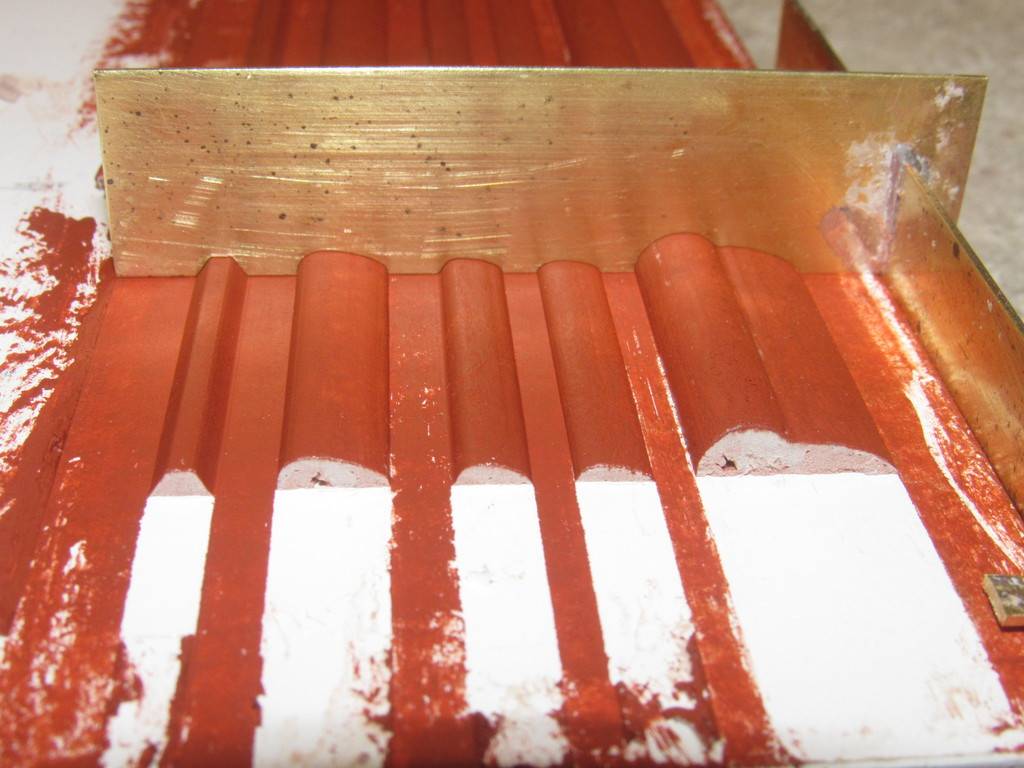
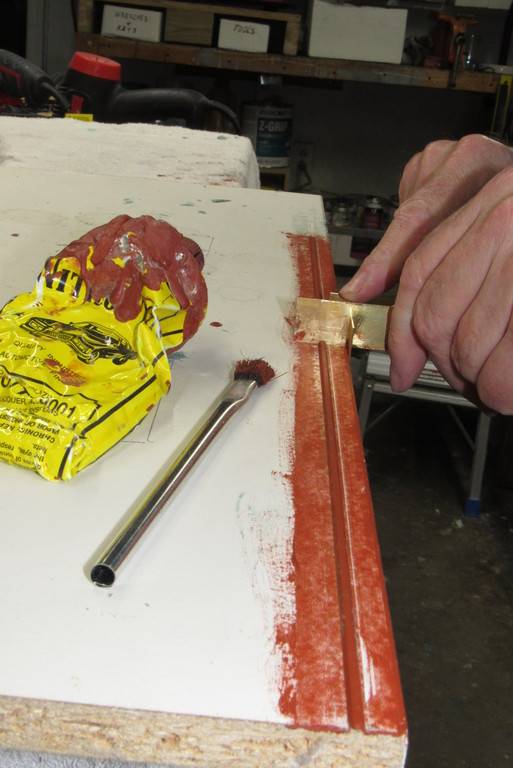
                Linear screeding is simple: Plop some catalyzed Bondo onto a waxed flat board and run a properly shaped die across it linearly.

                Here you see the screeded periscope and antenna fairings formed using this process. To the left is my initial attempt at creating the bow plane hydraulic line conduit but found that it was much too wide and tall of section to work at 1/96 scale. Dummy! But this shot does illustrate the sectional shape of the conduit.

                As one of my Junior High School shop teachers was fond of saying: “measure twice... cut once. Moron's!”


                Here I'm giving shape to the die of the second conduit forming attempt.


                Here I've screeded out a one-foot length of Bondo conduit. Took about five passes, but the work went quickly.


                The final pass was a coating of Nitro-Stan air-dry touch-up putty.


                I let the work cure and dry overnight and the next morning lifted the work off the board.


                The long length of conduit blank in hand I lofted the breaks off the penciled model and started to cut things to proper length and angle.
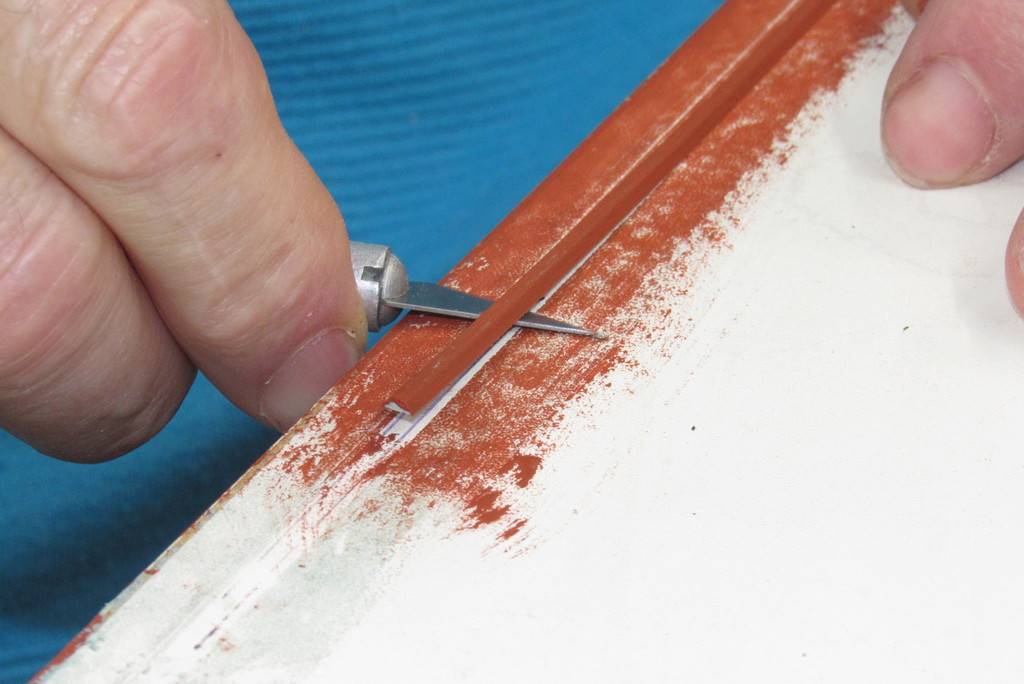


                … and glued each section of conduit in place with the aid of thin formula CA adhesive.


                Who is John Galt?

                Comment

                • Fishb0y
                  Lieutenant
                  • Jul 2023
                  • 75

                  I remember seeing a photo of those “bow planes” but I never realized they were on the Daniel Webster. I had an interesting relationship with that boat. The first time I went to school I attended Daniel Webster College in Nashua, NH. After I gloriously failed out of that fine institution, I joined the top 5% of college dropouts and attended Nuke Power School, spending 6-months on MTS-626 EX-DANIEL WEBSTER learning how to operate a nuclear reactor.
                  Now if you'll excuse me, I'm going to go on an overnight drunk, and in 10 days I'm going to set out to find the shark that ate my friend and destroy it. Anyone who wants to tag along is more than welcome.

                  Comment

                  • He Who Shall Not Be Named
                    Moderator
                    • Aug 2008
                    • 12320

                    Originally posted by Fishb0y
                    I remember seeing a photo of those “bow planes” but I never realized they were on the Daniel Webster. I had an interesting relationship with that boat. The first time I went to school I attended Daniel Webster College in Nashua, NH. After I gloriously failed out of that fine institution, I joined the top 5% of college dropouts and attended Nuke Power School, spending 6-months on MTS-626 EX-DANIEL WEBSTER learning how to operate a nuclear reactor.
                    I understand they turned the bow compartment/torpedo room into a classroom when they converted the pig-fish to a trainer. The venerable S5W plant -- one of the finest pieces of engineering on this planet.
                    Who is John Galt?

                    Comment

                    • SteveNeill
                      Commander
                      • Apr 2020
                      • 315

                      Who is John Galt indeed? Some of us know David. Great work as always and I'm so glad to see it. I nearly had to leave the planet recently but thanks to good doctors and medical science I have a stay of execution.

                      Comment

                      • redboat219
                        Admiral
                        • Dec 2008
                        • 2759

                        Someone up there likes you.
                        Make it simple, make strong, make it work!

                        Comment

                        • He Who Shall Not Be Named
                          Moderator
                          • Aug 2008
                          • 12320


                          Well...

                          ...Finally!

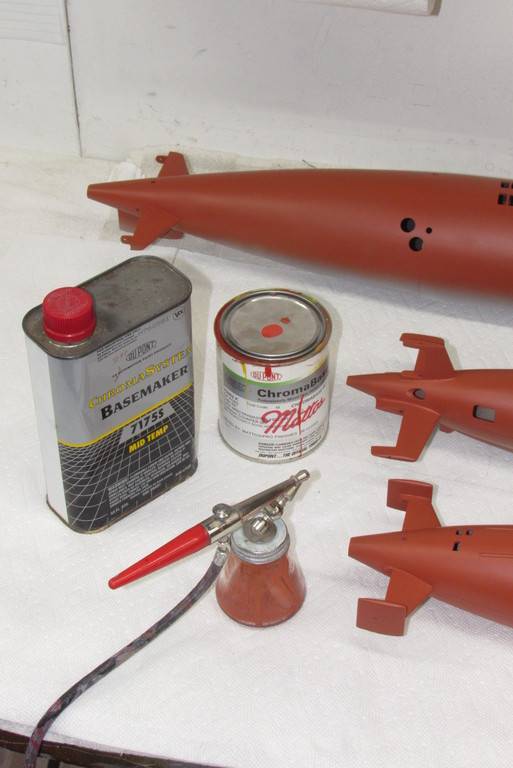
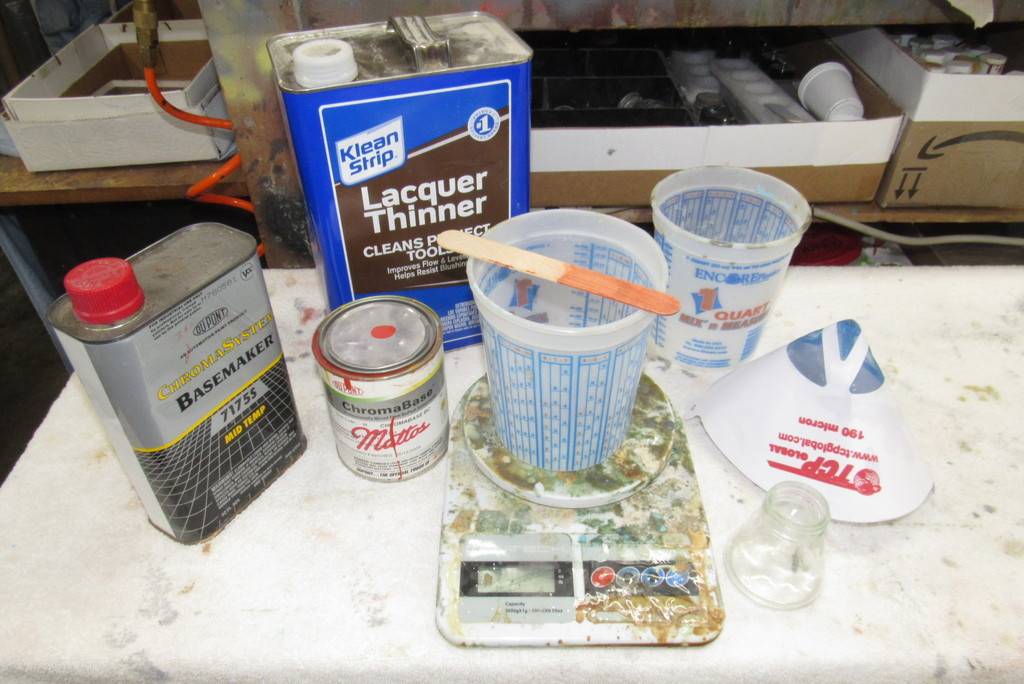
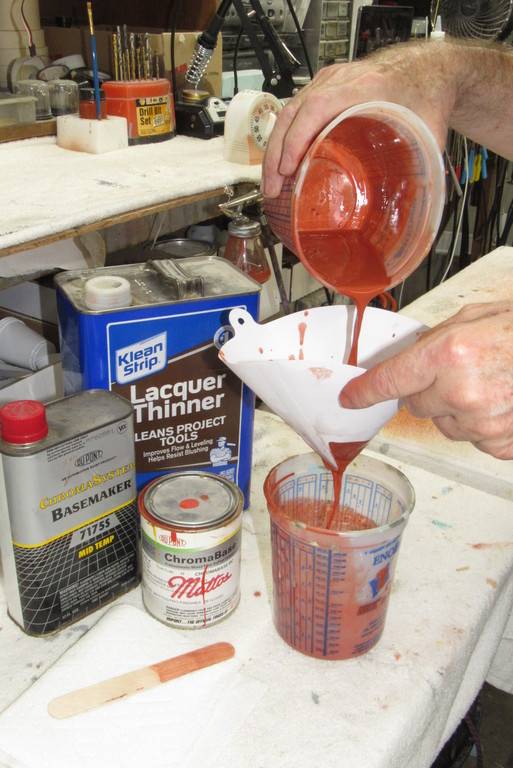
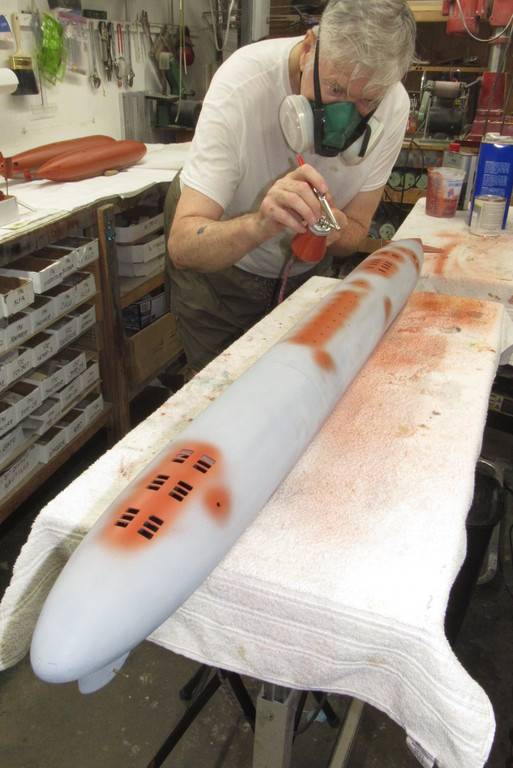
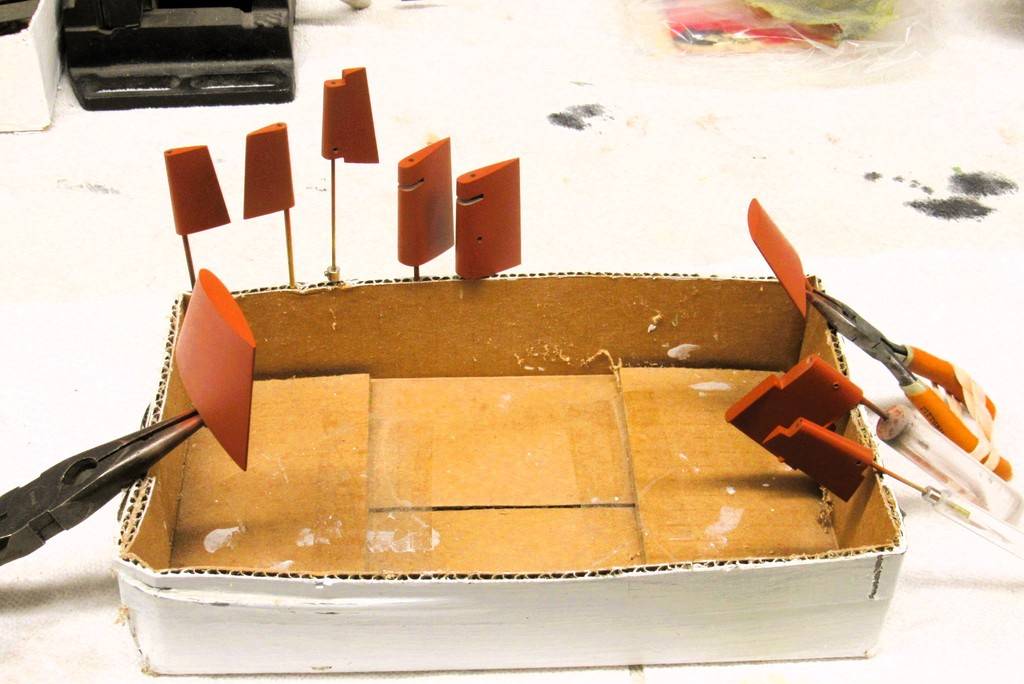
                          Time to splatter some paint on these three suckers! The paint chemistry is my old friend: two-part, polyurethane DuPont ChromaColor. This automotive paint is tough, quick curing and can be reduced significantly without losing its opacity, which makes shooting it with small air-guns like my trusty Paasche H-model, single-action a very easy proposition.


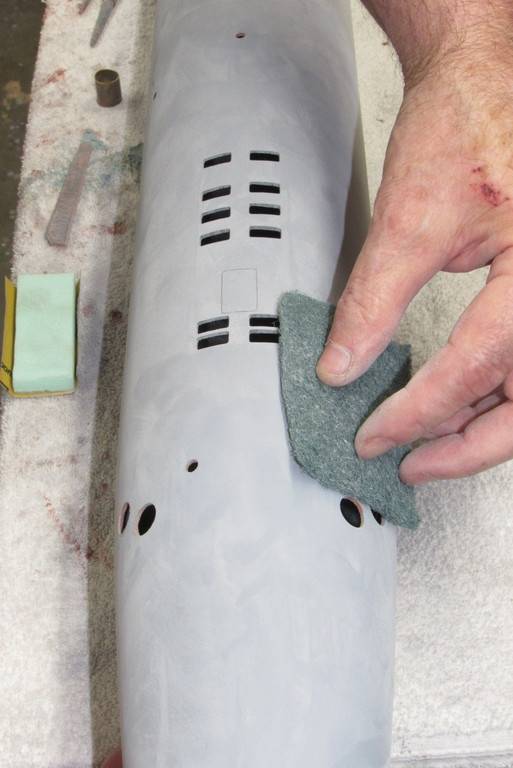
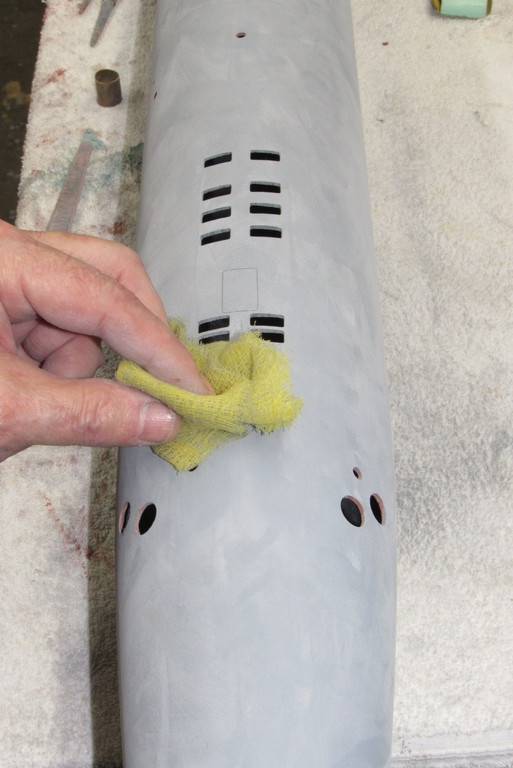
                          The 1/96 WEBSTER, KILO, and BLUEBACK – all at this point in their final primer gray – had their hulls and appendages given a final dry sanding with #600 grit abrasive; a polishing with an abrasive pad; blown-down to get any sanding dust trapped into the engravings; and everything wiped with a tack-cloth to remove the last little bits of sanding dust from the surfaces to be painted.


                          The first color to go down was anti-fouling red, applied to all hull and appendages that would either be below center line, or below water line. The demarcation line between red and black would be center line on the WEBSTER and KILO, and waterline on the BLUEBACK.


                          Who is John Galt?

                          Comment

                          • He Who Shall Not Be Named
                            Moderator
                            • Aug 2008
                            • 12320


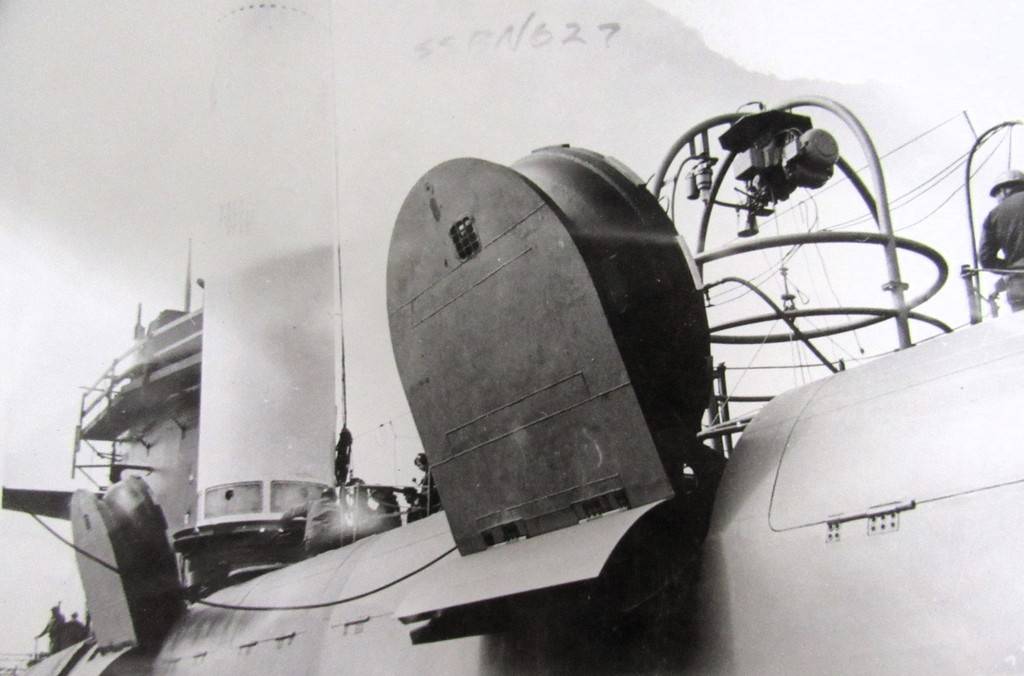
                            It's often the 'little things' that makes an otherwise fair model to become an interesting and appreciated display. Little things like the projecting hinge pins employed to permit travel of the three-piece missile tube muzzle hatch fairings.


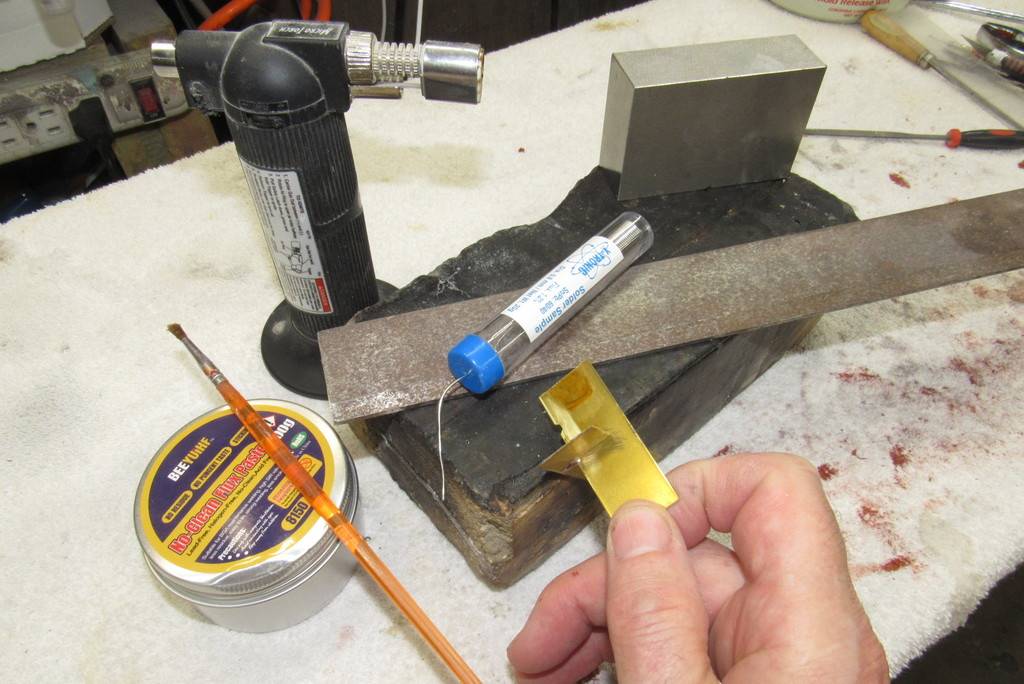
                            Missile tube fairing hatch hinge securing brackets were represented by engraved rectangular shapes scribed in with the aid of this purpose built stencil.


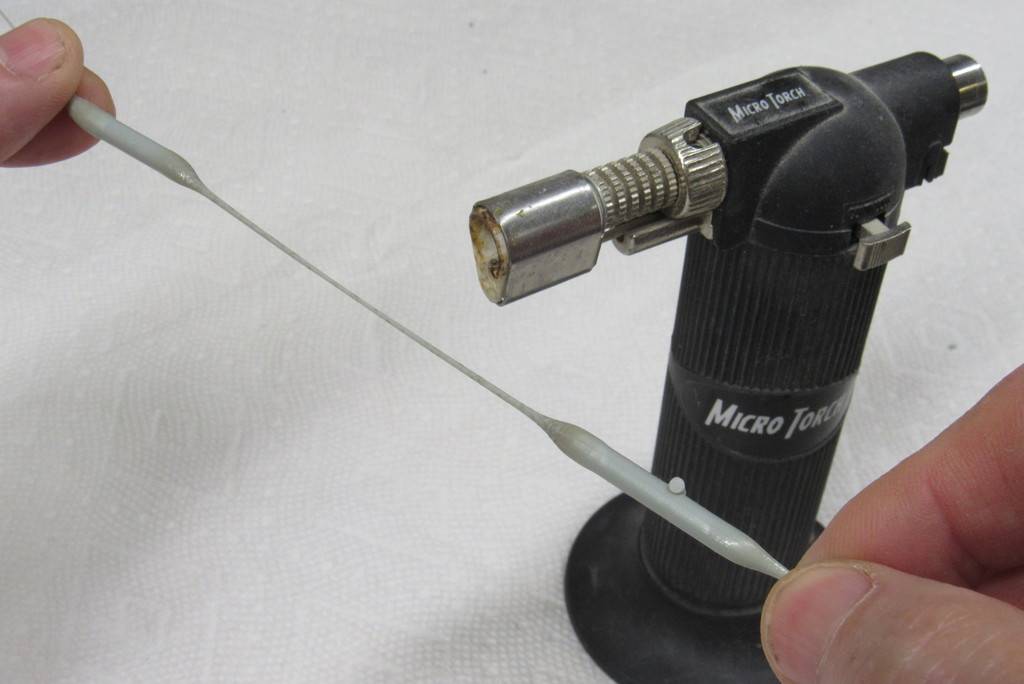
                            Stretching sprue to derive the correct diameter, round of section fairing hinges.


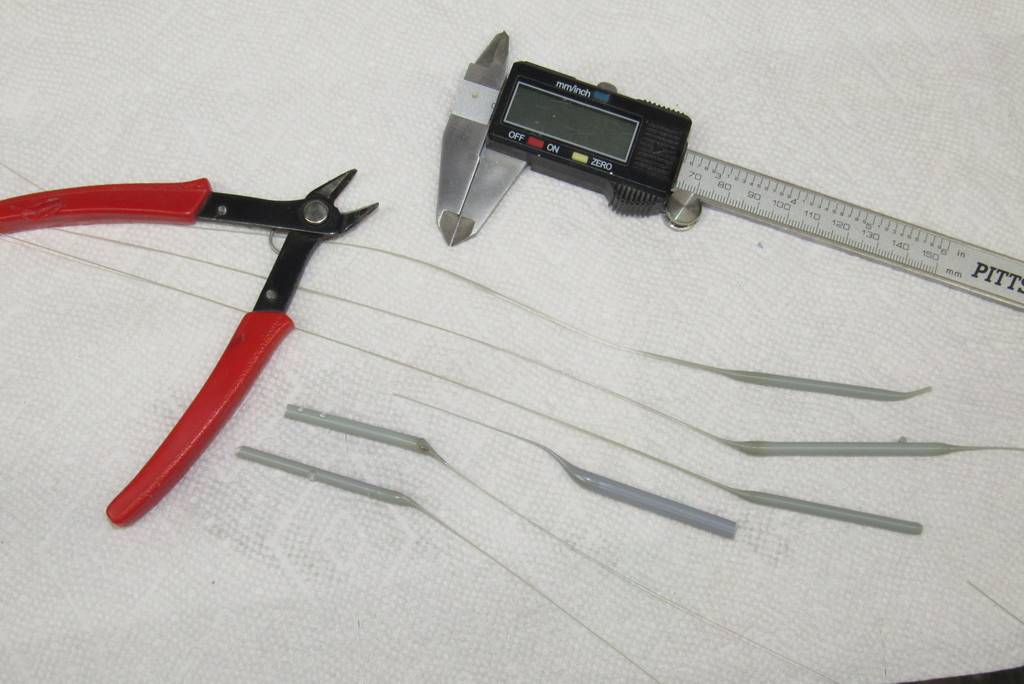
                            I found that the ideal hinge diameter was .015”. So, with the aid of a micrometer I found those lengths of stretched sprue that fit the bill and cut them away for later chopping to length.


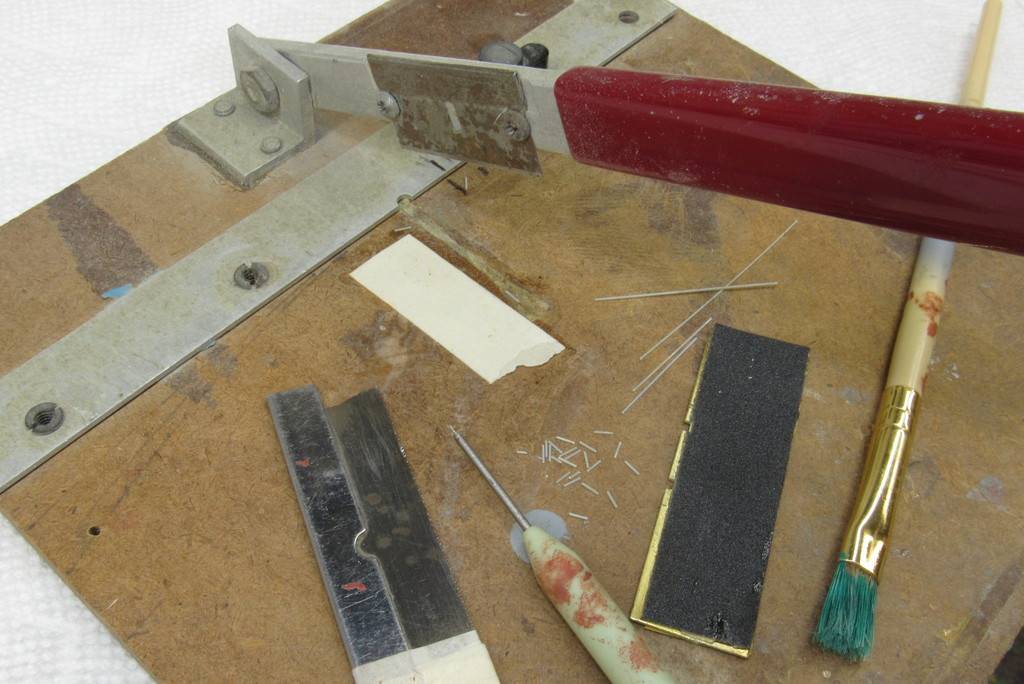
                            A very useful tool for slicing thin, soft plastic sheet and extruded shapes is this commercially available 'chopper'. Here I'm using it to cut to length stretched sprue missile tube fairing hinges. Uniformity of length is assured through the use of a masking-tape fence.


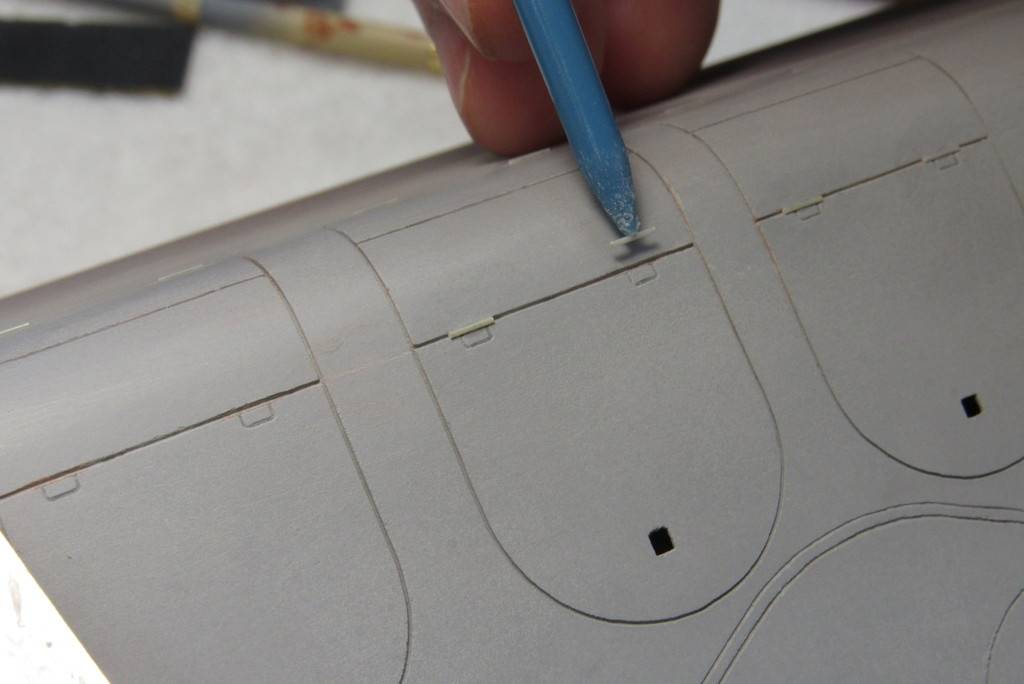
                            I used a bit of spit to hold a 'hinge' piece at the pointy end of a paint-brush handle. Just enough stick to permit me to transfer a hinge from the chopper to the engraved line of a missile tube hatch fairing engraved line.


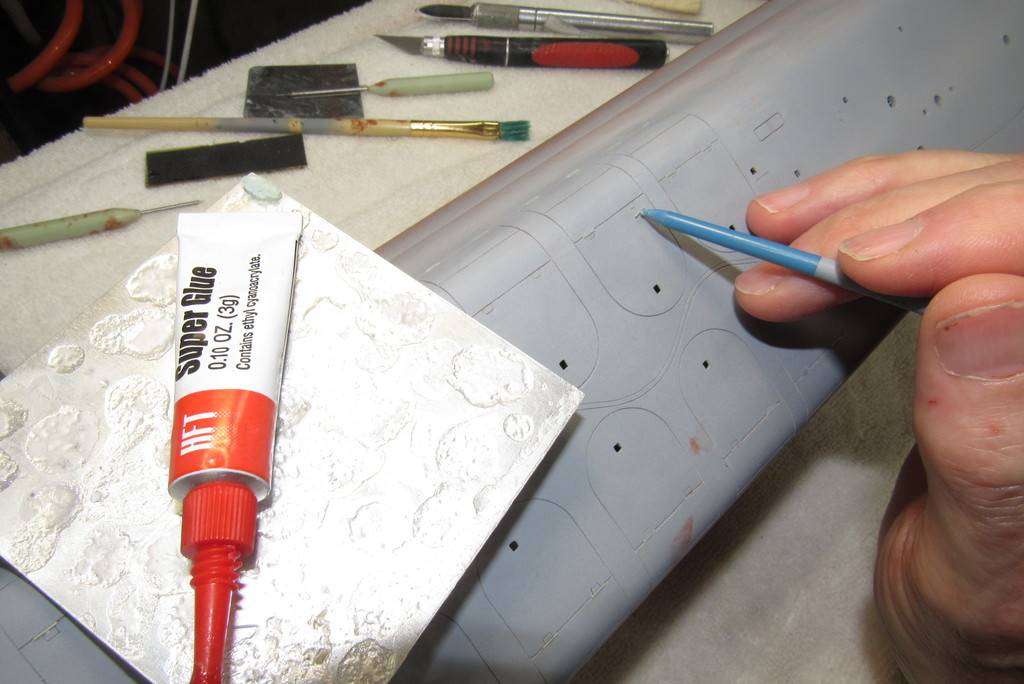
                            A very small drop of CA was placed on the engraved line and a hinge placed into position and pressed down hard with a finger for about five-seconds – long enough for the glue to take hold.


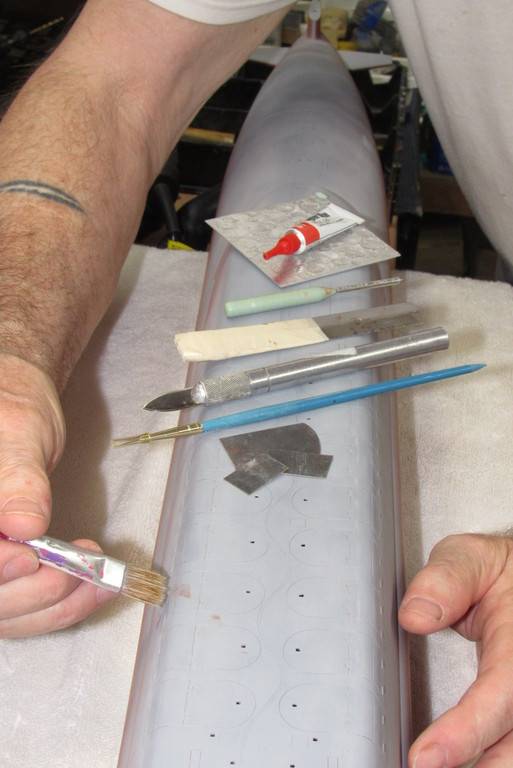
                            Careful blade scraping and sanding with #600 around the slightly raised hinges cleaned up any excess glue. Here I'm chasing out sanding dust from the engravings with a stiff paint-brush.

                            Who is John Galt?

                            Comment

                            • wlambing
                              Commander
                              • Nov 2020
                              • 295

                              David, You looking for the Scot or the Ayn Rand character? ;)

                              Comment

                              • He Who Shall Not Be Named
                                Moderator
                                • Aug 2008
                                • 12320

                                Originally posted by wlambing
                                David, You looking for the Scot or the Ayn Rand character? ;)
                                Could be, Bill.

                                But what really blows up my skirt is the purity of purpose, and sense of self of her Howard Roark, and Hank Rearden characters. True representatives of the best characteristics of man; virtues that could only be grown in the America of years past (not today). Today, the great American experiment has failed. Socialism has won (the tool of our defeat: regulations and no term limits).


                                David
                                John Galt, call your office...
                                Last edited by He Who Shall Not Be Named; 08-10-2023, 12:06 PM.
                                Who is John Galt?

                                Comment

                                Working...