Wow, the Sierra looks mean! Very jealous...
J�rg
-
David, that Albacore sail is outstanding. Truly one of your best yet.Leave a comment:
-
-
-
-
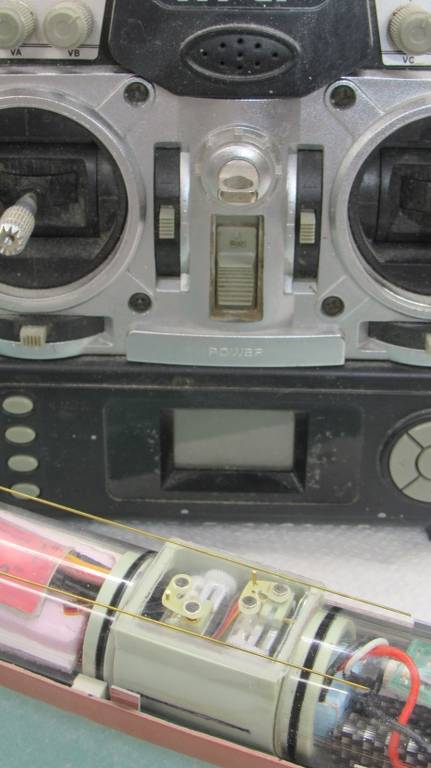
Hobbyist who convert 1/64 Hotwheels/Matchbox cars use these 1.7gm servos in lieu of those linear servos..
Leave a comment:
-
-
What advantage does the bellcrank give you over using direct actuation? Is just that you didn't have room to turn the servos 90 degrees in the WTC?
Leave a comment:
-


Leave a comment: