Japanese Class A 1/16

Collapse
X
 
  • Time
  • Show
Clear All
new posts
  • Von Hilde
    Rear Admiral
    • Oct 2011
    • 1245

    Good news Manfred. I got a reply frm Mike Lebons, the curator, and he will see what he can do about taking pictures and measurements. It's quite possible the bottom hatch was welded shut from the outside and still has the handles and hinge assembly visible. I have his phone number now and we can communicate while he is taking pictures. Maybe he could take some of other details on the hull as well. I inquired as to restoration of the display and future plans, so perhaps I may be of some help. The organization has a voluntary staff, and could use a good historian, perhaps trchnicle advisor.

    Comment

    • MFR1964
      Detail Nut of the First Order
      • Sep 2010
      • 1290

      Excellent Von, let's see what they can find, it would be a big plus if you can contribute to their help, half the world is rusting away, some things need help to be conserved.

      Manfred
      Last edited by MFR1964; 02-05-2016, 02:36 PM.
      I went underground

      Comment

      • MFR1964
        Detail Nut of the First Order
        • Sep 2010
        • 1290

        More news from the Cave,

        Click image for larger version

Name:	P1240395_zpsu3xkht5j.jpg
Views:	133
Size:	90.1 KB
ID:	112513

        First i made some drawings of the stabilisor fins, i´m going to make them from laminated CPB board, had to cut 12 pieces.

        Click image for larger version

Name:	P1250396_zpsycqu1abf.jpg
Views:	127
Size:	53.8 KB
ID:	112514

        Took a small cutting disk and made all pieces, that circel will be used as a tool to get them straight on the hull, still have to cut out the notches.

        Click image for larger version

Name:	P1250397_zpsanslmeqh.jpg
Views:	125
Size:	51.1 KB
ID:	112515

        Ready with sanding the insides, both outsides are staying copper for now.

        Click image for larger version

Name:	P1260398_zps6bkvcxew.jpg
Views:	113
Size:	54.3 KB
ID:	112516

        This is where i stand now, glued down with epoxyglue, it has to cure for some days, pressing them down with a roll of sheetlead, when cured i can rework them.

        Manfred.

        I went underground

        Comment

        • MFR1964
          Detail Nut of the First Order
          • Sep 2010
          • 1290


          All the fins are cured and ready to be placed,

          Click image for larger version

Name:	P1270402_zpsiv5dellq.jpg
Views:	108
Size:	49.3 KB
ID:	112569

          They are sanded down for the first stage, the piece to line them out has the notches.

          Click image for larger version

Name:	P1270400_zpsjjps5zcf.jpg
Views:	131
Size:	94.2 KB
ID:	112570

          Dryfitting all parts, using the threaded bar to keep the rearpiece tight.

          Click image for larger version

Name:	P1280404_zps8ailrtlo.jpg
Views:	128
Size:	91.1 KB
ID:	112571

          Got the jigg from the attic and placed the plug inside, by using this part of the jigg all fins will be placed at the same distance.

          Click image for larger version

Name:	P1290406_zps4rxmwxpm.jpg
Views:	114
Size:	90.2 KB
ID:	112572

          You can use a laser or go oldfashion with a wire, tomorrow solderingtime!!!!, to be continued.


          Manfred.


          I went underground

          Comment

          • MFR1964
            Detail Nut of the First Order
            • Sep 2010
            • 1290

            It's done!!, steaming ahead to the next step.

            Click image for larger version

Name:	P1290408_zpssfqmfydu.jpg
Views:	126
Size:	54.1 KB
ID:	112595

            The stabilisors are placed, had to use some small rods to get it stable.

            Click image for larger version

Name:	P1300409_zpsdx9qyqif.jpg
Views:	154
Size:	50.8 KB
ID:	112596

            First step in making the propellor protector, used copperplate 0,3 x 5 mm, when placed it will give some strenght to the stabilisors.

            Click image for larger version

Name:	P1300410_zpsdwuvqe9k.jpg
Views:	128
Size:	85.1 KB
ID:	112597

            This is the more tedious part, dryfitting each part of the ring, made some notches, which will be glued in after soldering all loose parts.

            Click image for larger version

Name:	P1300411_zps56ds5wq4.jpg
Views:	147
Size:	49.0 KB
ID:	112598

            This is where i stand now, all parts dryfitted, clamped them with wooden clamps for now, first have to make some small reinforcement strips before i can solder everything.

            Manfred.
            I went underground

            Comment

            • Von Hilde
              Rear Admiral
              • Oct 2011
              • 1245

              Excelent work Manfred. Will you be building the full cage, like on the Louden boat Ha8?

              Comment

              • MFR1964
                Detail Nut of the First Order
                • Sep 2010
                • 1290

                Thanks Von,

                I'll stay with the single cage as placed on the Ha 19, which is the boat i want to replicate.

                Manfred.

                I went underground

                Comment

                • Von Hilde
                  Rear Admiral
                  • Oct 2011
                  • 1245

                  Detail nut of the First Order, "Mit Eichenlaub, Schwertern,und Brillanten" sent some pictures that wont load here for some reason.

                  Comment

                  • MFR1964
                    Detail Nut of the First Order
                    • Sep 2010
                    • 1290

                    Thanks Von, email has arrived, have to digg in for more details on the cage.<br />
                    <br />
                    Manfred.
                    I went underground

                    Comment

                    • MFR1964
                      Detail Nut of the First Order
                      • Sep 2010
                      • 1290

                      The rearpart is done, only have to make the rudders and divingplanes.
                      Von and me had a discussion by Email about what kind of cage was placed at the Pearl Harbour Boats, to make things short, i stay with the single band cage, if there is other evidence i'll modify it to the dual band cage.
                      Pictures,

                      Click image for larger version

Name:	P2010414_zpsmt3tdzy7.jpg
Views:	169
Size:	82.2 KB
ID:	112643

                      The ring is soldered and i added the antifauling bars both on top and on the bottom, also made a start with those bulges representing the hinges for both divingplanes and rudders.

                      Click image for larger version

Name:	P2020419_zpsac5teyoe.jpg
Views:	143
Size:	80.0 KB
ID:	112644

                      Both horizontal stabilisers have bars at the front of the fins, mainly for the same reason as on the cage, the top fin has the antifauling cable attached, so no bar there.

                      Click image for larger version

Name:	P2030420_zpsjxkimzjy.jpg
Views:	144
Size:	62.1 KB
ID:	112645

                      The lower fin has also a bar, for now it's not attached to the hull because i only have the plug for fitting those items.

                      Click image for larger version

Name:	P2030421_zpsbxnqzxga.jpg
Views:	130
Size:	89.6 KB
ID:	112646

                      Made the attachmentpoint for the rear cable, the cable tensioner is different to the one used at the front of the conningtower, yet again had to made some shackels with bolts for securing the cable and tensioner.

                      Click image for larger version

Name:	P2030422_zpsdvoza591.jpg
Views:	125
Size:	92.7 KB
ID:	112647

                      This is the view towards the tower, to get the cable under tension i used elastic cord, so no worries for slack on the cable.

                      Now this thing is done i can put my attention to the front part, it's not that much work but i have to make certain provisions since i only have the plug, making new parts will be the main focus, and yet again roaming the net for more and better info about the construction at the bow.
                      There is a catch, Von warned me that the boat, Ha19, was not restored properly before it went on tour on the mainland, so i have some digging to do for more accurate pictures from before the restauration.


                      Manfred.

                      I went underground

                      Comment

                      • Von Hilde
                        Rear Admiral
                        • Oct 2011
                        • 1245

                        Not to worry, Manfred. The only big discrepancy with the bow diflector as the boat was restored at Mare Island, is the lower part of the cage around the torpedo bore was all twisted and bent from being dragged up on Waimanlo beach across the reef for about 50 meters. When the Sandcrabs, (yard workers) in San Francisco rebuilt the front cage, they neglected to streighten the two lower horizontal brace bars. Thet are bent down slightly on the display pictures. they did a terrible job on keeping the round rings concentric as well. One other place on the display that was incorrect was the attachment point of the jumper cable. Finding a good picture of one that is correct, may be harder than finding out about the hatches. A picture of any of the boats post war may be misleading. A good picture taken by the Japanese during the war would be unlikely because it was a well guarded secret. You may have to use "artistic license"and wing it.

                        Comment

                        • MFR1964
                          Detail Nut of the First Order
                          • Sep 2010
                          • 1290

                          Thanks Von,

                          First i'll snoop around to see what i can find, artistic license will be a good second option.

                          Manfred.
                          I went underground

                          Comment

                          • MFR1964
                            Detail Nut of the First Order
                            • Sep 2010
                            • 1290

                            As you guys know, the front of the Ko Hyoteki is a eyecatcher, it was a bit of a challence to get it right, mainly because of those curved metal strips that form the netcutter itself.

                            Click image for larger version

Name:	P2070424_zpskxved2po.jpg
Views:	155
Size:	85.1 KB
ID:	112774

                            First i had to make this, a kind of a endcap which slides onto the nose of the foam plug kept at it's place with a threaded bar and nut, went the easy way with adding the rivets on the reinforcement ring.

                            Click image for larger version

Name:	P2070425_zpsbflpmqiv.jpg
Views:	130
Size:	44.7 KB
ID:	112775

                            Next step was to make those strips which hold the netcutter at it's place, Von warned me to keep them all straight.

                            Click image for larger version

Name:	P2110428_zpspc9yr97r.jpg
Views:	154
Size:	97.0 KB
ID:	112776

                            By using small strips soldered to the reinforcement-ring on the inside i could solder the strips on the outside, also made those constructions at the top and bottom complete with their big rivets.

                            Click image for larger version

Name:	P2110429_zpsxd8jm2n8.jpg
Views:	134
Size:	73.2 KB
ID:	112777

                            First it was time to connect the frontwire to the nose, used some home made mini shackels and locked them with bolts, there are no clear pictures present, so i went the artistic way.

                            Click image for larger version

Name:	P2130431_zpsp0z3w7ve.jpg
Views:	153
Size:	84.2 KB
ID:	112778

                            Made that rod which supports the netcutter, it's too big for now, have to rework it later on, the little strip in front was used to give me a big spot to solder the netcutters.

                            Click image for larger version

Name:	P2130433_zpsdfciaict.jpg
Views:	138
Size:	87.3 KB
ID:	112779

                            Finally after some fiddling the front top cutter was soldered to it's place, one hurdle taken.

                            Click image for larger version

Name:	P2130434_zpsr63pug7p.jpg
Views:	161
Size:	94.9 KB
ID:	112780

                            Playing around with the lower cutter, there is more curve on this one, so it took me a few attempts to get it right.

                            Click image for larger version

Name:	P2140436_zps2olsmxxf.jpg
Views:	116
Size:	84.2 KB
ID:	112781

                            You tell me Von, it think i nailed her.

                            Click image for larger version

Name:	P2140437_zpso7cxhx71.jpg
Views:	169
Size:	84.3 KB
ID:	112782

                            For now she is ready to be tinkered, i only spot soldered her, have to alter some things like that pyramid shape of the middle bar, it's way too big compared to the pictures i have.

                            Click image for larger version

Name:	P2140439_zpsu12znmjw.jpg
Views:	128
Size:	54.0 KB
ID:	112783

                            The overal view of my progress sofar, i'm eager to get that plug ready for weldinglines , hatches and rivets, but first finish the frontpart for details.

                            Manfred.


                            I went underground

                            Comment

                            • He Who Shall Not Be Named
                              Moderator
                              • Aug 2008
                              • 12253

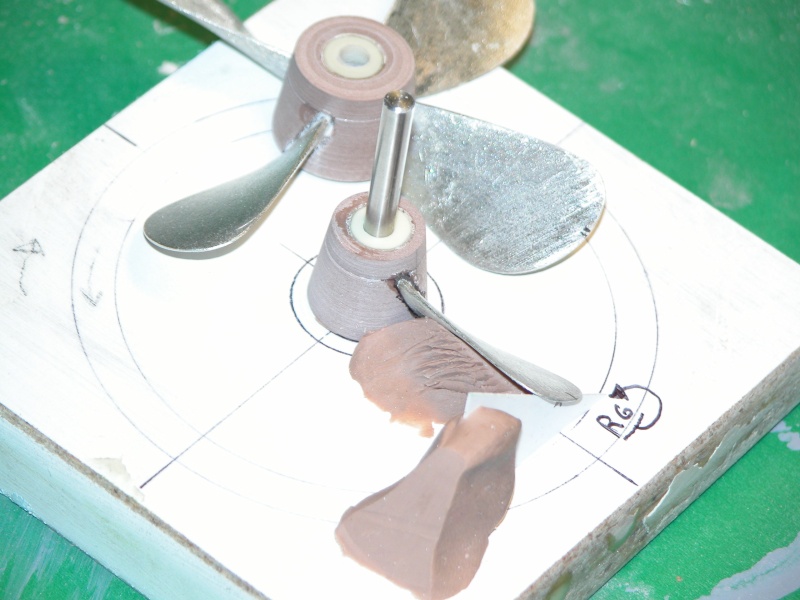
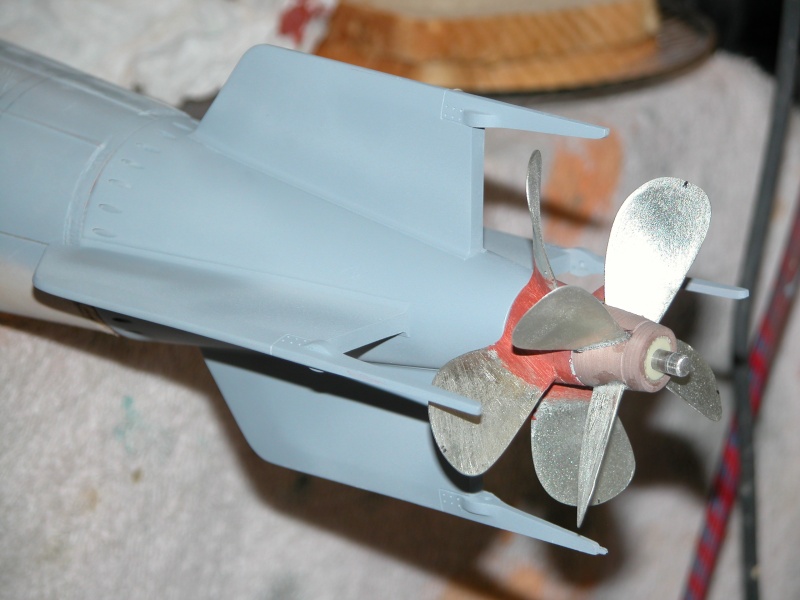
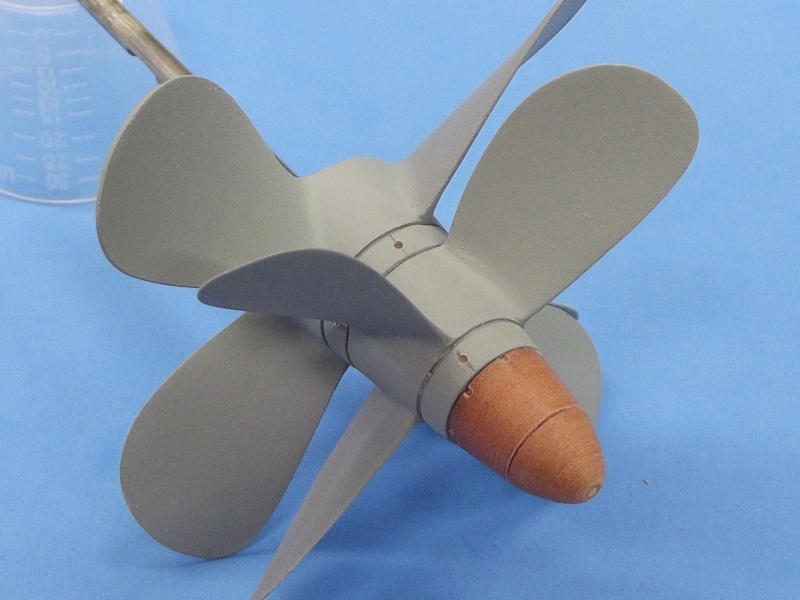
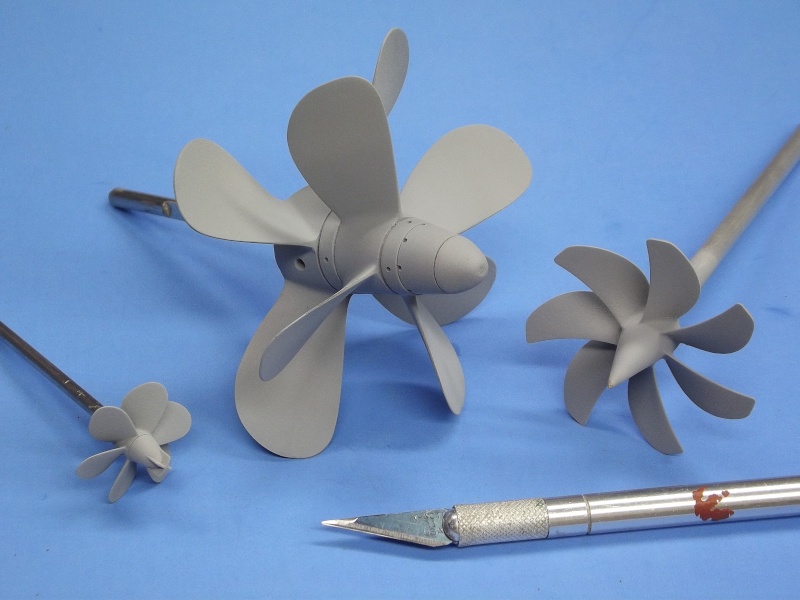
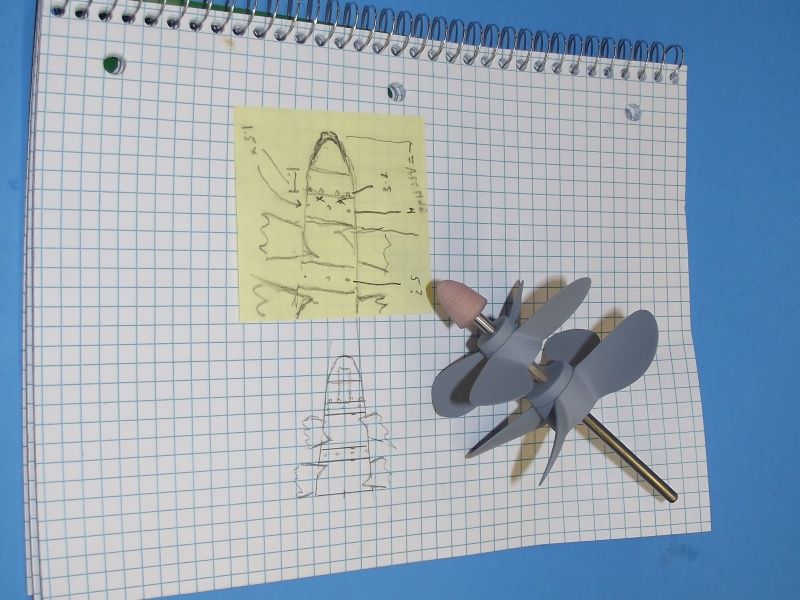
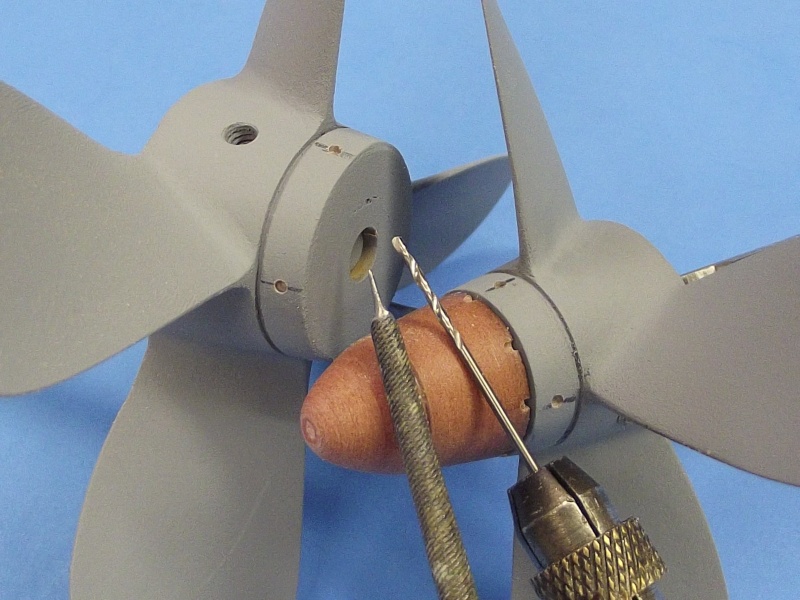
                              I'm working up the masters right now for the propellers that will go on Manfred's Type-A. Should have them ready to send out by the end of the week.


                              Who is John Galt?

                              Comment

                              • MFR1964
                                Detail Nut of the First Order
                                • Sep 2010
                                • 1290

                                YAHOOOO!!!!!

                                Manfred.
                                I went underground

                                Comment

                                Working...