Welcome to our forums. For the best in R/C submarine kits, components and accessories, be sure to visit the Nautilus Drydocks
If this is your first visit, be sure to
check out the FAQ by clicking the
link above. You may have to register
before you can post: click the register link above to proceed. To start viewing messages,
select the forum that you want to visit from the selection below.
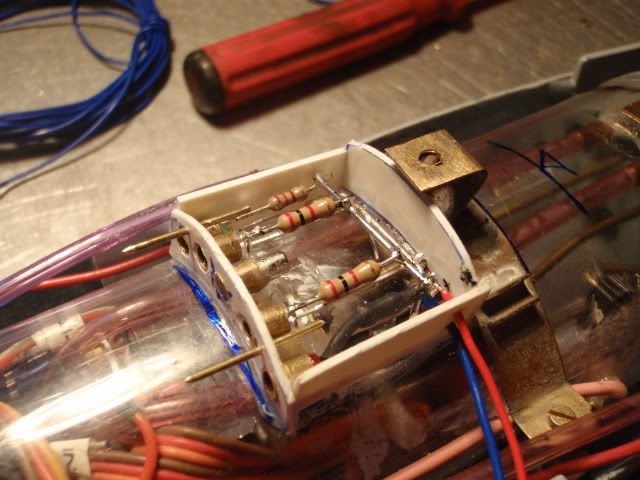
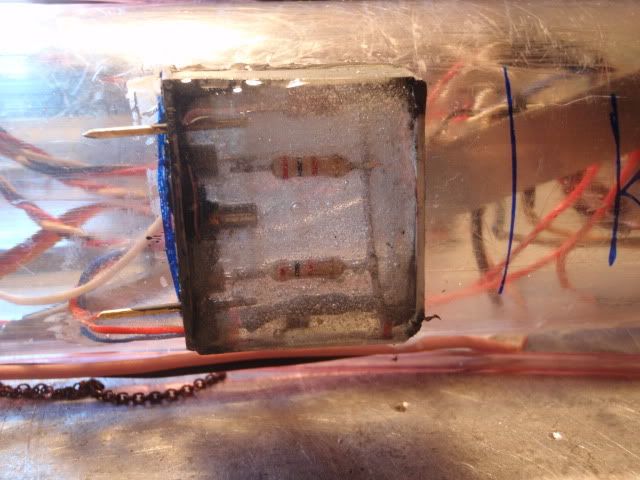
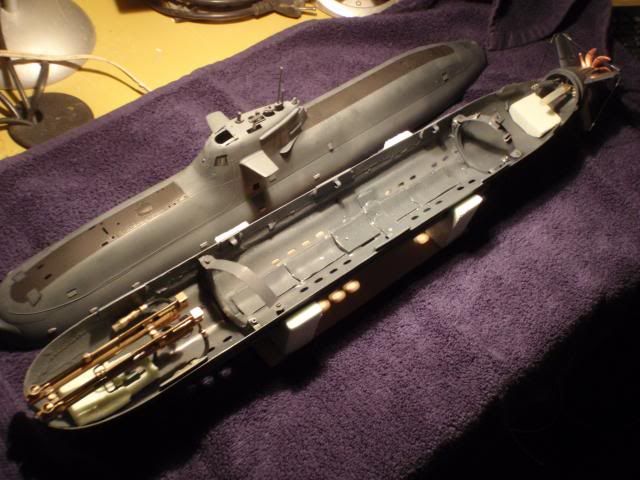
After my succesfull testing i wanted to encapsulate the electric components, made a casing from styrene.
Now the fun bit started, by using some clay all around i sealed it off, and started pouring in 2K glue, this glue will dry transparant and after hardening stays a little flexibel, done this in several layers.
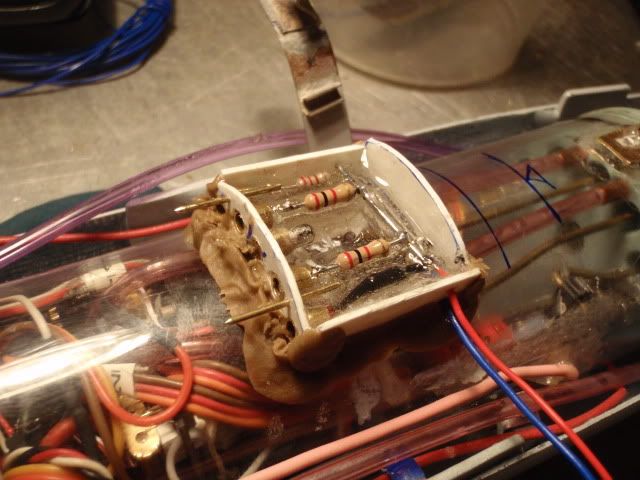
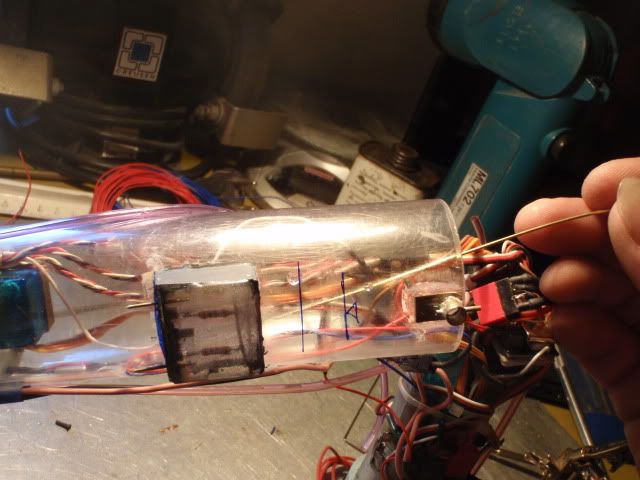
Lightblocked the fibers as much as possible and added some extra foam.
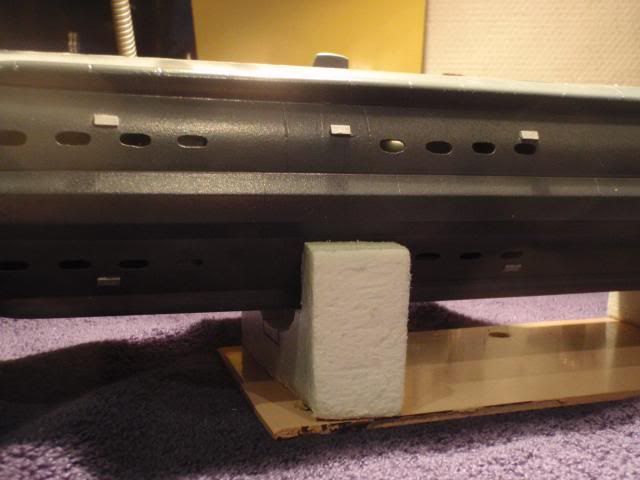
Placed another piece of foam for the balance on the surface, the other one is used for when submerged.
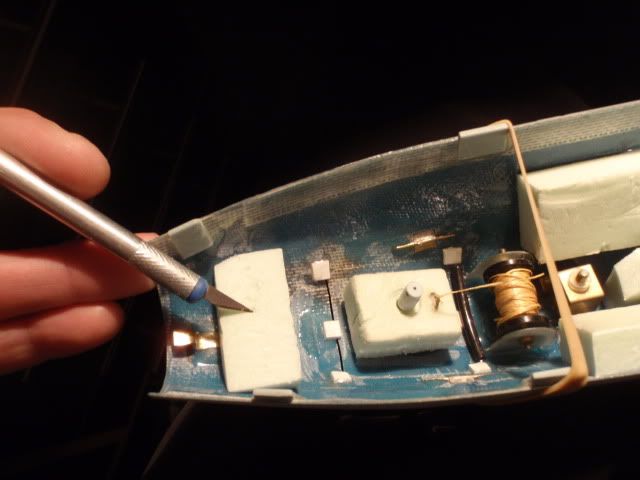
By using some long pliers and a makeshift rigg i could stabilize the magnetic switch inside the SD for glueing it tight.
The compartment with the electric components will be kept clear, so i can inspect it visually when needed.
By using a small rod i could add some glue inside the SD where the cables come through, i always glue cables on both sides, to some extend they are hollow, so if water finds a way to get in, you've got yourself a nasty leak.
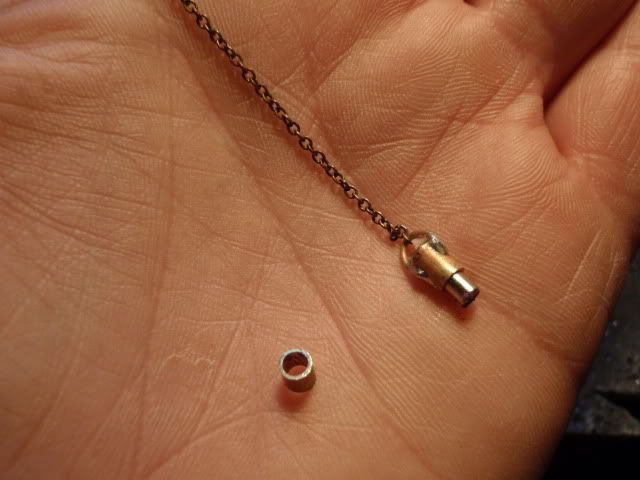
Last thing to show is, the other side of my magnetic switch, the magnet itself, made a housing with a little chain, i always try to keep all needed components on the SD itself, this way loosing them will become harder, by using the chain she will be connected to the SD.
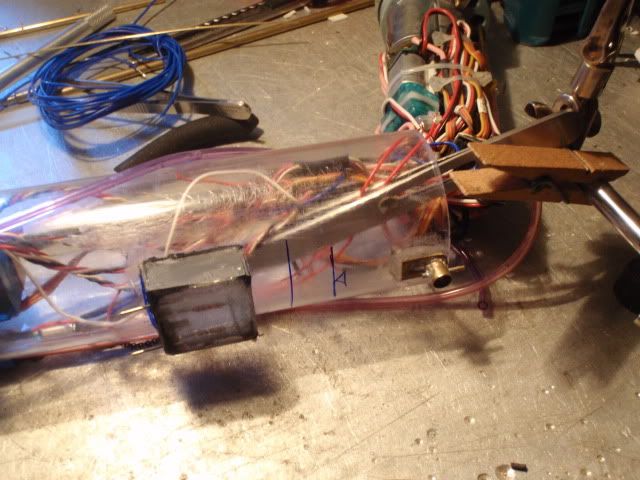
Finished up all the electric stuff inside the SD, and made some succesfull tests, the magnetic switch is certainly the last item i could add inside the SD, it's official, it's full!!!!!
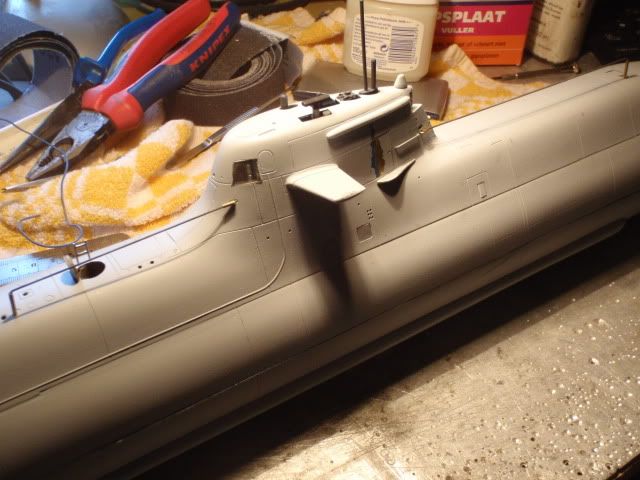
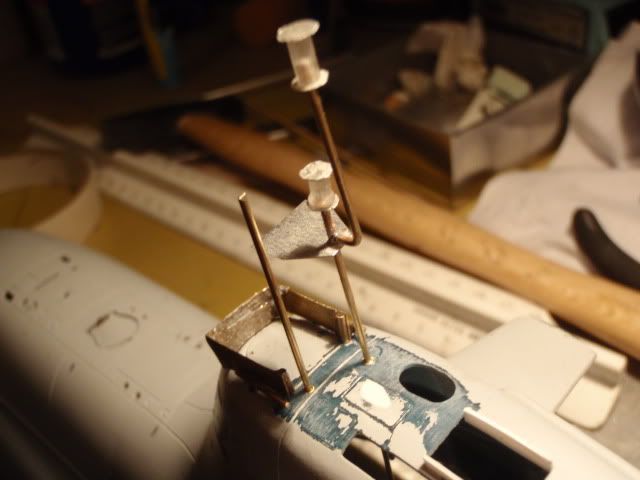
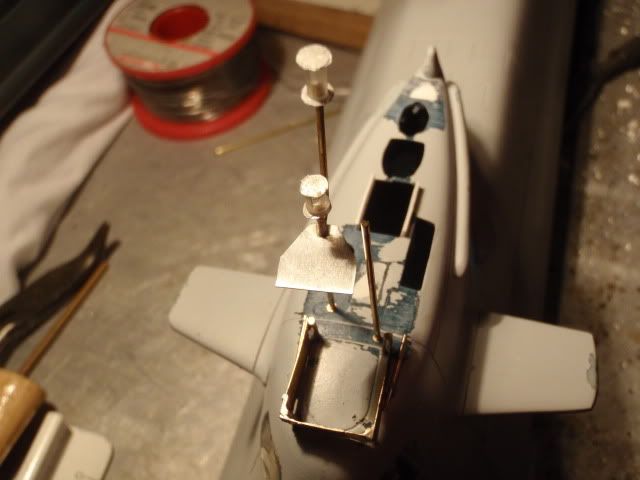
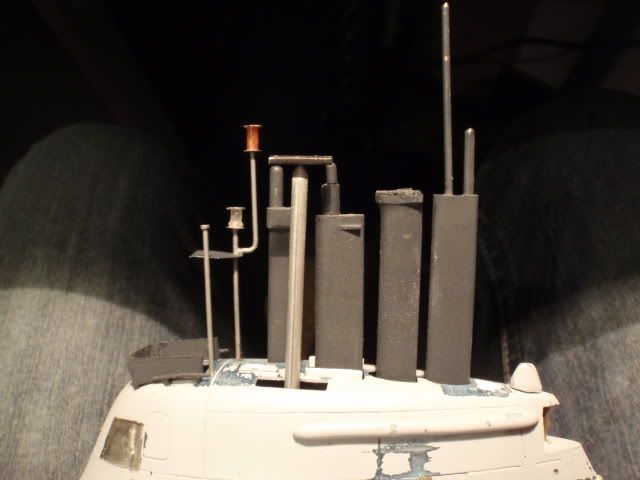
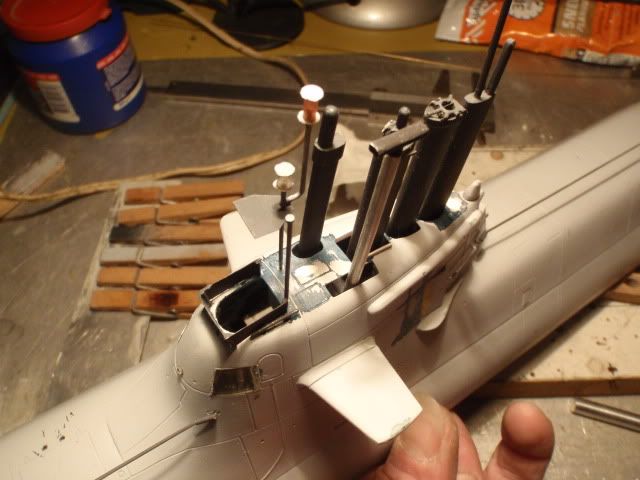
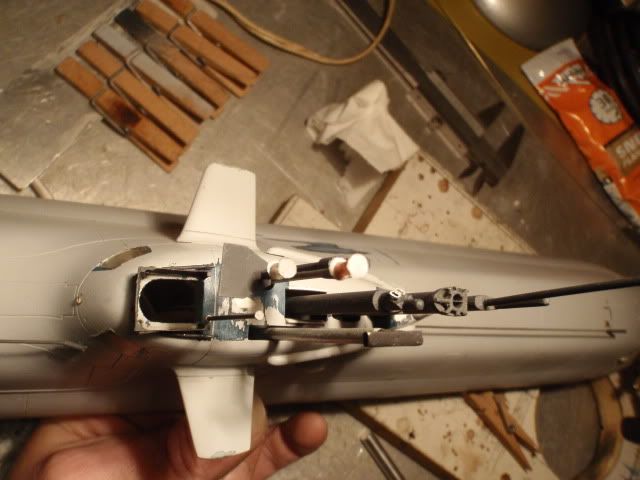
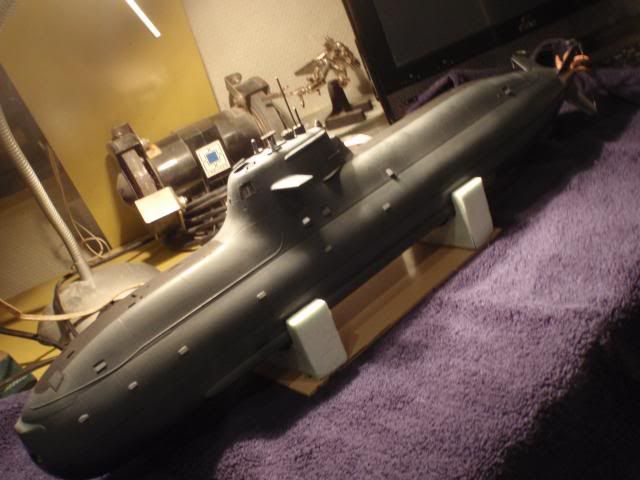
The size of the 212 can be called small, but i couldn't resist to make some parts for static display, due to the detailed hull she deserves it.
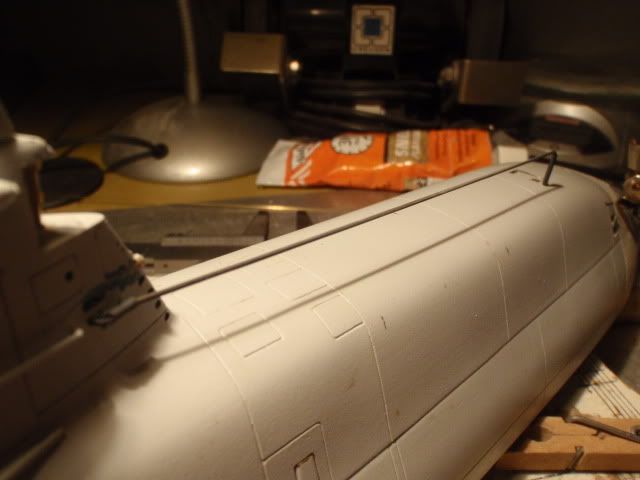
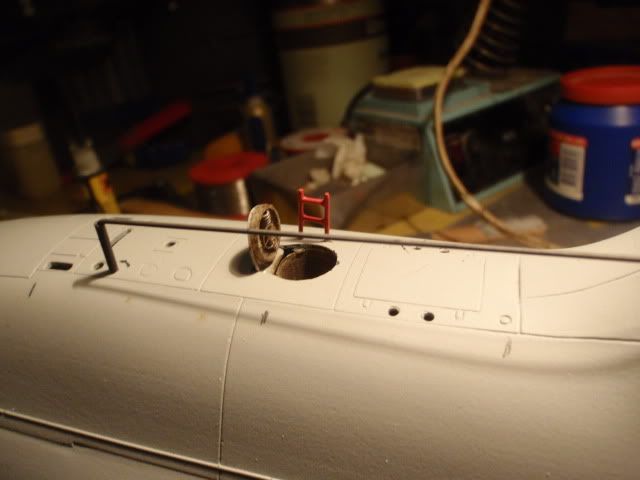
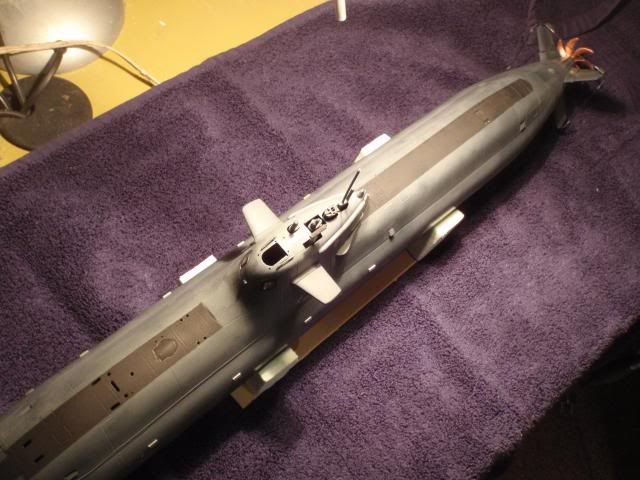
First step was, adding the safety lines and the little ladder at the front hatch.
I've got to blame Mark for this, he provided us with some nice pics from the conningtower, a spray guard, and the additional things when cruising around in the harbour.
On some pictures i noticed that strange rectangular thing below of the lights, it seems to be a kind off anti blinding shield for the crew when the lights are operational.
A overal picture from the side, to my point of view it's a nice addition when on static display, i still have to open up the conningtower where the crew have their place when standing.
Also made a short vid to show how things now finally work with the magnetic switch inside, enjoy.
Sorry for my late respons Yannis, the buggs got me, giving me the flu, the paintjob is planned this month, the hull is sanded and primed again, have to wait for some warmer weather.
I only can show you guys what i've done before the invasion of the buggs,
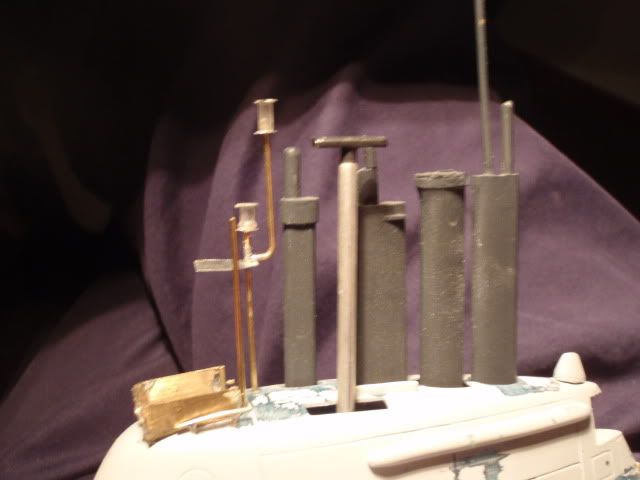
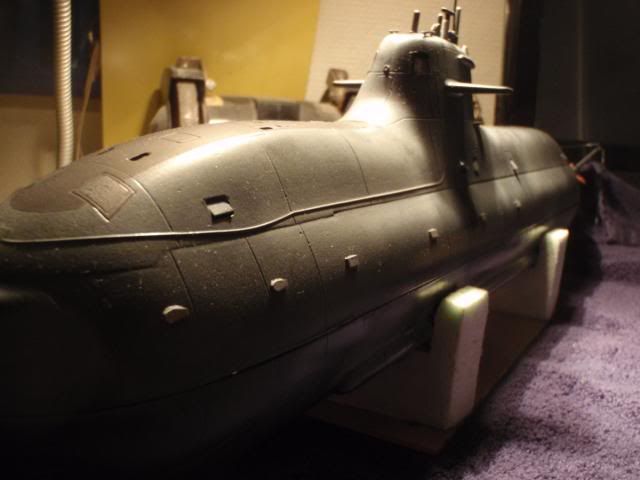
I gave the parts on top of the conningtower a paintjob, and tried to imitate the different colours used by the lights, also opened up the manhole on top of the tower.
Painted all the stuff for the safety lines, and the little ladder at the main hatch, all the stuff on the tower and deck will only be used at static display.
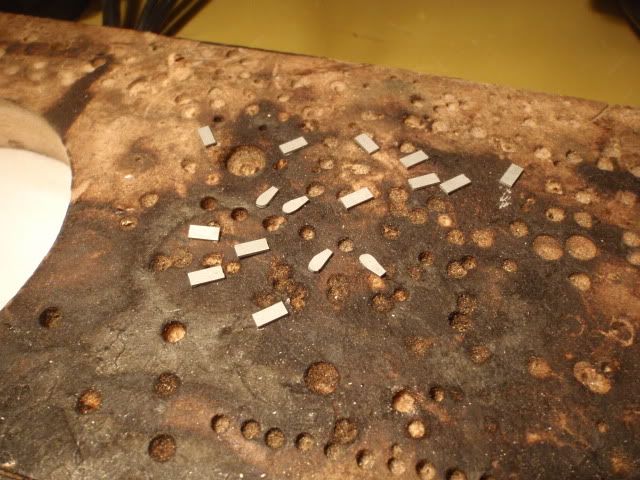
Allready made a start with all the anodes, using the drawings of Oliver i discovered even more at the keel and tail of the boat, it's consuming time all those details, but the model deserves it.
I've read about the weathering of the 212, the only thing not entirely clear is, how to add the toothpaste before spraying the underside, you mask it with a sturdy brush or use a piece of cloth?.
If you wondering why, well, shortly she will get her layer of paint, so i want to do some research in advance.
You paint the lower hull the appropriate anti-foul color. With a stiff stipple-stencil brush, you dab on toothpaste on everything below waterline -- everything! You then cut your anti-foul paint with light gray and paint, stipple on more tooth-paste mask. Cut the previous mix with a bit more light gray and paint. With a wet cloth scrub the hull, removing all the water-soluble tooth-paste masking. I could not find pictures showing the tooth-paste masking trick, but here's what I got on the 1/96 Type-212, Manfred.
I'll tell you what i'll do, first i will make a testpiece to gain some experience before hitting this on the 212 after she got her paintjob, she is ready with primer and i've rescribed the lines, i'll probably will paint her on my makeshift location on the attic, the tempartures will drop again this coming week.
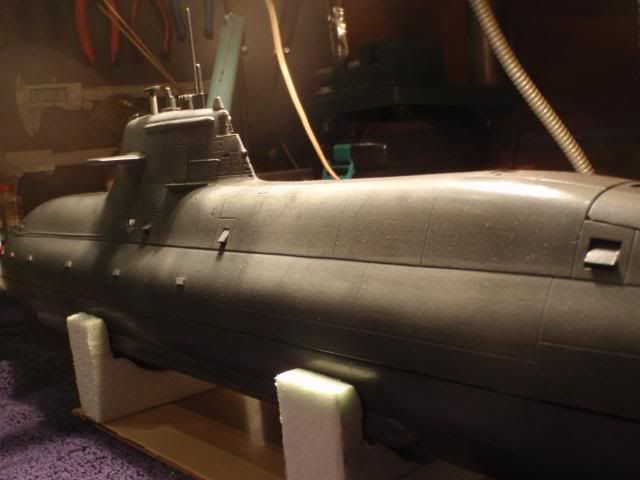
Last few days the tempatures are rising, so i left the XXIII alone, and got me some paint on the type 212, she finally has her natural colour.
Sofar i'm pleased with the result, wether i'll give her a weatherjob i really not have decided.
I also gave the inside a paintjob, it's a matter of personal opion, but i prefer this.
Made some extra anodes, which are placed at the underside of the hull.
The anti skid deck was sprayed with flat black, from the pictures i've found this can vary from dark grey to black, simply depending on which boat you build.
Within a few weeks there will be the yearly submeeting in holland, so she has to be trimmed again and ready for action, i still have to make some testruns before this meeting to be sure she's OK.
David - in this post you mentioned the appropriate anti-foul base color. In the photos I have collected of 212As I have not found a photo depicting color of the original antifouling paint. My photos depict new 212s before launch (in which the upper and lower hull appears identical) or hulls which have ready been mildly discolored. What color did you use for antifouling before you did the toothpaste masking? Thank you.
In the case of the German Type-212 'the appropriate anti-foul color' below waterline is a semi-opaque application of stippled on tan and shades of lightened 'hull' color. Yes, the initial boats were all the same dark-gray, top to bottom. It's the simulation of fouling below the waterline that gives the striking difference in 'color' between above and below waterline.


Comment