Attached Files
-
Just finish the god-damned thing and move on!!!!!Leave a comment:
-
-
Anyway...
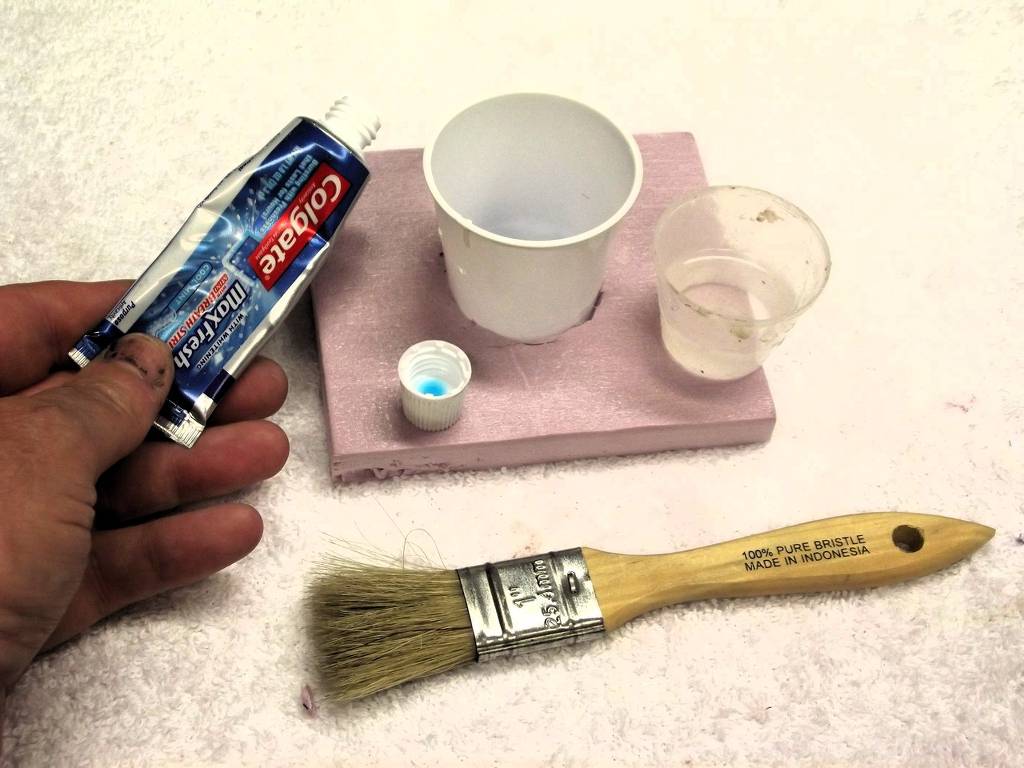
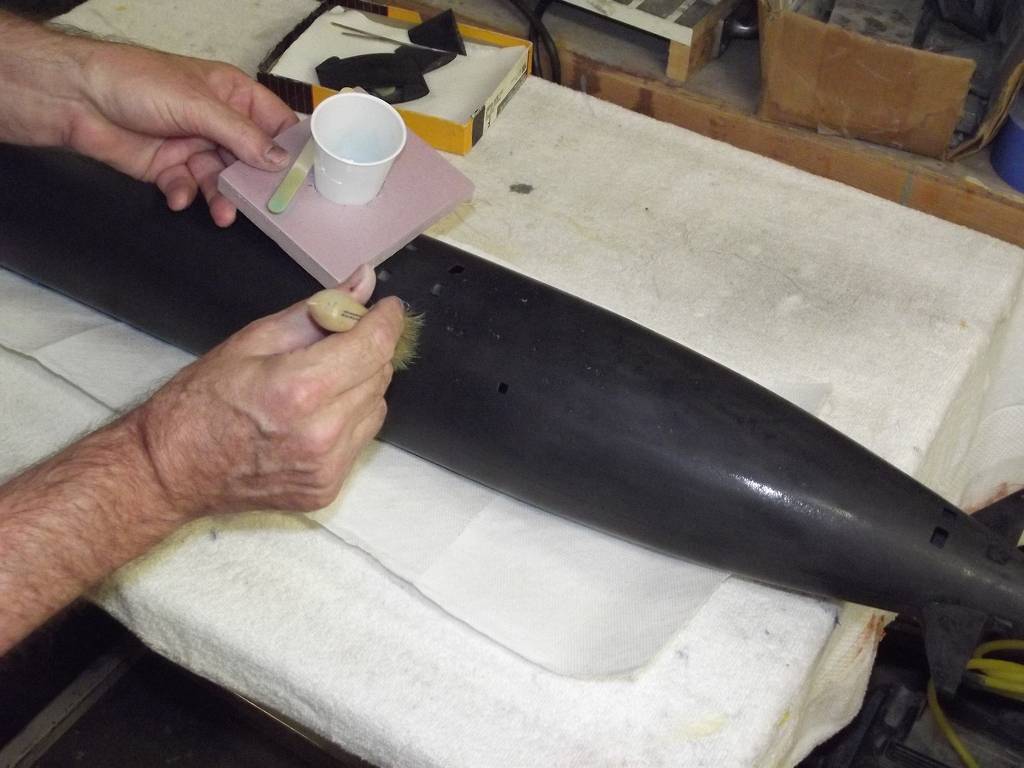
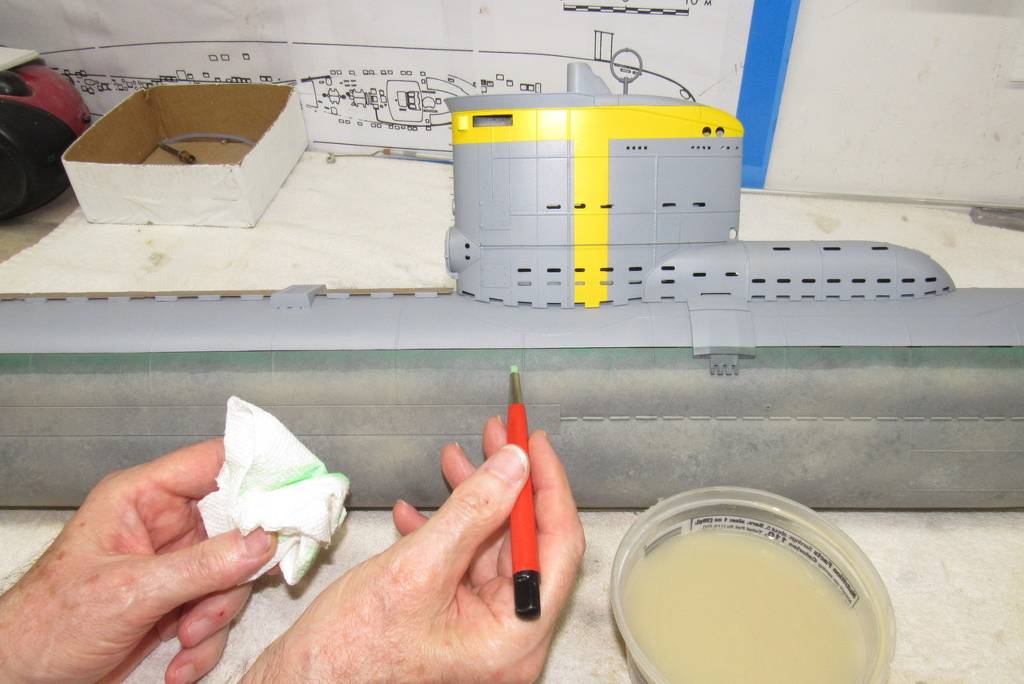
You've got a good start with the puke-tan below waterline effort. Now -- at a point about an inch below waterline -- start stippling on toothpaste mask (look it up in past 'today's work' posts). Then, mix up a well darkened batch of clear-coat. Spray this tinted clear on all below-waterline structures, and wait for them to dry. Then, with a wet towel, remove the masking. Dry and repeat till the display stops looking so ghastly.
And don't forget the bow planes, stern planes, and rudder!


Sing my praises!
DavidLeave a comment:
-
-
-
-
-
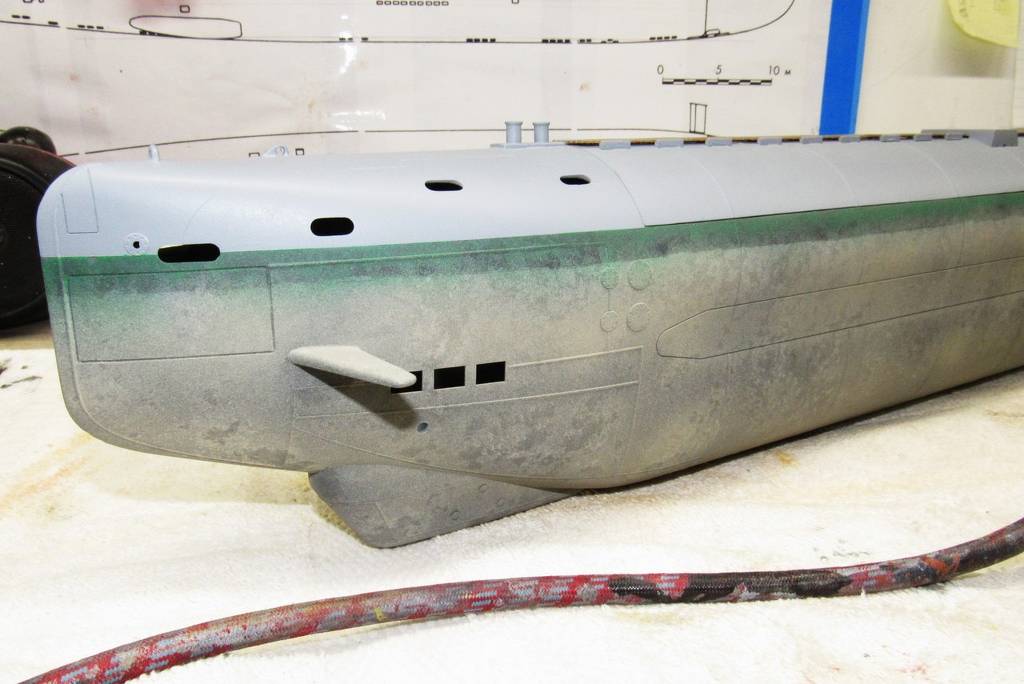
This Type XXII operated in cold waters. Refer to this Post for what a cold water sub looks like:
Leave a comment:
-


Leave a comment: