Airbrushing, new to me, looking for help advice

Collapse
X
 
  • Time
  • Show
Clear All
new posts

  • Ken_NJ
    replied
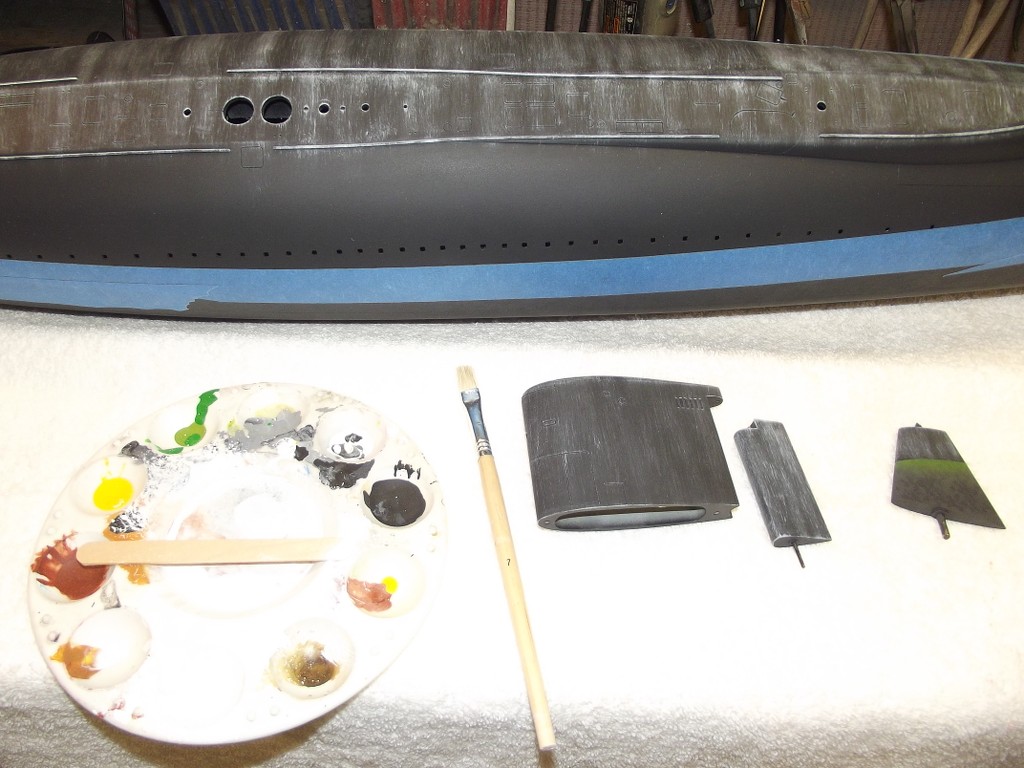
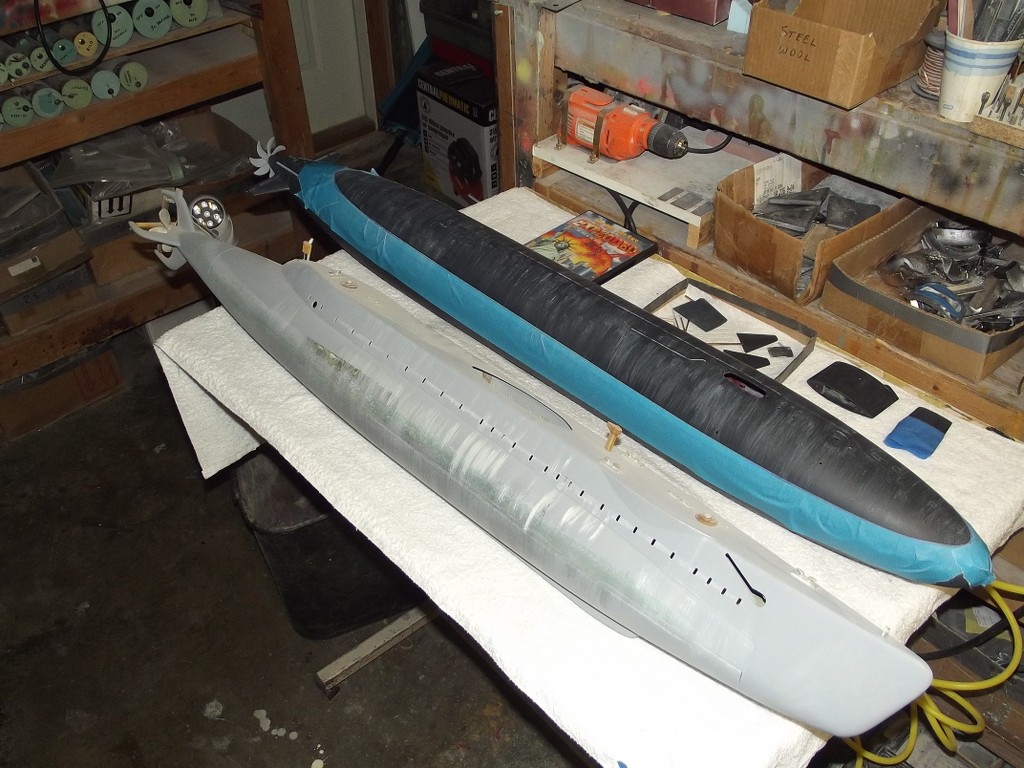
    I am done for now. Used a triangle and a different brush. Going to use multiple brushes on the test article. The triangle does guide the brush better for vertical strokes but slows the process down some. Patience is all I can say. In the previous post I think I applied the paint on too heavy. Here I lightened it up. This has the base coat applied. It appears lighter in the picture than in person. My Skipjack is going to look great!

    Click image for larger version  Name:	1B620C23-5ADC-4DD7-A824-7868B0369CF2.jpeg Views:	0 Size:	61.1 KB ID:	158881

    Click image for larger version  Name:	ED58FBFF-F77B-461D-8441-621A95F90715.jpeg Views:	0 Size:	74.2 KB ID:	158880

    Leave a comment:


  • Ken_NJ
    replied
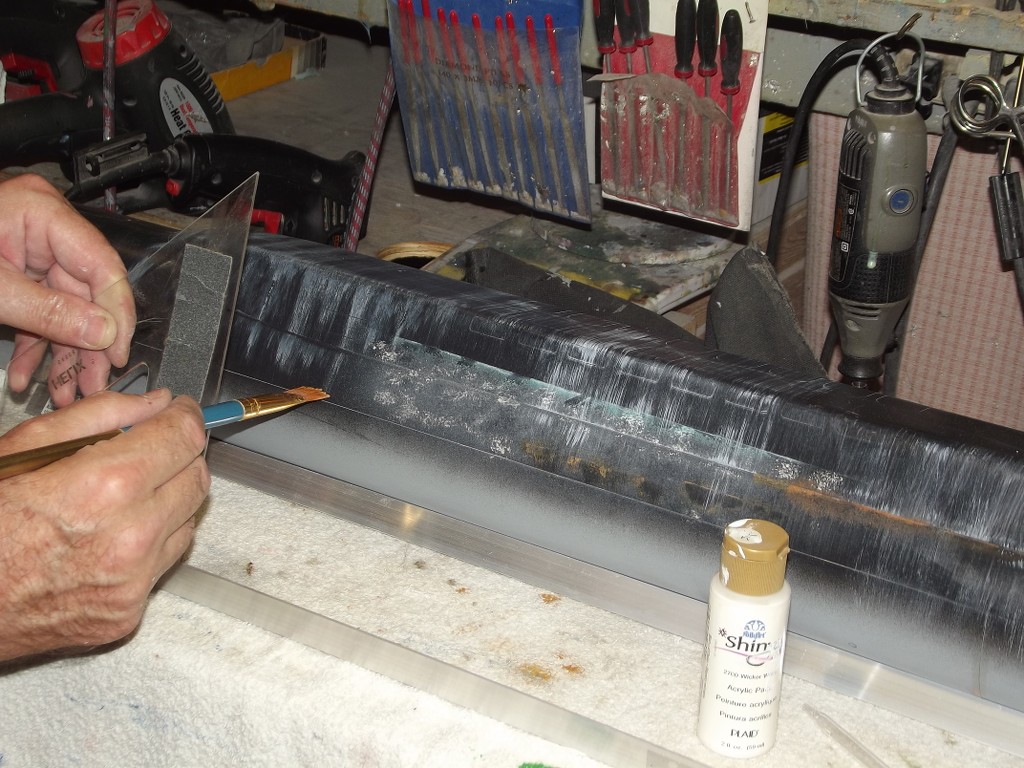
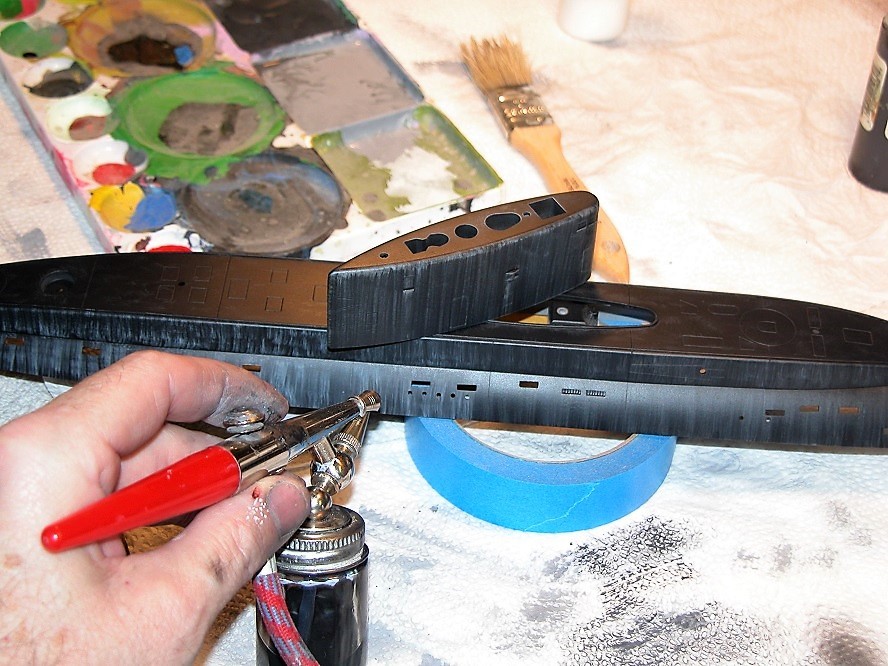
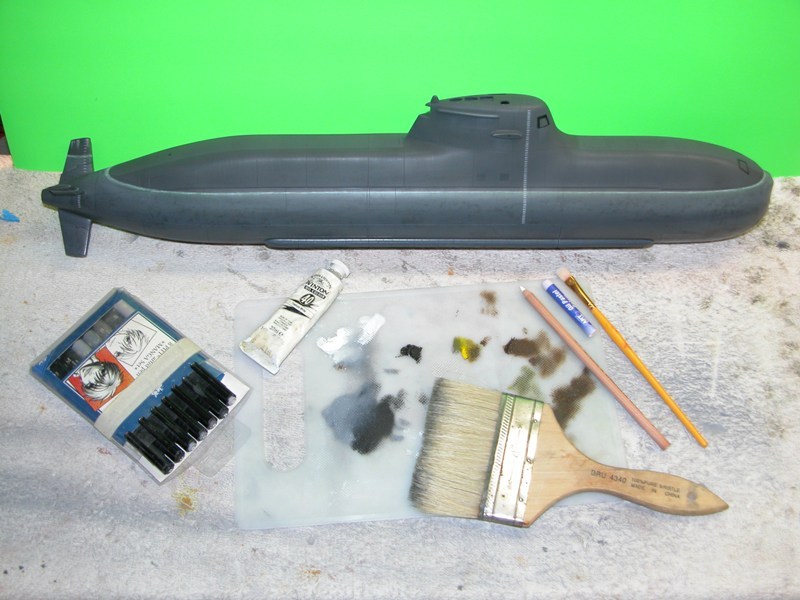
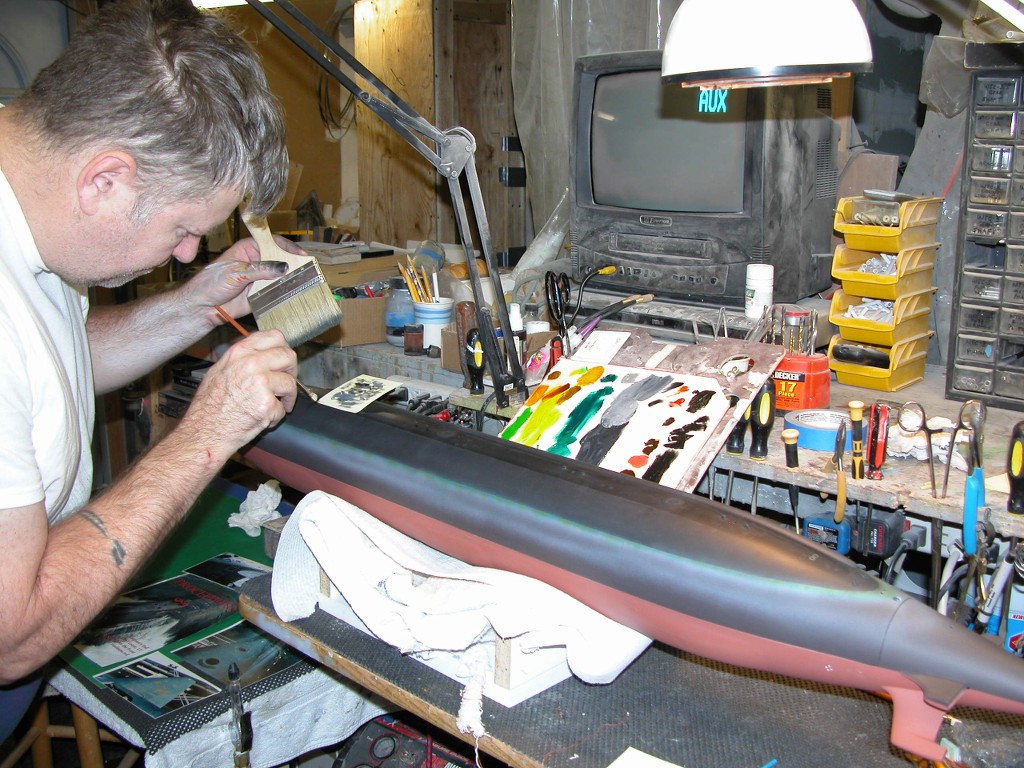
    More practicing. I am using a fan brush to apply paint. The white acrylic is mixed 1:1 with reducer. Sometimes I apply a blob of unthinned paint with a q-tip. I use the fan brush horizontal and vertical. Vertical when I want more paint to go on to get a more dense streak or to get a narrow run. Then I use a large brush and vigorously brush the paint vertically. The top base coat was sprayed on in a vertical motion like David said to do. Not using a triangle here. I will have to try with the triangle and use a different brush to see how that comes out.


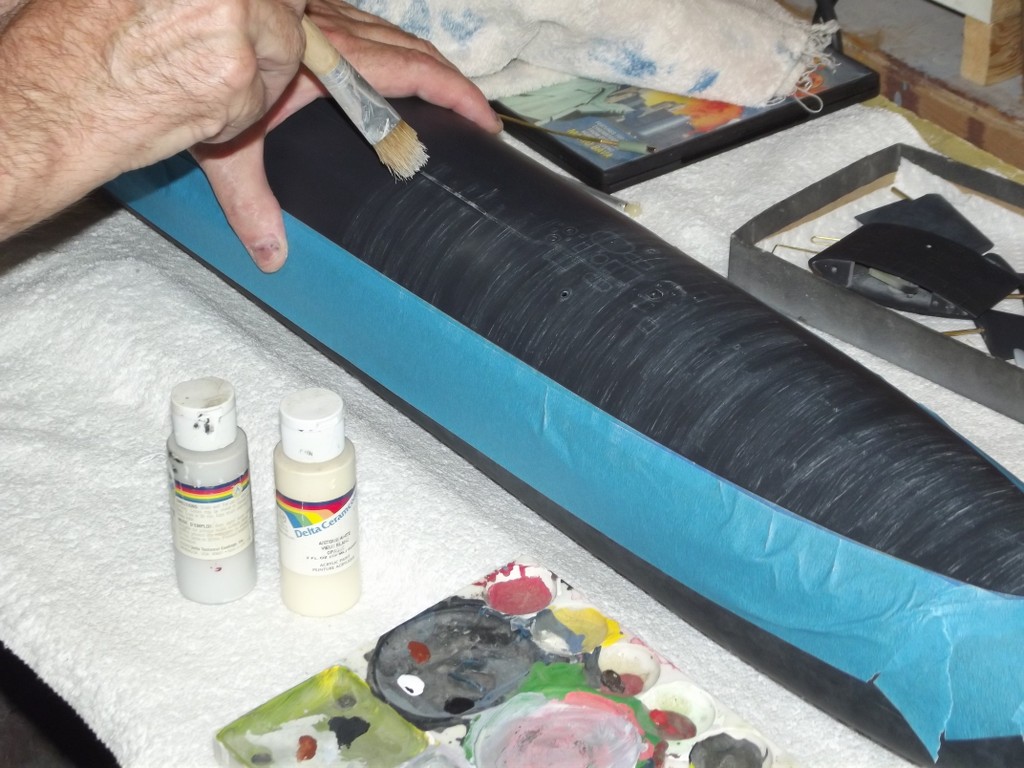
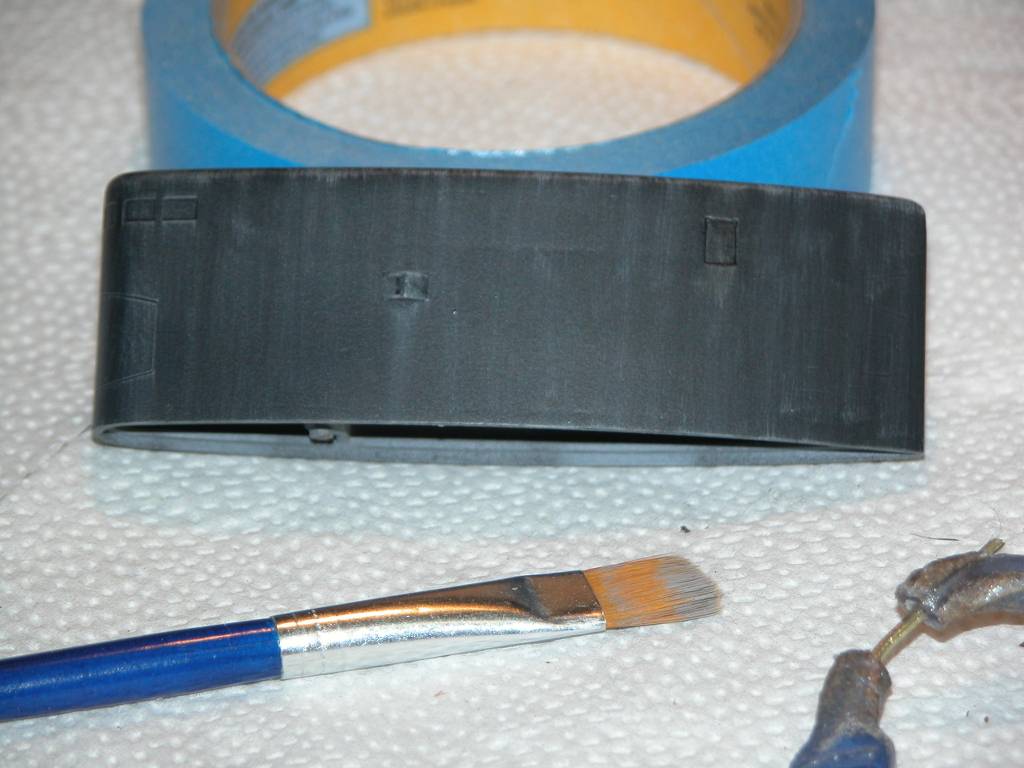
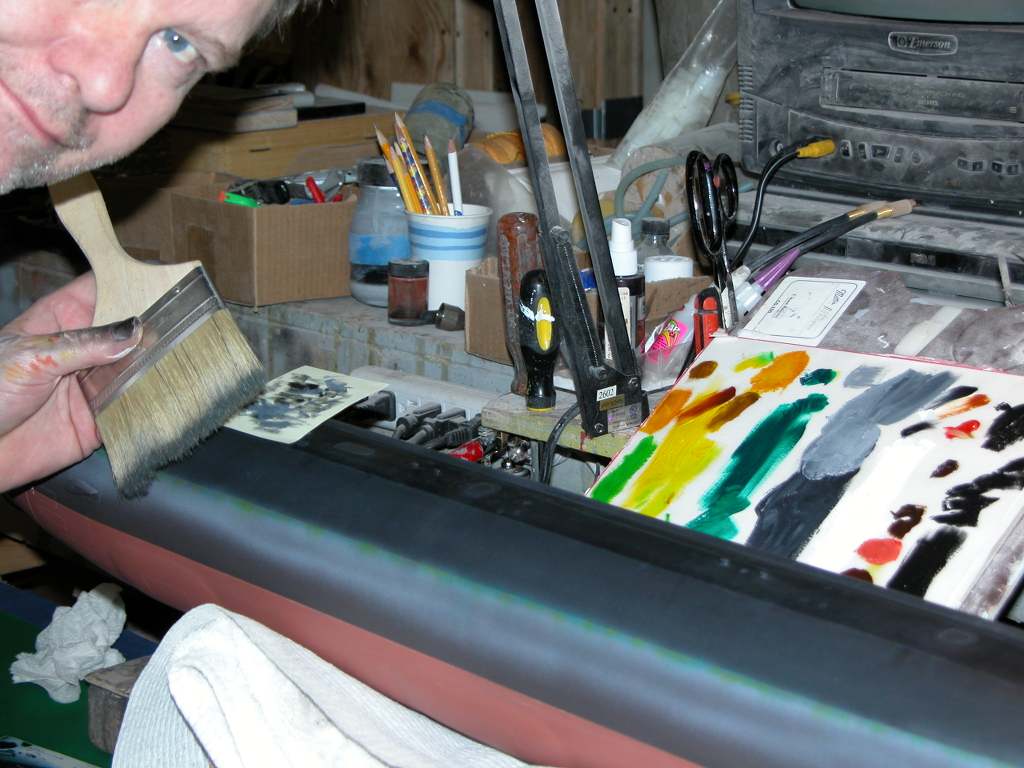
    Before black top coating.
    Click image for larger version  Name:	F78D7FC8-FD69-4D94-BC56-909E75A7162B.jpeg Views:	0 Size:	65.0 KB ID:	158871


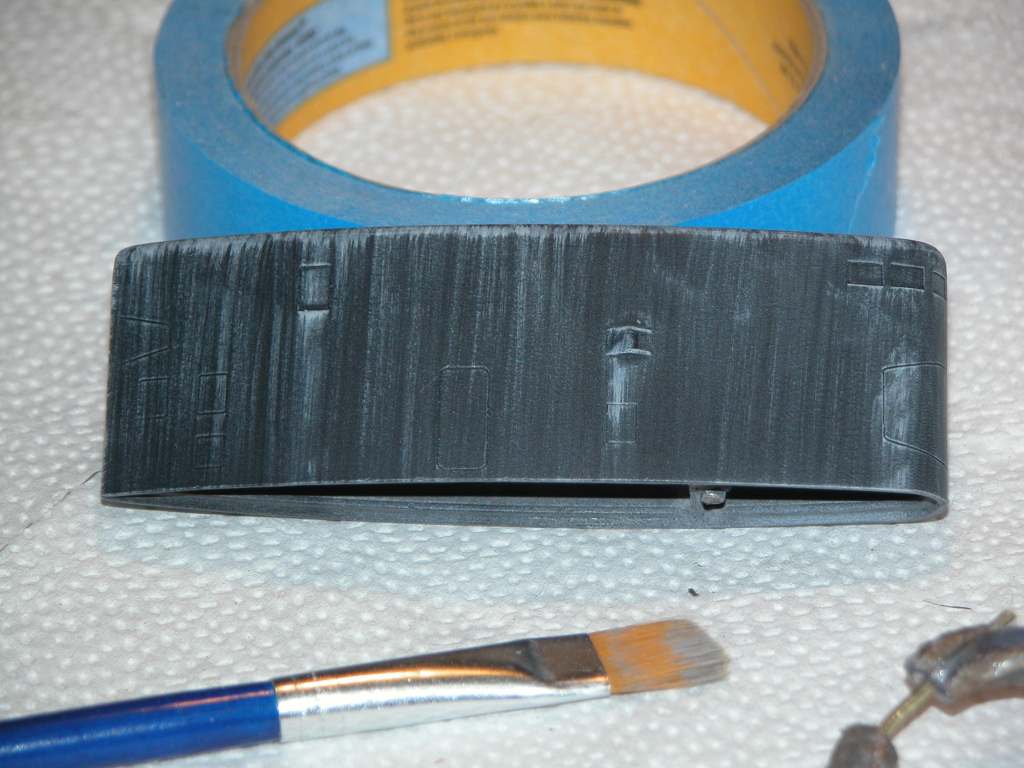
    After top coating. Top try my first attempt. Lower try came out better, but I don’t think I’m there yet on technique looking at Davids examples.
    Click image for larger version  Name:	6E58D6BB-28EC-4050-8143-C1B10749B890.jpeg Views:	0 Size:	64.9 KB ID:	158872

    Fan brush to apply paint and large brush to stretch the paint out.
    Click image for larger version  Name:	50CE56BC-C817-45A1-BD2D-C7519E27B847.jpeg Views:	0 Size:	86.2 KB ID:	158873
    Last edited by Ken_NJ; 02-04-2022, 02:34 PM.

    Leave a comment:


  • He Who Shall Not Be Named
    replied
    Originally posted by Ken_NJ
    Looks like a spattering of bird ****.

    Click image for larger version

Name:	IMG_3982.jpeg
Views:	143
Size:	46.9 KB
ID:	158852
    Now you're cooking with gas!

    Leave a comment:


  • Ken_NJ
    replied
    Looks like a spattering of bird ****.

    Click image for larger version

Name:	IMG_3982.jpeg
Views:	143
Size:	46.9 KB
ID:	158852
    Attached Files

    Leave a comment:


  • He Who Shall Not Be Named
    replied
    Love the test-article. Commence hostilities! You're doing good, pal. Keep swinging that brush!

    David

    Leave a comment:


  • Ken_NJ
    replied
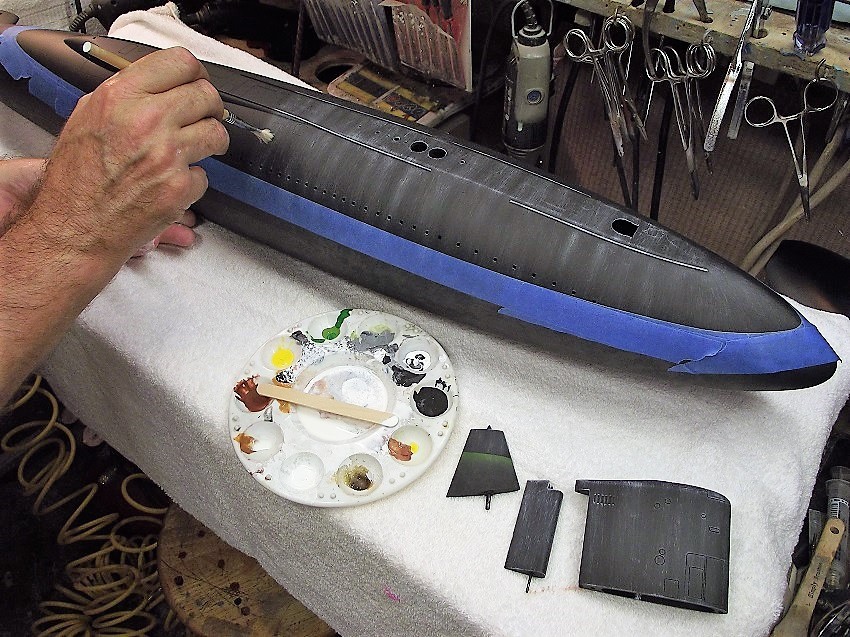
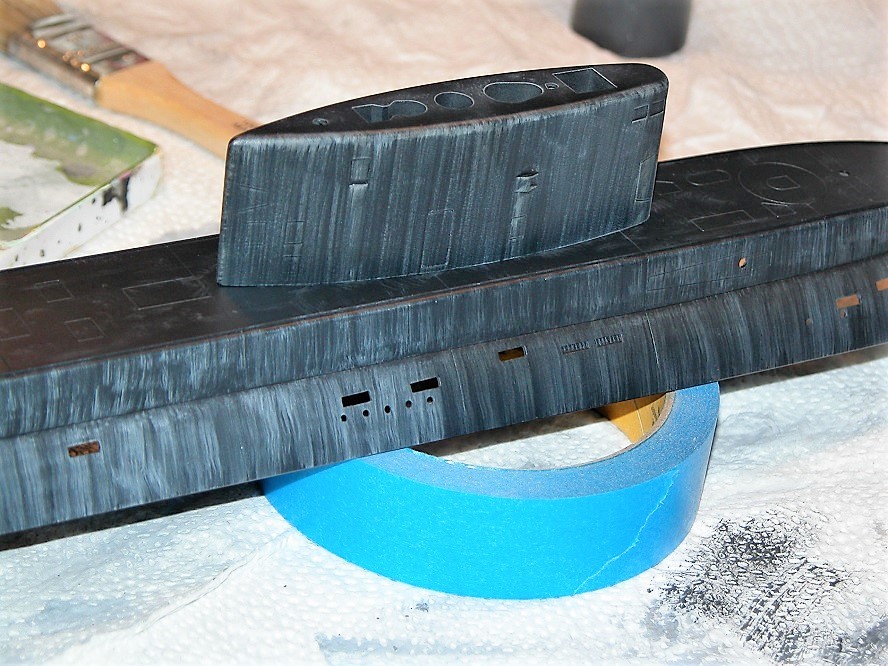
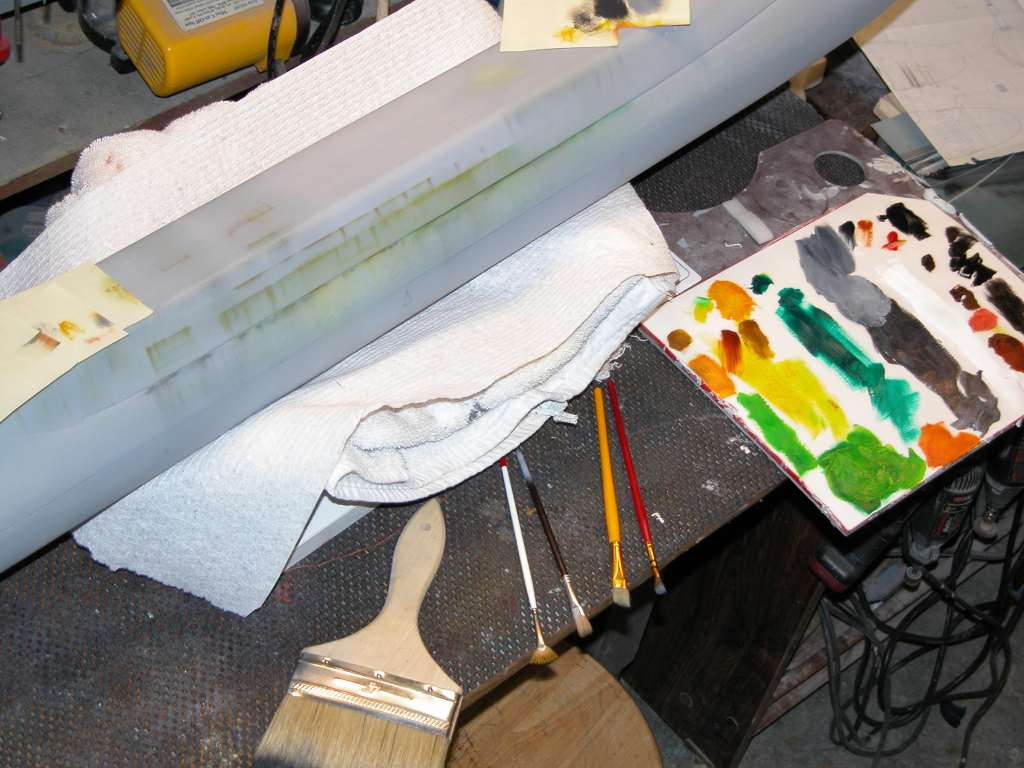
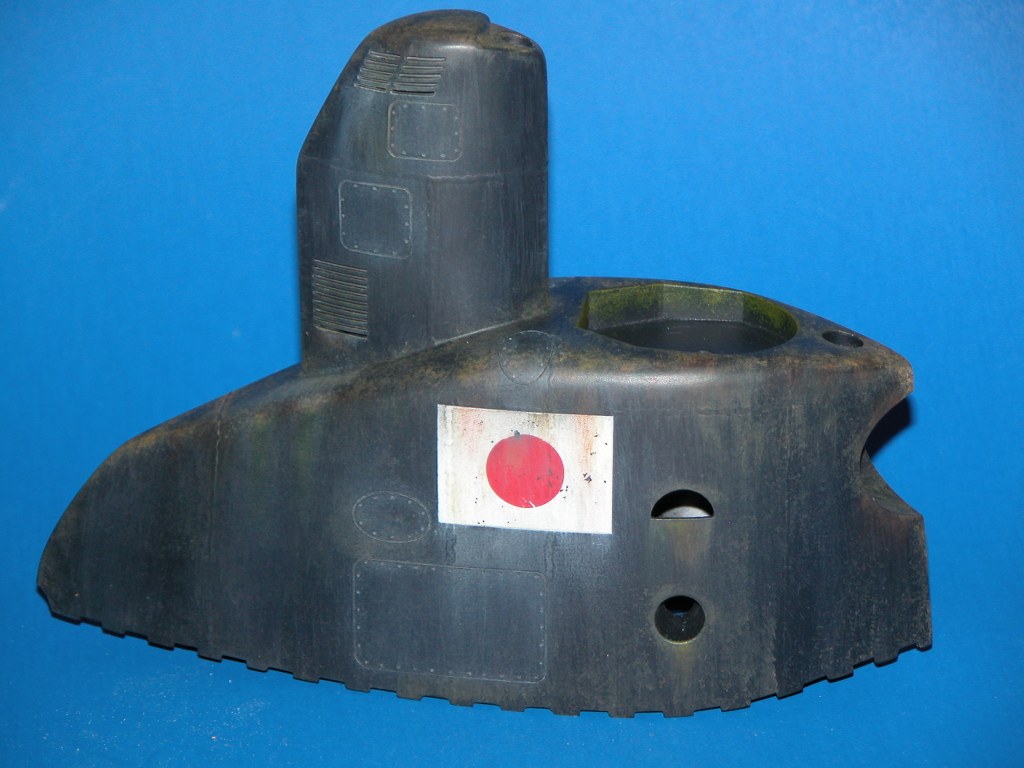
    My practice test hull ready for the onslaught of streaking and BWL practice. Just needs a clear coat before I start on it. Added a faux deck area. Will have a waterline in the proper spot.

    Click image for larger version

Name:	D82E2FB9-D802-4C9A-836E-B16F4A336C4D.jpeg
Views:	183
Size:	70.9 KB
ID:	158818


    Click image for larger version

Name:	F1CD77CF-AC8F-49F6-A642-276DF54818E9.jpeg
Views:	147
Size:	64.3 KB
ID:	158819

    Leave a comment:


  • Ken_NJ
    replied
    Yes Sir Admiral!

    I dabbed some spots with non thinned paint and vigorously Brushed it with a large dry brush. Getting there. Will keep at it. See ya at Dive Tribe tonight.

    Click image for larger version

Name:	B9153E3F-F12A-4389-8835-B70960DE97E4.jpeg
Views:	185
Size:	81.8 KB
ID:	158815


    Click image for larger version

Name:	089D35AC-2591-4623-B81D-F1C384ABD42D.jpeg
Views:	152
Size:	60.5 KB
ID:	158816

    Leave a comment:


  • He Who Shall Not Be Named
    replied
    Originally posted by Ken_NJ
    I have none of those last three things. Only have the acrylic paint.
    Just don't sit there!... go buy some ****!

    Leave a comment:


  • Ken_NJ
    replied
    I have none of those last three things. Only have the acrylic paint.

    Leave a comment:


  • He Who Shall Not Be Named
    replied
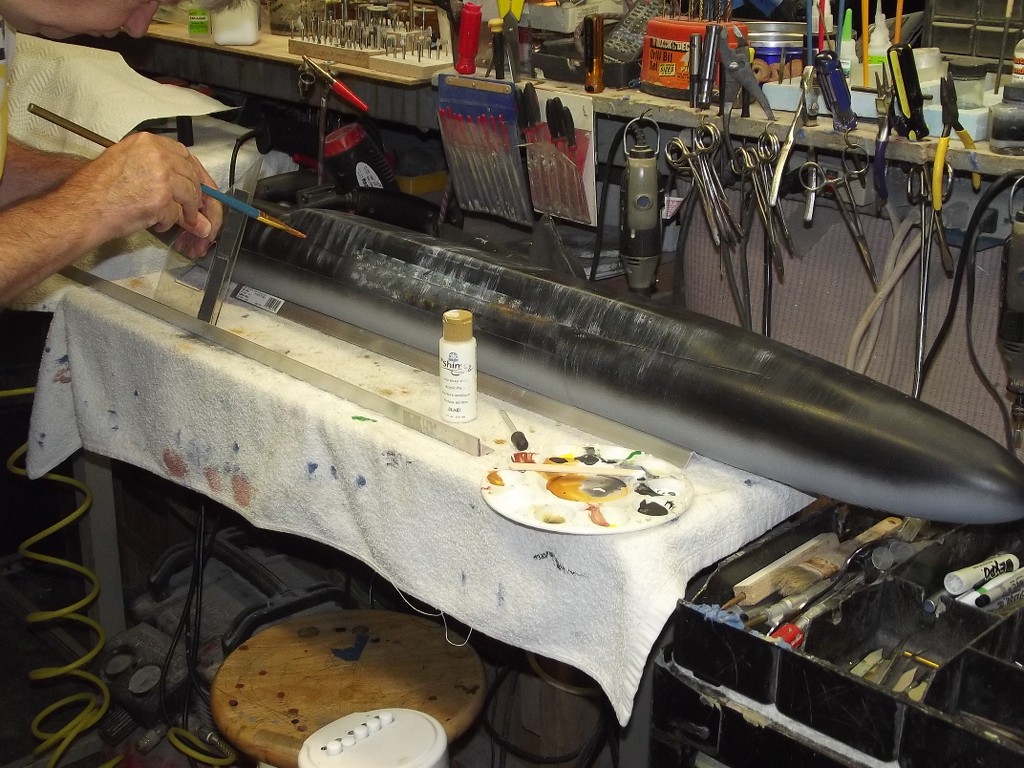
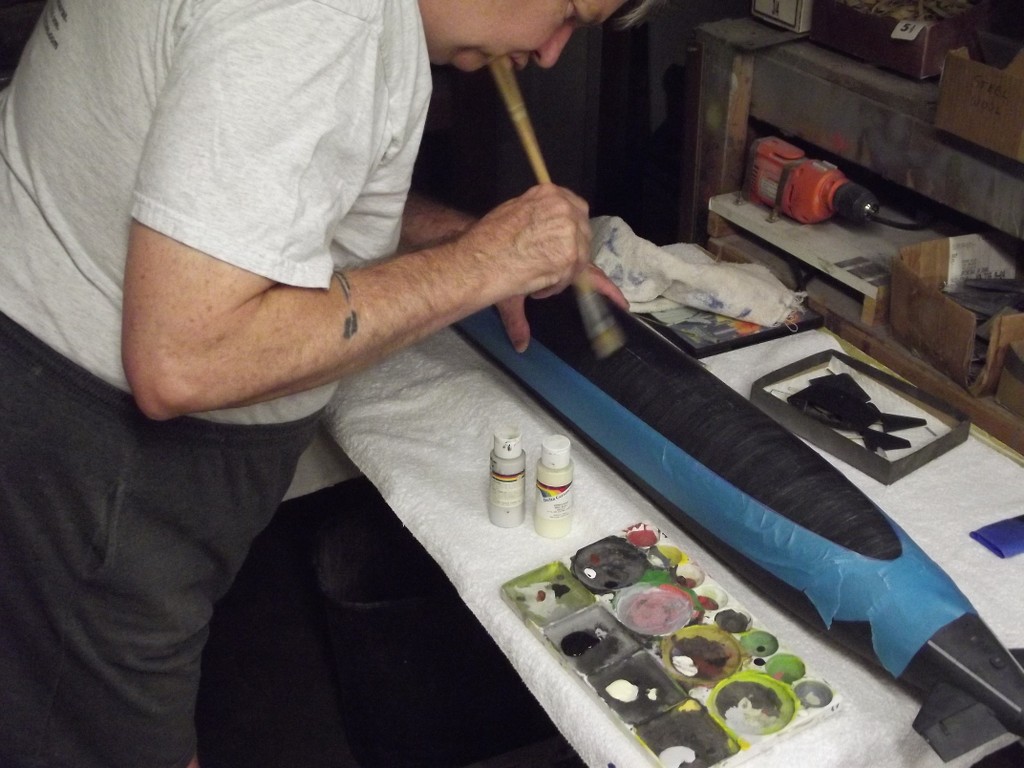
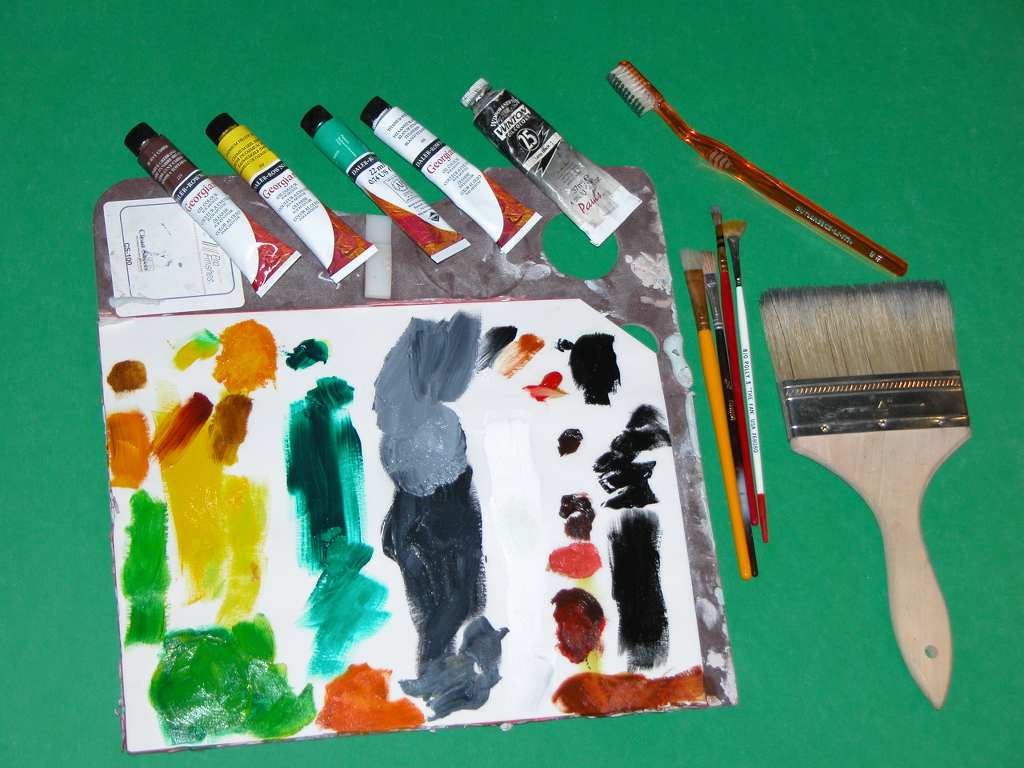
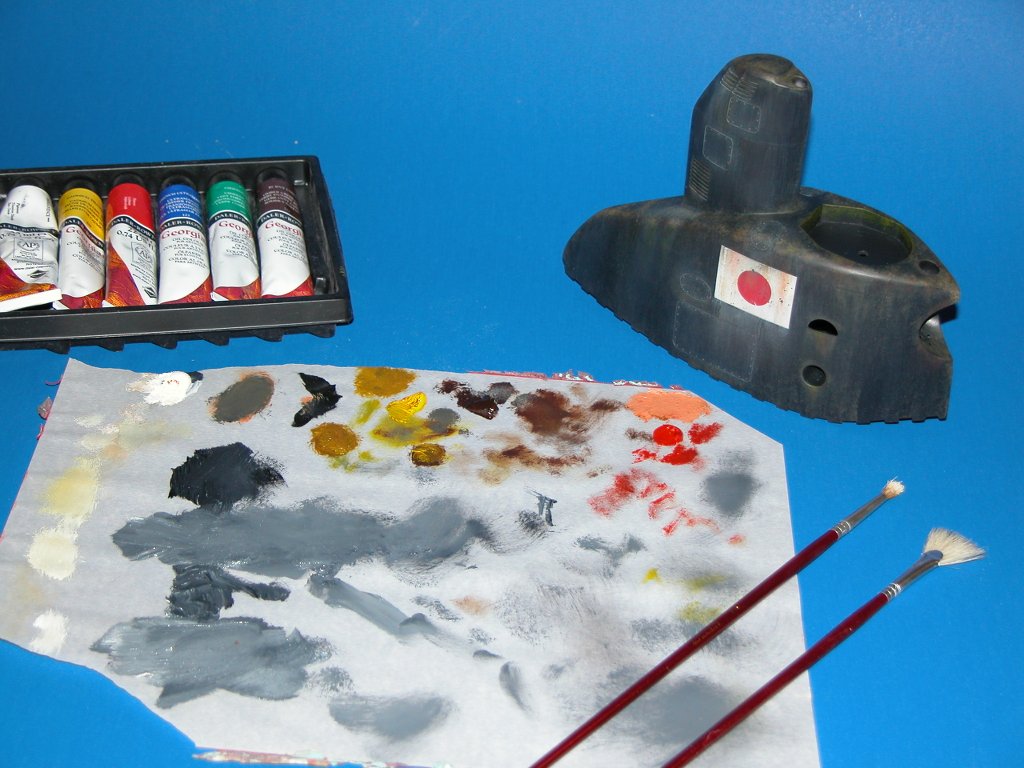
    You're doing fine, Ken. Yes, in some selected areas you lay down a small drop, and before it dries, you streak it furiously with a dry brush. Most of the streaking is done with a big-ass house-brush that has been dipped in paint and then wrung out on towels till almost dry, then used to streak the model. And experiment with oil paint, ground chalk, and paste crayon.


    Leave a comment:


  • Ken_NJ
    replied
    Practicing. The beginning of practicing streaking.

    Click image for larger version  Name:	73592517-E6BC-49D8-903F-AAD14C6FFD65.jpeg Views:	0 Size:	72.1 KB ID:	158809

    Is this what it should look like? Was not using the triangle.

    Click image for larger version

Name:	8B70AED7-CDFB-4E7E-9F1D-B5CD6CFBE05B.jpeg
Views:	155
Size:	61.0 KB
ID:	158810
    Last edited by Ken_NJ; 02-03-2022, 04:22 PM.

    Leave a comment:


  • Ken_NJ
    replied
    David, can you go into more detail about 'streaking'. Does the white acrylic paint get thinned out or diluted? How do you get some area's around fittings to show heavier 'streaking'. Most likely by applying a heavier coat. Is this done with more paint on the brush or do you dab extra paint on that spot with a q-tip? I know someplace you said get paint on the brush then wipe most of the paint off the brush.

    I mixed reducer with white paint and using a fan brush on black construction paper for practice, but I may have thinned it out too much. It's going on evenly and not showing streaks. Time to ask questions.

    https://forum.rc-sub.com/forum/tips-...arkings-part-2
    Last edited by Ken_NJ; 02-03-2022, 03:06 PM.

    Leave a comment:


  • He Who Shall Not Be Named
    replied
    Originally posted by Ken_NJ

    I used the thinner pictured below.
    • Designed to make the airbrush colors thinner, increase color transparency and improve the color flow with smaller tipped airbrushes
    • Contains acrylic based binders to ensure that you do not lose any paint quality when reducing it further for any desired effect.
    • We recommend thinning with airbrush reducer & extender base when doing fine-line detailed work with a small tipped airbrush

    Click image for larger version

Name:	IMG_3654.jpeg
Views:	205
Size:	75.5 KB
ID:	158613
    You chose the right 'reducer'; it has the resin (binder) to ensure the mix has good adhesive qualities. So, the lesson learned: clear coat the previous work to protect it from abrasion resulting from weathering applied atop it.

    You're doing great work here, Ken. Keep swinging at it!

    David

    Leave a comment:


  • Ken_NJ
    replied
    Originally posted by He Who Shall Not Be Named
    Did you cut the acrylic with thinner, water or clear acrylic? The more you cut with thinners, the weaker becomes the bond. If you want to make an opaque paint more translucent you cut it with a clear resin bearing medium (in this case another acrylic), not a thinner.
    I used the thinner pictured below.
    • Designed to make the airbrush colors thinner, increase color transparency and improve the color flow with smaller tipped airbrushes
    • Contains acrylic based binders to ensure that you do not lose any paint quality when reducing it further for any desired effect.
    • We recommend thinning with airbrush reducer & extender base when doing fine-line detailed work with a small tipped airbrush

    Click image for larger version

Name:	IMG_3654.jpeg
Views:	205
Size:	75.5 KB
ID:	158613

    Leave a comment:


  • redboat219
    replied
    On a related note, what airbrush booth do you guys use?

    Leave a comment:

Working...