Monstrosity! 1/72 Seawolf

Collapse
X
 
  • Time
  • Show
Clear All
new posts
  • ManOwaR
    Lieutenant Commander
    • Jul 2009
    • 217

    #106
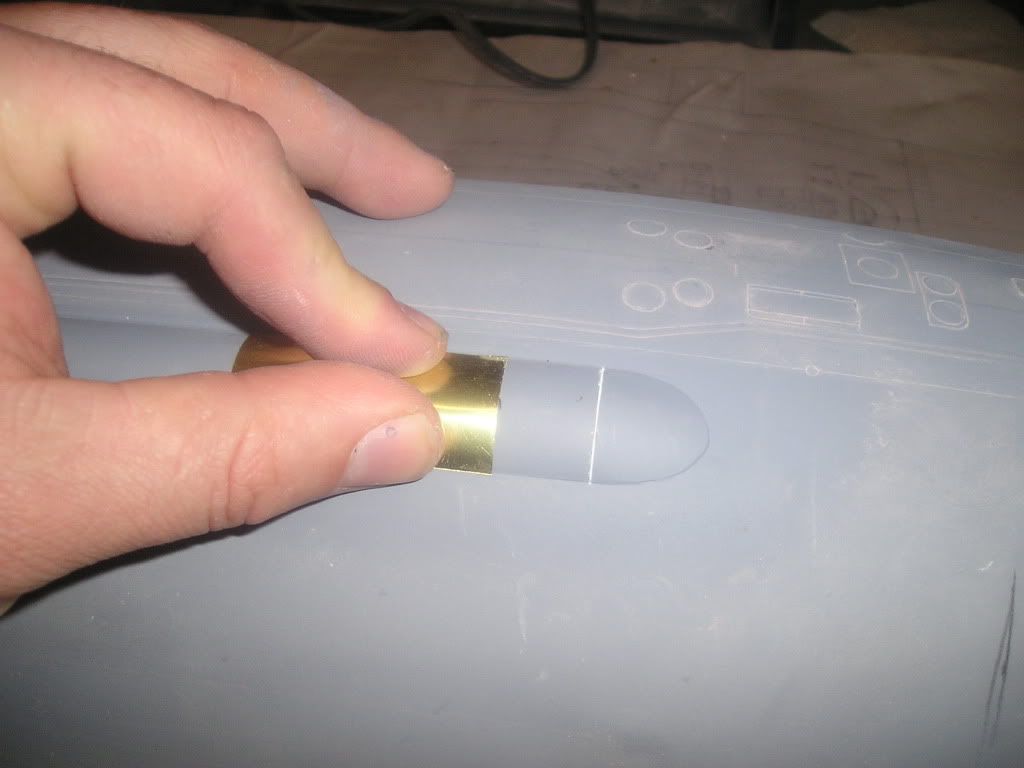
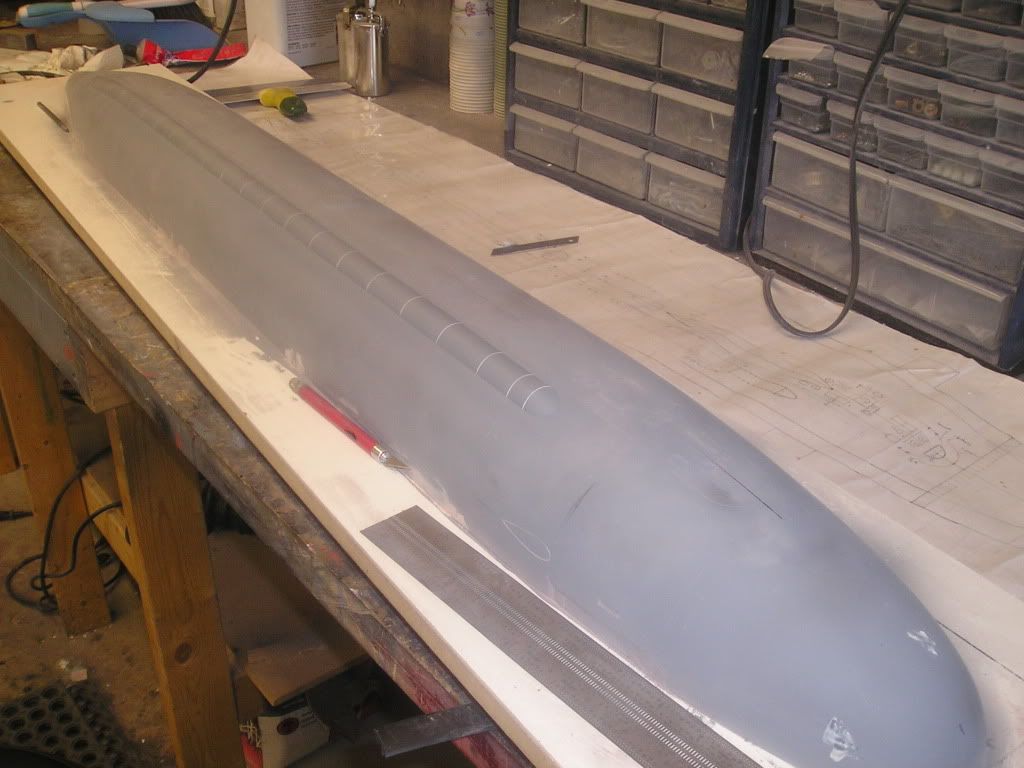
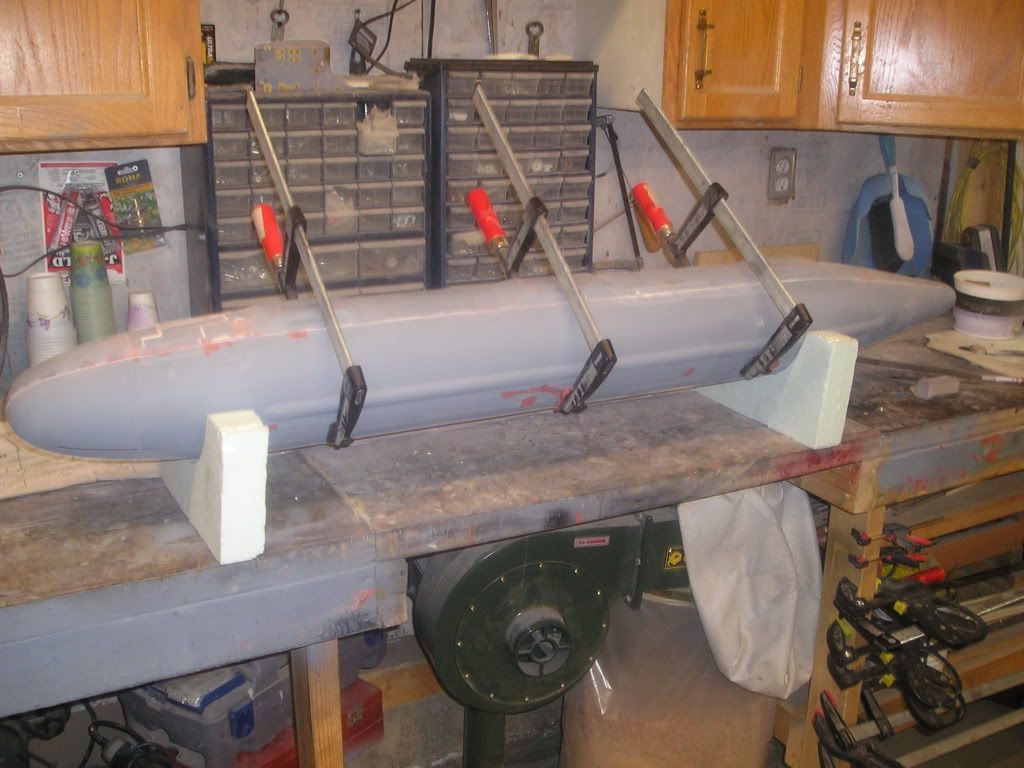
    We’re at the biggest, most noticeable detail on the upper half of the boat if you don’t include the sail itself, and that is the fat line towed array fairing.
    Here’s some background on this part of the sub. The Seawolf has two (that I know of) towed sonar arrays. First it has a skinny one, which is coiled with a winch and stored within a stern ballast tank. Second is the fat line. This one cannot be coiled and pretty much has to stored lengthwise along the boat. Storing it within the pressure hull is not an option because I assume there is a plausible way to seal this as its entering or exiting the hull. Basically the only solution for the stowage of these bad boys was along the outside of the pressure hull, hence the fairing that we see that runs along one side of attack submarines for the last few decades.
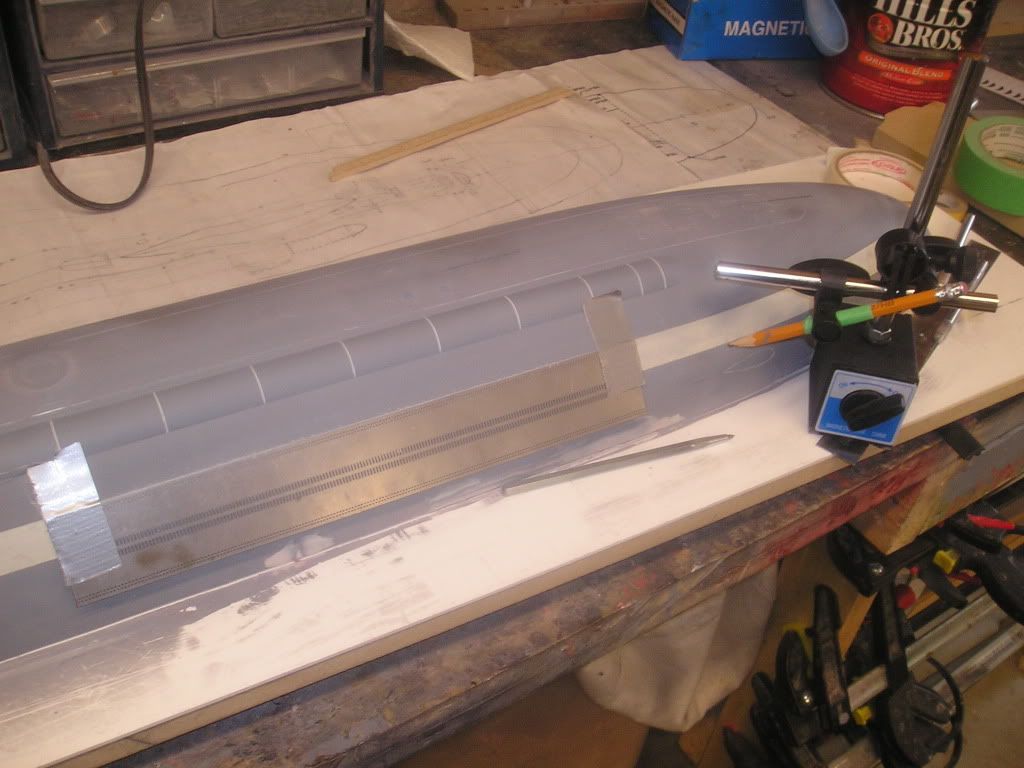
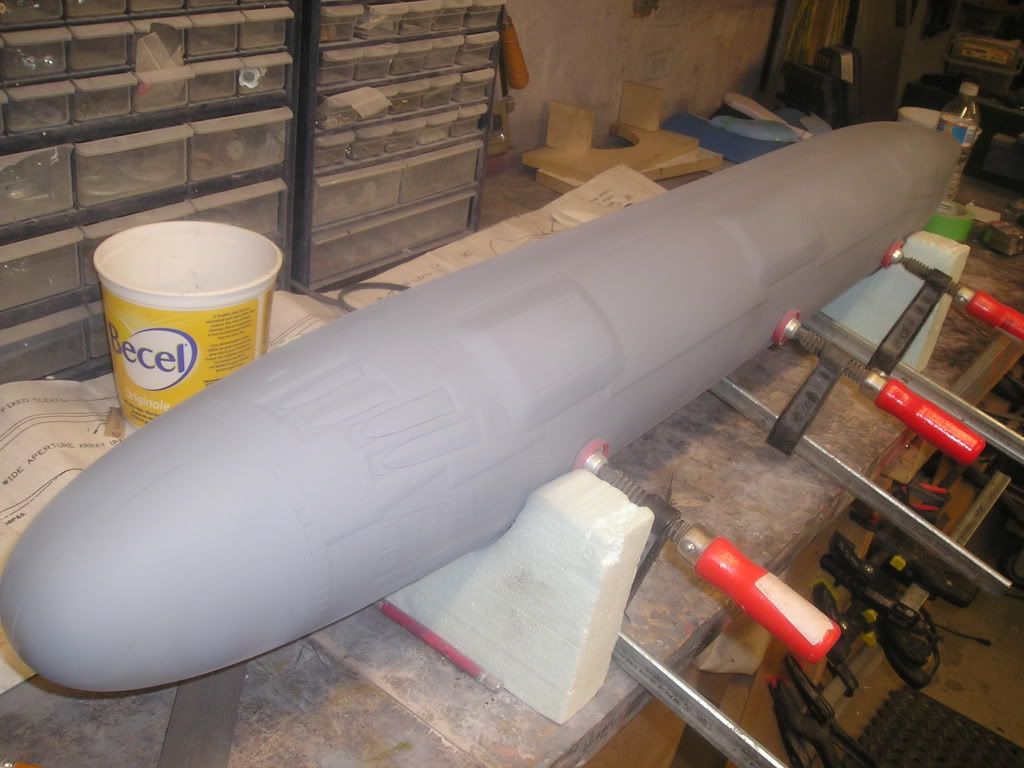
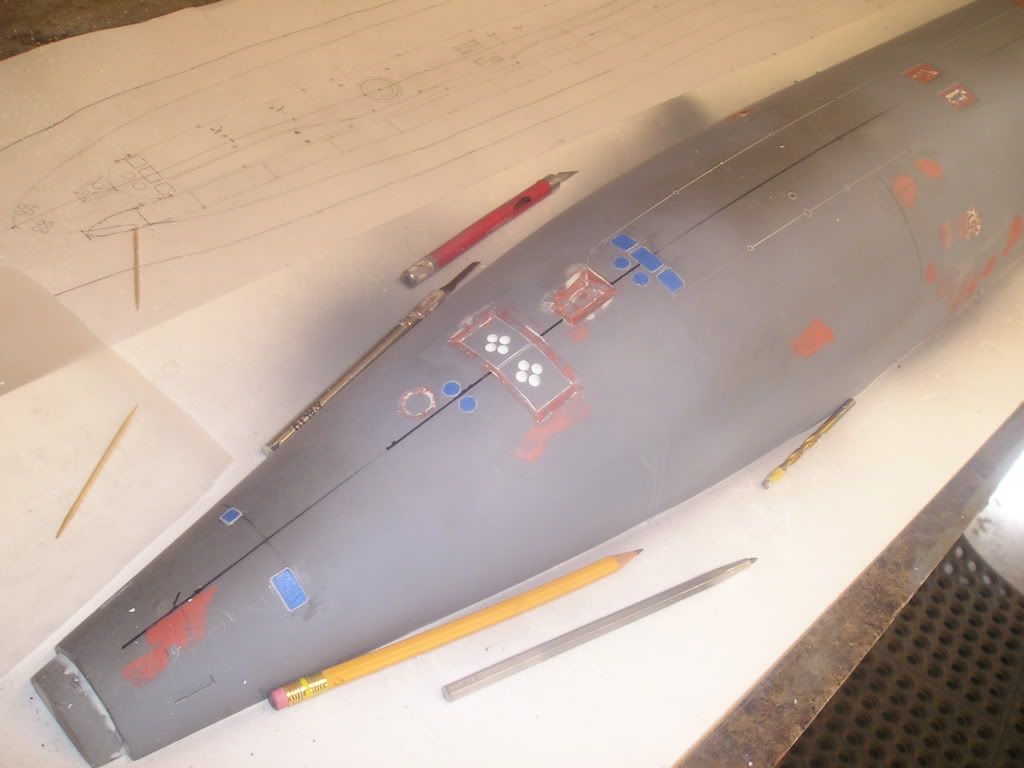
    Again, there are many options available at my disposal to undertake this part (eg...skree, external extrusion, foam shaping..bla bla)In a nutshell, I chose to make cardboard profile shapes, glue them directly to the hull and fill between the profile shapes with filler.

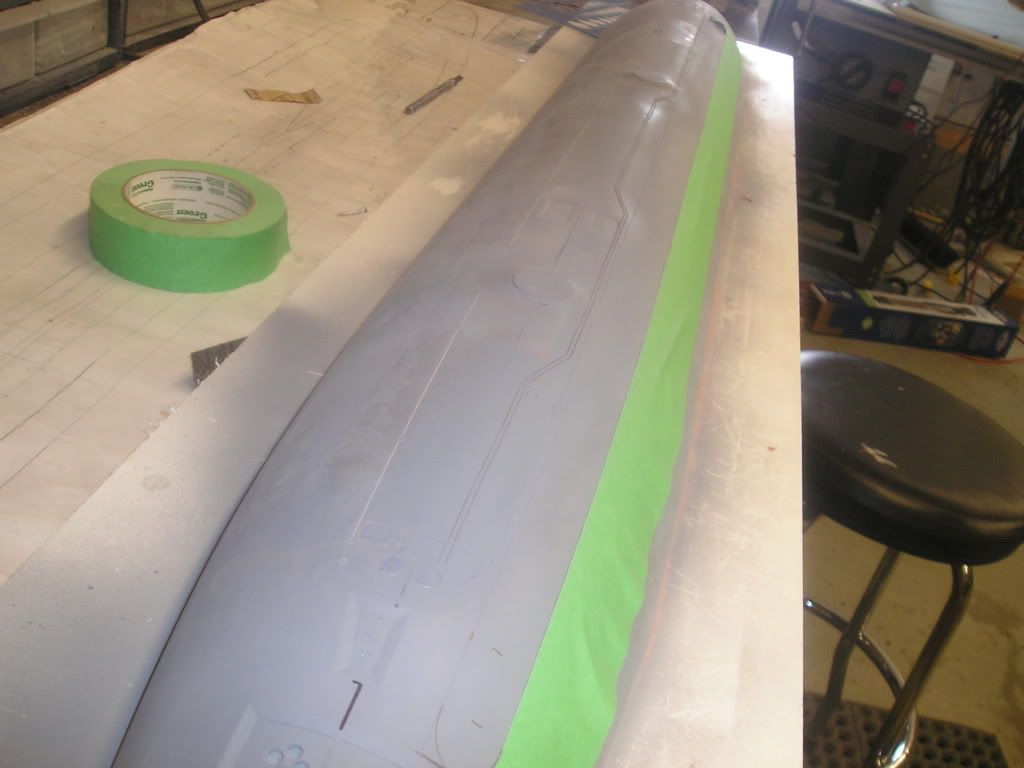
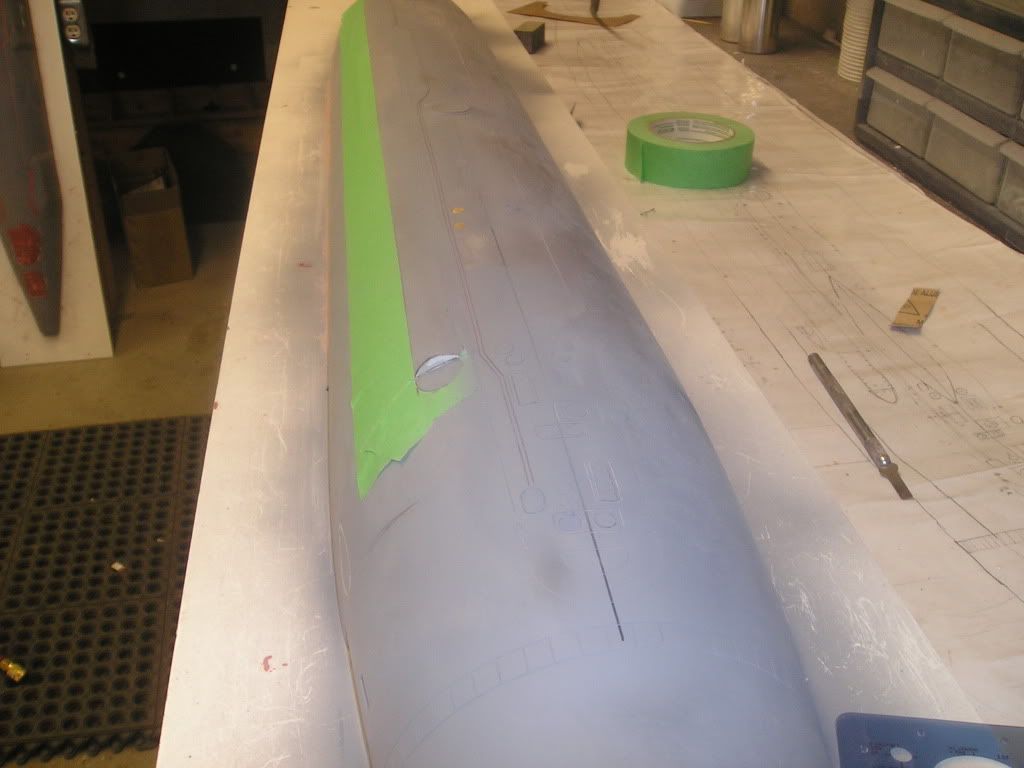
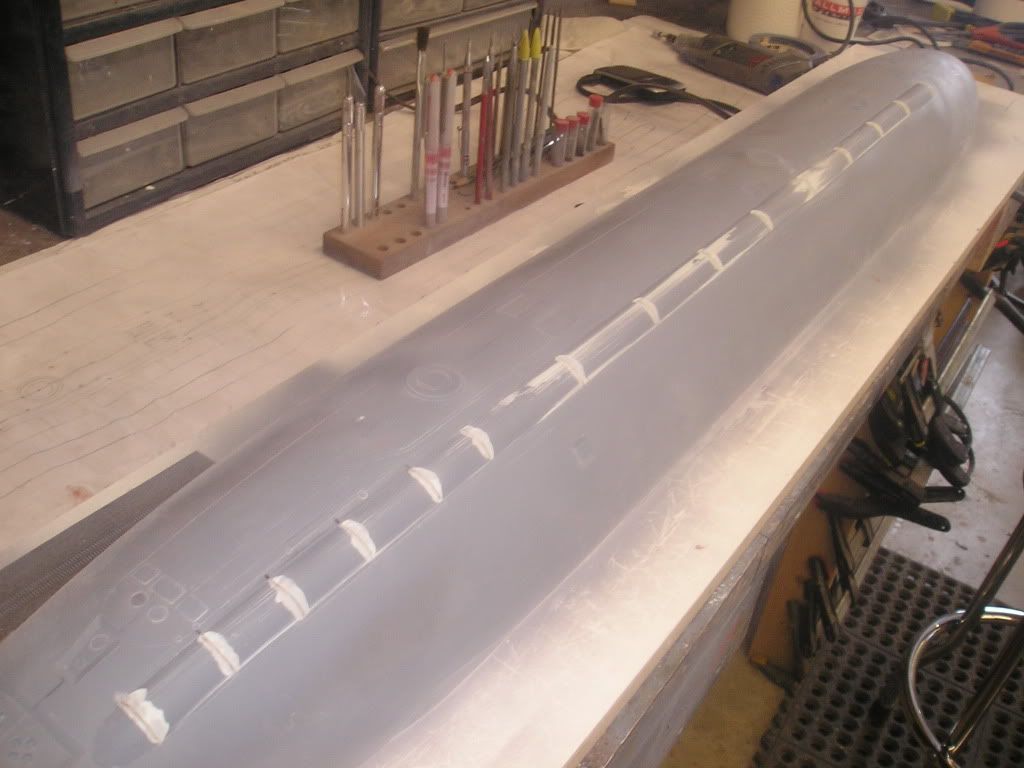
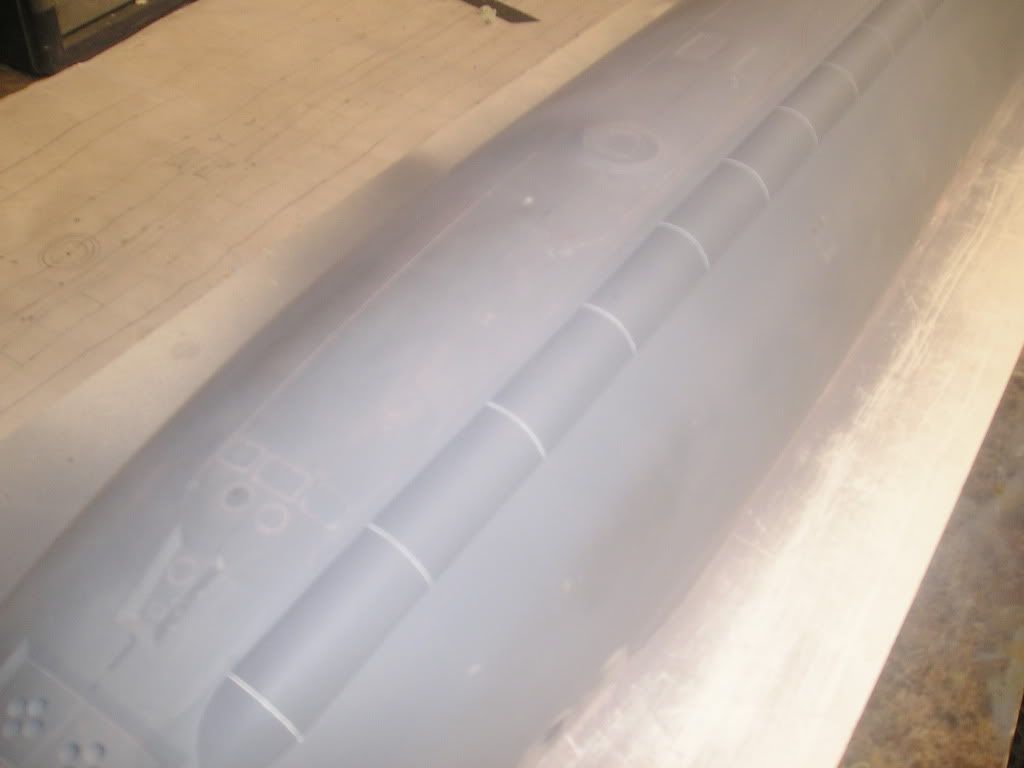
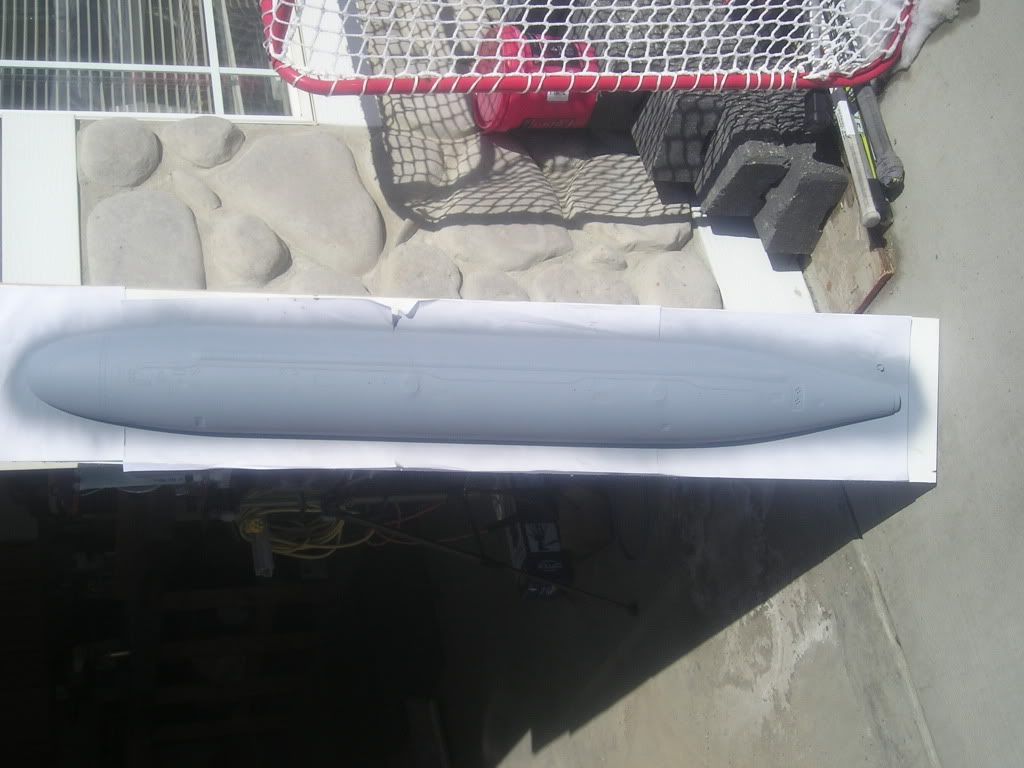
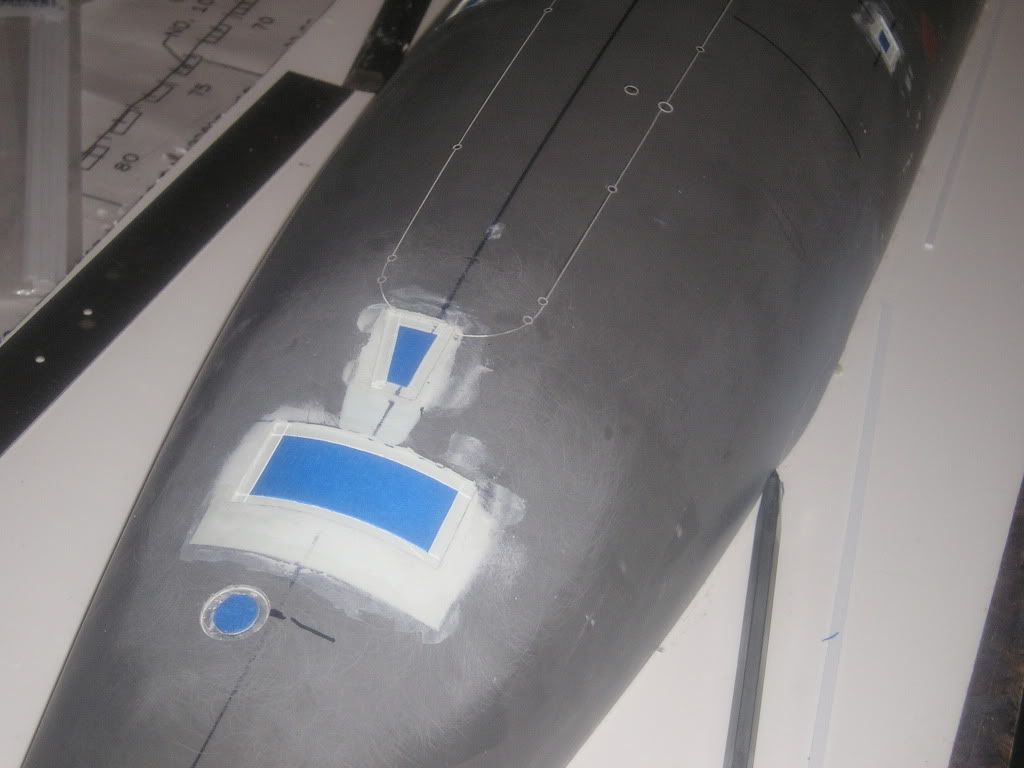
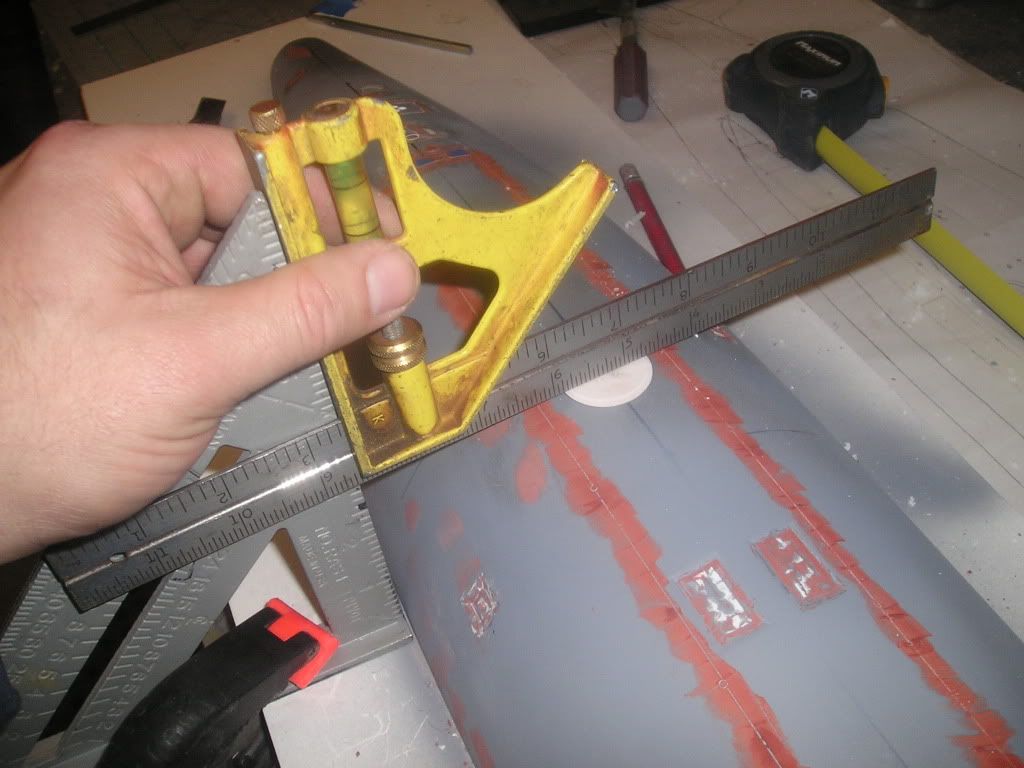
    First, my array is marked off with pencil and then tape


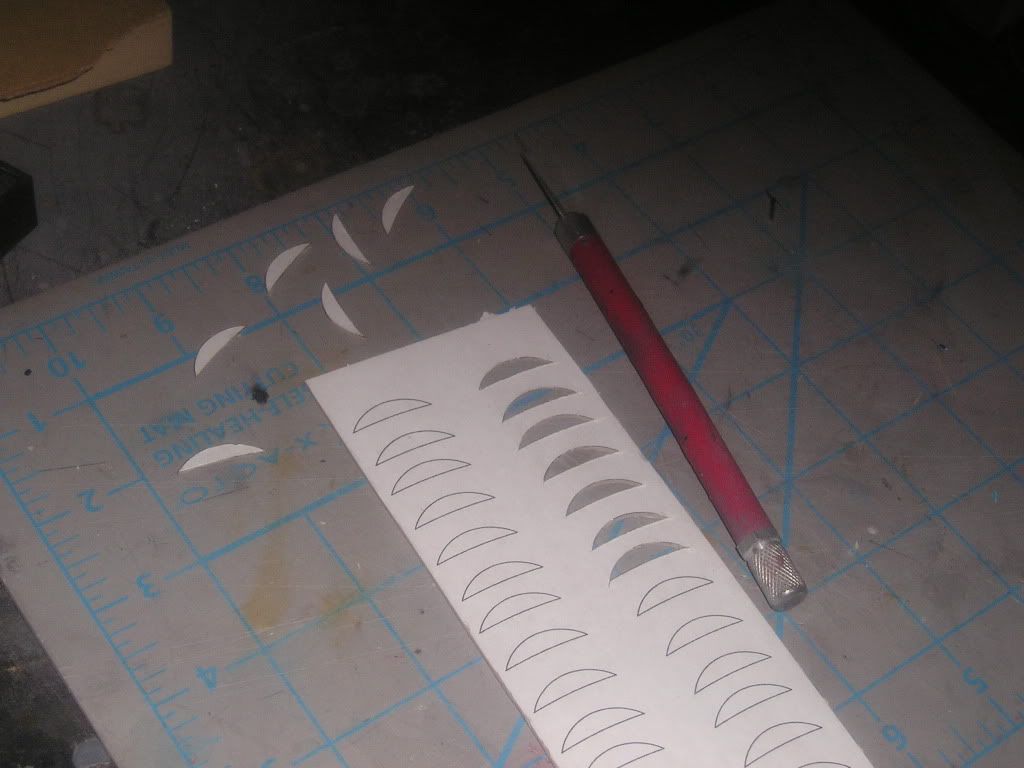
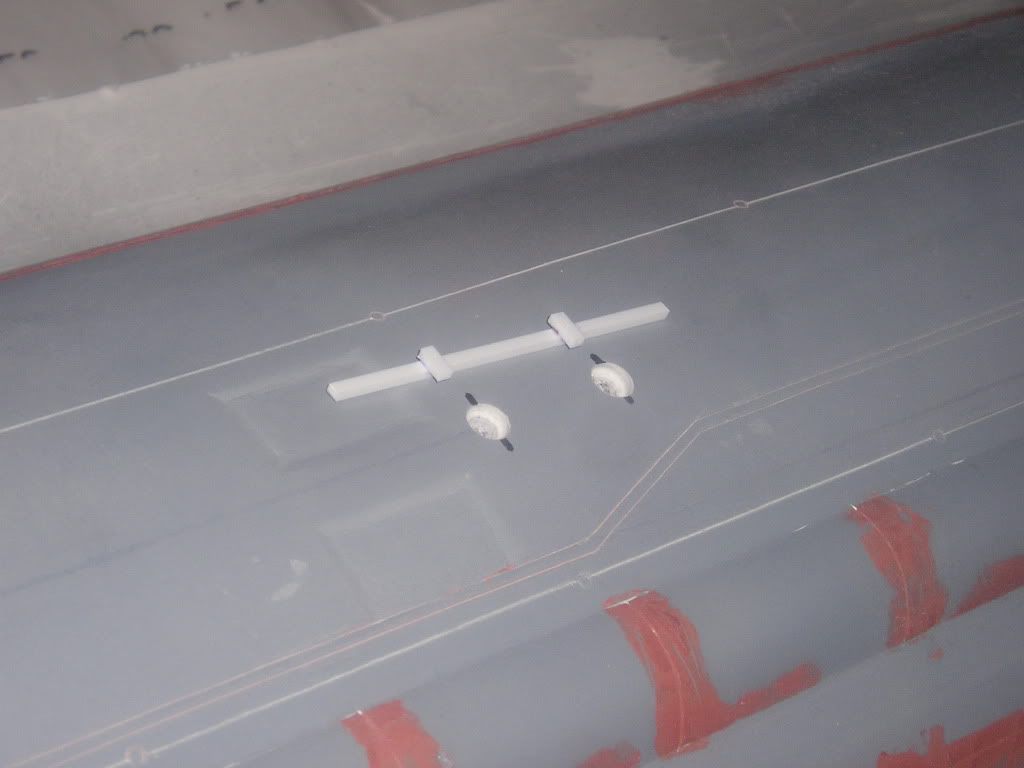
    The profile shapes were created on my computer, printed out and then laminated to cereal box card board using super 77 glue


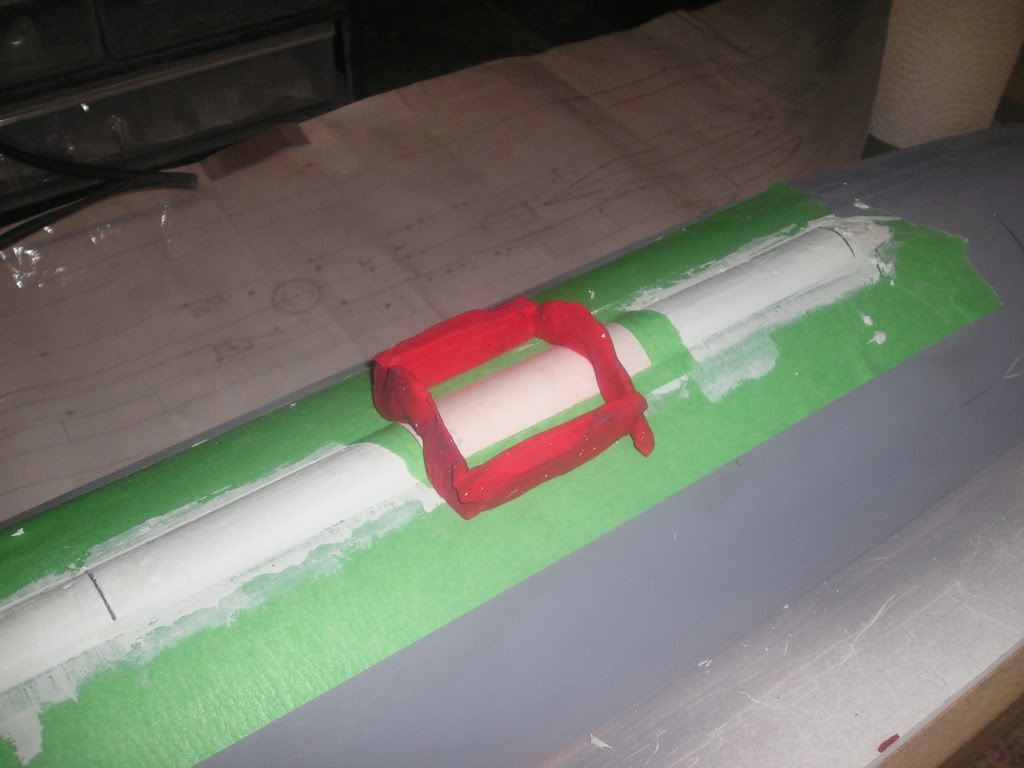
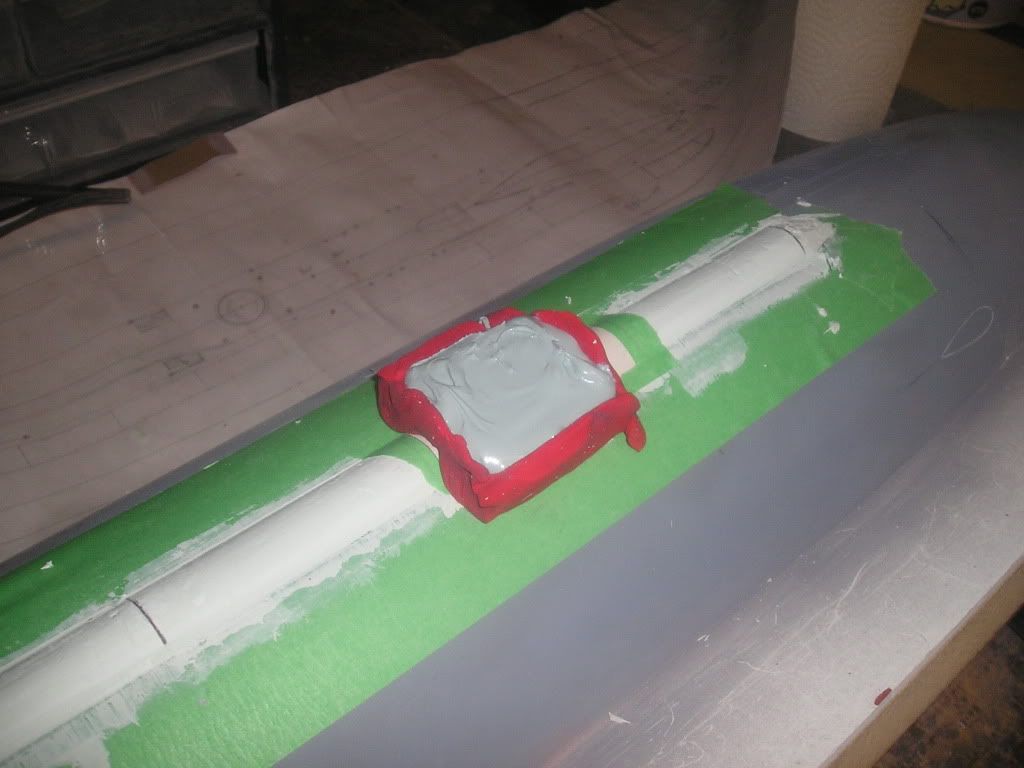
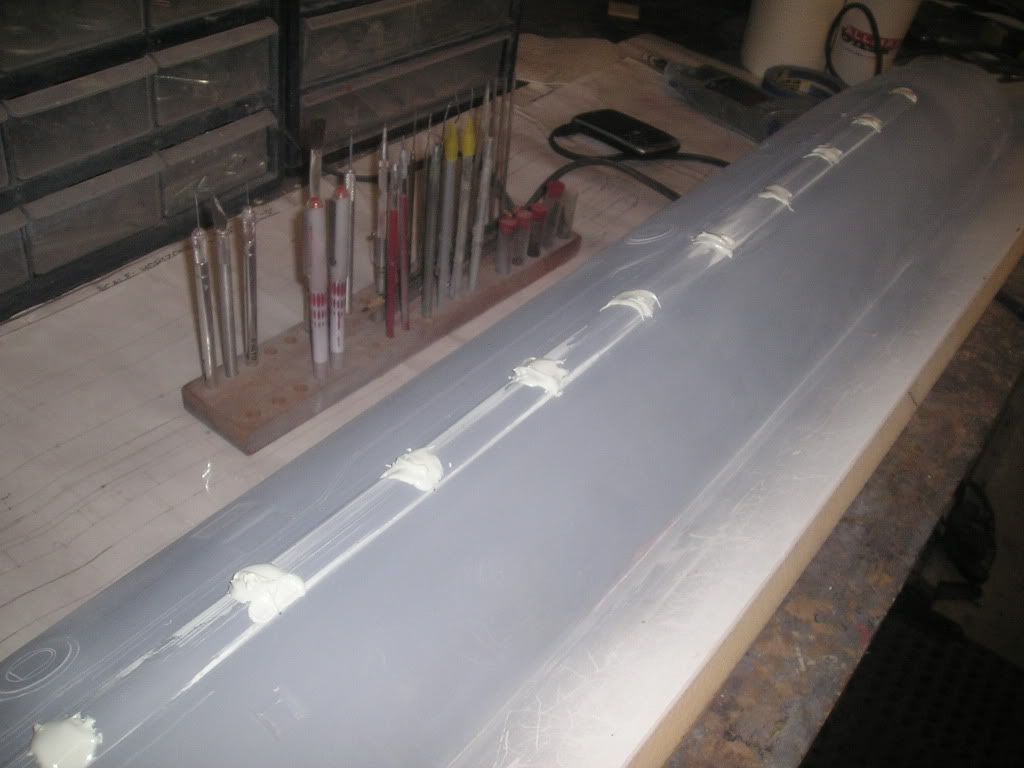
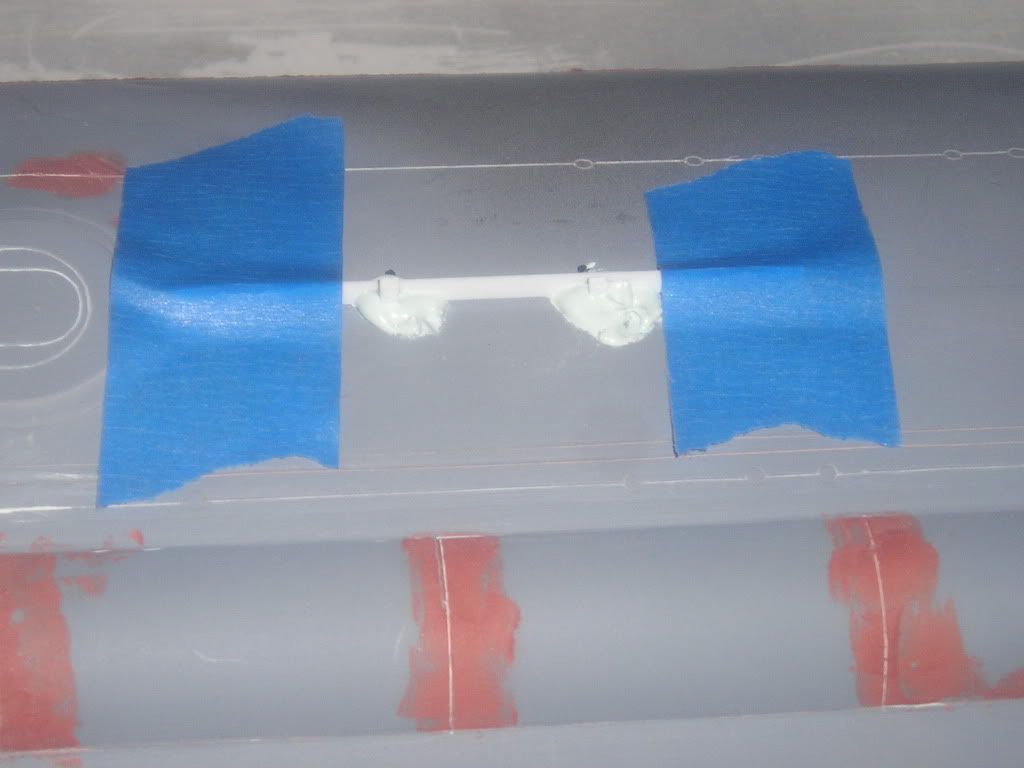
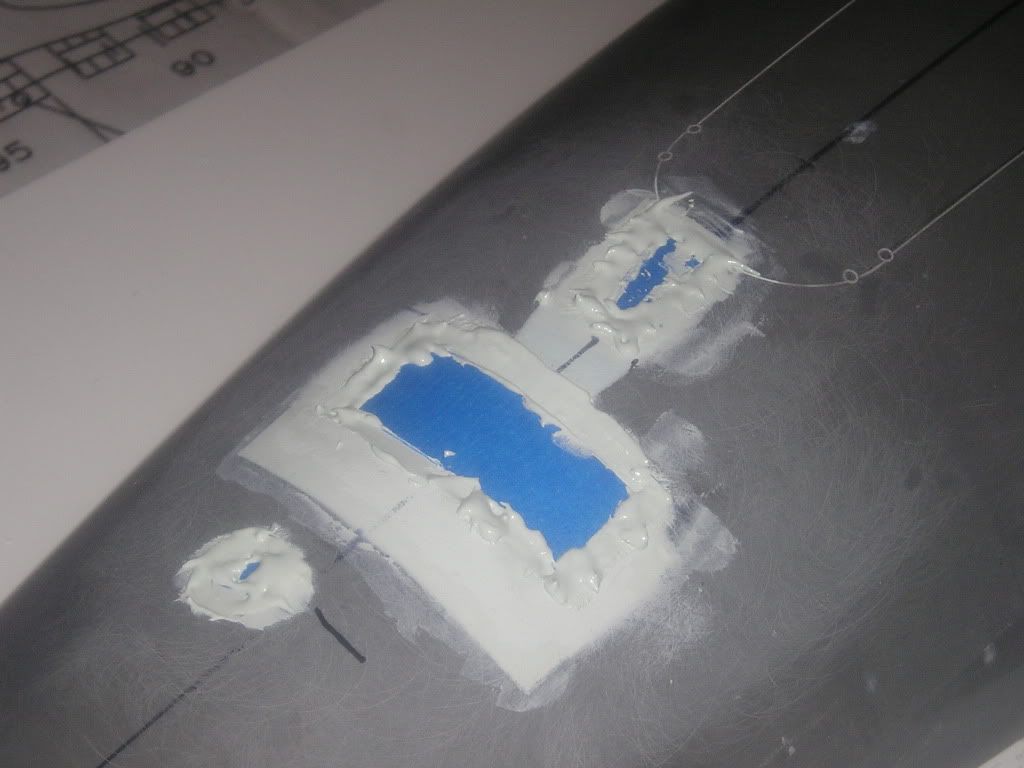
    Then CA’d and grouted with baking soda.
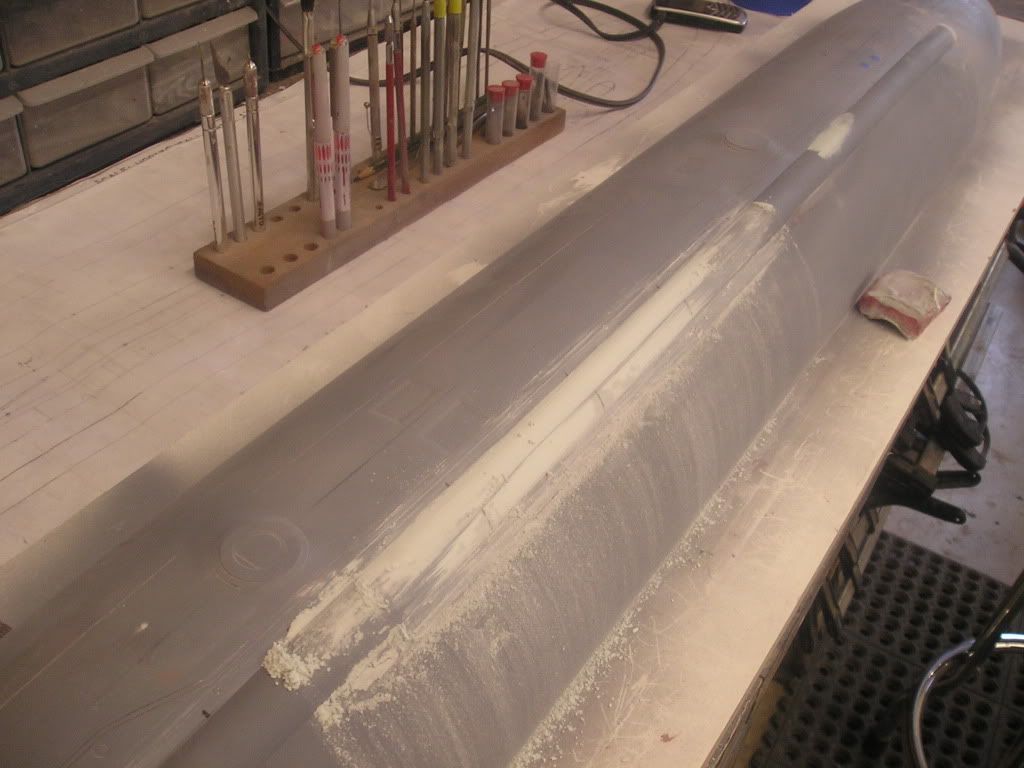
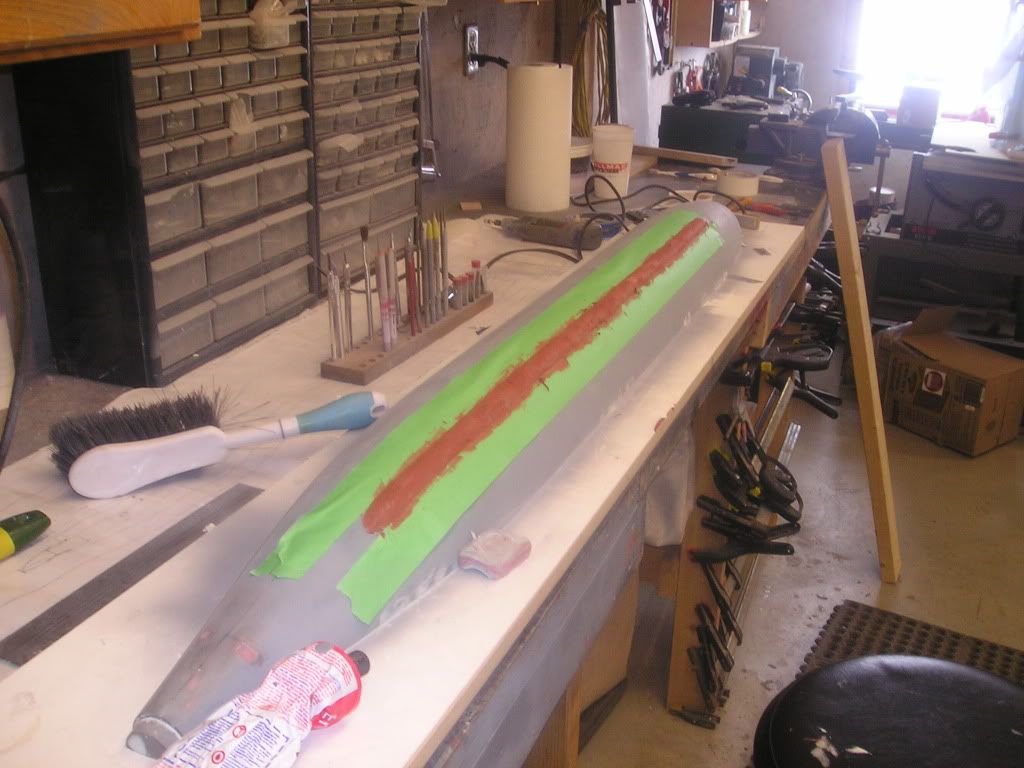
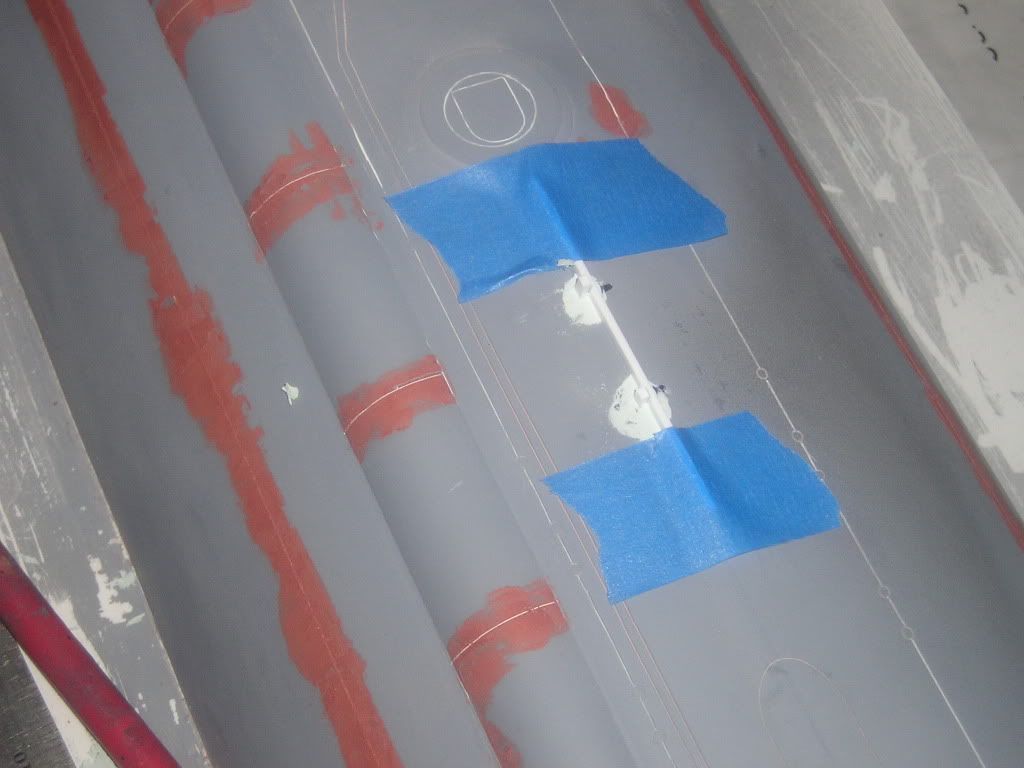
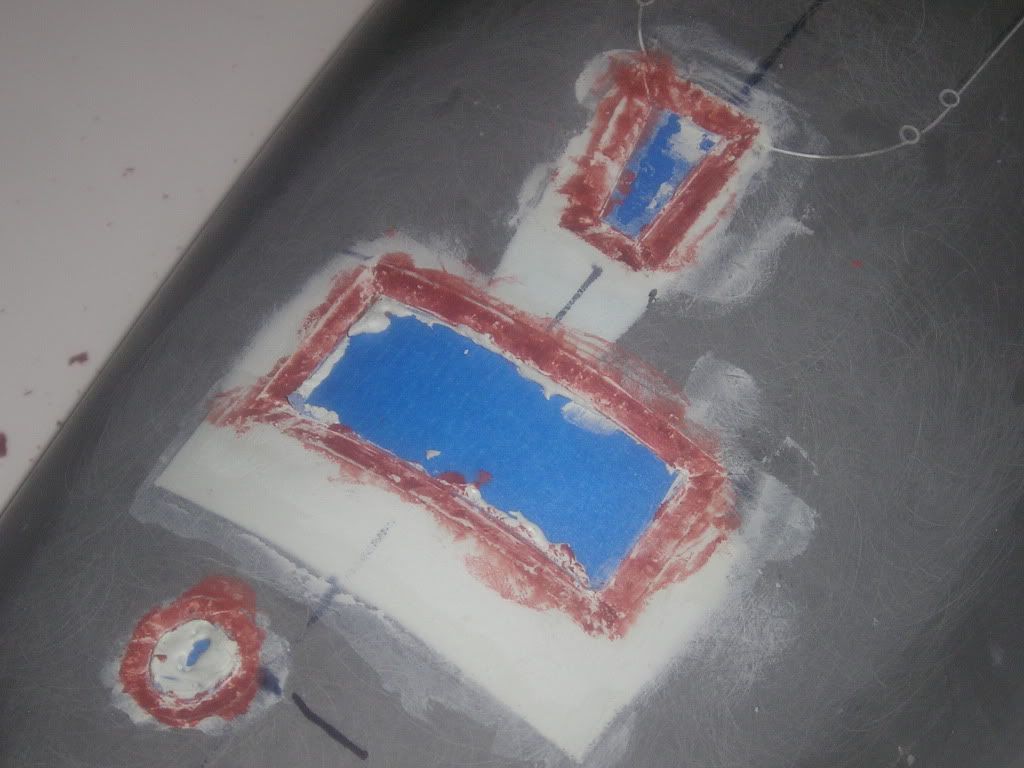
    Filled


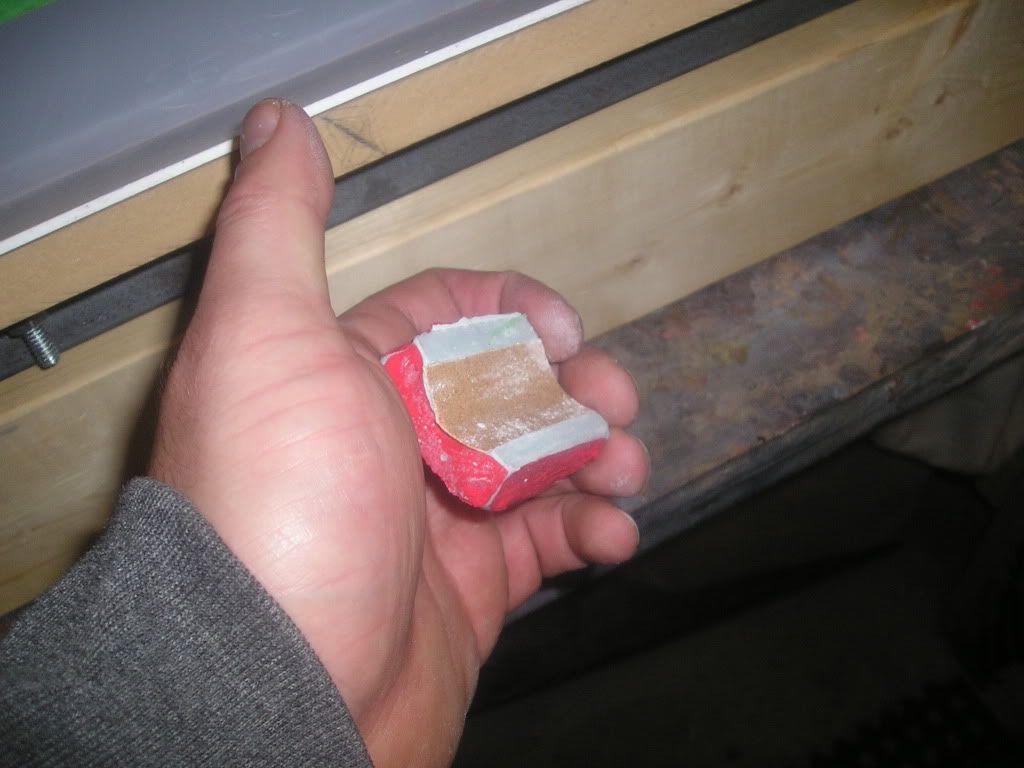
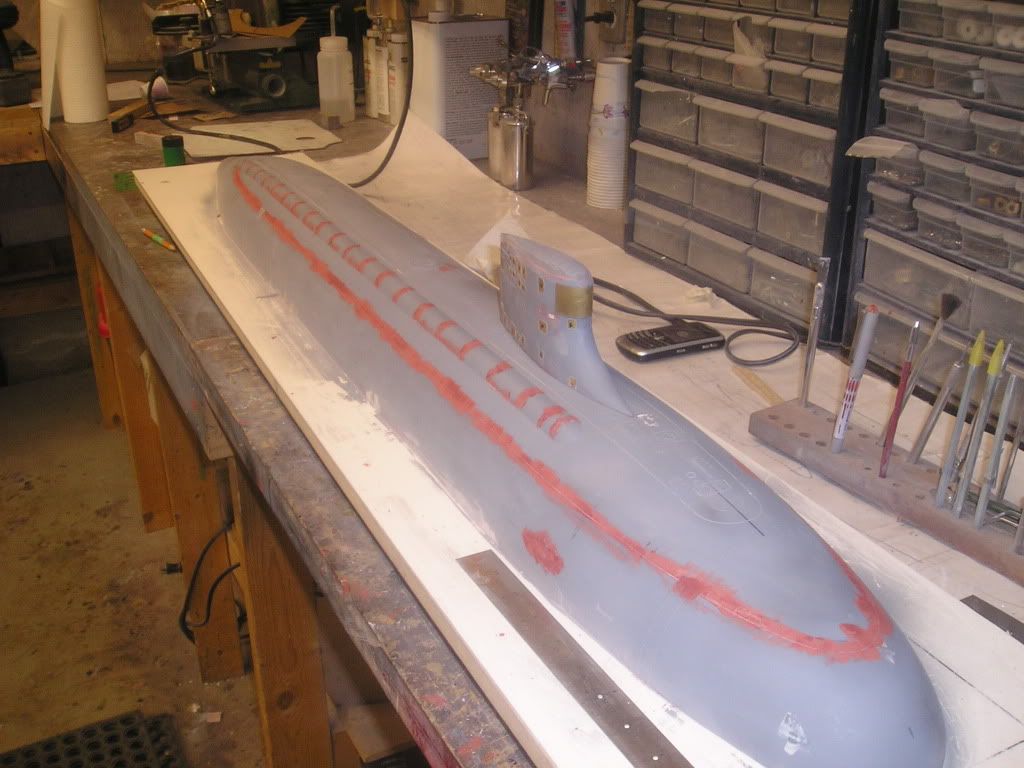
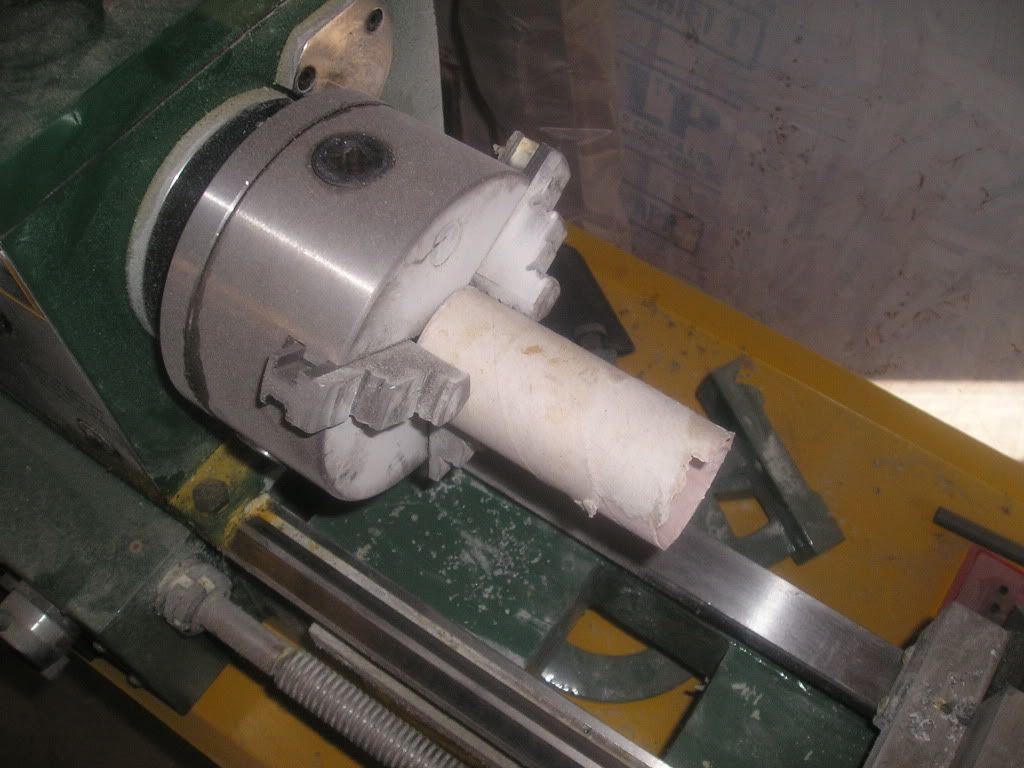
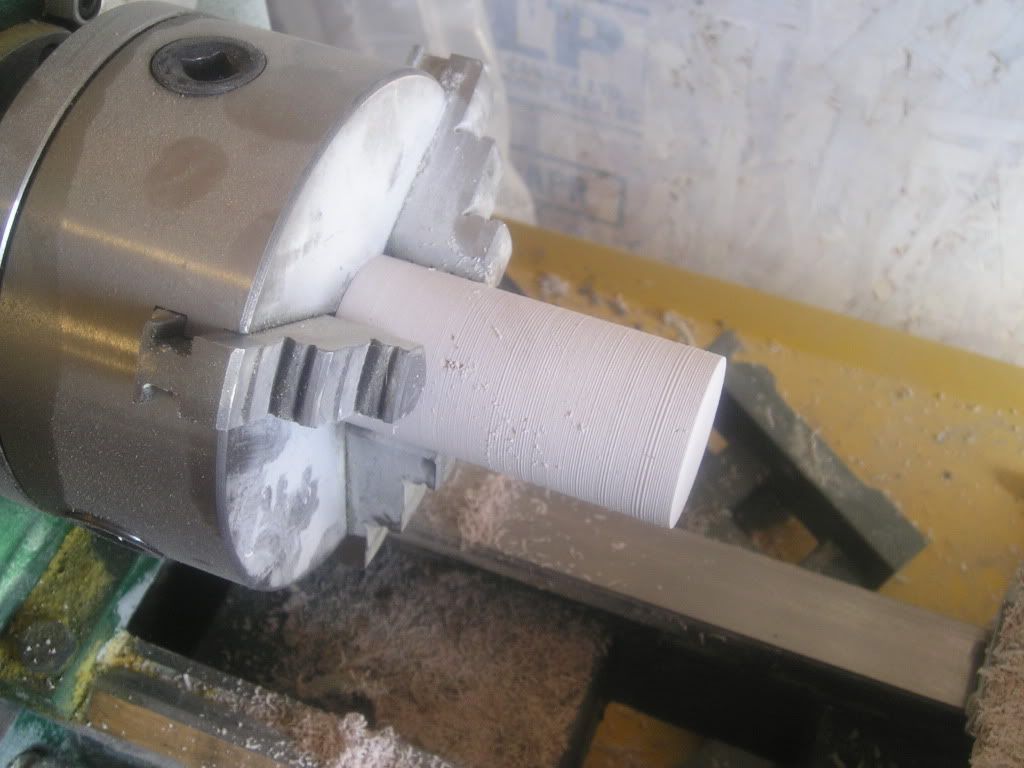
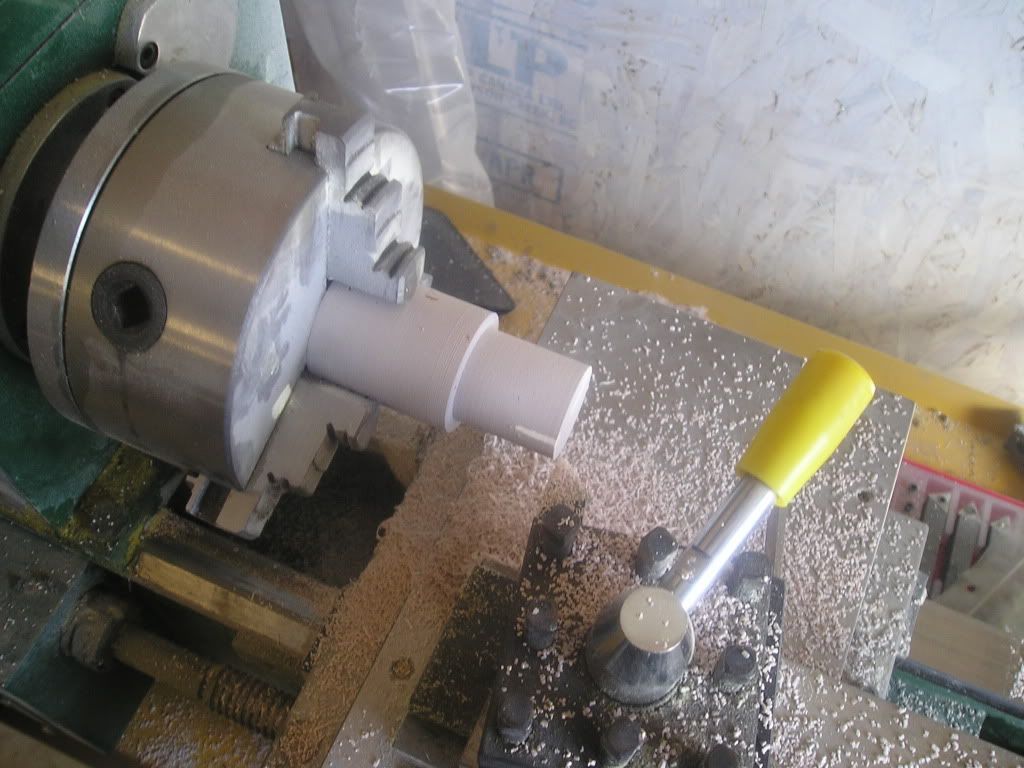
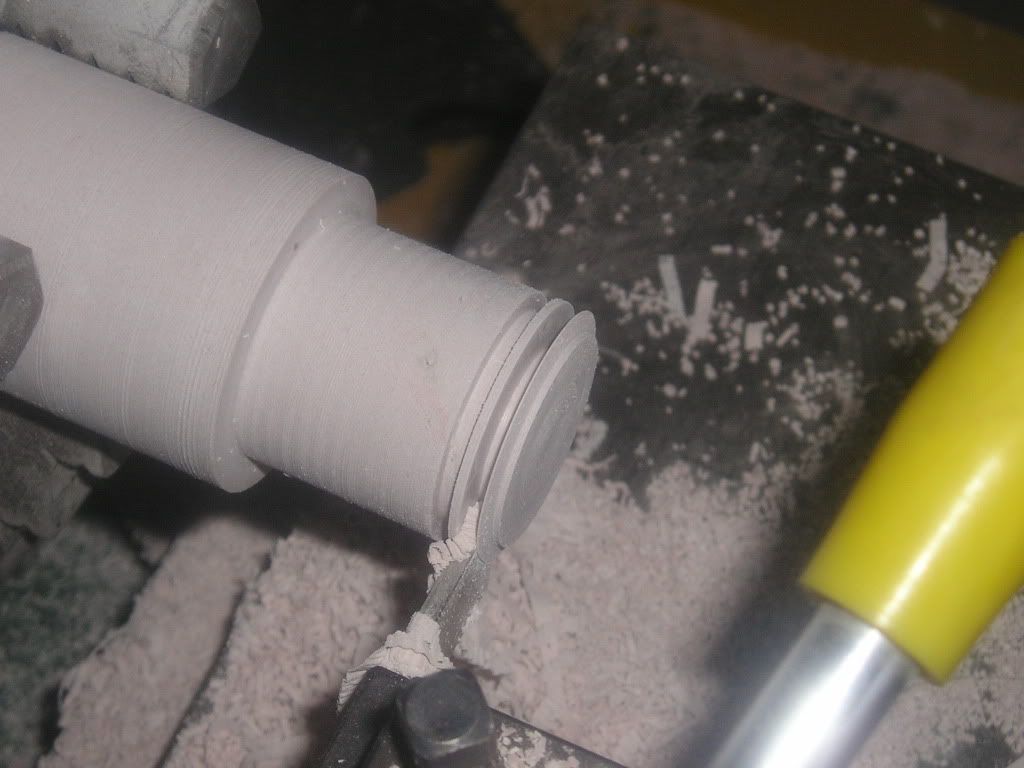
    Here’s a little custom shaped block sanding tool made from filler. When the sandpaper on the bottom gets dull I simply pull it off and apply a fresh peice with double sided tape used to adhere. For precision sanding I will add masking tape layers behind the sandpaper to tighten up the radius for a closer shave!


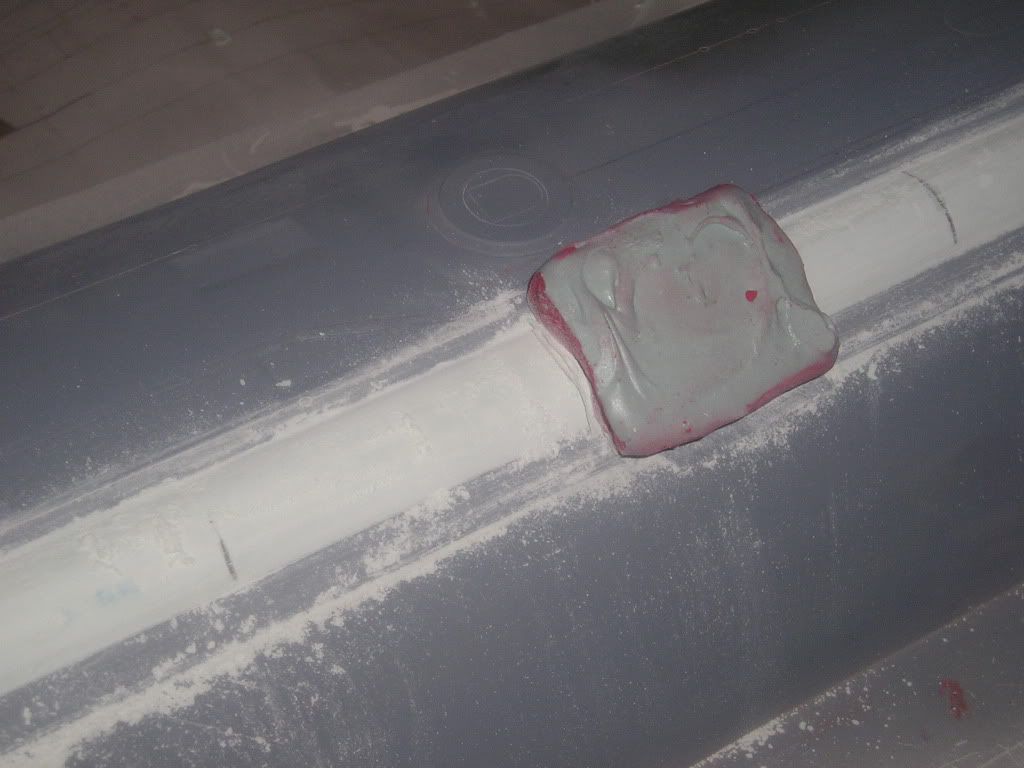
    I had a slight droop at one point of the array. To fix, i added filler to the top of the array and applied lots pressure with my custom block on the bottom of the array. This straightened things out nicely!

    https://www.facebook.com/HMKcreations

    Comment

    • ManOwaR
      Lieutenant Commander
      • Jul 2009
      • 217

      #107
      It was obvious that my cardboard pieces were not going give a good finish after a couple shots of primer, so I dug them out with my Dremel and filled with Evercoat. Now my fairing is made from one material and won’t pose any scribing problems later.


      Minor scratch filling:


      With a fairly nice finish on the fairing I could now scribe in the panel lines. As far as finish is concerned I didn’t completely blend the part into the hull. Where it joins the hull, I built up tape layers so that the edge of the fairing ends abruptly, but in a subtle way so as to so that the panel is indeed removable.


      Here, work has commenced on the surface water line...the other major scribe on the top half.


      Last edited by ManOwaR; 04-02-2011, 04:10 PM.
      https://www.facebook.com/HMKcreations

      Comment

      • ManOwaR
        Lieutenant Commander
        • Jul 2009
        • 217

        #108
        To give the final user an easy way to install the 6 tie off (permanent) cleats on the back of the boat here’s what I did:
        Mark out and drill holes where the cleats located. I used the first drill bit I could grab from the tool chest

        I took styrene strips and glued appropriate sized rectangular shaped styrene stubs to it, ensuring that depth and spacing was correct


        The holes were filled, and the strips with the stubs pointing down were placed into the filler and taped steady to the hull


        Now it time to put the halves together and make sure all the points that are supposed to match up actually do and work on correcting all the many imperfections:


        Last edited by ManOwaR; 04-02-2011, 04:06 PM.
        https://www.facebook.com/HMKcreations

        Comment

        • ManOwaR
          Lieutenant Commander
          • Jul 2009
          • 217

          #109
          Here's one I missed posting...I'm having brain pain today

          (cont.)


          Yay! It worked! I guess when you play with the bull you know you are bound to get the horns, and that’s what happened here. By knowing my future self (in relation to the past)and that I would find screwed up locations in advance (that were done in the past) I figured out a solution in advance, thus putting me a step ahead of the game when the ‘real time screw up’ came! I would have given myself a pat on the back right now in the present but I didn’t need to because I already did in the past. HA! I think right now spending too much time away from human contact...

          Here’s the machining of the hatch shapes. For the machinable material I chose to use some of this ****py old hard-to-sand filler that I have kicking around. Basically I just filled up a toilet paper tube with the stuff and put it into the pressure pot while curing to reduce the pinholes.

          Once cured (and cooled down) I threw the Bondo rod into the chuck and machined away. Nothing really more to elaborate on really:


          To install these little wafers I left a little round material on the bottom, dead center drilled out the equivalent hole on the top of the hull. This gave me proper length-wise positioning that wouldn’t move one way or another. To position the hatches so that their flat surfaces were exactly perpendicular to the center line of the hull when looking from the front or the back, I used to two squares; on resting on the perpendicular parting board and the other resting on the first square. This second square was held against the hatch surface with full contact until the glue cured. After initial adherence was achieved the gaps between the bottom of the hatches and the gently rounding hull were filled with CA and grouted with baking powder.

          https://www.facebook.com/HMKcreations

          Comment

          • He Who Shall Not Be Named
            Moderator

            • Aug 2008
            • 13393

            #110
            Just ...

            ... *** Wow!

            No, kidding, please consider pulling this whole thing together into a book. At one time Traplet was interested in just this sort of thing. How about it, Joel?

            David,
            Who is John Galt?

            Comment

            • ManOwaR
              Lieutenant Commander
              • Jul 2009
              • 217

              #111
              I'm in, David! Where do we start?

              Joel
              https://www.facebook.com/HMKcreations

              Comment

              • Slats
                Vice Admiral
                • Aug 2008
                • 1776

                #112
                I'd buy a copy.
                J
                John Slater

                Sydney Australia

                You would not steal a wallet so don't steal people's livelihood.
                Think of that before your buy "cheap" pirated goods or download others work protected by copyright. Theft is theft.


                sigpic

                Comment

                • Kazzer
                  *********
                  • Aug 2008
                  • 2850

                  #113
                  Originally posted by ManOwaR
                  .............. an almost finished piece that only needs a dunk in Sodium Chloride (NaOH) aka Draino ...........

                  [ATTACH=CONFIG]5840[/ATTACH]
                  Surely not sodium chloride?

                  Do you mean Sodium Hydroxide?
                  Stop messing about - just get a Sub-driver!

                  Comment

                  • Slats
                    Vice Admiral
                    • Aug 2008
                    • 1776

                    #114
                    Originally posted by Kazzer
                    Surely not sodium chloride?

                    Do you mean Sodium Hydroxide?
                    Yes he does Mike as he quoted NaOH.
                    John Slater

                    Sydney Australia

                    You would not steal a wallet so don't steal people's livelihood.
                    Think of that before your buy "cheap" pirated goods or download others work protected by copyright. Theft is theft.


                    sigpic

                    Comment

                    • ManOwaR
                      Lieutenant Commander
                      • Jul 2009
                      • 217

                      #115
                      yep...I was wrong
                      https://www.facebook.com/HMKcreations

                      Comment

                      • ManOwaR
                        Lieutenant Commander
                        • Jul 2009
                        • 217

                        #116
                        There's a bunch of nice pictures of where the hull is at and few other things on the Facebook/HMKcreations page. One more round of imperfection hunting and the hull should be ready for sealing and then off to the mould factory!

                        https://www.facebook.com/HMKcreations

                        Comment

                        • Slats
                          Vice Admiral
                          • Aug 2008
                          • 1776

                          #117
                          Originally posted by ManOwaR
                          There's a bunch of nice pictures of where the hull is at and few other things on the Facebook/HMKcreations page. One more round of imperfection hunting and the hull should be ready for sealing and then off to the mould factory!
                          and when you visit this page if you feel the need for a cold shower, or perhaps a long hot one with the misses, this is perfectly normal.
                          -Joel's work creates feelings that people don't understand.

                          That aside, any ideas Joel and others on colours for Seawolf? The photos I have seen of her upon roll out show a black dome, a greyish grimy black upper hull, and a greenish grimy grey colour down below. Any advice? I take it the many photos we see on the net of the little Trumpter Wolf with red down below and black up top is not correct?
                          John Slater

                          Sydney Australia

                          You would not steal a wallet so don't steal people's livelihood.
                          Think of that before your buy "cheap" pirated goods or download others work protected by copyright. Theft is theft.


                          sigpic

                          Comment

                          • ManOwaR
                            Lieutenant Commander
                            • Jul 2009
                            • 217

                            #118
                            Hi John,
                            From what I understand, that half red oxide scheme was indeed used, but only at launch and then up to, and this is only my guess, the closest drydocking period to when the Virginia would have been commisioned. So, to paint your boat in this scheme would not be wrong, but it would have to be "Seawolf-circa luanching" or something like that. But, for a number of years now the colour has been all black. This could be because the rubber itself is black and does not need further painting, and then after applied and cured, they might add an additional treatment to that rubber below the waterline thereby giving us that drydocked demarcation line that is so well disputed all over the net.

                            With all that being said, my proto-type and beauty model to used for promotional pictures will represent the Seawolf as it currently stands, in all black. I use automotive paints and the only colours I have are black and white and these are mixed accordingly to give me the shade of grey that I want. What I'm thinking of doing here is to go with a very dark grey mix for the entire hull. Below the water line I will clear coat with a pure flat and above with a satin. The non skid strip will be pure black with a pure flat finish. This could change and probably will once I actually start painting her. I am not going to heavily weather this model but I might do a white wash to bring out hatch and other details, something like what Dave did with a Skipjack awhile ago
                            https://www.facebook.com/HMKcreations

                            Comment

                            • Slats
                              Vice Admiral
                              • Aug 2008
                              • 1776

                              #119
                              Originally posted by ManOwaR
                              Hi John,
                              From what I understand, that half red oxide scheme was indeed used, but only at launch and then up to, and this is only my guess, the closest drydocking period to when the Virginia would have been commisioned. So, to paint your boat in this scheme would not be wrong, but it would have to be "Seawolf-circa luanching" or something like that. But, for a number of years now the colour has been all black. This could be because the rubber itself is black and does not need further painting, and then after applied and cured, they might add an additional treatment to that rubber below the waterline thereby giving us that drydocked demarcation line that is so well disputed all over the net.

                              With all that being said, my proto-type and beauty model to used for promotional pictures will represent the Seawolf as it currently stands, in all black. I use automotive paints and the only colours I have are black and white and these are mixed accordingly to give me the shade of grey that I want. What I'm thinking of doing here is to go with a very dark grey mix for the entire hull. Below the water line I will clear coat with a pure flat and above with a satin. The non skid strip will be pure black with a pure flat finish. This could change and probably will once I actually start painting her. I am not going to heavily weather this model but I might do a white wash to bring out hatch and other details, something like what Dave did with a Skipjack awhile ago
                              Thank Joel, sound good.
                              J
                              John Slater

                              Sydney Australia

                              You would not steal a wallet so don't steal people's livelihood.
                              Think of that before your buy "cheap" pirated goods or download others work protected by copyright. Theft is theft.


                              sigpic

                              Comment

                              • ManOwaR
                                Lieutenant Commander
                                • Jul 2009
                                • 217

                                #120
                                There's a ton of new pics showing mast and rack work here: http://www.facebook.com/album.php?ai...47922521922927
                                https://www.facebook.com/HMKcreations

                                Comment

                                Working...