-
For your Seawolf fix check out the latest pictures and small blurbs of where I'm almost currently at here: http://www.facebook.com/album.php?ai...922927?sk=wall On there you'll see top half work including how I moved some beveled detailing, made access hatches, and how I tackled the always-evil safety track!
Detailed reports are still forthcoming for here, but with the overabundance of material it proves to be a daunting task!Comment
-
Guy's!
You simply have to go to that site and look at the work Joel has done on this master. Simply: WOW!!!!!!
This is must-see stuff!
David,Who is John Galt?Comment
-
Yes, it looks great!Comment
-
Thanks very much!
Ill post a few more pics at day's end showing the fatline towed array fairing work. Maybe if I still feel motivated by that time Ill start typing up some progress blogs!
JoelComment
-
I am all stupid for words. THE boat of the century is arriving soon.
JJohn Slater
Sydney Australia
You would not steal a wallet so don't steal people's livelihood.
Think of that before your buy "cheap" pirated goods or download others work protected by copyright. Theft is theft.
sigpicComment
-
More goodies...towed array fairing, surfaces waterline pics: http://www.facebook.com/album.php?ai...922927?sk=wallComment
-
the work is stunning Joel. Was wondering about the steering and rear plane yokes, is it possible for these to have the control rods on either side of the prop shaft?
I was thinking all that need be done would be to reverse the grub screw positions on the rear plane yoke that you make for the Permit.
Thanks
JohnJohn Slater
Sydney Australia
You would not steal a wallet so don't steal people's livelihood.
Think of that before your buy "cheap" pirated goods or download others work protected by copyright. Theft is theft.
sigpicComment
-
Thanks John,
Yes, I'll have to see what will work the best for the application. Once I get my prototype hull laid up I will be able to get my sausage fingers (or fish hook remover plyers) in there and start forming a solution. One thing is for sure, the tail cone is much larger than Permit's so it won't be such a f****** p***in the f****** *** to install those m***** f****** linkages.
******* eh,
JoelComment
-
Thanks mate, appreciate that.
JJohn Slater
Sydney Australia
You would not steal a wallet so don't steal people's livelihood.
Think of that before your buy "cheap" pirated goods or download others work protected by copyright. Theft is theft.
sigpicComment
-
As a media producer for a healthcare group, I have viewed and videotaped many surgical procedures, seen a lot of docs who think they are really special, and wished I could say " OK, hotshot-attach these control linkages to the dual stern planes and rudders in the tail of my 1/96 Seawolf. "
Joel's vocabulary above is tame compared to what was heard in my shop.
Obviously there will be more room and better 'exposure' ( as the surgeons say ) in 1/72.
My vocabulary remains insufficient to describe this extraordinary build thread.
-KerryComment
-
I too am blown away by the quality and depth of detail Joel is investing in this project. The care and execution He's taking on this (and previous projects) is simply amazing.
Every time I think my **** don't stink, I give myself a reality check by looking Joel's work over.
It's good to have a standard to work too. Joel, in the area of submarine kit origination, is my standard.
David,Who is John Galt?Comment
-
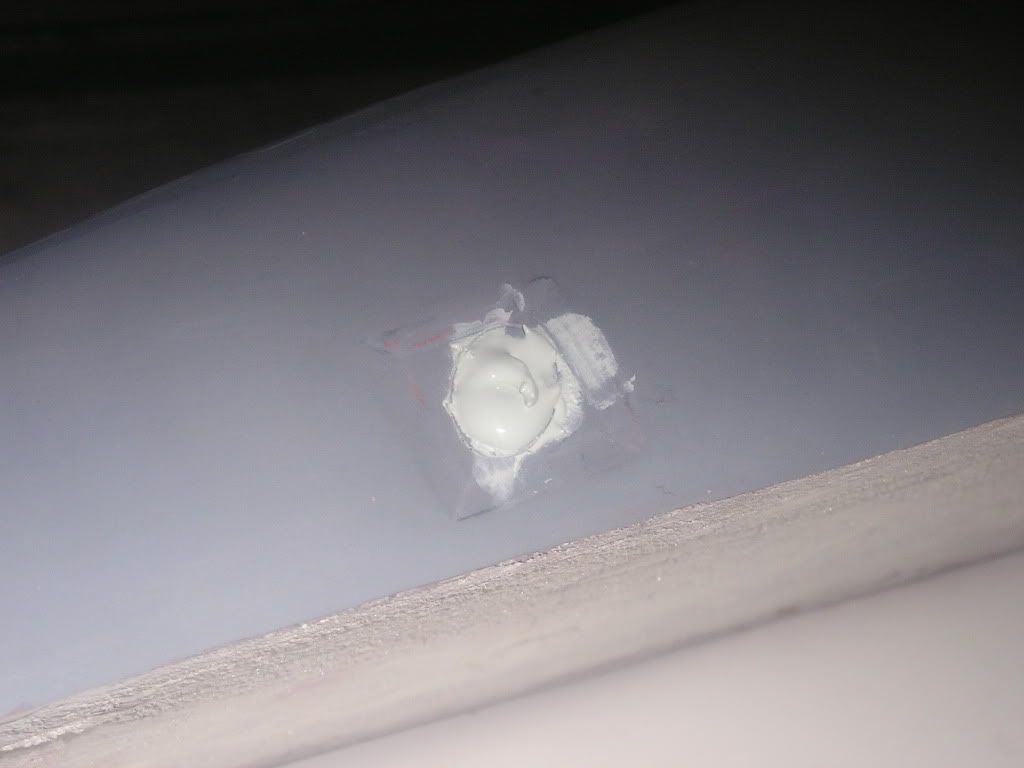
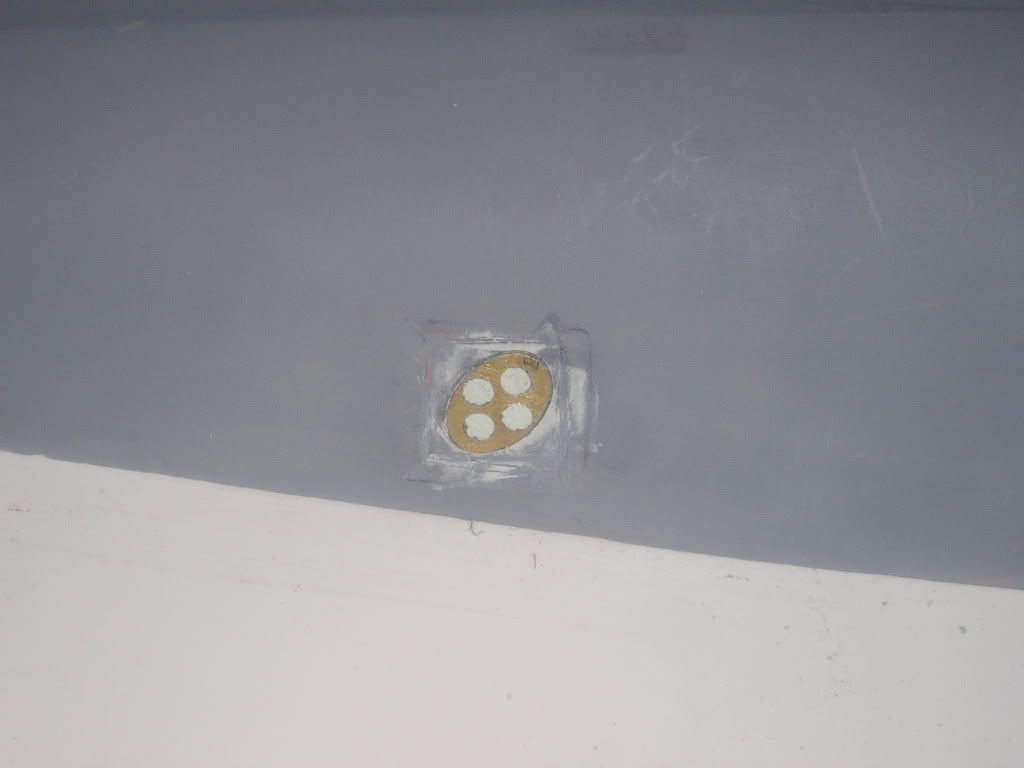
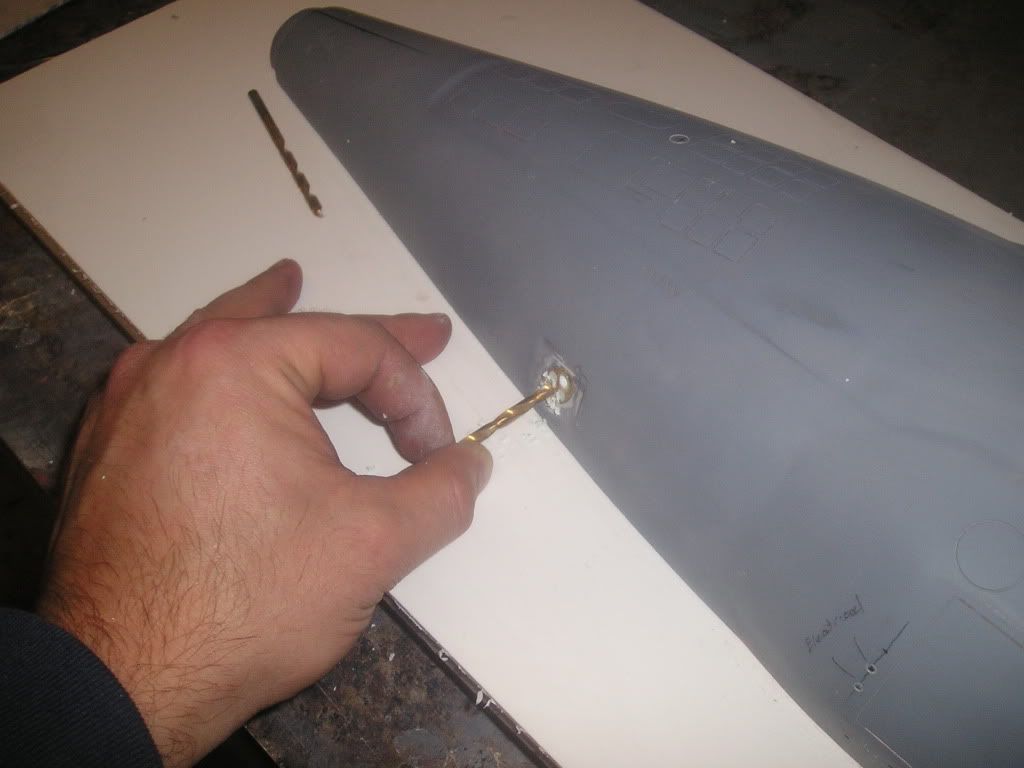
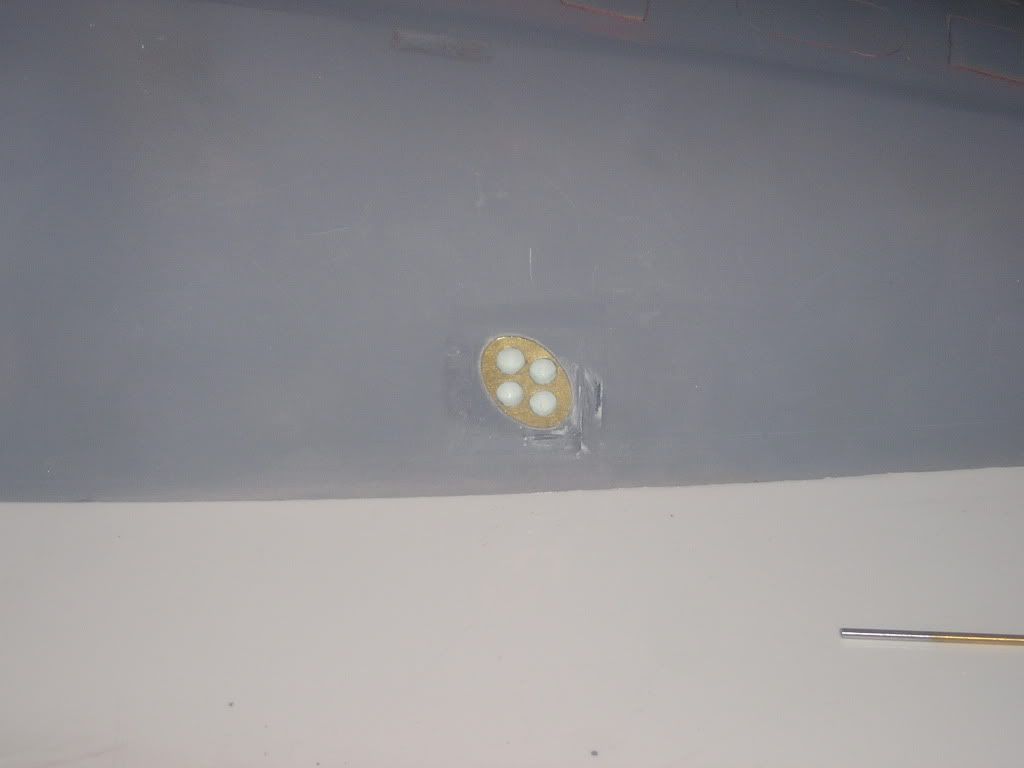
Continuing on with the detailing of the bottom portion of the hull;
First up are the countermeasure pods. Knowing full well that my substrate is porous underneath where my photo etch part has to adhere to I went straight at it with the drill, formed a cavity and filled with Evercoat filler. I let the filler gel up and then razored it flush with the mounting surface. The PE part was glued on with CA and scribed around the outer perimeter to represent separation. An appropriate sized drill bit used to bore slightly inside each hole for added depth and detail effect further on down the line! And yes, I can do this because I’m going with rubber moulds!
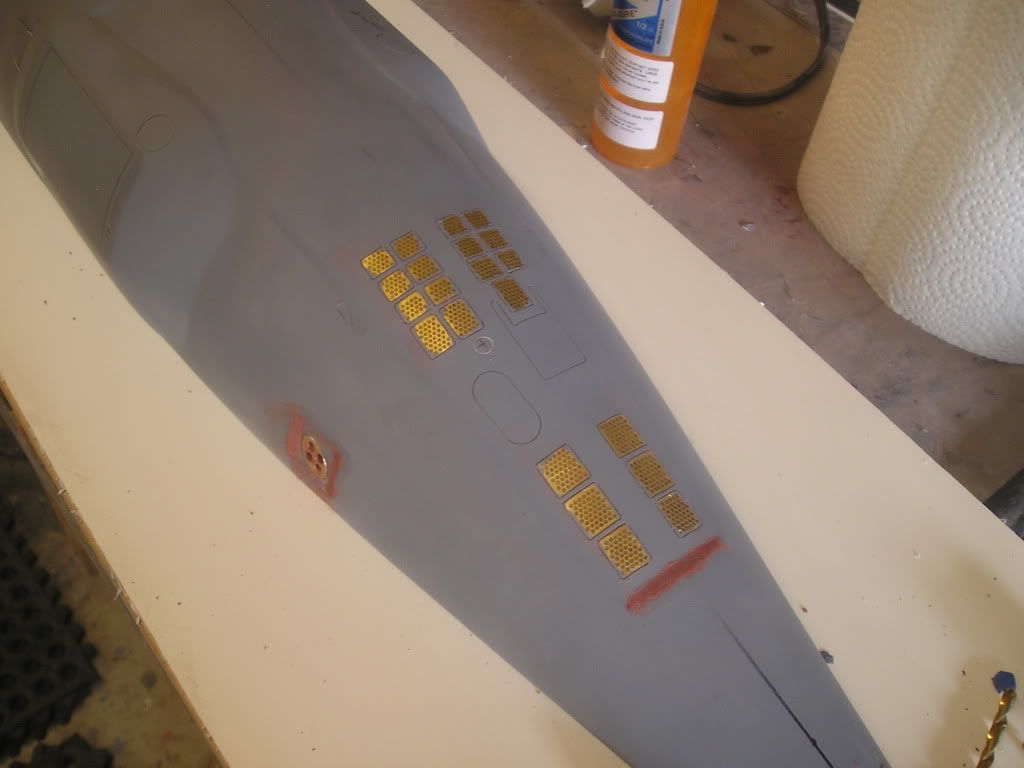
Next up, I had to remove the old protection tape off the back flood grates because it was wearing out and put some new stuff on. The scribe lines all needed to be cleaned up badly, but here is a little taste of how the grating will look on the models:
Some more detail work and sharpening up some of the bevelling which has started to soften and round off because of all the sanding going on or around it:

Regards,
JoelLast edited by ManOwaR; 04-02-2011, 03:52 PM.Comment
-
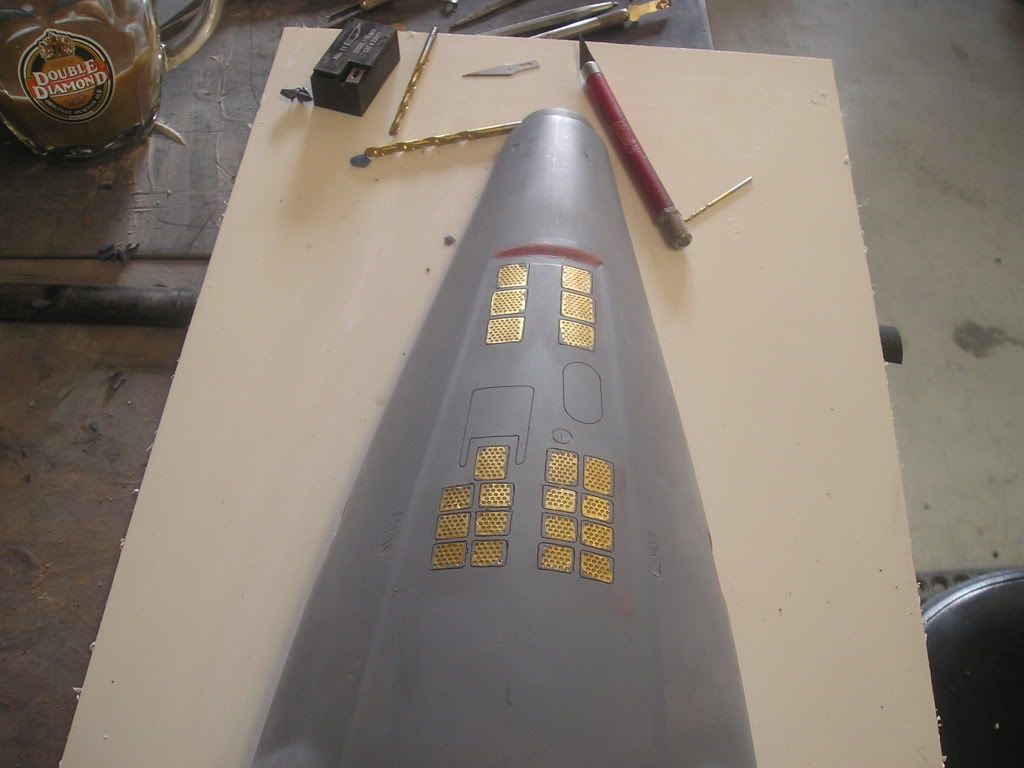
Now we put the bottom half off to the side for awhile and get to work on making the top half pretty!
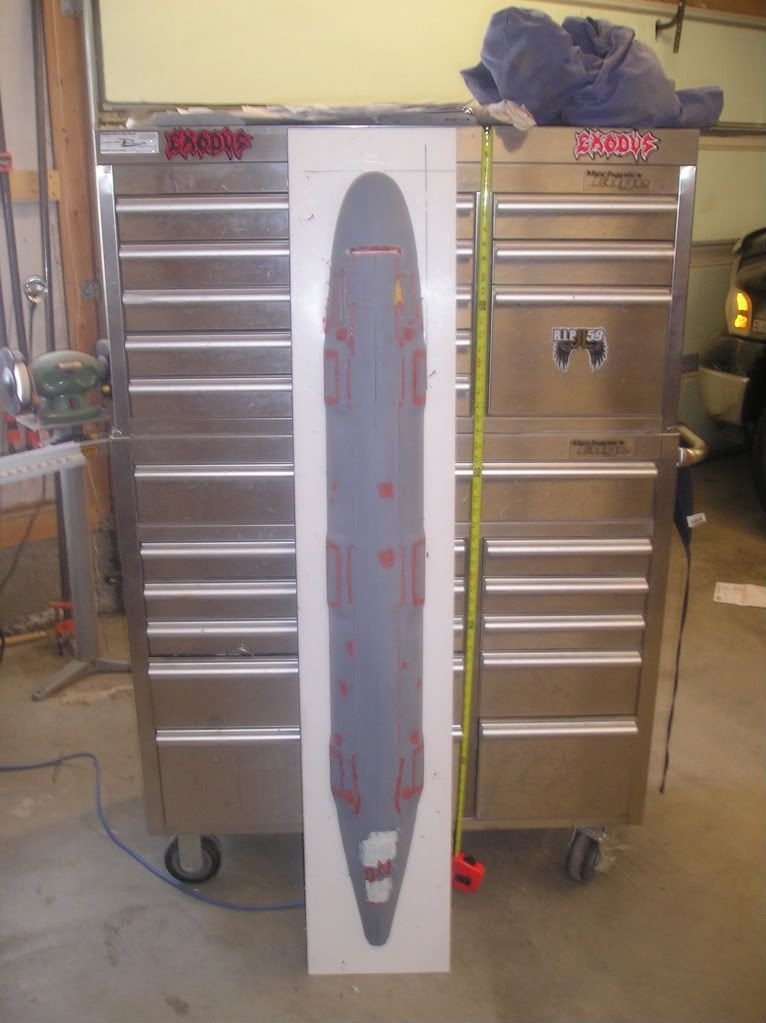
For the sonar dome I am showing the ring of tiling the circles the whole thing
Some scribing and PE installed on the top deck:
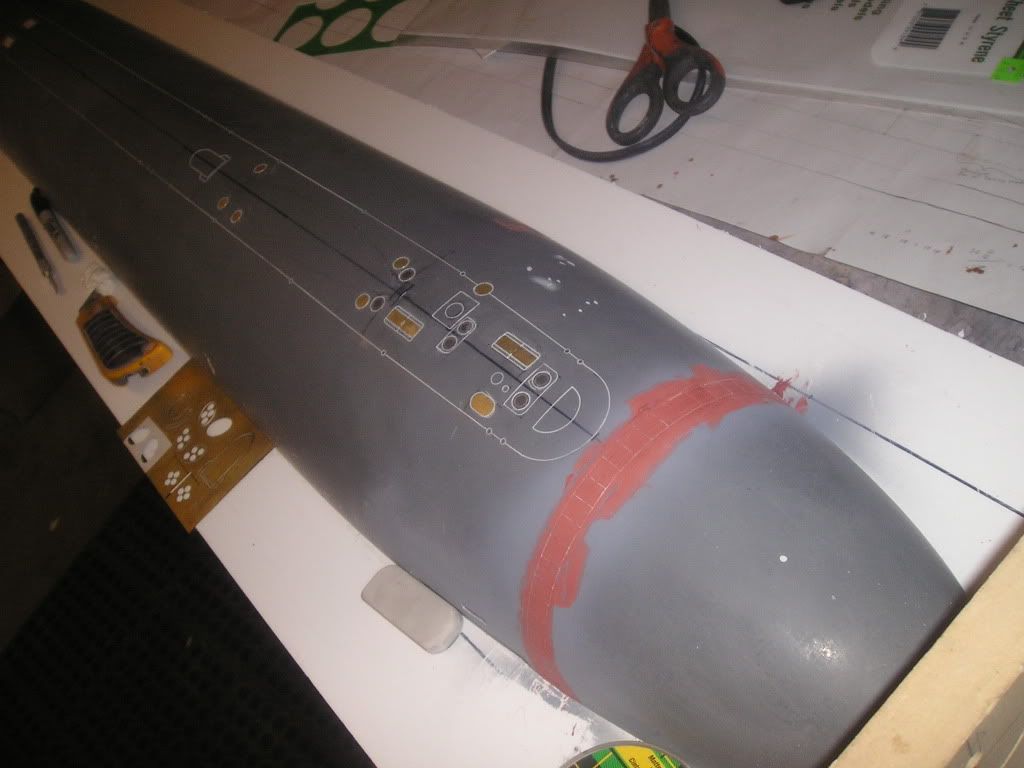

Here’s a note worth mentioning. Up to this point in my little submarine modelling career I have usually waited until the plug is almost with a mouldable finish to get to the scribing. Not this time, I find that I’ll usually botch up tons of scribes and leave the beaten path onto the hull surface or just plain ol’ need to fix and straighten lots of the lines. To me it didn’t really make sense to have to refinish the hull twice over!
Here are some bevelled sections that had to be moved. See if my pictures tell the tale well enough to get a grasp of what I’m doing:

(Cont.)Last edited by ManOwaR; 04-02-2011, 04:09 PM.Comment
-
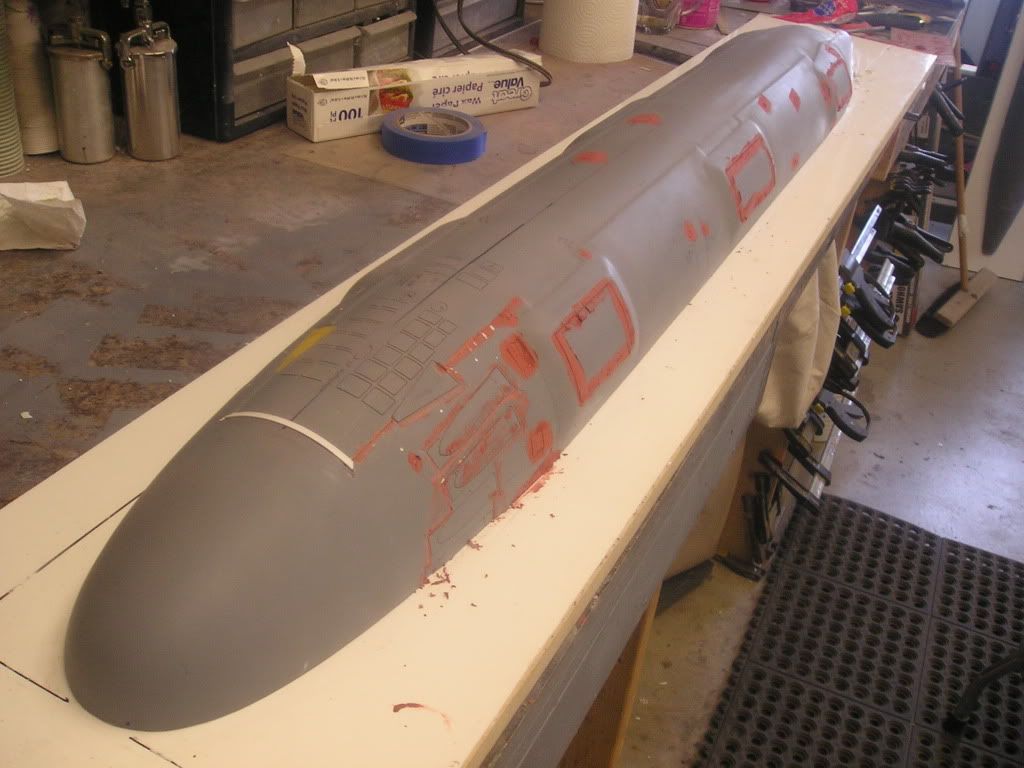
Did I at one time say the bottom had far more detail than the top? I was wrong.
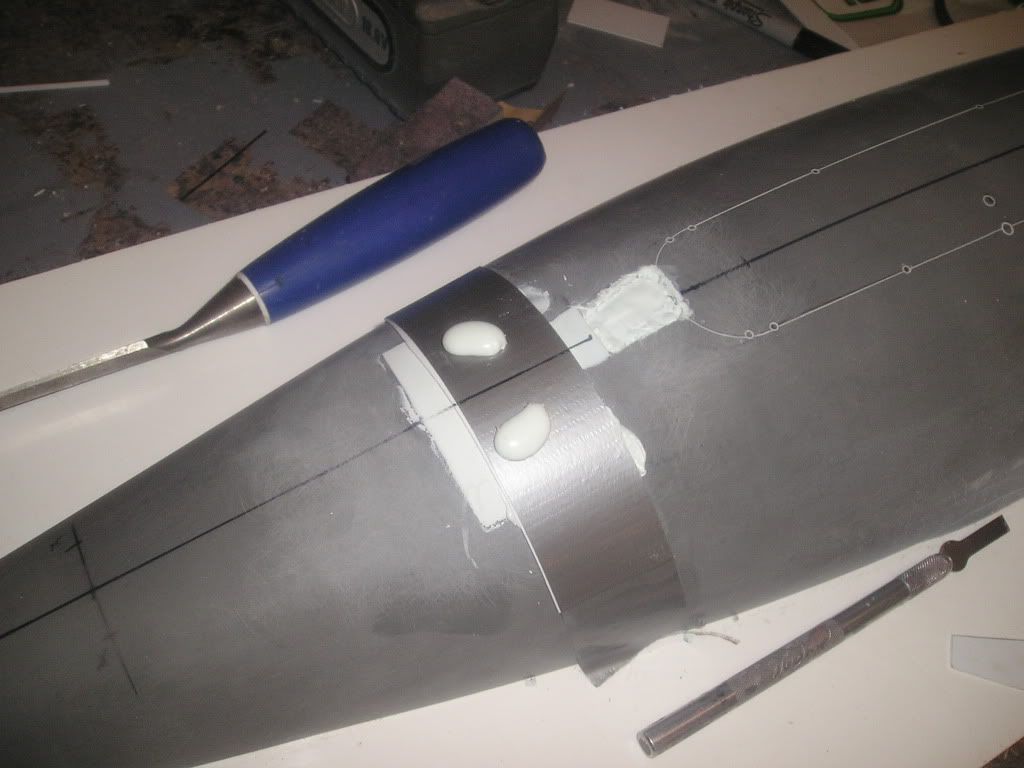
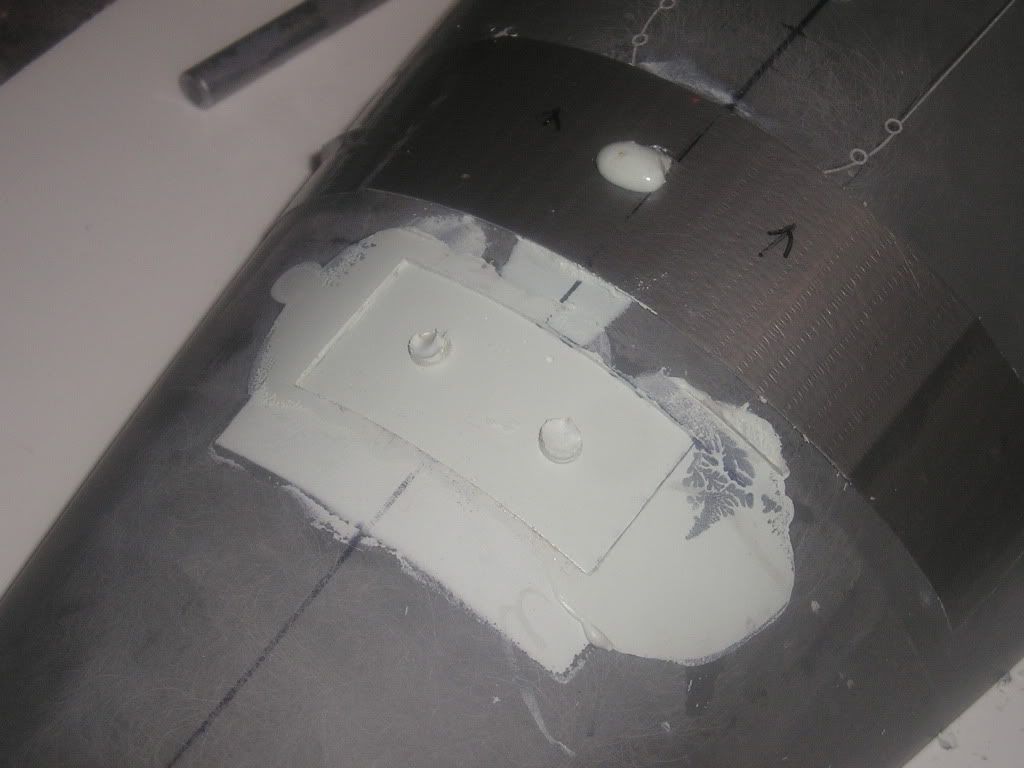
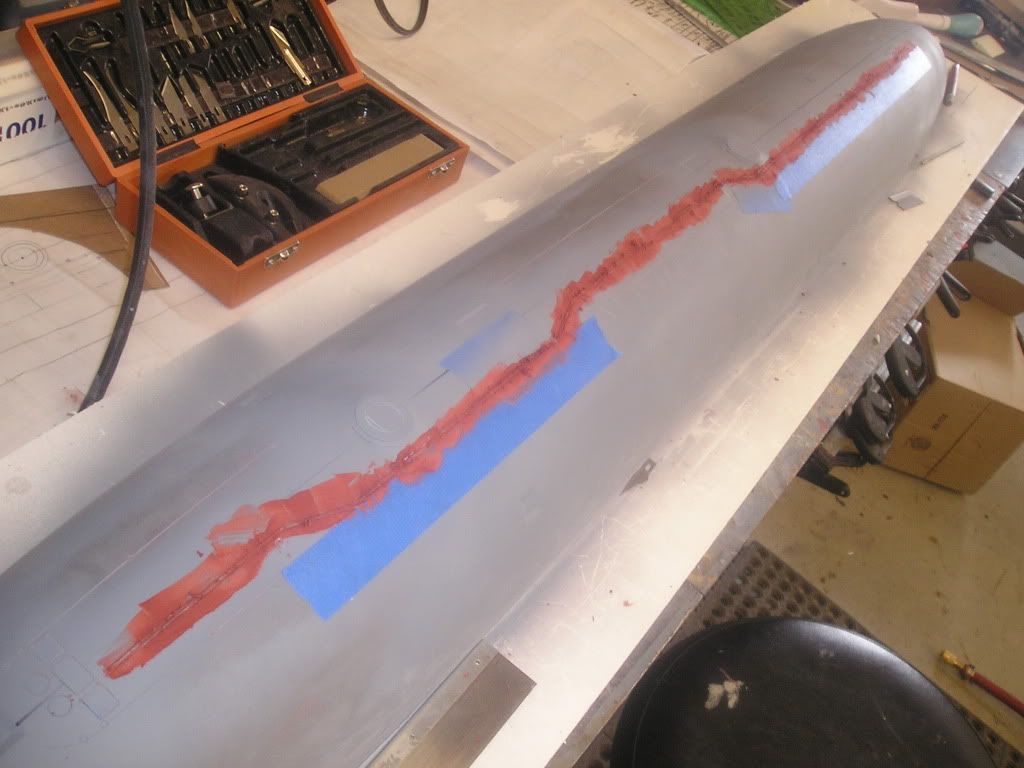
Anyways, the hatches had to faired into the hull just like the real boat. This was done by taping off the area that was to receive filler so that the fairings would be consistent shape all around. This was an important step because if my hatches weren’t perpendicular in any way I would have been able to tell when doing the fairing filling...so, no problems were found and full ahead to the next step of fine filling and sanding to blend in. I had to be very careful not to damage any of the sharp lines on the hatches themselves while sanding.
One other thing to mention here and this is par for the course on this build, is that I had to bore out the tops of the hatches and refill. This was because I found some soft spots in the initial material probably from inadequate mixing on my part. No big deal, like I said, par for the course.
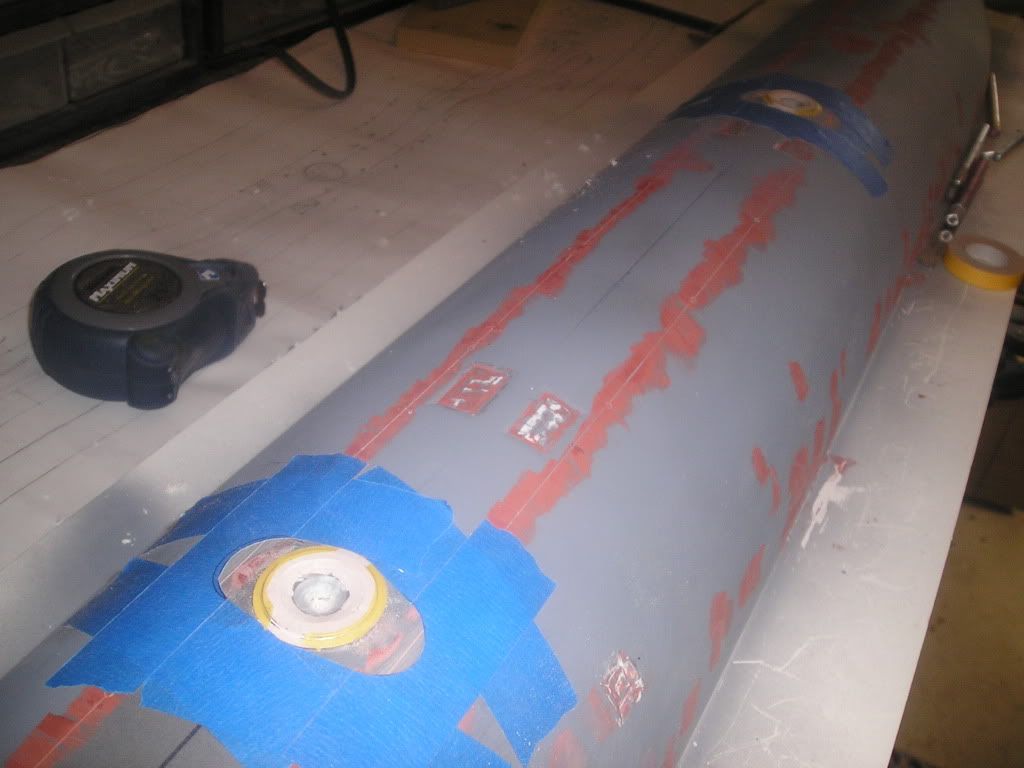
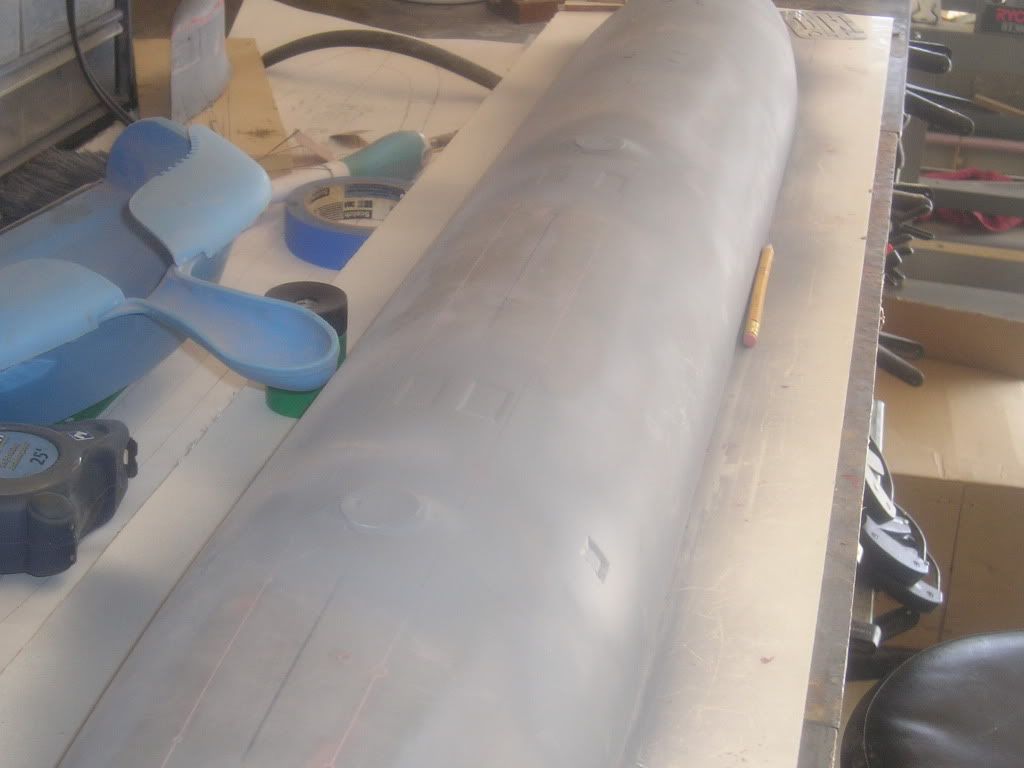
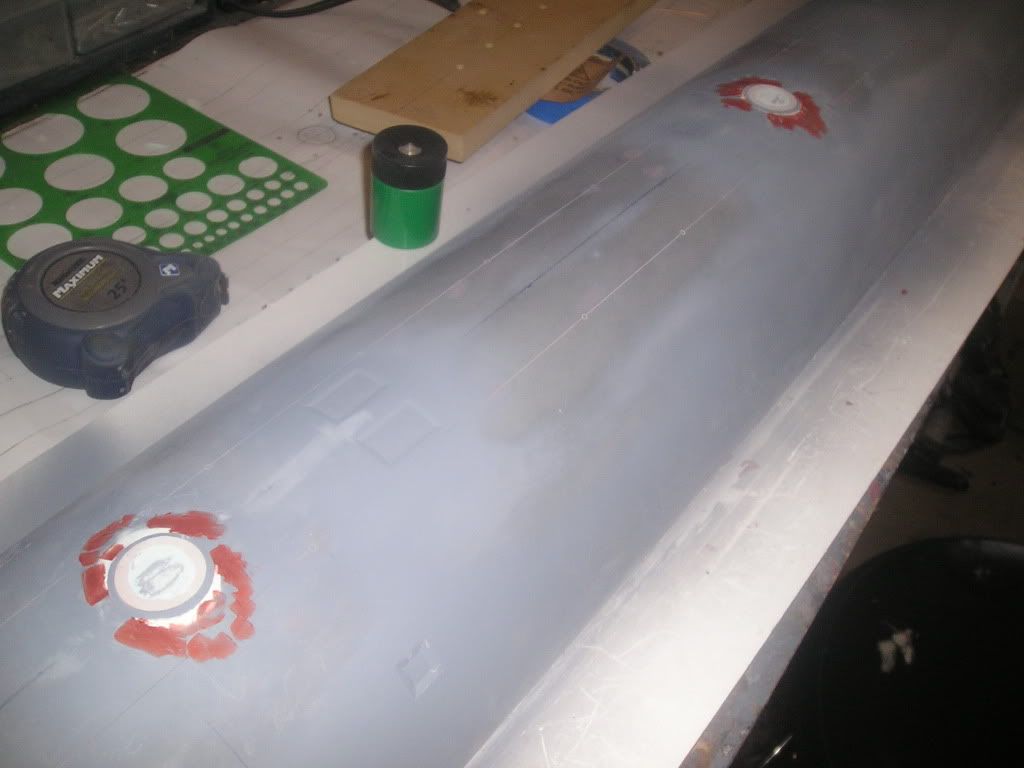
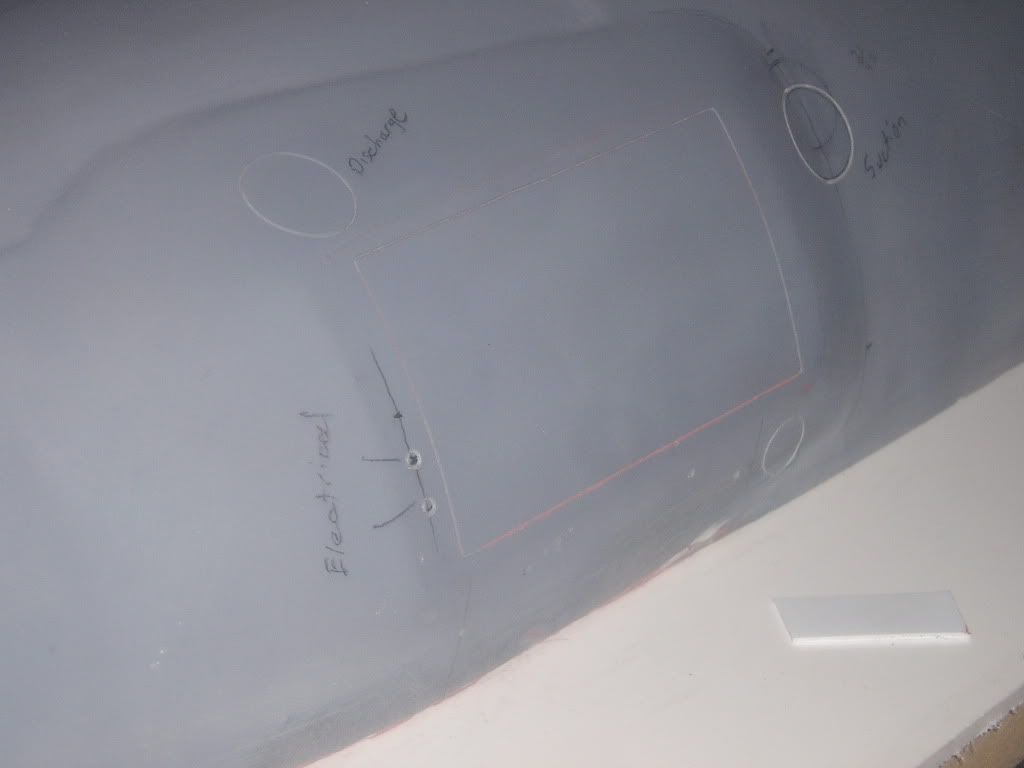
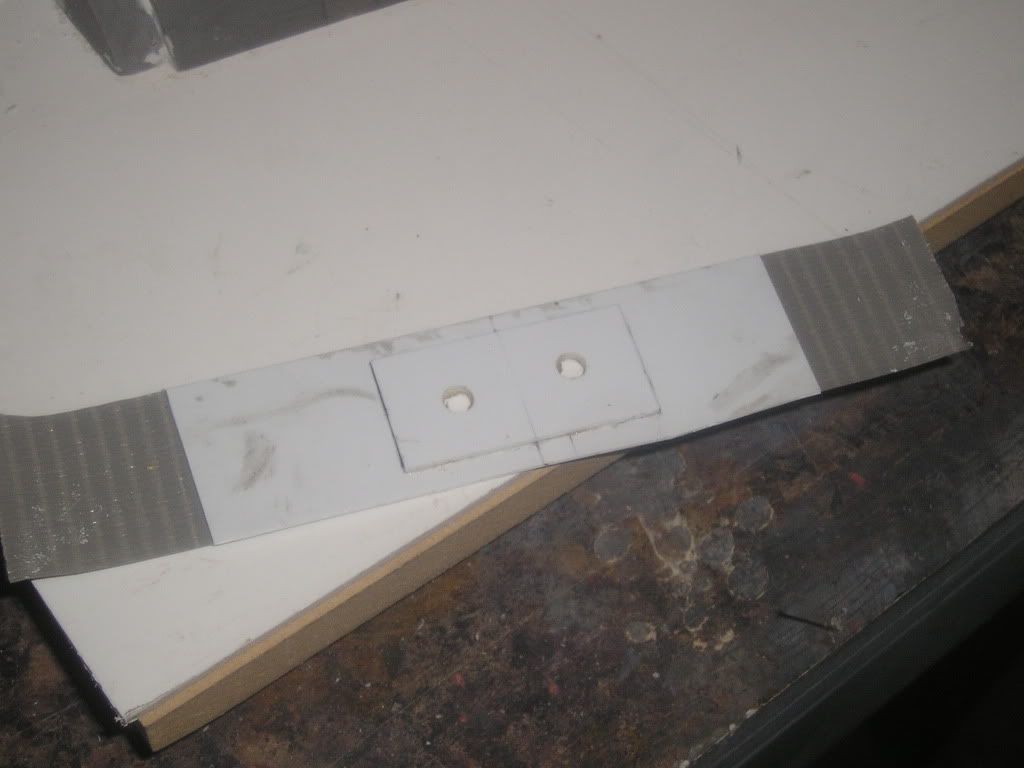
Photo etched scribe template:
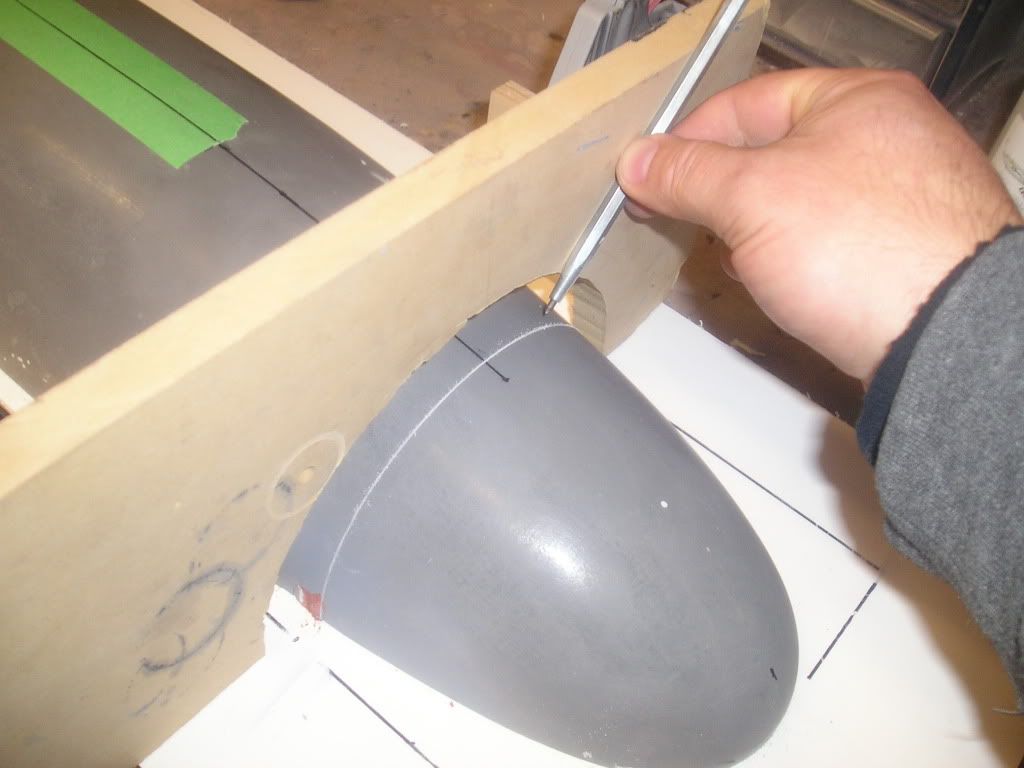
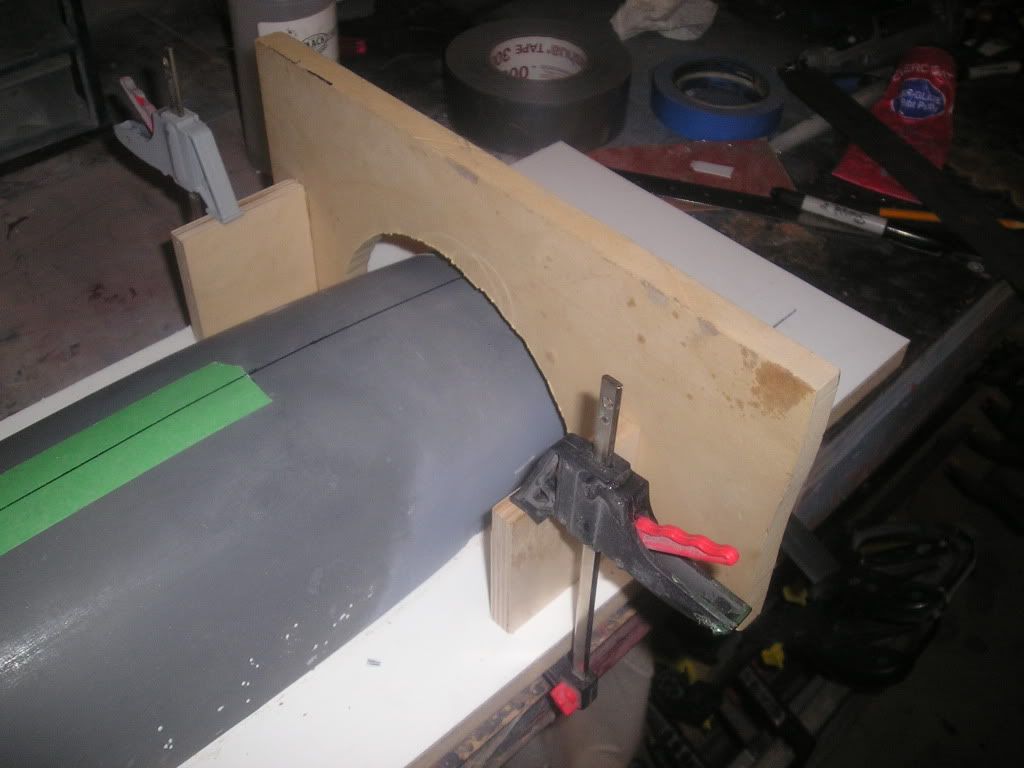
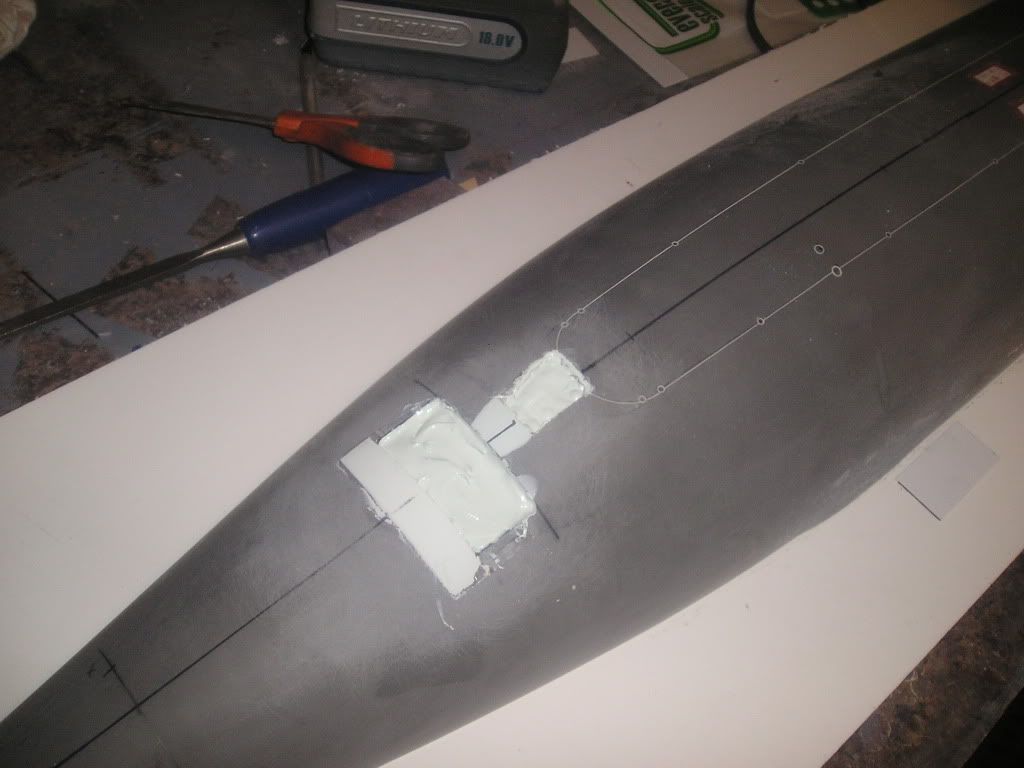
Now, for what I would term as the major scribing task of this project is the safety track. On my Permit, I used straight edges for guiding my scribe tool and it just didn’t give me the consistent width that I needed. I probably had to do that track over about 6 times! For the Seawolf, the entire track is flush with outer surface of the boat because of the application of the rubber, so this means that its entire length will be scribed and nothing will protrude above. When I say I am going to scribe this detail, it certainly wasn’t the only option at my disposal, and if it failed I would certainly have attempted another technique. But here is what I have done here and it seems to have worked pretty good, although still needing a fixing. Nothing ever seems to work first crack.
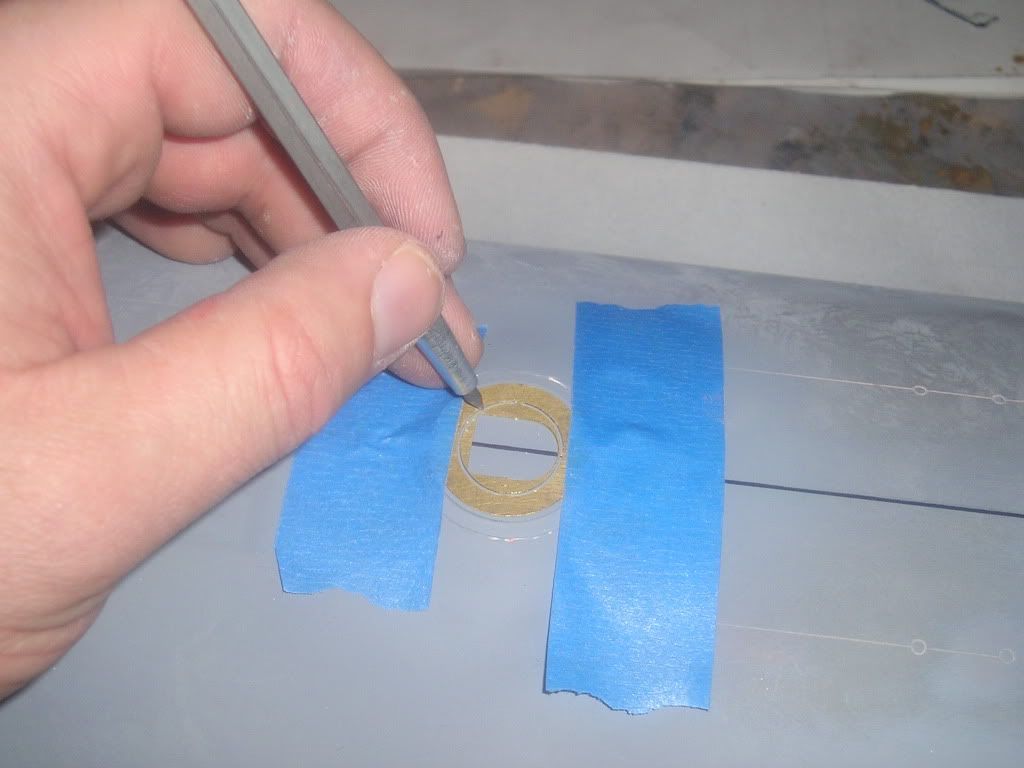
My guide for scribing is a custom one. I CA’d proper thickness styrene strip directly to the hull following the proper path. Corners were done in a similar manner in which I did the torpedo door bevelling, kind of a fit as you go deal.
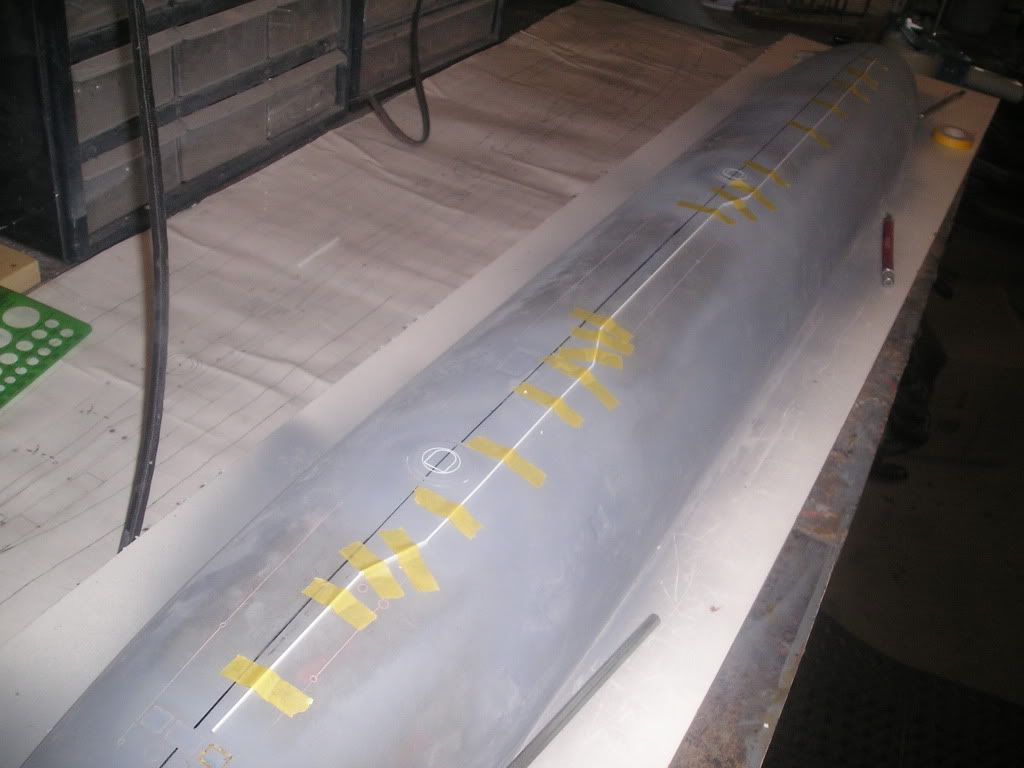
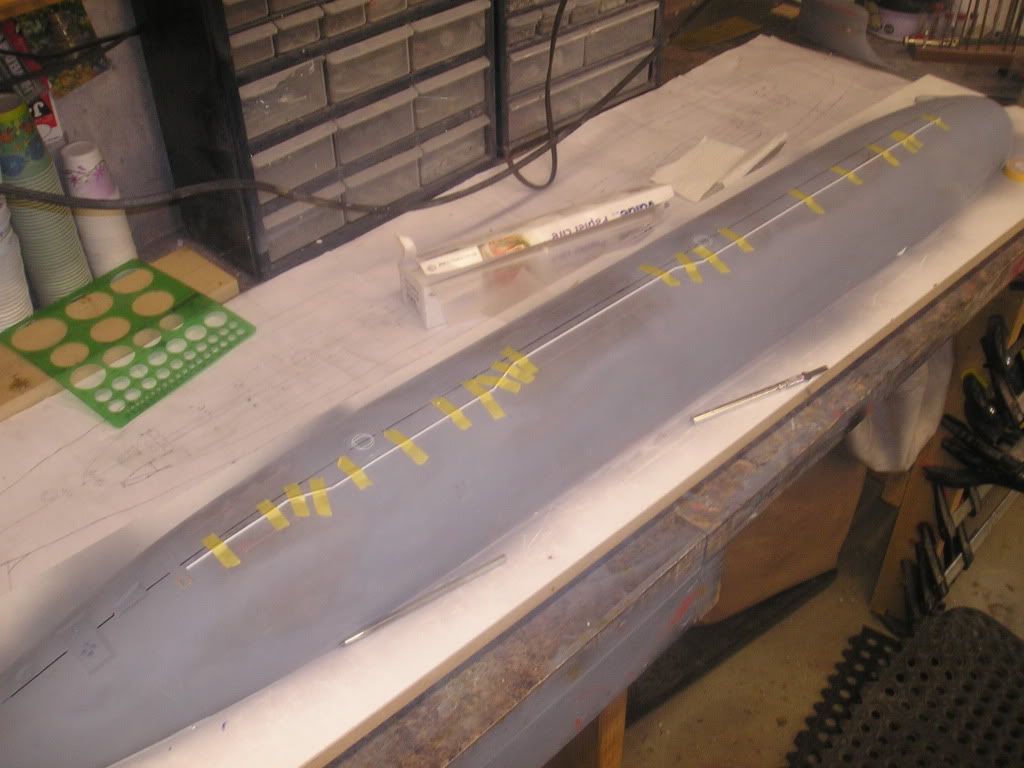
To do the actual scribing, I used a traditional scribing tool to start things off, then a razor saw to dig a wider trench, and then I get in there with a plain old hand held razor for slowly working away inconsistencies.Last edited by ManOwaR; 04-02-2011, 04:09 PM.Comment


Comment