Eazy-Peezy.
1. CA the dead-light within the sail
2. with a finger build up several layers of CA, the thickness of the CA a bit higher than the surrounding sail structure
3. sand and polish the CA over-coat to an optically clear status
4. scribe the outer perimeter of each dead-light to the outline and depth of the PE retaining flange
5. apply white glue (bezel glue if you have it) sparingly within the outboard sides of the scribed trenches
6. insert the flange and wipe away any glue that squirts out, wipe away from the dead-light
7. mask the deadlights and paint
8. sing my praises!
David
-
Got it David!
What's the beat way to handle these deadlights?
Put the lens on, then the PE, mask off the lens, then paint? Tuff to mask off that clear lens.
That PE is so thin. How to glue it without making a mess of the lens.
Leave a comment:
-
differentiate between 'different' and 'correct'!
Scale modeling is the pursuit of perfection, and the rejection of deliberate false presentation. You either do it right (perfection being unattainable, but must be the standard that guides us), to the best of your ability, or you don't. And if your work falls short you hone your abilities, increase the level of your skills, and fix it!
Never settle for good-enough!
DavidLeave a comment:
-
Let me say this David. You've done what, hundreds of models lets say. This will be my first 'weathered' model. First time eventually working with an airbrush. I'm good at lots of things, maybe not so with painting or weathering. But I have you and this forum to guide me, and others. I'll get there somewhat, not to your caliber, not even close. Weathering has many layers. To me it looks like a nice start even if it may not be 'right'. It will get covered a bit so I'll go with what I got. Besides, I like my models to be different than others, hence the unique lighting I will have. And it's all fun.
Bill that's my thought and about the method I'm doing. And it's only sort of planned.Wining it as I move along.
Leave a comment:
-
Something I do is to use the hot-rod primer as a base coat, then, when thoroughly dry (wait a full day), I rub it all down with an old t-shirt. You'll get the color, as well as the sheen that the 1:1 scale units have. Weather as desired on top of that. The burnishing will still allow enough "tooth" for your weathering application to stick to the base coat.Leave a comment:
-
That 'splotchiness' likely resulted from an earlier coat going orange-peel on you, the high-points of the last coat scrubbed away by that abrasive leaving the slight discoloration between coats. A good effect below waterline, but I've never seen it above waterline. Above waterline it's a reasonably smooth surface with the prominent weathering being in the form of streaking.


DavidLeave a comment:
-
I think it looks good too. I may have to pick up a charcoal gray myself.Leave a comment:
-
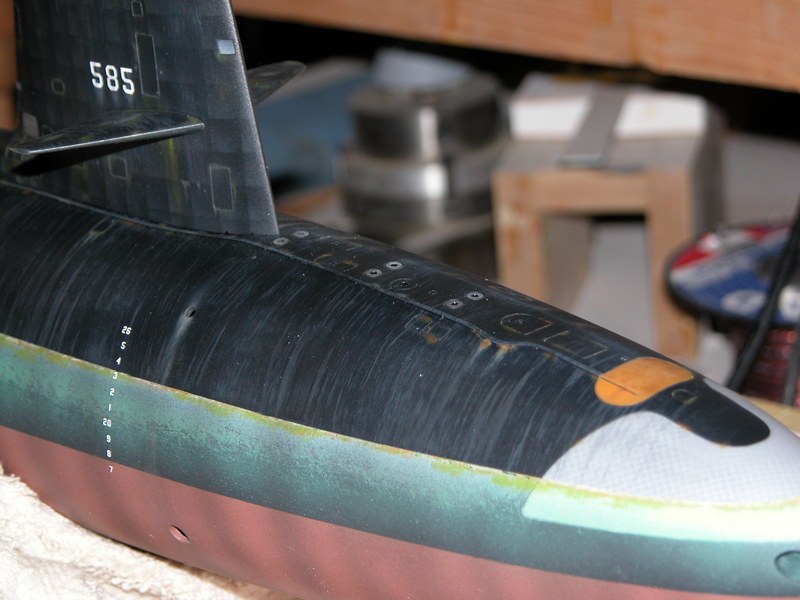
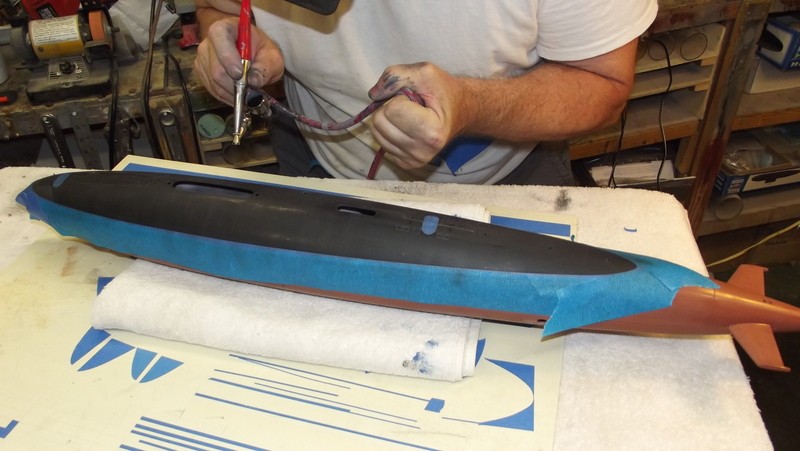
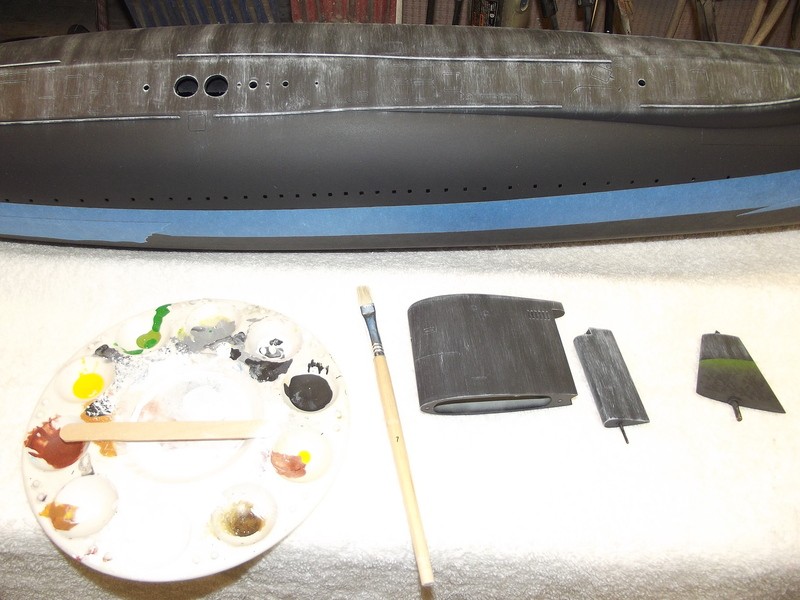
I sprayed the upper hull with Rustoleum charcoal gray primer. After two coats the primer had an unexpected fuzziness to it. What to do about that? So I used a scrubby pad and scrubbed the fuzziness away. Started looking pretty good. That's what you see in this picture. To me the result looks pretty good, that splotchy weathered look, I like it.
Then I used a 5000 grit foam sanding pad to 'polish' the scratches away from the scrubby pad. Looks like a decent weathered surface to me.
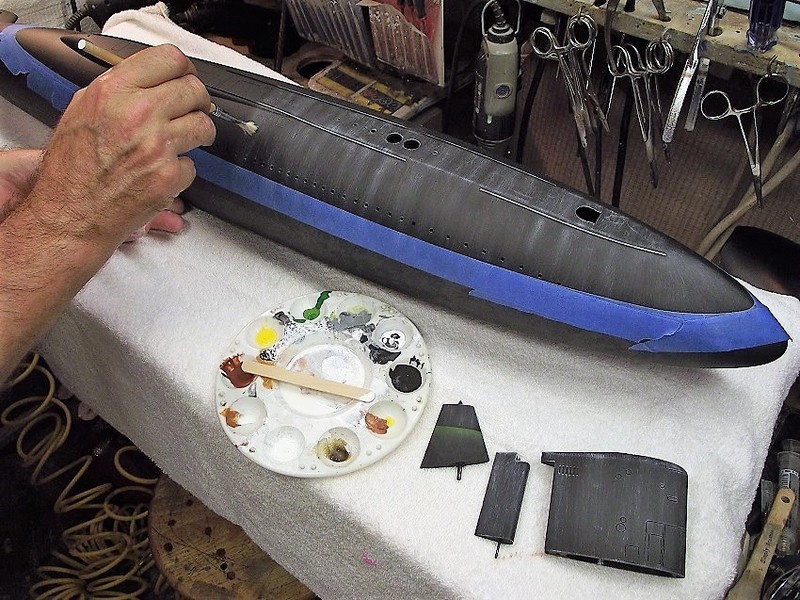
Another picture after 5000 grit pads in different lighting.
After Subfest I'll still be attempting the hull streaking and further weathering. But will practice on something I make up before attempting it on the SJ.
Leave a comment:
-
Thanks Bob for approving my post.
Just to give it a bump, see here.... https://forum.rc-sub.com/forum/build...319#post152319 about the color wheel I received.Leave a comment:
-
I sanded the back of all my PE and the scratched behind where it was to be placed. CA worked fine. Just needs something to grip to.Leave a comment:
-
The color wheel arrived. Now to learn how to use it. This might help.... https://www.youtube.com/watch?v=SEJQoEQxErs
I have the primer and base color (black and charcoal gray) for the upper hull. Need to buy red, yellow and blue. Does it matter if they are flat, matte or gloss?
I can use a web site like this, https://rgb.to/ to convert colors. Since the FSC fan deck is not available I can buy a Pantone one to get close? Bad or good idea? Info here about that, https://www.paintcenter.org/rj/jan05s.php
Leave a comment:
-
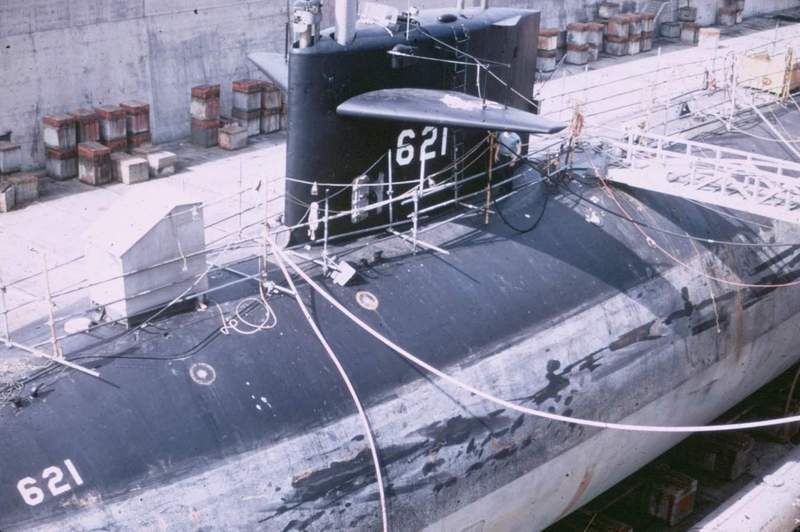
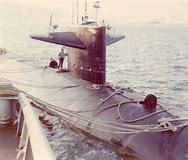
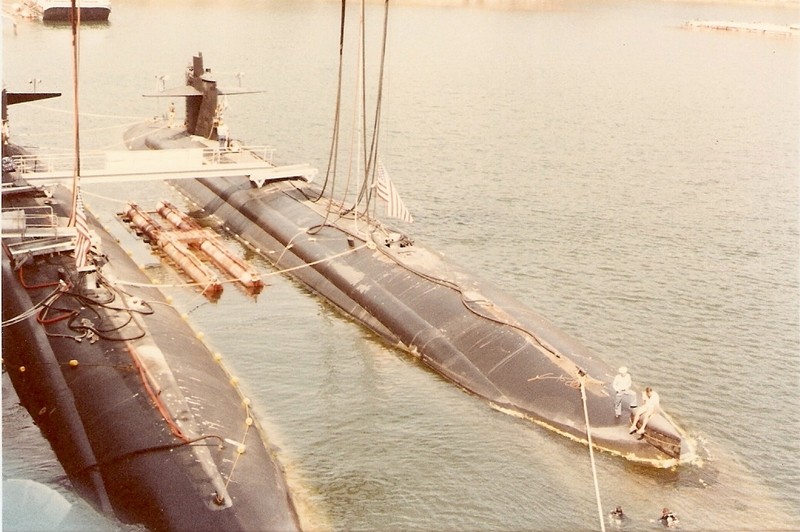
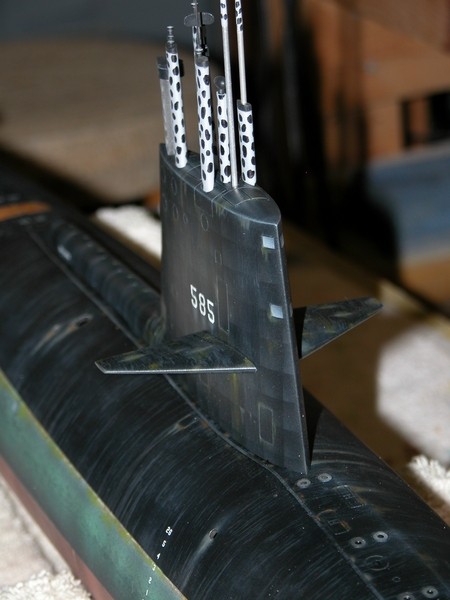
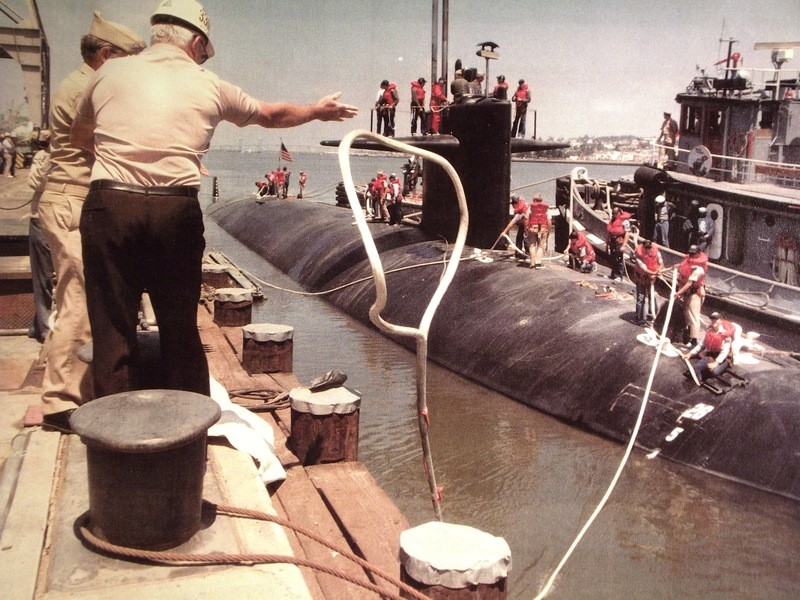
Those 'lifting rings', are McCann rescue-chamber hold-down padeyes. Once the bottom of the chambers skirt seals to the submarines escape trunk seating foundation, differential pressure presses the bell firmly in place. The four turnbuckles between chamber and padeyes insures a solid matting during the crew transfer operation.
Attached FilesLeave a comment:
-
-
The previous post was flagged as spam so be sure to look at it when it gets approved.
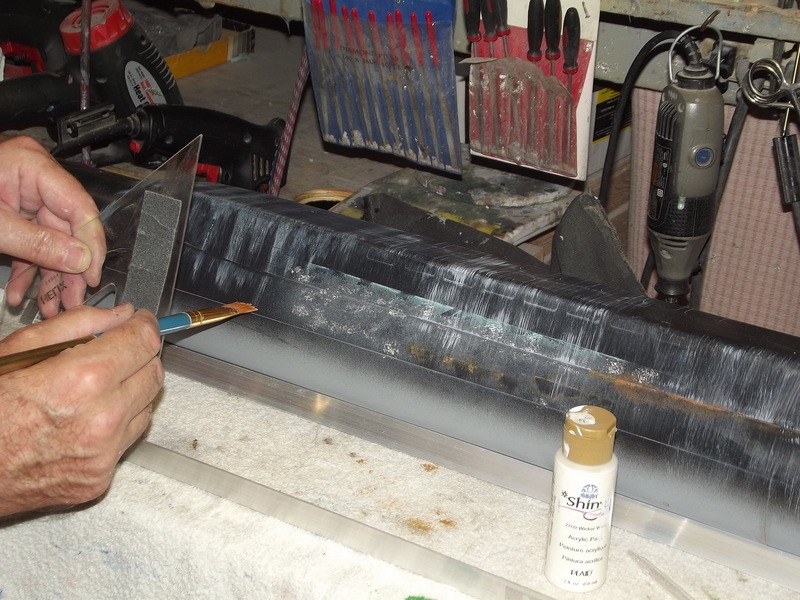
With the DIY end mill suggested by David, I have the ballast vents grooved out and the PE was glued in place. I tried using CA but could not get it right so I resorted to two part epoxy. I used the tip of a pin to apply the epoxy. For the two vents(?) with solid centers I bored it out with 7/64 drill, same size as ballast vents, then used the DIY end mill. Made it a bit deeper then added a styrene plug the right thickness and glued the PE ring in place. On the hull inside I used CA & baking soda to plug the hull flat.
Also added lift rings(?) around the hatch opening. And opened up the hatch for the hatch that David sent me.
Leave a comment:
-
Have the color wheel. Have the Airbrush. Have the primer and hull base colors. Just need to get the red, yellow and blue. Will most of the weathering be covered by all these colors? I think maybe except the hull streaking? For the red, yellow and blue does it matter if they are flat, matte or gloss?
Since I can't find a FSC fan deck, I should be able to use a web site like this.... https://rgb.to/ to get the color I need?
I might be able to use a Pantone fan deck as well to get the colors close? https://www.paintcenter.org/rj/jan05s.php
Leave a comment:
-

Leave a comment: