Moebius Skipjack

Collapse
X
 
  • Time
  • Show
Clear All
new posts

  • Ken_NJ
    replied
    Bill I was wondering about those fittings being flush. I sometimes deviate from what things should be, then again I strive for almost accuracy. The sail will be the last section I work on so I might try to inset some to see how it goes.

    Thanks Scott. Many things to consider.

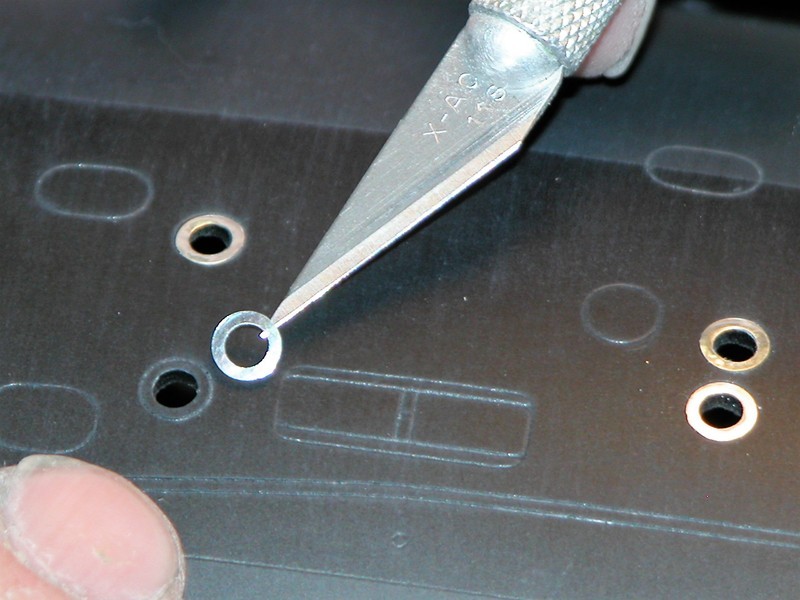
    Oh David, I'm nowhere's near your caliber. But I can do a kinda decent job. At least unique. I'll have the SJ running but it may not be finished, weathered. And I have to still do repairs on the Marlin. Looking forward to Groton and Subfest!
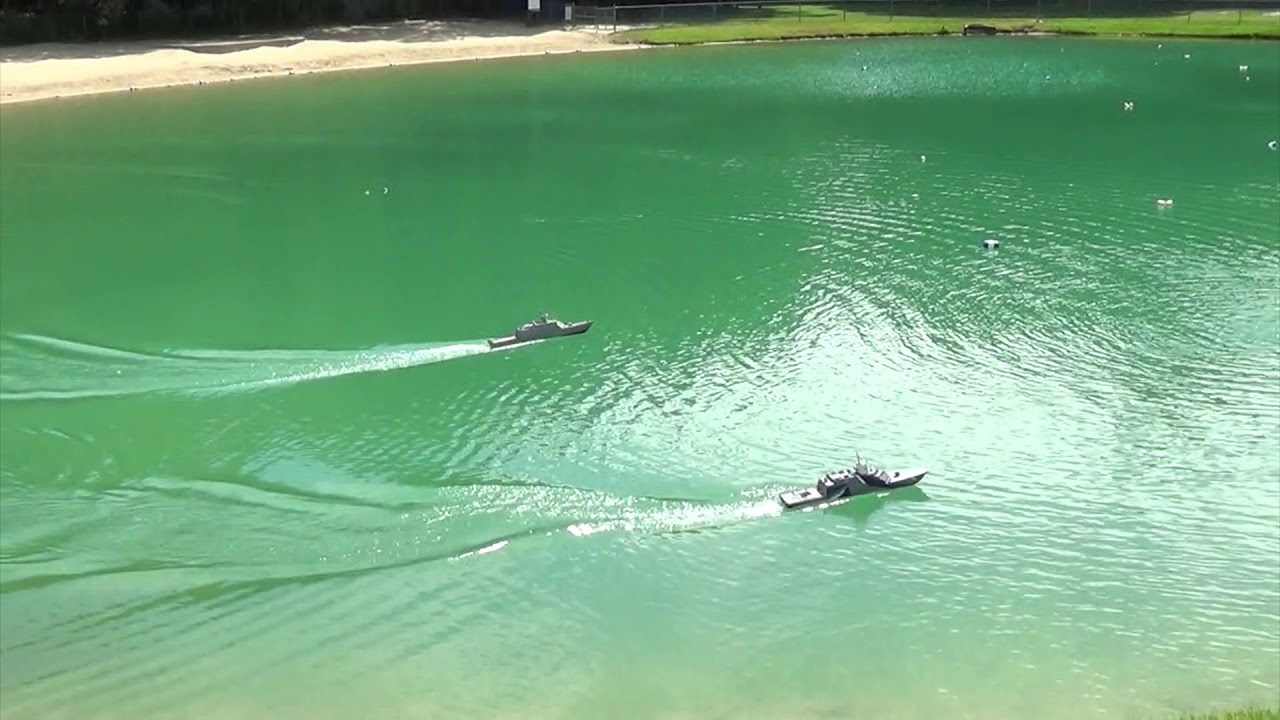
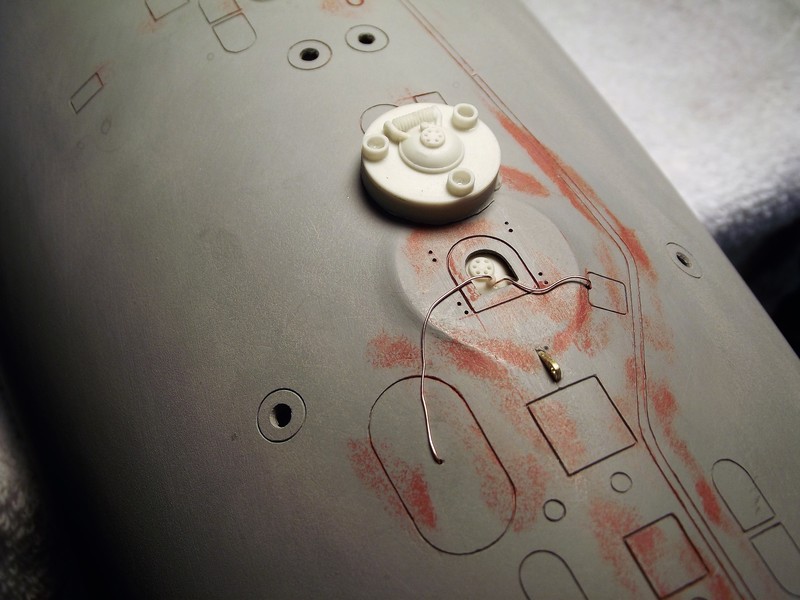
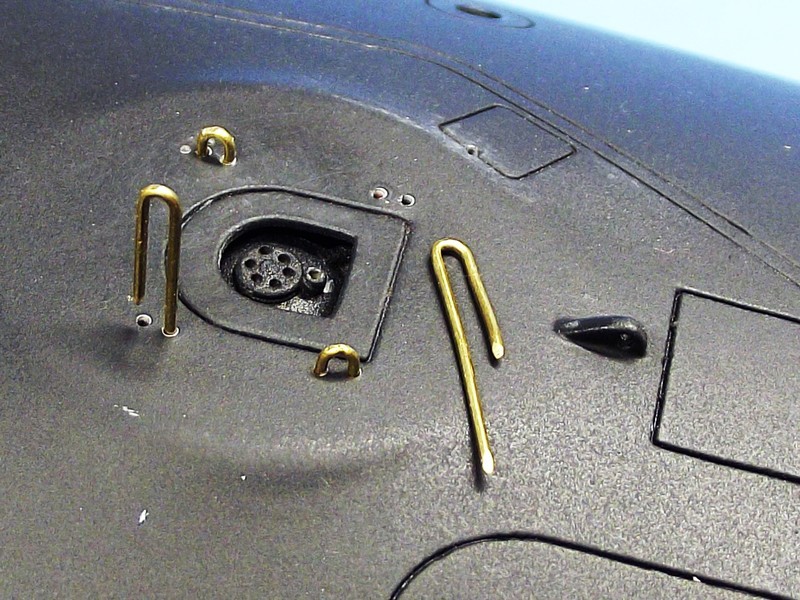
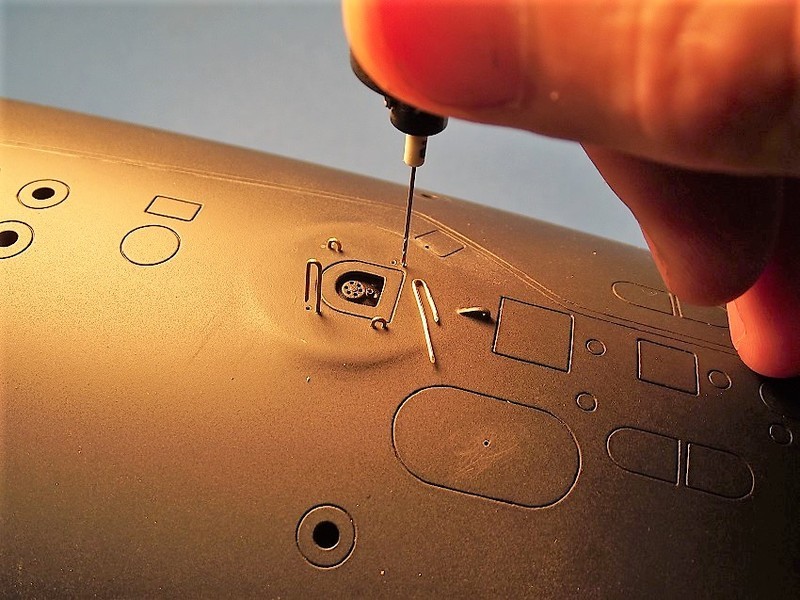
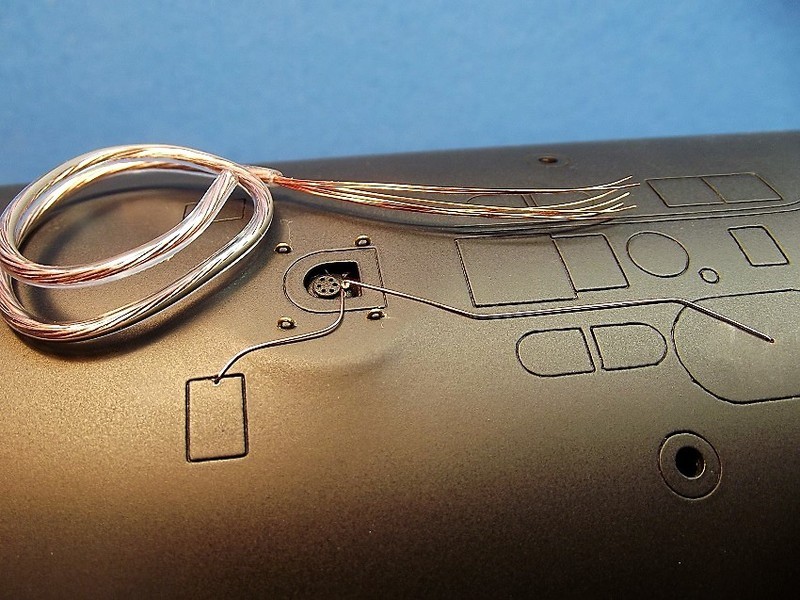
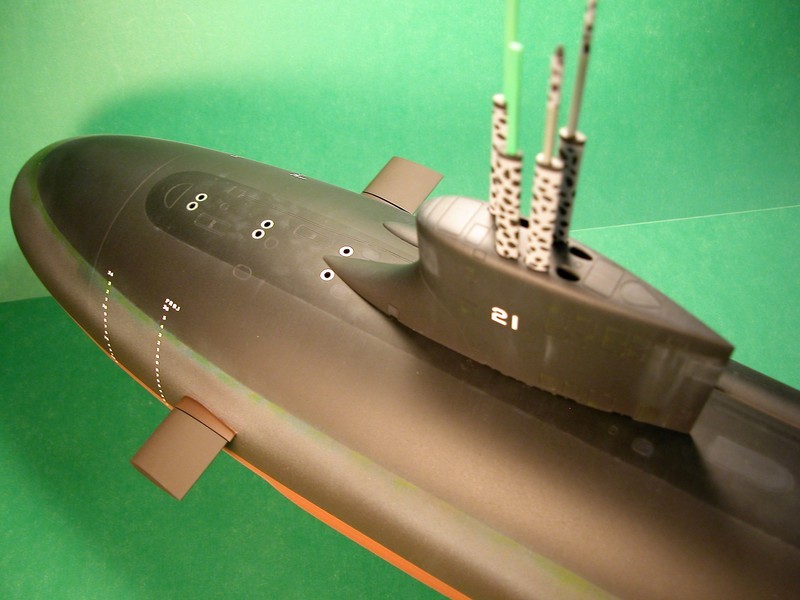
    Here's a few quick shots of your boats from Groton 2019....

    Leave a comment:


  • Scott T
    replied
    I don't have any PE to try this with but here is an idea for attaching PE with silicone.
    Take a piece of transparent wrapping tape and place the PE face up to the sticky side of the tape.
    Apply some silicone over the PE with some extending onto the tape.
    Place the tape and PE on the model and smooth/ burnish it.
    It might fair the PE and attach the PE at the same time.
    Last edited by Scott T; 07-29-2021, 12:56 PM.

    Leave a comment:


  • He Who Shall Not Be Named
    replied
    Originally posted by wlambing
    Ken,

    The problem with using that PE set is that almost all of the pieces should be inlet into the plastic, hull, sail, etc. for it to look right. The tiny oval for the periscope head, and the main sea water screens can be used as-is, but the rest should be flush with the plastic surface to which they are adhered. All cover plates, MBT vent valves and the like are flush to the surface on "modern", nuclear submarines are faired-in. Skipjack class was our first to really push that philosophy home. I have that PE set and am only using some of the parts. Otherwise, it's way more work than I want to do for something I intend to run the living crap out of!!

    Your work is impeccable, and David's help will give you a stunning end product! Keep it up, and we'll see how she does at North Lake in September.

    Take care,

    Bill
    I'll see you on the field-of-honor at North Lake this September, Ken. I'm bringing my 1/72 SKIPJACK. I hereby slap my gauntlet-of-challenge across your kisser. Anytime, baby!

    I'm getting out your two 1/72 deck hatches today.

    David

    Leave a comment:


  • wlambing
    replied
    Ken,

    The problem with using that PE set is that almost all of the pieces should be inlet into the plastic, hull, sail, etc. for it to look right. The tiny oval for the periscope head, and the main sea water screens can be used as-is, but the rest should be flush with the plastic surface to which they are adhered. All cover plates, MBT vent valves and the like are flush to the surface on "modern", nuclear submarines are faired-in. Skipjack class was our first to really push that philosophy home. I have that PE set and am only using some of the parts. Otherwise, it's way more work than I want to do for something I intend to run the living crap out of!!

    Your work is impeccable, and David's help will give you a stunning end product! Keep it up, and we'll see how she does at North Lake in September.

    Take care,

    Bill

    Leave a comment:


  • Ken_NJ
    replied
    Awesome! Thank you!

    Leave a comment:


  • Das Boot
    replied
    Last edited by Das Boot; 07-28-2021, 03:46 PM.

    Leave a comment:


  • Ken_NJ
    replied
    I divided up the PE into three sections. Sail, upper hull and lower hull. I can't seem to find a match where these go. Anyone?

    Click image for larger version

Name:	IMG_3407.jpeg
Views:	197
Size:	67.7 KB
ID:	151813

    Leave a comment:


  • Ken_NJ
    replied
    Also have some parts primed.

    Click image for larger version

Name:	IMG_3406.jpeg
Views:	201
Size:	59.8 KB
ID:	151811

    Leave a comment:


  • Ken_NJ
    replied
    I came across something I don't like working with, photo-etch. Don't know how those guys that build surface warships can work with so much of it.

    Have all the little PE pieces removed from the tree and trimmed. There are round solid ones and round open ones the same size. I'd think the open ones would be below the waterline on the lower hull? SEE DDD and EEE. Then most of the others I can figure out by the scribed areas on the boat. Also have a few that I suspect go on the lower hull AAA, BBB and CCC?

    Now if these are glued in place then sprayed with primer and paint, wouldn't some of the detail be lost? Asking since this is my first time working with PE.

    Click image for larger version

Name:	IMG_3403.jpeg
Views:	203
Size:	93.2 KB
ID:	151807

    Click image for larger version

Name:	IMG_3404.jpeg
Views:	199
Size:	61.8 KB
ID:	151809

    Click image for larger version

Name:	IMG_3405.jpeg
Views:	187
Size:	83.4 KB
ID:	151808

    Leave a comment:


  • He Who Shall Not Be Named
    replied
    Originally posted by Ken_NJ
    Great help David, thanks. Whatās are you doing with the length of wire with the tweezers? Donāt see the final pic on that. I did those lift rings you added on my Marlin. Iāll have to figure or make up that deck hatch that appears under the deck.
    I'm using small gauge wire (zip-cord conductor is a fine source) to represent the down-haul cable that is associated with the McCann Bell submarine rescue system.

    Click image for larger version

Name:	DSCF9172.JPG
Views:	245
Size:	52.4 KB
ID:	151751

    Send me your address and I'll cast up a few of them for you.

    Click image for larger version

Name:	DSCF9153.JPG
Views:	247
Size:	45.2 KB
ID:	151750

    Click image for larger version

Name:	DSCF4792.JPG
Views:	258
Size:	47.9 KB
ID:	151749

    David

    Leave a comment:


  • Ken_NJ
    replied
    Great help David, thanks. What are you doing with the length of wire with the tweezers? Don't see the final pic on that. I did those lift rings you added on my Marlin. I'll have to figure or make up that deck hatch that appears under the deck.
    Last edited by Ken_NJ; 07-26-2021, 10:41 PM.

    Leave a comment:


  • He Who Shall Not Be Named
    replied
    Originally posted by Ken_NJ
    Hmmm will keep those things in mind.

    Question for anyone that built the SJ. Did you use the photo etch brass parts? They get glued right to the styrene. Should any of the areas under the styrene be opened up? Like under the MSW suction and discharge openings? Think I saw David use foil on the deck ballast vents.

    Any pictures please?
    Don't open up the holes under the main sea water and axillary sea water gratings! The over-pressure caused by a gas initiated blow will likely unseat the bond between the acid-etched parts and hull and you'll loose them.

    Here's how I represented the 'silver metal' face-rings of MBTV's. I've also tossed in a few other 'detailing' tips you might find useful, Ken:


    David

    Leave a comment:


  • Ken_NJ
    replied
    Hmmm will keep those things in mind.

    Question for anyone that built the SJ. Did you use the photo etch brass parts? They get glued right to the styrene. Should any of the areas under the styrene be opened up? Like under the MSW suction and discharge openings? Think I saw David use foil on the deck ballast vents.

    Any pictures please?

    Leave a comment:


  • Das Boot
    replied
    Click image for larger version  Name:	thumbnail (20).jpg Views:	0 Size:	77.8 KB ID:	151721 I'm using this flat red primer for the anti-foul. Also this for the paint to stick really well.
    PLAS-STICK® A-2330S™ POLYOLEFIN ADHESION PROMOTER (axaltacs.com)
    Last edited by Das Boot; 07-25-2021, 11:18 PM.

    Leave a comment:


  • He Who Shall Not Be Named
    replied
    Originally posted by Ken_NJ
    I just rubbed standard masking tape on and rubbed it on good. No paint peeling on any colors. Going to leave it on a few hours and try again for ****s and giggles to see what happens.

    BTW my test plastic is the clear acetate used on product packaging. I gave it a very good sanding and wipe before applying the lighter gray Rustoleum primer.
    Sounds like a valid test to me, Ken. Go forth and make fumes.

    David

    Leave a comment:

Working...