FSC-STD-595 which is what you have was replaced by AMS-STD-595
https://www.sae.org/standardsdev/colorchips/
-
Oh! They added four (count them... 4) new colors. Cheap at half the price then.
ARE THEY ****ING CRAZY!?........
However, that said. Some moron will pay that -- likely a contractor spending government (OUR) money. Just wait till a more reasonable sale shows up, if you pay more than $30.00, you paid too much.
David
Leave a comment:
-
Ordered the color wheel. Can't seem to find the FSC color chart on eBay or Amazon. Still looking.
Found this.... not paying $349.00!! .... http://www.ams-std-595-color.com/order.htmlLast edited by Ken_NJ; 08-08-2021, 02:30 PM.Leave a comment:
-
That's the one, Ken. Get it!
Here's one I use all the time -- pretty much the same thing you're getting.
And while you're on evilbay get the federal standard color chip booklet -- useful when you tell me what color and I need to show you. We just swap color FSC # and we're immediately on the same page. You may note that some kit instructions call out FSC numbers when denoting what part gets painted what color. It's the 'standard' most pro's use.
Hope on it, Ken. Before some SOB under-bids you.
Last edited by He Who Shall Not Be Named; 08-08-2021, 11:56 AM.Leave a comment:
-
How's this look David? Like I said, I'm awful with colors. Don't know if there is a preferred type.
Leave a comment:
-
-
David, really great information there. I think some new photos I have not seen.
Hopefully see you in GA.Leave a comment:
-
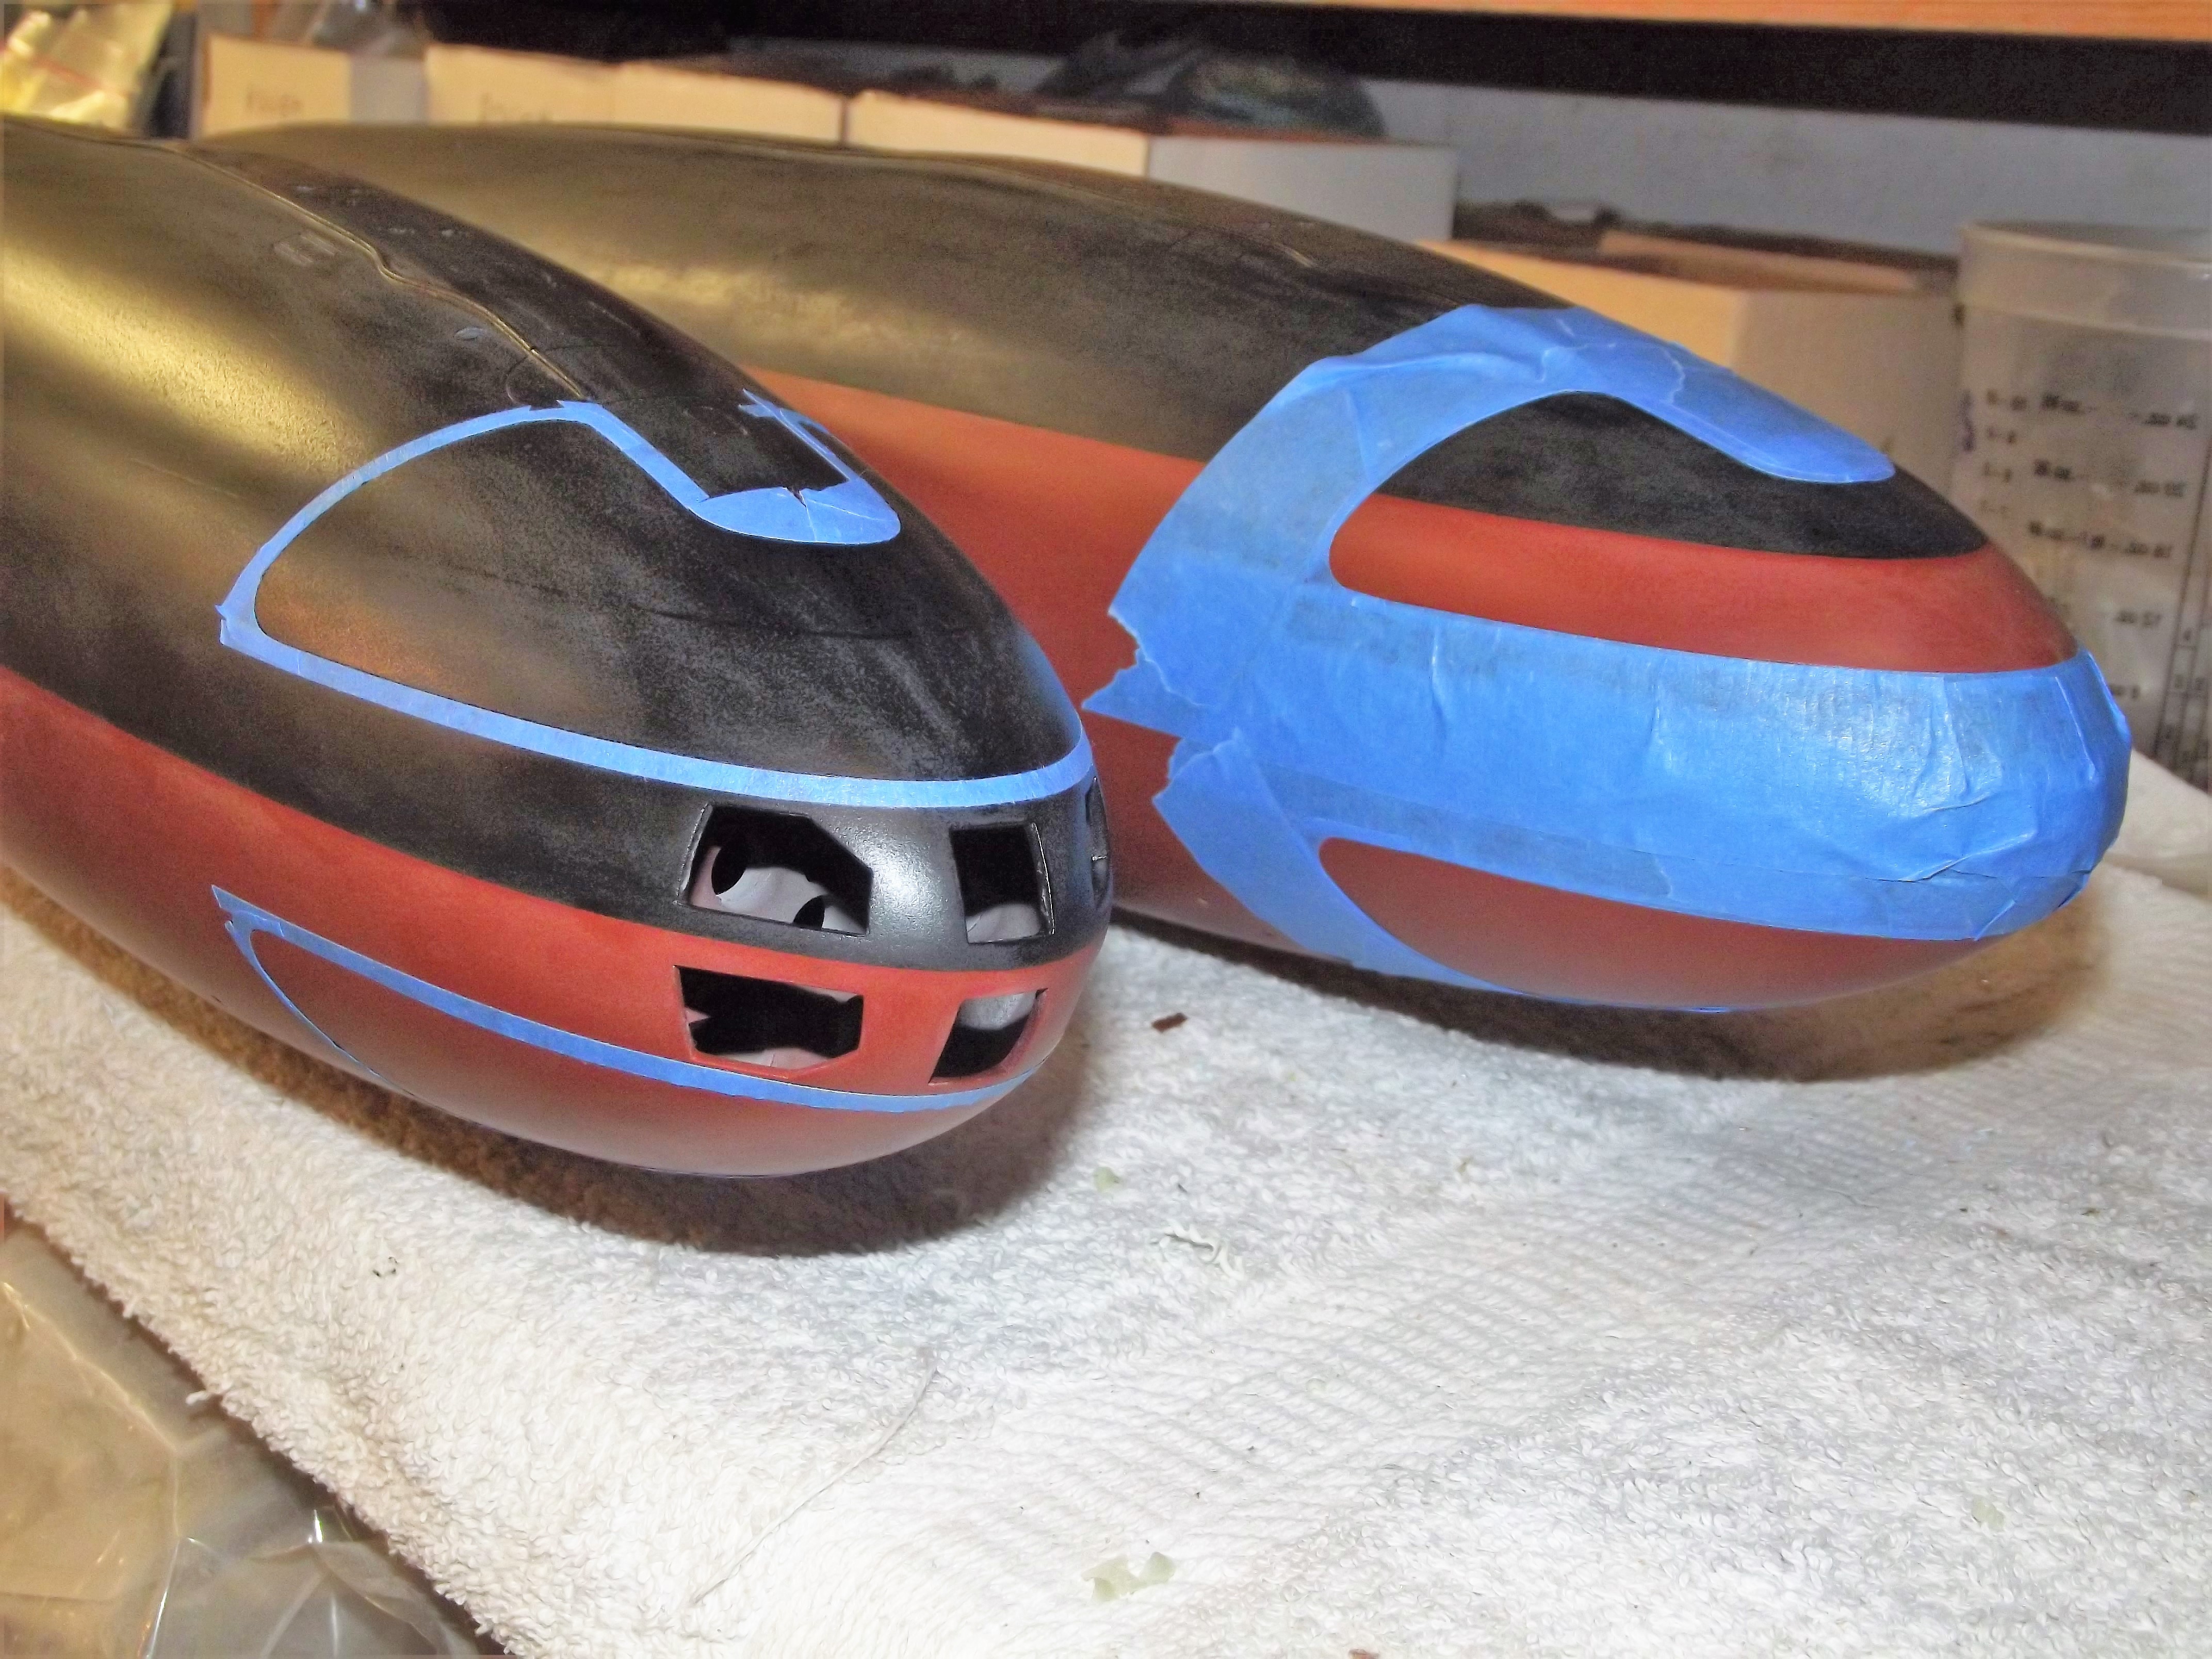
Not white. A lightened shade of the base color, be it black (the sail) or red (the horizontal stabilizers and lower rudder).
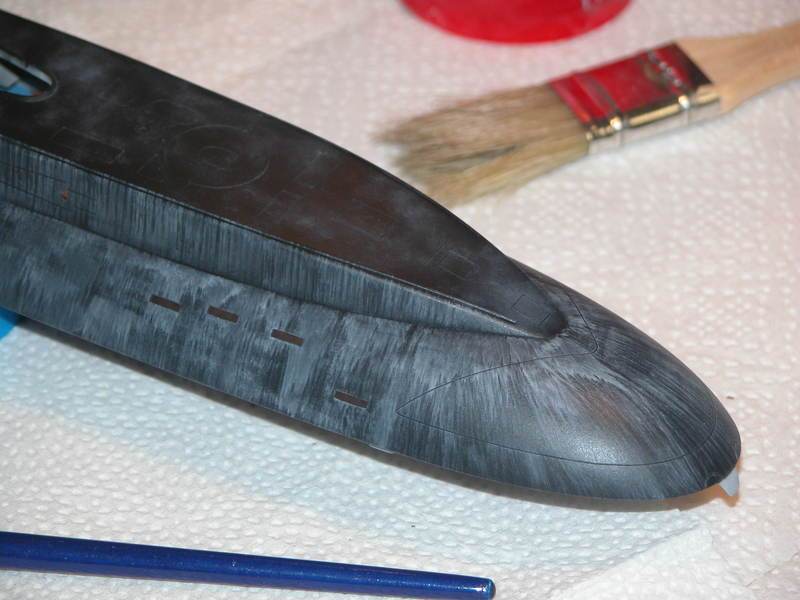
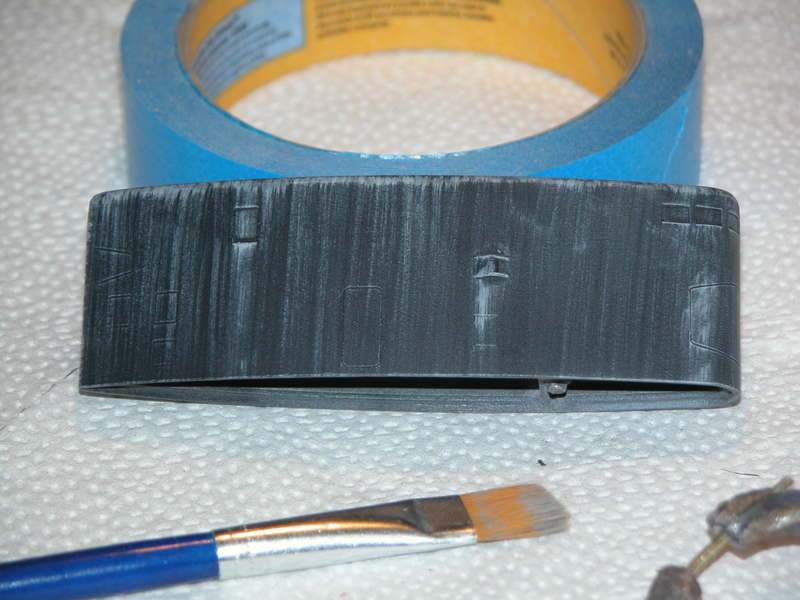
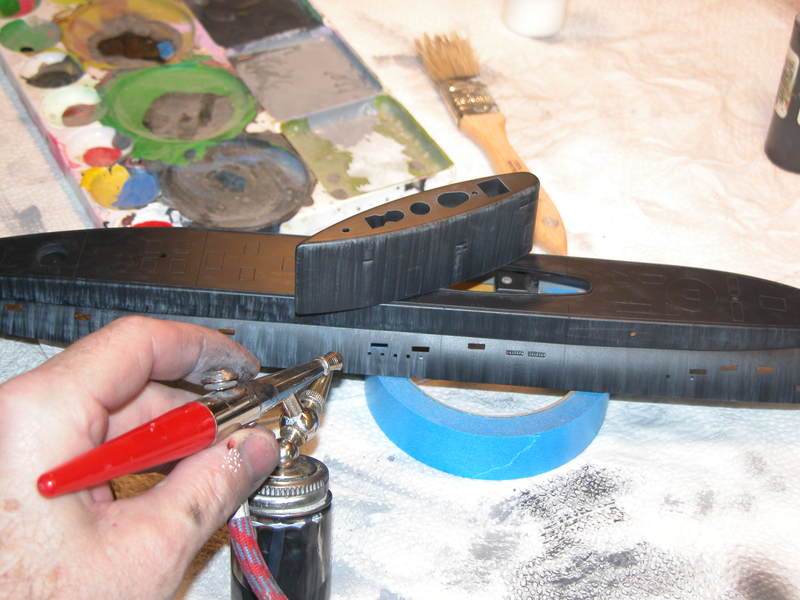
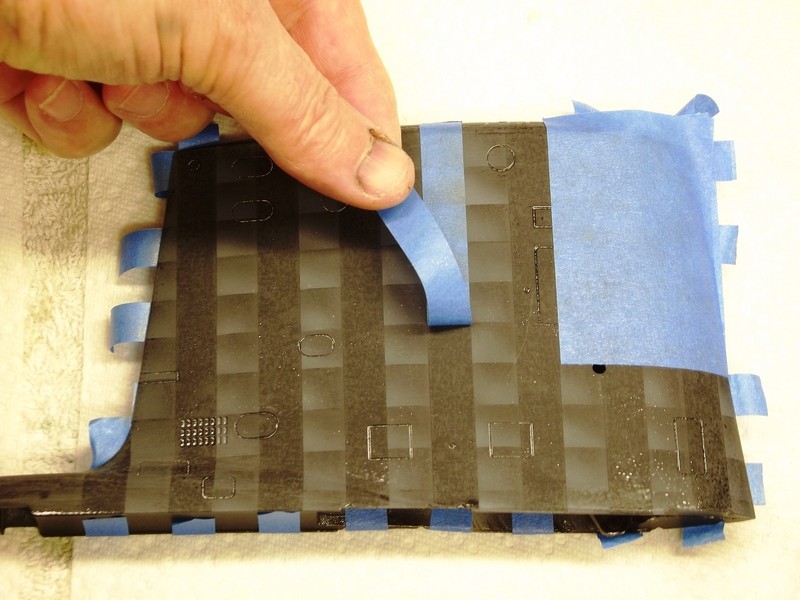
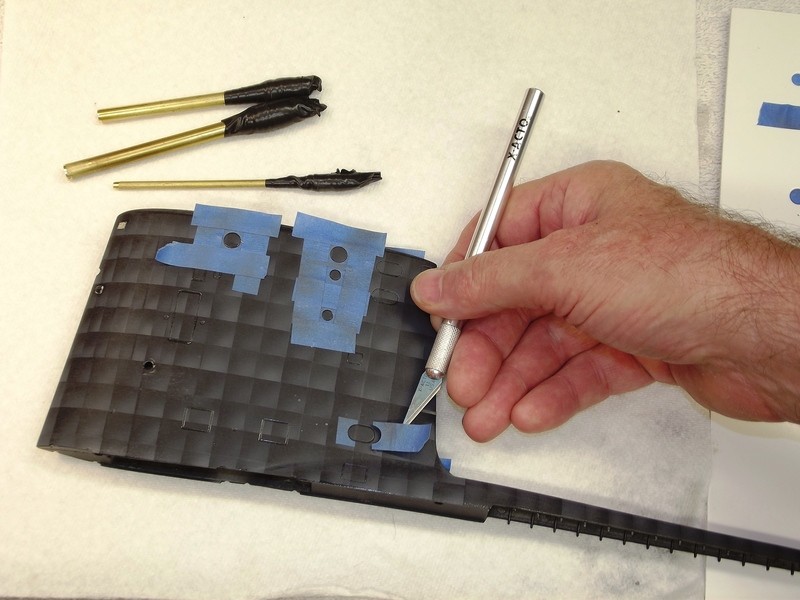
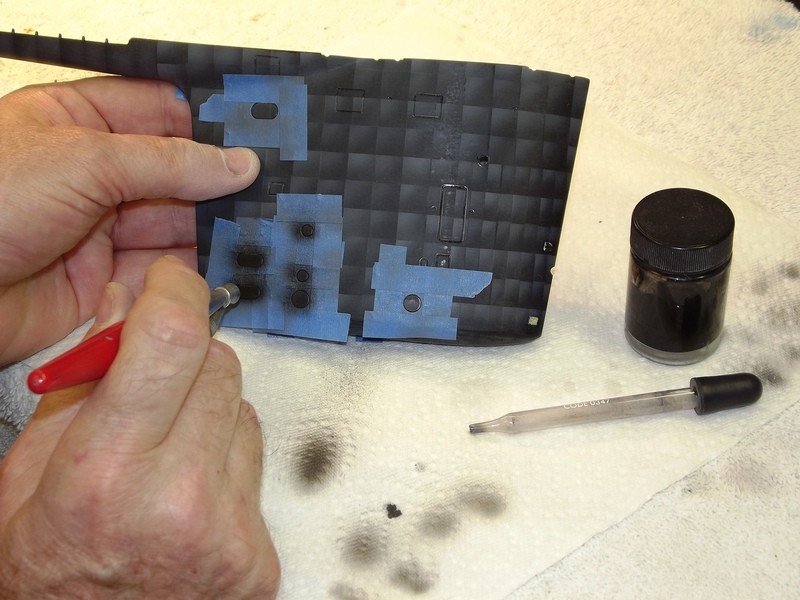
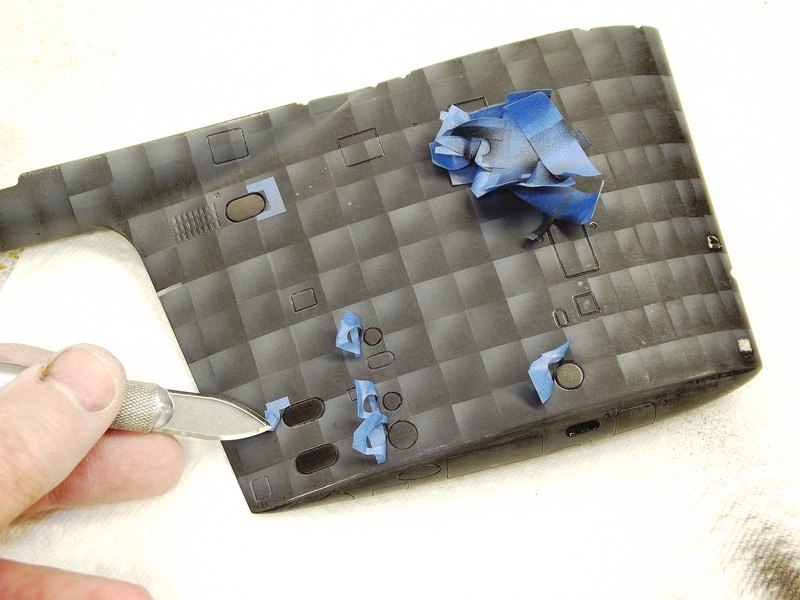
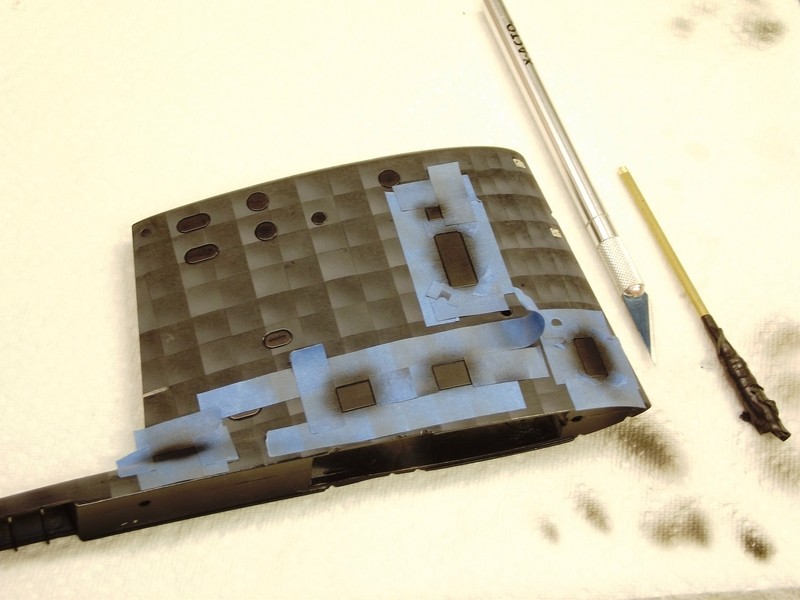
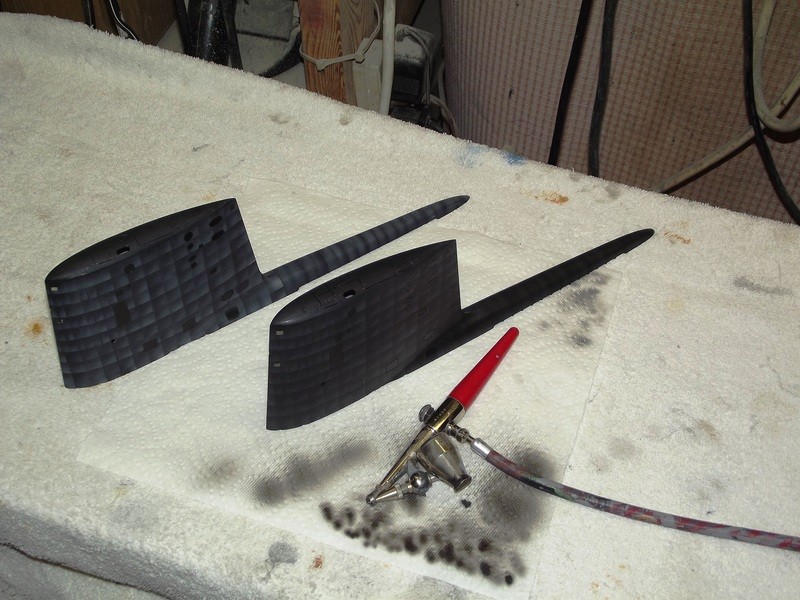
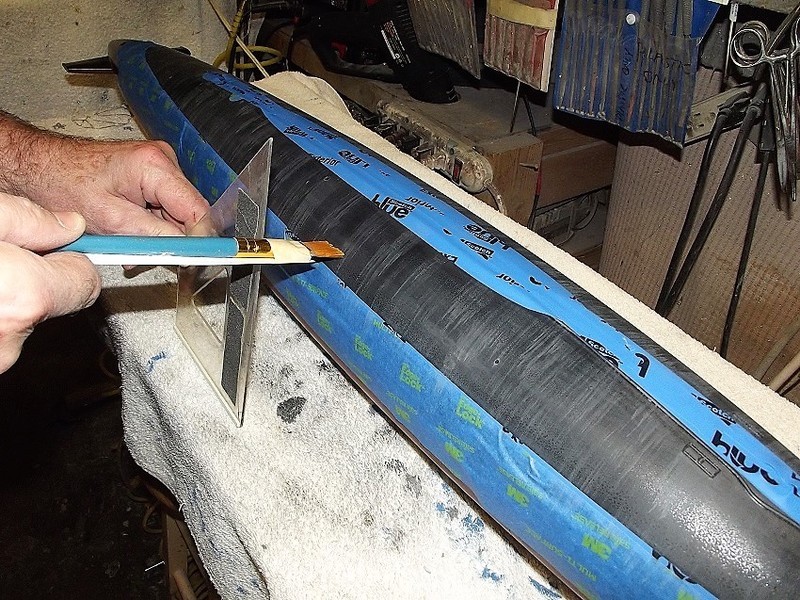
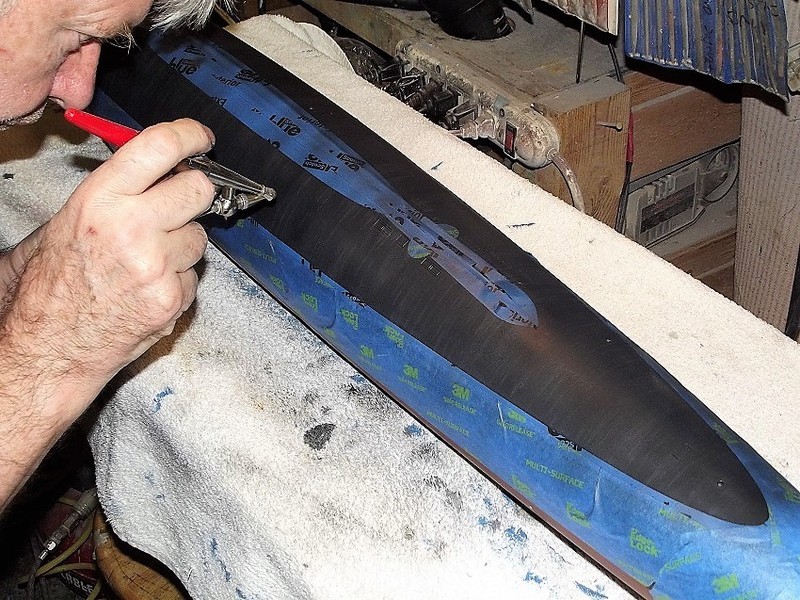
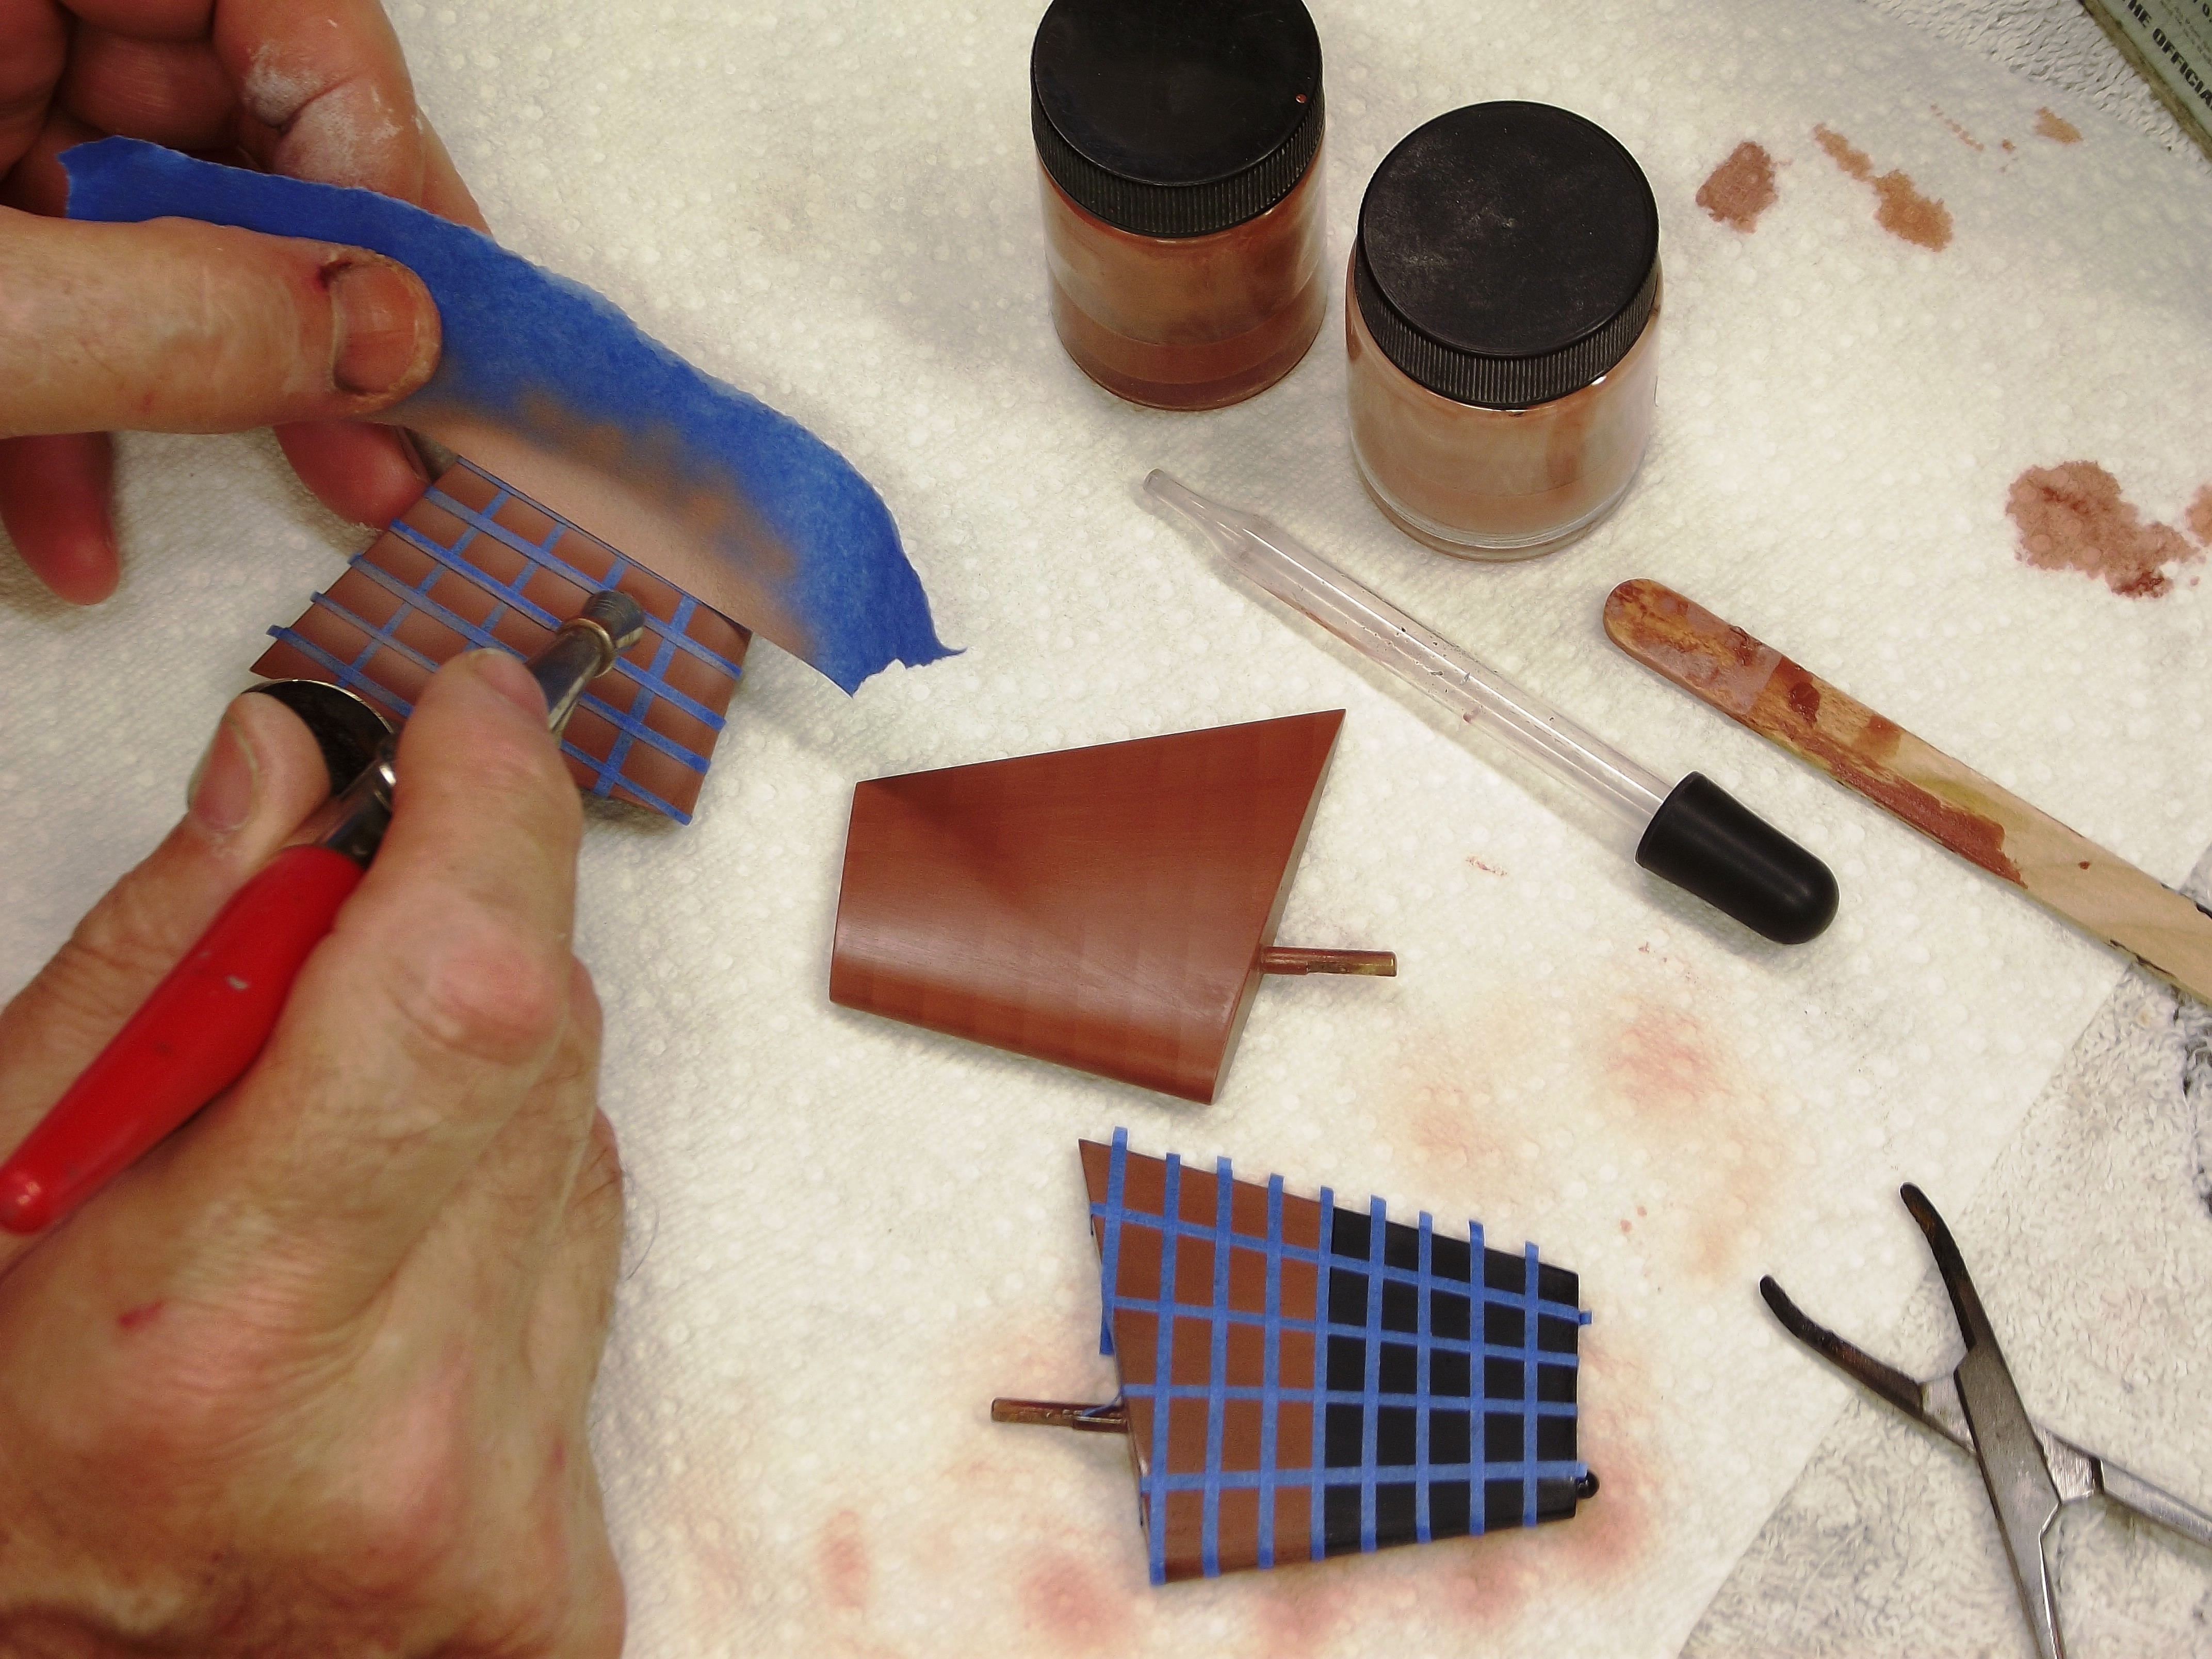
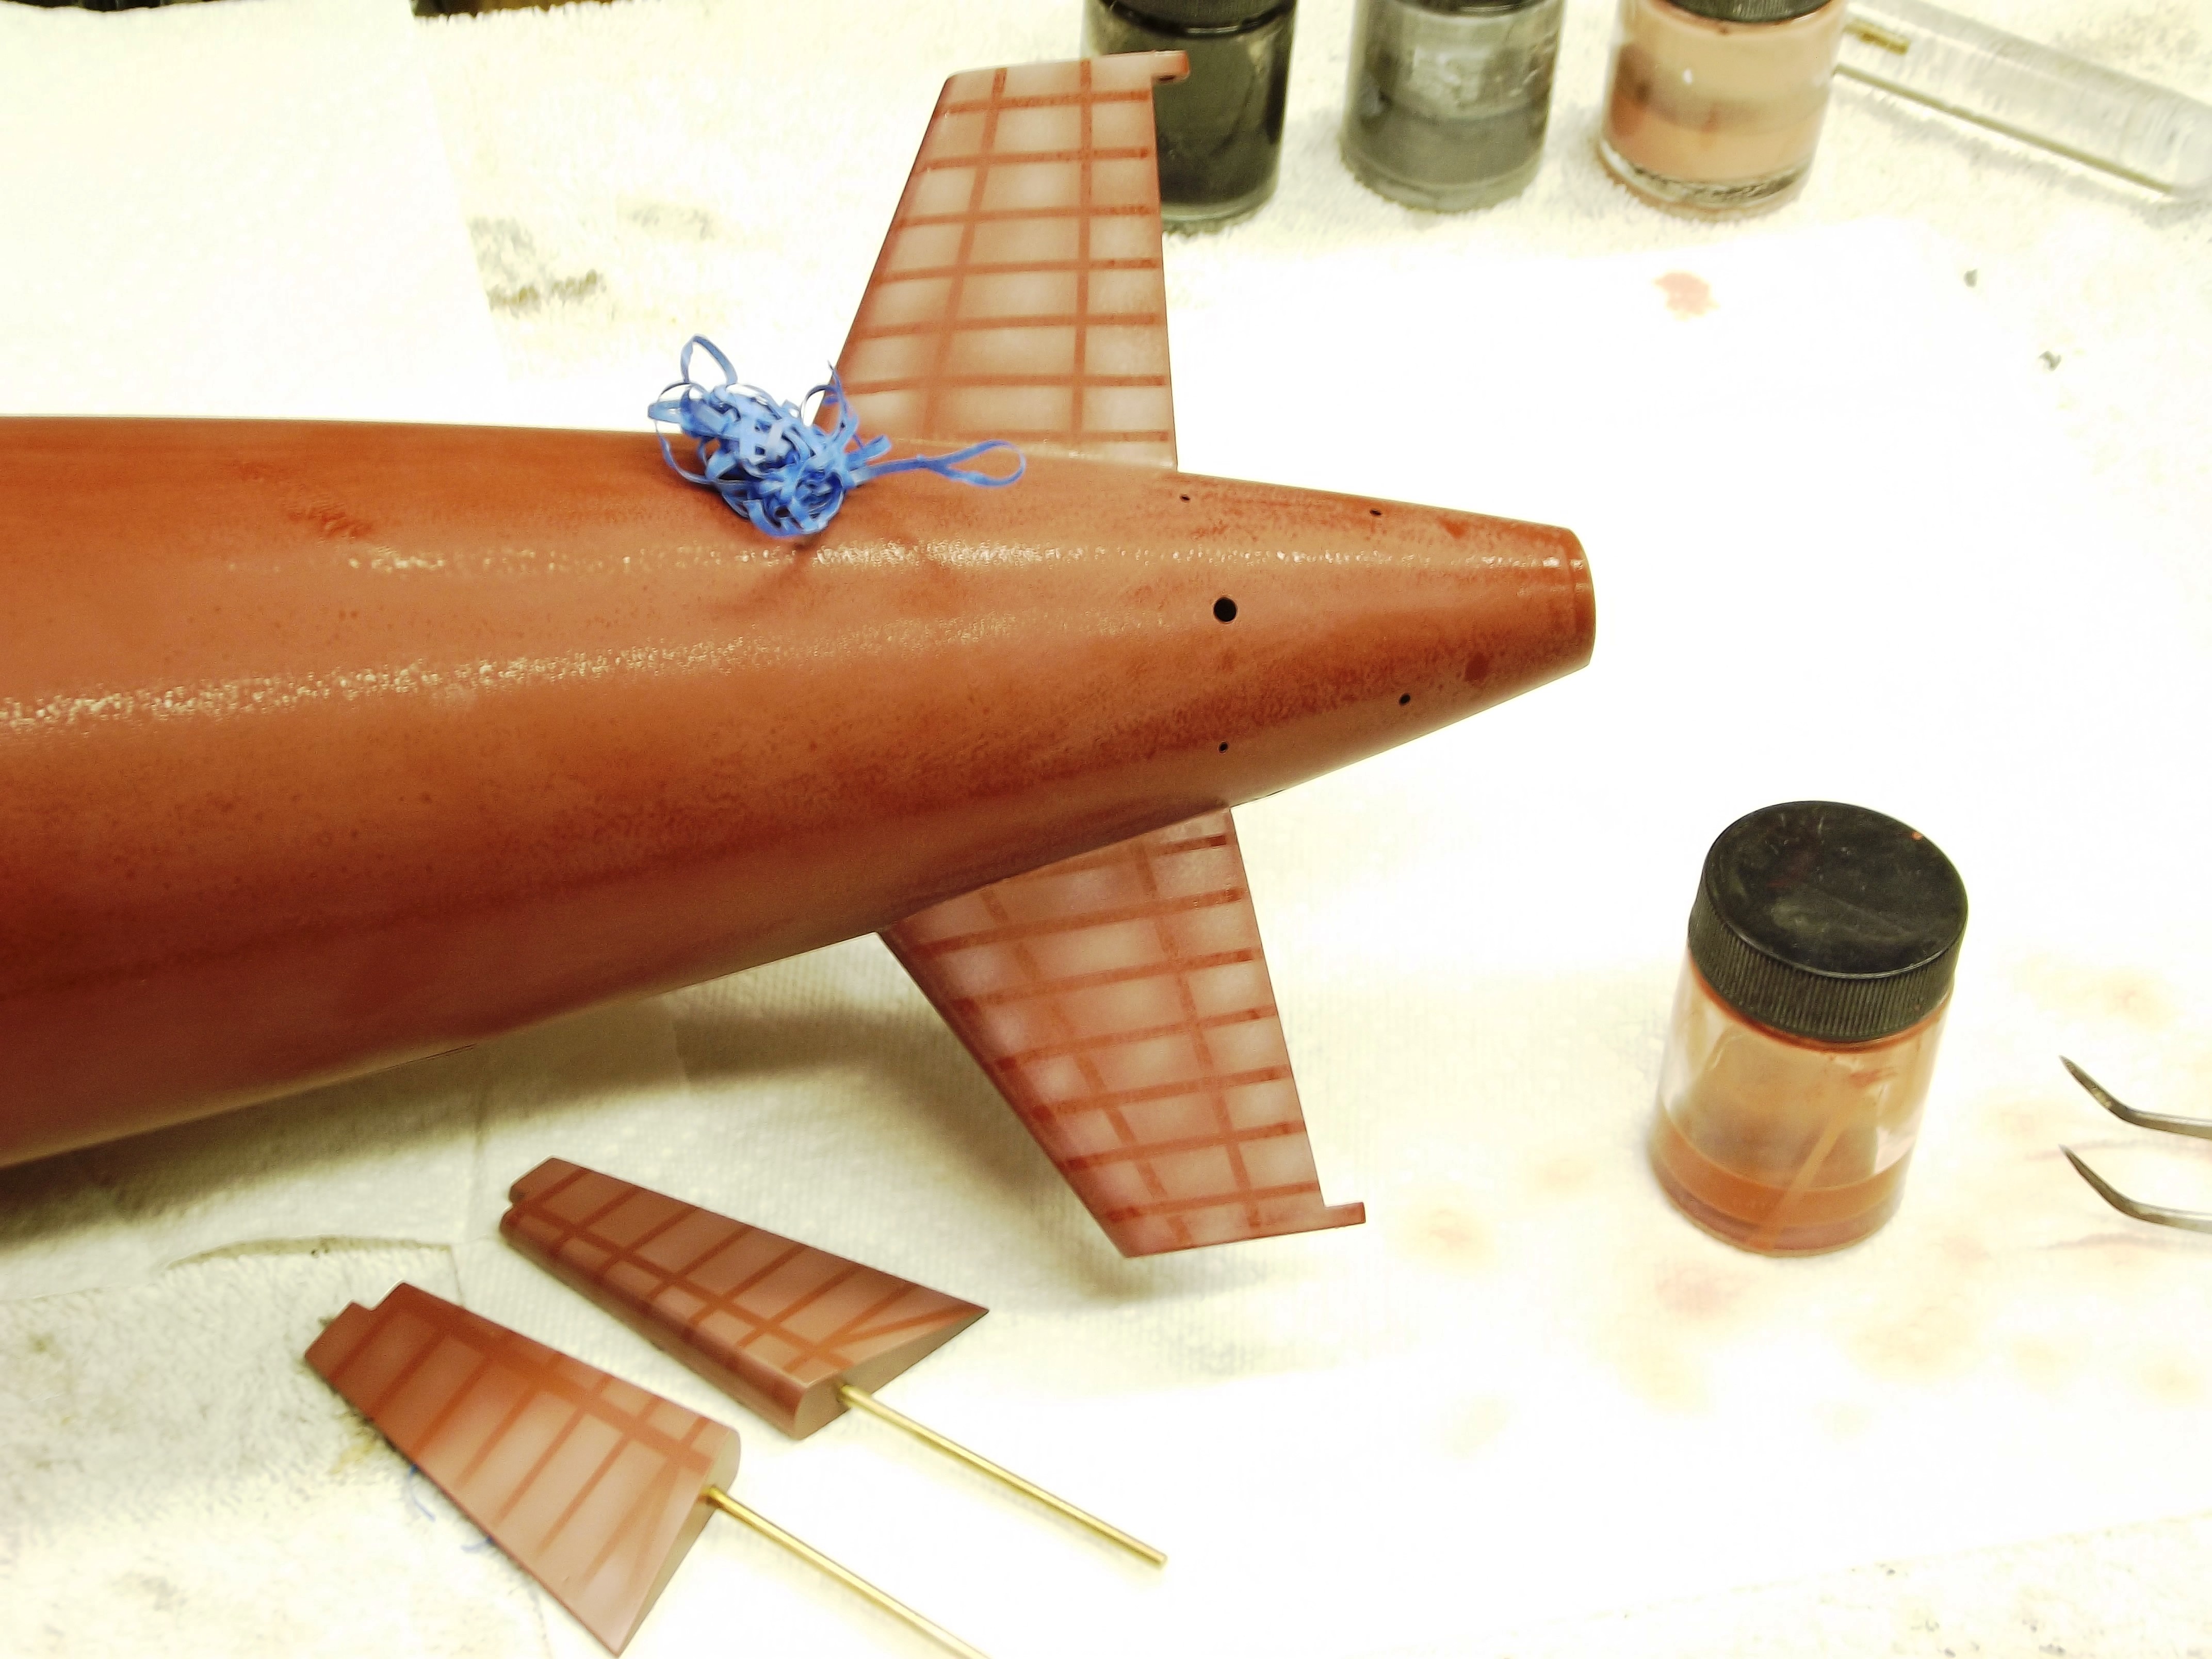
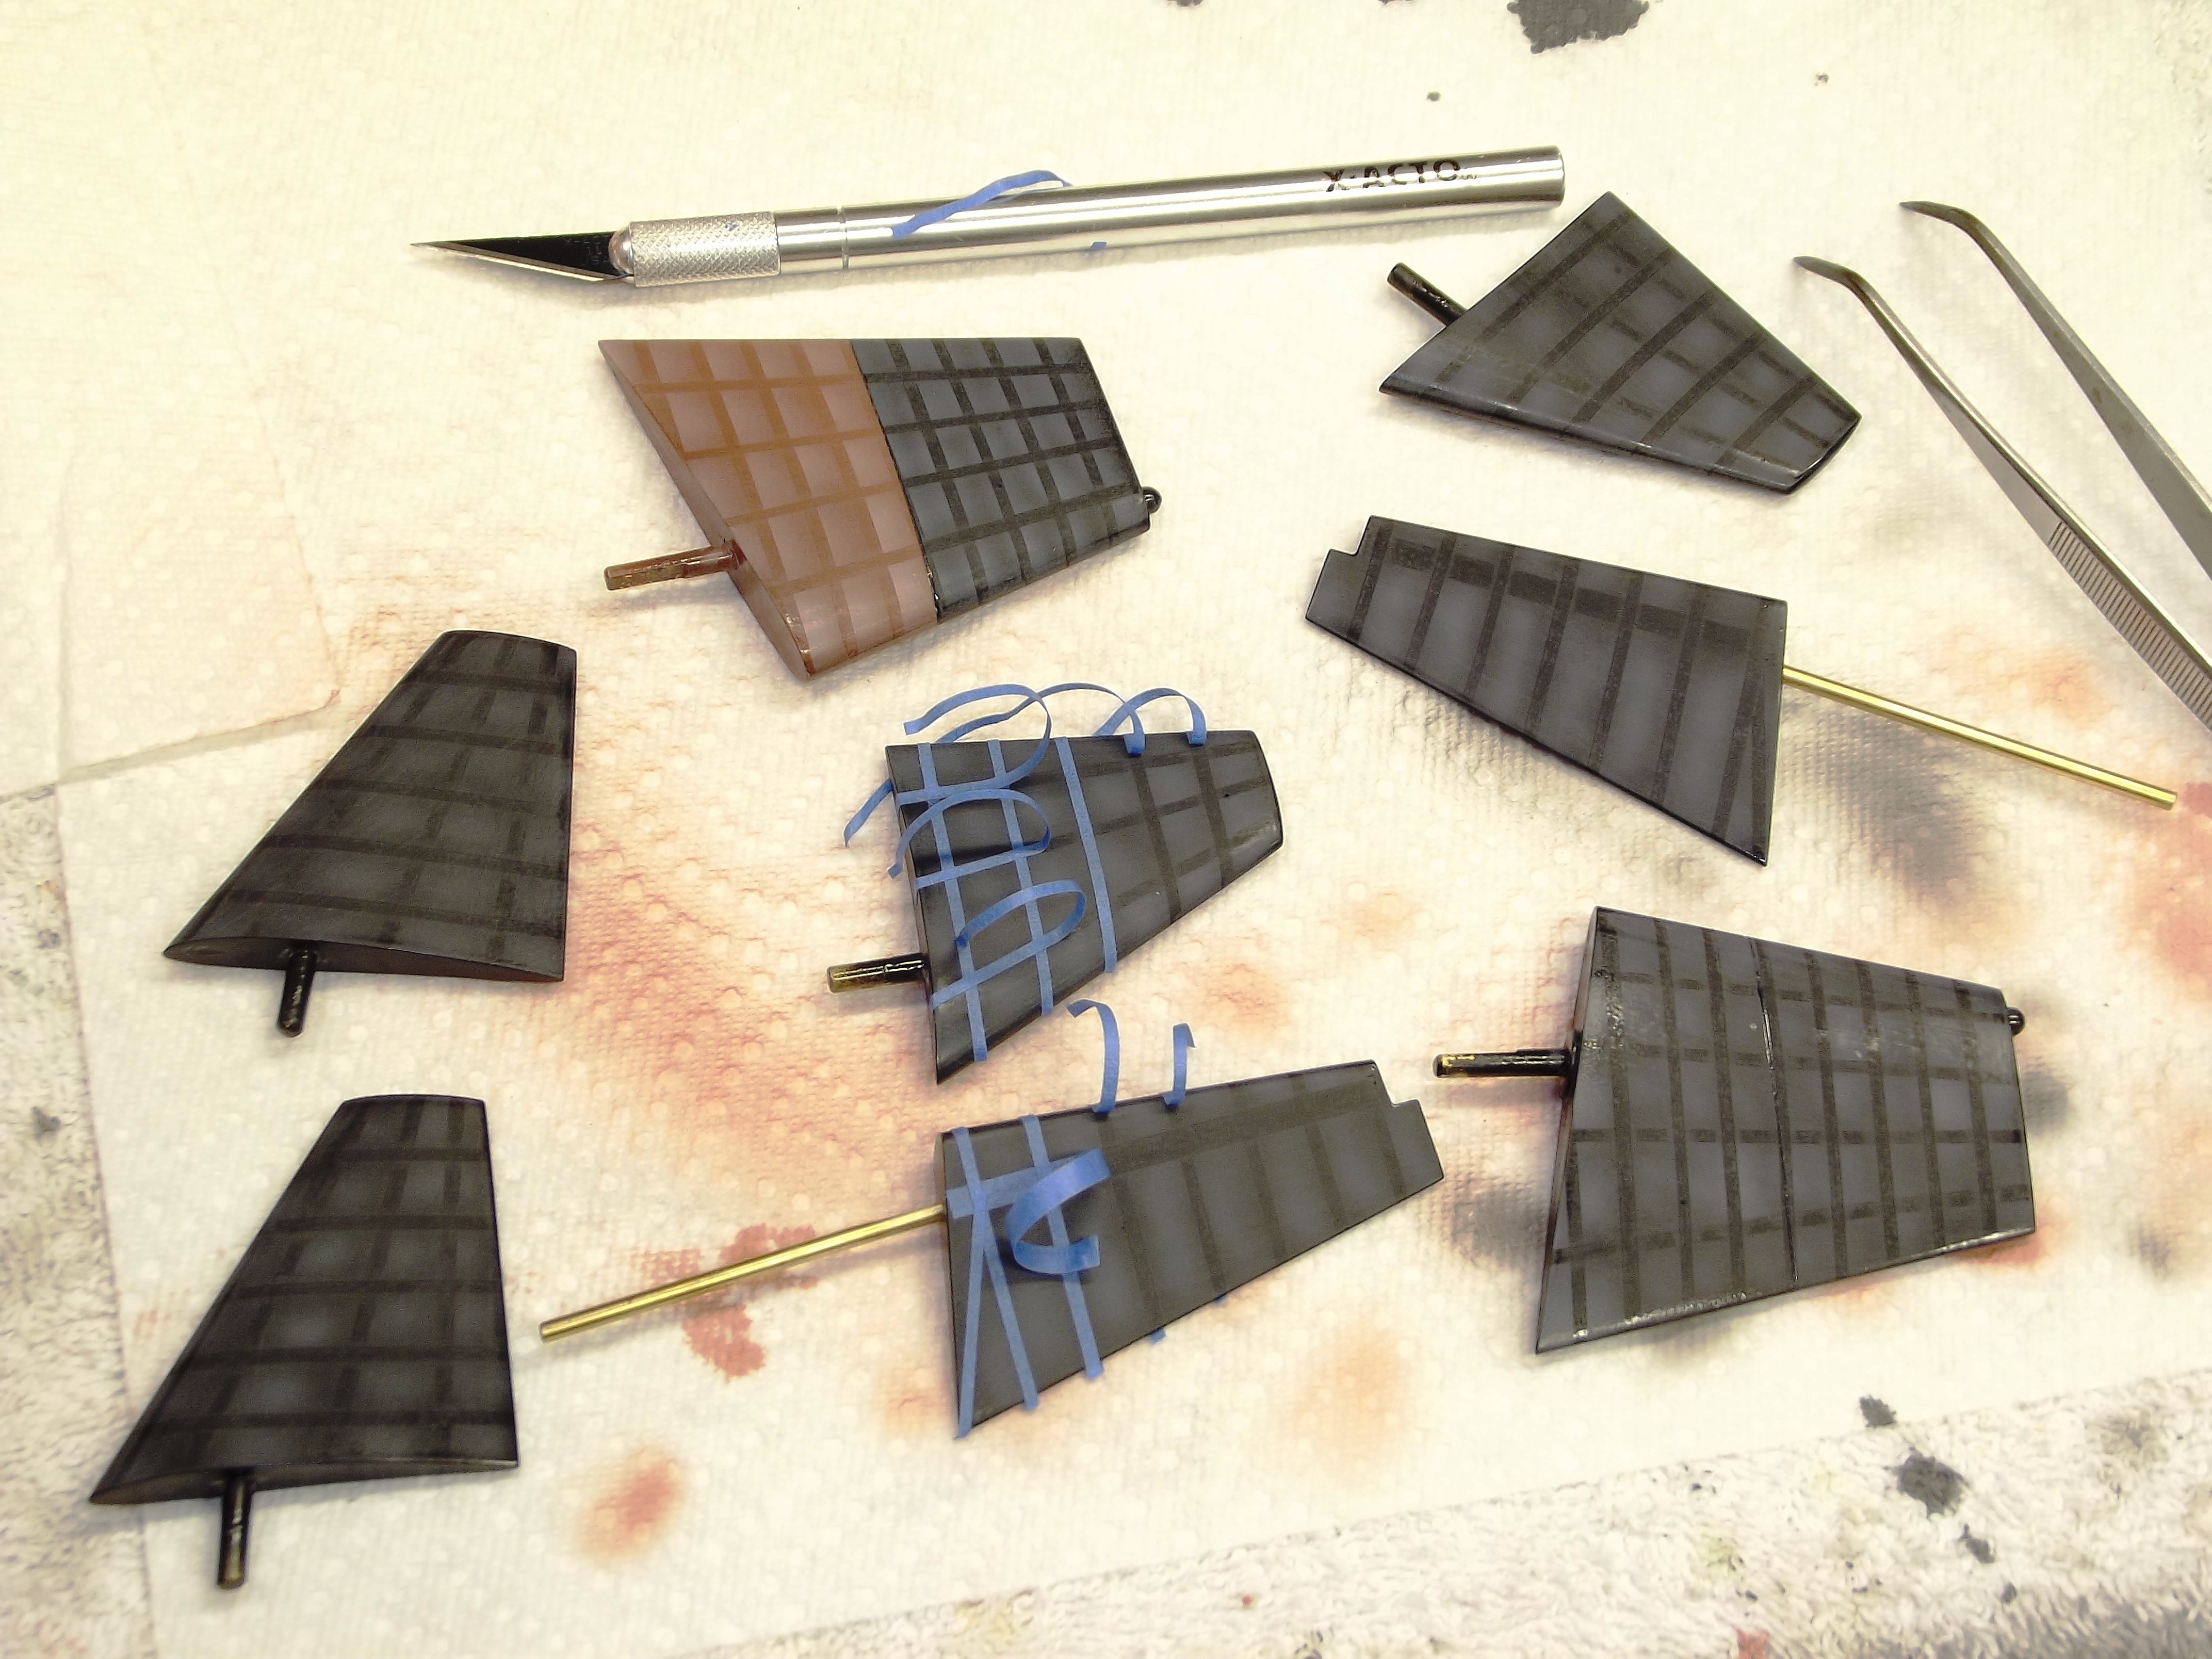
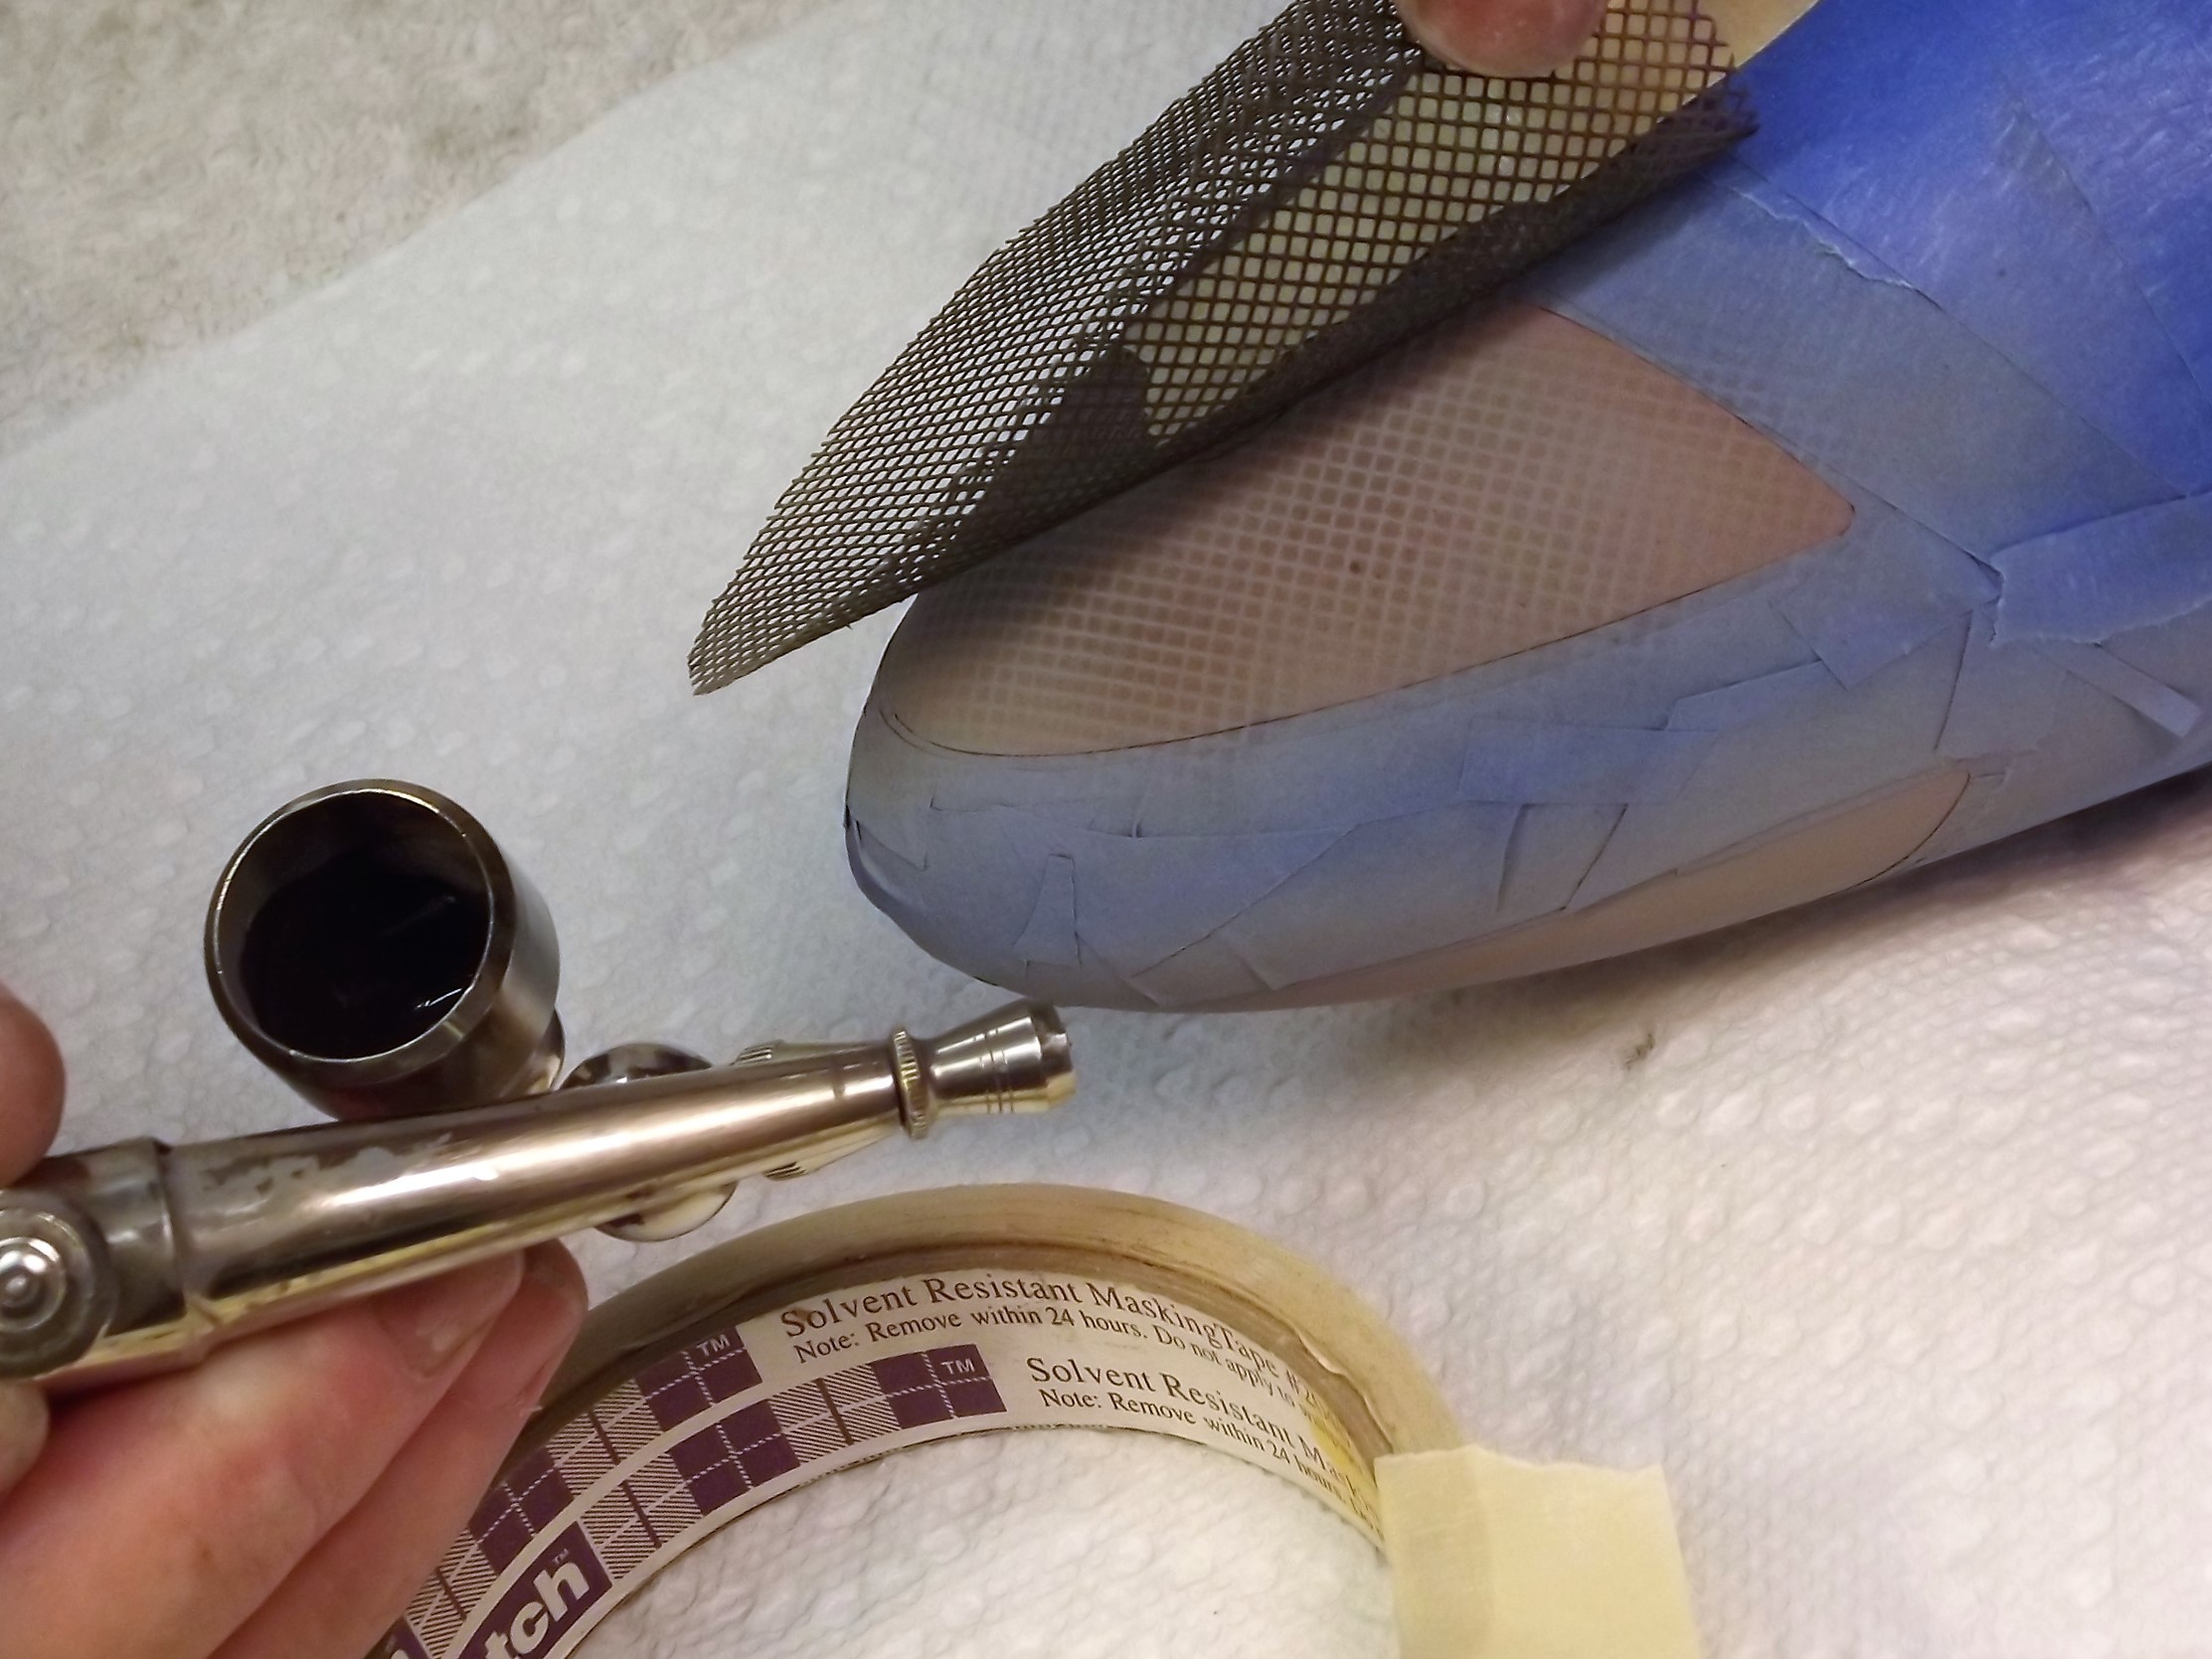
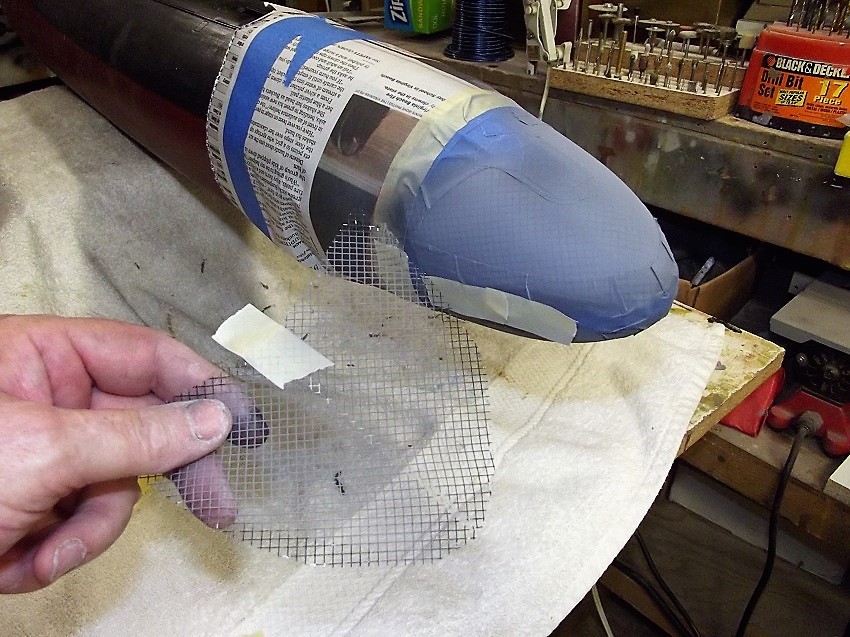
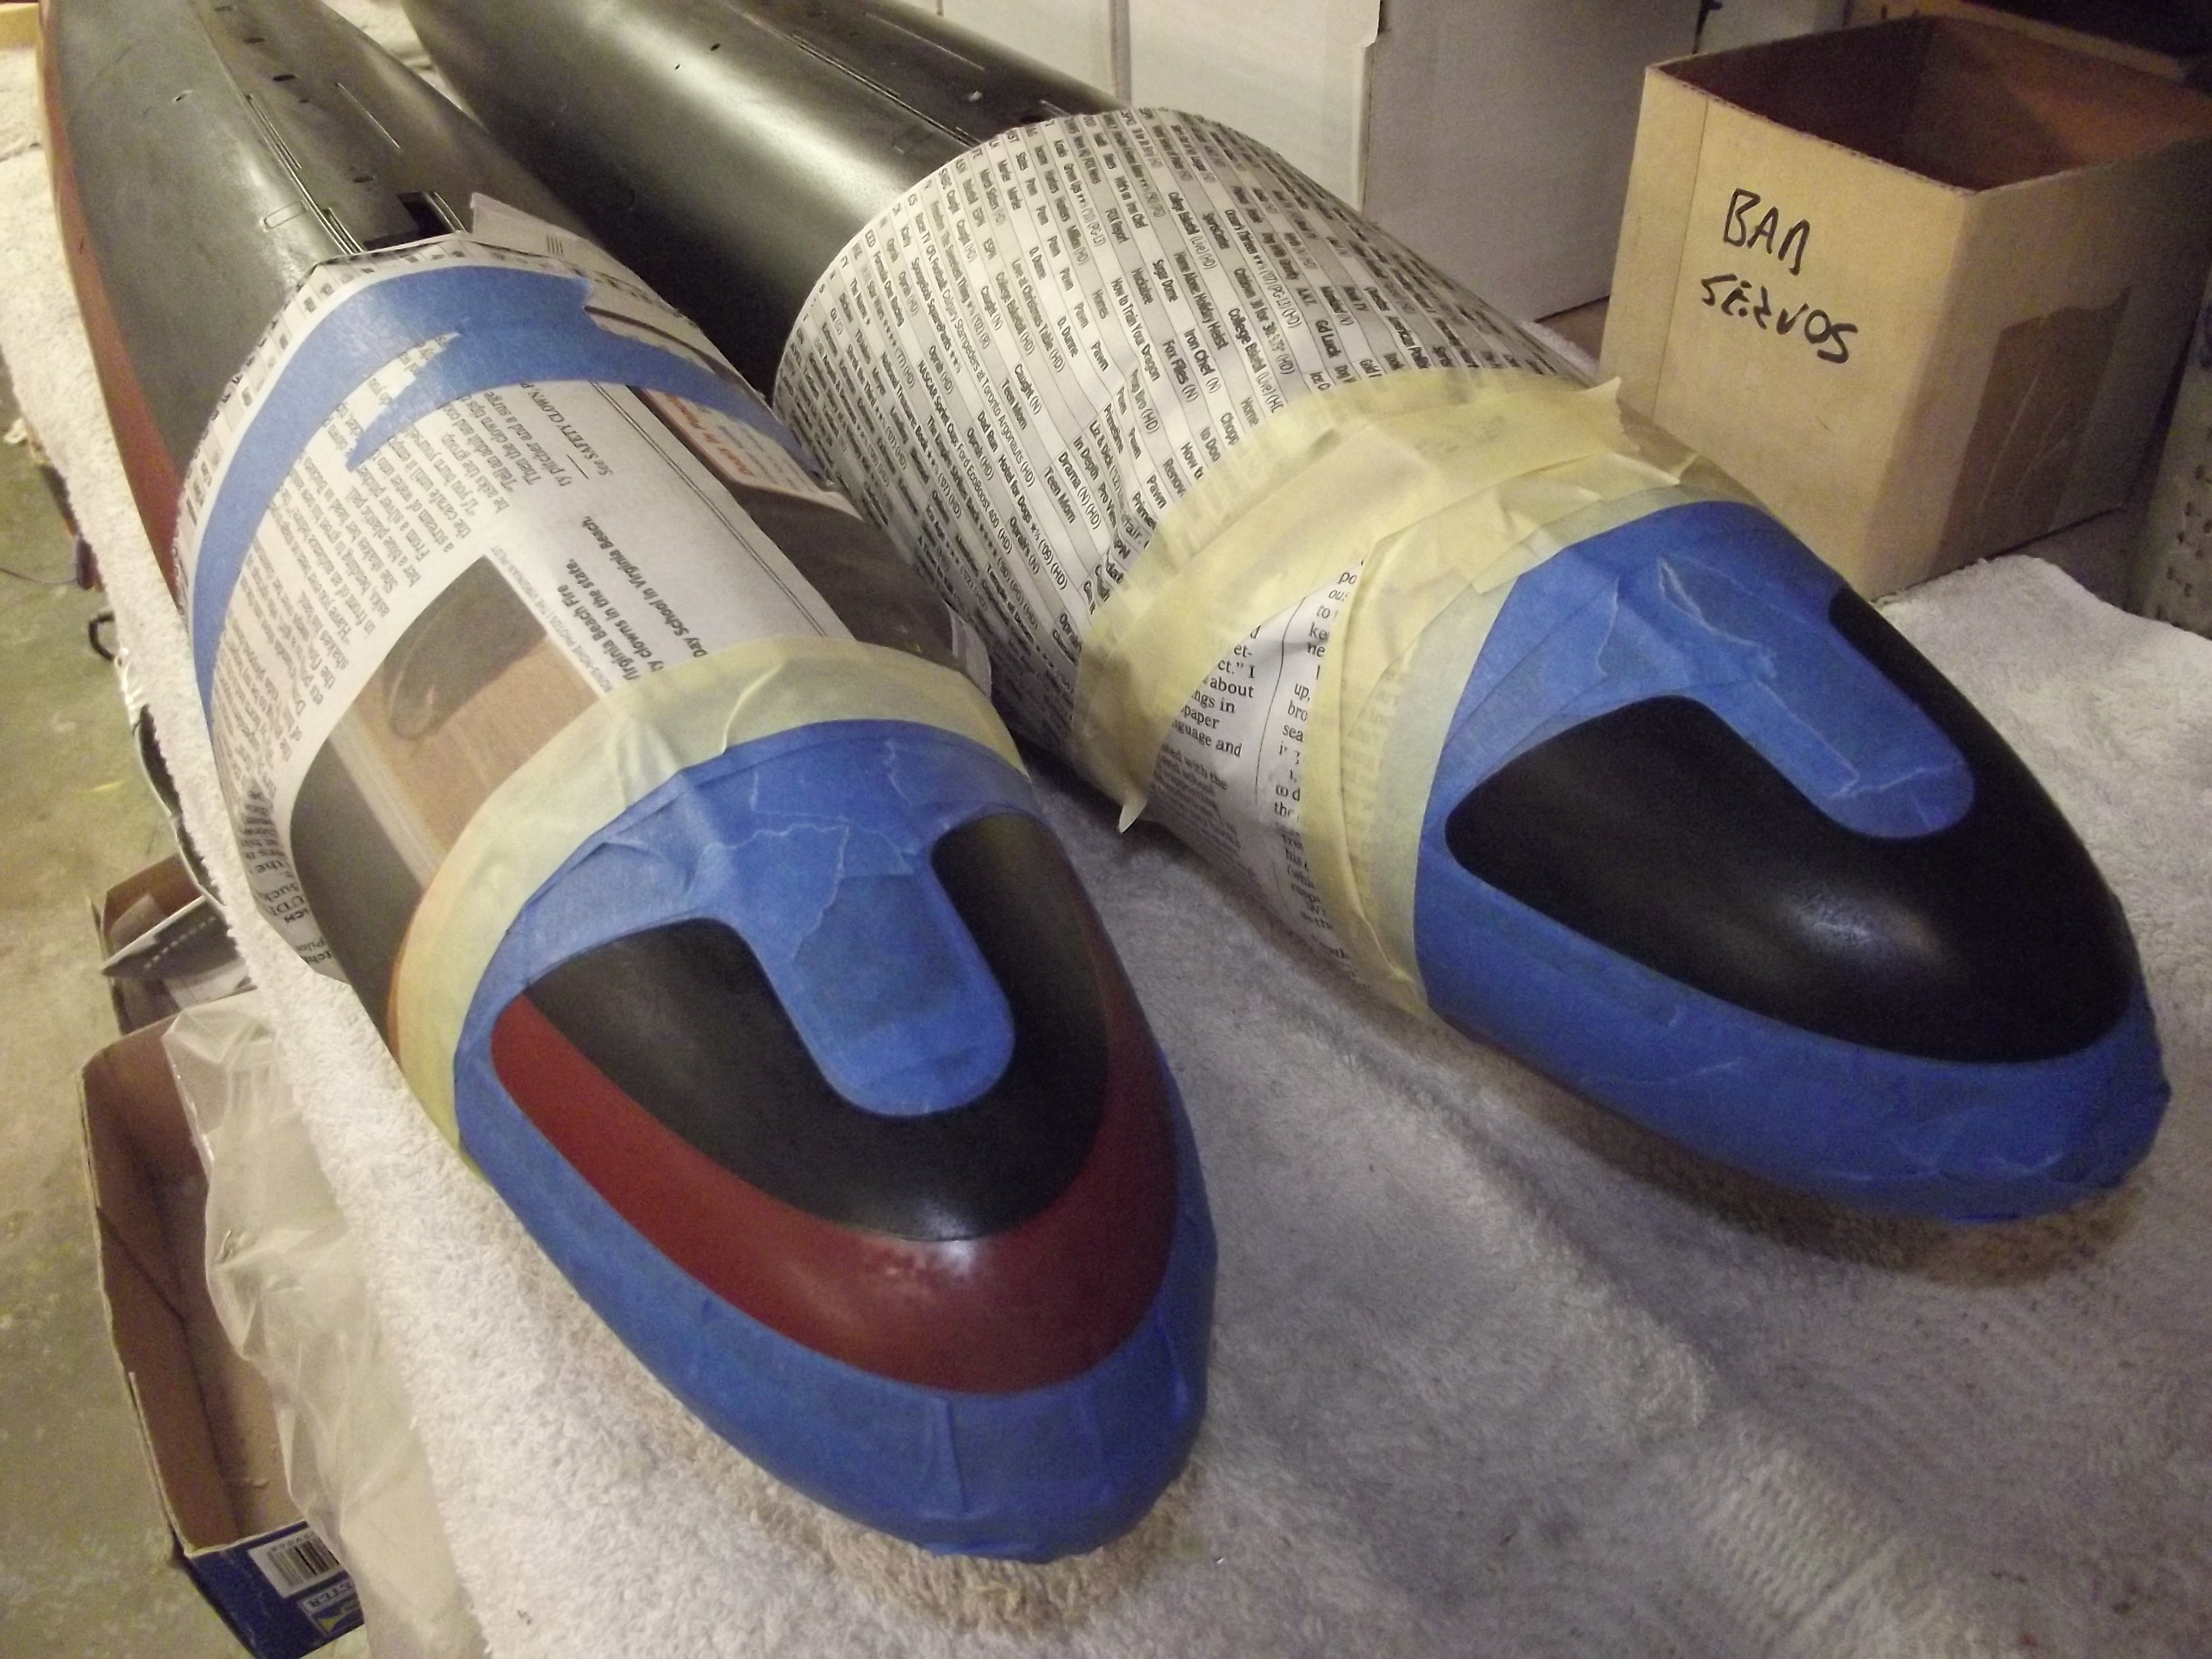
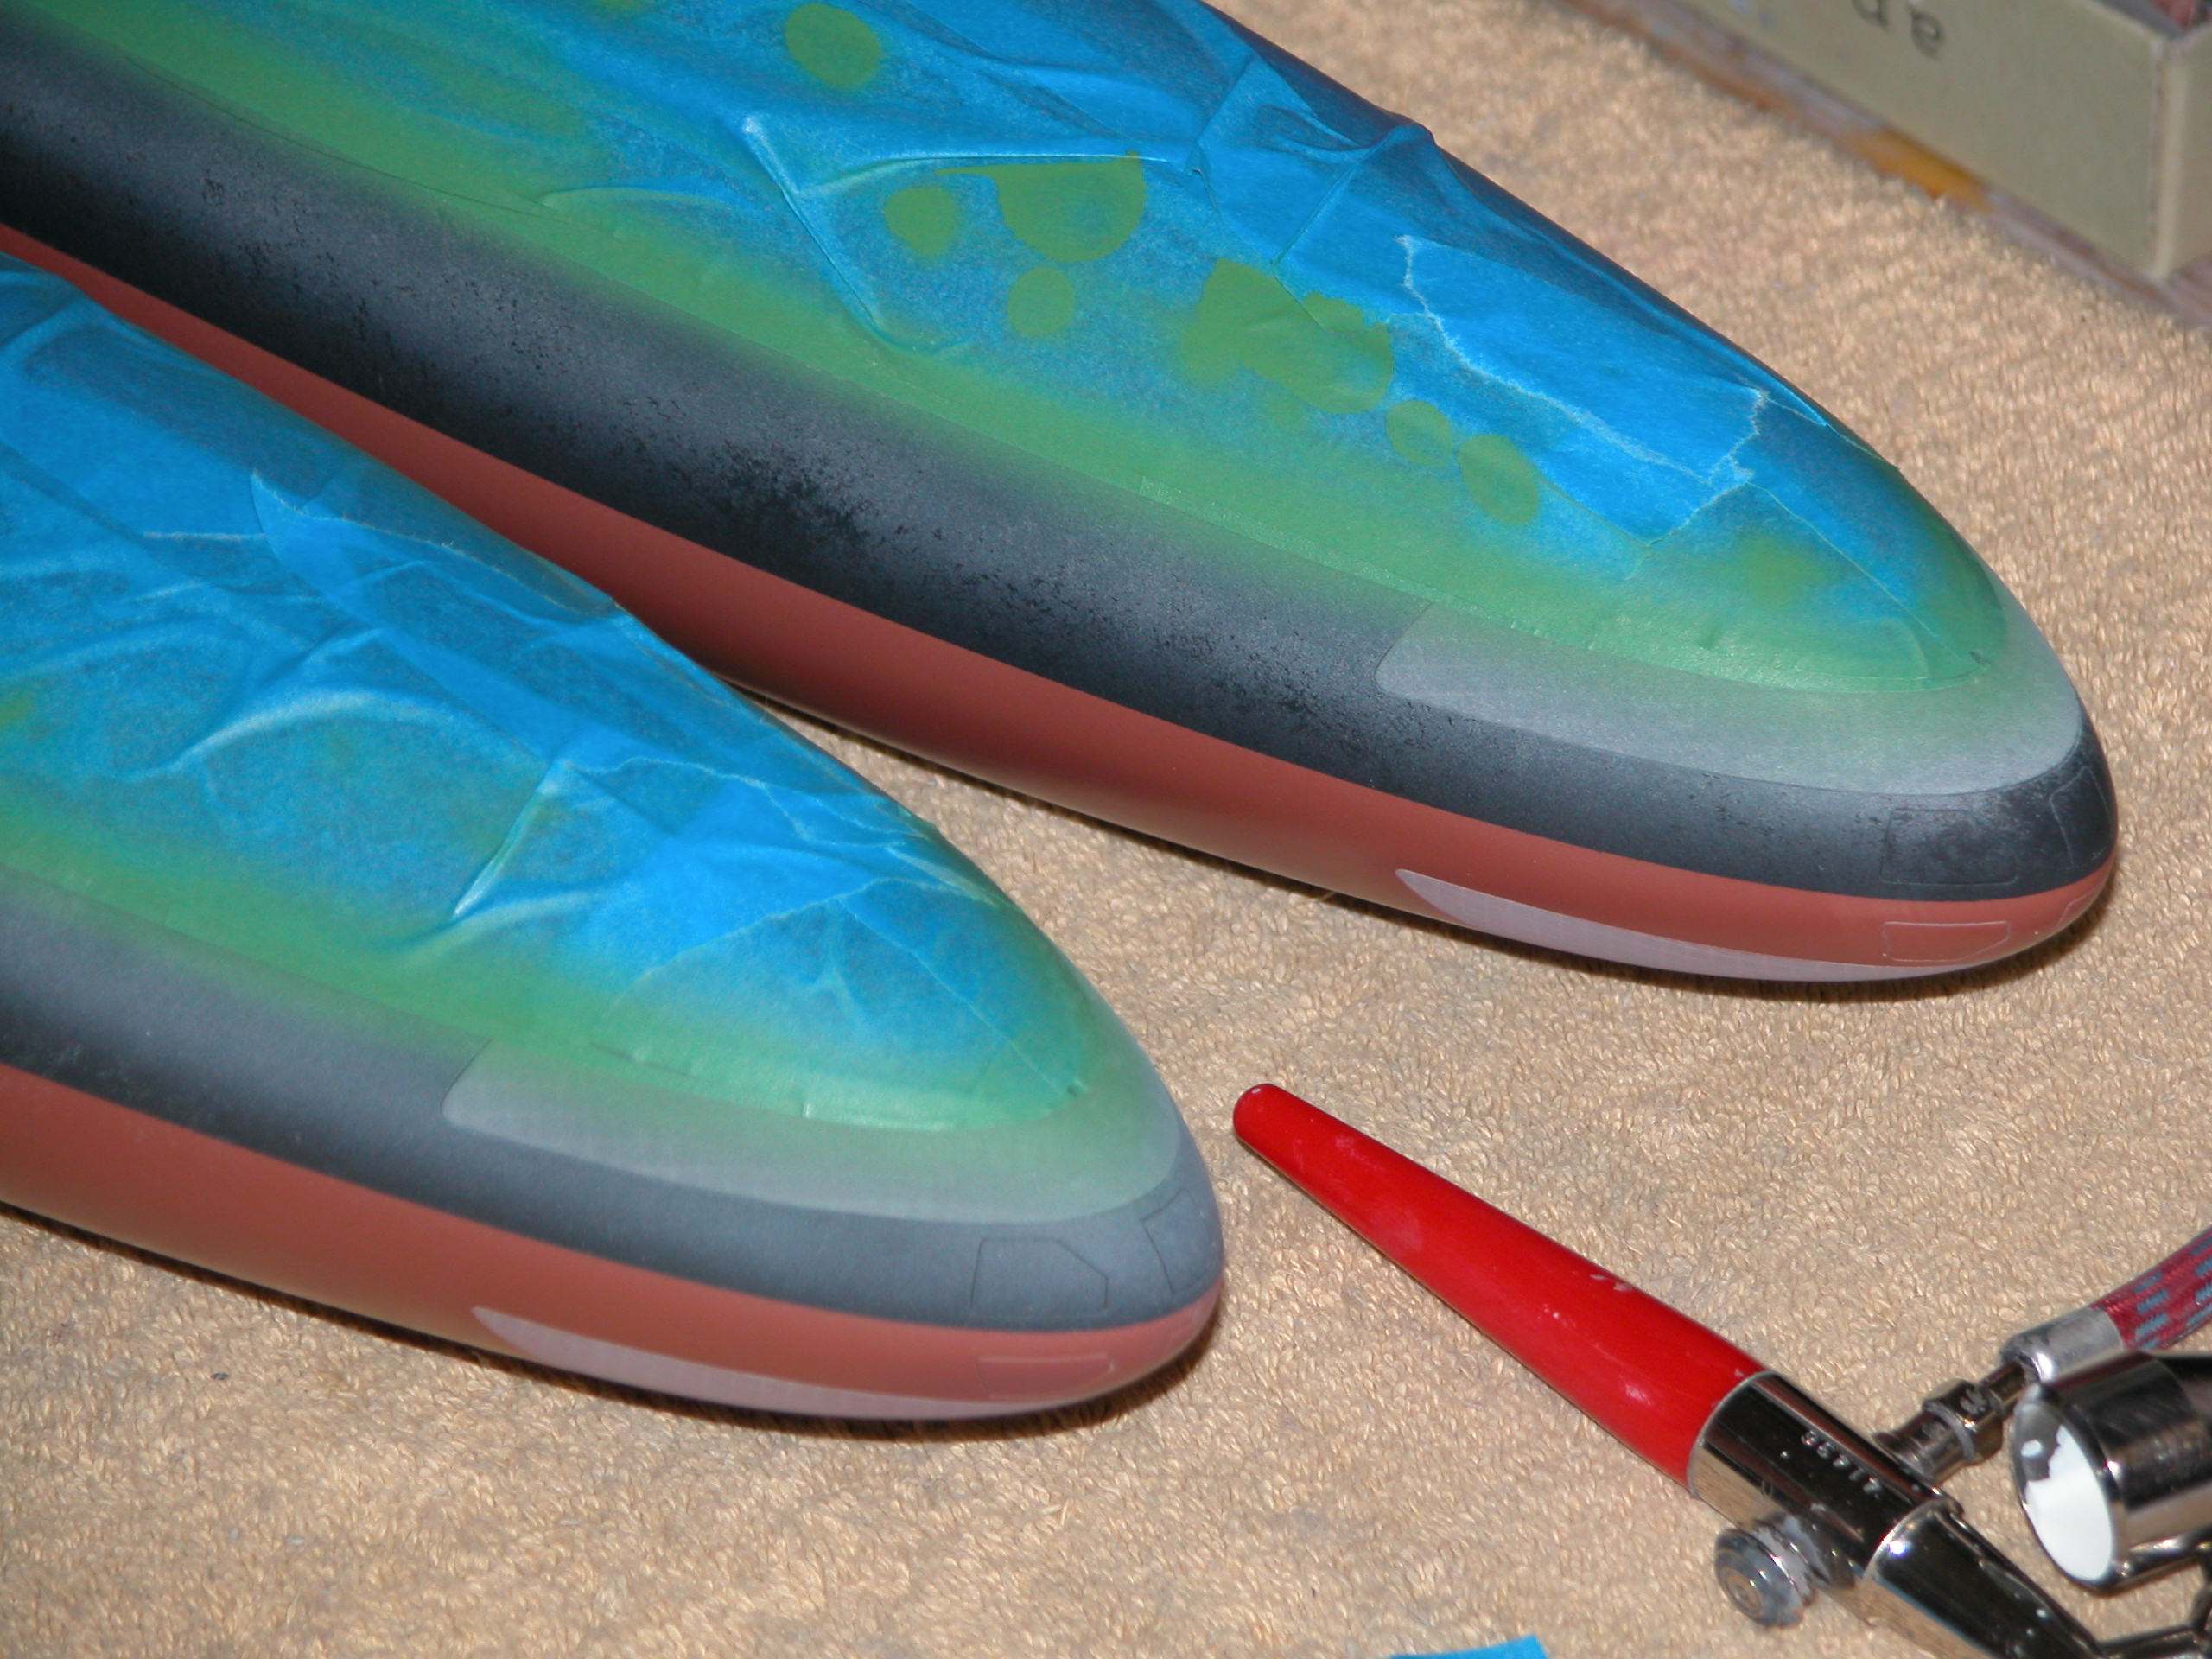
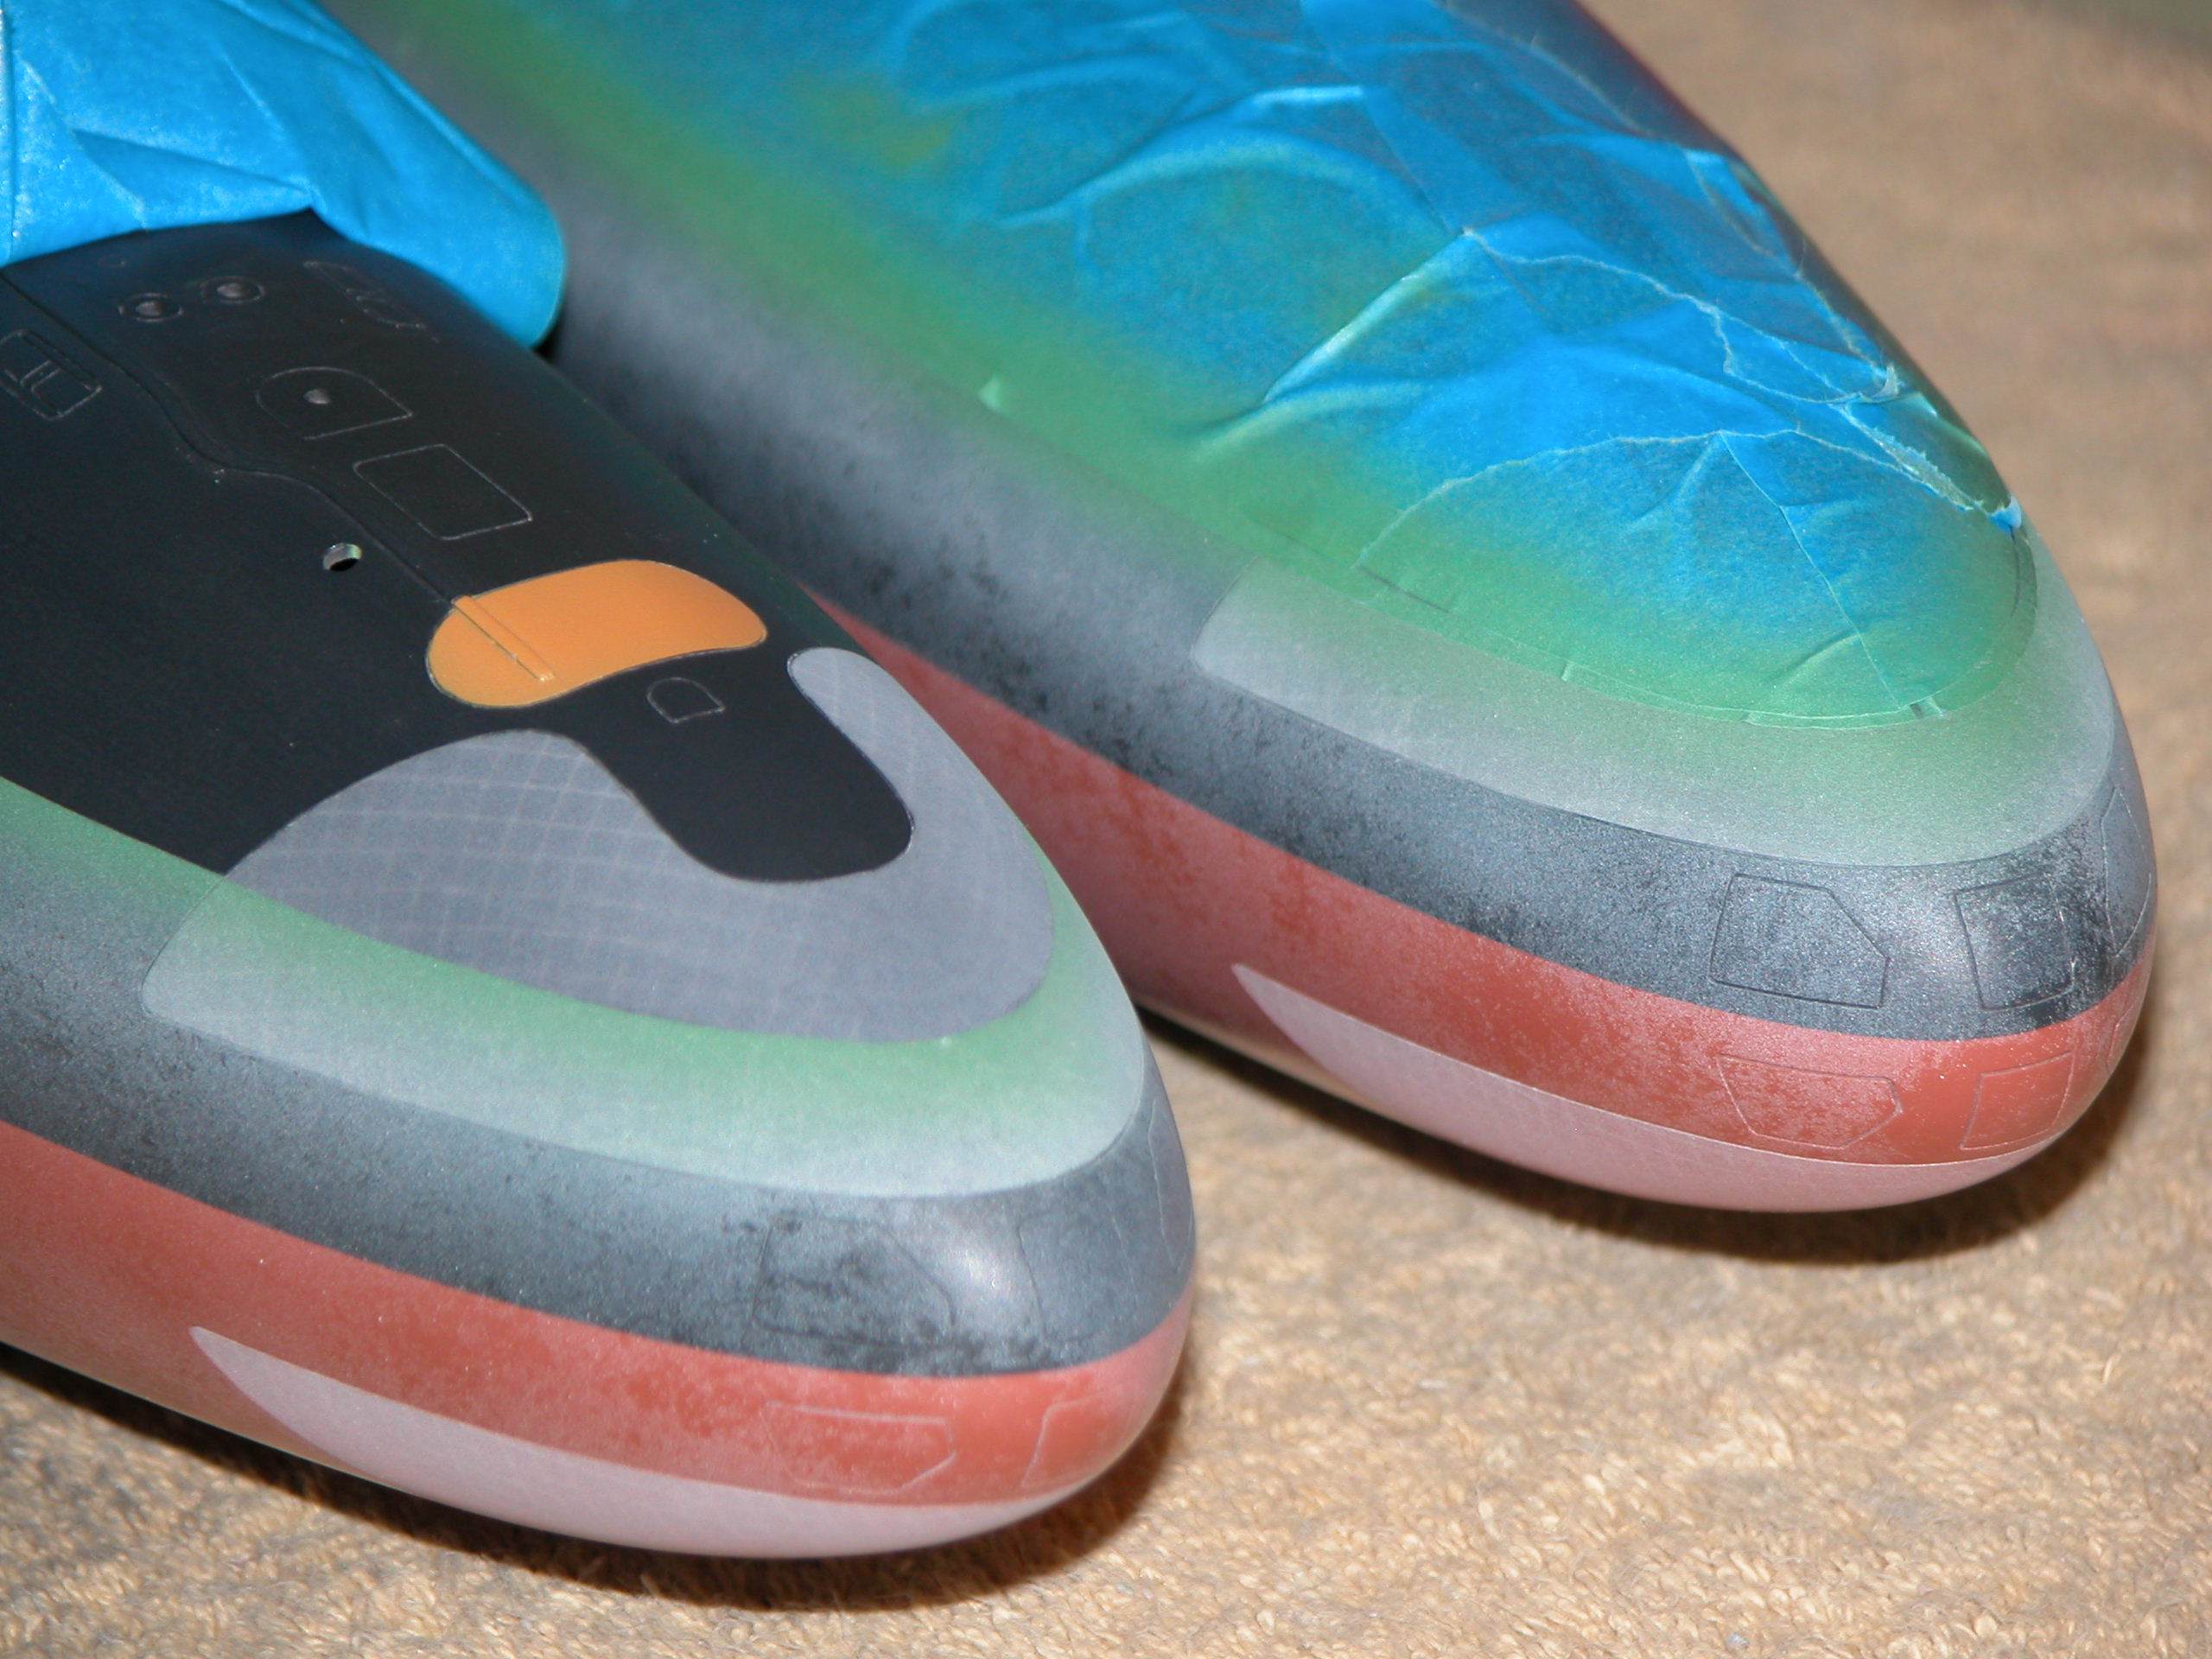
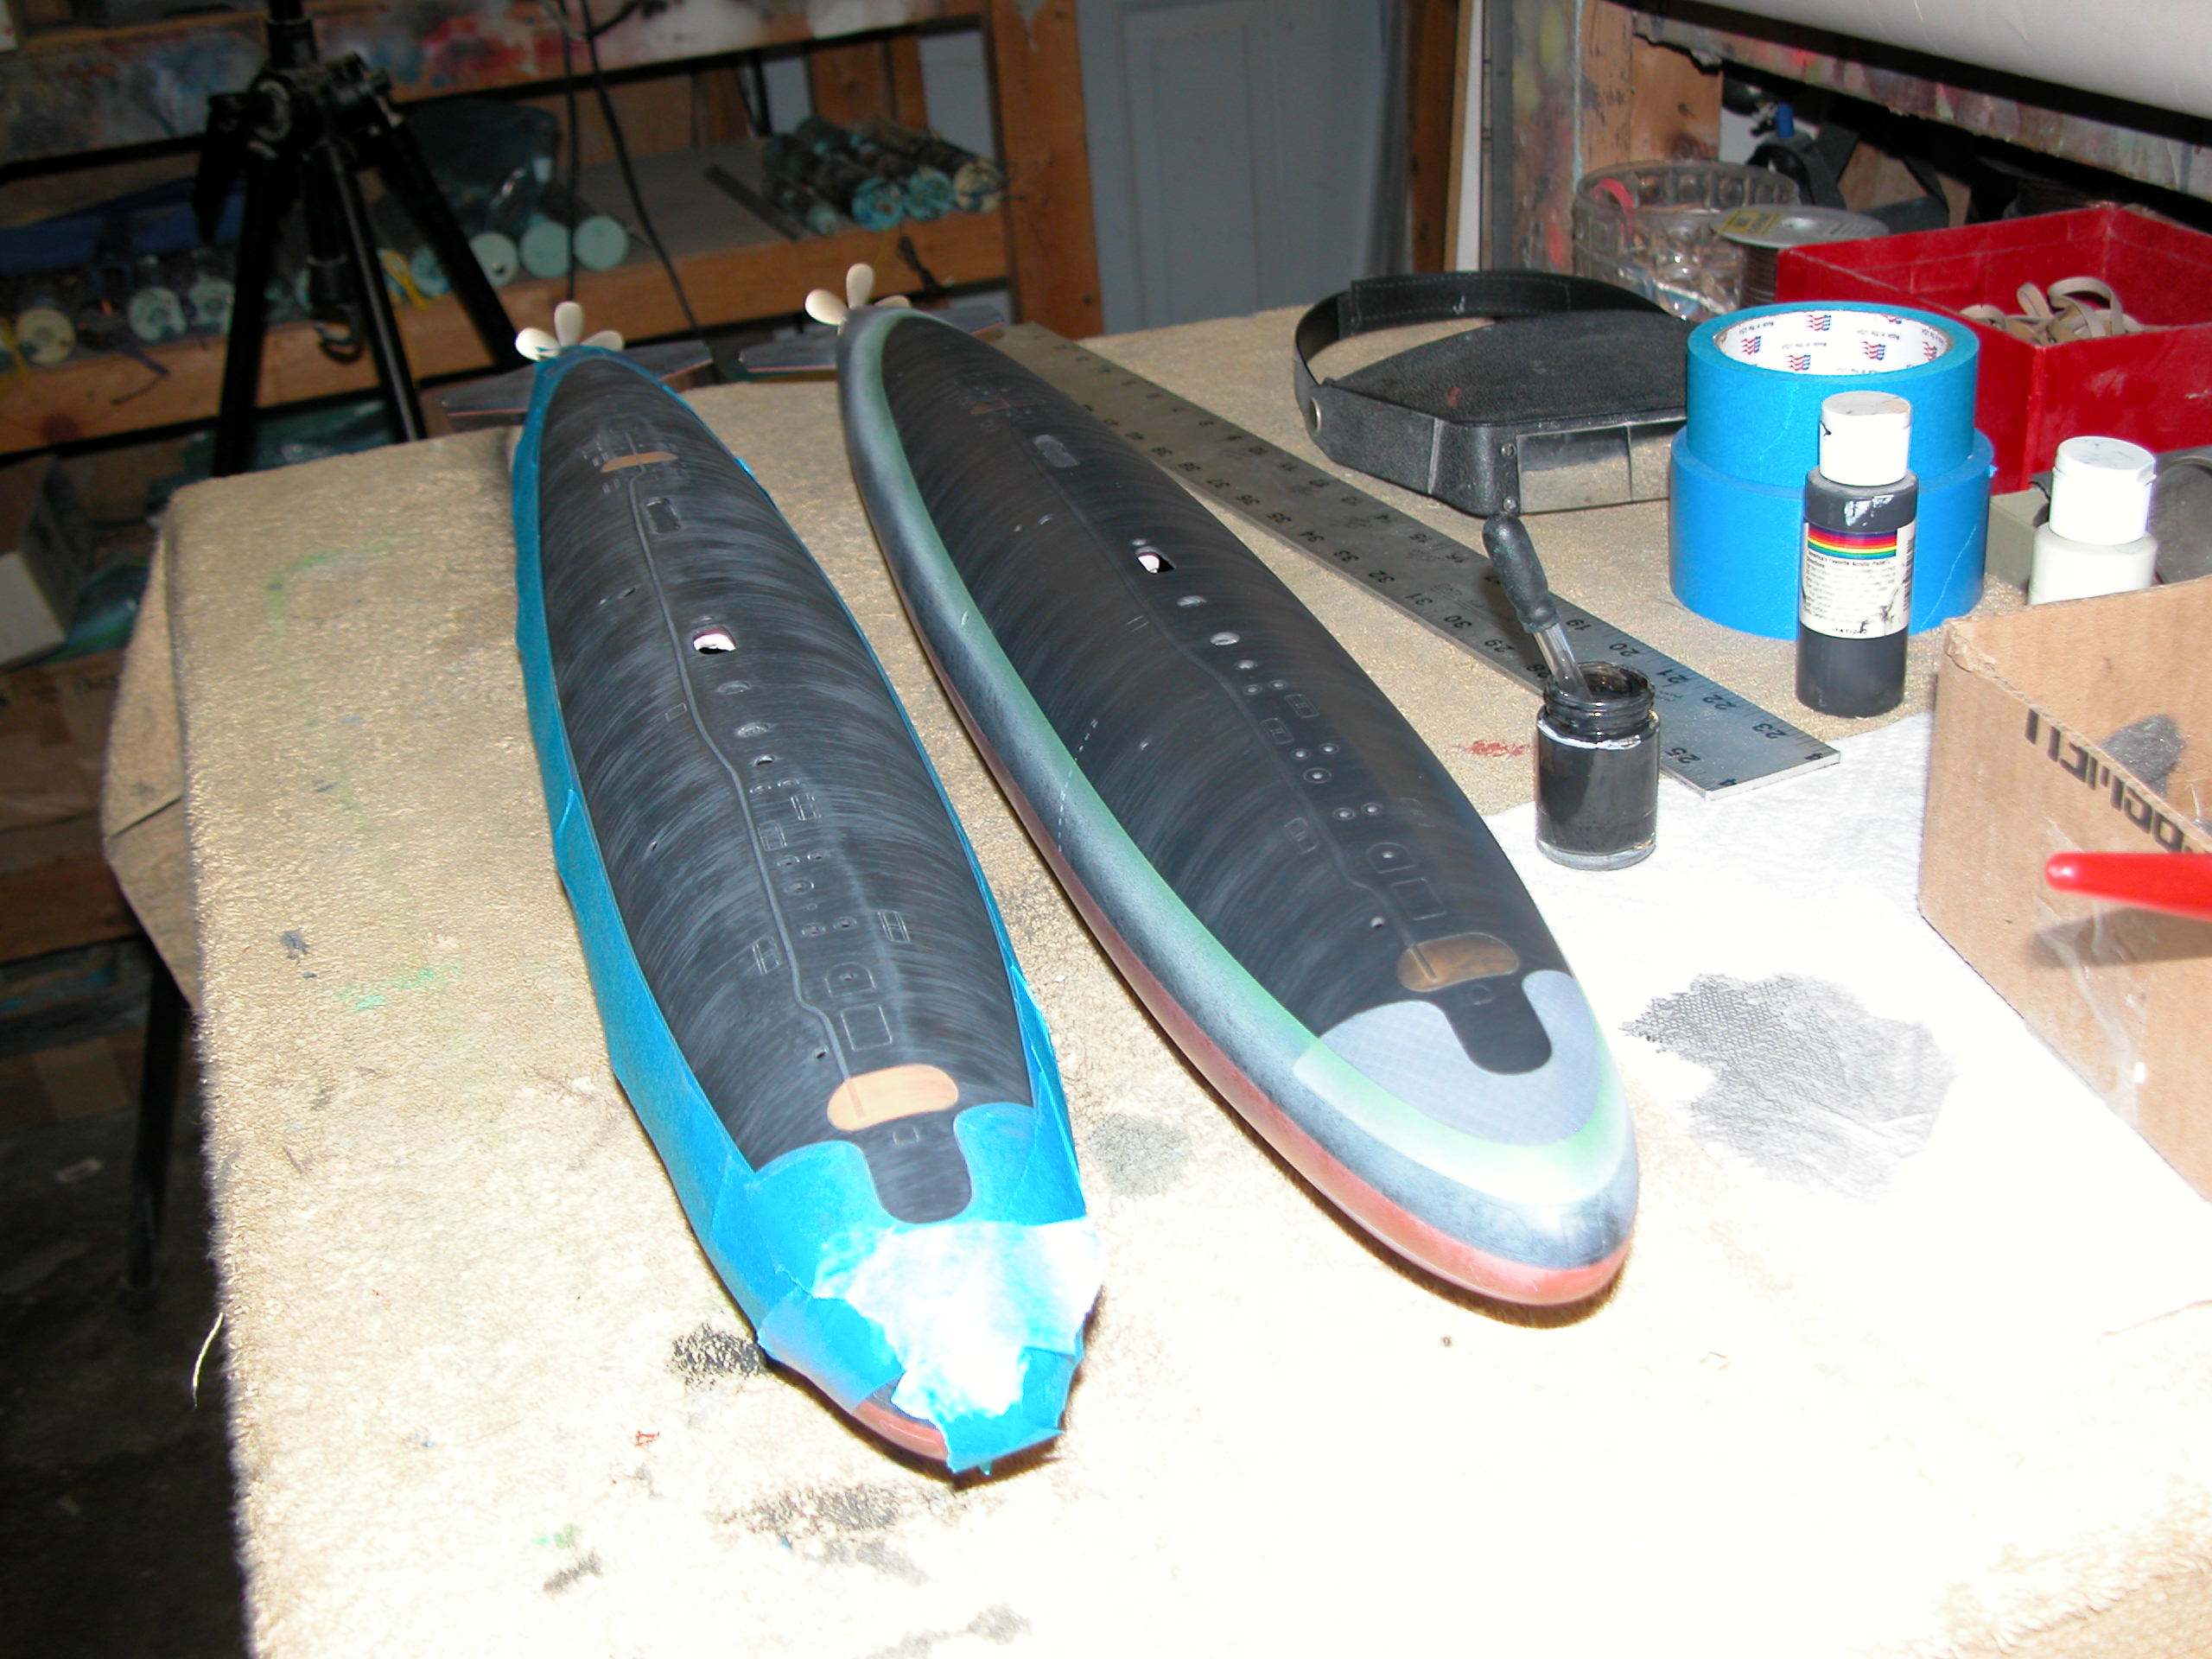
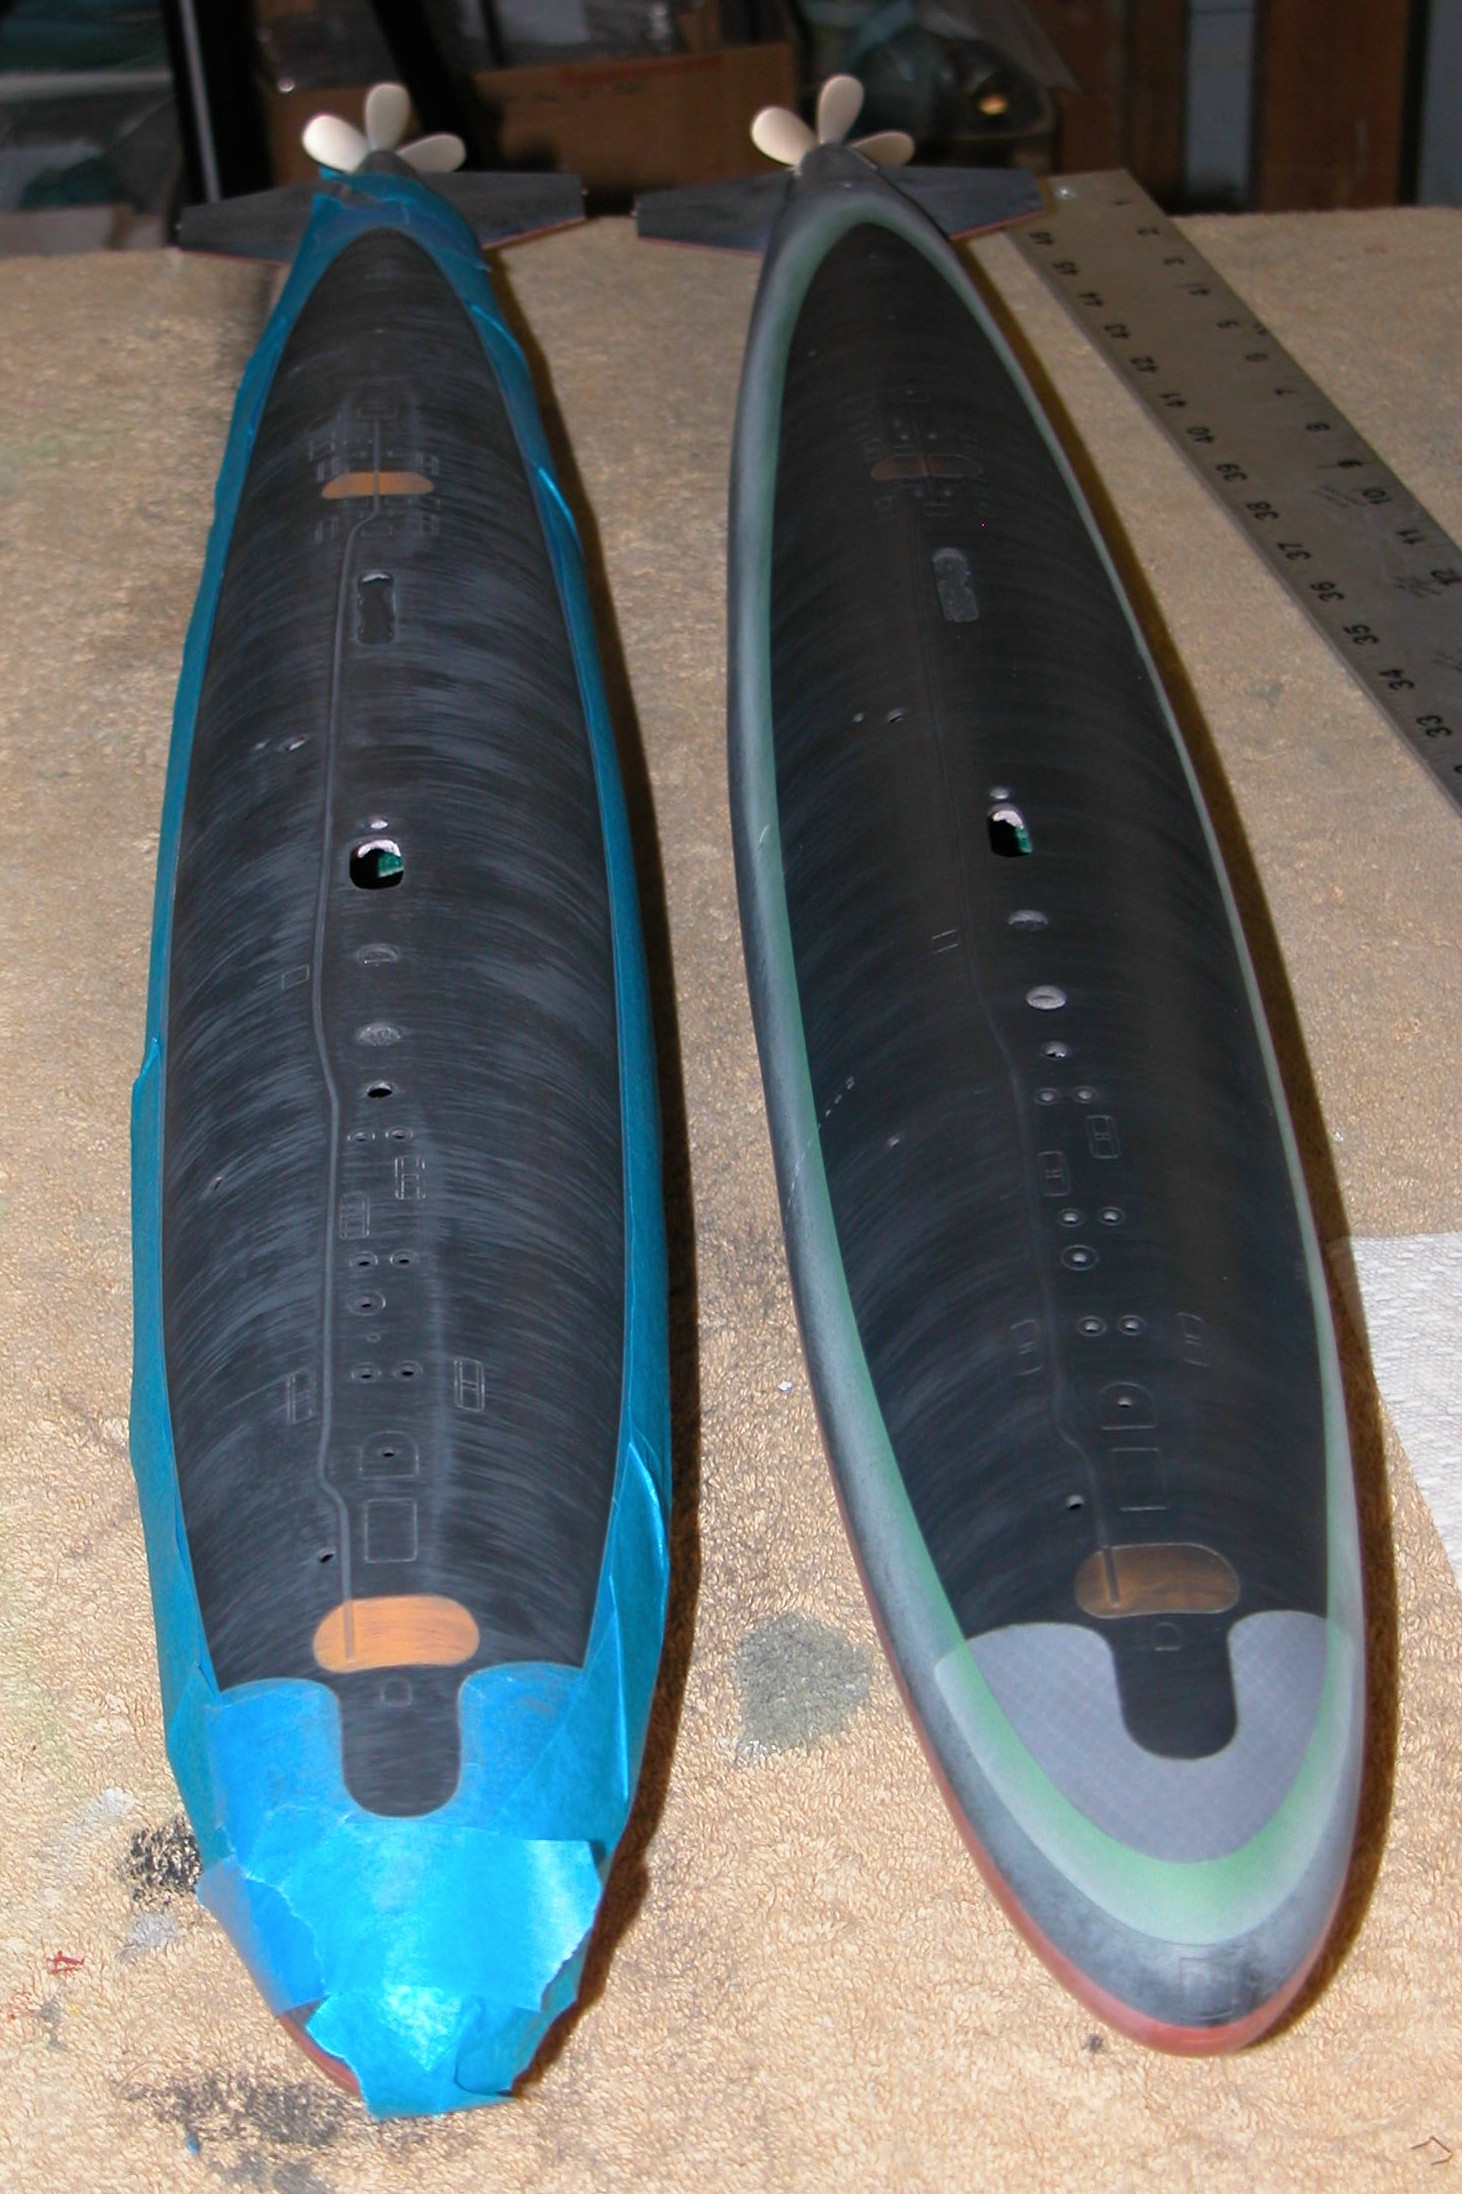
Are you talking about the vertical 'streaking' on the sides of the hull? That is done with heavily thinned out water-soluble paint. Most of the paint wrung out of the pain-brush before application -- almost like dry brushing. The streaking color? Various grays with a hint of brown and orange. I've tossed in additional pictures showing the oil-canning technique. The important thing is -- since the initial streaking or oil-canning shades are too stark you are compelled to over-spray those areas with the base color as a 'mist coat' to soften the contrast. That's the secrete, to only suggest these variances, not hit the observer over the head with them.
These pictures illustrate:


Leave a comment:
-
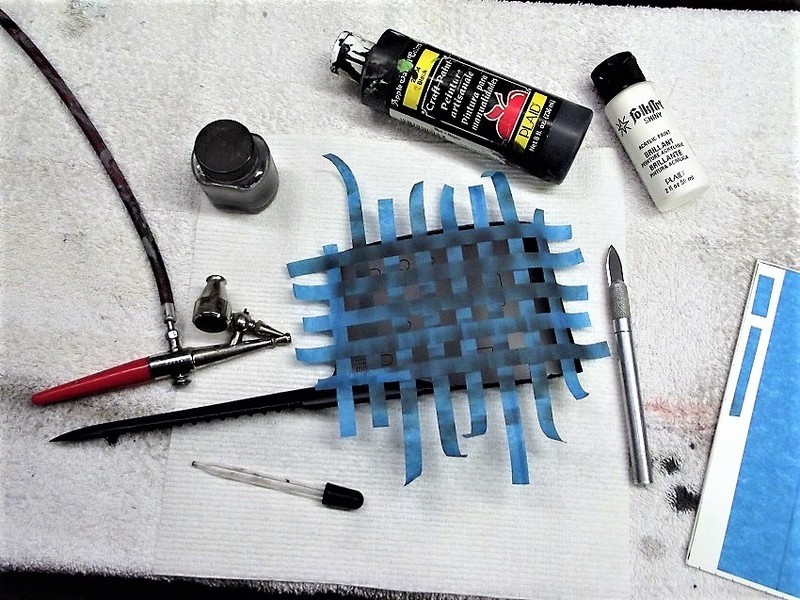
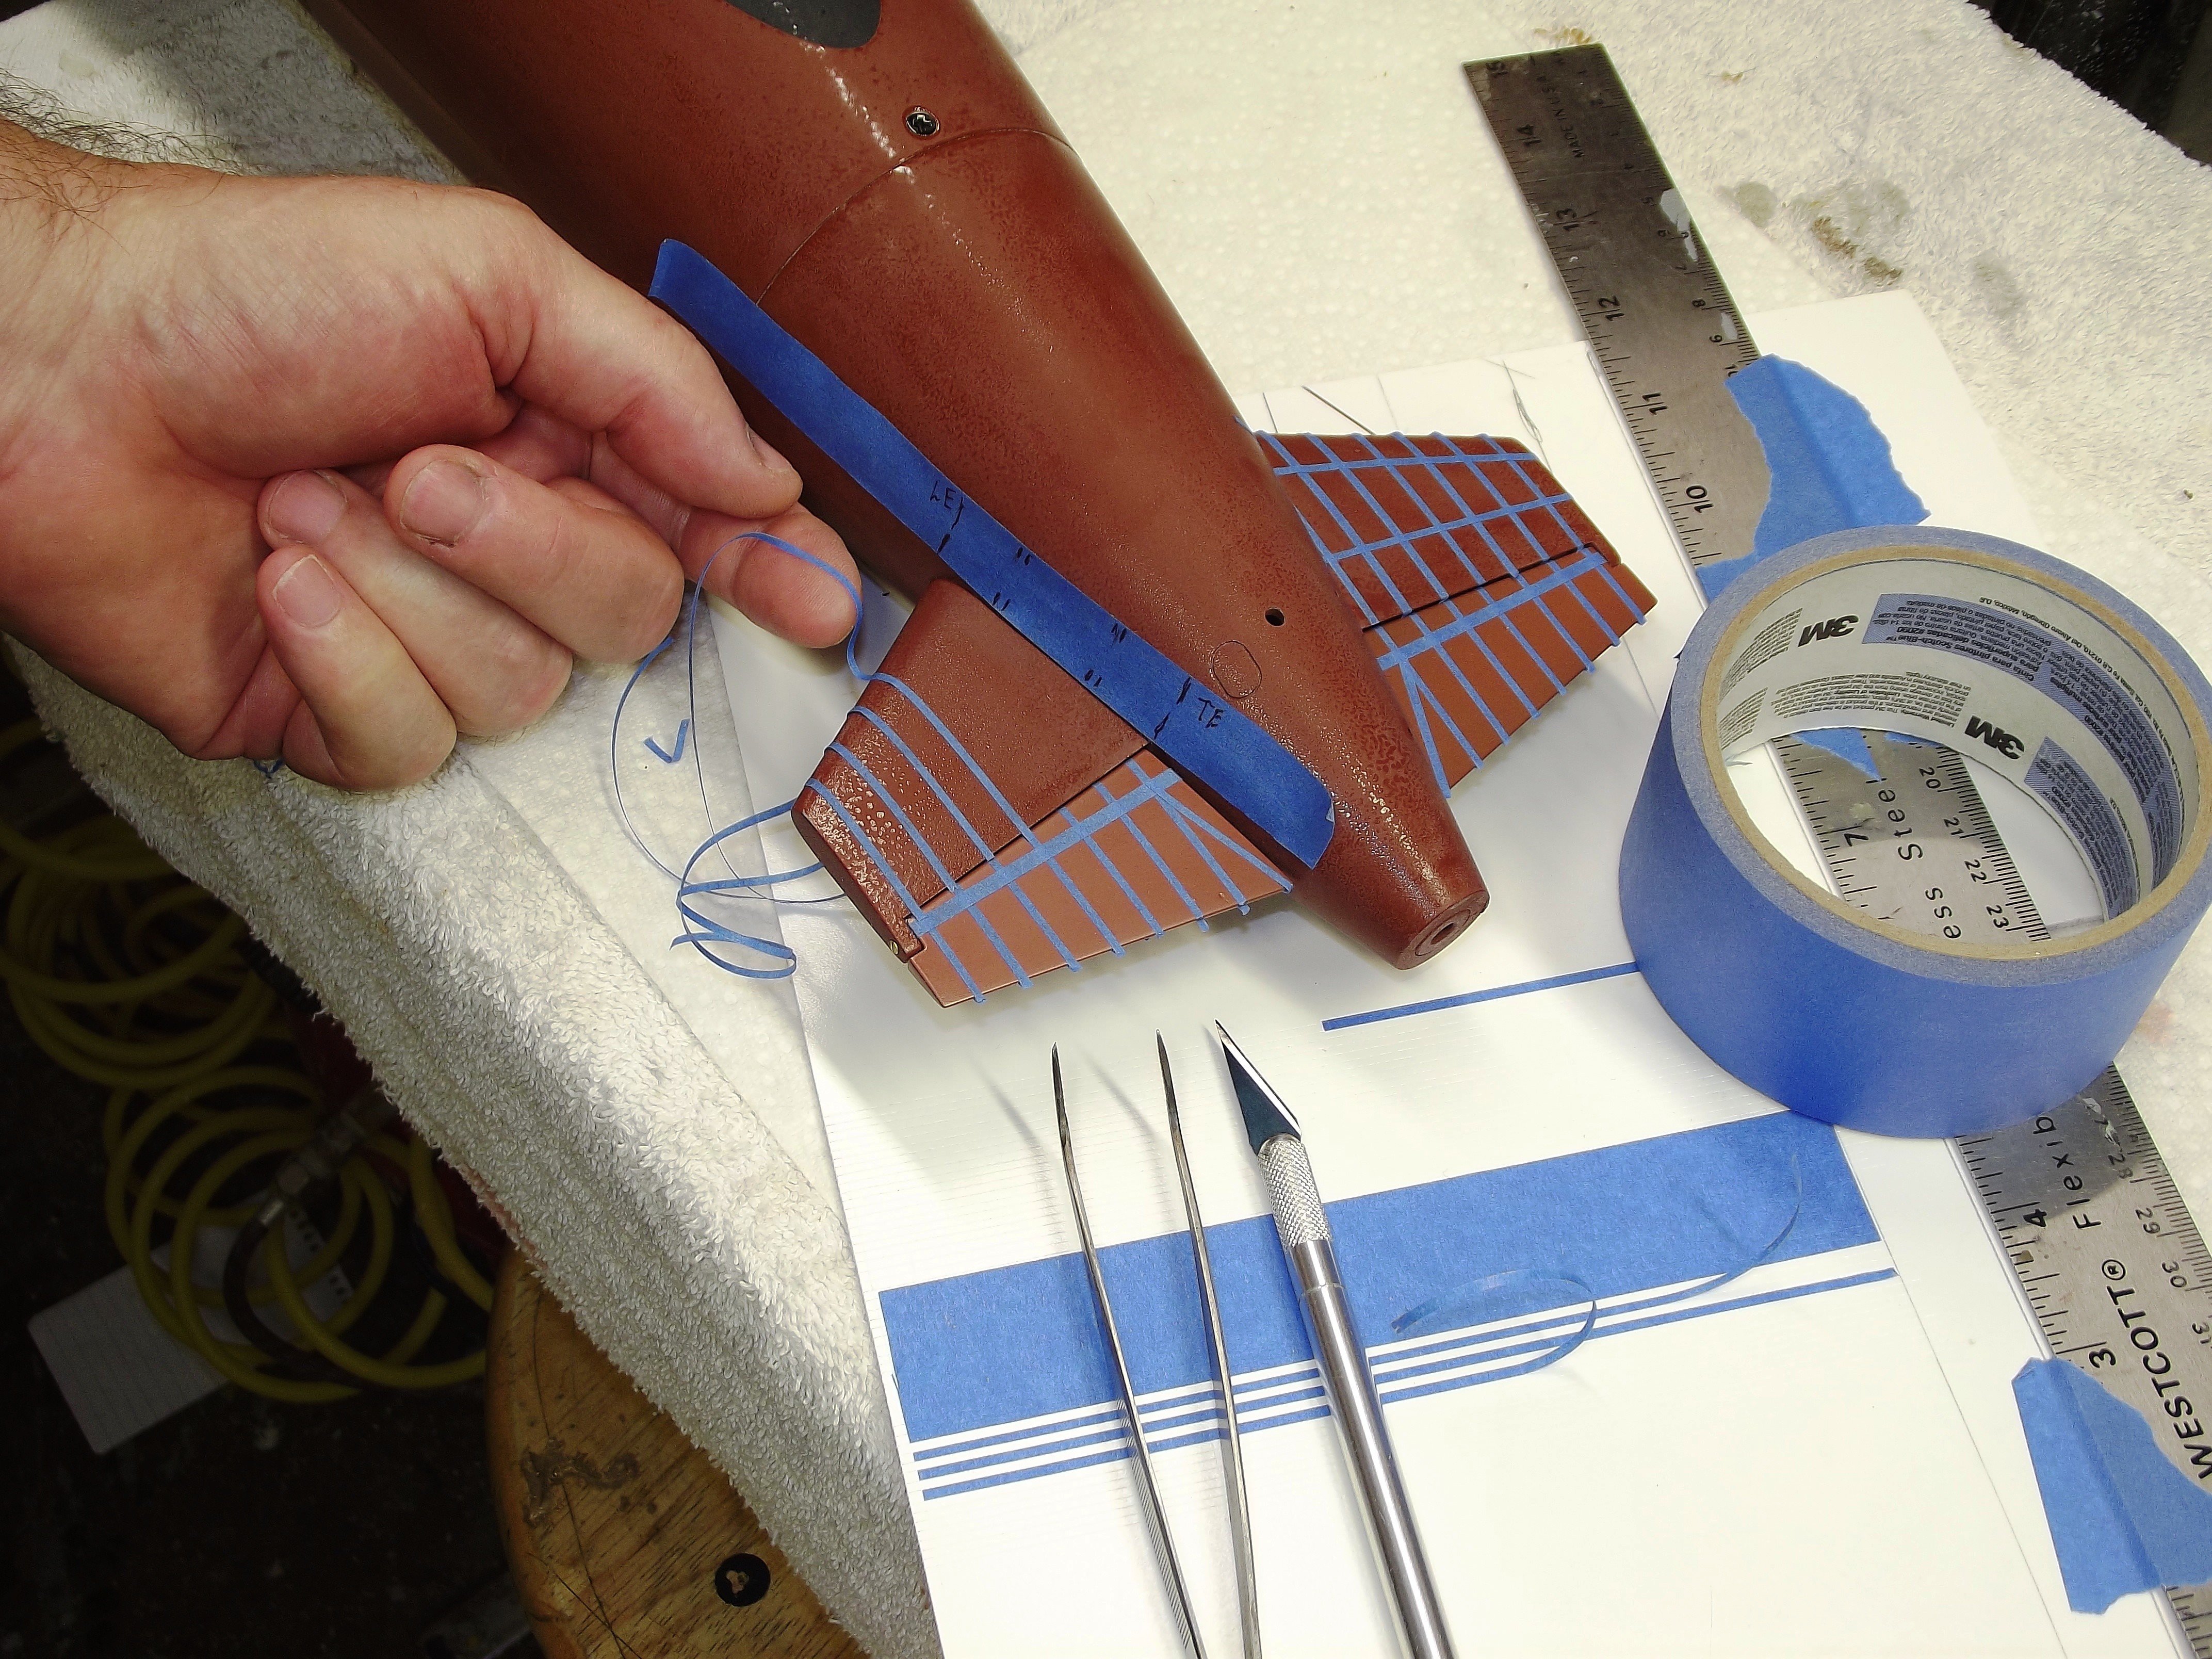
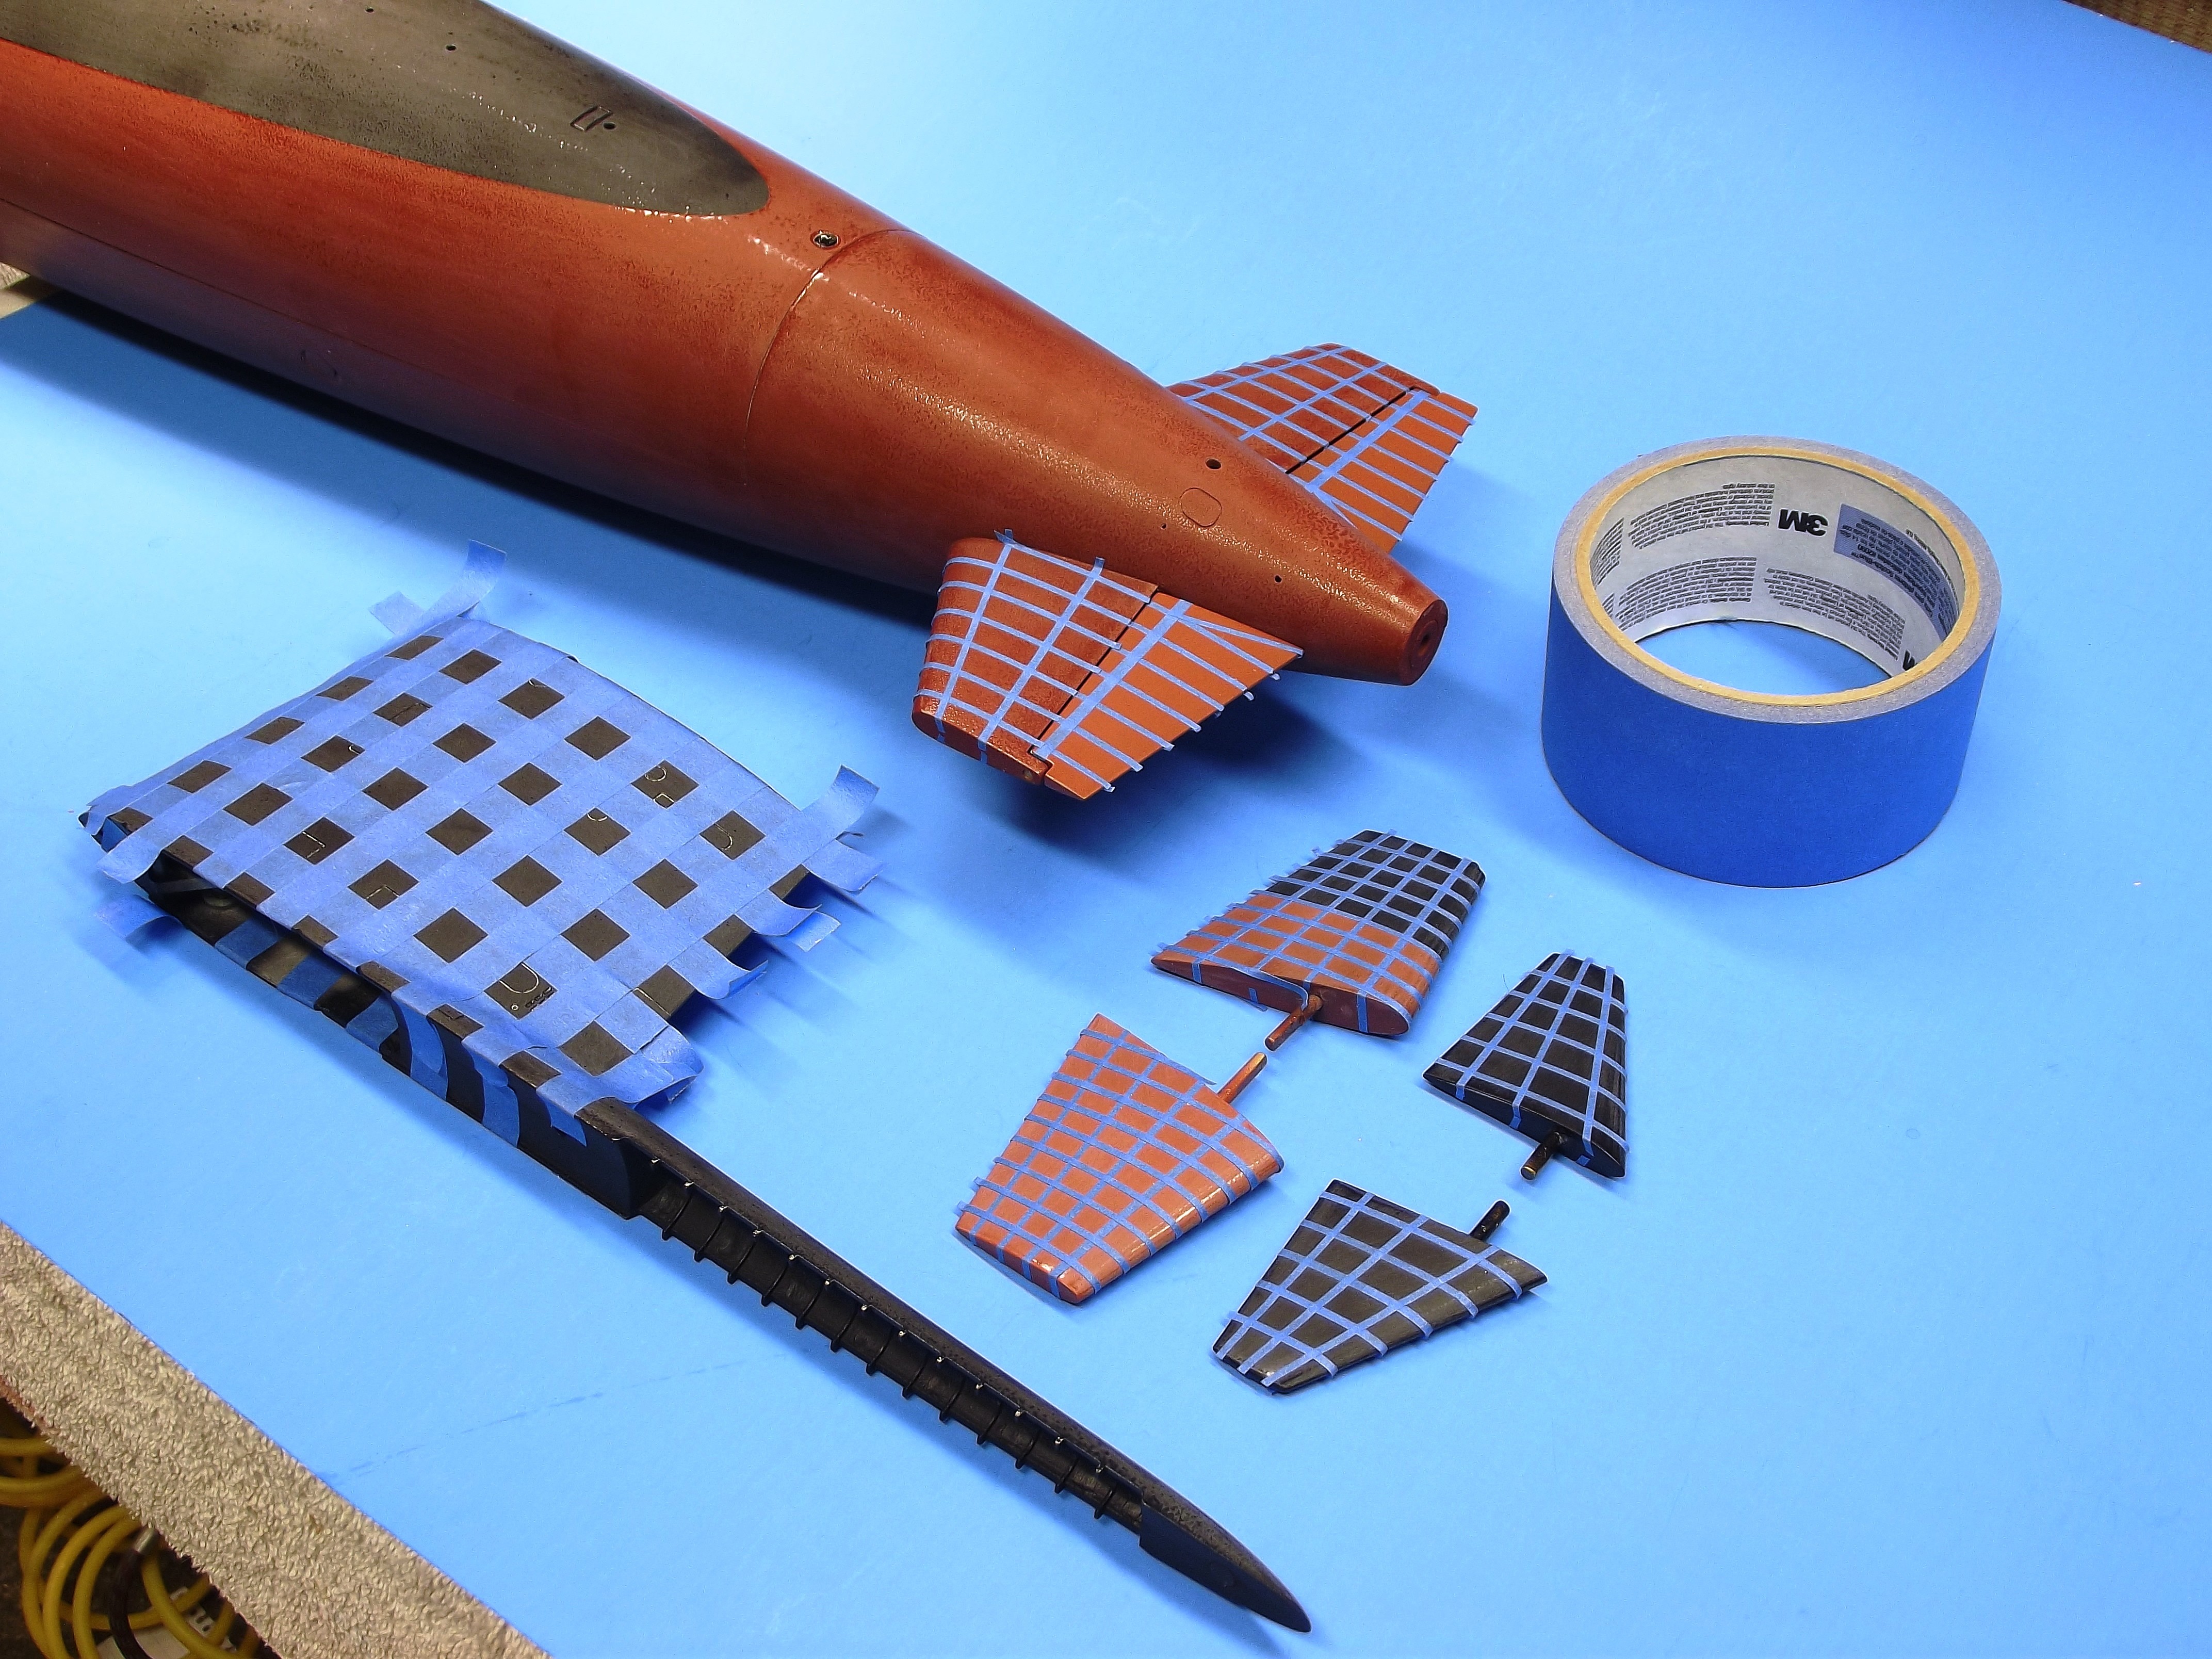
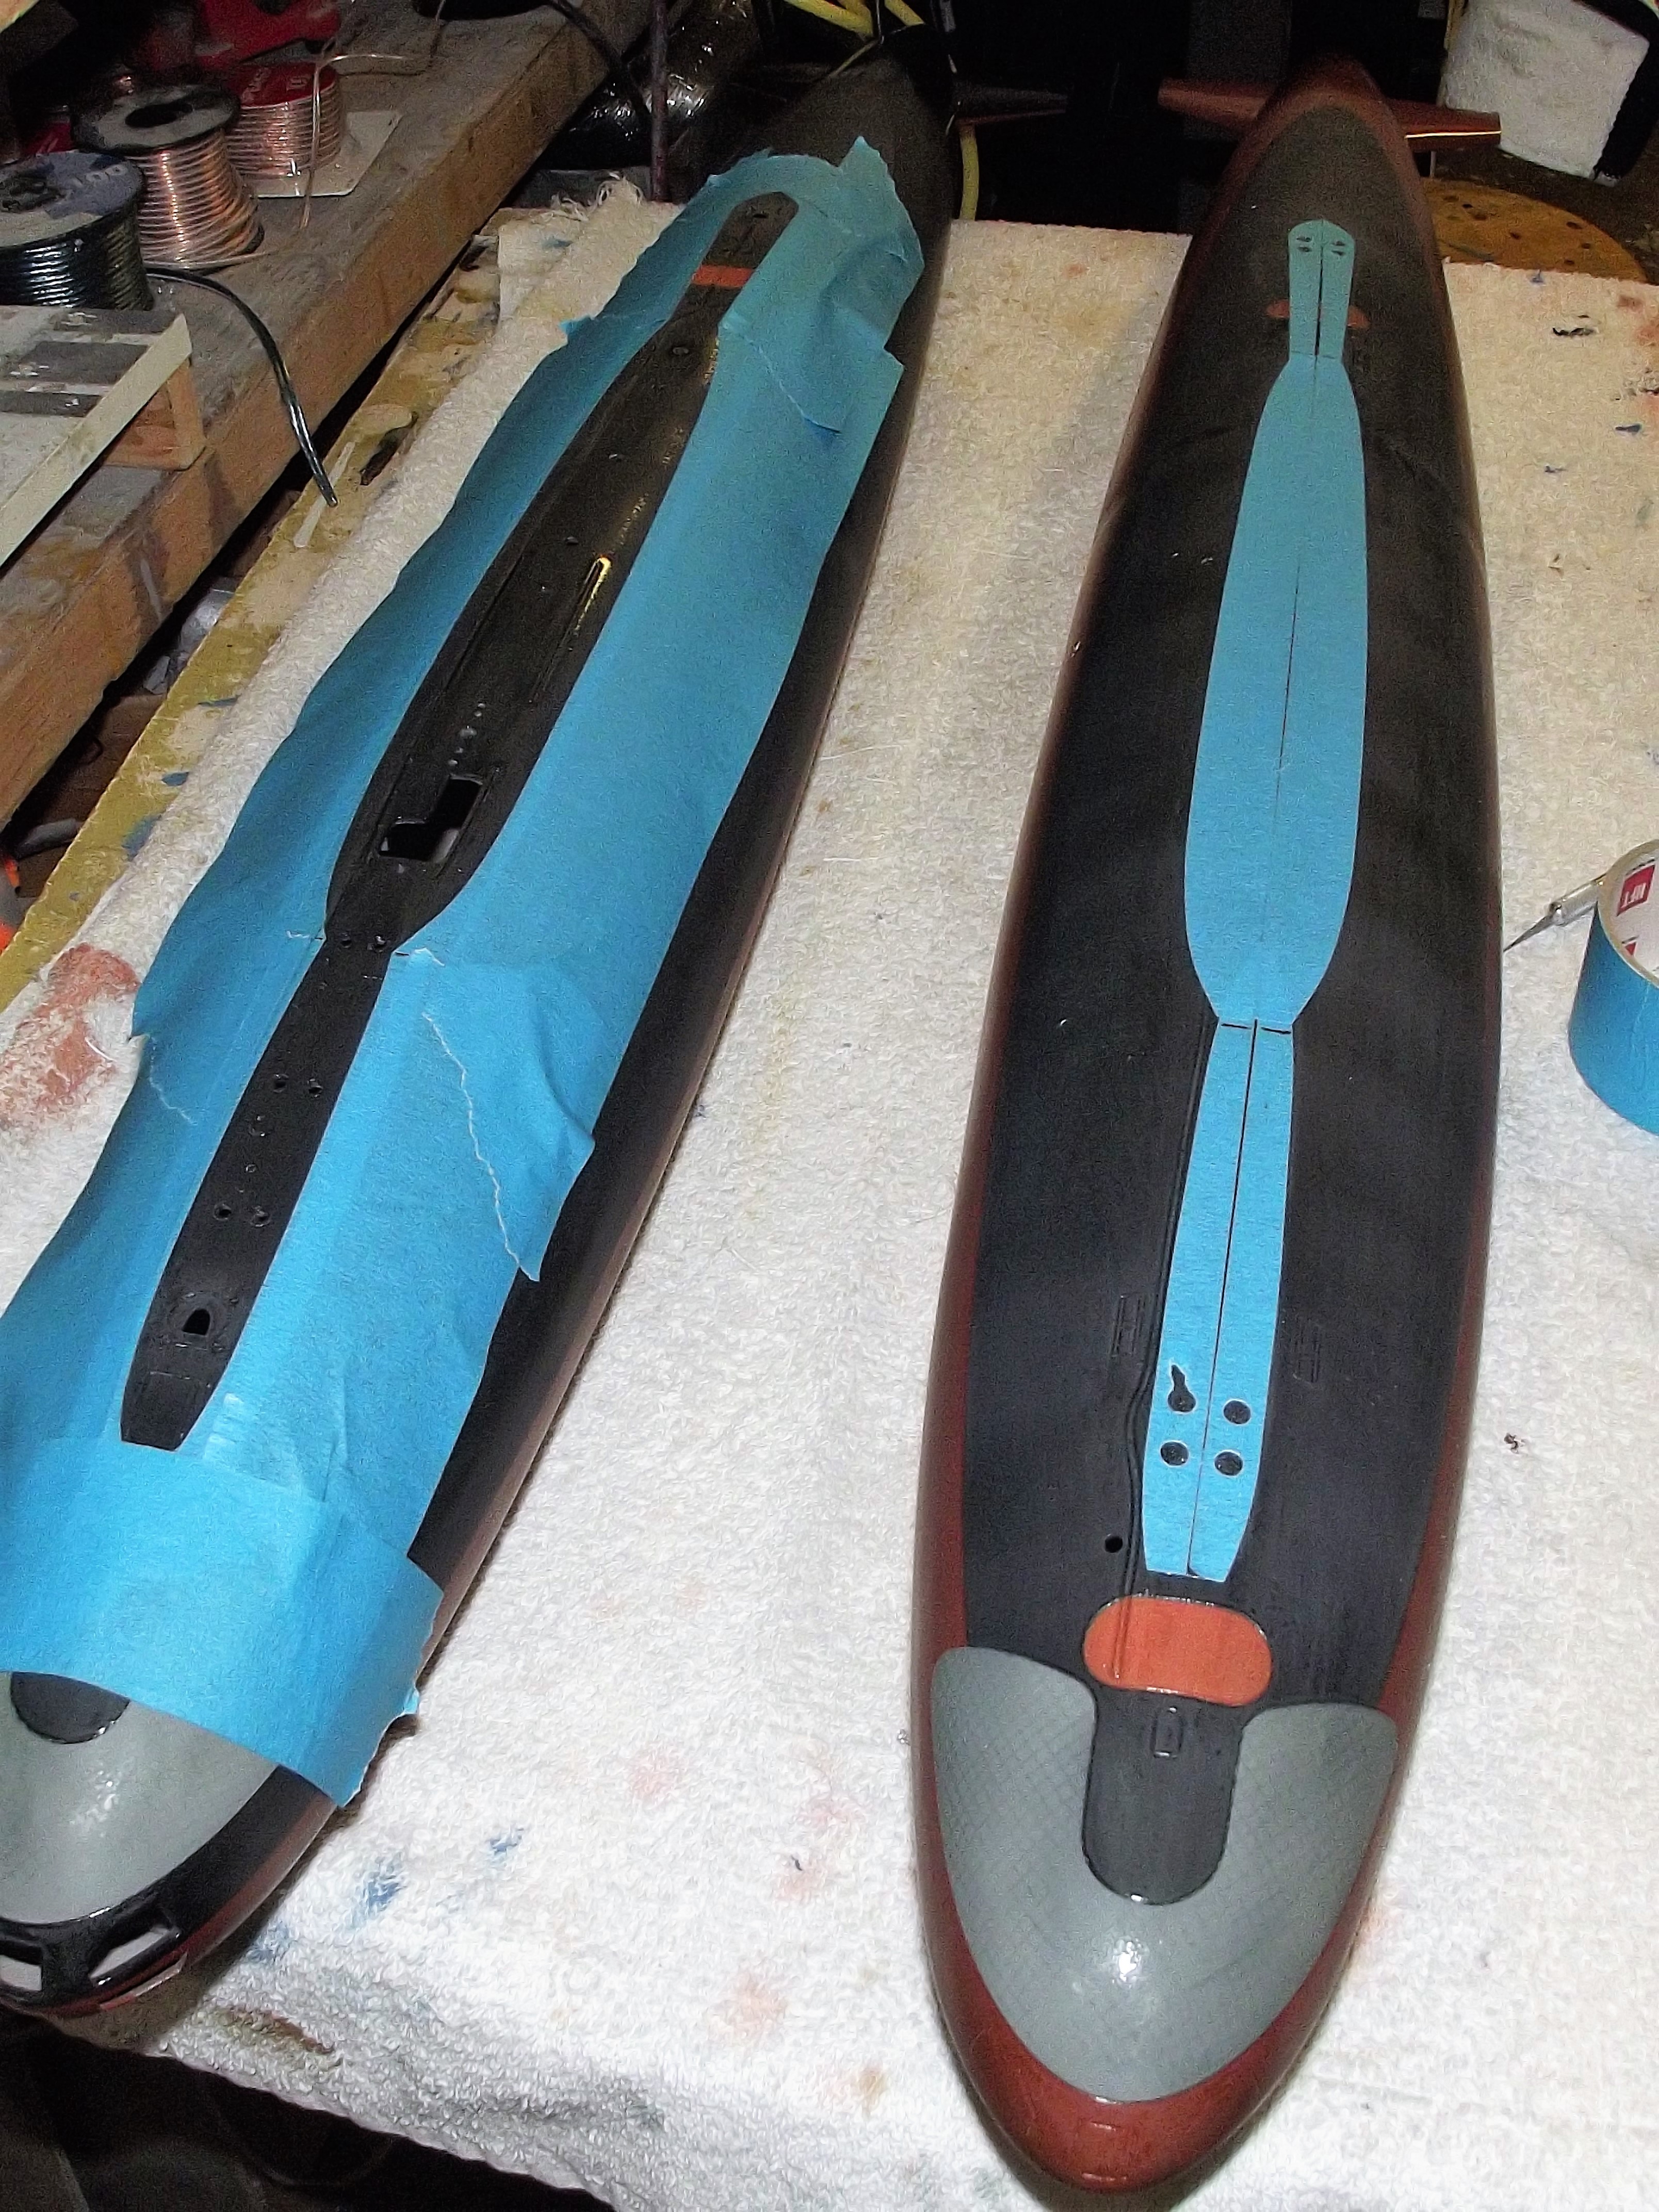
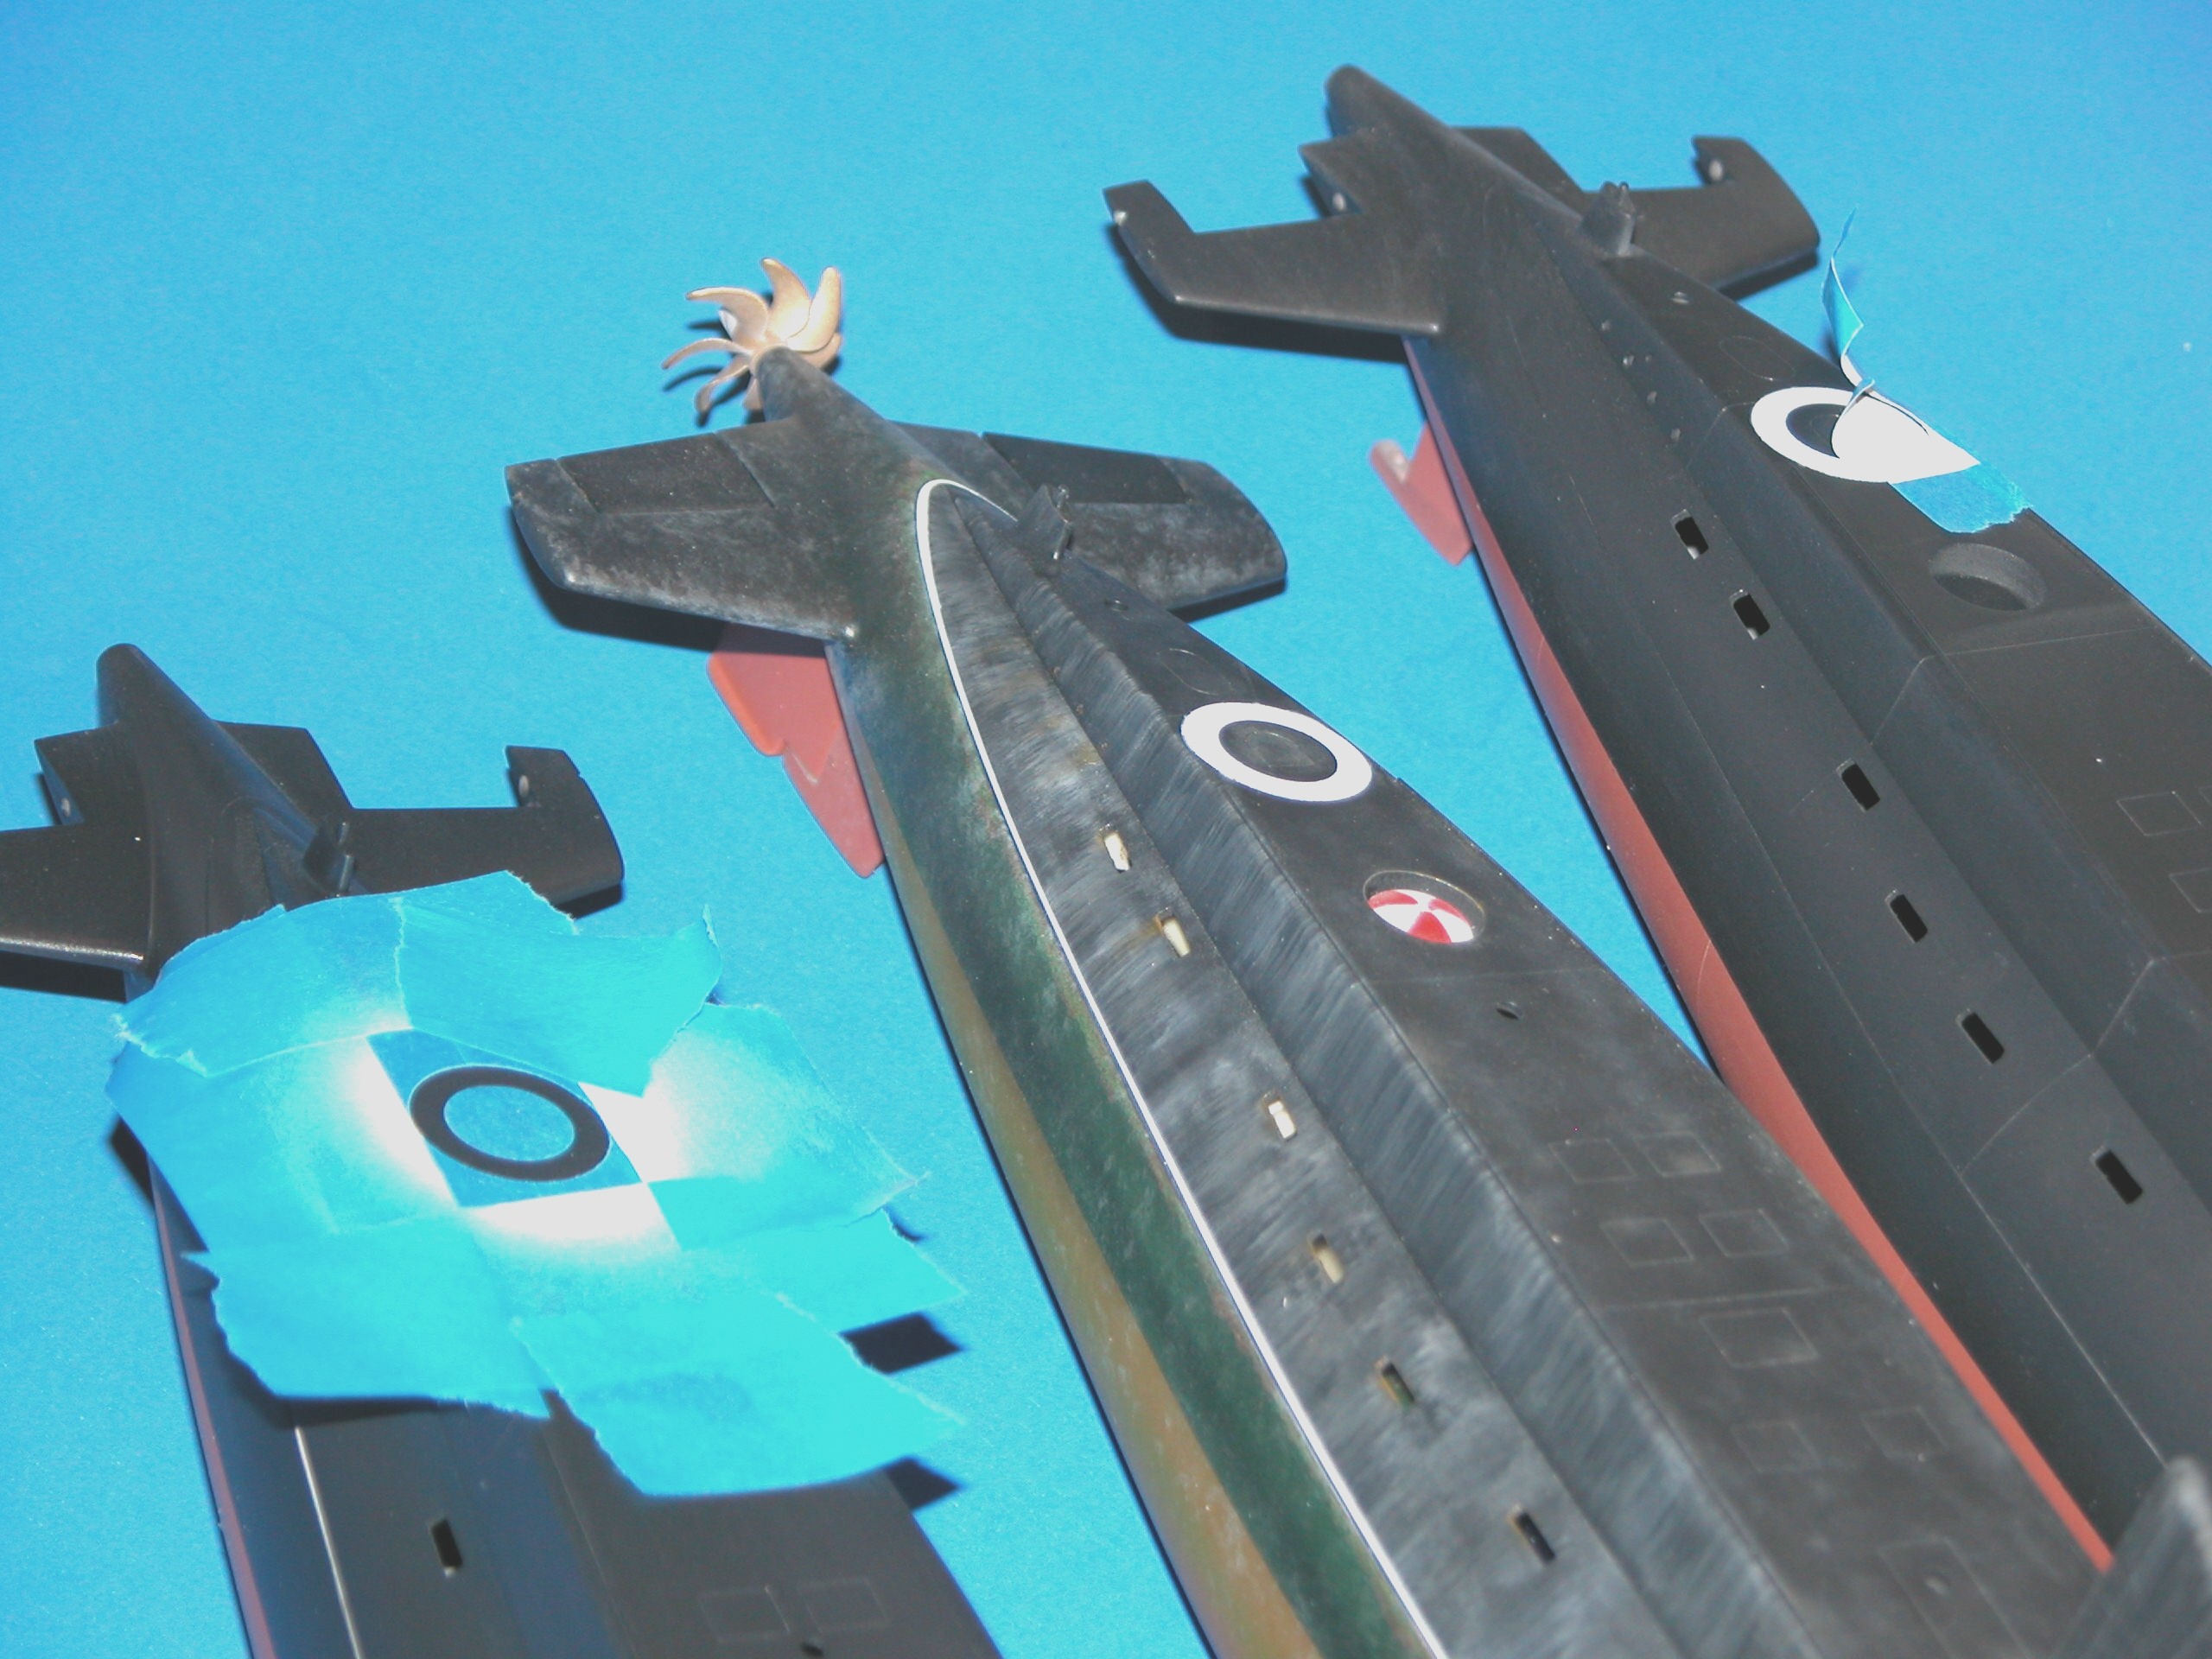
The dive plane surfaces are left with the thin lines representing the inner framework. And the concave surface simulation is airbrushed with white paint? Or a custom color you mixed?
The sail is taped once, airbrushed, taped again airbrushed, with white or a mixture again?
What is used to whitewash the upper hull? I think I can find how you did that here someplace or at the WMU forum... https://docs.google.com/spreadsheets...gid=2012733353
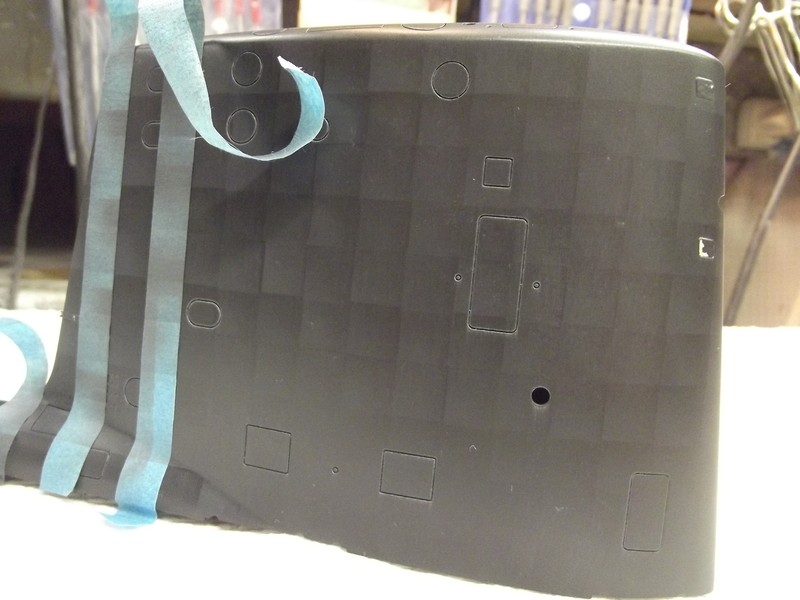
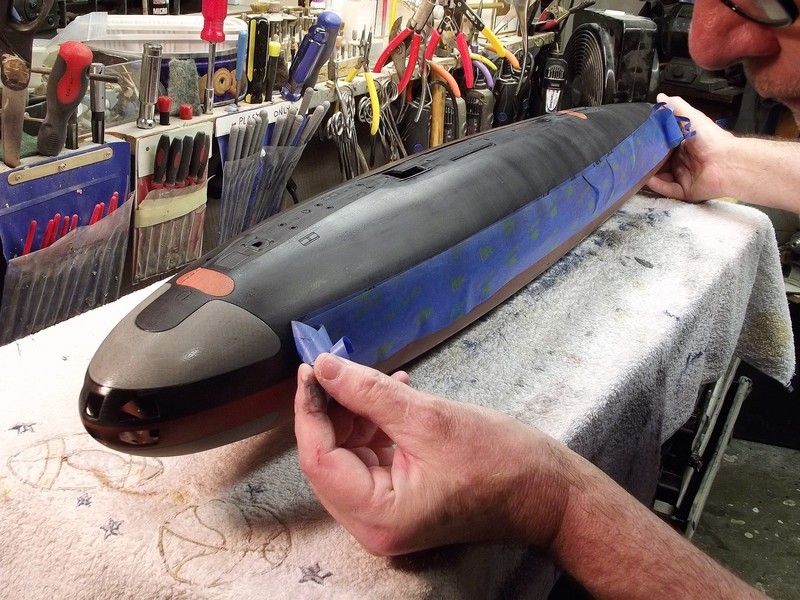
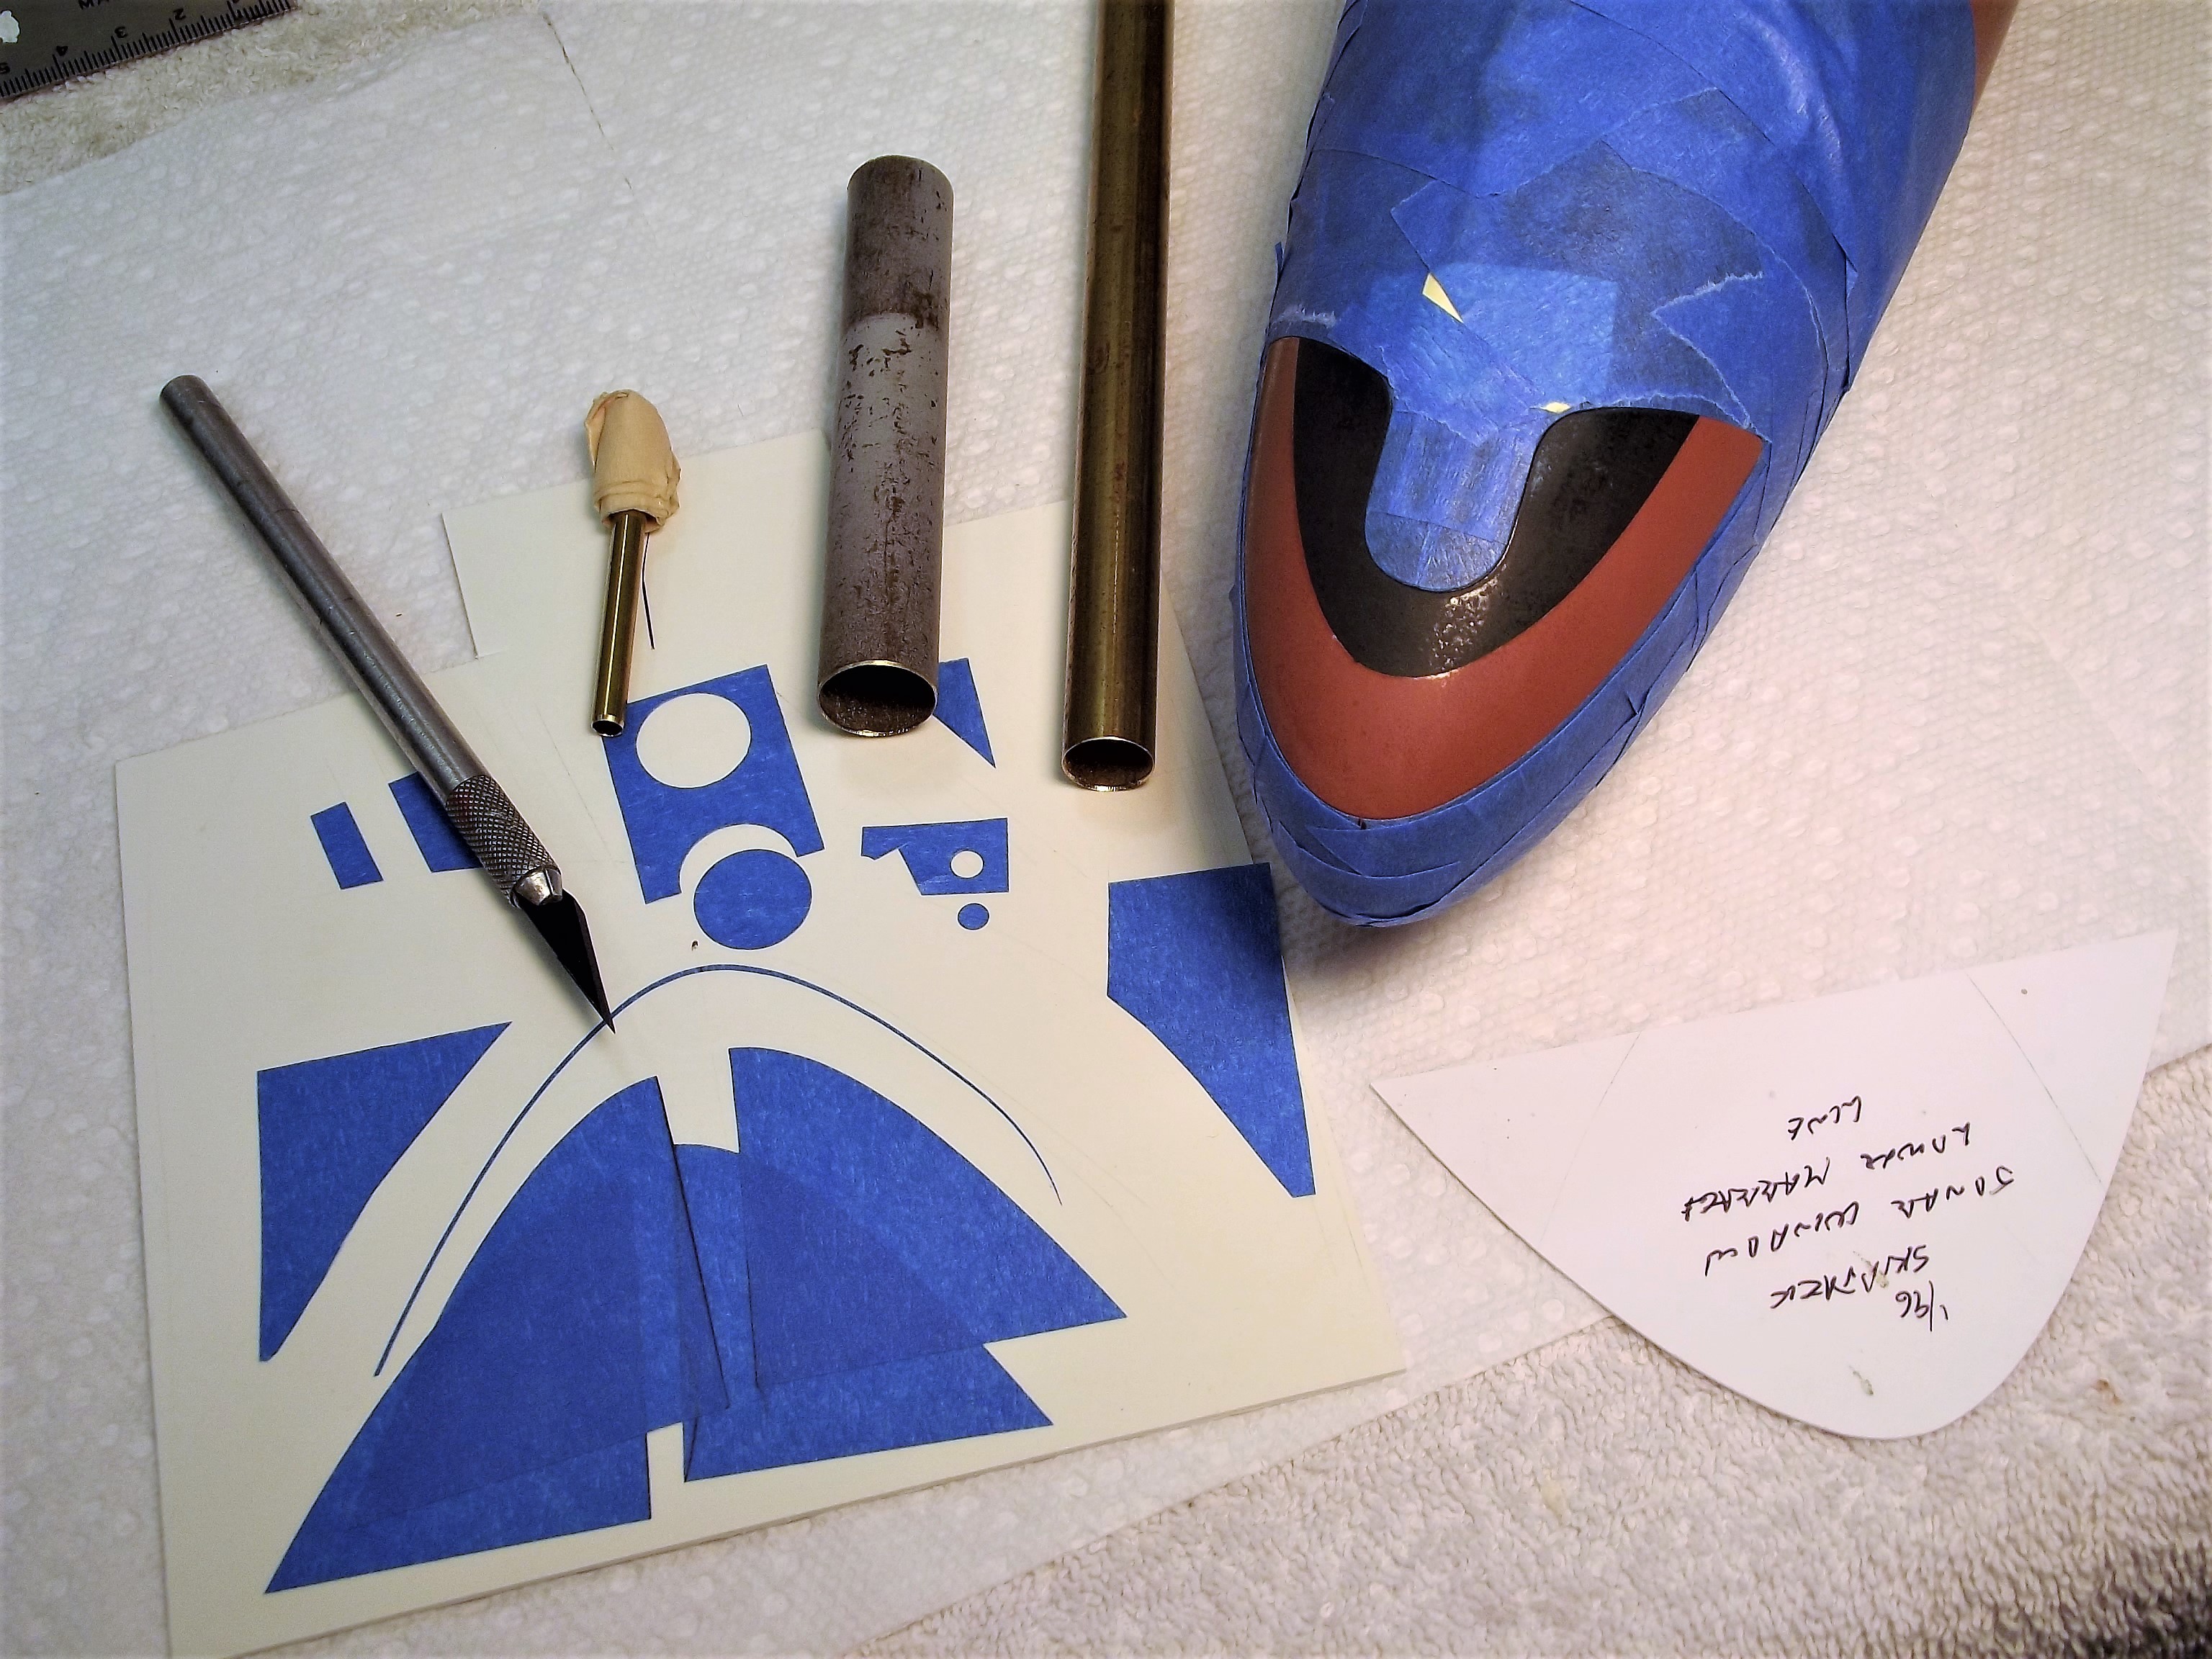
The upper sonar dome has a lot happening.
The upper half painted a lighter gray.
The lower half painted hull red.
Then both are prayed with a darker medium gray.
Then the scum line is applied from the waterline down.
Sound about right?
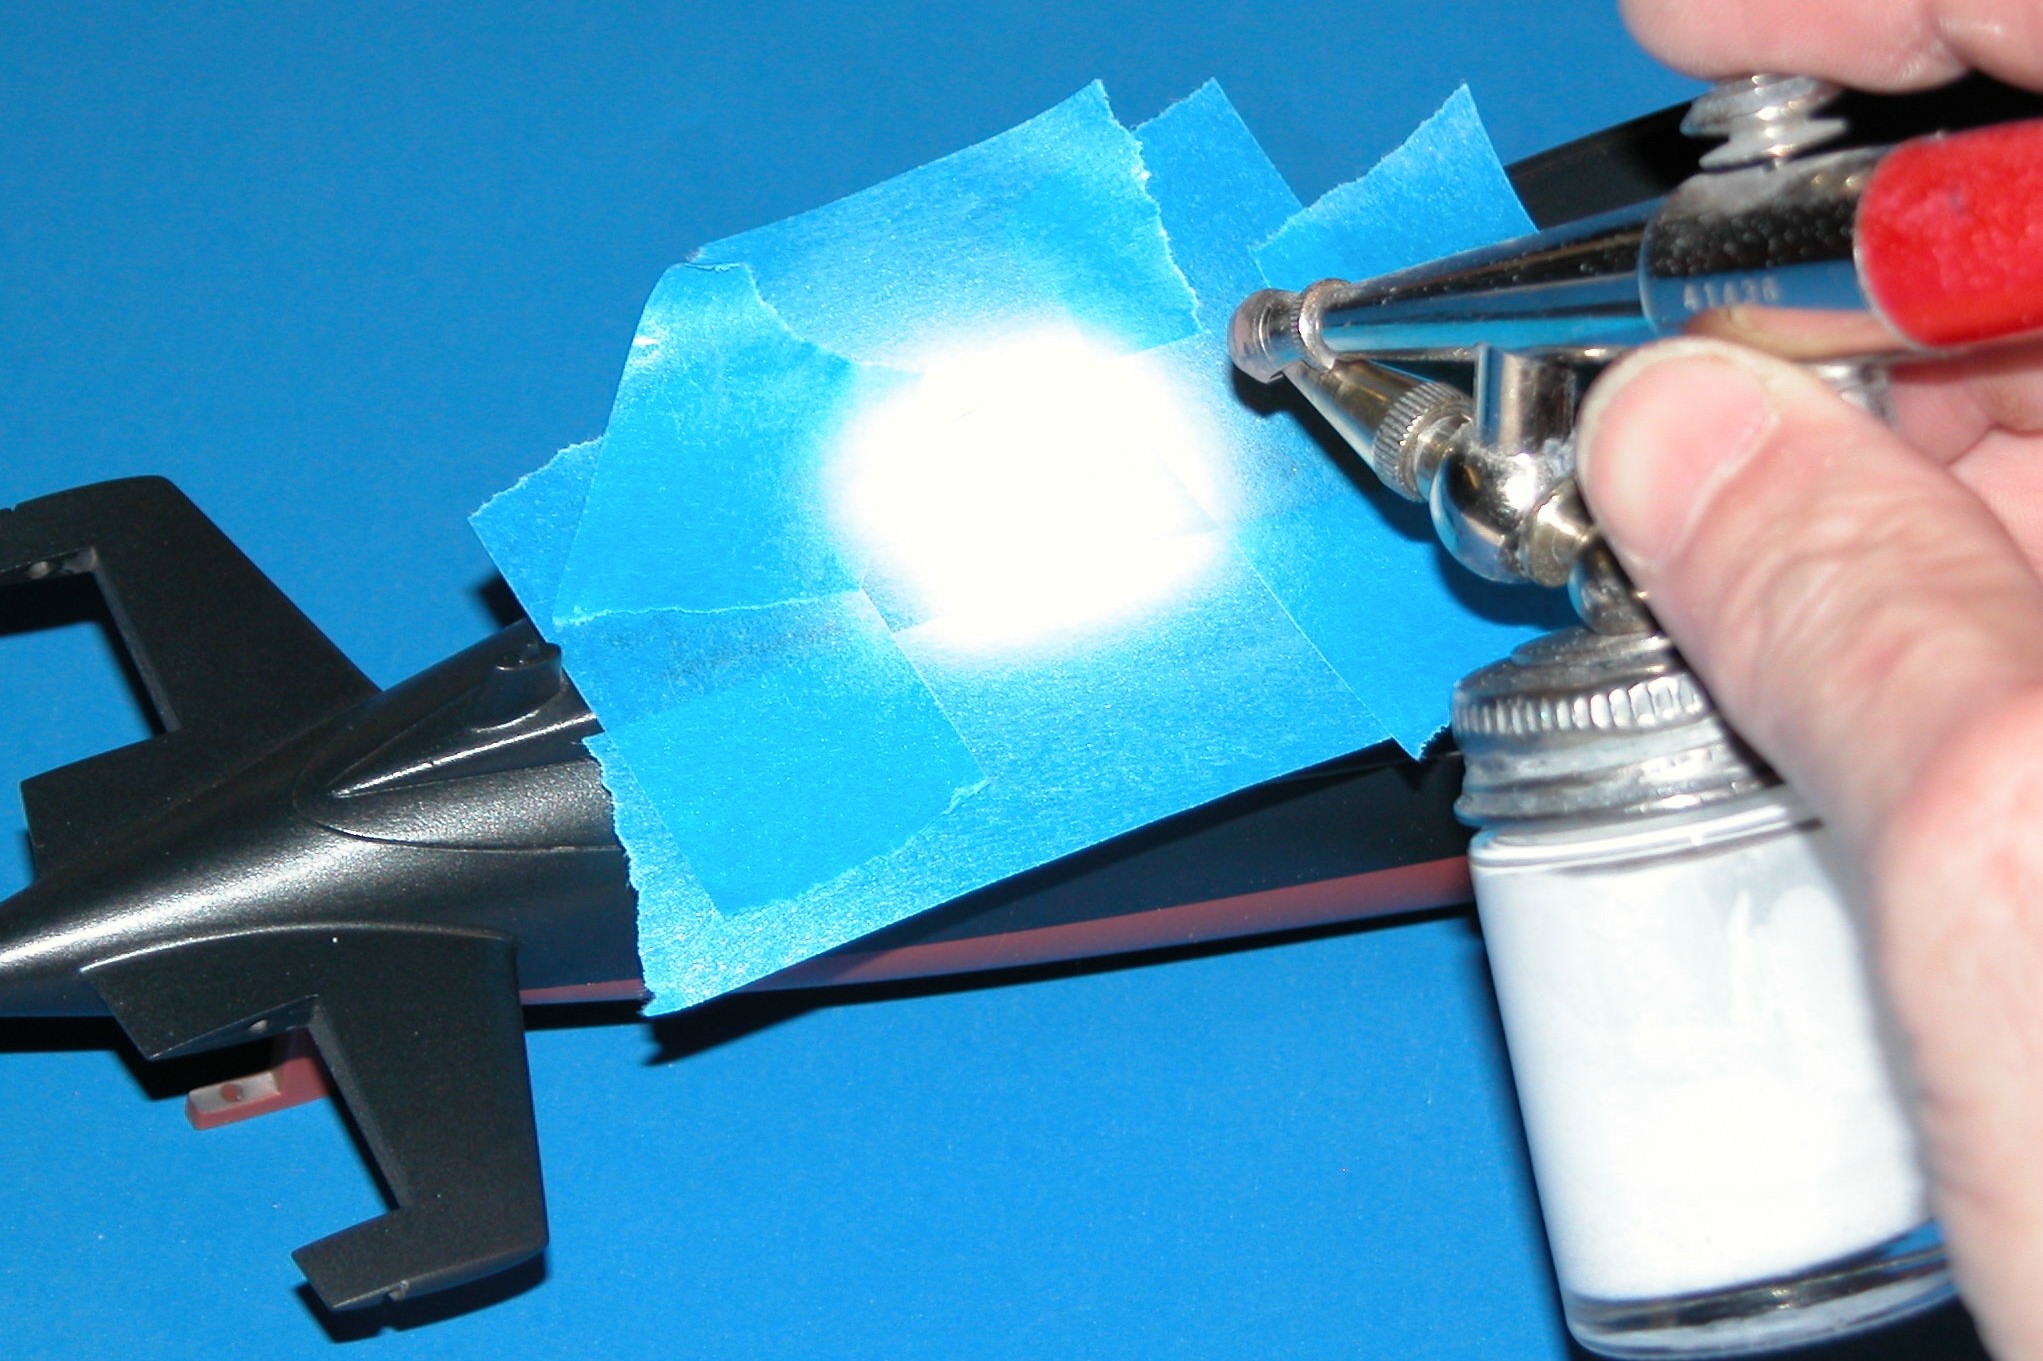
I'm going to get the boat painted with the basic colors, then after Groton and Subfest go crazy with this weathering, or TRY. Never used an airbrush so will have to do practicing before I tackle this. And decanting.Leave a comment:
-
-
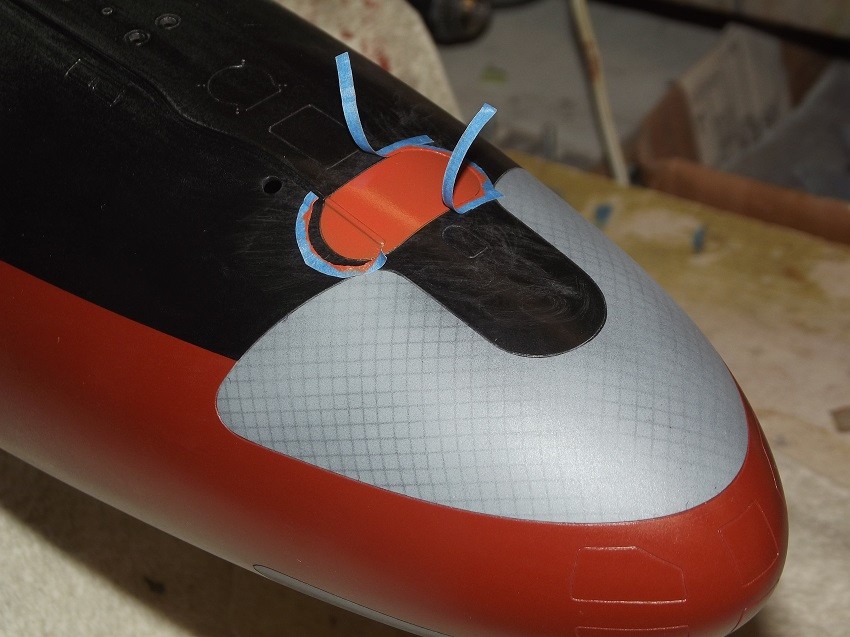
David. Can you show or point me to a link on how you painted the bow of the Skipjack? Can’t seem to find how you did it.Leave a comment:
-
Bob,
Yes, the process, at room temperature, is just asking for a painted ceiling if you over-size the vent/drain hole. That's why I punch the small hole outside, away from the van!
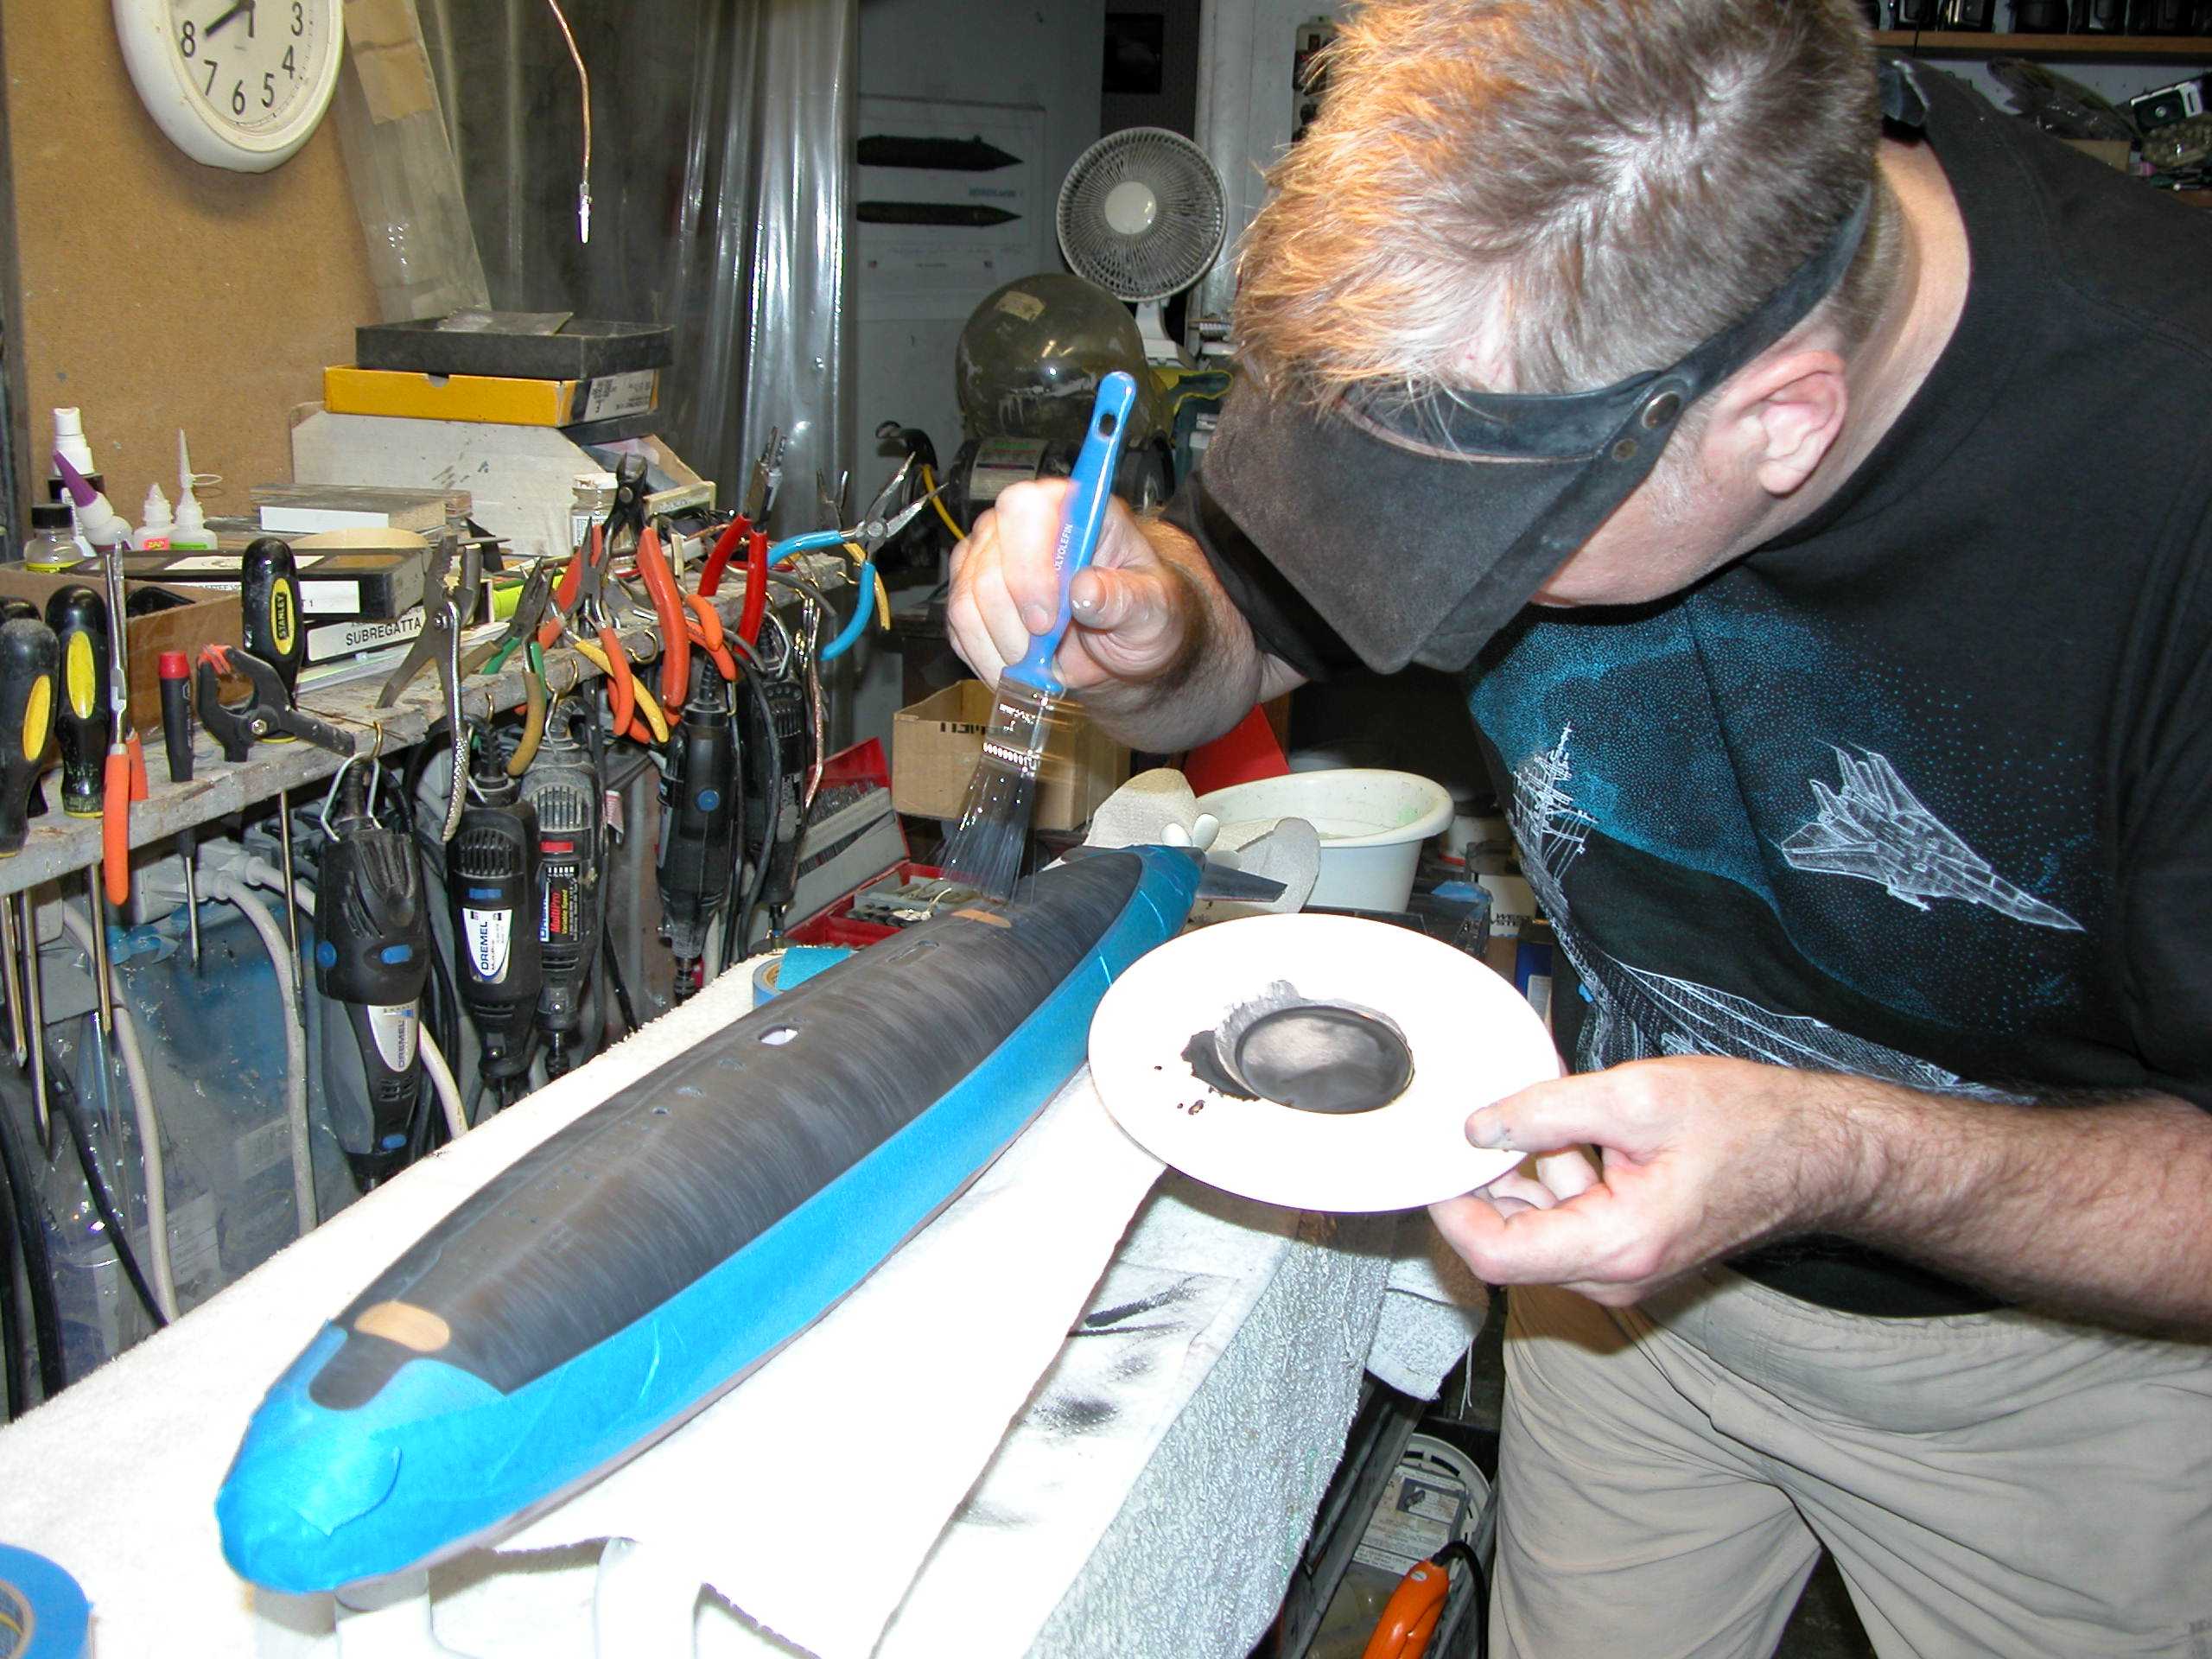
What I do is punch the smallest of holes and let the majority of the propellant boil away. Only when the sound of escaping propellent gas is just a whisper do I invert the rattle-can onto the glass jar I use to hold the decanted paint. Residual propellant is enough to force the paint out the hole without too much drama. Believe me, the process is an acquired art.
And if things go wrong with the process, things go VERY WRONG, and do so in a split second. Too big a hole, the paint will froth and shoot out the hole and into your face, ceiling, and any near-by spectators.
DavidLeave a comment:
-
Wow David-interesting decanting method-I wonder if you were to put the can in the freezer for a bit, and when you nail the can and invert ..would the pressure (and the possible mess) be much less .Leave a comment:
-
Go to your local art-supply store and buy a 'color-wheel'. Makes mixing to desired color easy. Walmart used to sell them in their 'crafts' section of the store.
ALWAYS apply a clear coat to even things out and protect the finish from abrasion and such.
Do your color checking under sunlight. You might be surprised.
DavidLeave a comment:


Leave a comment: