Welcome to our forums. For the best in R/C submarine kits, components and accessories, be sure to visit the Nautilus Drydocks
If this is your first visit, be sure to
check out the FAQ by clicking the
link above. You may have to register
before you can post: click the register link above to proceed. To start viewing messages,
select the forum that you want to visit from the selection below.
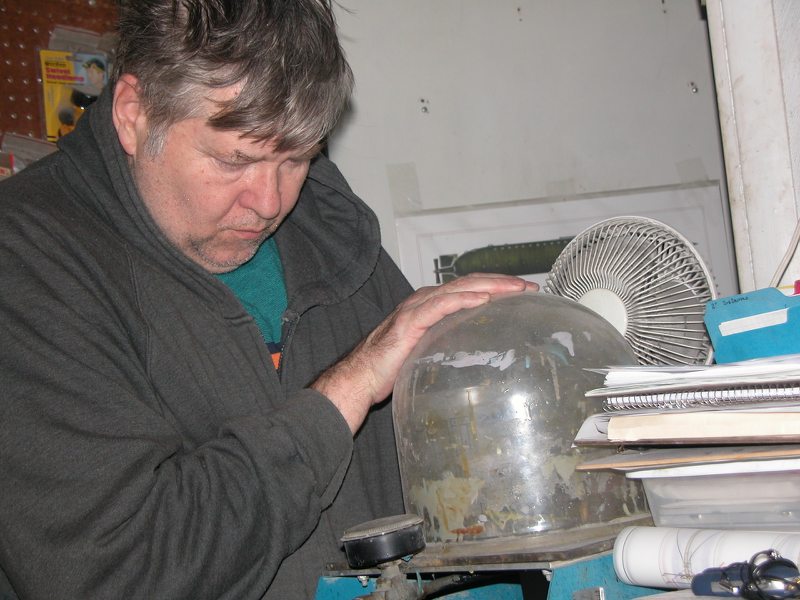
I've been away for two weeks and, man, is it good to be home. A few hours in the shed this afternoon produced this;
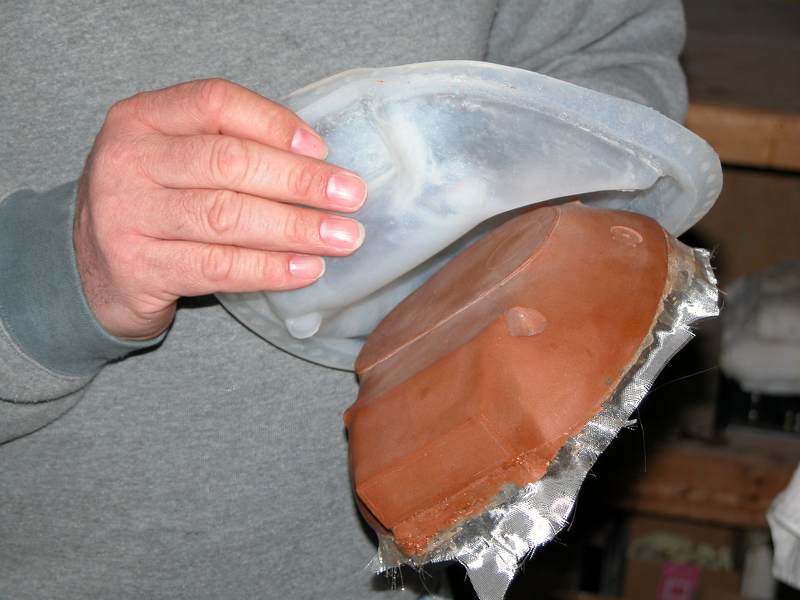
The rubber glove is thick and firm and its captured all of the detail, I think.
I cut the formers for the "egg crate" that will reinforce the hard back to the lower glove mould. All seems to be going according to plan at the moment.
I've been sticking the brass etched bits onto the plug today. This will make the final top section of the hull. I made a top section a while back that did not incorperate the brass bits as a practice run.
I finished the lower hull hard back this afternoon. I'll let it sit for a few days before pulling it off the moulding board.
Meanwhile there has been a lot of swearing and a small amount of etching. Talk about a black art - its taken me three goes to get this right. I'm not sure if the photosensitive paint has become insensitive of if I'm not giving it a long enough exposure (or if the developer has gone off) but its been a struggle. I finally managed to produce the sail grates:
So I took Bart's advice and started with three beers. Not long enough - more beers required. Strangely, things began to get fuzzy. She Who Must Be Obeyed enquired as to my disheveled state and I proudly told her, "ITS BART'S FAULT"!
This is the first pull from the practice mould. The detail is pretty good but I managed to get some air bubbles in the silicone - actually IN the silicon, not on the surface of the plug. The result is that there are some soft spots in the mould which translate into bumps on the finished item. I'm going the slow the cure time on the silicone next time to allow all the bubbles to work their way to the surface before the silicone sets up.
That's polyester gelcoat with epoxy backing. Hopefully the finished upper hull will be better as long as I can get the air bubbles out of the silicone glove.
That's polyester gelcoat with epoxy backing. Hopefully the finished upper hull will be better as long as I can get the air bubbles out of the silicone glove.
What you should do is subject the mixed silicon RTV mold making rubber to a hard-vacuum to de-air the mix. That will get rid of the bubbles. And if you're careful on how you apply the rubber over the master, you will get a bubble-free glove mold.
I brushed a thin coat of silicon onto the plug to avoiud any surface bubbles but, uinfortunately I don't (yet) have a vacume pot. As an alternative I'm going to mix up the silicone in a ratio that will give me a very slow cure. I'll let it stand for an hour or so before applying the next layer to the pug. I forgot to mention that although West System epoxy is available here, there is no 406 silica. They just don't sell it here for some reason; hence the decision to go with a polyester gellcoat.
And what in the name of all that's holy is that thing that you are holding in the last photograph. Looks like a helmet for an unfortunately shaped head!

 Tweet
Tweet


Comment