A Skipjack in Ireland

Collapse
X
 
  • Time
  • Show
Clear All
new posts

  • The Boattrainman
    replied
    This aluminium fitting is made to go under the piston tank motor and also acts to keep the tank centered and in in place.

    Click image for larger version  Name:	IMG_0874 (800x600).jpg Views:	1 Size:	214.8 KB ID:	120109Click image for larger version  Name:	IMG_0875 (800x600).jpg Views:	1 Size:	238.8 KB ID:	120110


    The Piston Tank is fired up to test the spindle fitting which runs through the holes in the styrene box over the battery.

    Click image for larger version

Name:	IMG_0872 (800x600).jpg
Views:	292
Size:	278.2 KB
ID:	120120Click image for larger version  Name:	IMG_0873 (800x600).jpg Views:	1 Size:	196.7 KB ID:	120108


    The forward end of the tank sits up to the drive motor housing with the outlet in it's slot.

    Click image for larger version  Name:	IMG_0878 (800x600).jpg Views:	1 Size:	229.9 KB ID:	120113


    A single piece of 3.2mm styrene acts as a top bearer, Engel don't recommend you glue anything to the tank in case the glue/epoxy warps the plastic, so the bearer is held in place with double sided tape. The bearer presses against the upper inside of the WTC, and helps keep an air gap around the motor so it doesn't touch the WTC.

    .
    Click image for larger version  Name:	image_34483.jpg Views:	1 Size:	283.3 KB ID:	120117Click image for larger version  Name:	IMG_0879 (800x600).jpg Views:	1 Size:	229.5 KB ID:	120114


    This 2mm rod inserted in the WTC shows the cooling gap between motor and WTC.

    Click image for larger version  Name:	image_34484.jpg Views:	1 Size:	241.2 KB ID:	120112


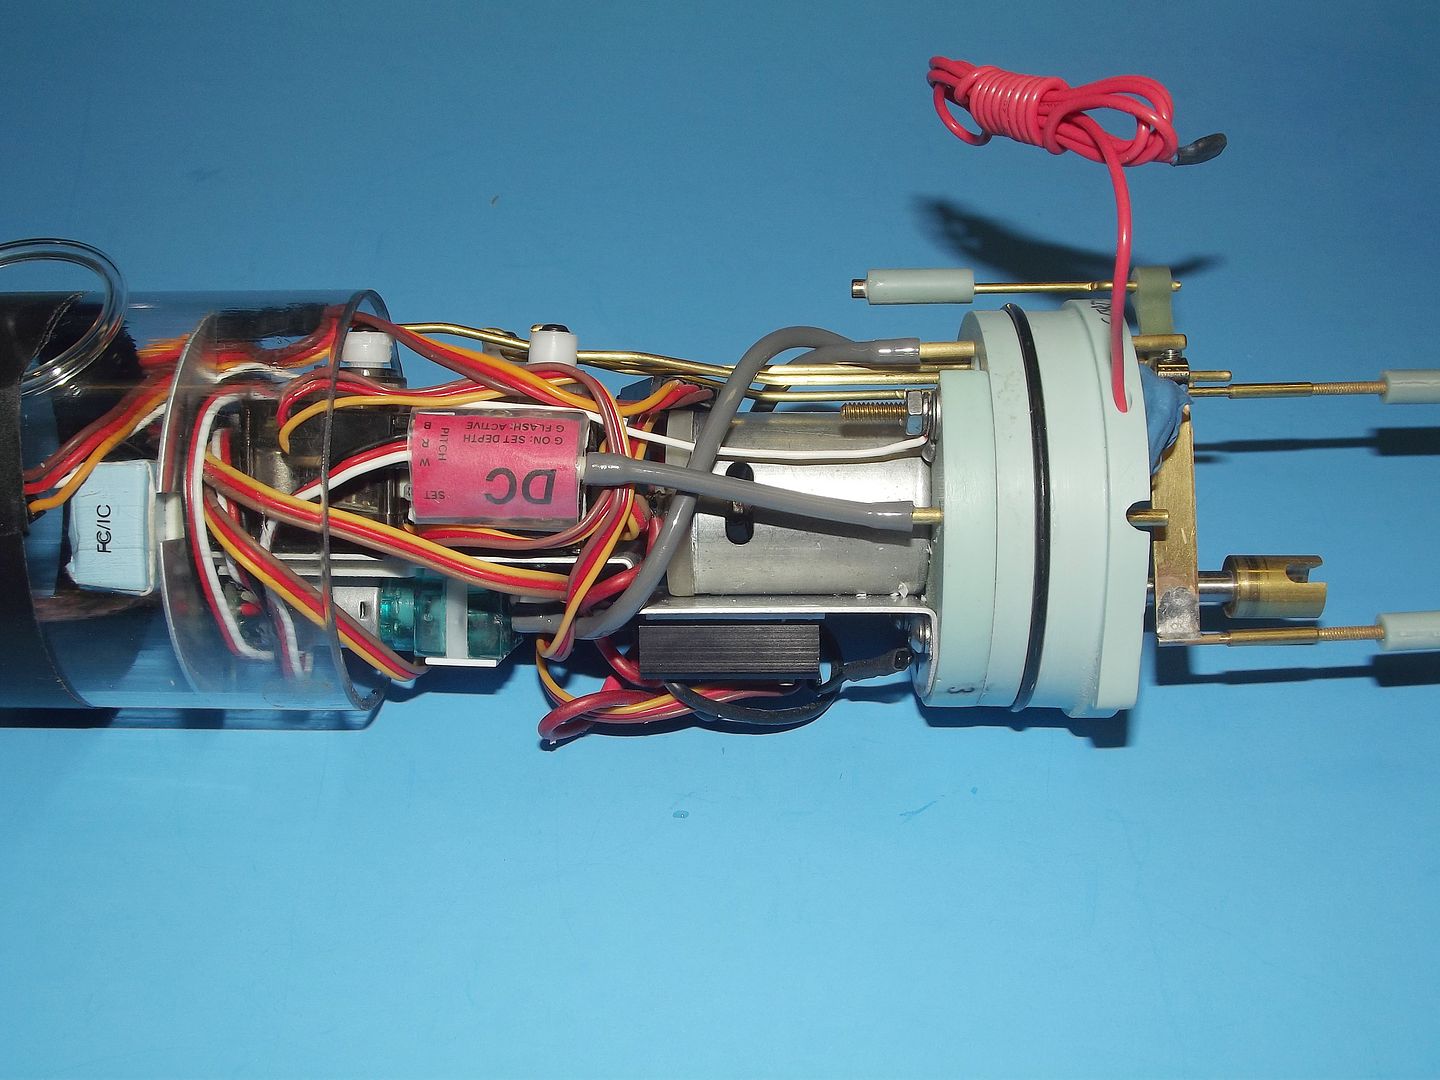
    The tank can't move in any direction as it's compressed on all sides inside the WTC.

    Click image for larger version  Name:	IMG_0880 (800x600).jpg Views:	1 Size:	301.6 KB ID:	120115


    That's the tank sorted, there's a lot of cleaning up of the styrene to do, but it fitted without any major problems.


    The Boattrainman
    Last edited by The Boattrainman; 02-22-2017, 06:35 PM.

    Leave a comment:


  • The Boattrainman
    replied
    The 500ml Piston Tank is exactly as per the dimensions on the Engel site, so my paper template was accurate.

    It came from Engel beautifully packaged and at 175 Euros seems good value to me, it's nicely engineered from good quality components.


    Click image for larger version  Name:	IMG_0864 (800x600).jpg Views:	1 Size:	273.2 KB ID:	120099


    The space on the tech rack for the tank is cut using a slitting disc in a mini-drill within the marked lines, initially it looks like it's done with an axe.

    Click image for larger version  Name:	IMG_0865 (800x600).jpg Views:	1 Size:	227.5 KB ID:	120100Click image for larger version  Name:	IMG_0866 (800x600).jpg Views:	1 Size:	241.9 KB ID:	120101


    The steel wires are now inserted through the entire WTC to add strength, 2mm sides added and a slot for the tank outlet cut.

    Click image for larger version  Name:	IMG_0867 (800x600).jpg Views:	1 Size:	240.4 KB ID:	120102Click image for larger version  Name:	IMG_0868 (800x600).jpg Views:	1 Size:	219.3 KB ID:	120103


    The tank is trial fitted, the slight overhang of the motor will be useful.

    Click image for larger version  Name:	IMG_0869 (800x600).jpg Views:	1 Size:	278.5 KB ID:	120104Click image for larger version  Name:	IMG_0870 (800x600).jpg Views:	1 Size:	278.7 KB ID:	120105


    It all fits snugly into the WTC.

    Click image for larger version  Name:	IMG_0871 (800x600).jpg Views:	1 Size:	277.6 KB ID:	120106


    The Boattrainman
    Last edited by The Boattrainman; 02-22-2017, 06:44 PM.

    Leave a comment:


  • The Boattrainman
    replied
    I replaced the nuts with these 3mm knurled ones on the rods.

    Click image for larger version  Name:	IMG_0859 (800x600).jpg Views:	1 Size:	238.1 KB ID:	120049

    The ones at the servo and motor end are glued to the rods (making them 3mm long bolts).


    Click image for larger version  Name:	IMG_0860 (800x600).jpg Views:	1 Size:	220.5 KB ID:	120050

    At the forward end, the rods are cut so that they come to the end of the knurled nuts when under maximum compression so I don't have to keep figuring out is the WTC fully sealed. The knurled nuts were a real bargain at less than 2 Euros for 20, and free postage from Hong Kong!

    Up next is the Piston Tank from Engel which will arrive this week.

    The Boattrainman
    Last edited by The Boattrainman; 02-20-2017, 12:34 PM.

    Leave a comment:


  • The Boattrainman
    replied
    Last picture of the On/Off switch linkage inside the hull (upside down) under the opening hatch.

    Click image for larger version

Name:	IMG_0857 (800x600).jpg
Views:	312
Size:	246.1 KB
ID:	119866


    The Boattrainman

    Leave a comment:


  • The Boattrainman
    replied
    Final version of schematics as per David's suggestion.

    Click image for larger version

Name:	IMG_0858 (800x600).jpg
Views:	114
Size:	321.6 KB
ID:	119864


    The Boattrainman

    Leave a comment:


  • The Boattrainman
    replied
    Roger that David, I'll def look at that option.

    Rob

    Leave a comment:


  • He Who Shall Not Be Named
    replied
    Originally posted by The Boattrainman
    Hi Guys,

    I'm open to correction on this but I think the Engel Uni-pro that drives the Piston Tank has a depth control function (using the 'hall' effect it counts the number of revolutions of one of the cogs).

    Also, and this may be a biggie, as Dave pointed out I may be light on volume of the Tank at 500ml (by Dave's calcs I'm short 200ish ml), so this may end up as a partial 'dynamic' diver, flood to conning tower/mast level and drive down under the waves, so depth control my be moot. To be honest, I dunno..............

    It'll have to wait till the Tank arrives.


    Rob
    Don't confuse 'hovering' (deliberate adjustment of ballast water weight to seek the 'ideal' neutral buoyant condition) with 'depth control'. Depth control is either achieved with bow/sail-planes or changing the angle-of-attack of the hull to water flow -- the classic Lake/Holland means of ascending or descending; both means require movement of the vehicle through the fluid.

    So, you may not have enough ballast tank for scale operation on the surface. In this case your boat, in surface trim, will have a waterline higher than scale. No biggie. Once you flood-down, you'll be golden. Get the boat near neutral and achieve depth control with either the stern or the sail planes. I prefer to let the angle-keeper do its job of keeping the hull level, and to work the sail-planes for depth control.

    Review this video as I explain how I do it.


    David

    Leave a comment:


  • The Boattrainman
    replied
    Hi Guys,

    I'm open to correction on this but I think the Engel Uni-pro that drives the Piston Tank has a depth control function (using the 'hall' effect it counts the number of revolutions of one of the cogs).

    Also, and this may be a biggie, as Dave pointed out I may be light on volume of the Tank at 500ml (by Dave's calcs I'm short 200ish ml), so this may end up as a partial 'dynamic' diver, flood to conning tower/mast level and drive down under the waves, so depth control my be moot. To be honest, I dunno..............

    It'll have to wait till the Tank arrives.


    Rob

    Leave a comment:


  • He Who Shall Not Be Named
    replied
    Originally posted by Albion

    I was wondering about this, the sail planes are pretty high, so you will not be able to dive it until the sail is under, and even then the planes would be close to surface. is that still good? i was looking to hook up sail planes direct to RX, and the rear planes via angle keeper so you could override the angle keeper.
    Yes, as you describe it: angle-keeper driving the stern planes for control of pitch. Direct control (you) of sail-planes for depth control.

    David

    Leave a comment:


  • Albion
    replied
    Originally posted by He Who Shall Not Be Named
    Get that Y-lead out and use the angle-keeper to drive only the stern planes. The sail planes don't have the moment arm to control pitch angle -- the stern planes handle that job.

    You want to stick a useful gadget between the receiver and the sail-plane servo? Then employ one of Kevin McLeod's great little depth-controllers. I'm using one on my little 1/96 KILO and depth control is hands-off!


    https://www.youtube.com/watch?v=nWrWKm95kCE&t=107s


    David
    I was wondering about this, the sail planes are pretty high, so you will not be able to dive it until the sail is under, and even then the planes would be close to surface. is that still good? i was looking to hook up sail planes direct to RX, and the rear planes via angle keeper so you could override the angle keeper.

    Leave a comment:


  • He Who Shall Not Be Named
    replied
    Get that Y-lead out and use the angle-keeper to drive only the stern planes. The sail planes don't have the moment arm to control pitch angle -- the stern planes handle that job.

    You want to stick a useful gadget between the receiver and the sail-plane servo? Then employ one of Kevin McLeod's great little depth-controllers. I'm using one on my little 1/96 KILO and depth control is hands-off!


    https://www.youtube.com/watch?v=nWrWKm95kCE&t=107s


    David

    Leave a comment:


  • The Boattrainman
    replied
    I've worked up a draft wiring diagram, so I've something to work off with the components roughly where they are positioned on the WTC.


    Click image for larger version

Name:	Skipjack Wiring.jpg
Views:	151
Size:	392.0 KB
ID:	119843

    The Boattrainman

    Leave a comment:


  • The Boattrainman
    replied
    Here is what the forward end of the WTC now looks like.

    Click image for larger version  Name:	IMG_0852 (800x600).jpg Views:	1 Size:	227.1 KB ID:	119697Click image for larger version  Name:	IMG_0853 (800x600).jpg Views:	1 Size:	247.5 KB ID:	119698


    The main switch push rod exits the WTC and send in two brass collars. The switch is loose till I decide it's exact location.

    Click image for larger version  Name:	IMG_0855 (800x600).jpg Views:	1 Size:	234.4 KB ID:	119699Click image for larger version  Name:	IMG_0856 (800x600).jpg Views:	1 Size:	215.6 KB ID:	119700


    The two collars finish up under the opening hatch and between the lugs of the hatch mounting mechanism under the fore deck when both halves of the hull are attached.

    Just stick a small screw driver head or other rod in the gap between the collars and turn the boat On or Off. Simple.

    The Boattrainman


    Last edited by The Boattrainman; 02-10-2017, 05:11 PM.

    Leave a comment:


  • The Boattrainman
    replied
    Hi Trout,

    Great tip, I'm stuck with the direct wires through the hull method on this one!

    This is what the back of WTC now looks like.


    Click image for larger version  Name:	IMG_0847 (800x600).jpg Views:	1 Size:	261.4 KB ID:	119691Click image for larger version  Name:	IMG_0848 (800x600).jpg Views:	1 Size:	279.5 KB ID:	119692


    The push rods are all in line, bent to the same angle and joined with brass collars that have been drilled to be a tight fit on both rods.

    Click image for larger version  Name:	IMG_0850 (800x600).jpg Views:	1 Size:	282.0 KB ID:	119693Click image for larger version  Name:	IMG_0849 (800x600).jpg Views:	1 Size:	281.0 KB ID:	119694


    The lower servo joins the reverse throw fitting, the servo arm of which has now been cut down to size and will take the movement up to the sail planes. It's all plastic, brass or stainless steel in the flooded areas.

    Click image for larger version  Name:	IMG_0851 (800x600).jpg Views:	1 Size:	246.2 KB ID:	119695


    The Boattrainman
    Last edited by The Boattrainman; 02-10-2017, 04:22 PM.

    Leave a comment:


  • trout
    replied
    Suggestion, for next time, the 4 wires that you drilled holes for. Put in 4 rods or solid brass wire, then solder the wires to that. David once shared that water worked its way through the sheathing and allowed water to get in. By soldering to the wire you make a dam that stops that, then you can seal it all in.

    Leave a comment:

Working...