Welcome to our forums. For the best in R/C submarine kits, components and accessories, be sure to visit the Nautilus Drydocks
If this is your first visit, be sure to
check out the FAQ by clicking the
link above. You may have to register
before you can post: click the register link above to proceed. To start viewing messages,
select the forum that you want to visit from the selection below.
More today, finished last mast. Scribing tool arriving tomorrow. After that should start to really move.
Really nice detail work on the sail and masts Steven!
I have never used the liquid mask before. So you lay down your base color, then the masking, and then the final color? Then what do you use to remove the masking? Am I right to assume you can then apply your clear coat?
Thank you, Rob. I tried for my own curiosity three different ways masking and painting. The colors here are a 2 in 1 primer Relleno Gris Transtar 4603 auto Body primer. This I purchased down at the excellent local auto body supply shop. The salesman recommended the one for plastics. I said I was building a RC submarine. He said he has built 'some 3000 model airplanes' . Quoting his words Ask for the plastic version, he said it had better penetration into plastic for a smoother hard finish. Or so he said.
The other two colors used in the photo for this particular building subject are:
Rust-oleum Painters Touch 2X Ultra Cover Vintage Teal in a satin finish.
Rust-oleum Painters Touch 2X Ultra Cover Midnight Blue in a satin finish.
On Masts #'s 2, 5, & 6 I used the rubber base liquid mask. I mentioned its name in one of the posts above in this thread. But any brand hobby shop liquid mast should do. Just lay it on thick, for easier lift off later.
On these masts they were first painted the gray primer overall. Then the liquid mask splotches are painted on in loose flowing blobs, the thicker the better. After drying in the cold garage over night, I then sprayed over all a light single coat of the Vintage teal.
Once completely dried, I used a wooden toothpick and my fingernail to lift and pull off the masks. I then washed the masts with some hand soap and warm water. Then I masked the mast tops horizontals surfaces for the Midnight Blue. When this was accomplished, and if all seemed good, I over sprayed the whole mast with a Testors clear flat or Testor dull coat to flatten down the translucency and even things out.
Mast #1 was painted in the same order (gray primer base) but instead used loosely cut masking tape and stuck on. Then I painted the Vintage Teal after overall. This tape method was a little easier to see and remove. But of the two ways, the liquid mask looked a little better to me. But at the pond, unless they read this post I doubt anyone could tell the difference but me.
Mast $3 (the slim attack periscope) I did a third way. Painting the mast the Vintage Teal over all FIRST. Then just hand painting gray splotches using a small hand brush. Straight forward simple.
Over all the results are all generally the same comparing next to each other. I think the Mask is the best-looking splotches because the gray spots are not a top layer, the green surrounding is the top layer. But it's so damn minute, it will all be forgotten when the sub is on the lake. The hand painting the splotches is the quickest way.
Then all masts are sprayed with a Clear Flat or Dull Coat in final step..
If your masts are a 3 D printed plastic part. (parts #2 & 6 in the photo) I think the liquid mast is good. With the other masts, the K&S 3/8 - Inch foil shape tubing is aluminum, extra care is needed (definitely use a wooden toothpick or good old fingernail to remove the masks so the aluminum doesn't appear underneath. If this happens dab on a little gray and that fixes easy.
If I had to do a again, I would use a slightly darker primer gray for the splotches. Color photos of the real masts seem to indicate being a tint slightly darker, but my gray used is very close.
The vintage Teal color in this project appears only on the masts, so it will not be needed again except for repair touch up.
Last edited by Albacore 569; 02-01-2024, 03:07 AM.
Thank you very much for taking the time to explain your process! I have two subs with masts that I have not completed and I will try the masking process on them.
Than you again for the great information.!
Scribing new TT Shutters. Making countermeasure ejectors. Ejectors made of brass on a brass back sheet. Pits in scribing Shutters puttied over and scribing tool run through wet putty to make clean channel. Then when dry light sanding till perfect.
Bob Martin made me a scribing template, and it was a pleasure to work with. Works perfectly. He off set the 3d print 'numbers and it wraps snuggly around the bow exterior.
Last edited by Albacore 569; 02-08-2024, 02:07 PM.
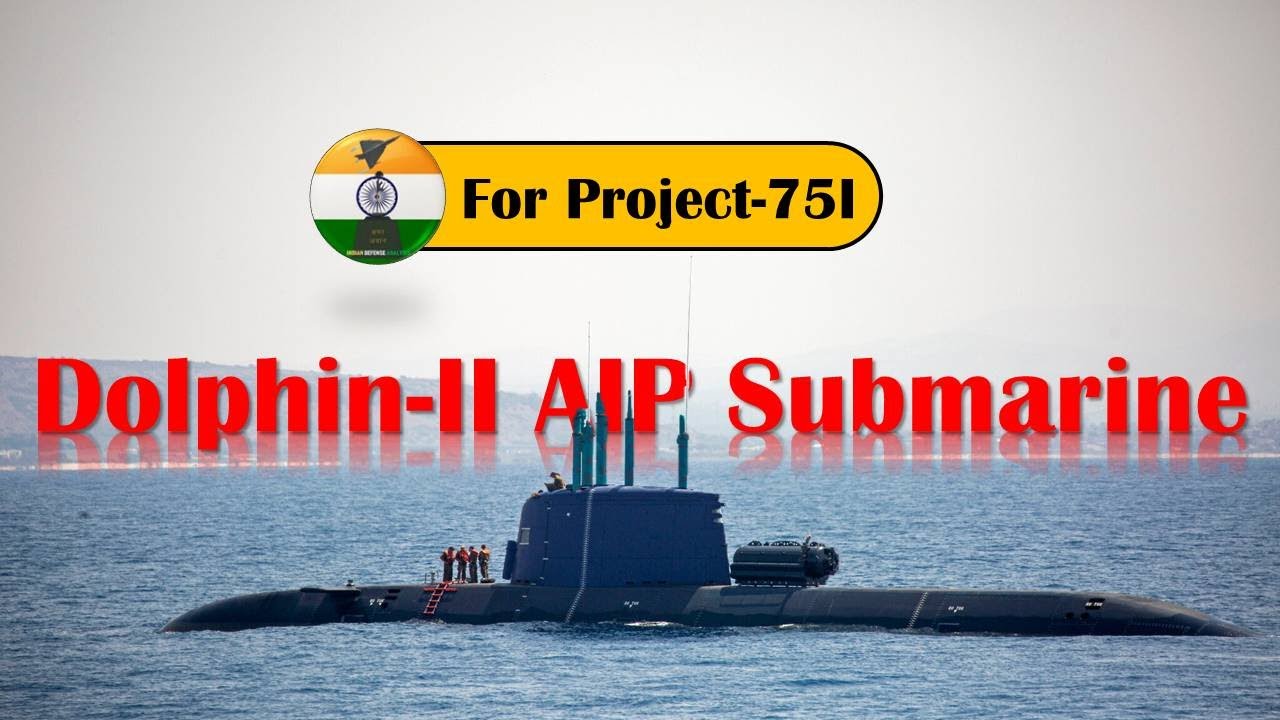
Had a surprise last night as I routinely continue to do more 'research searches' of the modeling subject. The Dolphin 2's still continue to not fail to surprise me.
The Dolphin 2's and the new Dolphin 3 at present are the largest subs bult by HDW. Howaldtswerke Deutsche Werft AG since World War 2.
Rumors in one questionable website on the Dolphin 2s had an illustration of a Dolphin 2 with possible vertical launch tubes midships. I logically compare the Dolphin 1's and the Dolphin 2's with an AIP system to generate electricity using oxygen hydrogen stored separately aboard the boat. Same as the 212A submarines also designed and built by HDW. I speculated the hull extension was just for the AIP system. The vertical launch system was only suspected but not confirmed publicly.
Enter the Indian Navy you tube video considering purchasing the Dolphin 2's for their Navy. The video spills the beans the Dolphin 2's indeed have an interchangeable Module or container (as usual - remarkable German engineering) for vertical launch tubes and much more!
Extra fuel, UUV,s (Underwater unmanned vehicles), UAV's (unmanned aerial vehicles, Mines, or a large swimmer lock out chamber. Wow. This gives these boats remarkable versatility equal to the present varied Naval missions/challenges around the world.
Its size I suspect is the same or similar to the Virginia SSN vertical launch tubes. This new independent video seems to confirm. Here at bottom is a freeze frame of the system allegedly n the Dolphin 2's. I will scribe in the new door on the casing today off set to starboard midships at the longitudinal balance point.
Last edited by Albacore 569; 02-07-2024, 07:11 PM.
I used my computer to make a simple diagram based on the you tube video 'still' above of the vertical launch tube canister.
The canister insert is designed to accept multiple mission packages. Question without a drawing, how does one extrapolate the size in 1/48 scale?
We see the canisters shape and there are 7 missile containers. based on this knowing the caliber of the Popeye long range cruise missile which we know is fired out the 26-inch diameter bow torpedo (4 farthest most starboard) bow tubes,
calculated my best guess the canister deck hatch is 6.5 feet in diameter. This is 1-5/8 inches in 1/48 scale. Placing the canister midships longitudinally on its longitudinal balance point because the weights of the varying cannisters will vary in weight - based on this I scribed in the 'missile hatch on this logic for what It's worth.
Last edited by Albacore 569; 02-09-2024, 01:55 AM.
Using a you tube video on how to cut my 5-inch diameter PVC pipe clean straight and perpendicular I cut and added the main hull section tonight. Coming together
Last edited by Albacore 569; 02-09-2024, 03:03 PM.
More work. ...Progressing well. Sorry sometimes I just like to stop, loosely place the masts in the c sail, and just look at her and see how far I've come and what's next. Cleaning the gray primer off my hands.
Deck details near done then will connect the top and lower hull casing sections together. Actually, detailing each casing section individually makes work scribing, putting, sanding priming and more sanding much easier before making into one. The new torpedo tube shutter scribing looks very good Bob, thank you for stencil.
Sanding in my cold shop, raining heavy outside (California), my internet pocket radio on KDFC classical music. Look them up on net. Classical relieves stress and promotes concentration I find.
The German 212A family lineage is seen here, but these Dolphin 2's are much bigger boats.
Last edited by Albacore 569; 02-19-2024, 11:21 PM.
I have gone through all 3 pages of your Dolphin build, and the similarities to the 212 A are in line. Especially the stern section and the "X" tail design. Looking at it, you must have had the same type design features for the linkages that I am currently building.for the 212!
More progress today and last few previous day and nights. The sanding to make casing sections all straight and true. The sections already were excellent, but I block sanded & things shored up a little tighter if possible. The 5-inch PVC pipe now needed adjusting to its final length (5.25 inch outside diameter) for exactly 1 /48 scale.
PVC pipe was slightly 3//32 inch too long deliberately. Used a metal strap common in all hardware stores as both a reference line and metal barrier guard to align perfectly for sawing and sanding.
Last I placed glass on a wooden board on the shop floor and placing the pipe upon it to look for rocking, then adjusting the high points off filing off so it sits completely flat and true. The Egyptians pored a thin layer of water over their pyramid foundations bases to assure the foundations were flat and true. My way is a lot simpler, But the pyramids are still around..lol
Now things are coming together and preparing to glue the sections together. The PVC pipe now adjusted and proceeding smoothly.
Last edited by Albacore 569; 02-23-2024, 08:05 PM.


Comment