
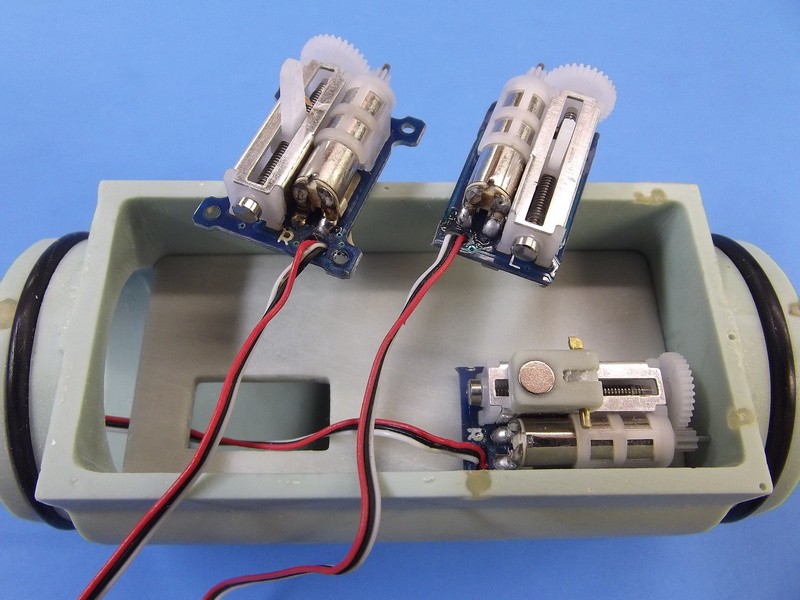
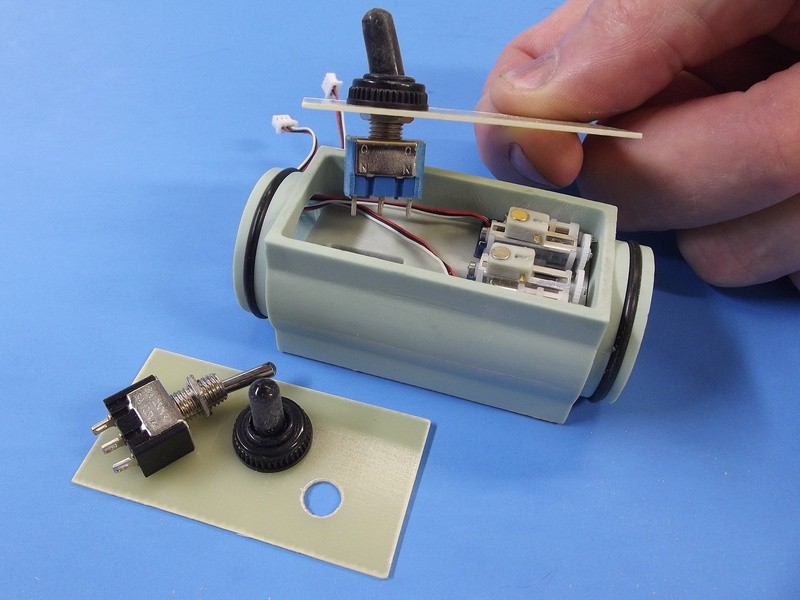
All knowing HWSNBN
I want to know if you're planning or currently doing RC conversions of the Trumpeter 1/144 JMSDF Soryu class, HMS Astute or their newly released Chinese PLAN Type 094 Xia class SSBN.
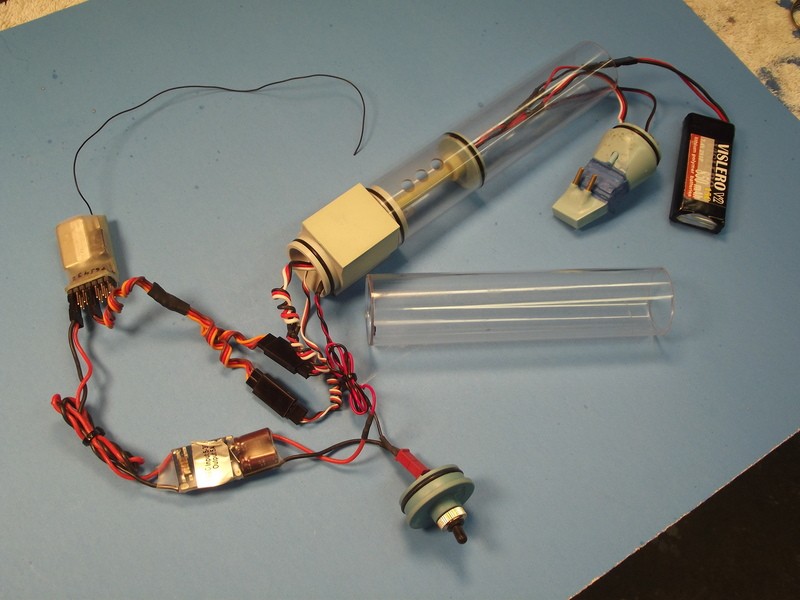
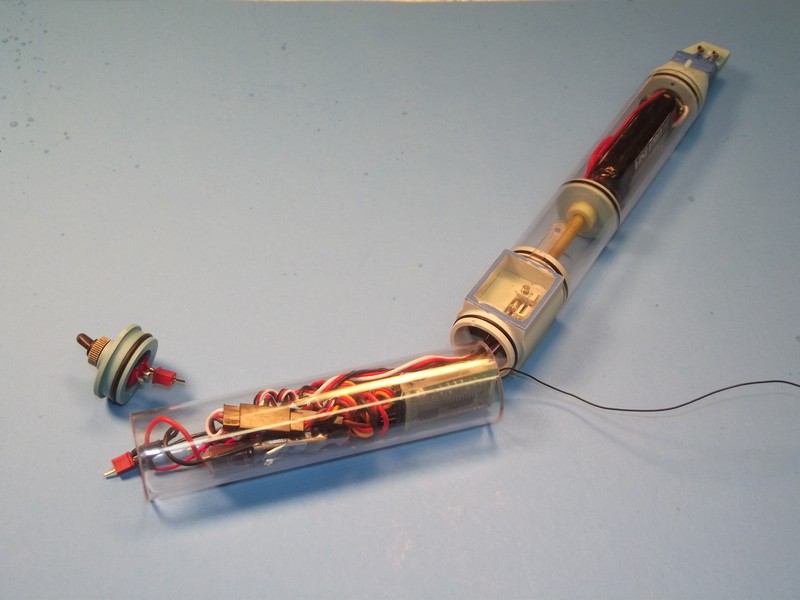
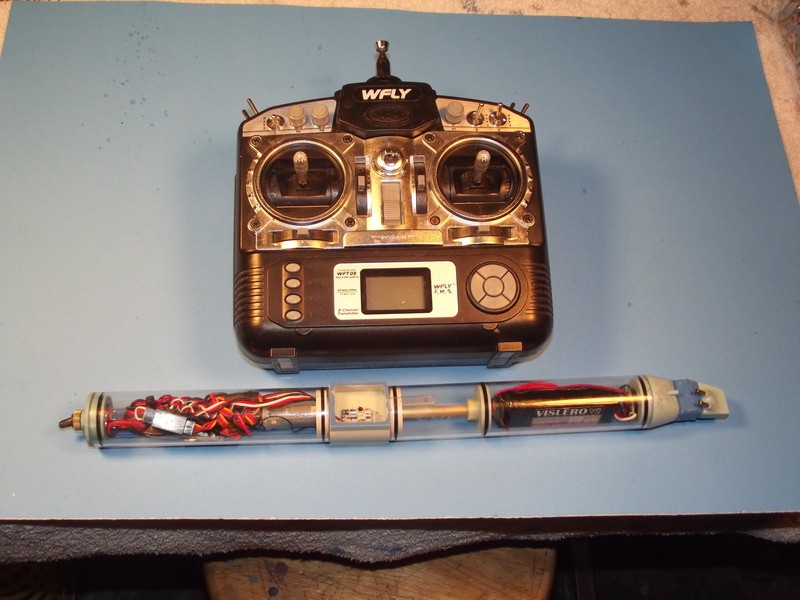
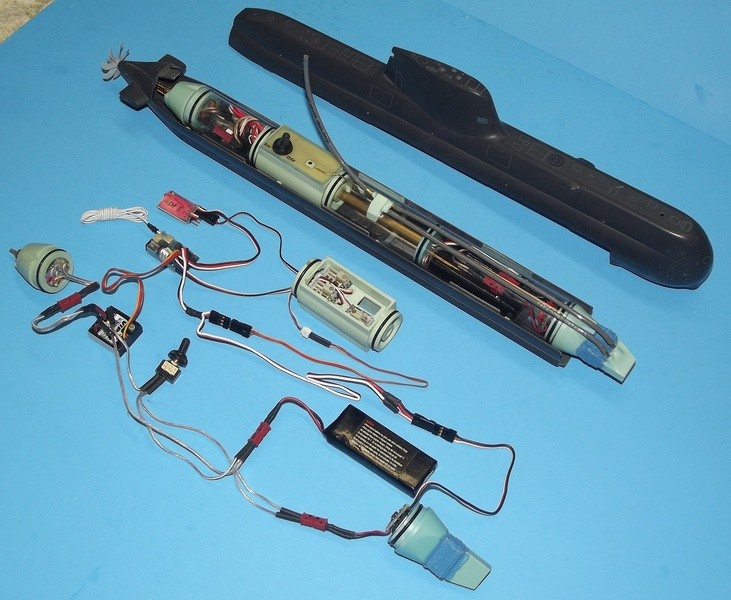
Some pictures of the Xia kit showing the separate stern planes as opposed to the fixed ones on the Soryu and Astute.
S


Comment