Welcome to our forums. For the best in R/C submarine kits, components and accessories, be sure to visit the Nautilus Drydocks
If this is your first visit, be sure to
check out the FAQ by clicking the
link above. You may have to register
before you can post: click the register link above to proceed. To start viewing messages,
select the forum that you want to visit from the selection below.
David, that JB Weld fast setting epoxy in the picture, so it remains hardened and stable just as slow-setting "standard" epoxy?
I am not using "5-min" epoxy for it decomposes over time and is not water-stable (UHU Schnellfest).
Net to get that JBWeld!
J�rg
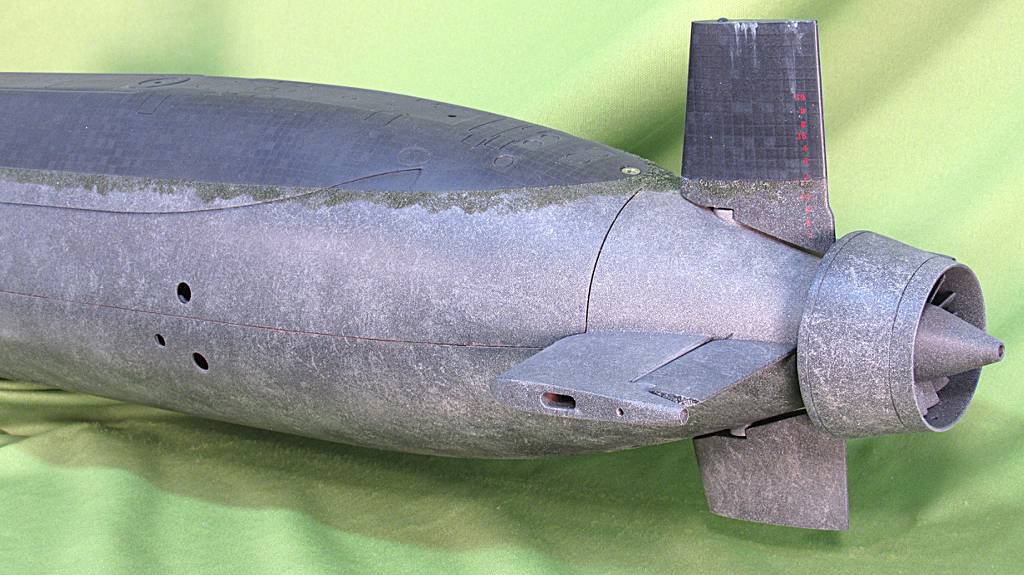
Your point is well taken. The quick-cure epoxy types have a different chemistry than the slow cure stuff. I only use the quick-cure epoxy on non-structural situations, like this decorative hemispherical anchor-light lens atop the TRENCHANT's rudder.


Leave a comment: