-
Who is John Galt? -
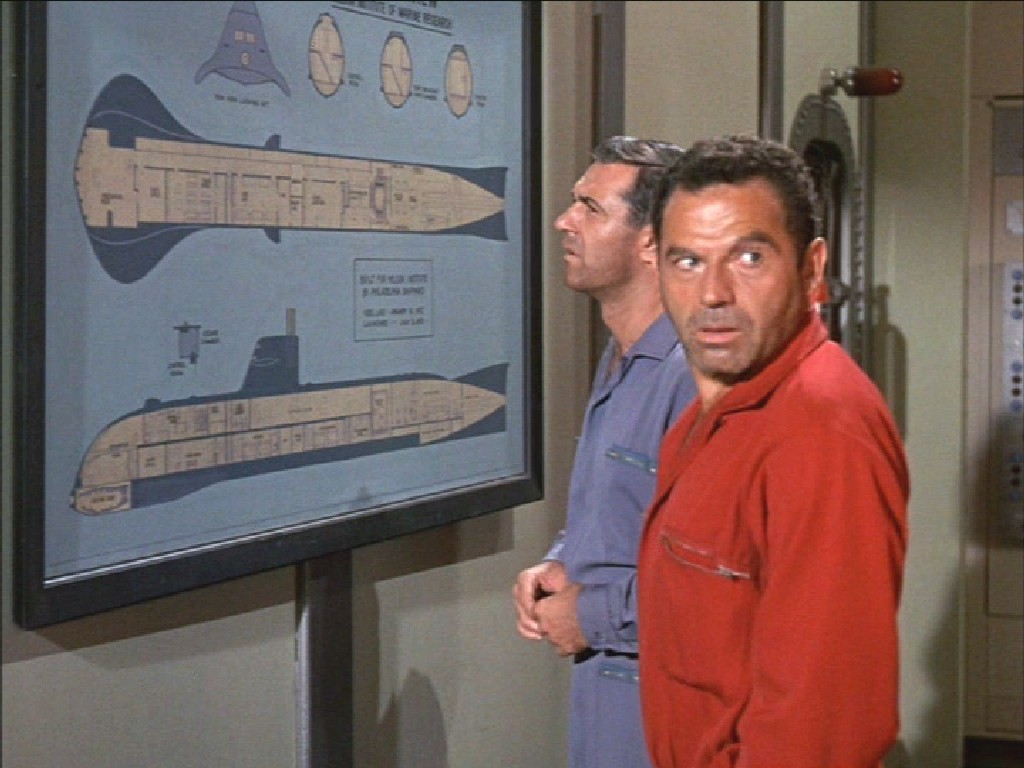
I know this is the SSRN SEAVIEW, but what get's me is that it could be playing out like the USOS SEAVIEW in the movie as she begins to evade the UN SKIPJACKS by heading deep.
Again.......an awesome photo worthy of your Windows background!v/r "Sub" Ed
Silent Service "Cold War" Veteran (The good years!)
NEVER underestimate the power of a Sailor who served aboard a submarine.
USS ULYSSES S GRANT-USS SHARK-USS NAUTILUS-USS KEY WEST-USS BLUEBACK-USS PATRICK HENRY-K432-U25-SSRN SEAVIEW-PROTEUS-NAUTILUSComment
-
… and there's never an octopus and a jar of peanut butter around at the shoot when you could use them!
DavidWho is John Galt?Comment
-
"congratulations, morons, you just flunked your second Qual-board!. Pack your sea-bags and say hello to the Fleet!"
 Who is John Galt?
Comment
-
Who own that seaview now?Comment
-
First and foremost, Merry Christmas to everybody. Work continues once again on the Seaview with some progress being made and one unexpected issue arising as well. First, I have purchased a pre wired lighting kit from TenaControls after being assured that it will fit my Seaview with minor modifications. The kit looks great and gives me several lighting options.
Next, I have cleaned up the rudders and added some details to both thrust tubes. I "borrowed" a modification from some guy named "Dave" by adding additional horizontal rudders to each tube and discovered that the left tube was 1/8 inch in diameter larger than the other. I am at a loss to explain how this happened. A casting mishap perhaps? To make matters worse, the starboard tube is not aligned properly with the other tube. The good news is that both replacement aft stabilizers have been installed and I have blended them into the hull using Evercoat and glazing putty. Despite the aforementioned alignment issue, the aft section of my project sub has taken a giant step forward.
Attached FilesLast edited by Groot689; 12-25-2019, 04:41 PM.Comment
-
-
I spent the better part of an afternoon sanding and filling seams, chips and this @#^$%^& "gel coat from hell" while applying the first of many coats of primer. While the primer was curing I redirected my attention to the bow by performing more sanding and removing the flood lights, the god awful red windows and blending the seams on the hull once again. It seems like every time I correct one flaw or mistake I encounter another. For example, one of the light bezels is missing and the replacement lens that I ordered from Dennis are significantly too large. I cant separate the front flood light and may have to look for a replacement AND there is a three inch split along the upper/lower margin of the portside "dive plane"? This was revealed when I started sanding and cleaning up the outer hull. My plan is to do away with the screws that secure the FS bay door with rare earth magnets and to fabricate some semblance of a FS bay compartment.
Attached FilesComment
-
-
Well, my Seaview Restoration Project is back underway after a six month hiatus and a near disaster caused by my clumsiness which resulted in knocking the sub off its table onto the workshop floor. Thankfully most of the repairs have been completed and I am ready to resume. Most of the work on the stern has been completed and I spent an afternoon filling in small imperfections with glazing putty. I decided to start putting together the control room. As previously mentioned, David provided me with most of the parts needed to put together a control room similar to the one featured earlier in this thread. I started with cleaning and priming the basic components such as walls and floor etc.
Last edited by Groot689; 06-06-2020, 07:43 AM.Comment
-
I used super glue and sheet metal screws to secure the main panels and then started on the white metal hand rails and girders as well as the resin cast furnishings.
Attached FilesComment
-
-
I reinforced the white metal girders with a straight "beam" from Plastruct and began painting floors, walls, furnishings etc. David included a set of figures cast from white metal and the parts for the spiral staircase. I am trying to decide if I want to invest the time in painting each of the figures since painting is not my favorite thing to do.
Attached FilesComment
-
-
I am putting the finishing touches on the control room in order to get it ready for installation into the hull. I started the assembly of the spiral stairs generously provided by David but have hit a snag. I sanded and drilled each of the resin steps and "installed" them on a piece of brass rod. My problem is fabricating the side piece and handrail.
The resin steps that I am using look smaller than in the pictures posted on this thread and I can't tell if the handrail section is cast or made from plastic strip or ?
David can you (or anyone) give me some guidance on how to make this piece? So far my attempts have been futile.
Comment
-
Thanks David for the additional info. This should help out a lot.Comment
-
Well, my last attempt at fabricating the spiral staircase did not turn out too bad. The next step is to perform a test fit of the control room while framing the flying sub bay. Hopefully, there will be enough room to fit the flying sub.
Comment
-
Aye Captain!Comment

 Tweet
Tweet


Comment