Monstrosity! 1/72 Seawolf
Collapse
X
-
Hi Mike,
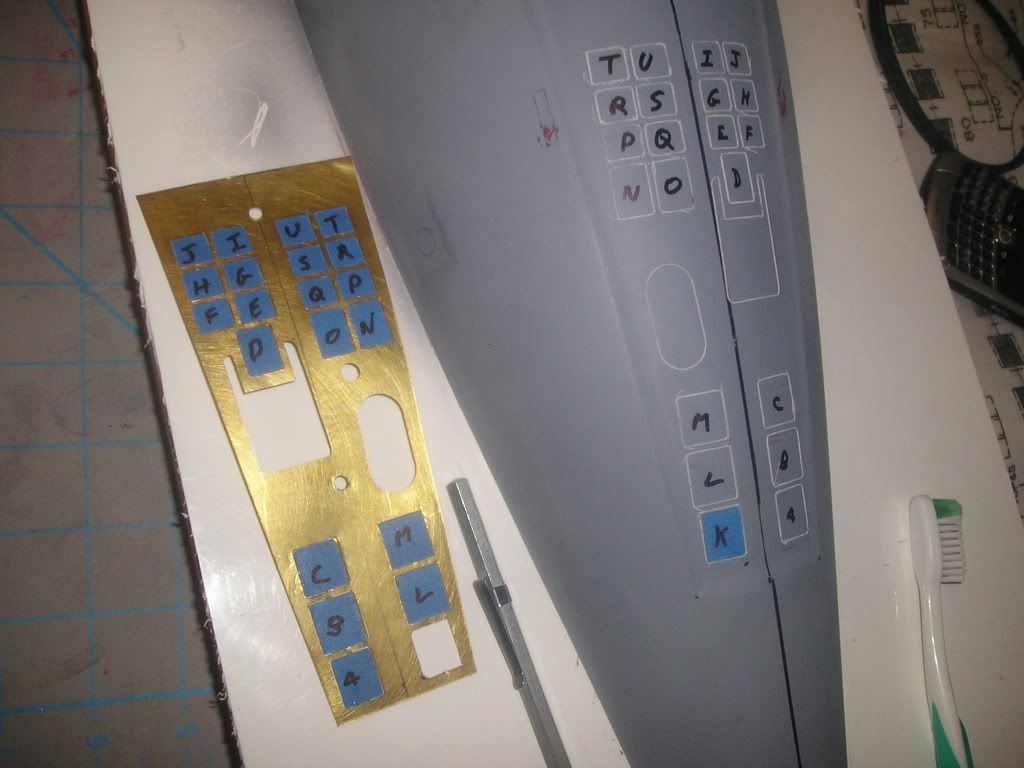
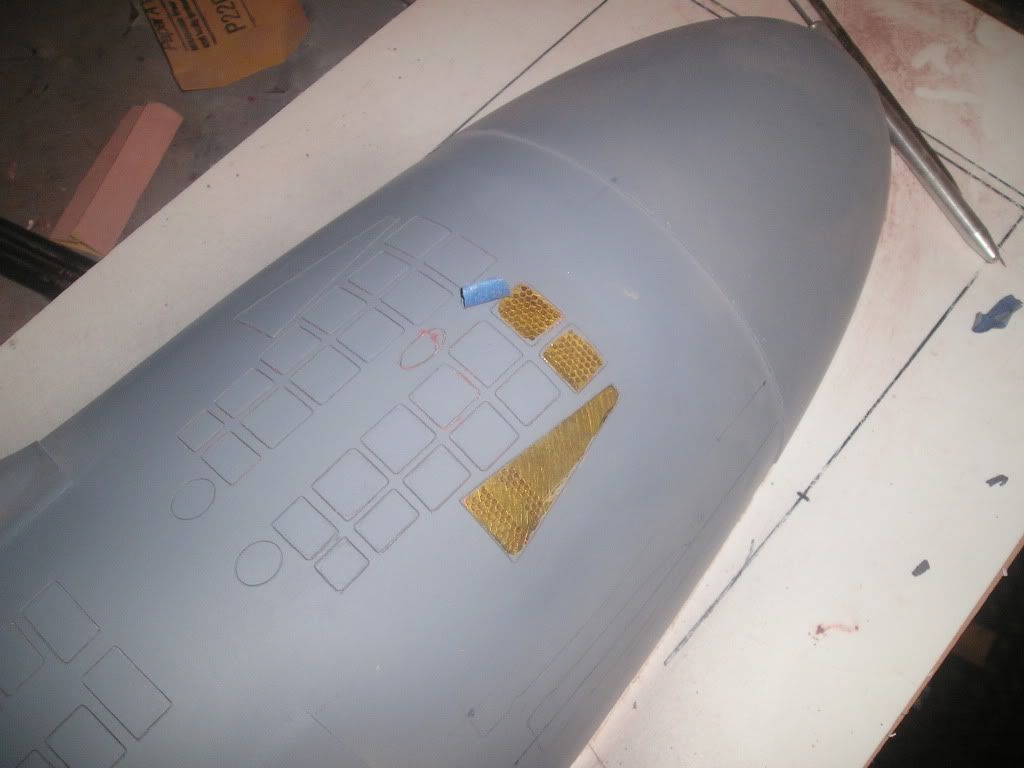
That specific shot shows the mast access plates that are to go onto the sail. These get cut out and adhered to to their proper spots for some nice detailing. What your looking at here is an almost finished piece that only needs a dunk in Sodium Chloride (NaOH) aka Draino to remove the remaining photo resist, the greenish blue coloured stuff.
This pic shows the access panels fairly well...
Comment
-
Using my cardboard circle jigs I now have an easy way to transfer measurements from my prints to my hull of revolution. This also gives me an easy way to re-mark my dead center line which runs the entire length of the hull as priming and sanding sometimes can eliminate the original line.
A long straight edge was held against the long side of the hull and a line is marked. I’ll put a square along the line and align the perpendicular arm against the front tip of the hull, mark that line off and I now have my front reference line in which I can clamp a piece of wood to. I can now butt my tape measure against that wood for my length-wise measurements
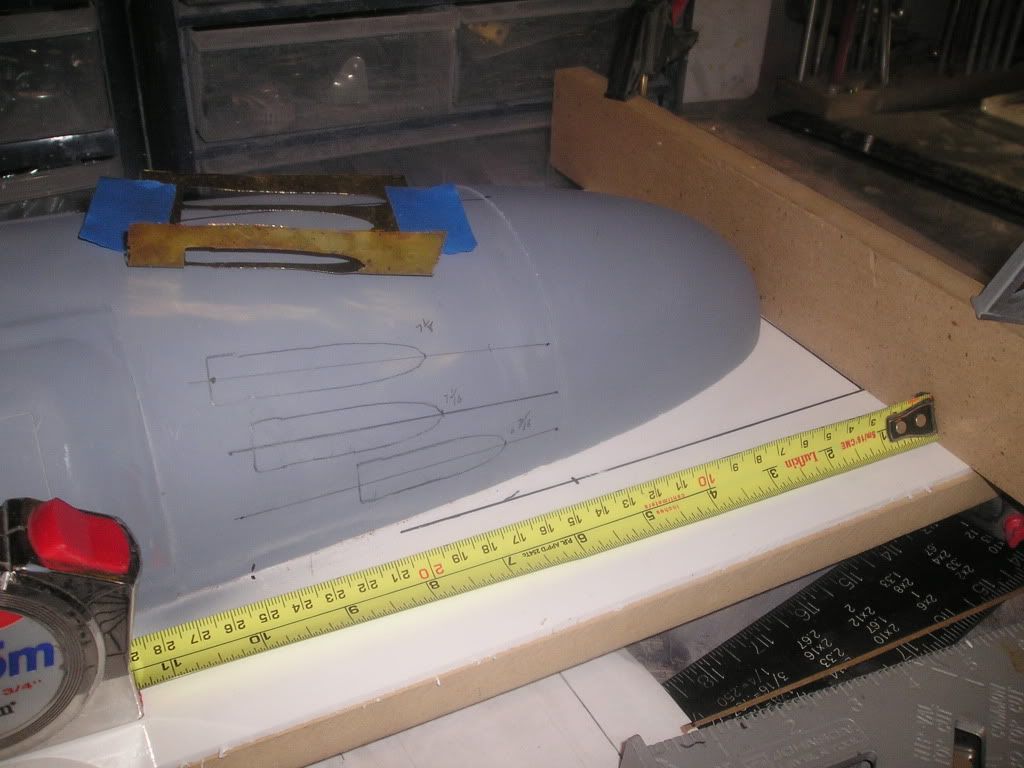
All lines are drawn out in pencil first...
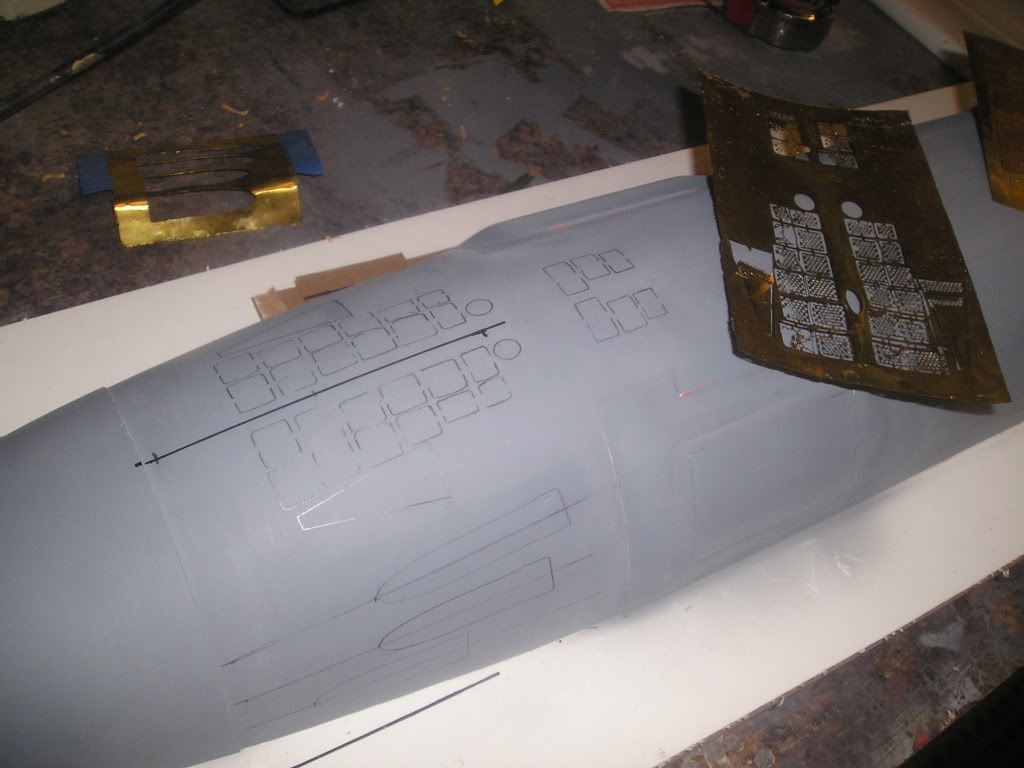
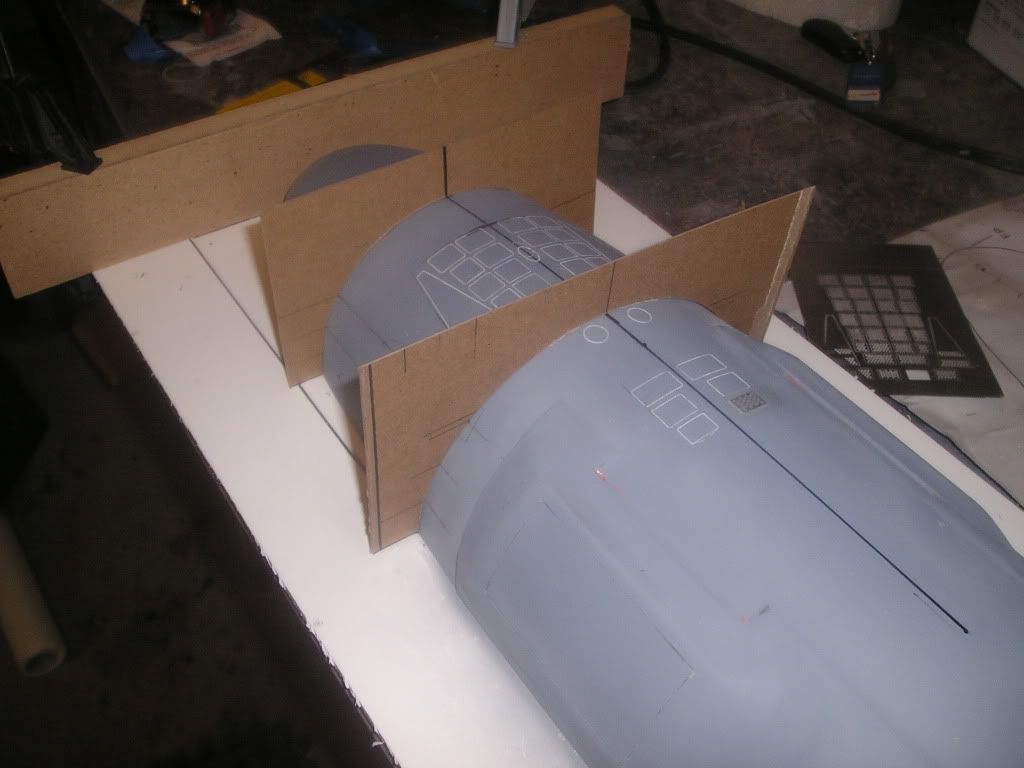
Now I can get down and dirty by using my grating photo etch set as a scribe template. I designed this set so that my scriber point would only fit in the line between the art and the metal that holds it in place.
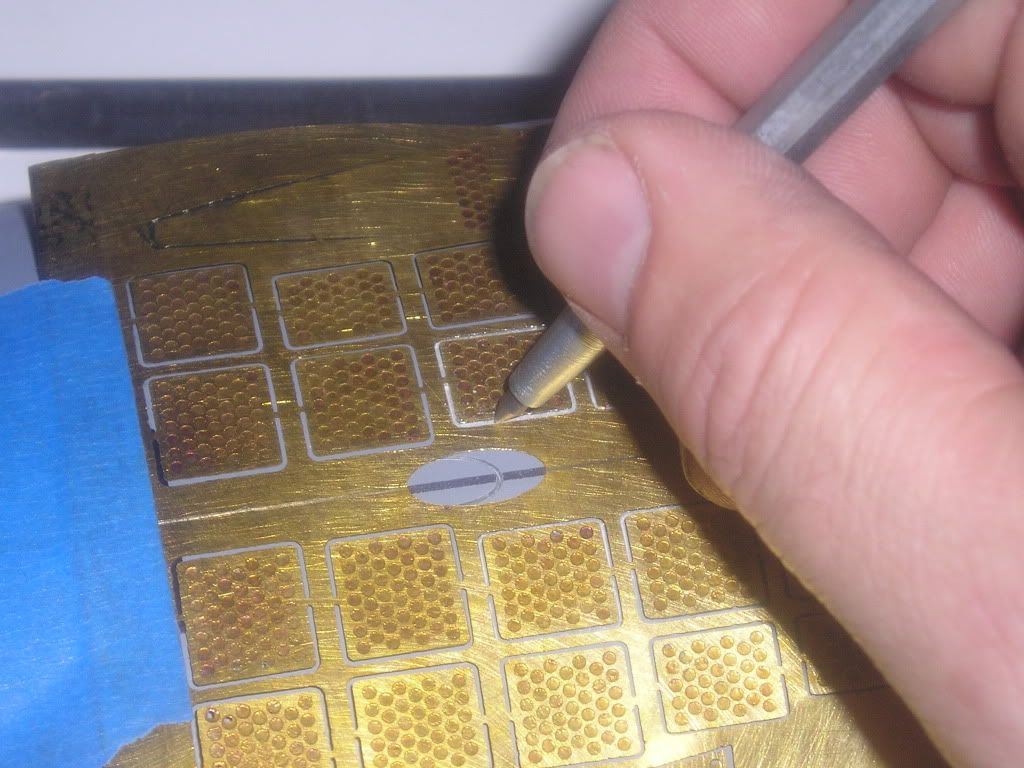
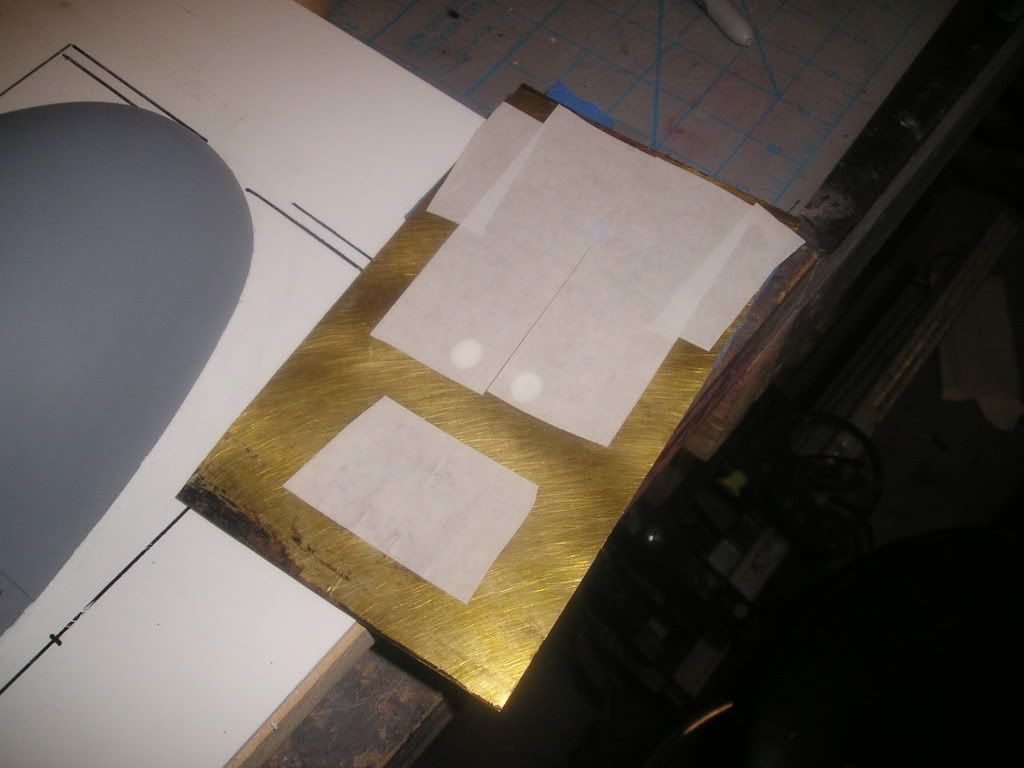
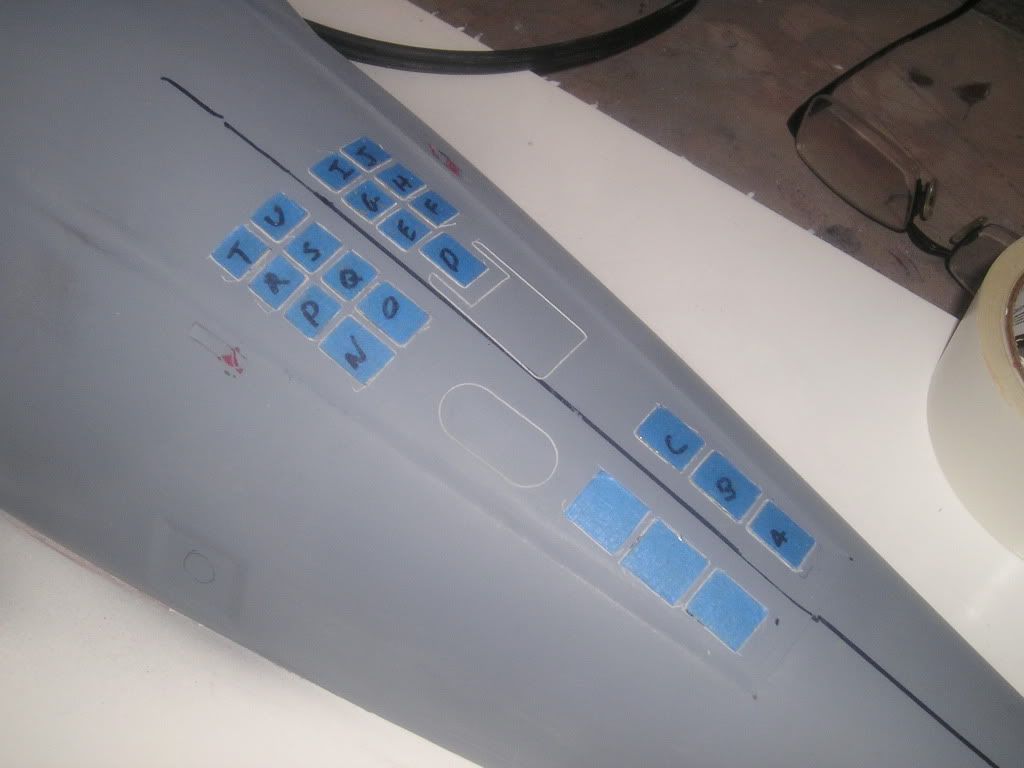
The photo etch parts that are to be adhered to the hull are covered with tape and cut to shape from the other side of the metal sheet. This tape will not be removed until I’m almost ready to mould the hull. Its function is to protect the subtle etch art from sanding and primer over spray.
Double sided carpet tape is adhered to the back of the sheet and once again is cut from the other side.
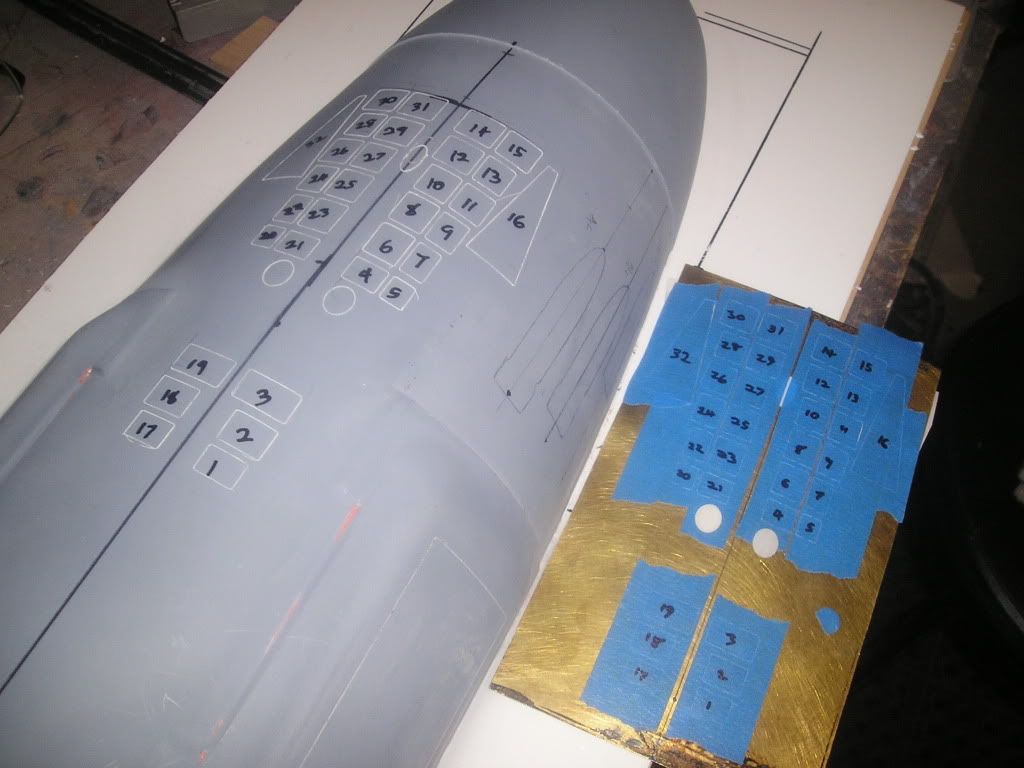
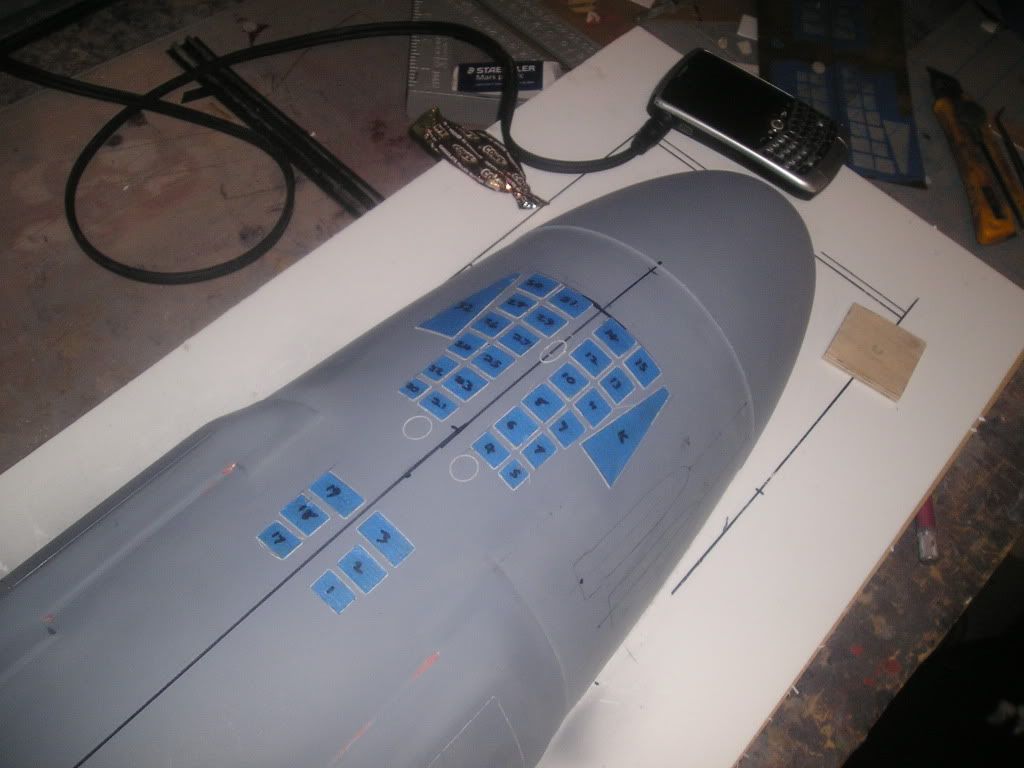
Now I carefully cut the art pieces from the sheet, remove the sticky tape barrier and carefully place the part in its scribe mark on the hull
Comment
-
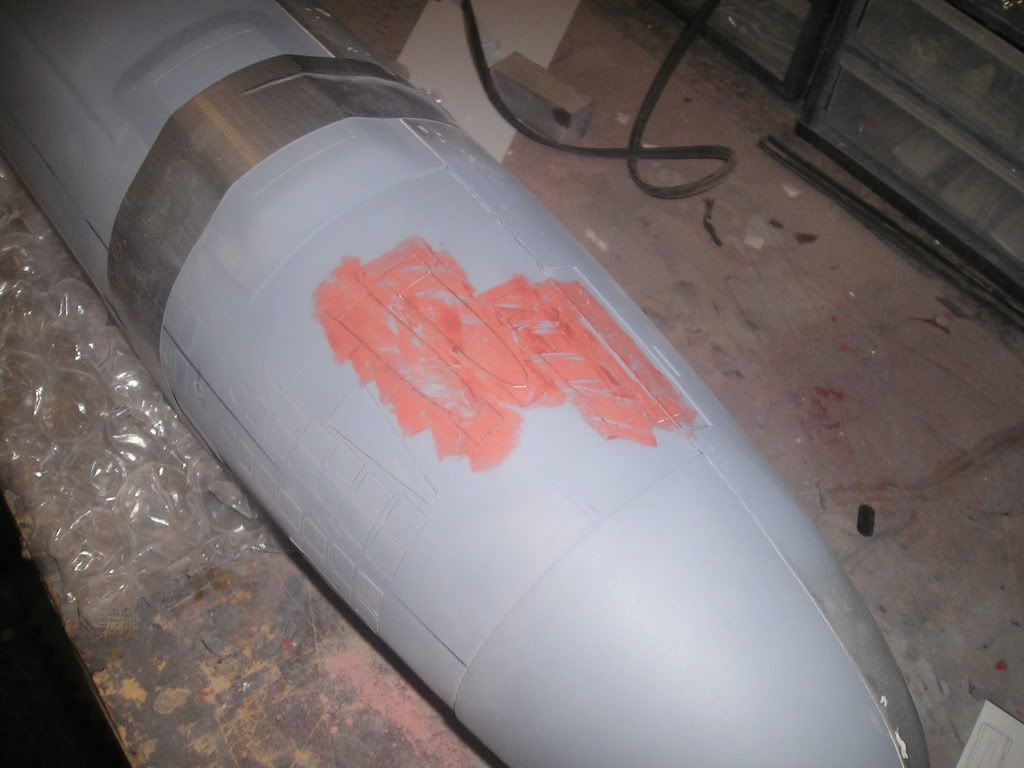
The spaces between the parts are filled with red putty and the lines are re-scribed against the parts. The putty dries, is sanded flush, primer applied and the work is then repeatedly cleaned up by repeating the process.
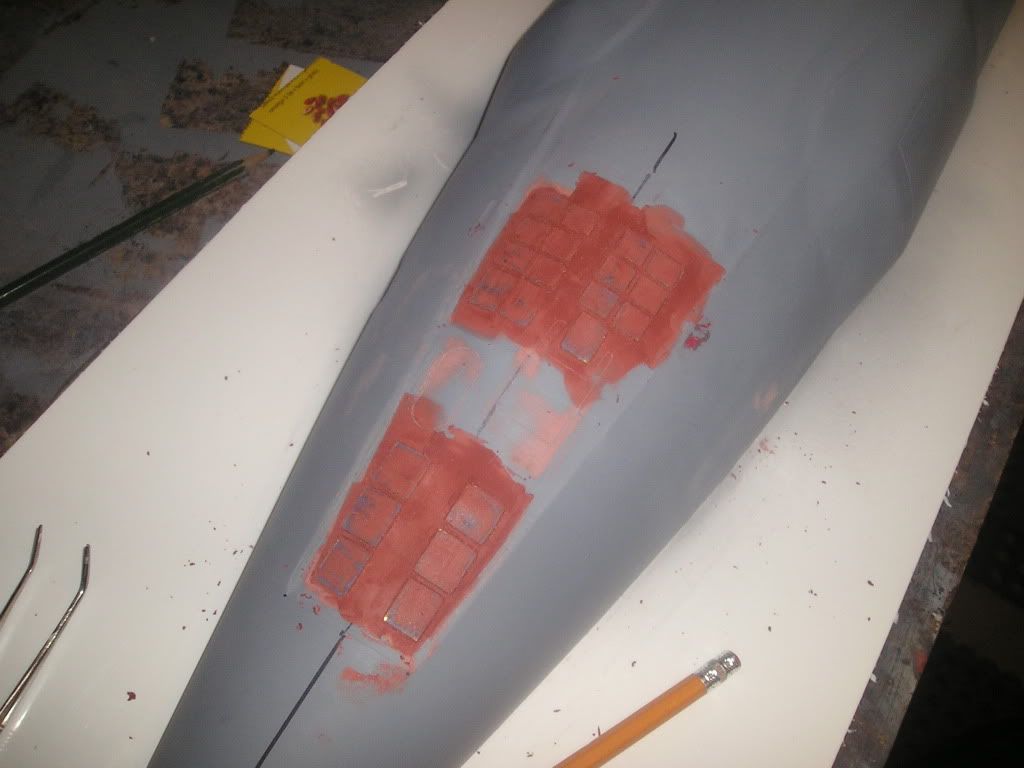
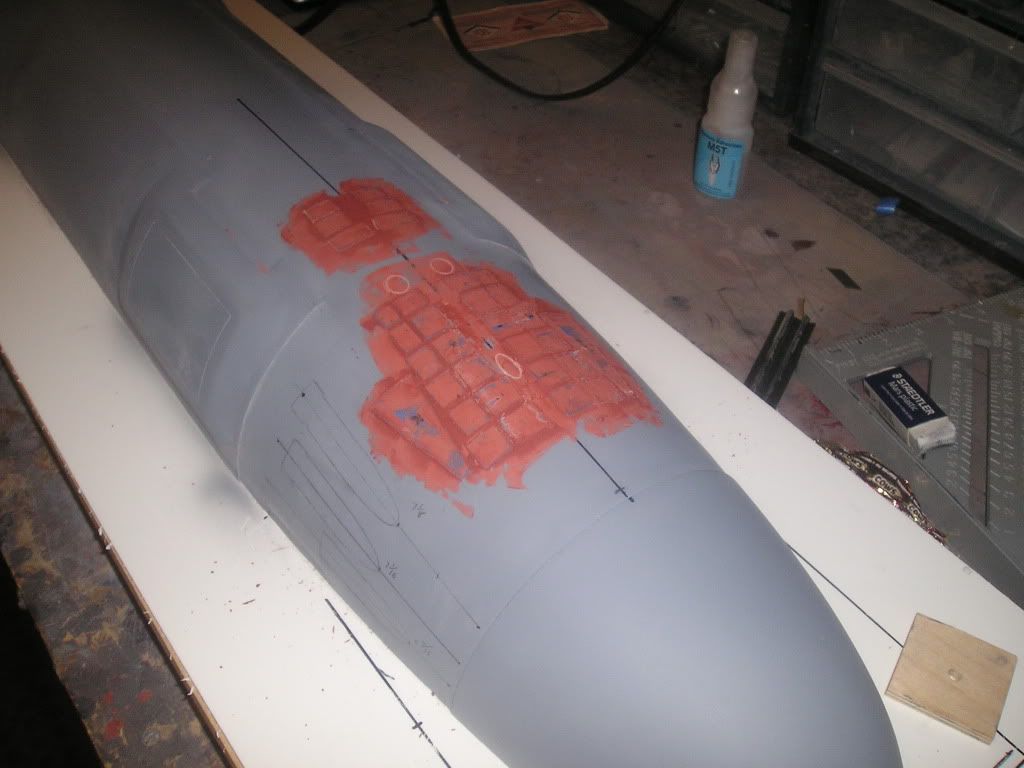
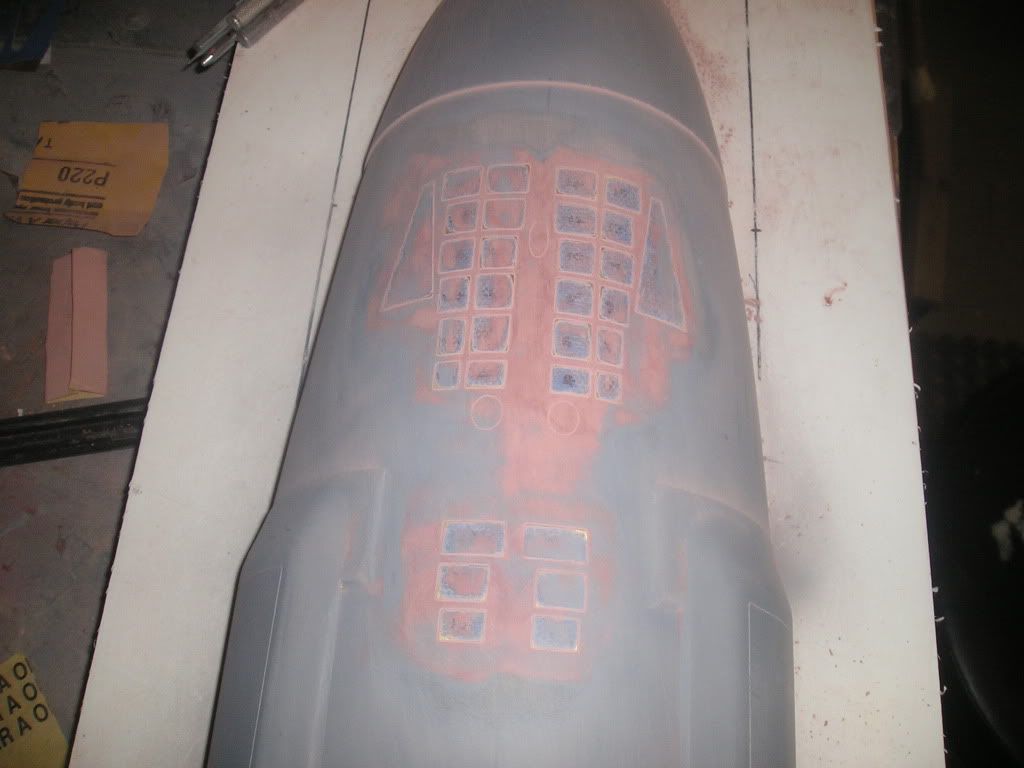
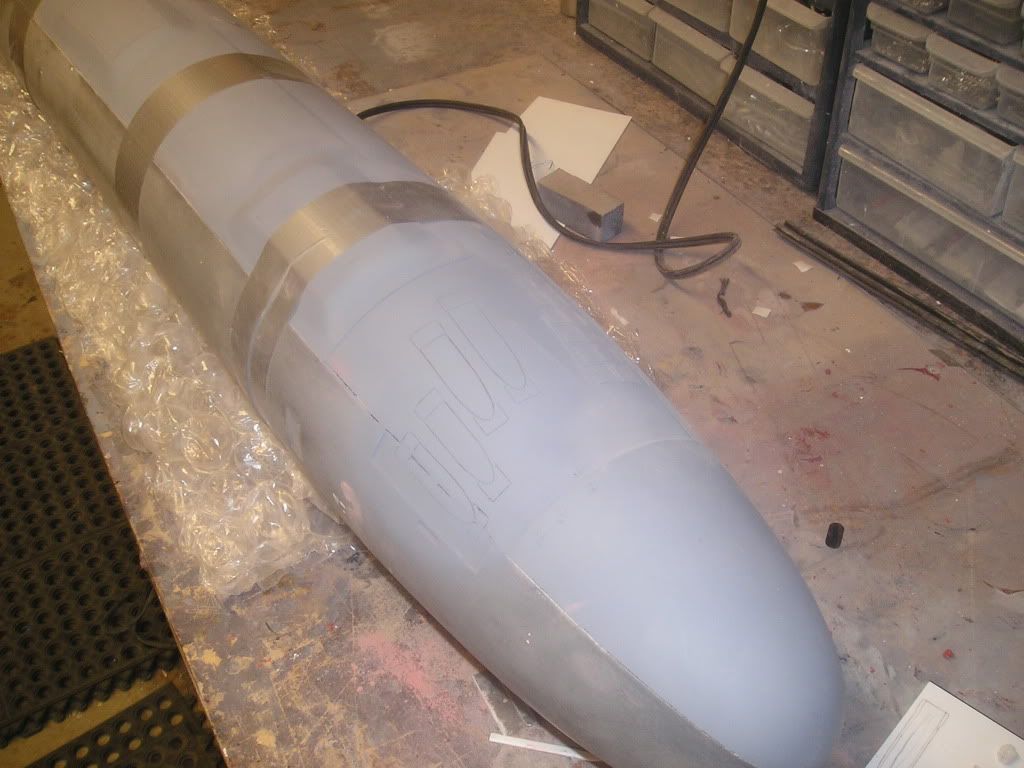
Here’s a little glimpse as to give the general idea of what I’m trying to do here. The tape will be re-applied...
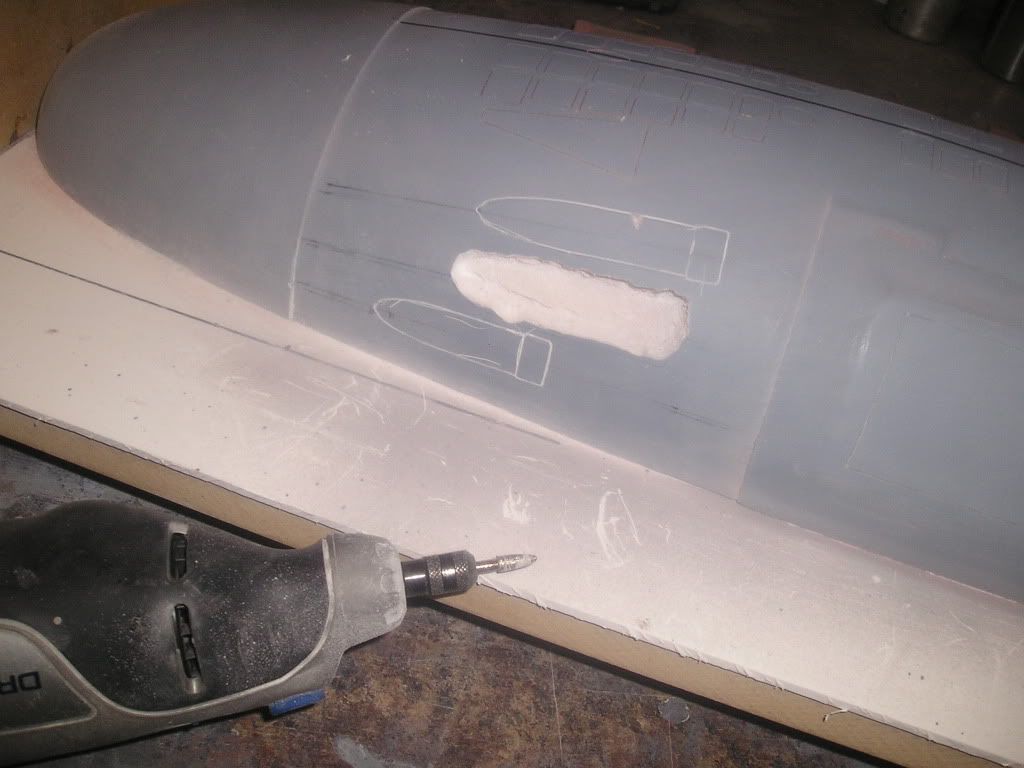
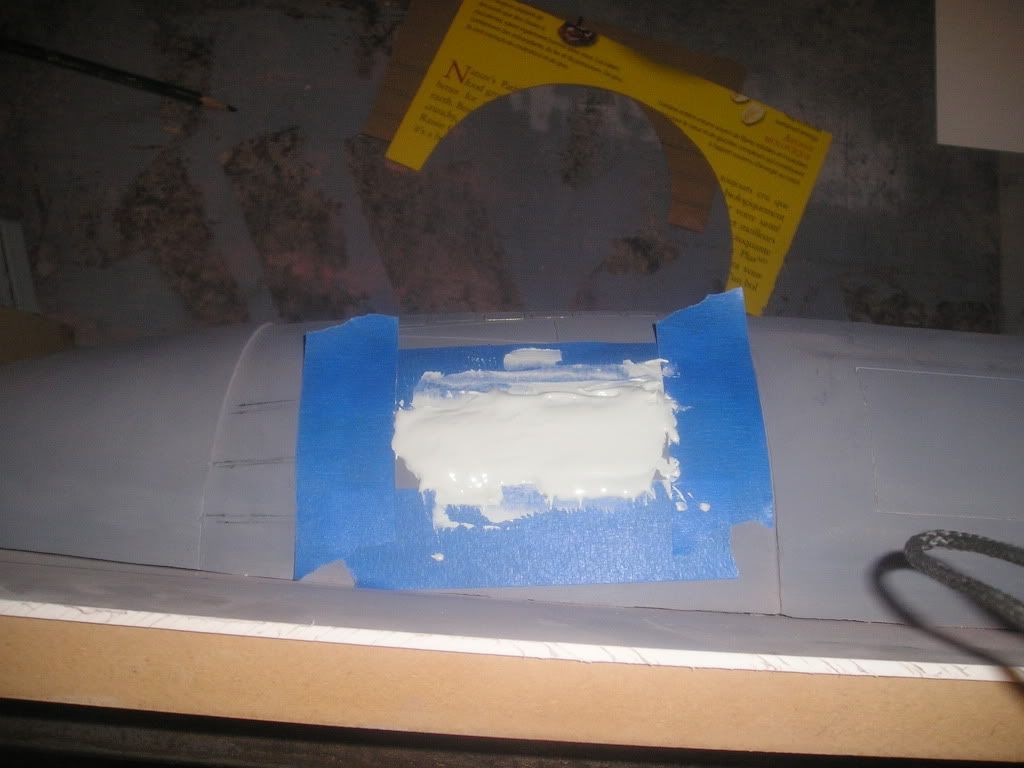
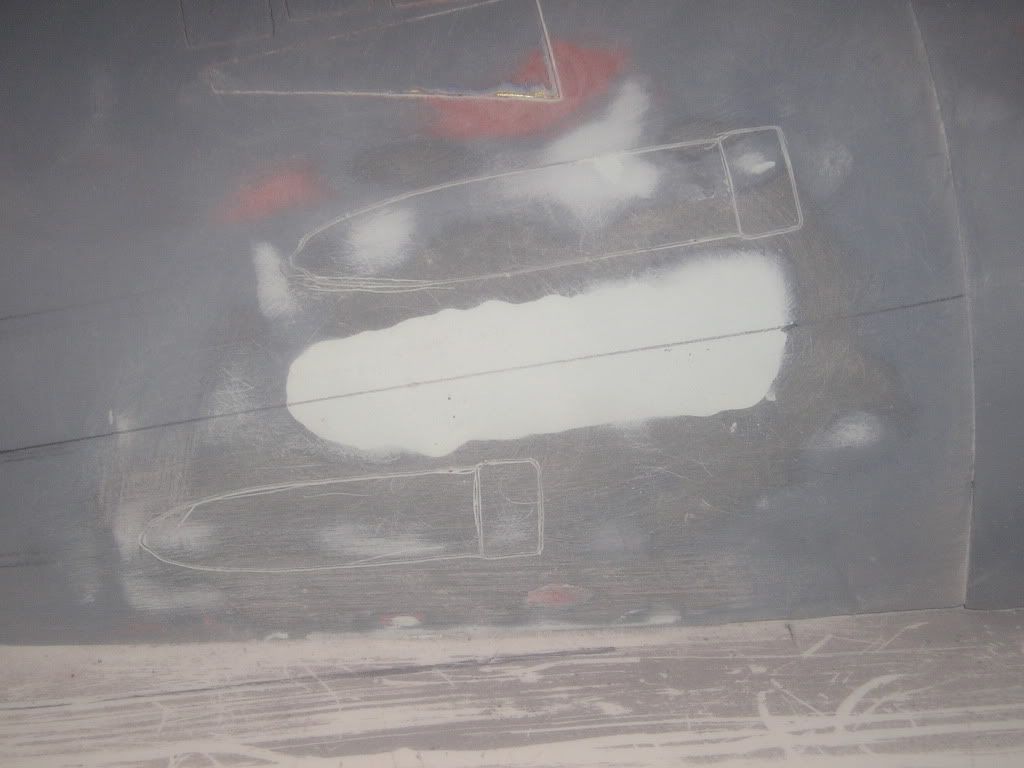
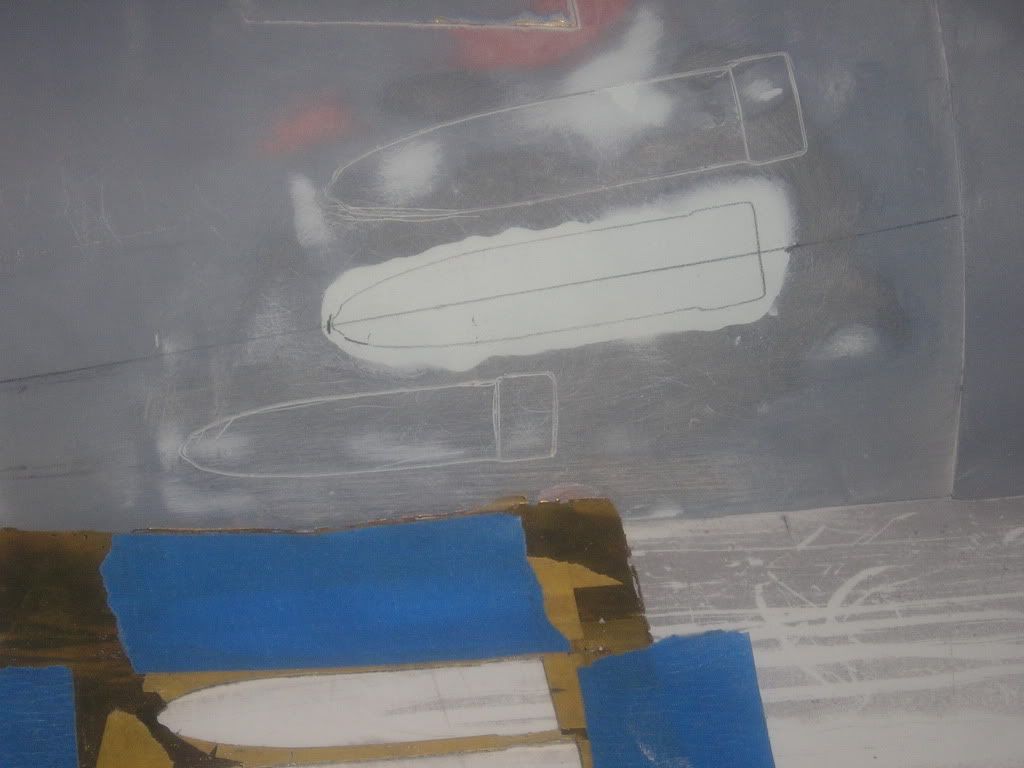
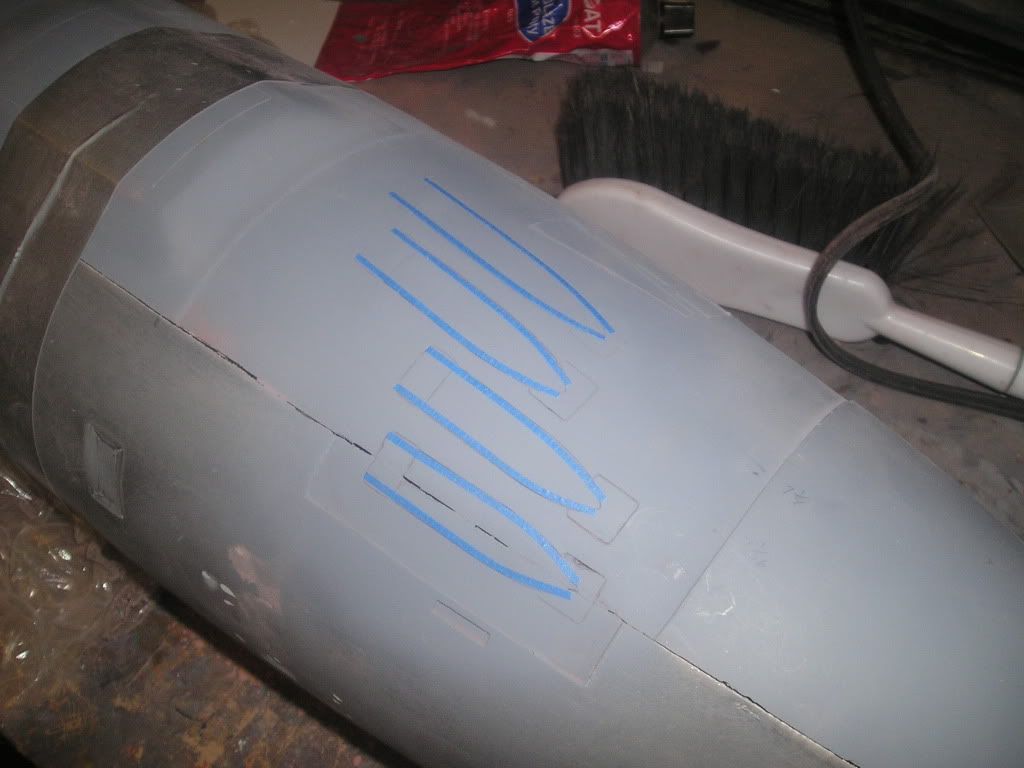
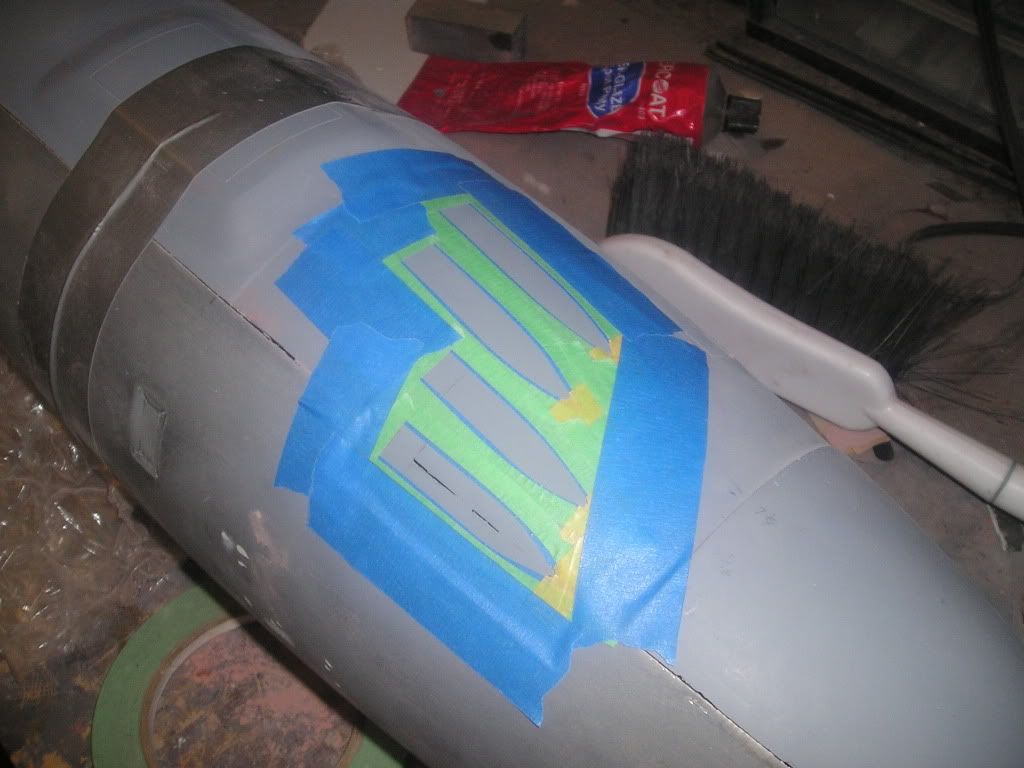
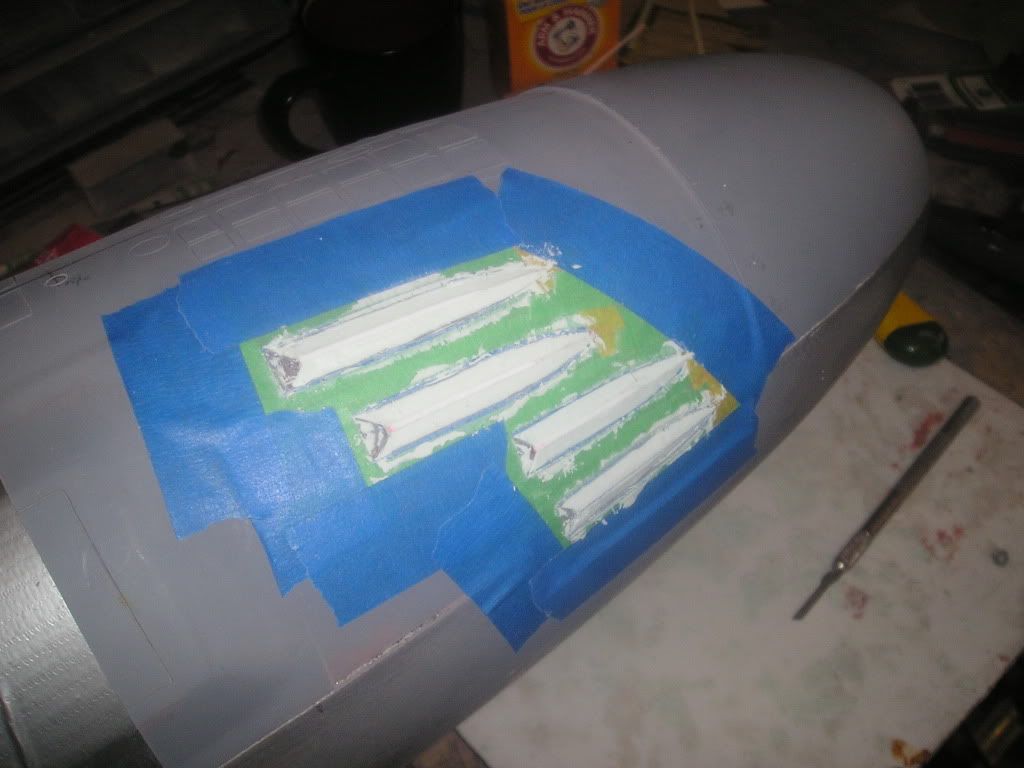
Now onto scribing the torp shutters. As you can see here, things don’t look so good and part of the reason for this is from all the pinholes that are just below the surface on my plug mould. Pure 100% total s**t to scribe into on this area of the sub. Because I didn’t fibreglass under this coating it’s easy to simply Dremel out the **** material and then fill with Evercoat. This has been done extensively throughout this hull. Again I have paid the price in time for not going out and buying a proper spray-on mould surfacing primer. No big deal though, the most important part of the process is to dig out a large enough area to encompass the whole shape being scribed as to give myself a consistent material to run my tool through. Digging through a hard surface and then hitting a soft one doesn’t produce pretty results! I also feel like a dentist!
Comment
-
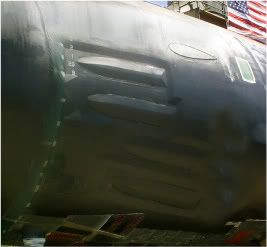
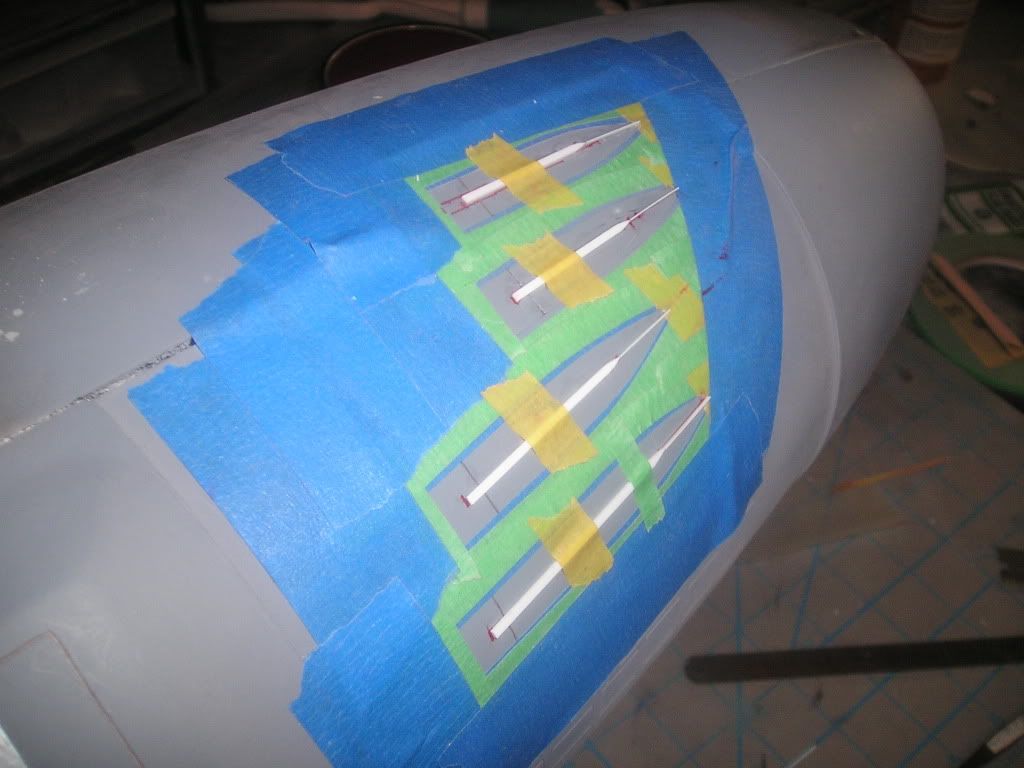
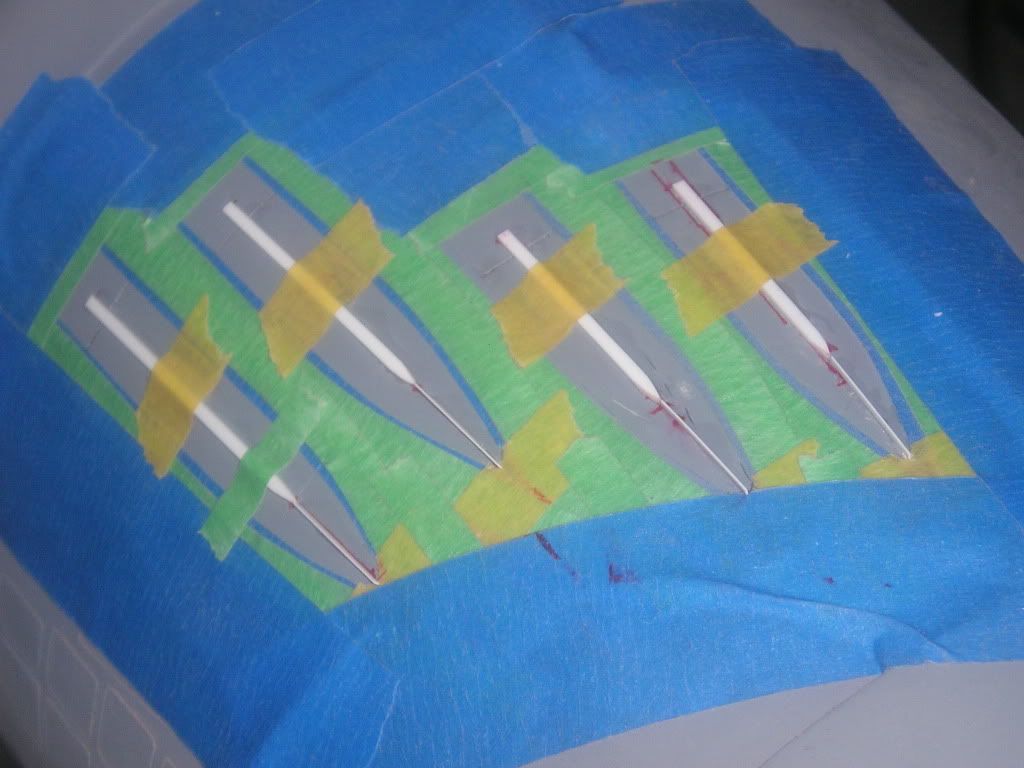
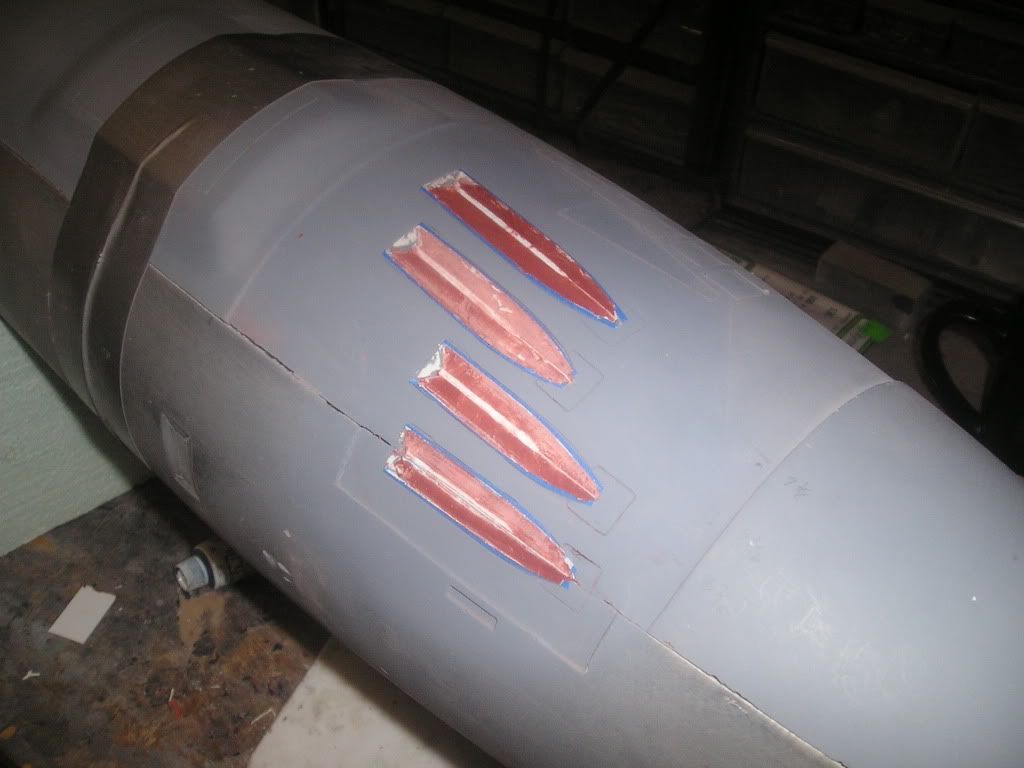
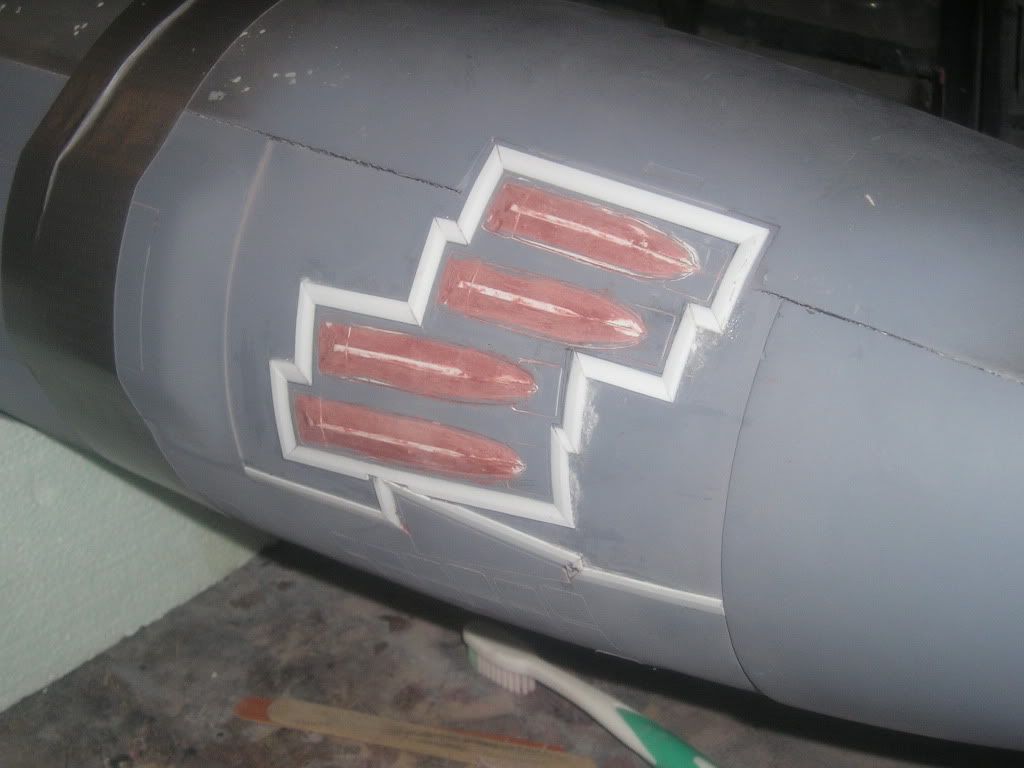
So, going on with the shutters, my objective is to reproduce the raised bevelling of rubber coating that can be found on the real boats. The general desired shapes were taped off and filler was applied in the spaces between tape and styrene middle strips. A sharp razor was run through the semi-cured filler using the edge of the tape and the top of the styrene strips as a guide. Next, red filler was applied to get a better shape. I found that I didn’t really need the tape to do this process properly though...
Comment
-
To represent the bevelling around the torpedo tubes here’s what I did:
All that styrene bevelling that I made awhile ago - is now about to come into play. The first step is to mark out where the bevelling is to go. Then you start by sticking your first piece anywhere you want really as long as it’s long enough to accept joints with adjoining pieces. The best example of this I can give is finishing carpentry when mitring all the joints of your trim or door casings. This application has funky angles – none of which are purely 45 or 90 degrees, so it really isn’t practical to use a mitre box. All I do is overlap the next strip of styrene at the joint and then press my ultra sharp hobby chisel (aligned at the intersecting corners) through both pieces and voila! Almost a perfect joint of whatever crazy angle it is.
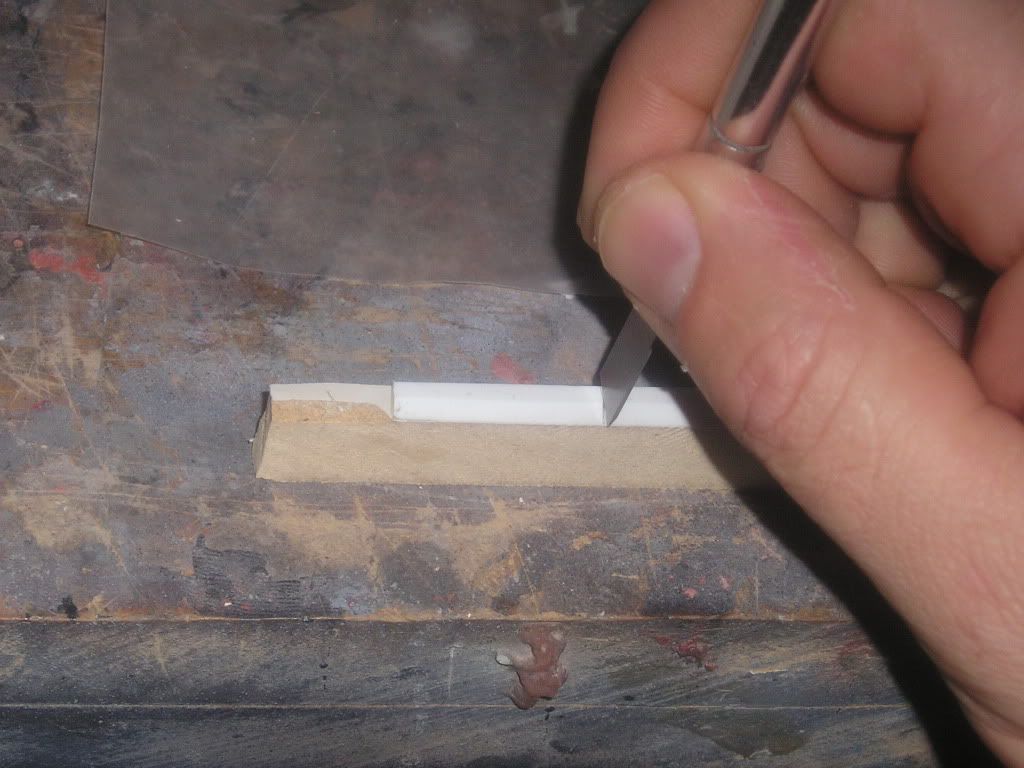
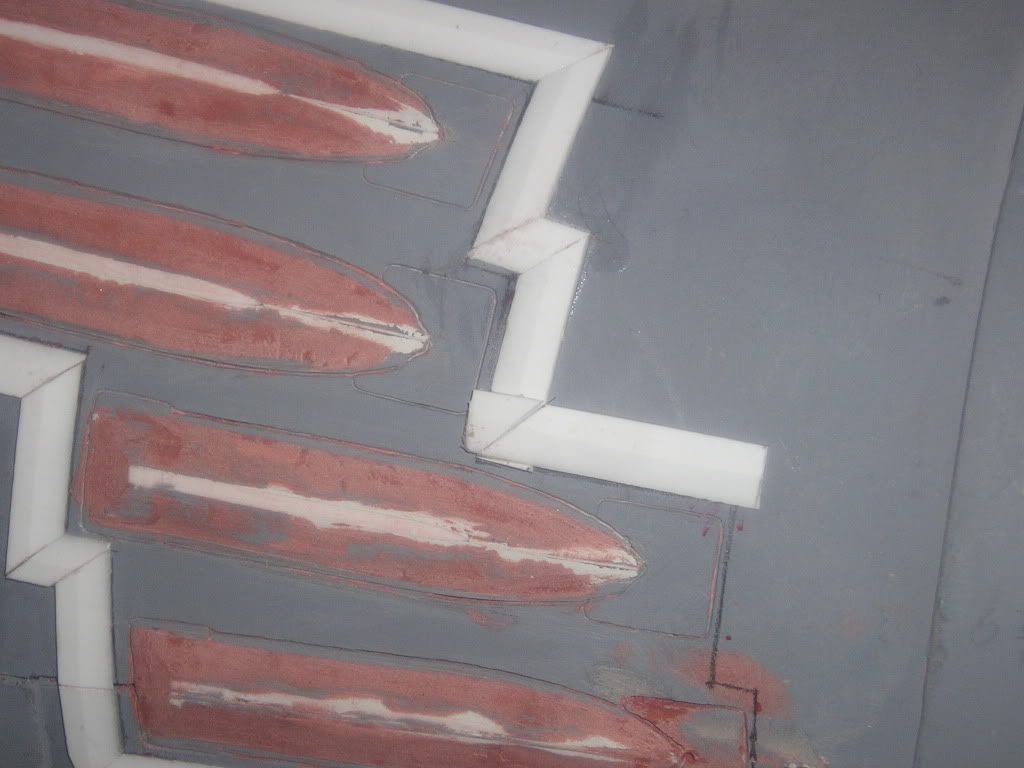
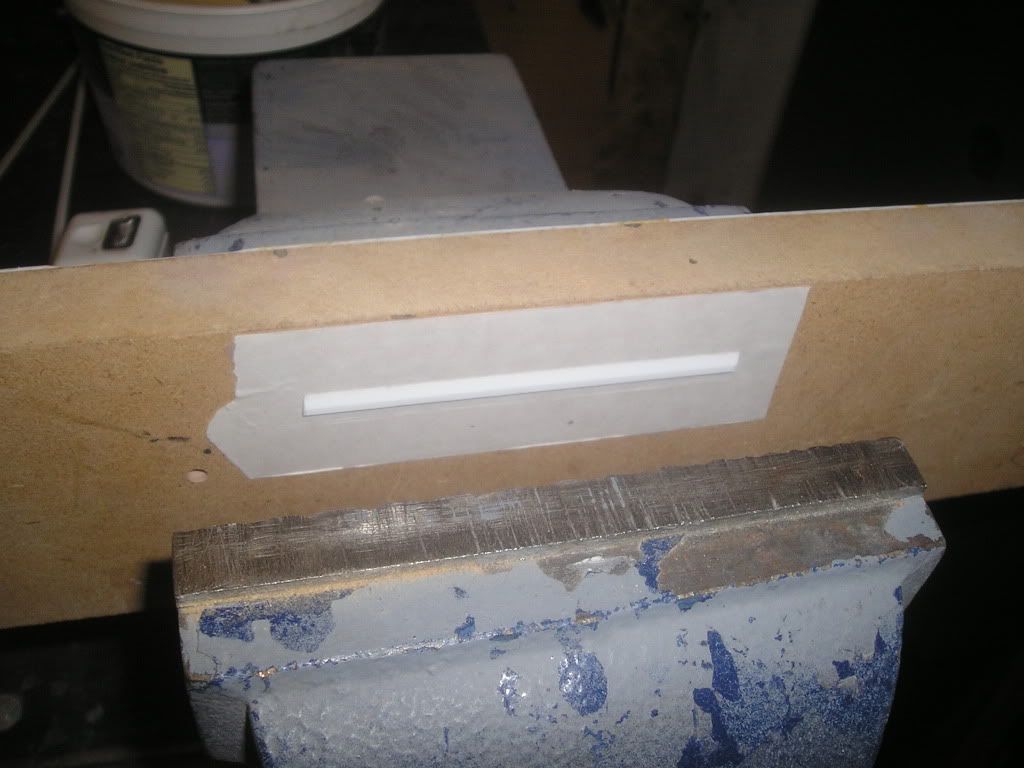
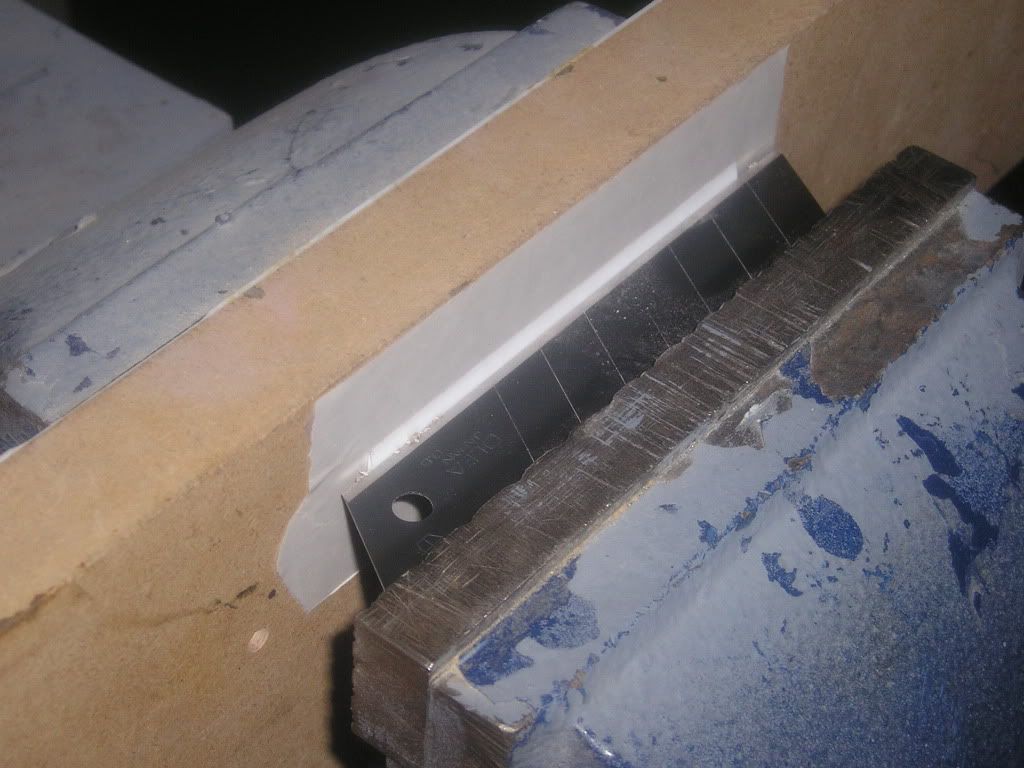
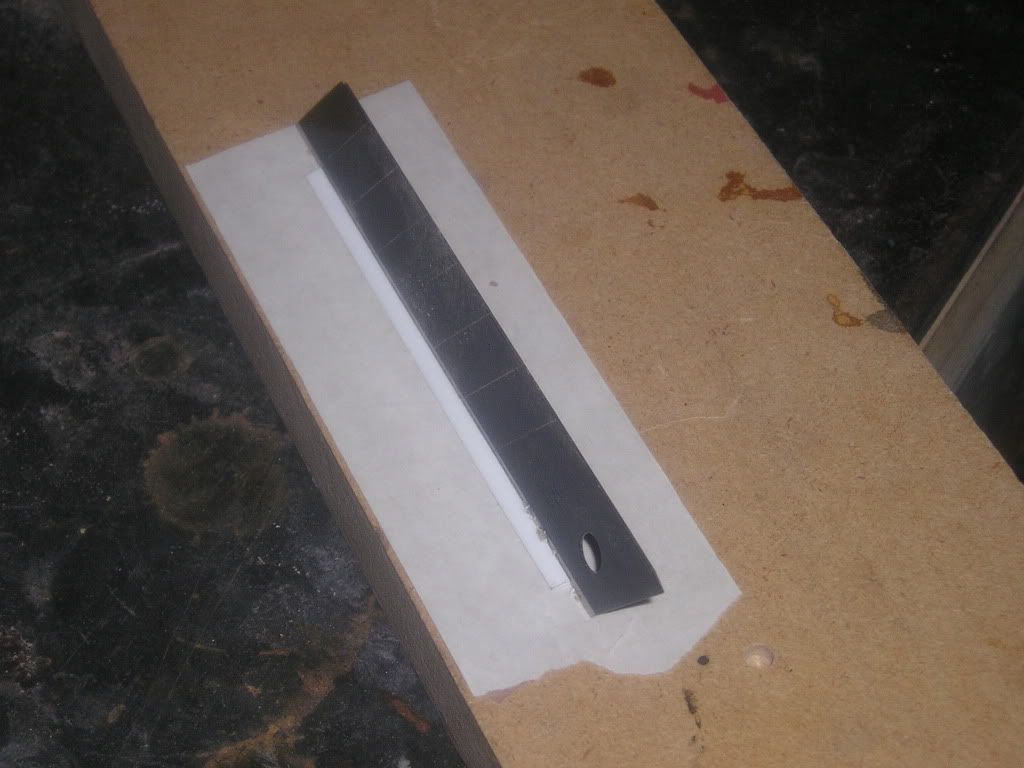
Sometimes I needed just the angled part of the styrene strip due to it being too close to another strip or in the case between the bottom two shutters on both sides I had very little room to work with, period. To cut this bevel cleanly I stuck a length on piece of wood, put it against one jaw in my vise and then carefully place an Olfa knife between it and the other jaw. Patience is needed here to carefully line up the cut, but when everything was snugged up I could then put pressure on the vise and make a nice sweet clean cut. For those reading this I can’t stress enough to be careful with these knives...if not used properly many bad things can happen, and not little things. I’ve seen electricians almost cut clean through their palms of their hands or end up with the blade in their thigh because they had too much blade out and it broke or they were using wrong technique and not cutting away from themselves!
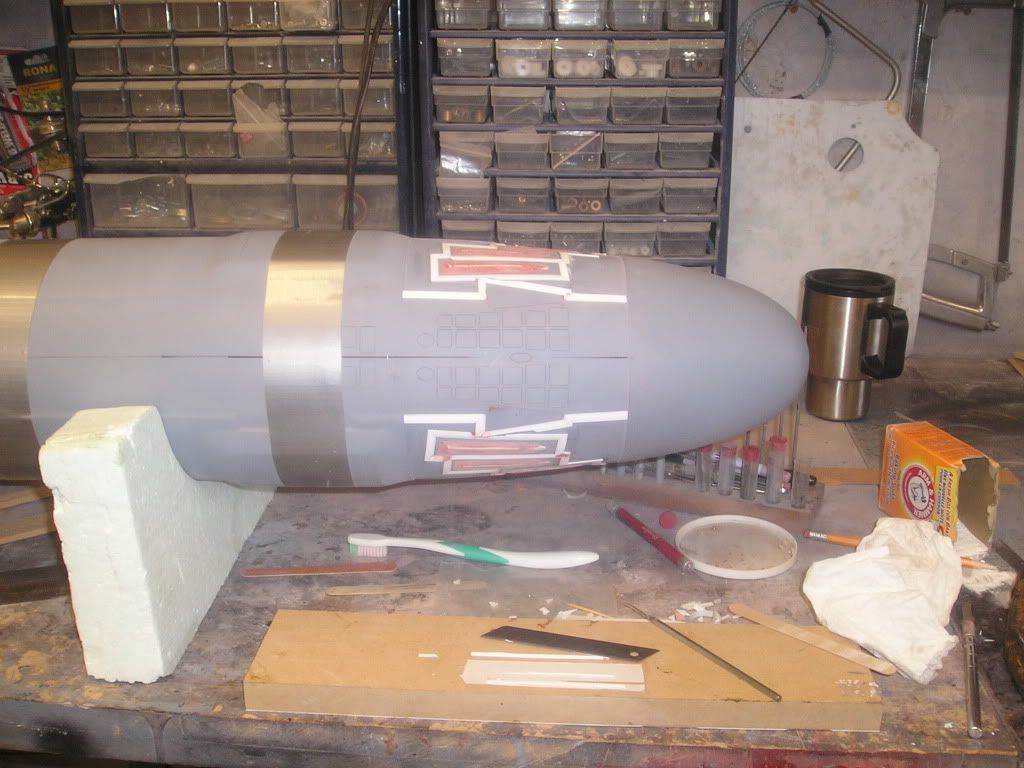 Last edited by ManOwaR; 02-16-2011, 12:32 AM.
Comment
-
The bevelling around the torpedo shutter is done, so now we have to fill all that empty space in to bring the hull diameter to where it supposed to be at that point. I added a few strips of styrene as guides so i don’t get a big flat spot when I’m sanding
Filler glopped on liberally:
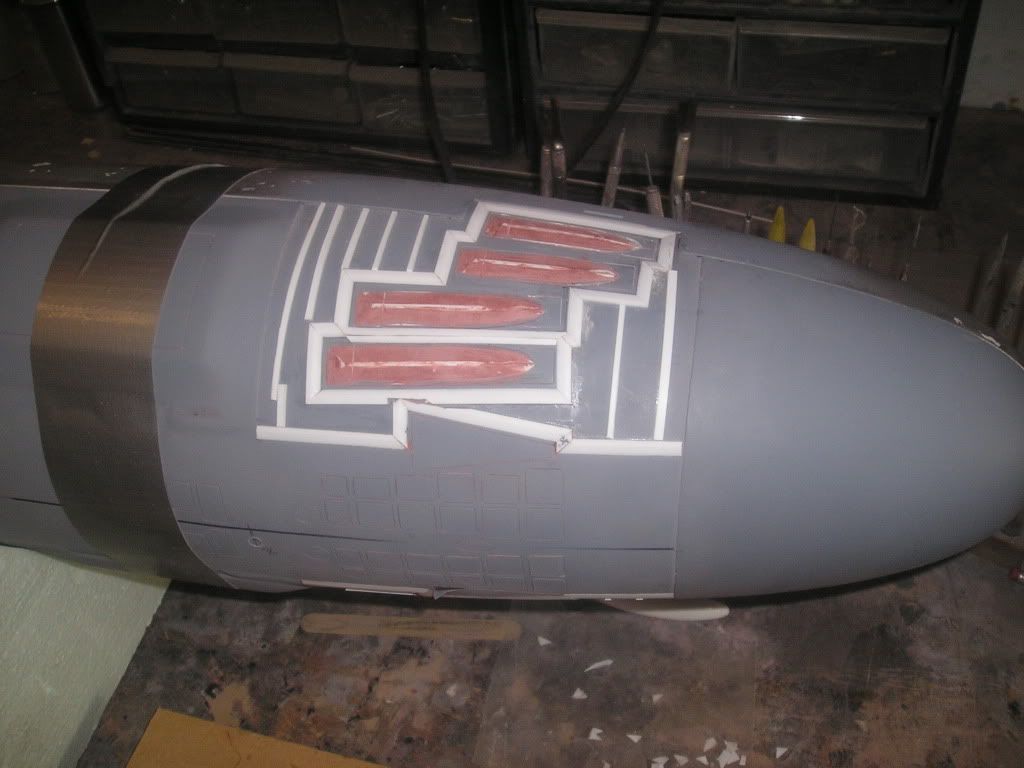
Sanded flush to guide strips:
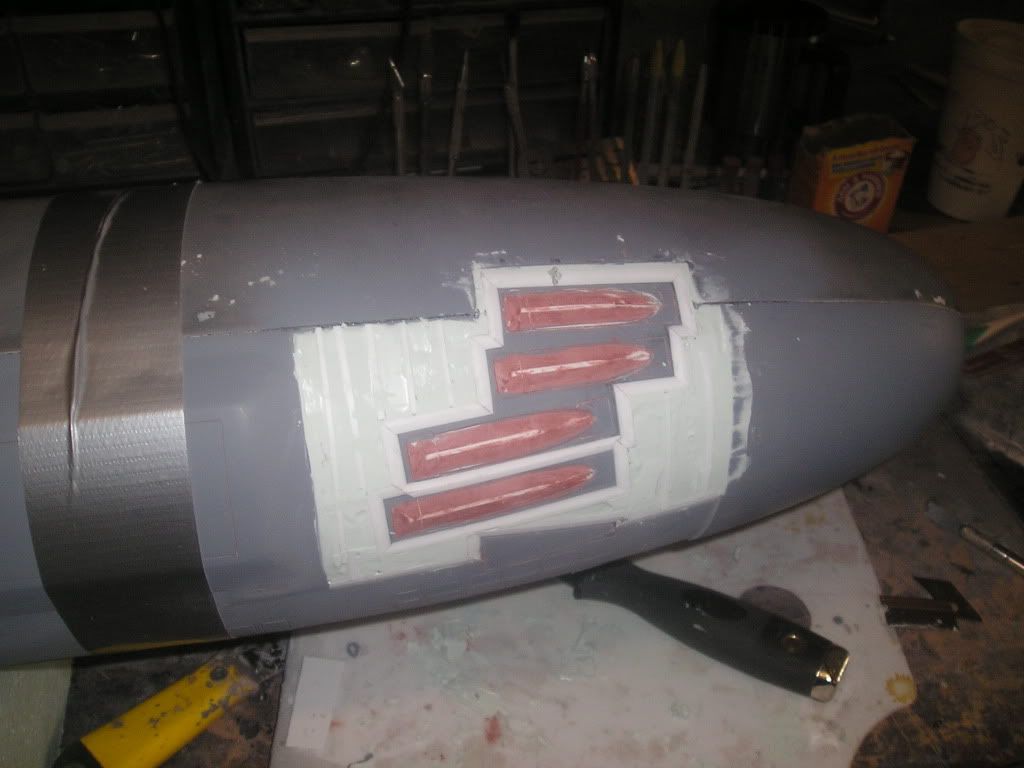
Guide strips removed:
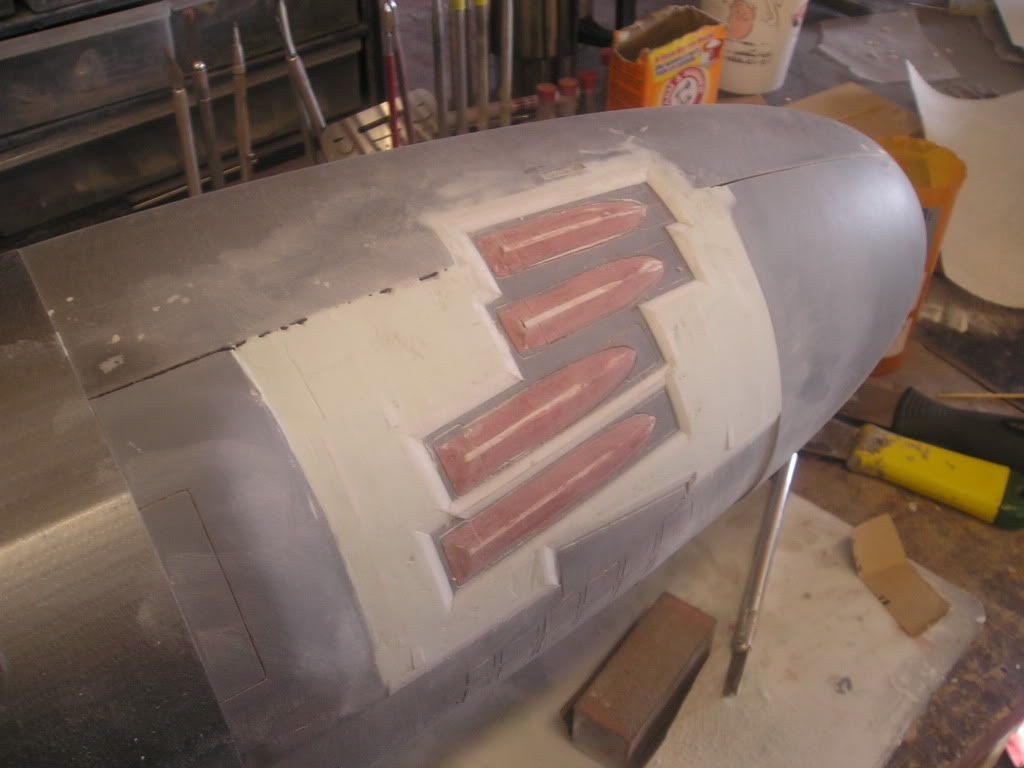
Voids filled then sanded:
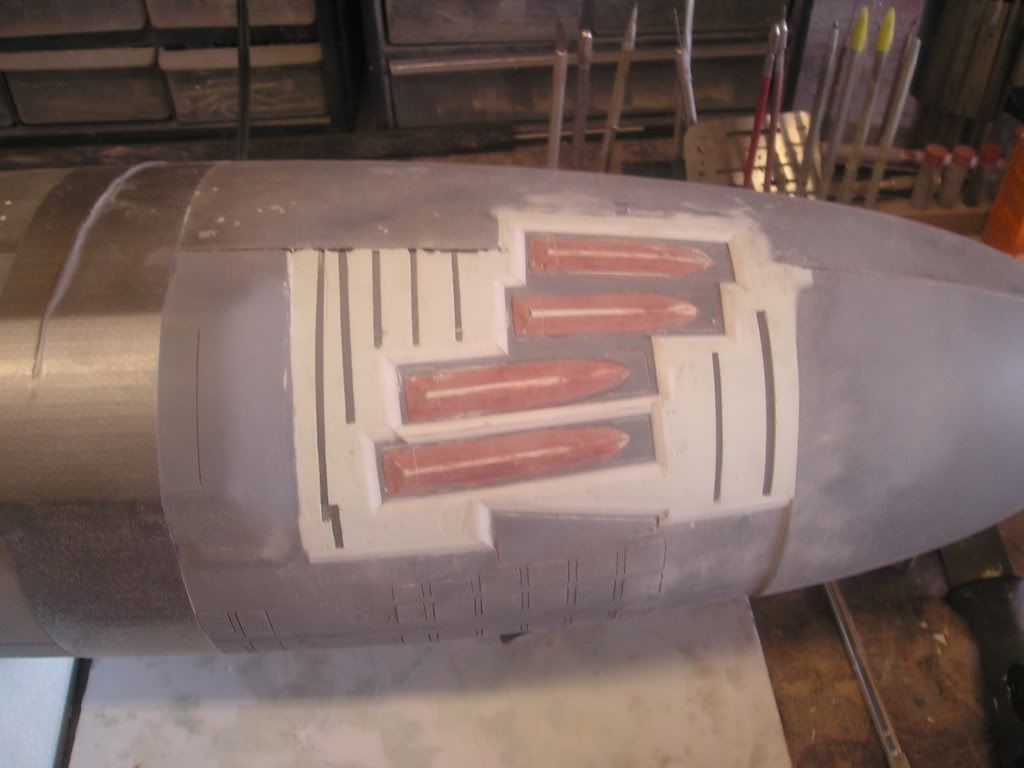
Minor filling and imperfection fixing:
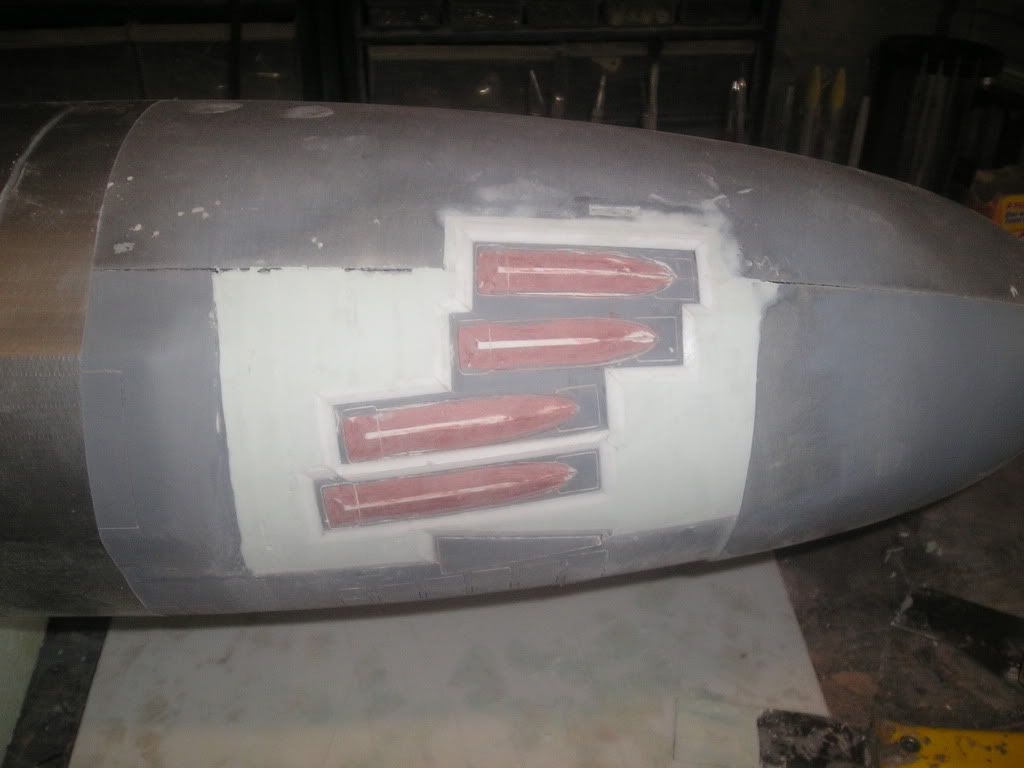
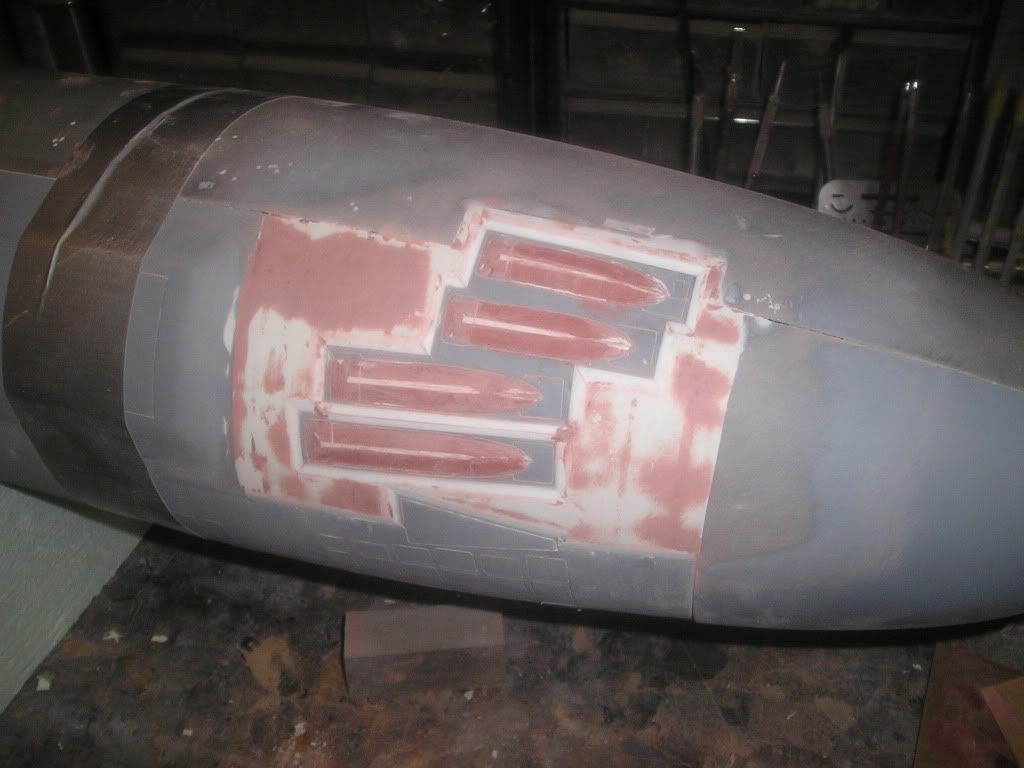
Primed
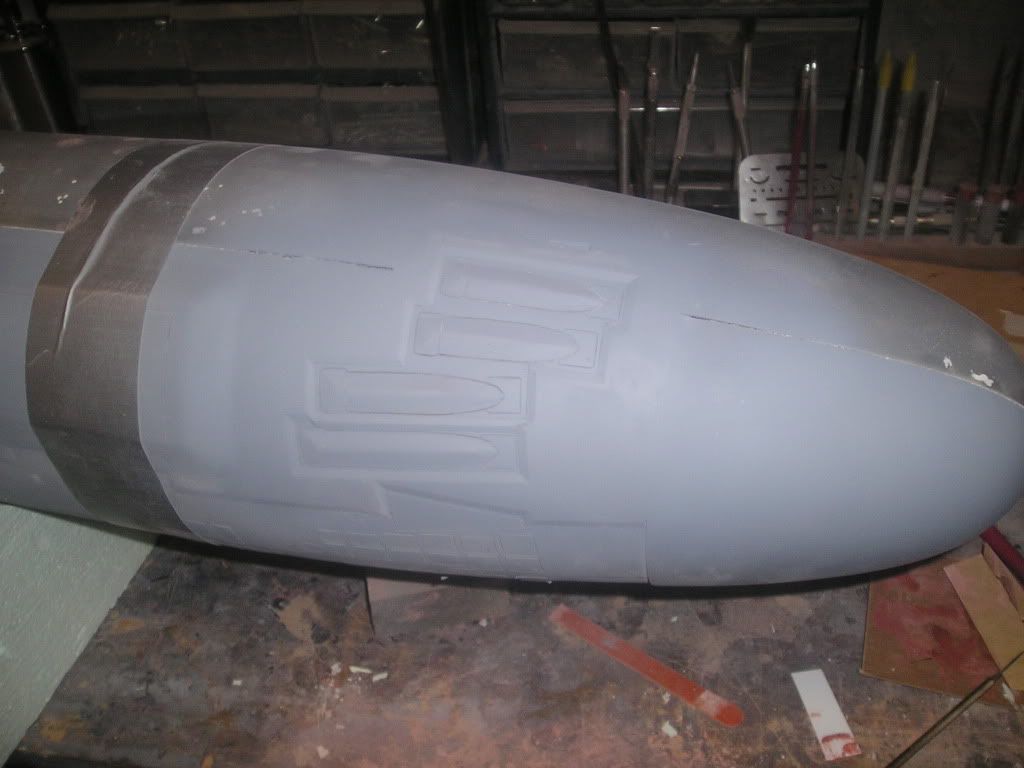
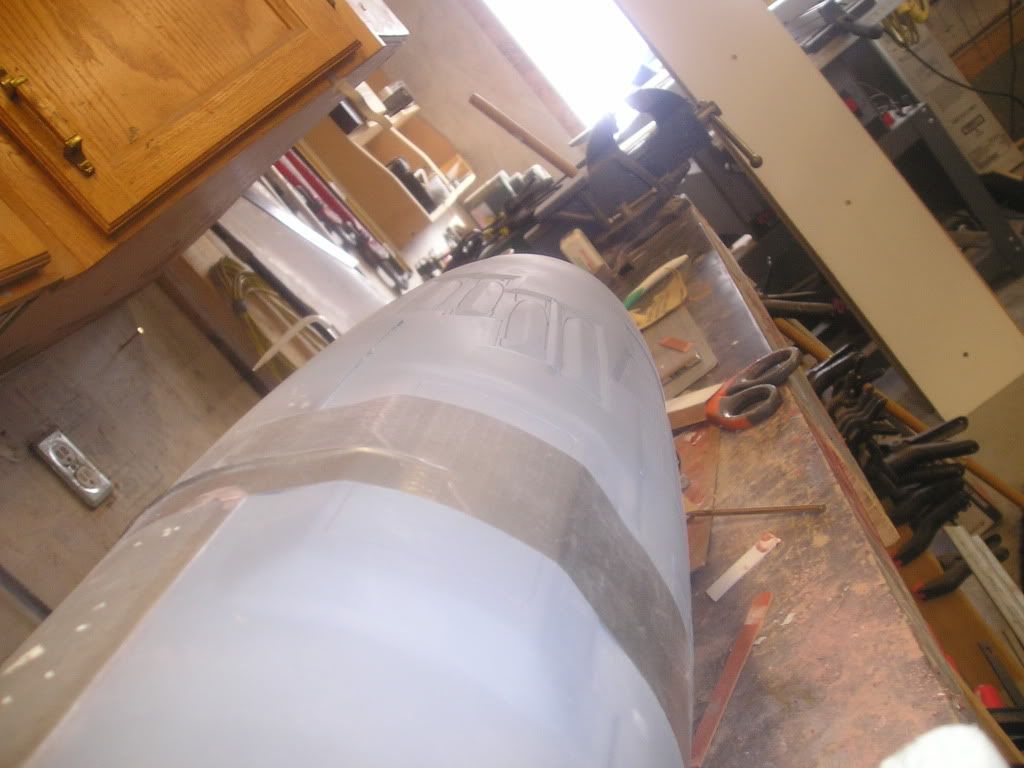
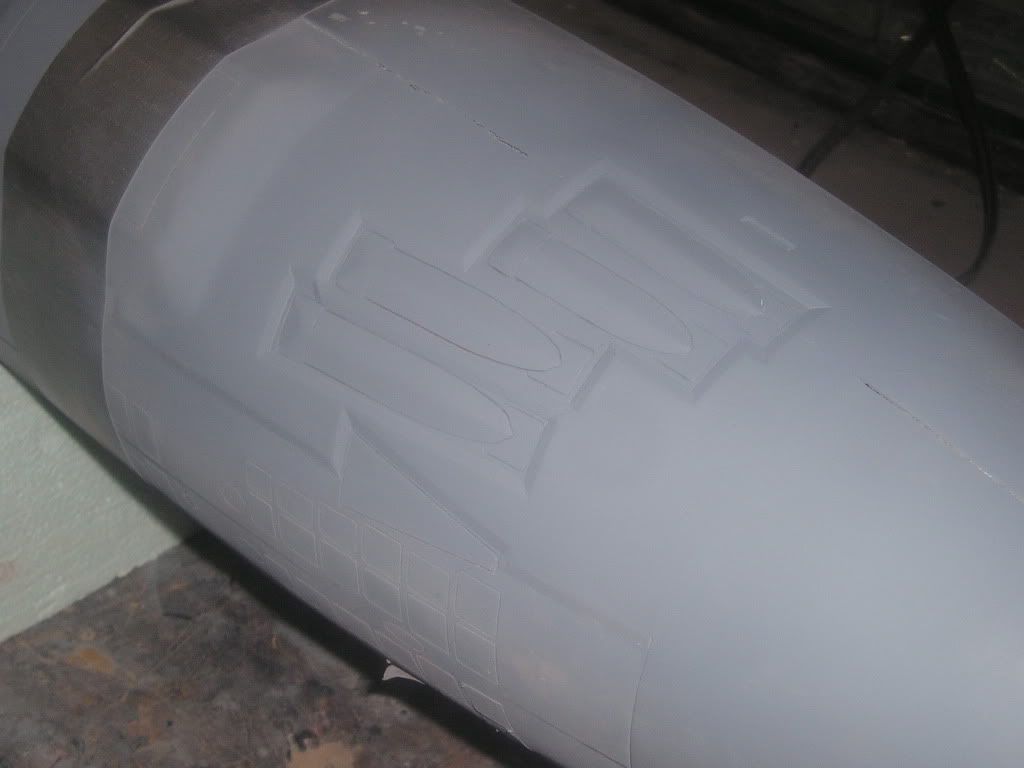
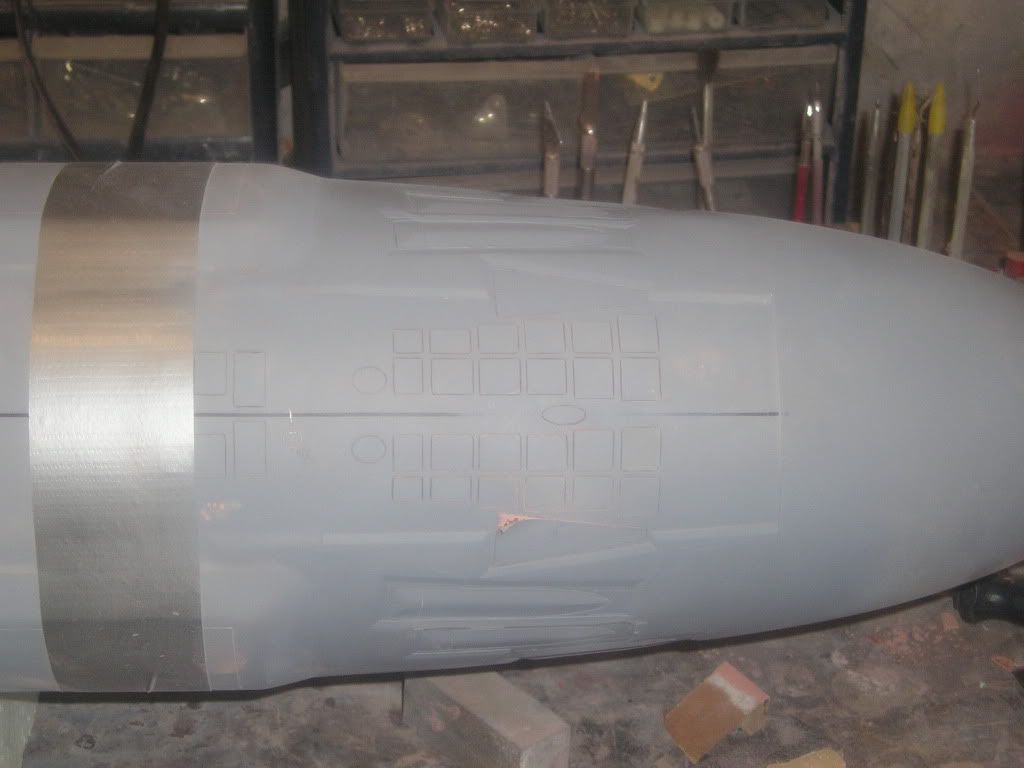
A ton of minor imperfections to fix, details to sharpen up and some more minor scribing left on the bottom half...
JoelLast edited by ManOwaR; 02-15-2011, 10:05 PM.Comment
-
Joel,
you don't disappoint - if you could see the grin on my face! I have previously described your work as being like an Aston Martin, the development of this kit is a complete justification to that claim. Its going to take something awesome to top your efforts here. Its such a pleasure to watch this project (and my Wolf within it) develop. This is a thing of great design and ingenuity.
Best
JLast edited by Slats; 02-15-2011, 09:56 PM.John Slater
Sydney Australia
You would not steal a wallet so don't steal people's livelihood.
Think of that before your buy "cheap" pirated goods or download others work protected by copyright. Theft is theft.
sigpicComment
-
Well, thanks so much John!
Actually, whatever I do next will top this, my goal is constant improvement for whatever I do (or at least enjoy anyway lol)Comment
-
I am sure you will Joel -everything you do turns to Gold.
JJohn Slater
Sydney Australia
You would not steal a wallet so don't steal people's livelihood.
Think of that before your buy "cheap" pirated goods or download others work protected by copyright. Theft is theft.
sigpicComment
-
Comment
-
I too must gush at what I'm seeing on this thread. Simply ... Wow!
Joel: I hate you!
David,Who is John Galt?Comment
-
Well, If David can gush I'm gonna pile on just one time.
As an alumni of the Seawolf modeling and research clan, it is just amazing to see not just the details you have unearthed but your willingness and ability to incorporate them into a model. This thread is kinda surreal like watching a dream unfold.
A marriage of craftsmanship and, dare I say, art ?
The least visible and 'known' Cold War class becoming the most detailed American SSN model ever seen?
Will the pumpjet be delivered in a separate black box by a guy wearing sunglasses and an earpiece?
-KerryComment
-
I second Kerry's comments whole heartily, ain't it wonderful that this project has been taken on by a master craftsman that achieves all he states.
JJohn Slater
Sydney Australia
You would not steal a wallet so don't steal people's livelihood.
Think of that before your buy "cheap" pirated goods or download others work protected by copyright. Theft is theft.
sigpicComment


Comment