Welcome to our forums. For the best in R/C submarine kits, components and accessories, be sure to visit the Nautilus Drydocks
If this is your first visit, be sure to
check out the FAQ by clicking the
link above. You may have to register
before you can post: click the register link above to proceed. To start viewing messages,
select the forum that you want to visit from the selection below.
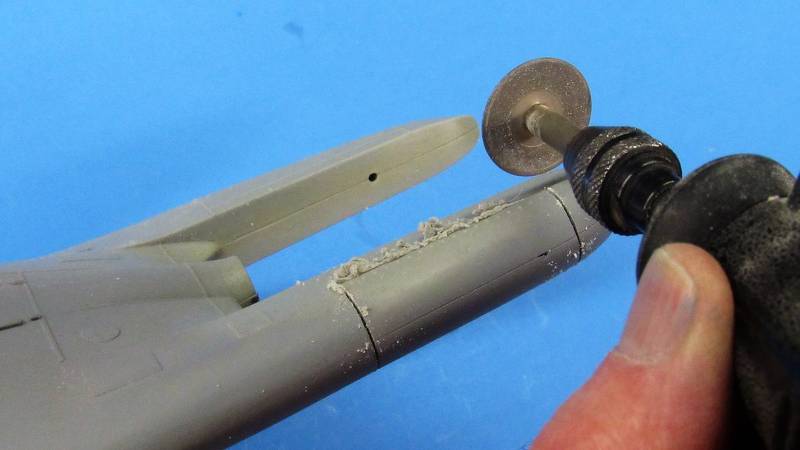
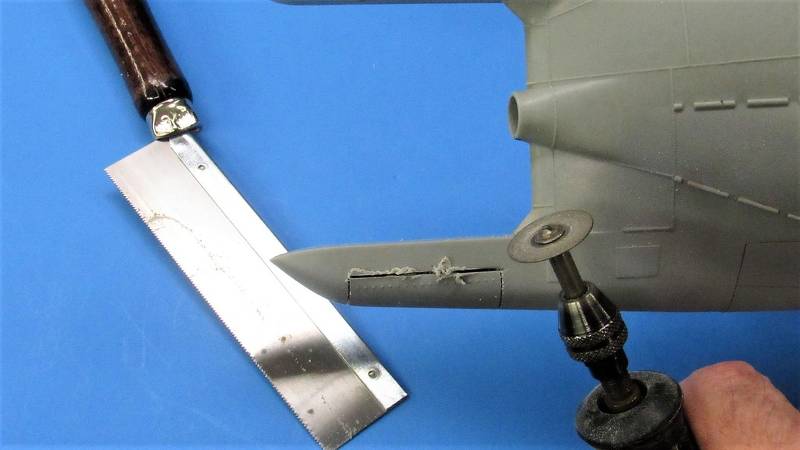
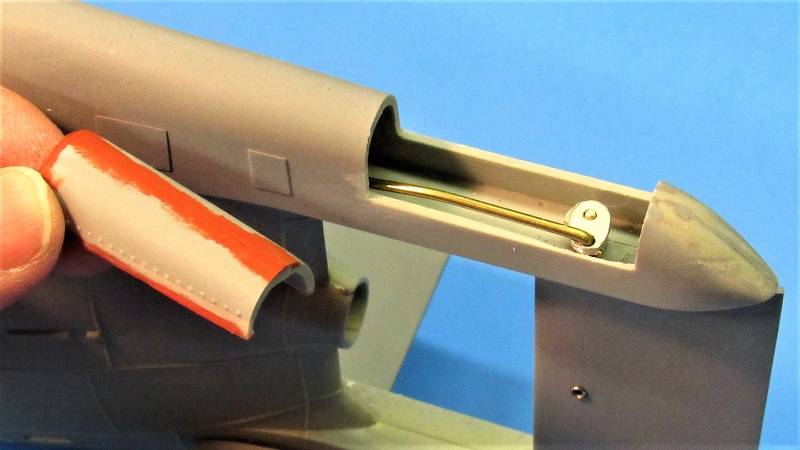
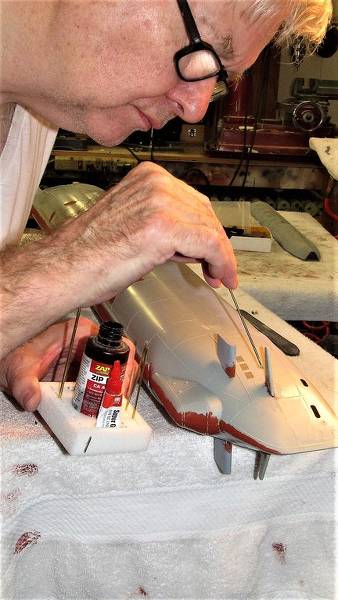
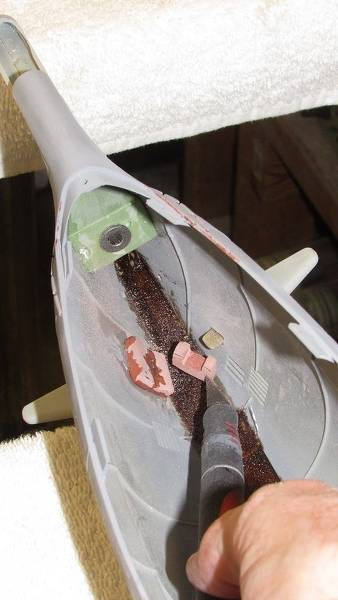
Yeah. And note the need to make the attachment of the bow and stern plane 'guards' much more robust than what the kit calls for. Those will snap off if you don't reenforce the bond between guards and hull.
Yeah. And note the need to make the attachment of the bow and stern plane 'guards' much more robust than what the kit calls for. Those will snap off if you don't reenforce the bond between guards and hull.
Thank you Sir!, and appreciate the aditional operations
Yeah. And note the need to make the attachment of the bow and stern plane 'guards' much more robust than what the kit calls for. Those will snap off if you don't reenforce the bond between guards and hull.


Leave a comment: