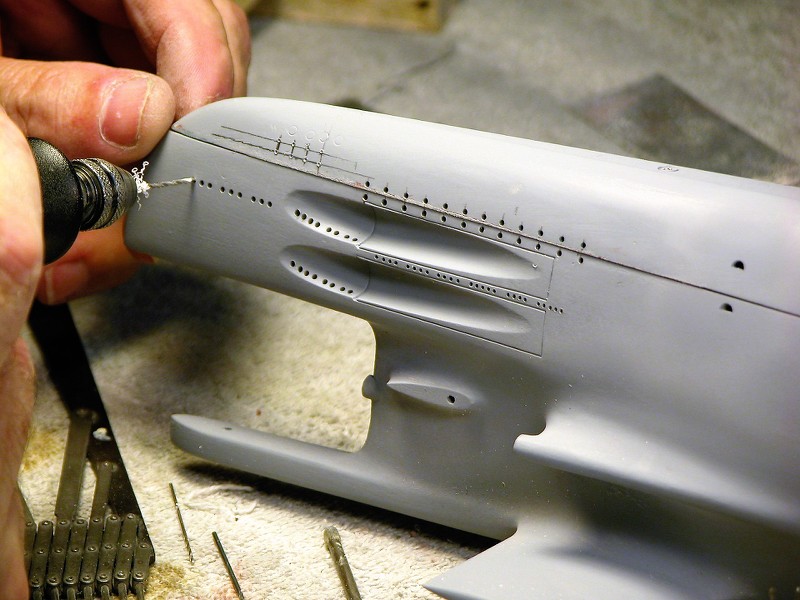
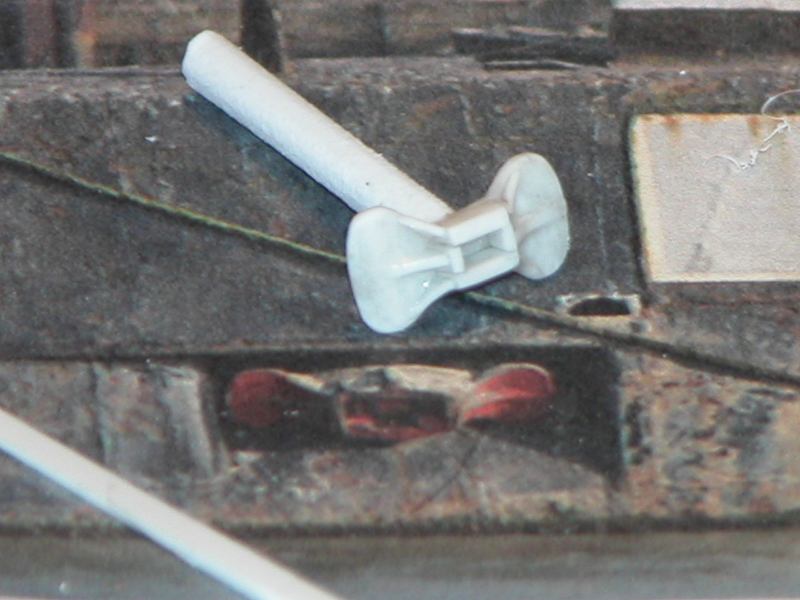
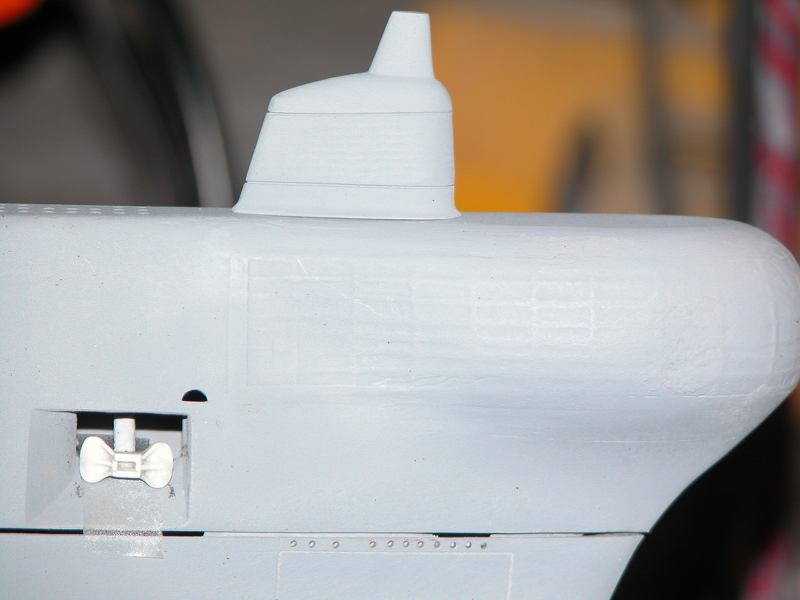
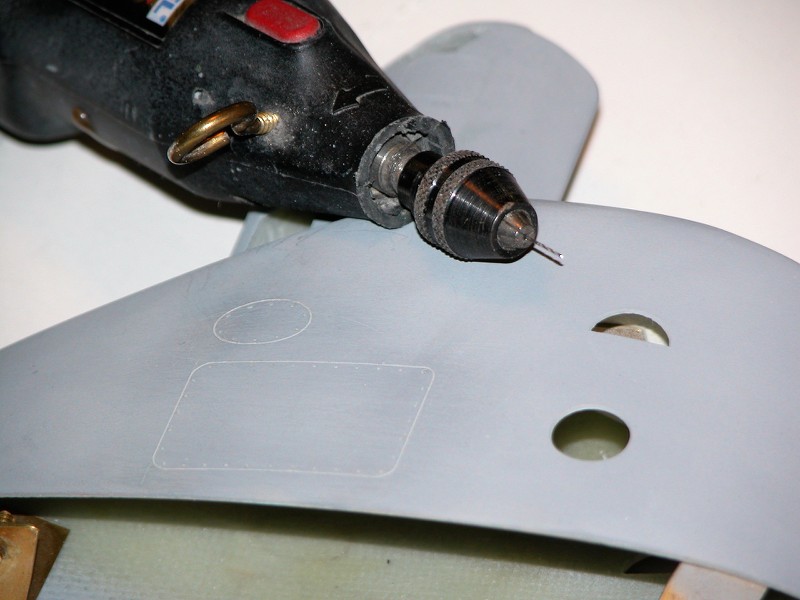
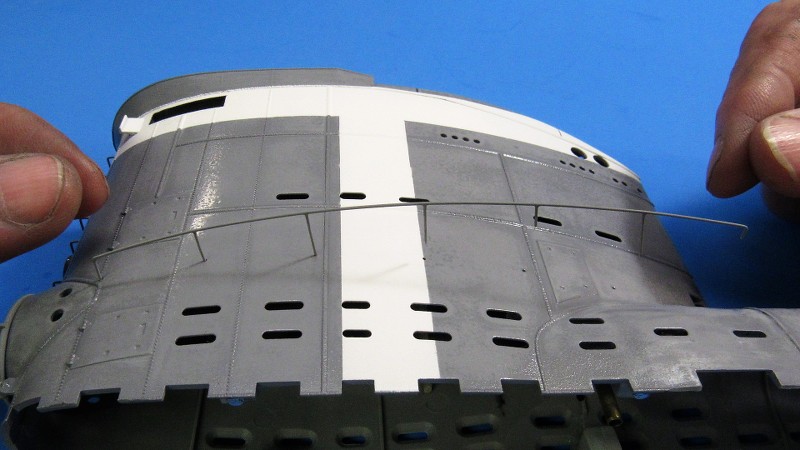
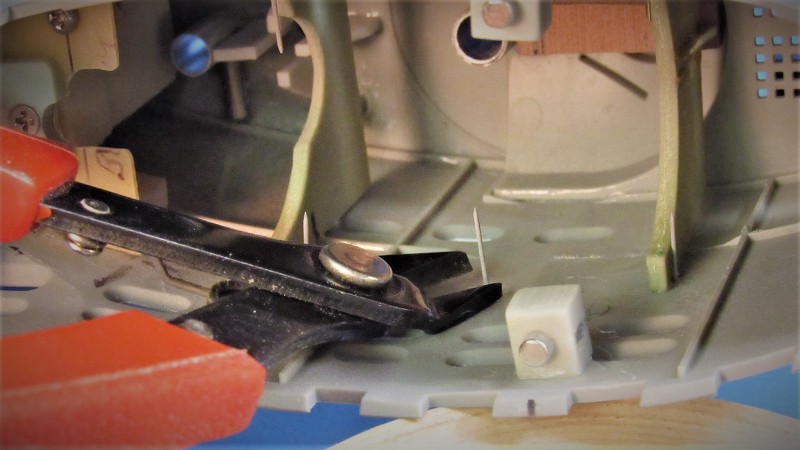
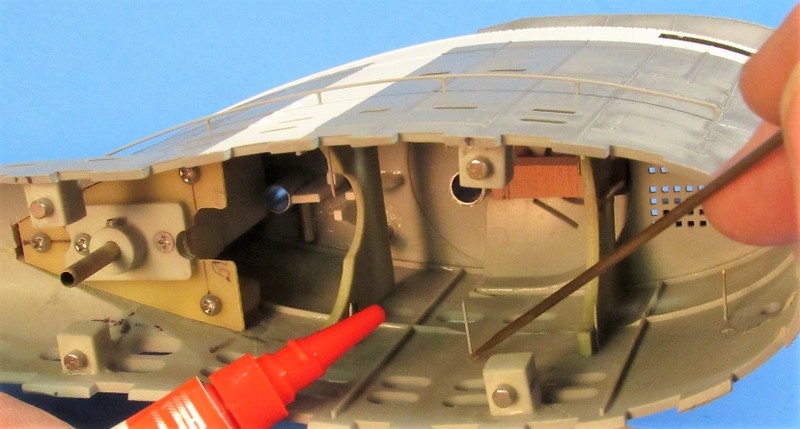
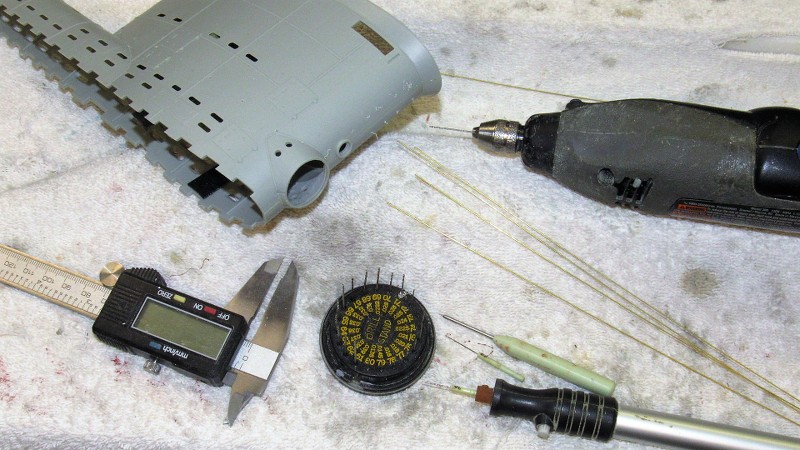
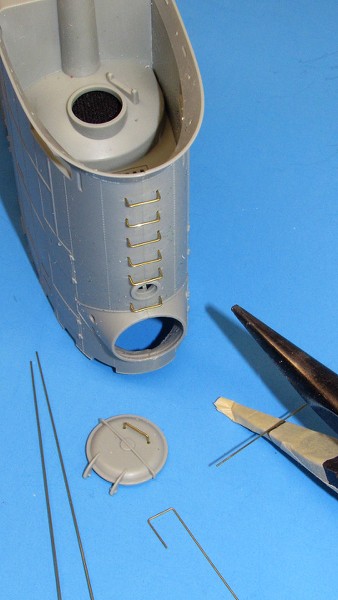
Methods of incorporating neat and accurate "sea steps" in 1/72 & 1/96 scale models?

Collapse
X
 
  • Time
  • Show
Clear All
new posts

  • wlambing
    replied
    Oh, you mean that stupid thing for on the sail that NOBODY ever used!!! Too much of a pain in the ass! 688s had to, 'cos they forgot to put ladder rungs on the sail. The fabric one I was thinking of was the Admiral's ladder, that draped over the side of the hull, maybe only on the fast boats. It had 2"X2"X3' battens captured in the fabric for "steps". It was clipped to the safety track when in use. I do recall that Grant had a god-awful waste of time and money all-aluminum accommodation ladder stored in the ships cage! Some idiot admiral's idea that submarines needed them. Hell, the boats couldn't even carry them!!! Another mystery, similar to the 4'X8' sheet of 1/2" thick copper plate that was assigned as equipage to every submarine. Nobody knew why it was there, or what it was for!

    Leave a comment:


  • QuarterMaster
    replied
    Originally posted by wlambing
    Ed,
    You were in charge of the ships sewing machine, so get you thread out and knit one! )
    David,
    I don't believe you shanked me! I think it was a healthy pinch with lock-wire pliers, followed by a good yank! At least that's what this Lower-level Louie would do! ;) What, were you trying to corner the world supply of Dremel tools, too?

    Thank you for those additional pictures! They will augment my other research files nicely!

    Take care, All!

    Bill
    Hey! I remember GRANTS being a galvanized, metal affair! Constructed of chain, and each round rung had oversized disks on each end to keep them off the hull. I thought I had a photo

    Leave a comment:


  • redboat219
    replied
    Originally posted by He Who Shall Not Be Named


    Nice thingamajig.

    Leave a comment:


  • He Who Shall Not Be Named
    replied
    Originally posted by wlambing
    Ed,
    You were in charge of the ships sewing machine, so get you thread out and knit one! )
    David,
    I don't believe you shanked me! I think it was a healthy pinch with lock-wire pliers, followed by a good yank! At least that's what this Lower-level Louie would do! ;) What, were you trying to corner the world supply of Dremel tools, too?

    Thank you for those additional pictures! They will augment my other research files nicely!

    Take care, All!

    Bill
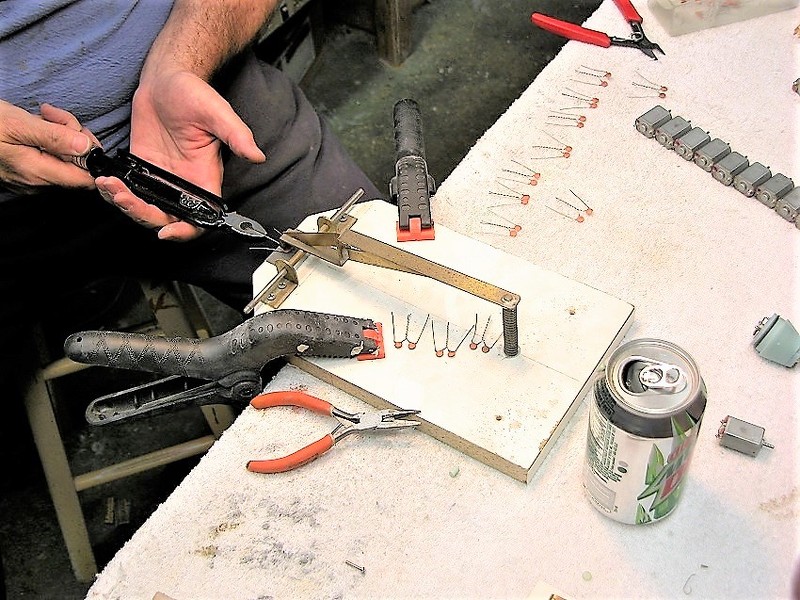
    Still got my lockwire pliers from the WEBSTER days. Serv-Mart special!


    David

    Leave a comment:


  • wlambing
    replied
    Ed,
    You were in charge of the ships sewing machine, so get you thread out and knit one! )
    David,
    I don't believe you shanked me! I think it was a healthy pinch with lock-wire pliers, followed by a good yank! At least that's what this Lower-level Louie would do! ;) What, were you trying to corner the world supply of Dremel tools, too?

    Thank you for those additional pictures! They will augment my other research files nicely!

    Take care, All!

    Bill

    Leave a comment:


  • He Who Shall Not Be Named
    replied
    Originally posted by QuarterMaster
    Dave,

    Show us your "Jacob's Ladder"!!
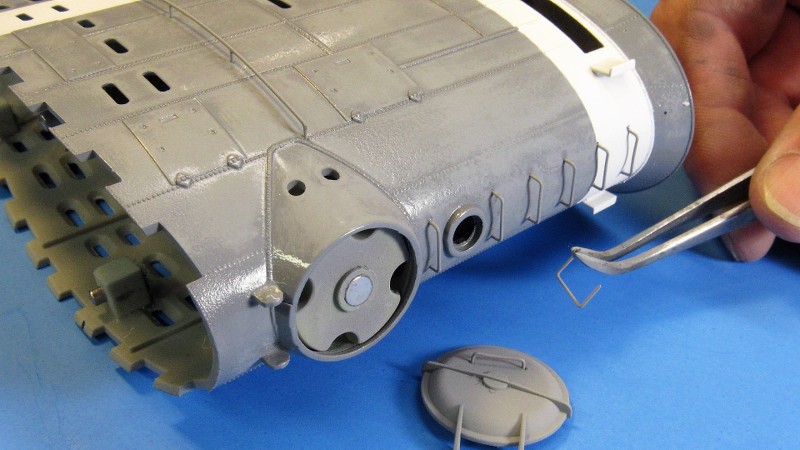
    In my world a Jacob's Ladder is a portable, flexible ladder strung over the side, consisting of rope and wooden steps. Don't remember modeling one of those, Bob.

    Leave a comment:


  • QuarterMaster
    replied
    Dave,

    Show us your "Jacob's Ladder"!!

    Leave a comment:


  • He Who Shall Not Be Named
    replied
    Originally posted by wlambing
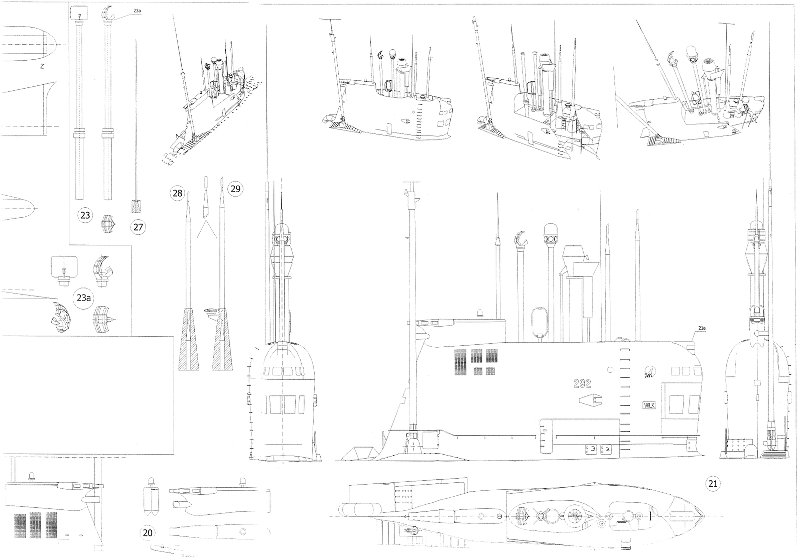
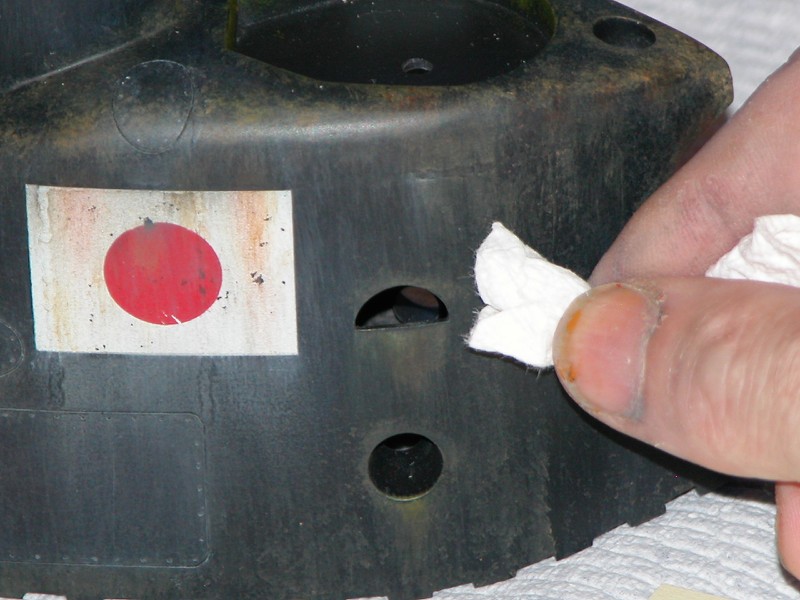
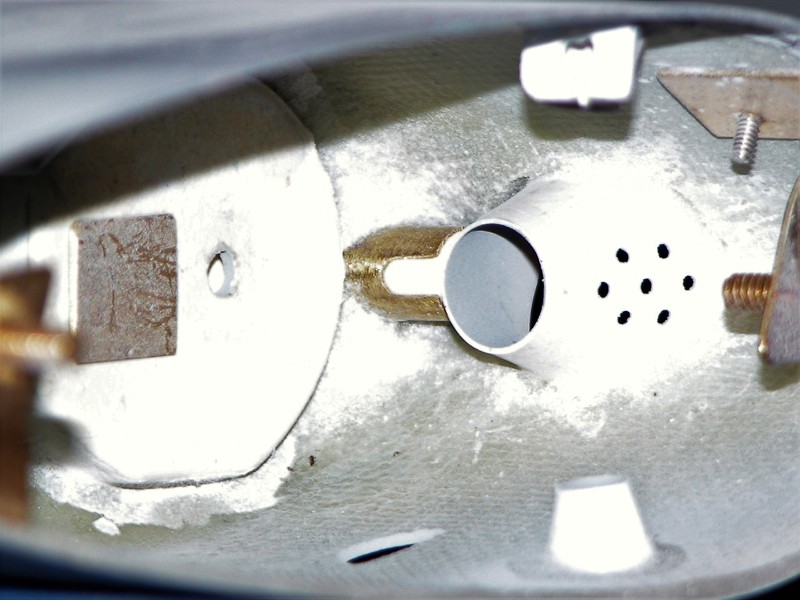
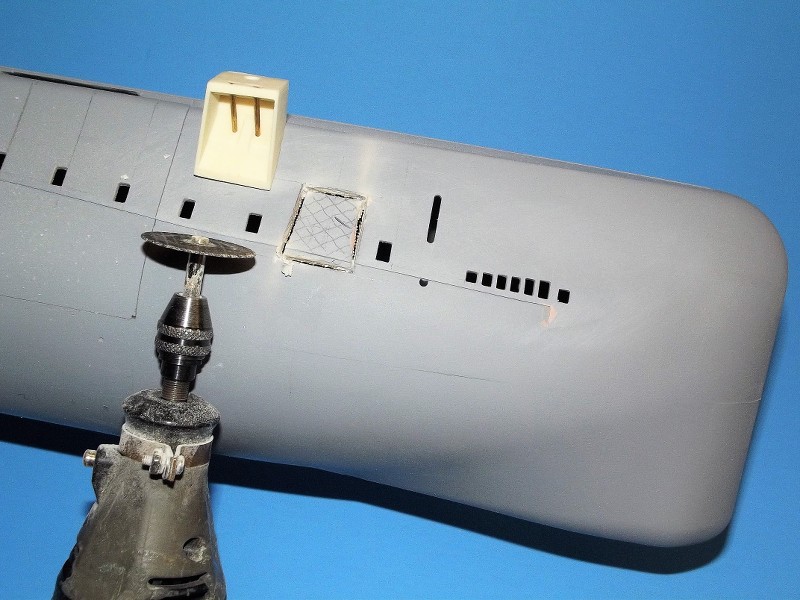
    Yes, the semi-circular holes! The bar type thingies are more correctly known as "grab irons". I see you teasing me with the master hull for the Foxtrot! You *******!!!! Currently working on her sail. That's where I want to replicate those steps. I do use the drill hole, insert half-round plastic rod, glue trim, fill, sand, repeat on the larger scale hulls. The cast resin sail isn't as easy as one would think it to be, due to thickness and the rough inside of the sail half. I'll get 'er though!!!!!! BTW, know where I can get an anchor for her? There was a missing sprue tree and some other stuff not included when this beast was purchased, way back when.

    Thank you, David, just what I was hoping for!

    Take care,

    Bill
    Tooling on the 1/72 FOXTROT was never completed, Bill. But all masters and what tools I did make are in Bob's hands. What I was working on was my GRP hull, not the master, I assume Bob got them when Mike Caswell turned the business over to him -- but I'm not sure of that. Check with Bob.

    Here, let me twist that knife a bit more... does it hurt yet?!. https://youtu.be/wJ0Sxr2gvV8
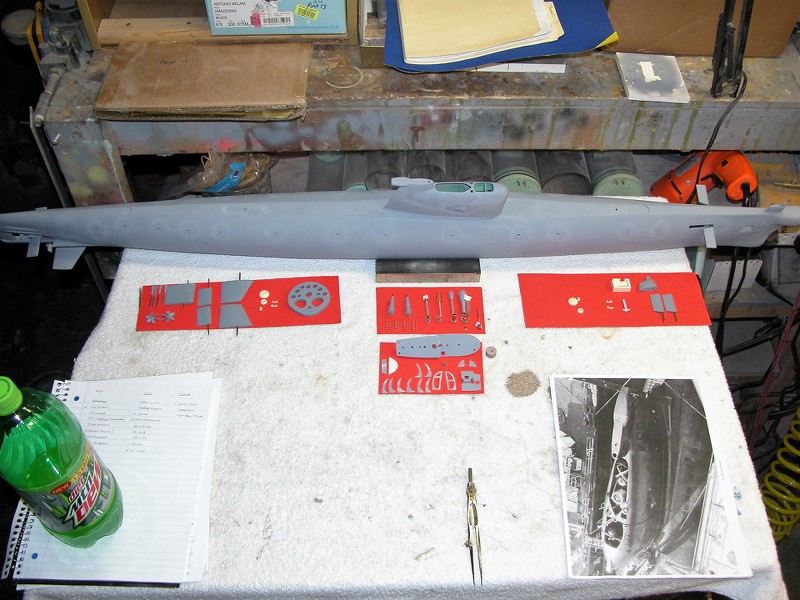


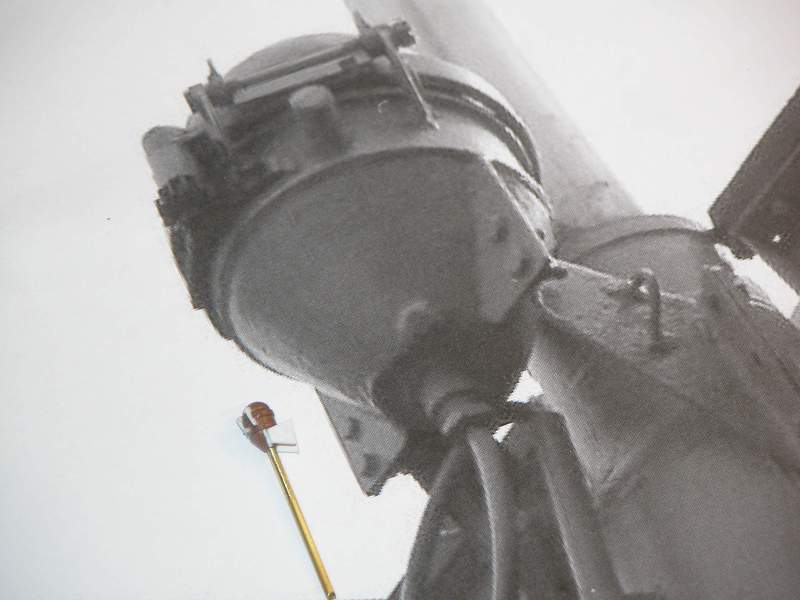
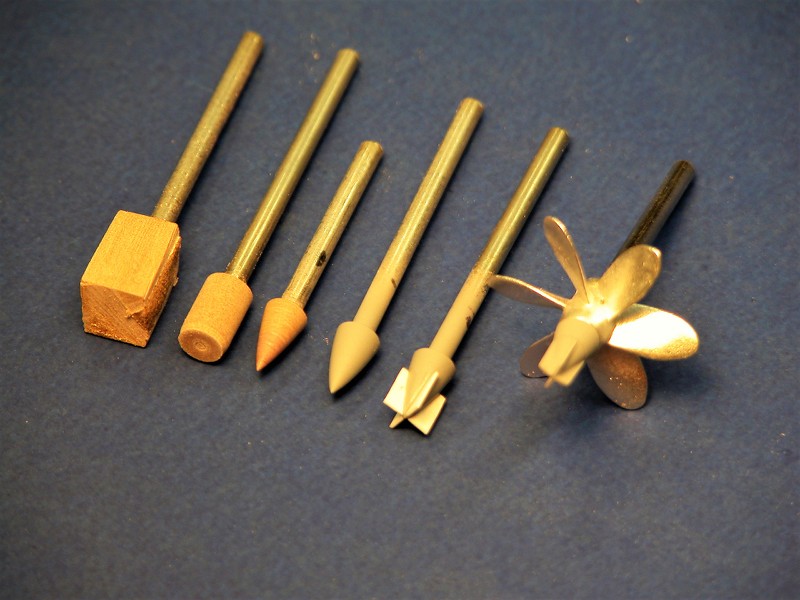
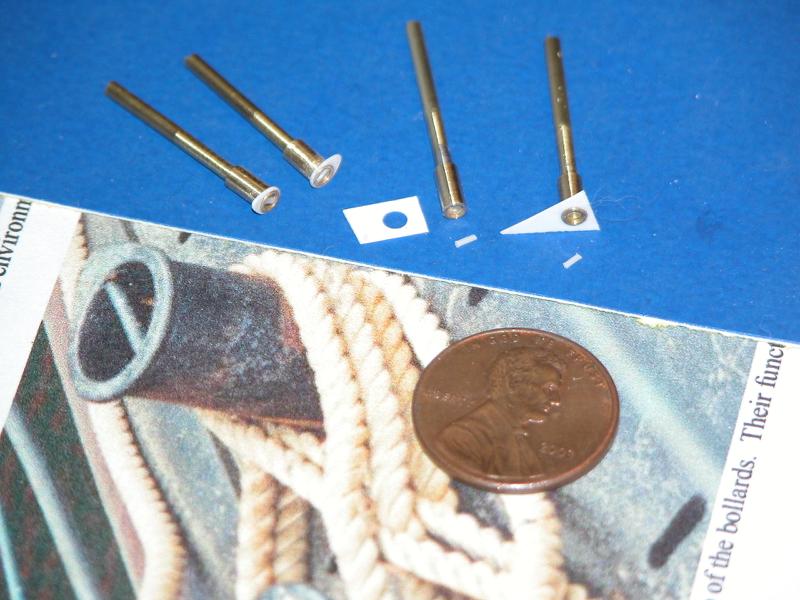
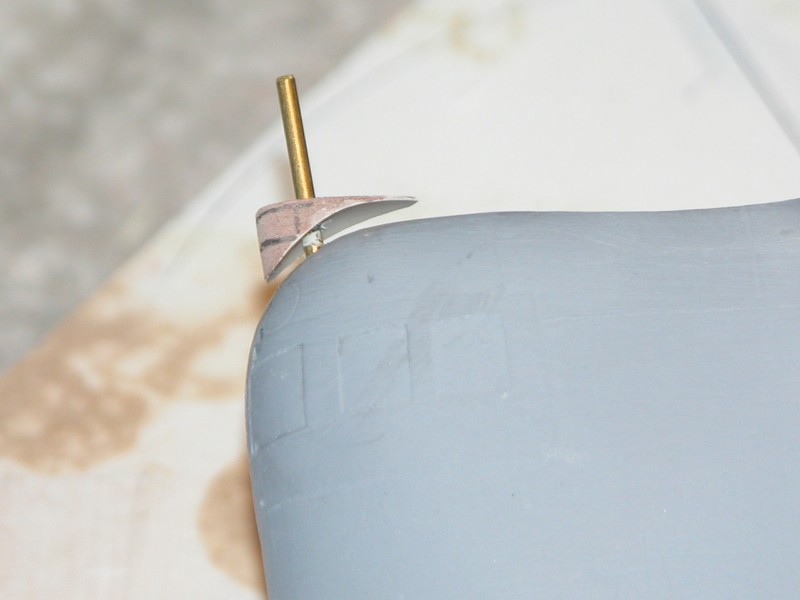
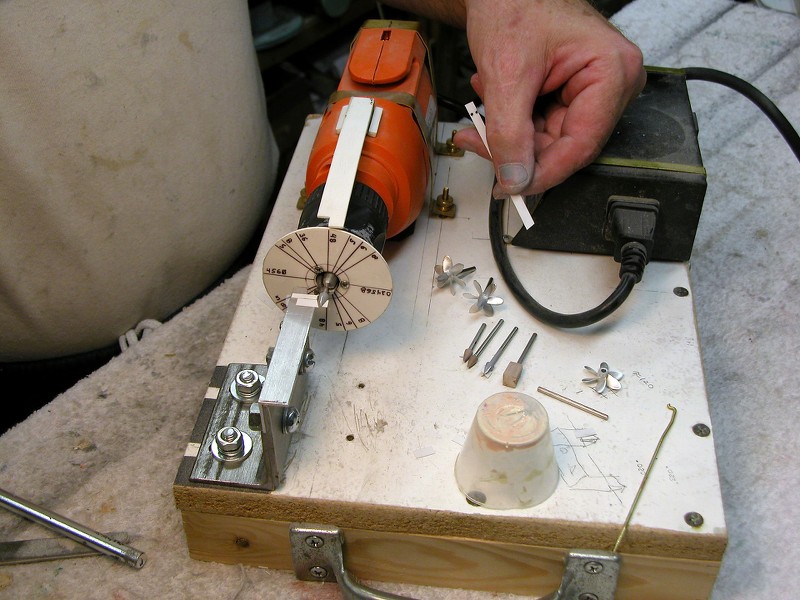
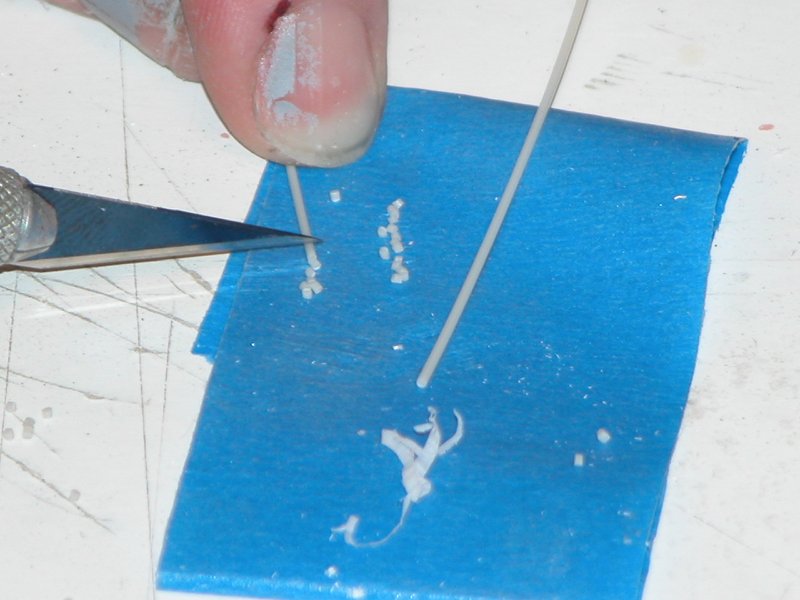
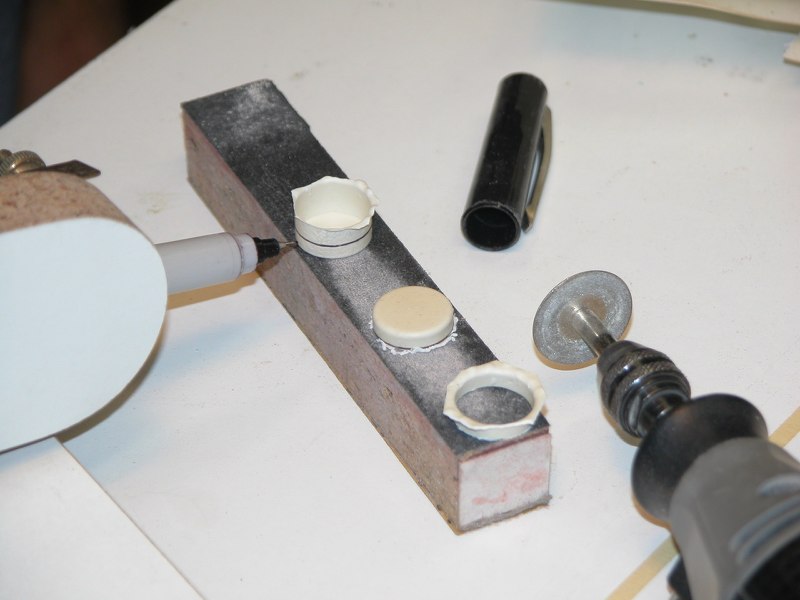
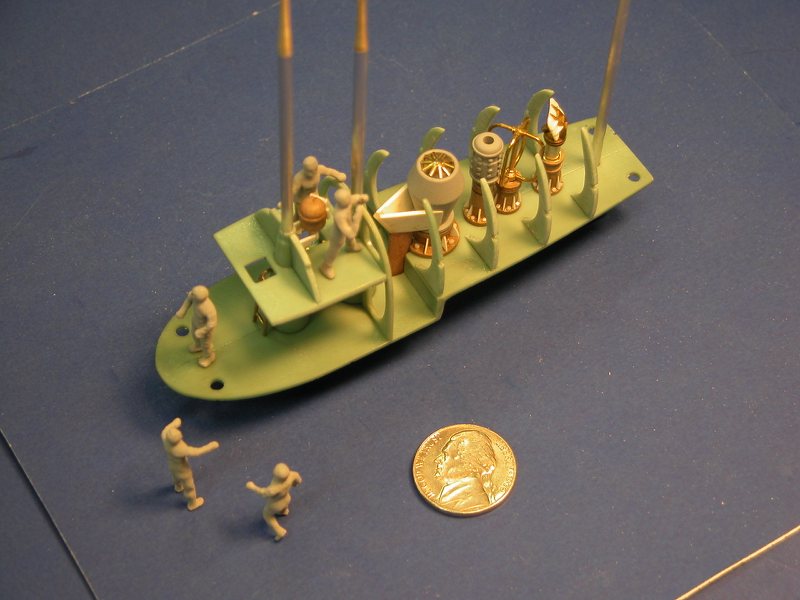
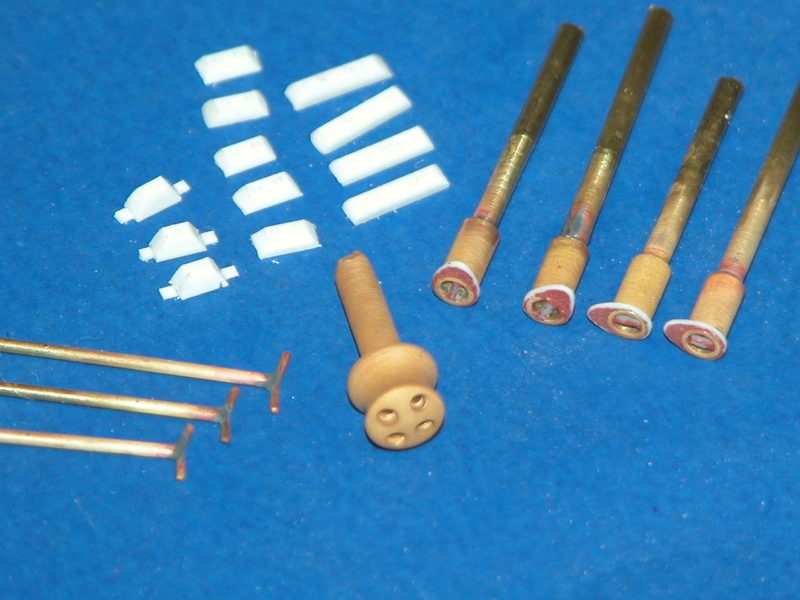
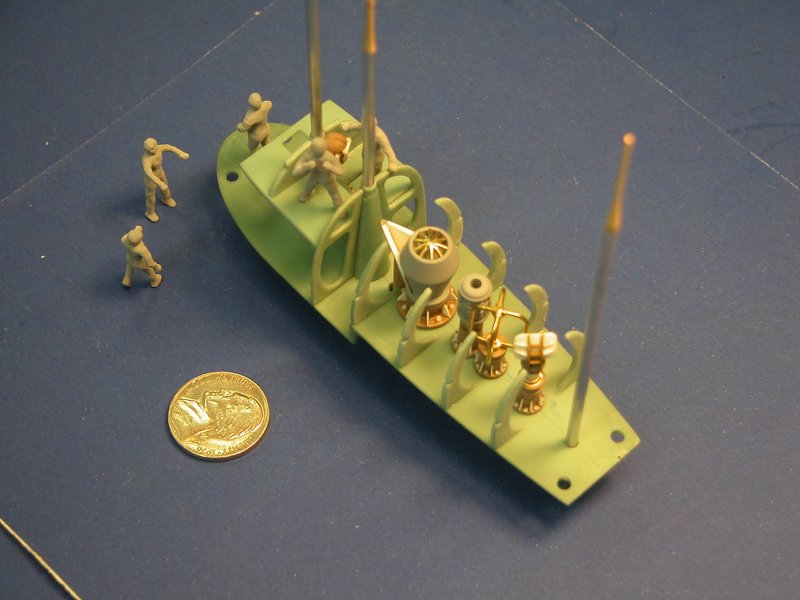
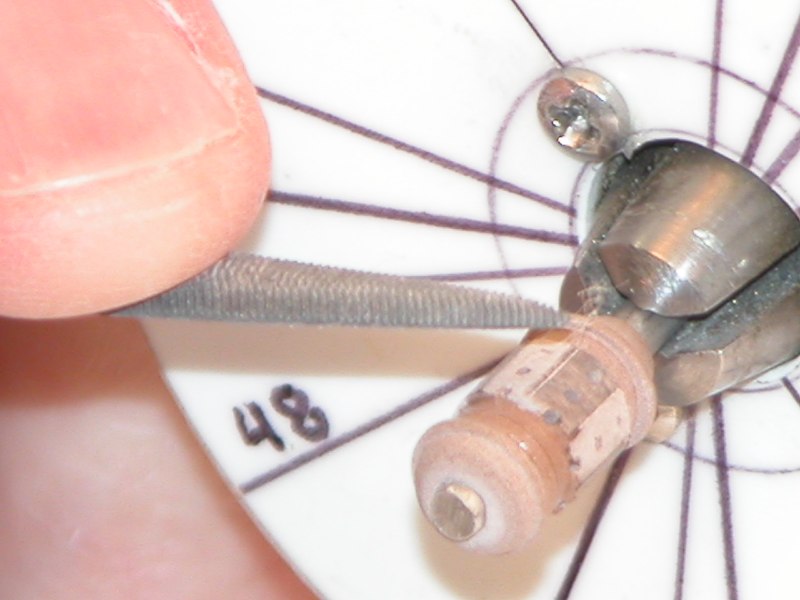
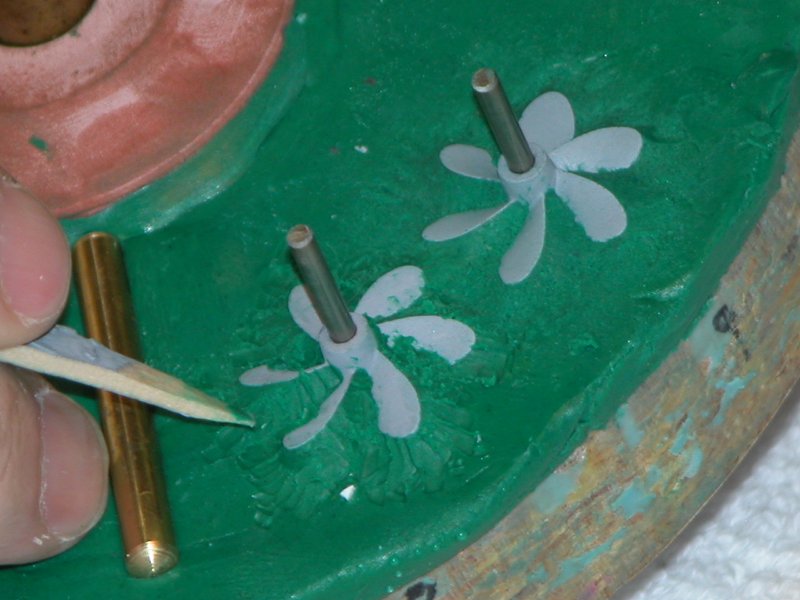
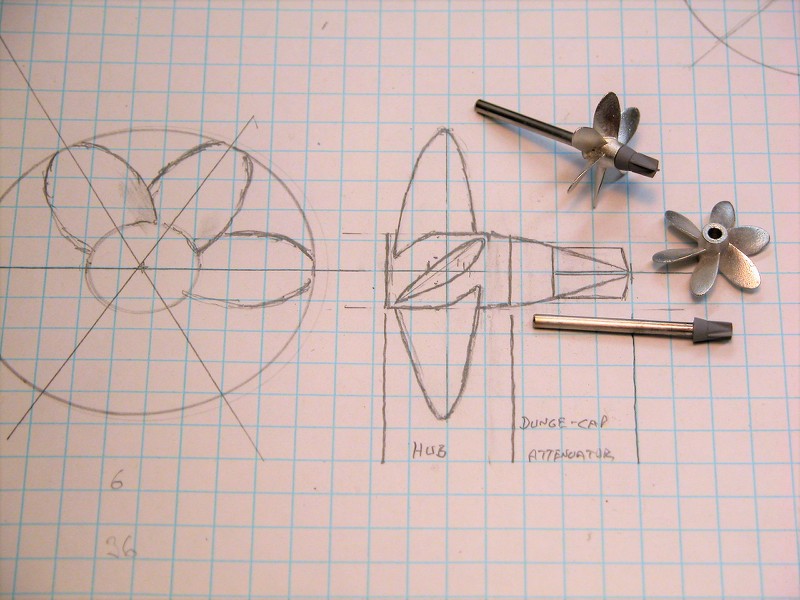
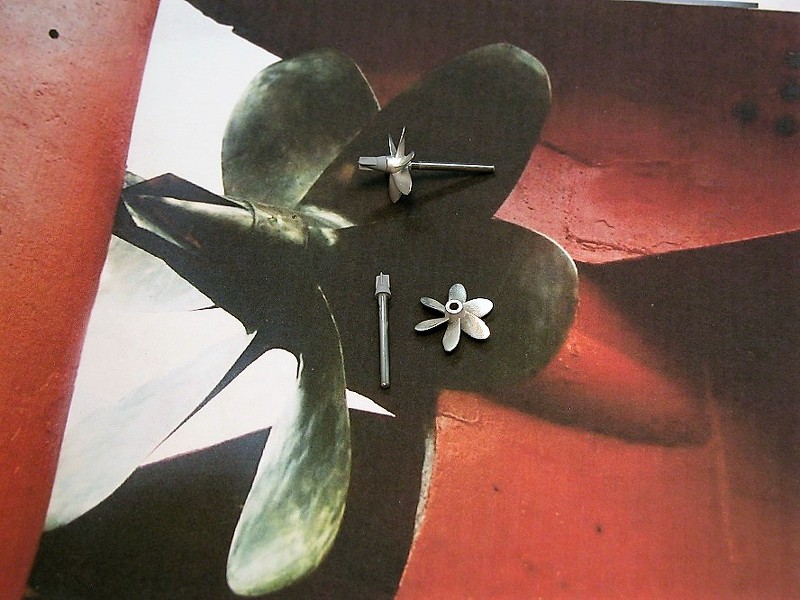

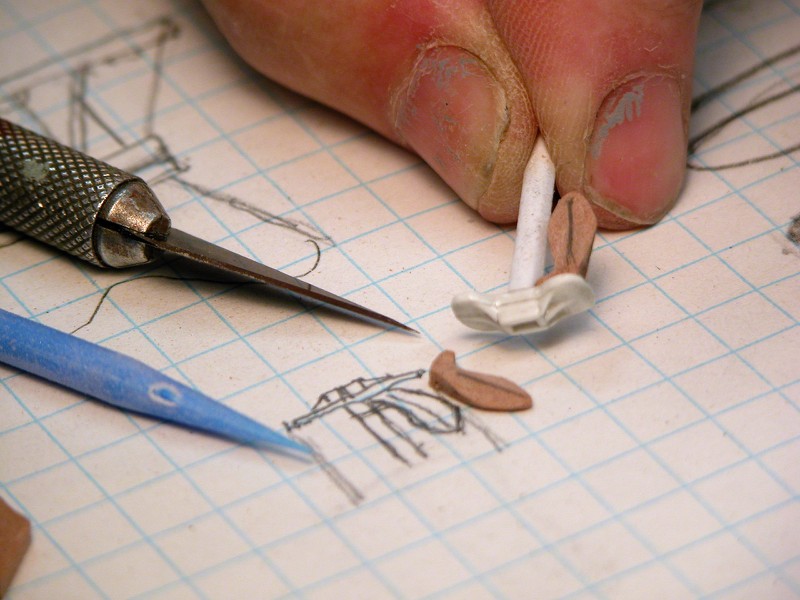
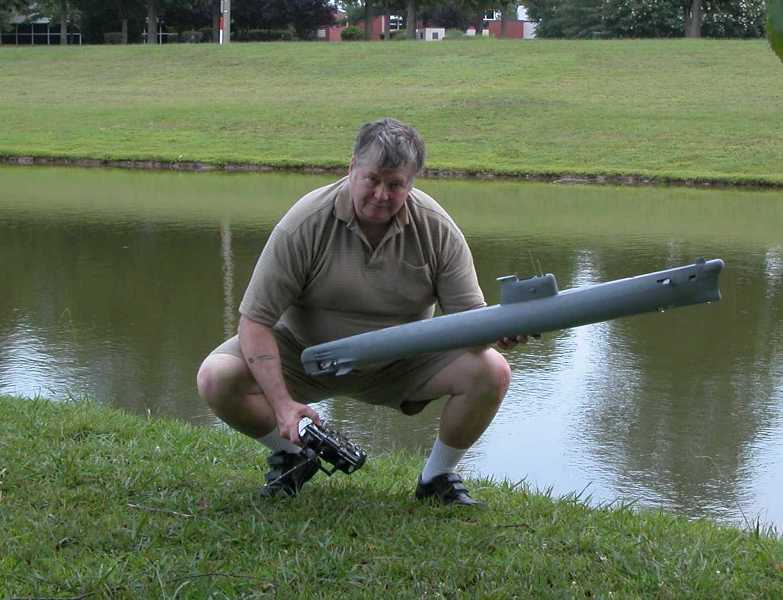
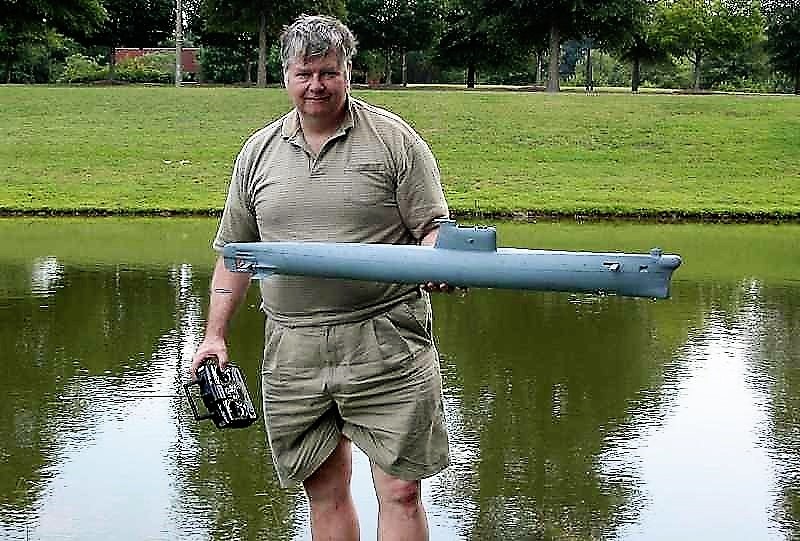


    David

    Leave a comment:


  • SubICman
    replied
    Originally posted by He Who Shall Not Be Named

    Penetrations, weld lines, access plates, and even overall geometry of these boats was as varied as the sub-contractors and yards that horridly slapped these things together in anticipation of the eventual amphibious landings that were to befall the Home Islands. Two eggs put all that to rest.

    David
    True. That's what makes these nice to model. It's your choice, nothing within reason is wrong

    Leave a comment:


  • wlambing
    replied
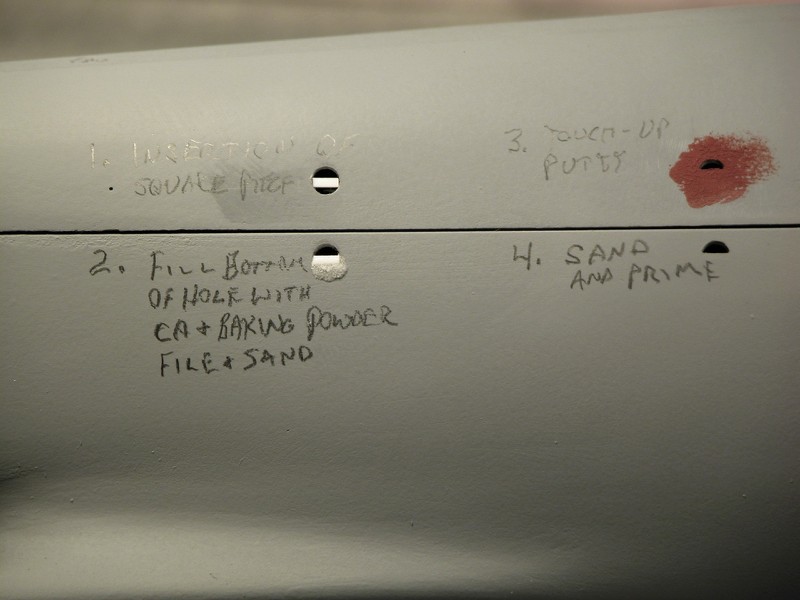
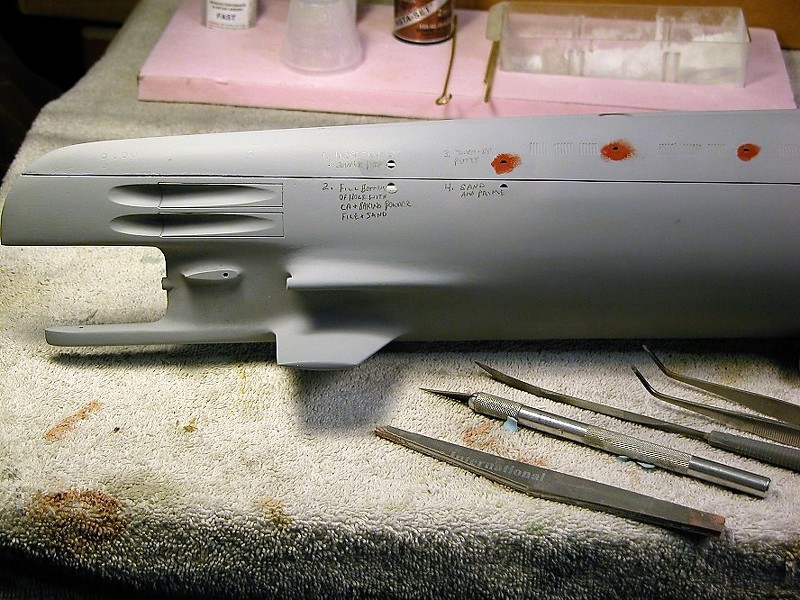
    Yes, the semi-circular holes! The bar type thingies are more correctly known as "grab irons". I see you teasing me with the master hull for the Foxtrot! You *******!!!! Currently working on her sail. That's where I want to replicate those steps. I do use the drill hole, insert half-round plastic rod, glue trim, fill, sand, repeat on the larger scale hulls. The cast resin sail isn't as easy as one would think it to be, due to thickness and the rough inside of the sail half. I'll get 'er though!!!!!! BTW, know where I can get an anchor for her? There was a missing sprue tree and some other stuff not included when this beast was purchased, way back when.

    Thank you, David, just what I was hoping for!

    Take care,

    Bill

    Leave a comment:


  • He Who Shall Not Be Named
    replied
    Originally posted by SubICman
    Nice! That's why your the best Dave.

    I took a slightly different approach on the Kaiyru tho. Theough my research if found that those ateps were acrually closed on the backside. I 3D modeled them and yes I printed them, then did the same as you demonstrated above.

    Click image for larger version

Name:	20220908_204010.jpg
Views:	326
Size:	56.5 KB
ID:	166511
    Penetrations, weld lines, access plates, and even overall geometry of these boats was as varied as the sub-contractors and yards that horridly slapped these things together in anticipation of the eventual amphibious landings that were to befall the Home Islands. Two eggs put all that to rest.

    David

    Leave a comment:


  • SubICman
    replied
    Nice! That's why your the best Dave.

    I took a slightly different approach on the Kaiyru tho. Theough my research if found that those ateps were acrually closed on the backside. I 3D modeled them and yes I printed them, then did the same as you demonstrated above.

    Click image for larger version

Name:	20220908_204010.jpg
Views:	326
Size:	56.5 KB
ID:	166511

    Leave a comment:


  • He Who Shall Not Be Named
    replied
    Originally posted by SubICman

    Indeed he is Dave. We have had this conversation several times. My filing game is ok, but I can stand to learn some more.


    Leave a comment:


  • SubICman
    replied
    Originally posted by He Who Shall Not Be Named

    You talk'n about the openings in the sides of the superstructure acting as foot and hand holes?
    Indeed he is Dave. We have had this conversation several times. My filing game is ok, but I can stand to learn some more.

    Leave a comment:


  • He Who Shall Not Be Named
    replied


    Leave a comment:

Working...