-
It's showing my dark side David, always loved that Russian stuff, as you allready know there is a thin line between being a genius or barking mad, building on the OSA is fun, it's giving me a oppertunity to sharpen my skills.
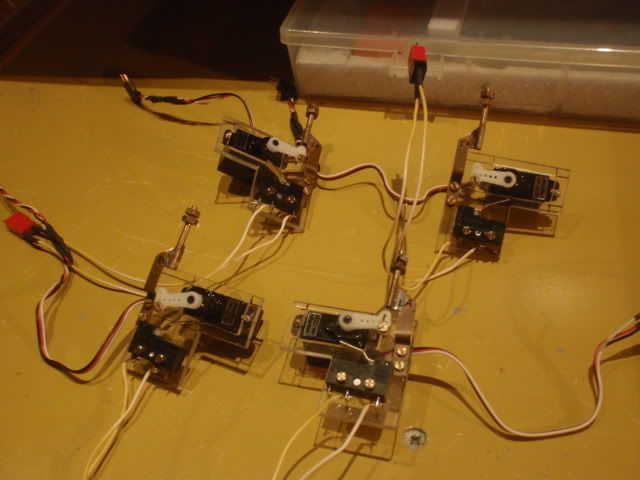
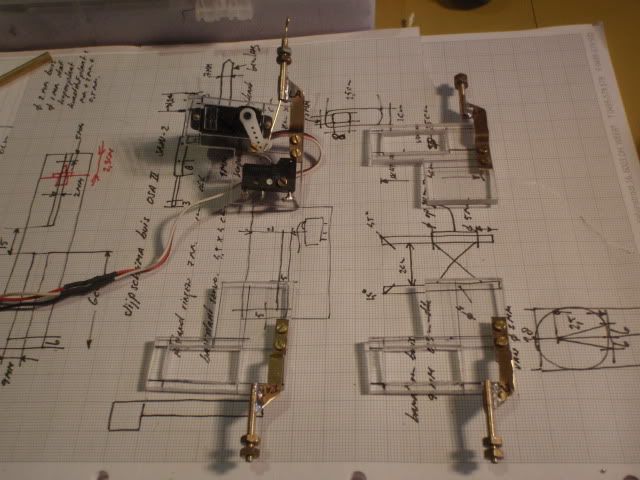
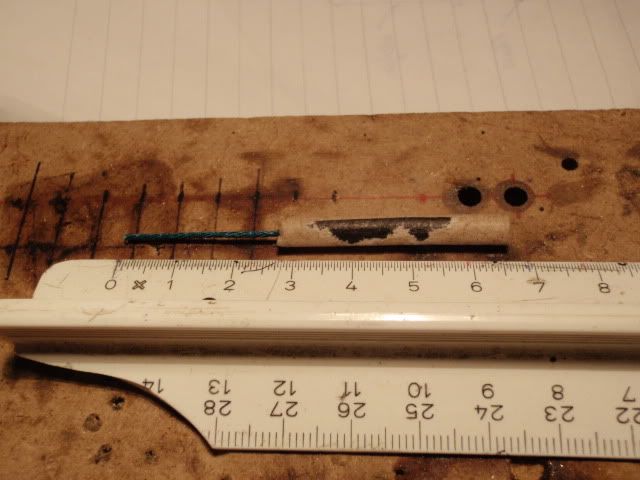
Since you love nut and bolts, here is some meal to enjoy, those things are the finished mechanics to open up the covers, the switch is part of a safety mechanism for the live rockets, i'll show that later with some old vids i made before.
Completed the build of all launchtubes, the mechanics i build before are incooperated inside and beneath the launchtubes, not yet ready to use, since all things still have to be connected to my reveiver.
At some point in my build i got contacted with a Russian modelbuilder, he provided me with some good drawings, had to replace all panels on the upperstucture, and started to build some railings.
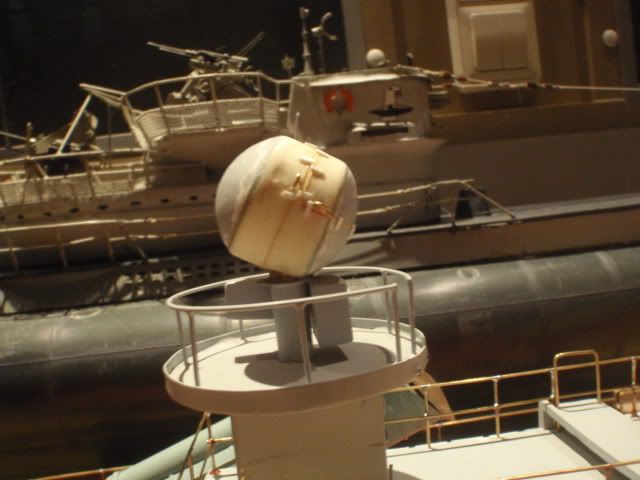
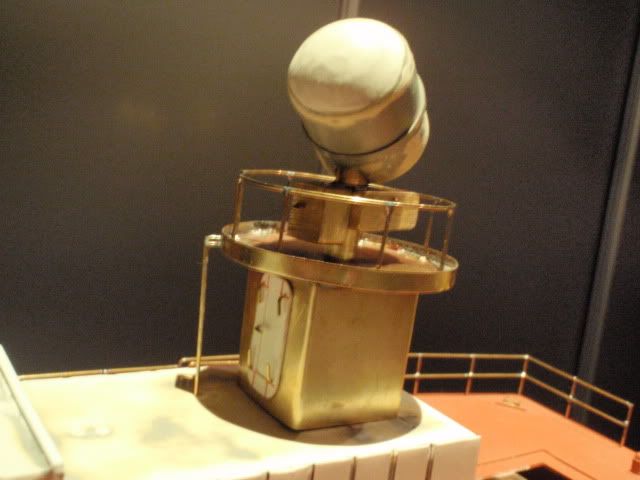
The same story with the radardome, the first one was way too big, with my new Russian drawings i managed to get it more scale, it's stepping you back all that work, but it's worth it.

Making those tubes work was the fun part, i allready knew that the mechanics to open up the covers worked, still had to rebuild my transmittor and made the electrical connections inside, a little demonstration how to open up the covers from the launchtubes.
Manfred.Last edited by MFR1964; 07-26-2013, 02:30 AM.Leave a comment:
-
It's just this sort of nuts-and-bolts stuff I love to read. You're a mad-man, Manfred!
MLeave a comment:
-
It's time to blow the dust from the post, each year i build a few months on the OSA II, last week i started up some work on the boat, first i'll show what i've done before.
Some serious productionwork had to be done, i started with building the brackets.
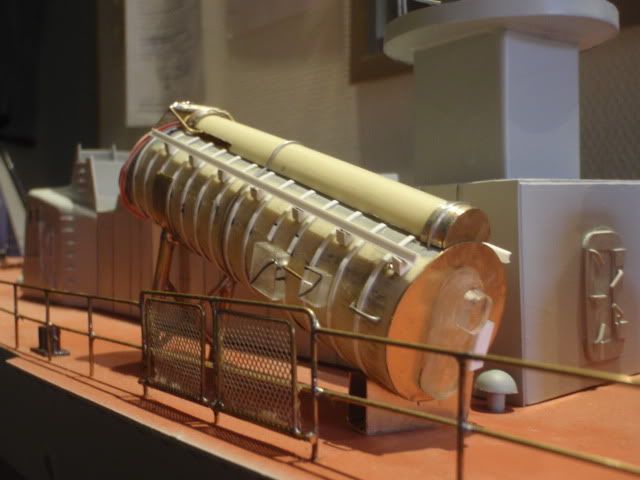
All covers from the tubes had to be made, a lot of time went into these, mainly because of the shape of those covers.
Some more mechanics for inside the tubes, used some springs from old ballpoints, brass tubing and some copper rods.
Some more fun at the productionline, the fire proof containers for inside the launchtubes, i personally hate production work, but this boat deserves it.
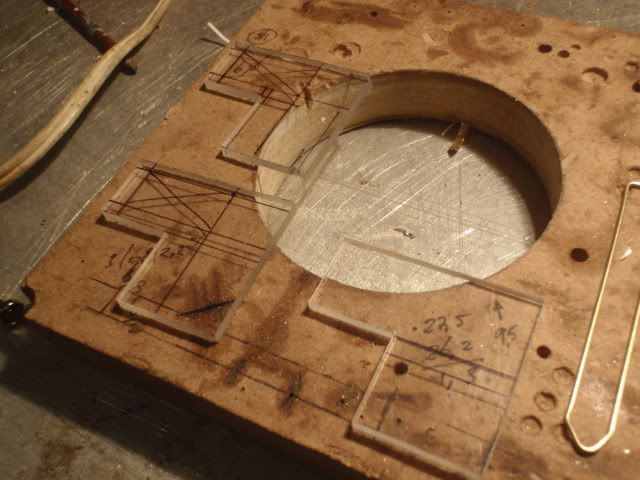
Base plates made from plexiglass, shown here in the first stage of completing.
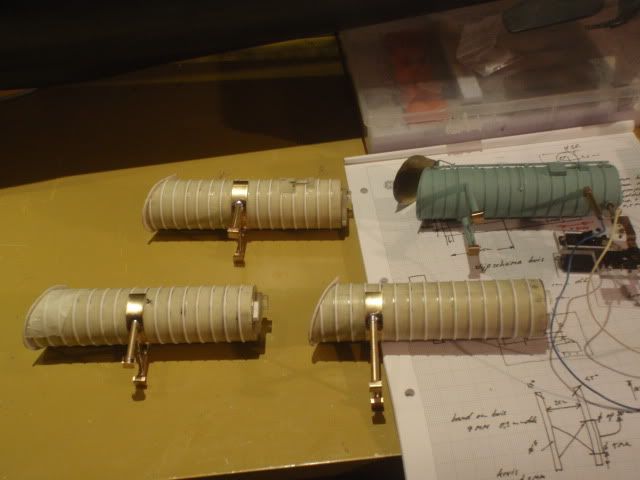
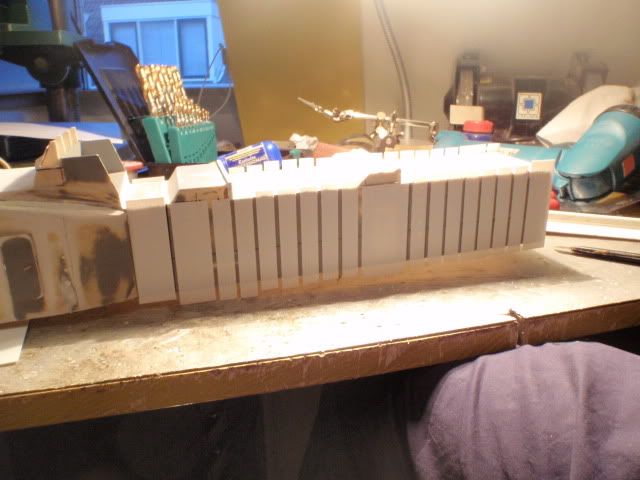
Despite my hate for productionwork it started to show some result, three more launchtubes.
Placing those tubes onto the deck was great to see, i now could imagen the endresult, still some hard work to do.
Motivaded by dryfitting the launchtubes i had to build the mechanics to make them work, allready had a working example which i had to copy into three working mechanics, to be continued as soon as possible.
Manfred.Leave a comment:
-
There is more to come,
The final prototype complete with all the details.
The evolutions to get me the right hatch with the final one on to the launchtube.
Painted the launchtube and added the controlmechanism for lifting the hatch, once approved it was time to make the other three launchtubes.
Manfred.Leave a comment:
-
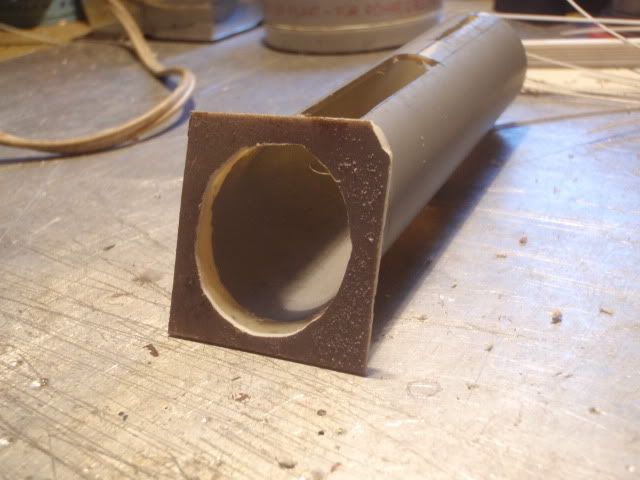
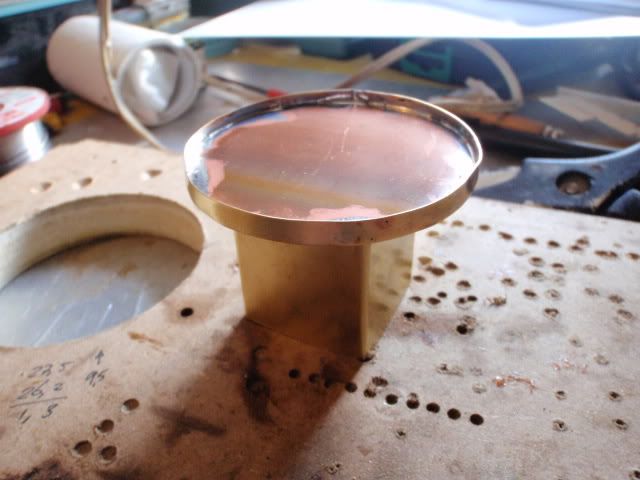
The launchtubes are made from PVC, to encounter the heat by the launched rocket i made a fireproof container which i can slide into the tube, at first i only used a rod to guide the missile, this didn't work, had to go back to the drawingboard, ended up with the tube inside the container, this is working well, pictures.
The container made from thin copper plating.
Glued a tube on the rocket which slides over the rod, this design failed, i had to figure out something else.
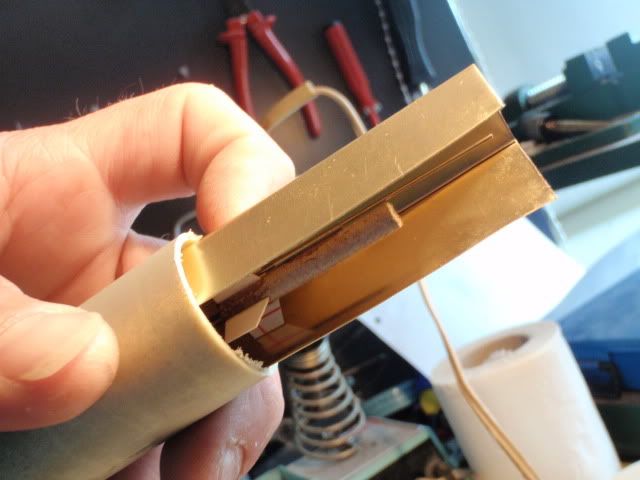
The container can slide into the PVC launchtube, this way loading the rockets becomes easier.
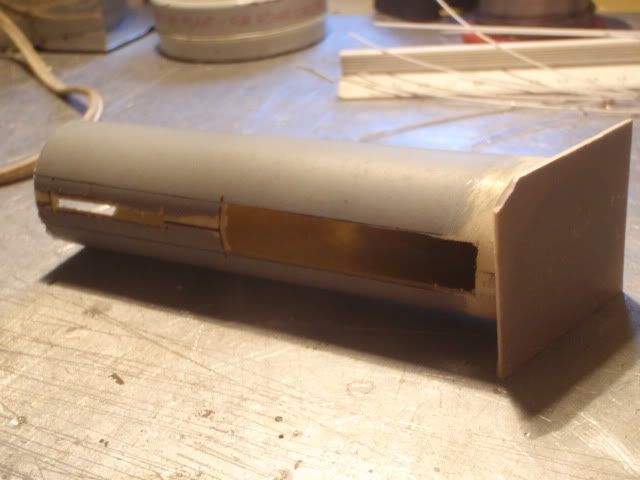
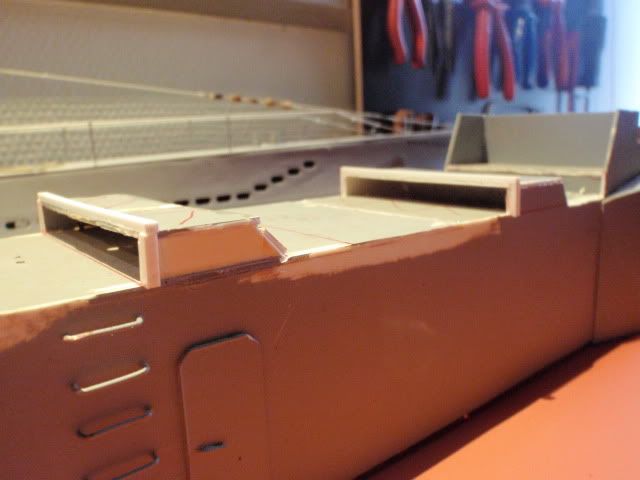
The first steps in making the launchtubes, i had to make a kind of flange from styrene to support the hatch.
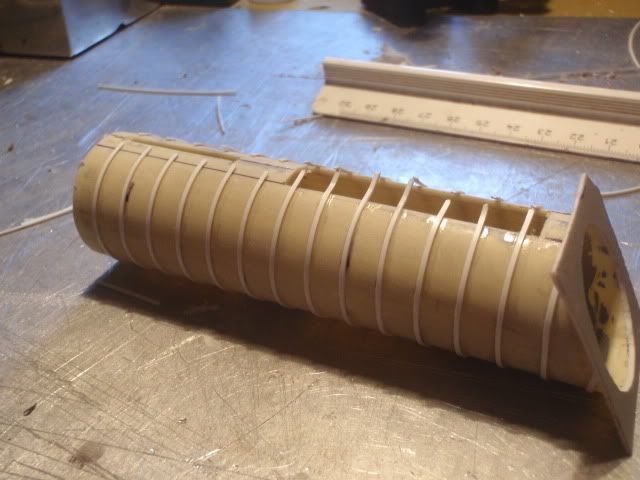
After doing this four times, i started detailing the launchtubes accourding to my drawings, and believe me, it took some time to get this right.
Manfred.Leave a comment:
-
Finally after much sanding it could receive the first coat of primer, more to see if i needed to rework the structure on the bad spots.


In general it wasn't bad, but she needed some more filler and sanding.
As i decribed before, it's a rocketboat, and what is a rocketboat without real rockets to fire?, a new challence started to get me some live rocket tubes.
Since the launchmechanism was the most important thing i started with building the inside of the tubes and tried to figure out what would work good.
These are the rockets i use, only during december i can buy them at the shop because of new year, they are called baby rockets, small enough to fit into the launchtubes.
Next step was to make me some fire proof containers to fit inside the future launchtubes.
Manfred.Leave a comment:
-

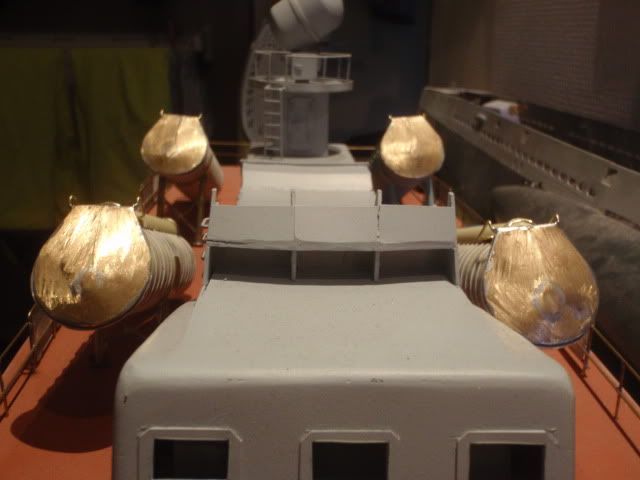
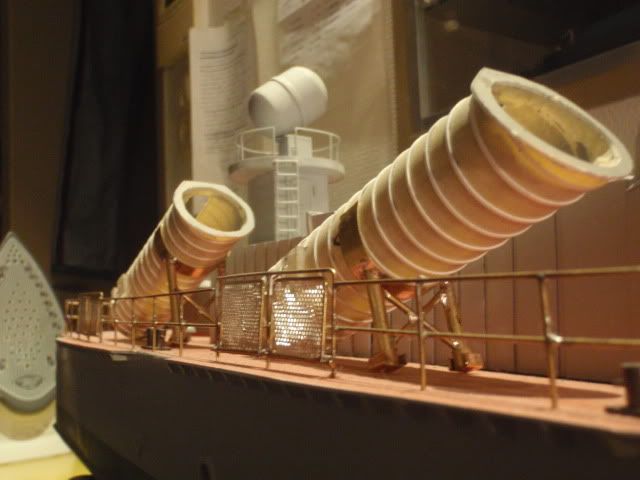
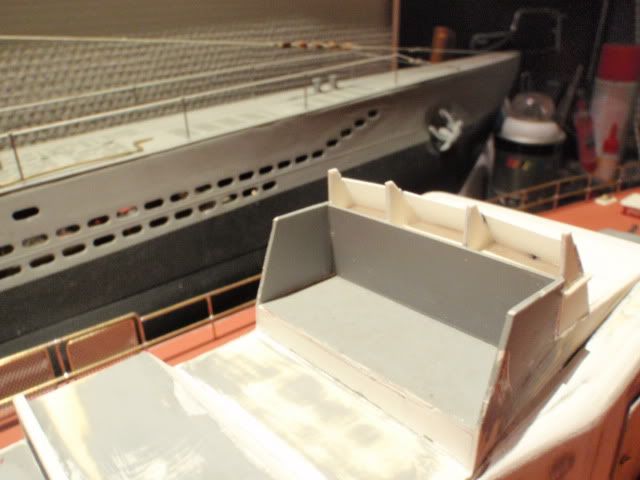
Each time adding more parts to the upperstructure and the deck.
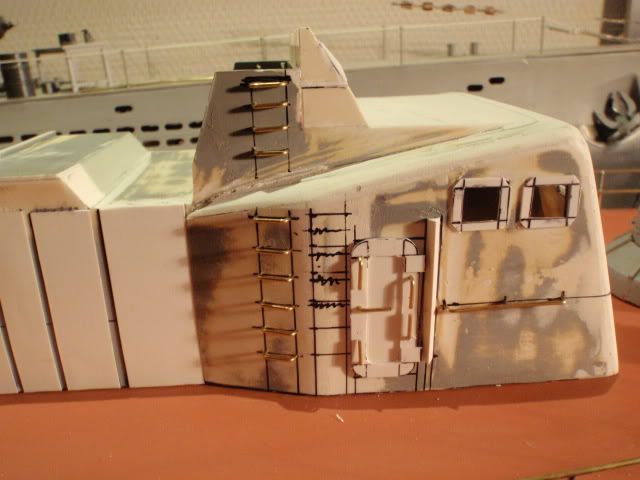
Adding ladders, doors, ventilation shafts and railings.
Adding the last details to the radar, like electronic boxes and the entrance door.

It's starting to grow, but she's still a bit naked without the launchtubes.
Manfred.Leave a comment:
-
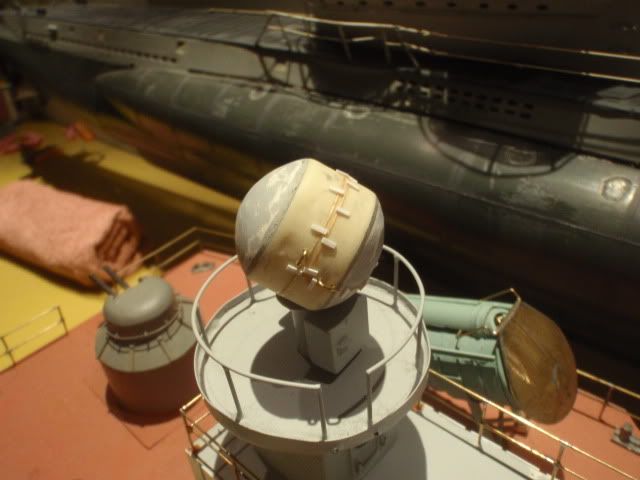
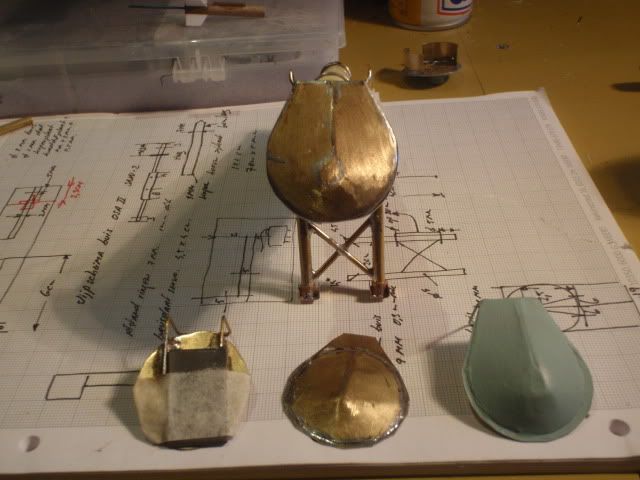
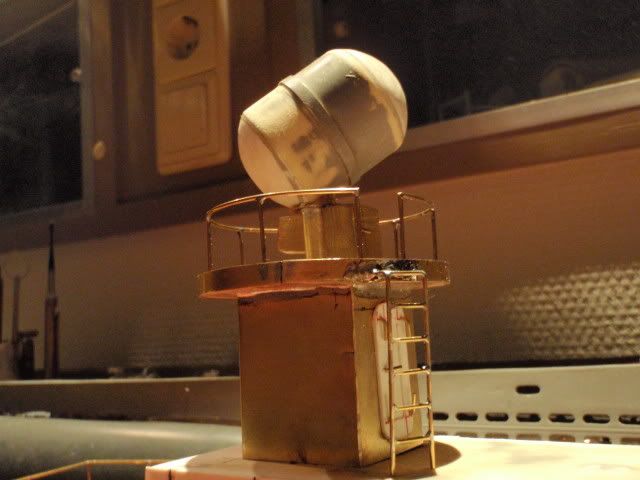
The dome was the only part i could re use, the rest went into the bin.
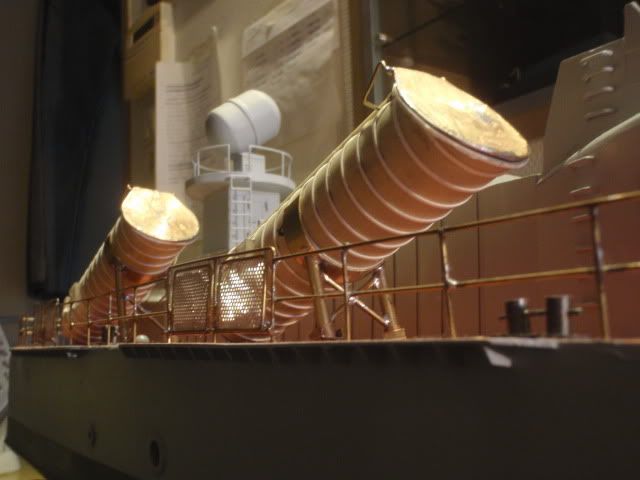
I decided to make the radar tower from copper.
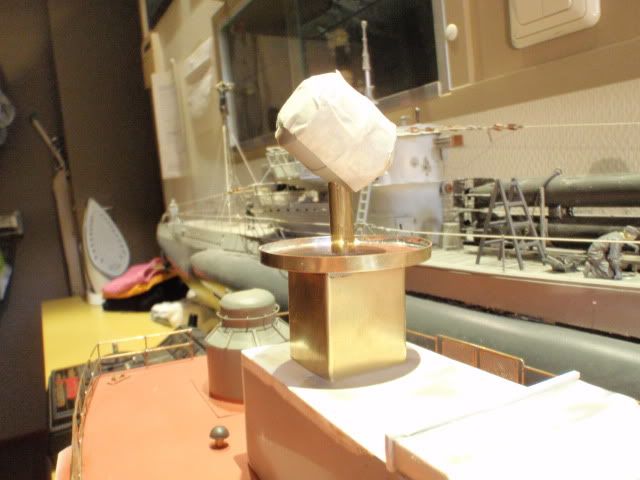
A dryfitt to see if the dimensions are right.

This is the reason why i went for copper, adding railings and ladders becomes much easier.
With the drawings from the russian modelbuilder beside me i started to add the panels on both sides of the upperstructure.
Manfred.Leave a comment:
-
Ok i'll feed you guys some more, remember that all this is done during a three year period, making this thread gives the total proces of rebuilding this boat untill now.
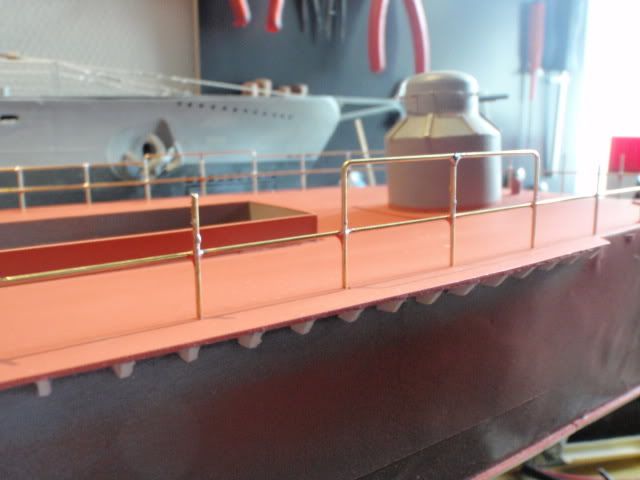
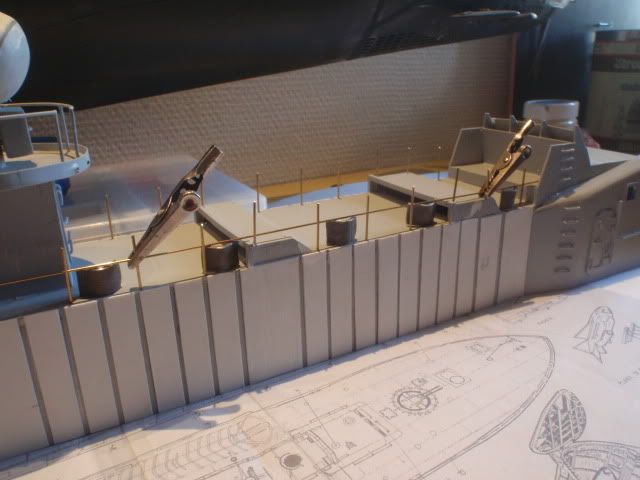
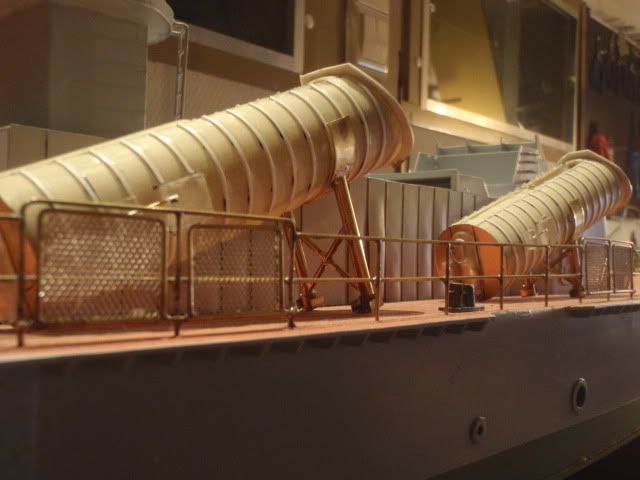
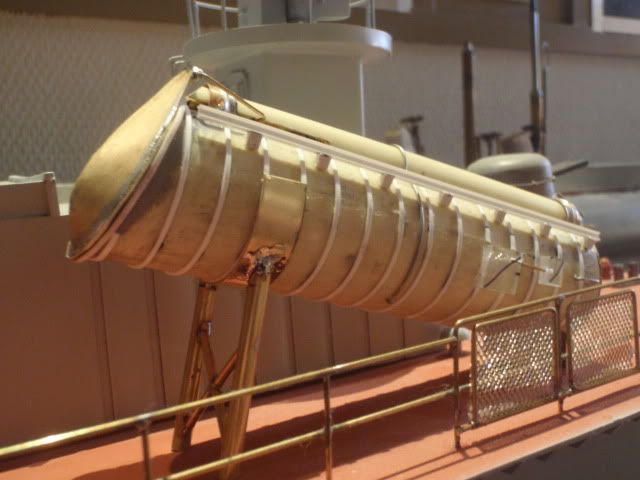
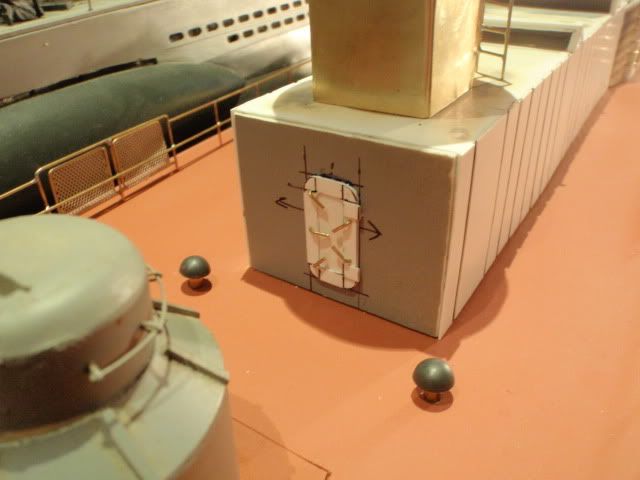
On some pictures i discovered something strange about the railings, on certain places it seemed different.
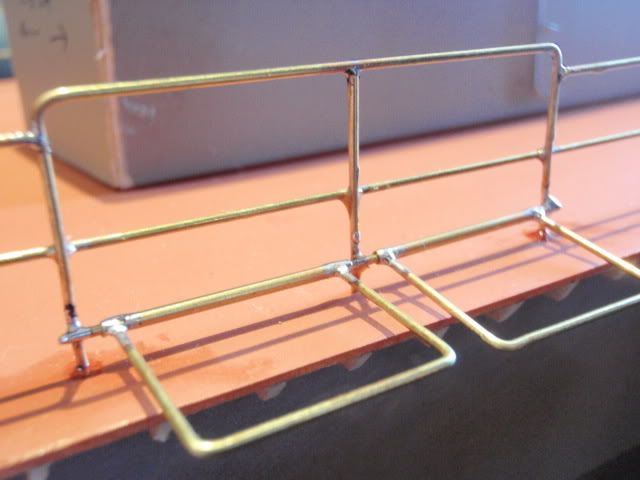
I found out it was a kind of movable construction for maintenance on the outside of the launchtubes, using some small copper tubes and rods i tried to get the same result.
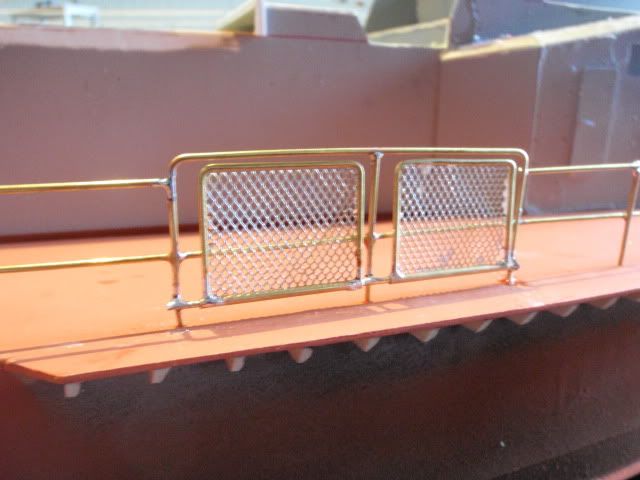
Adding some aluminum mesh to imitate the original steel mesh.
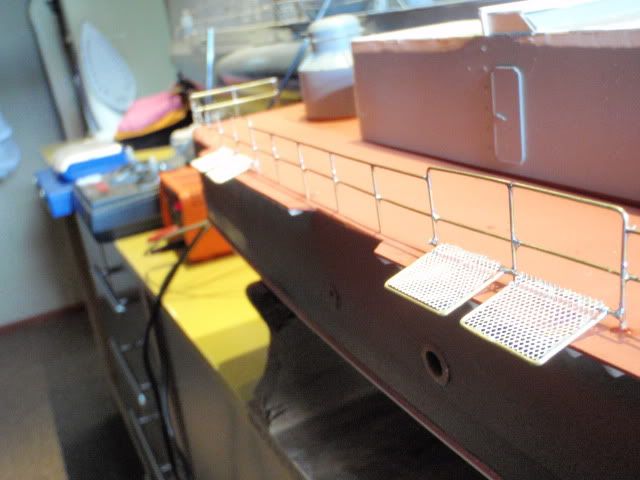
There are four such movable plaforms on each side of the boat.
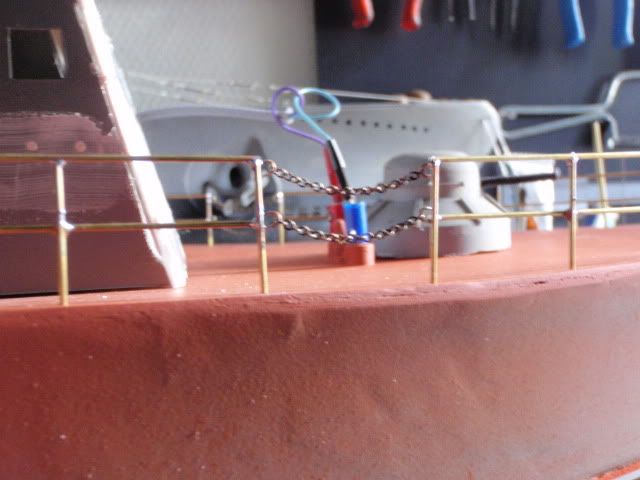
Near the front of the boat they places some chains to get access to the deck when in harbour.

More work done on the superstructure, the beloved filling and sanding has started.
The result after some sanding, managed to get the rounded corners at the front part, still a long way to go.
Just like always the filling and sanding seems to be endless, when you think you're finished it's starting all over again.
Manfred.Leave a comment:
-
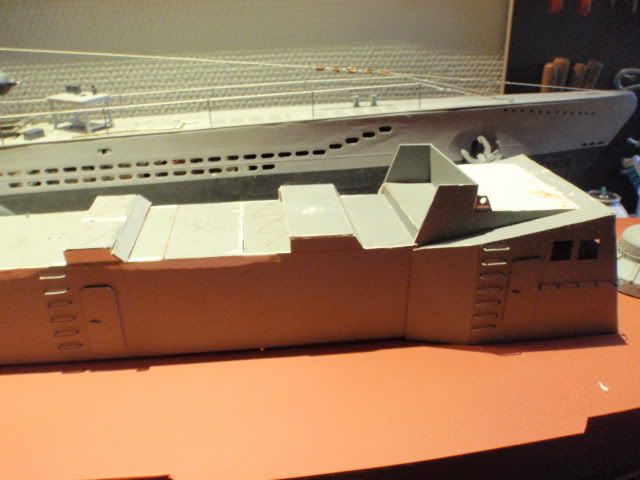
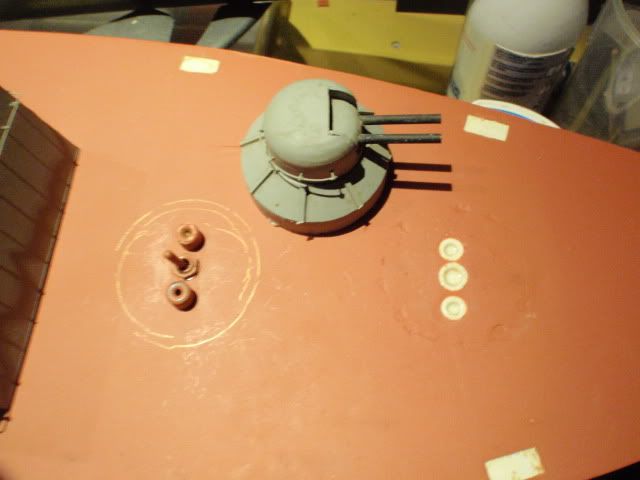
Once the dimensions were right i started to fix all the holes i've cut with the dremel.
I guess those humbs are part of the cooling installation, they show up on the pics i have.
Each step it becomes better and better, nice stuff to work with styrene, i've bought a massive amount pre cut styrene at a nice discount, unfortunally the hobby shop where i've got the stuff is going to close, accourding to the owner due to the internet and webshops, he wished he jumped in earlier instead of having the classic hobbyshop.
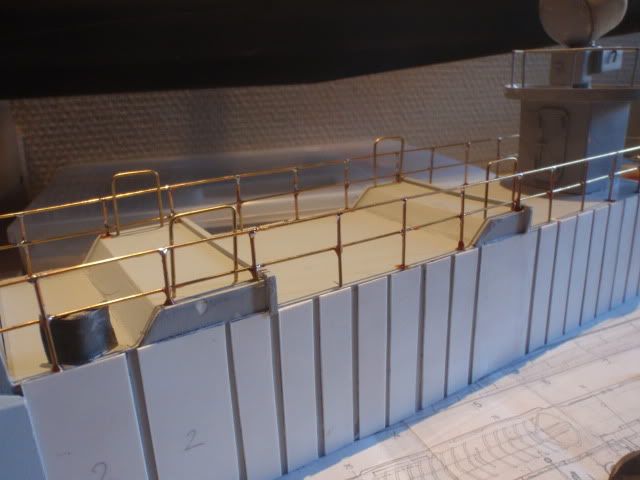
I also had to add some railing, this is the start with all the needed stanchions.
Used pieces of lead to get the same height all over the deck.
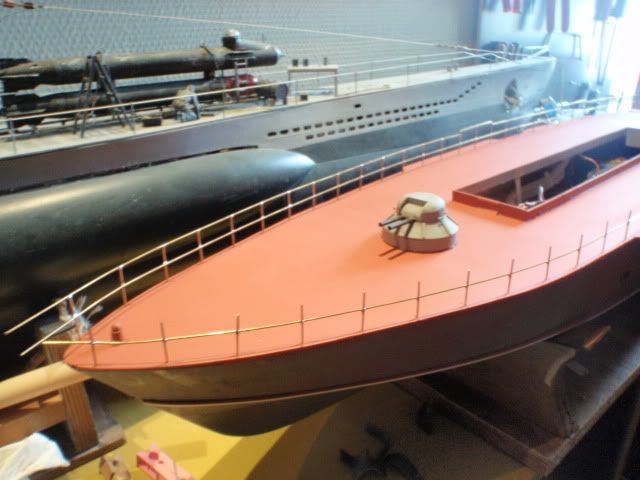
After some well spended time it's getting somewhere, due to getting more strenght i've chosen to get double railings, also added a nice addition that showed up at some of the pictures.
Manfred.Leave a comment:
-
The tubes are made from PVC, this will not hold up against multiple launches and the generated heat, inside the final design i placed a copper box containing a copper tube which holds the rocket, by doing this it's possible to shoot time after time without damaging the PVC outer tube.
Later on i'll show what the endproduct has become, be patient.
Since the first design was succesfull i linked it up with a servo to see if any problems will appear.
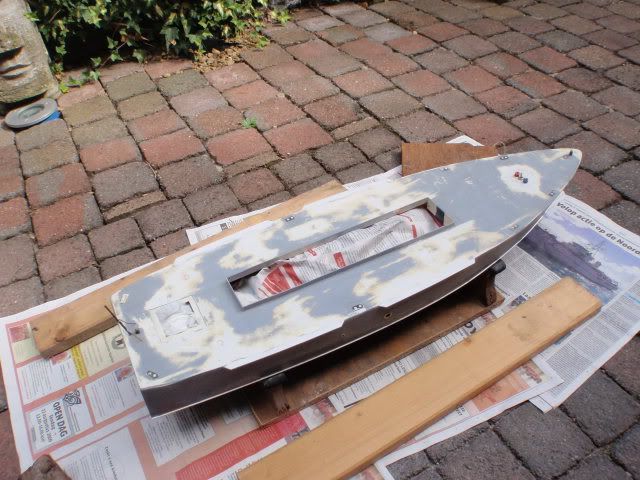
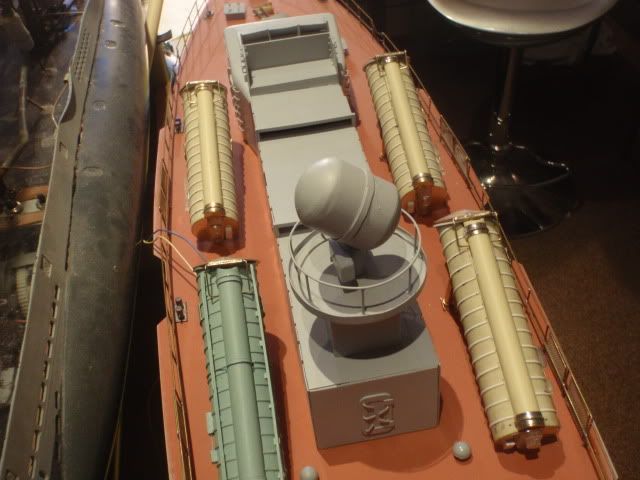
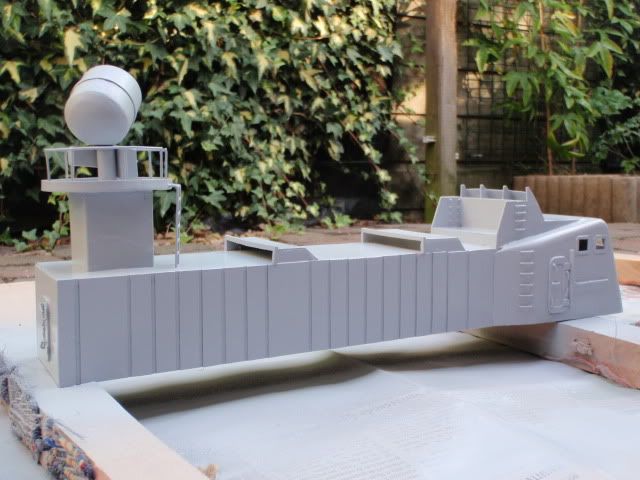
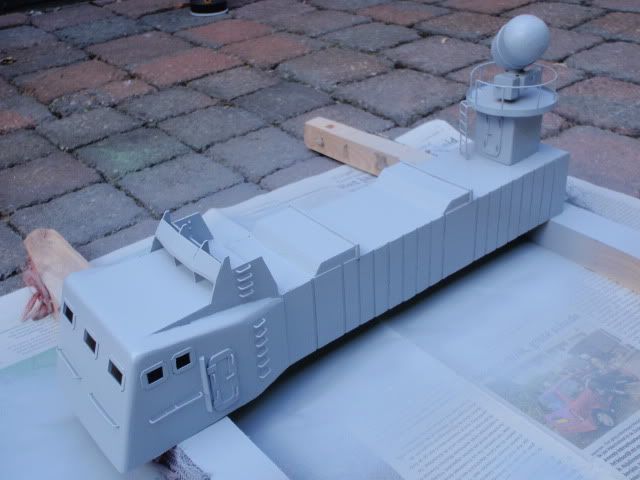
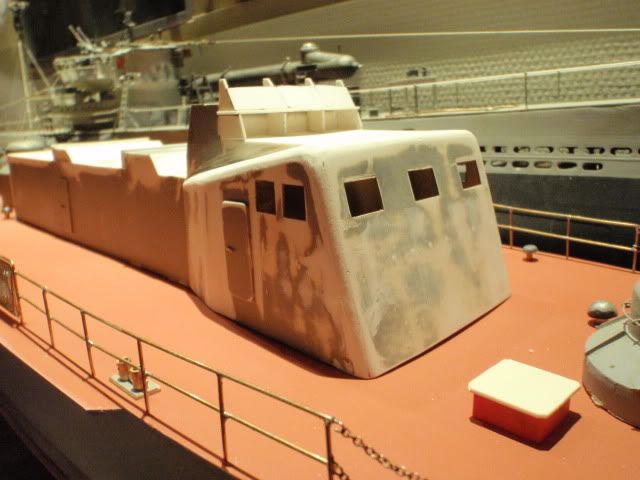
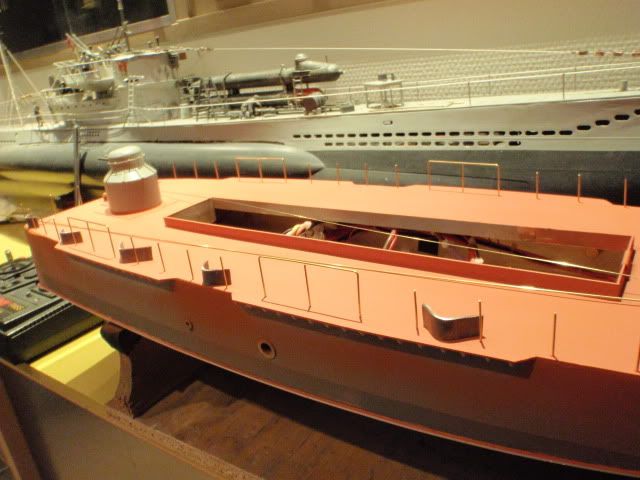
Hitted the boat several times with primer and sandingpaper, she was now ready to receive some colour.
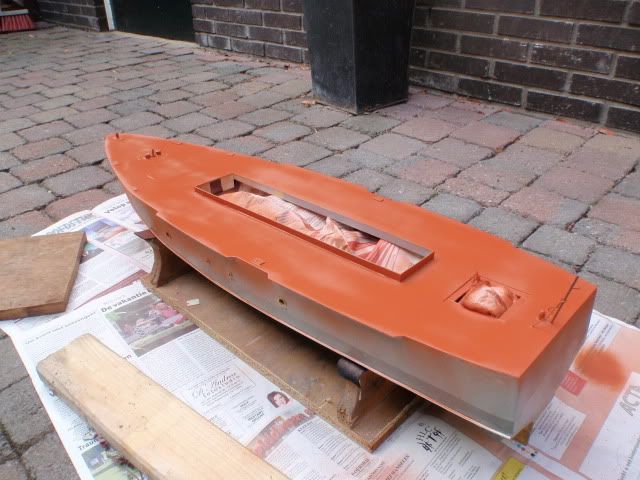
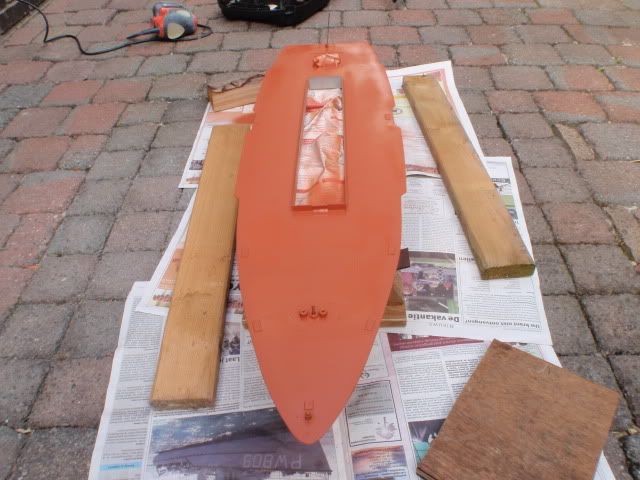
I decided to go for the pacific coloursceme, brick red on the dek, primergrey overall structure and green under the waterline.
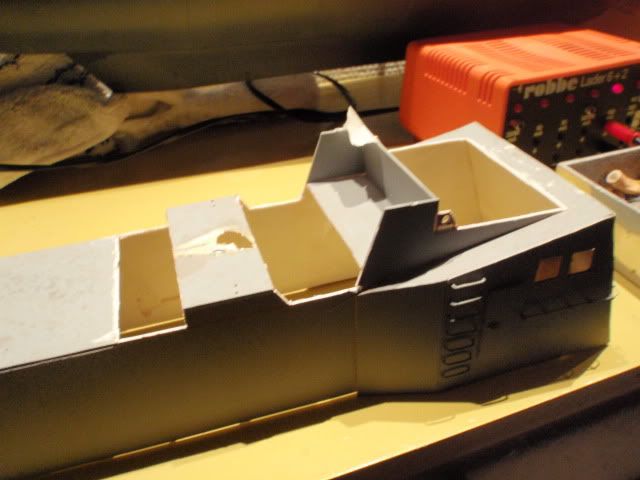
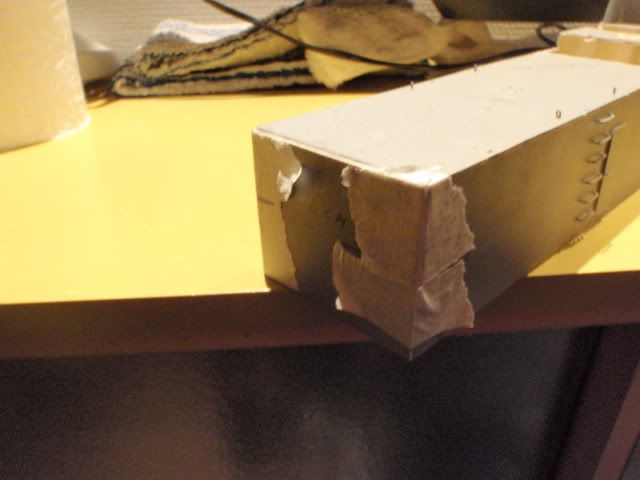
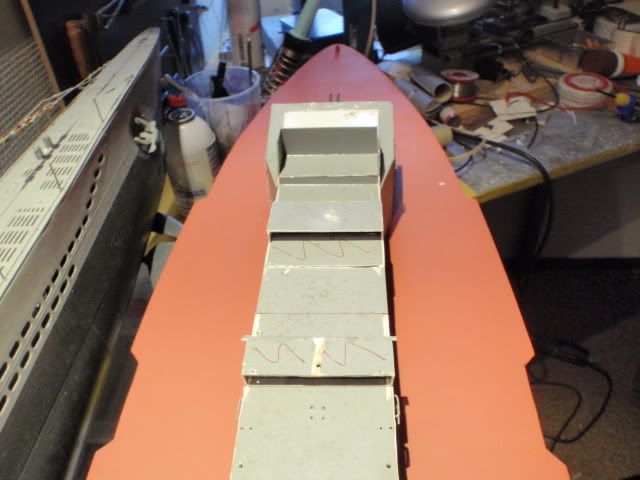
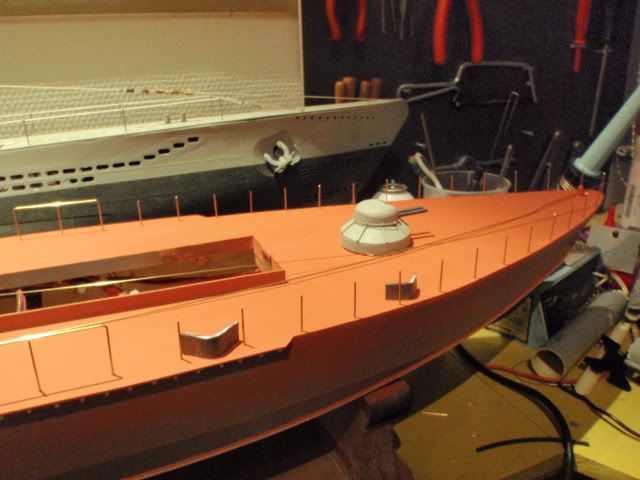
Used the dremel with cuttingdisk to make some adjustments to the upperstructure, had to add some holes and made it shorter.
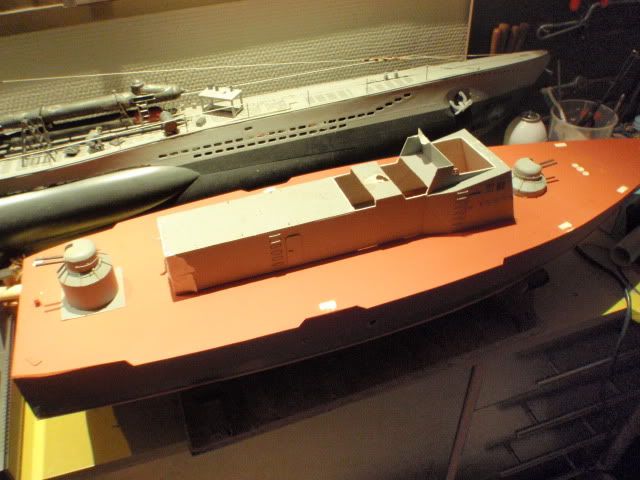
Compared to the pictures i have it's now more scale on the dimensions.
Also corrected one mistake, the cannon turret was way close to the bow, on my pictures it's more located just before the steeringhouse.
Also adjusted the length of the launchingtubes, the one on the back is the test tube and the one in front the final size.
Manfred.Leave a comment:
-
what are the tubes made out of? will thet hold up to repeated launches? maby brass pipe for repeated riple fire.... nice job so far... i want to do a itiari 1/35 scale s100 shcnellbooot with working lursenn effect rudders as my next build after the VIIc is done...Leave a comment:


Leave a comment: