

For those who think why my postings are low, well, there is a reason, during the summertime i always build on my OSA, it's a long lasting project, but i spend three months a year on this boat.
I'll fill you guys in from the start a few years ago,
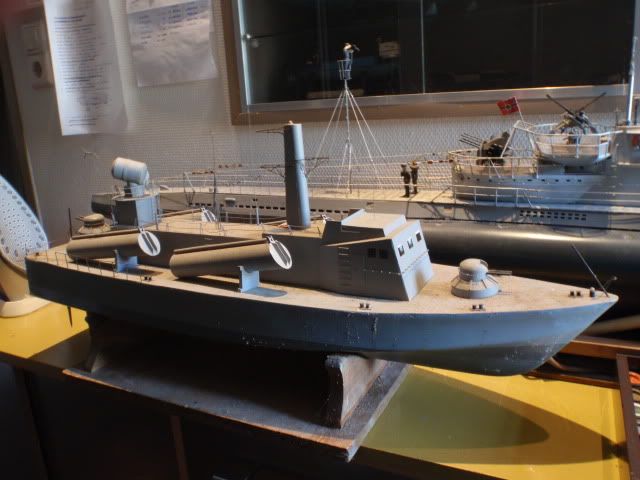
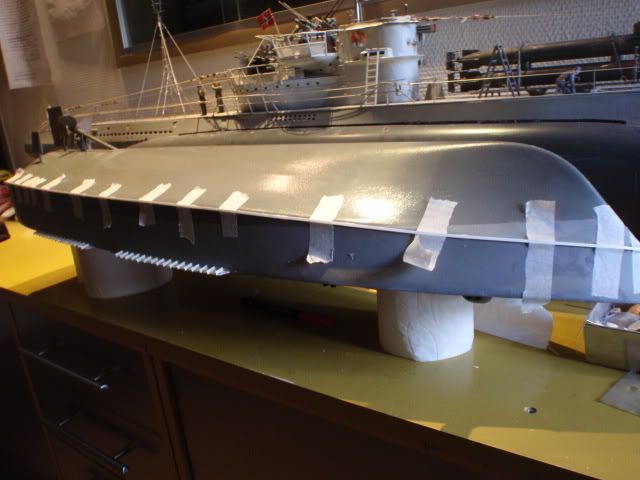
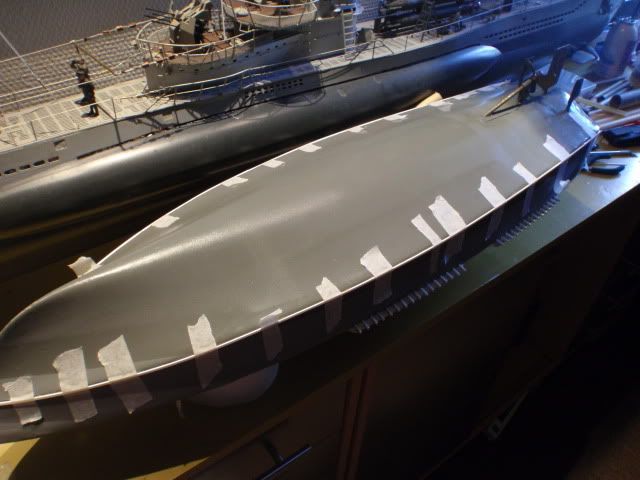
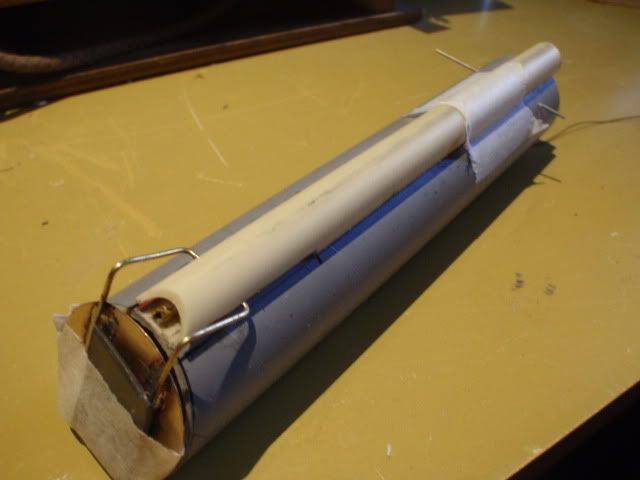
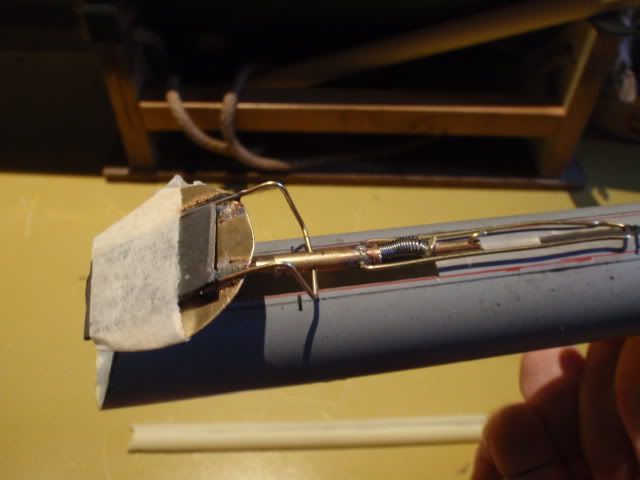
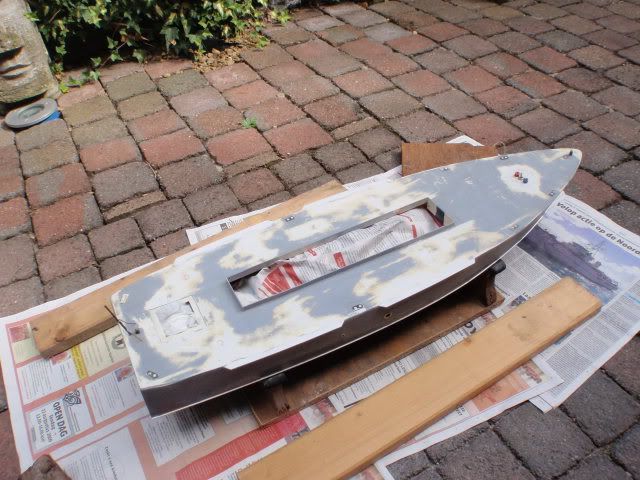
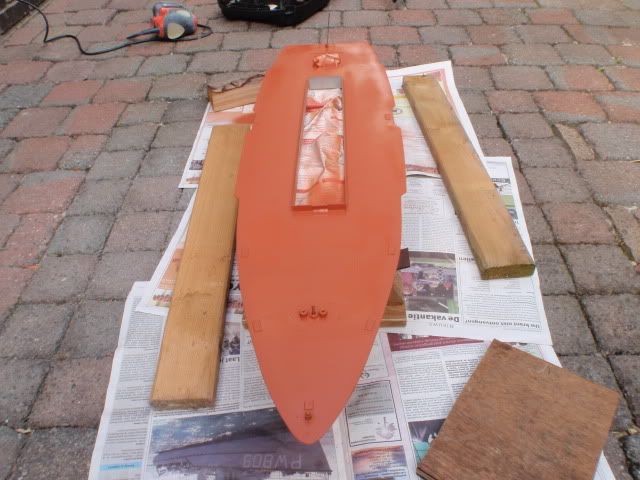
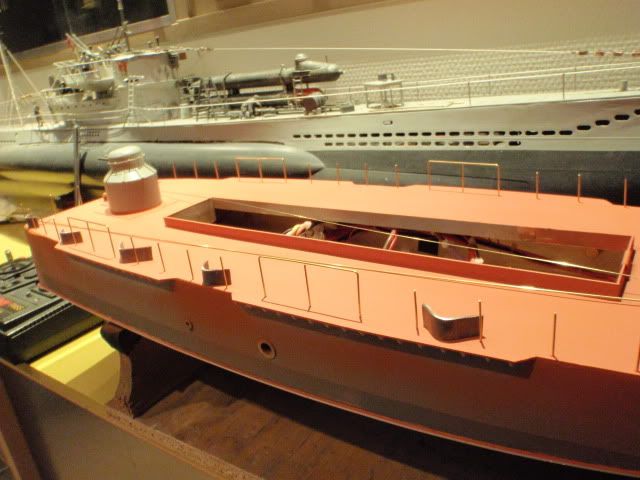
In this state she was wondering around on the attic for some years, made this model before i got infected by building subs, the hull itself is modified from the PT15, and made shorter to resemble the OSA hull.
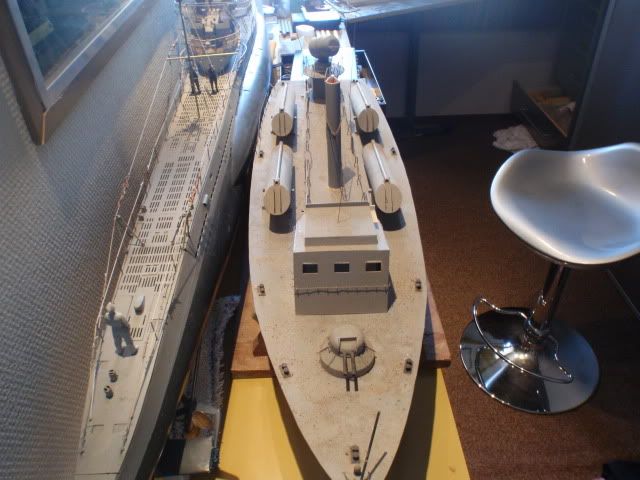
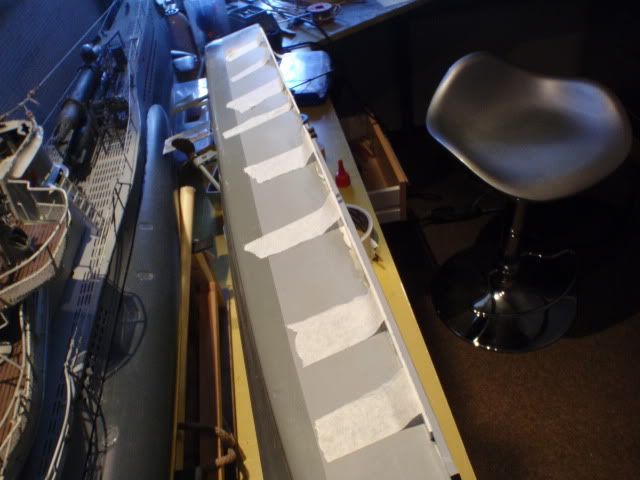
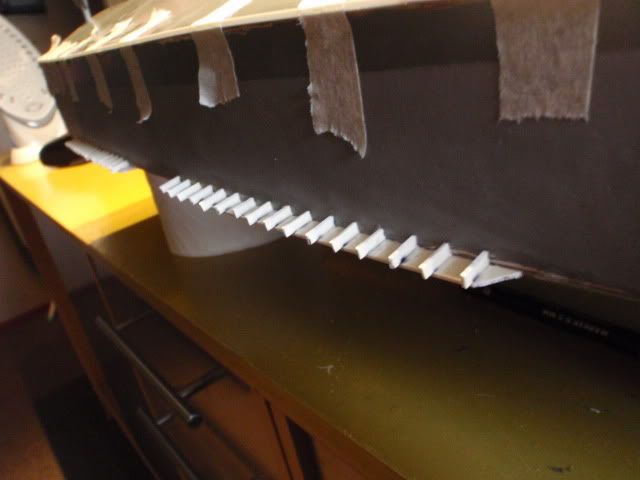
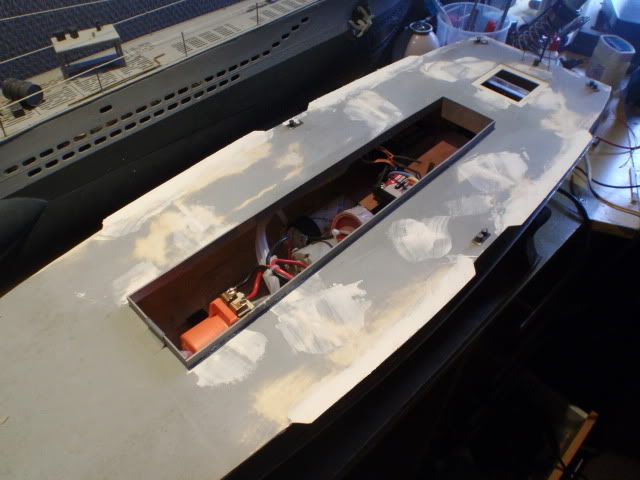
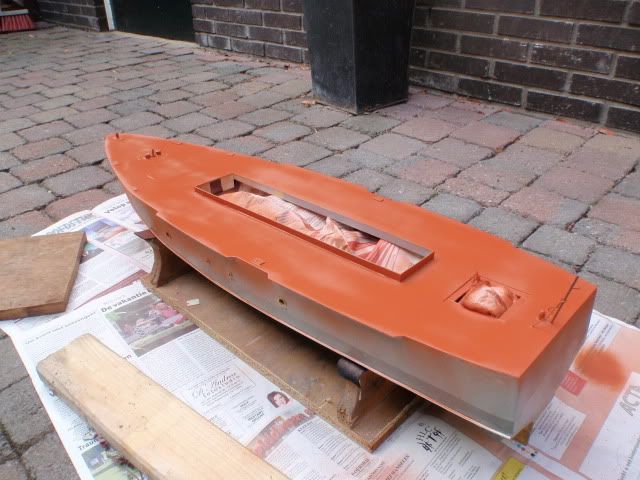
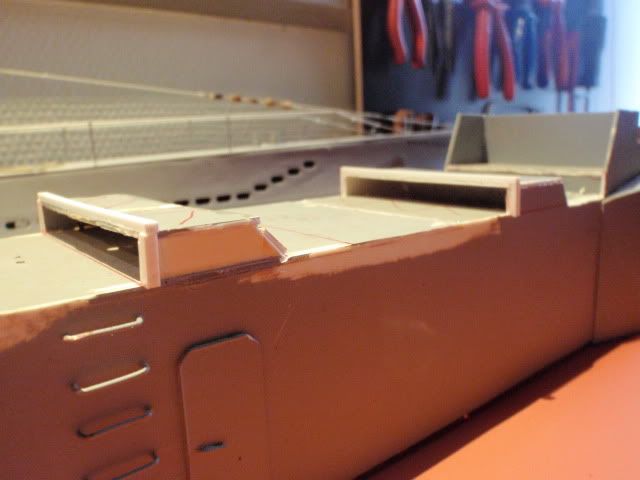
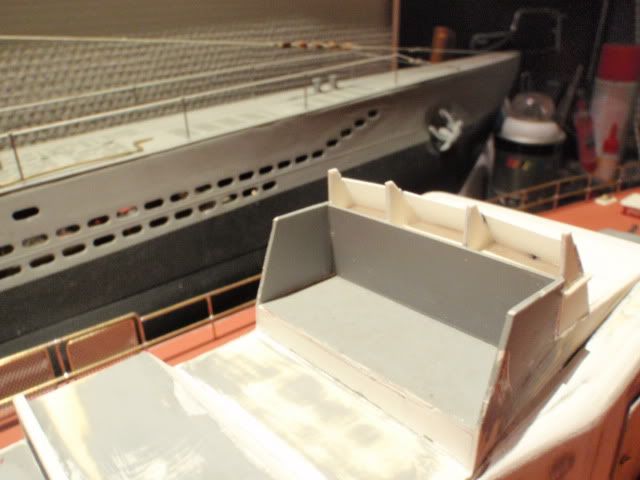
The only way to do this right was to strip her down bare to the bone and start all over again, some parts i could re use, others not.
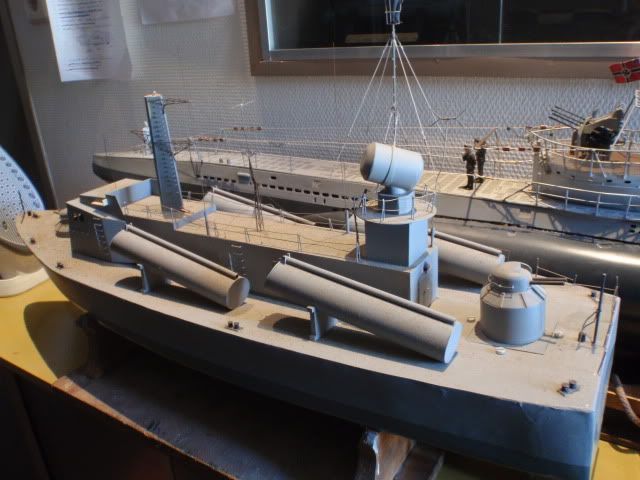
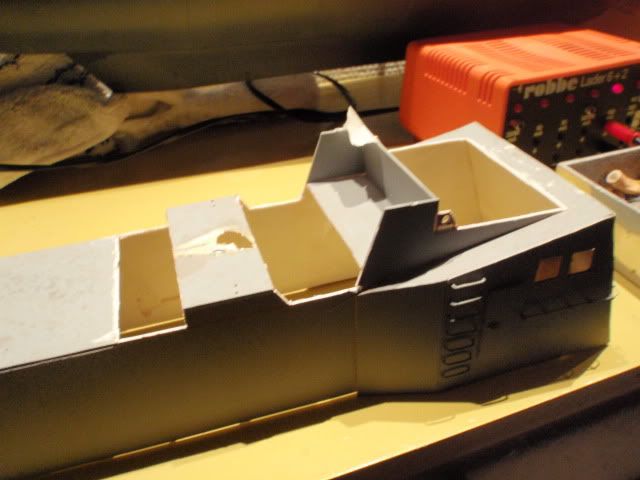
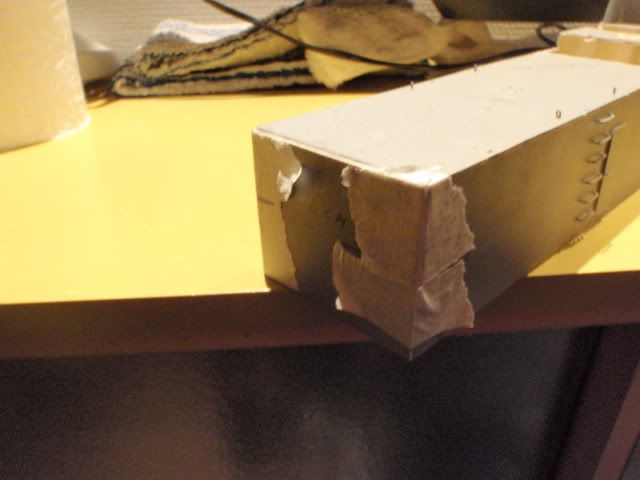
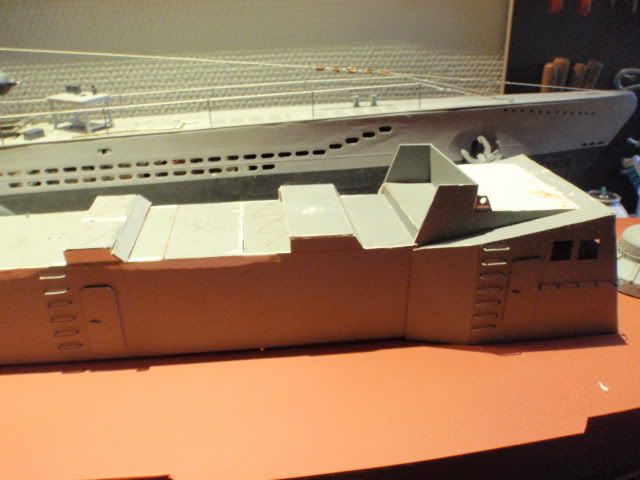
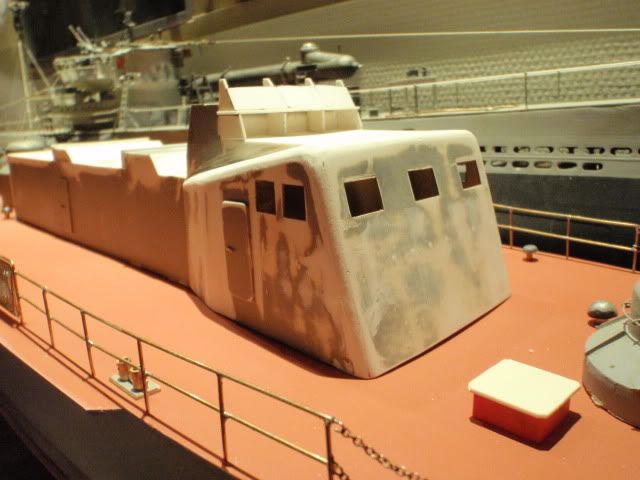
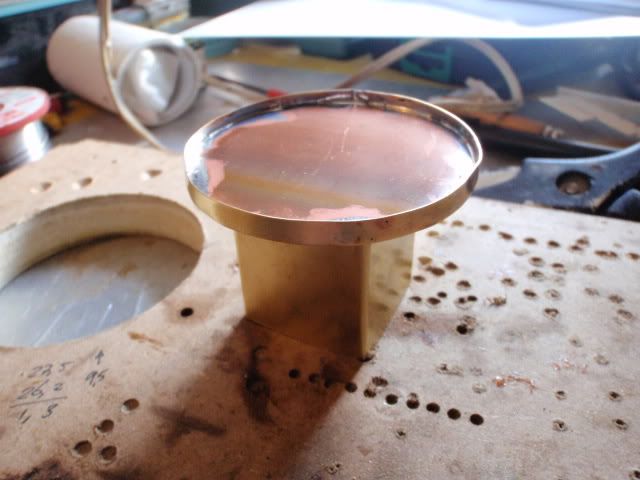
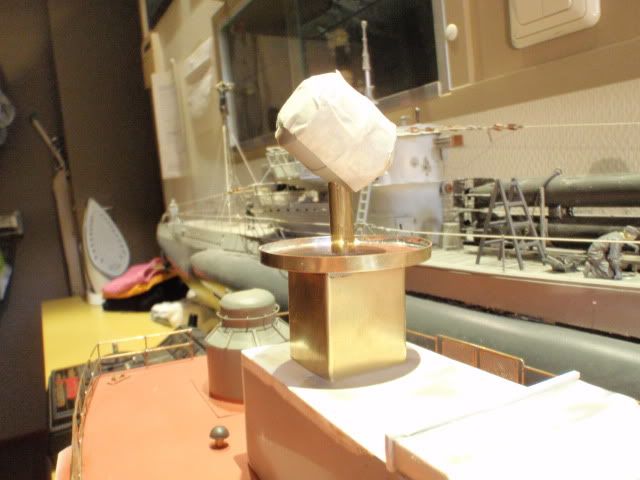
The upperpart was saved, the size is not right, way to big, but that could be modified.
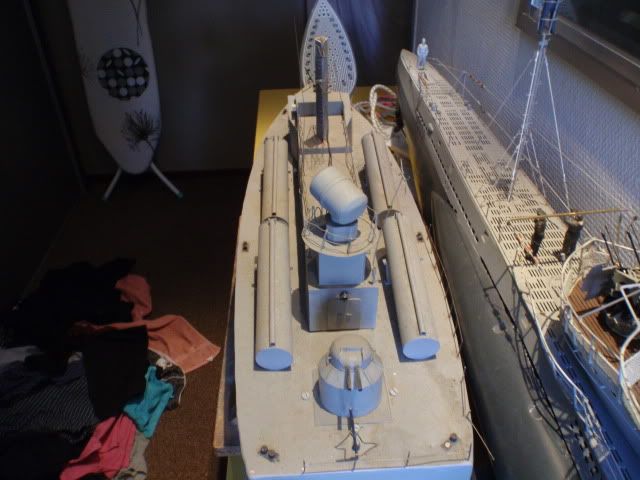
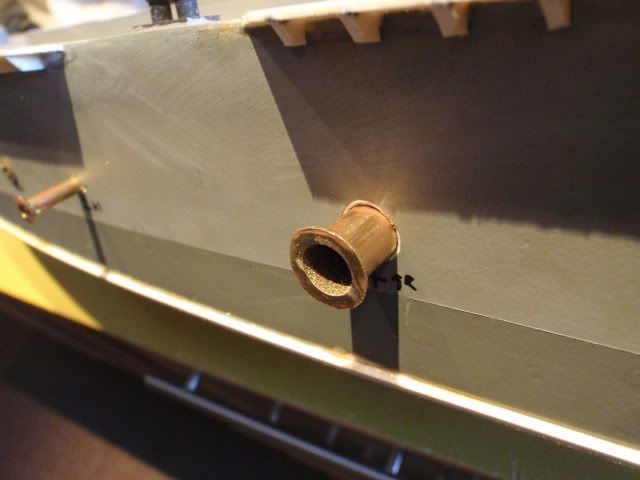
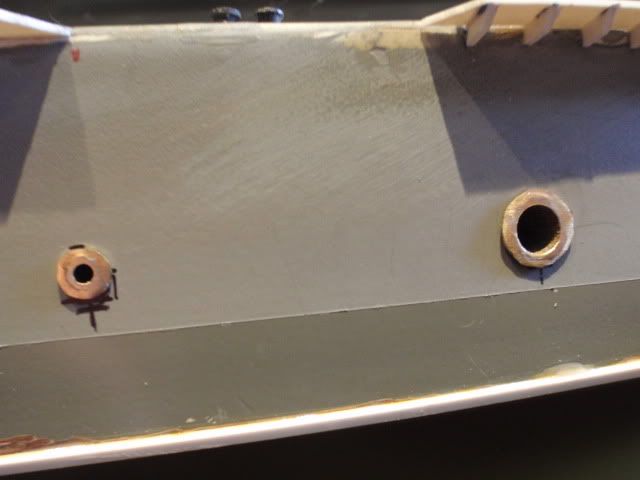
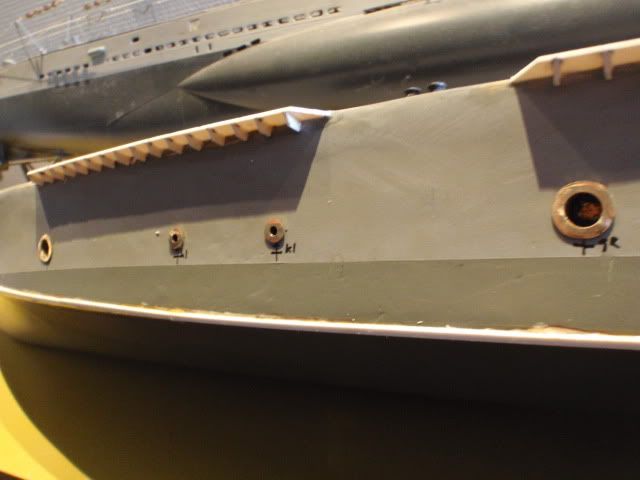
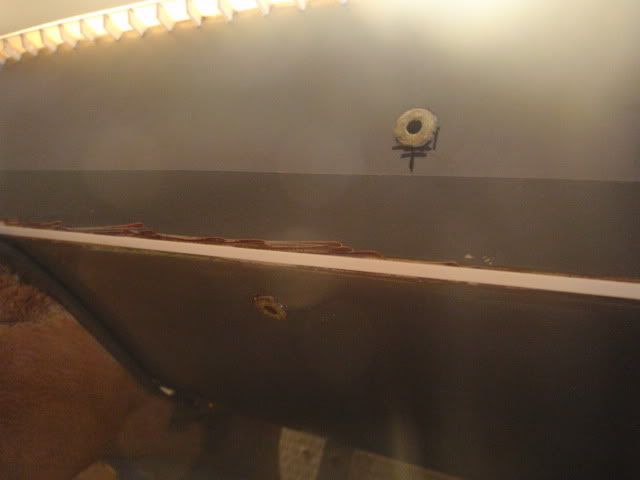
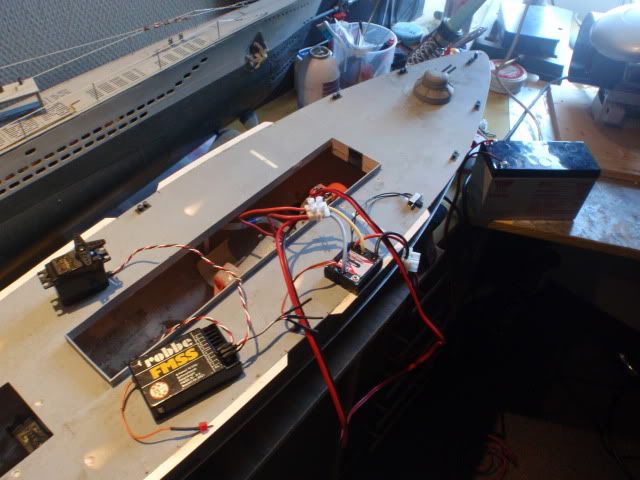
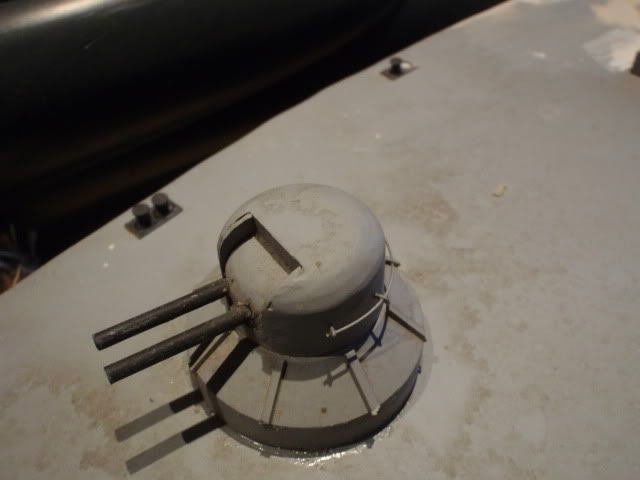
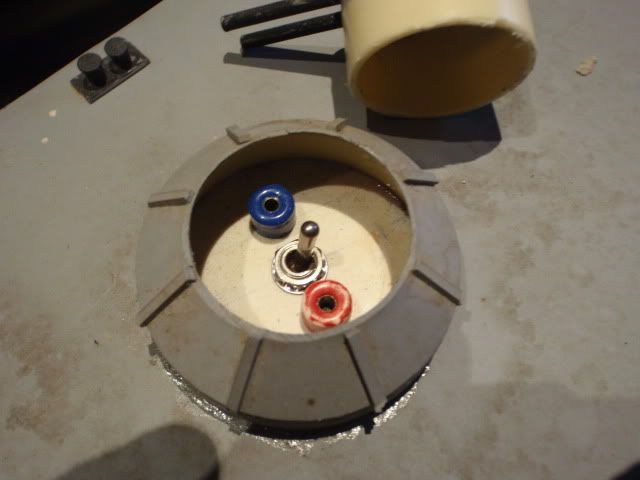
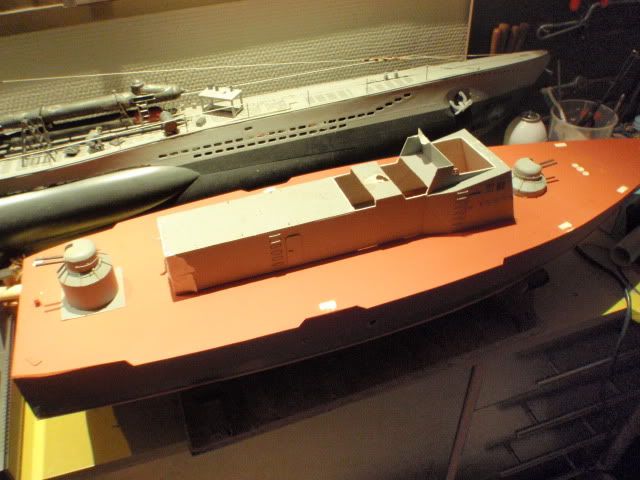
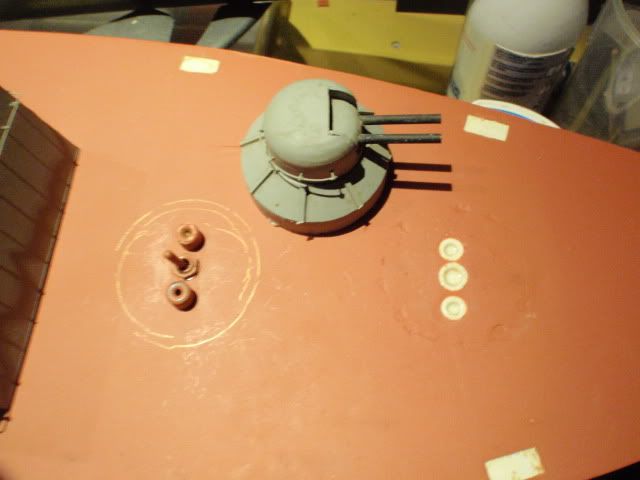
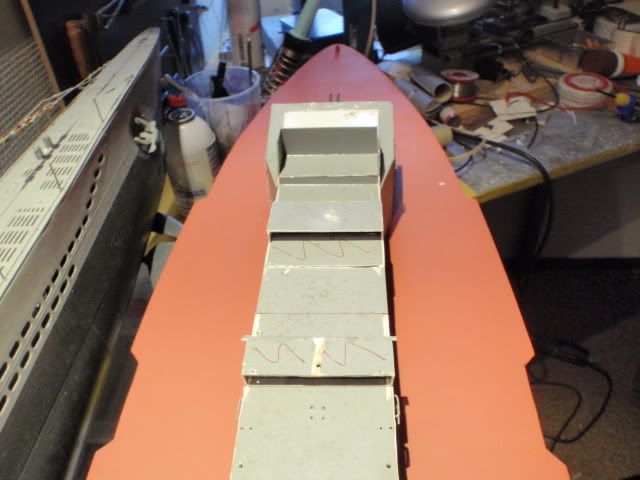
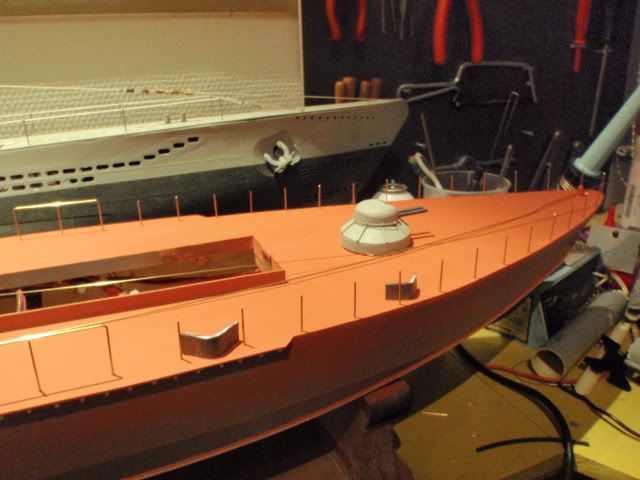
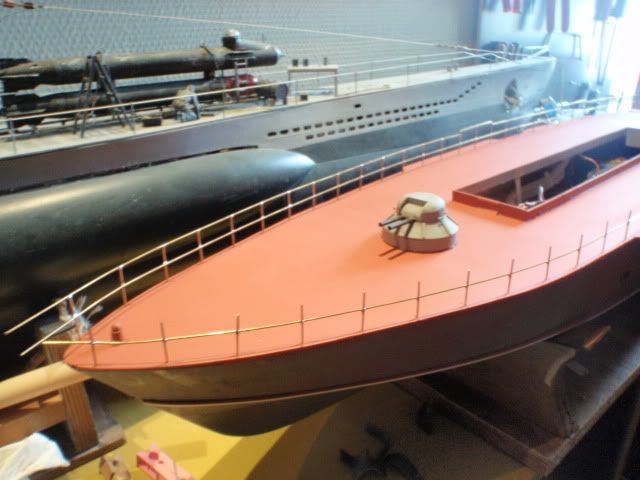
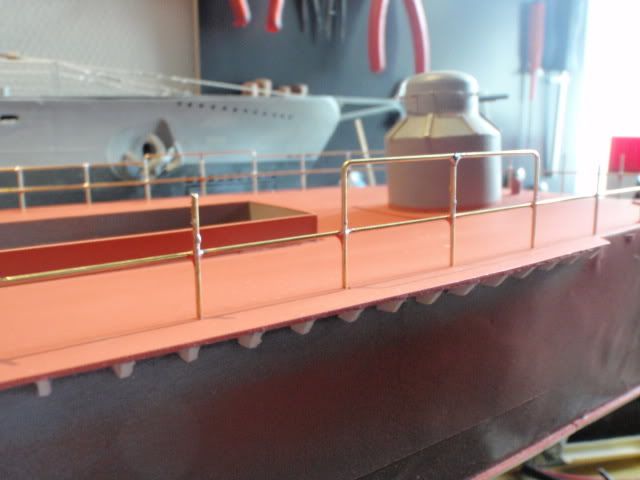
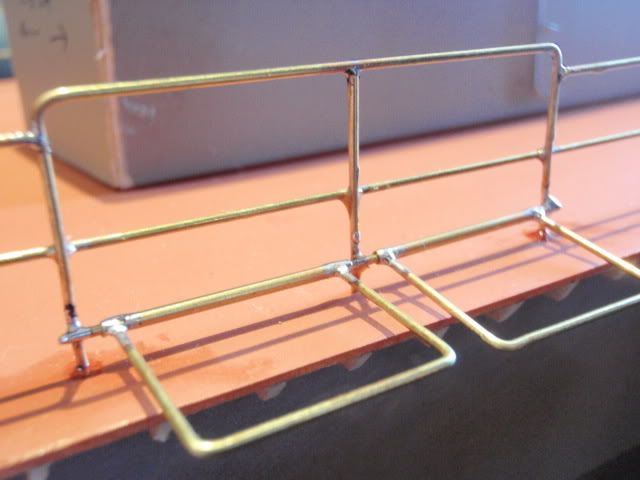
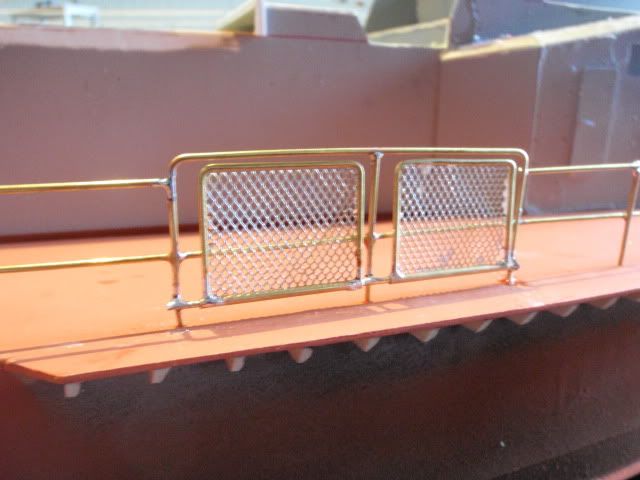
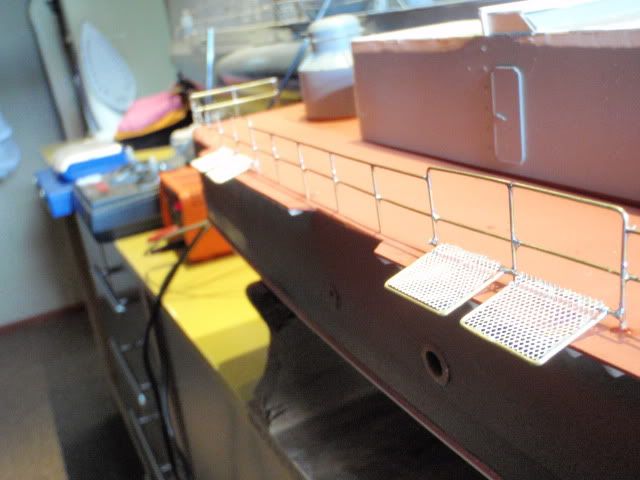
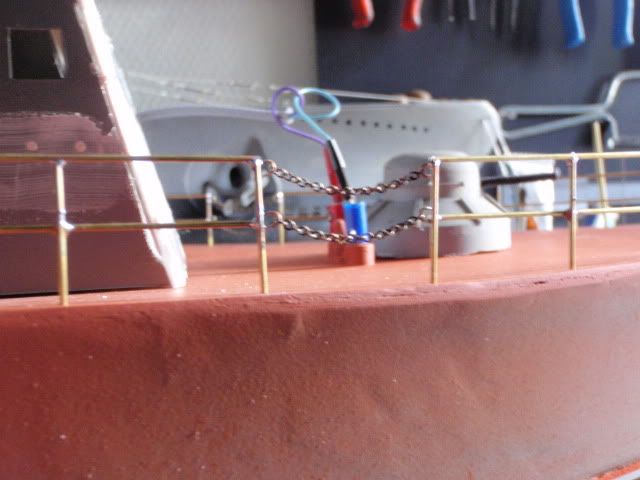
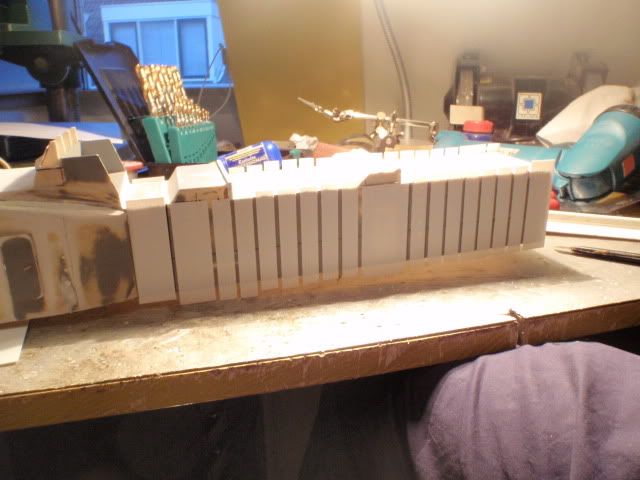
Removed the launchtubes and all other parts from the deck to give me a clear start, the guns will stay for this time untill i made some more scale like gunturrets, still have to do that.
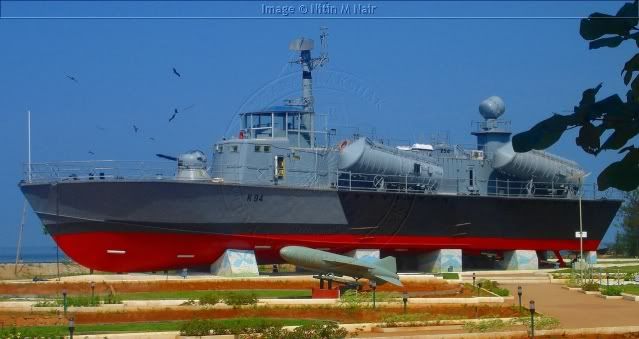
I'm still far away from this result, but it keeps me motivated to get it right.
Manfred.
I'll fill you guys in from the start a few years ago,
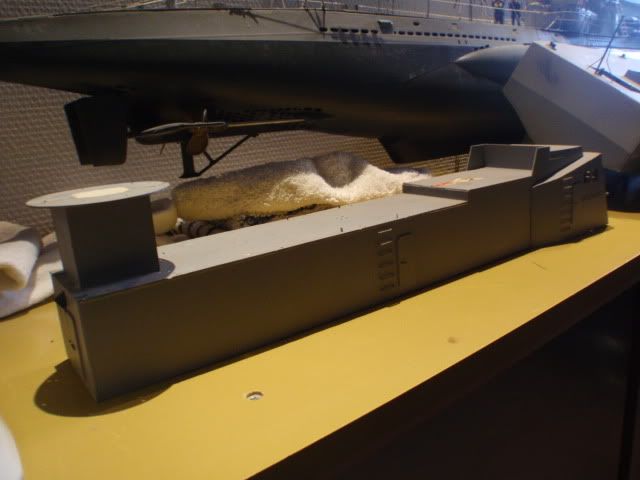
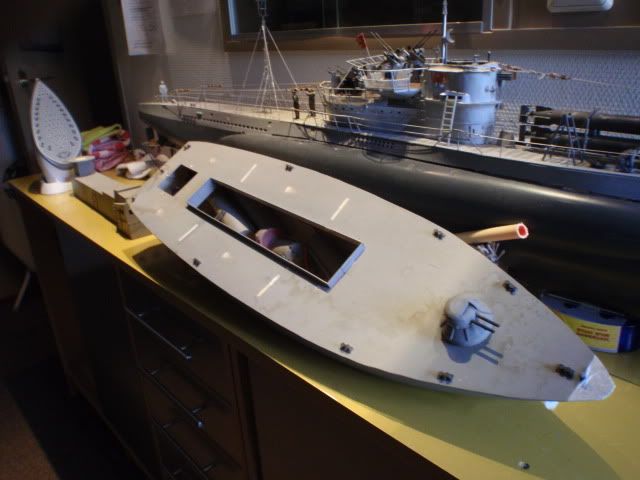
In this state she was wondering around on the attic for some years, made this model before i got infected by building subs, the hull itself is modified from the PT15, and made shorter to resemble the OSA hull.
The only way to do this right was to strip her down bare to the bone and start all over again, some parts i could re use, others not.
The upperpart was saved, the size is not right, way to big, but that could be modified.
Removed the launchtubes and all other parts from the deck to give me a clear start, the guns will stay for this time untill i made some more scale like gunturrets, still have to do that.
I'm still far away from this result, but it keeps me motivated to get it right.
Manfred.


Comment