

Fellow RC Sub Skippers - soliciting ideas and direction on how best to reinforce the deck of my 1/48 Type VIIC so I can affix detail work without fear of it popping off....
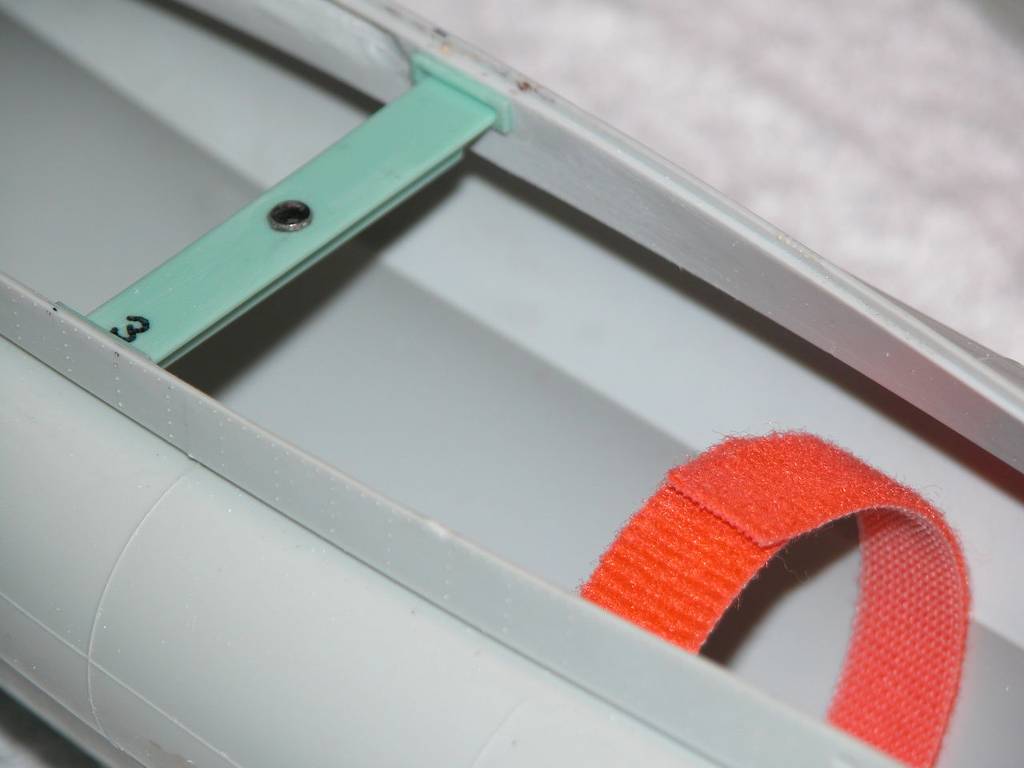
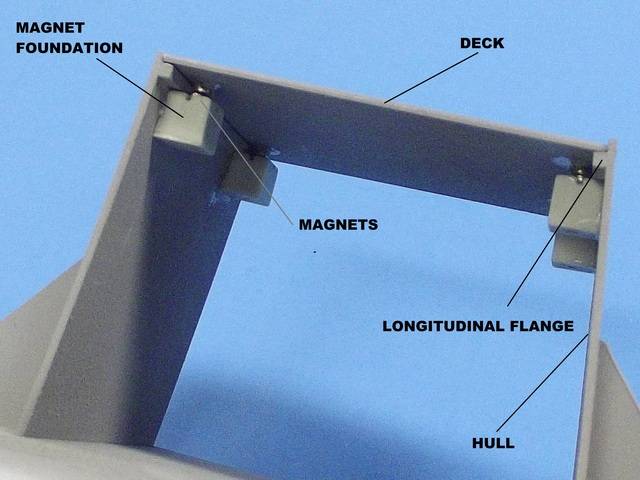
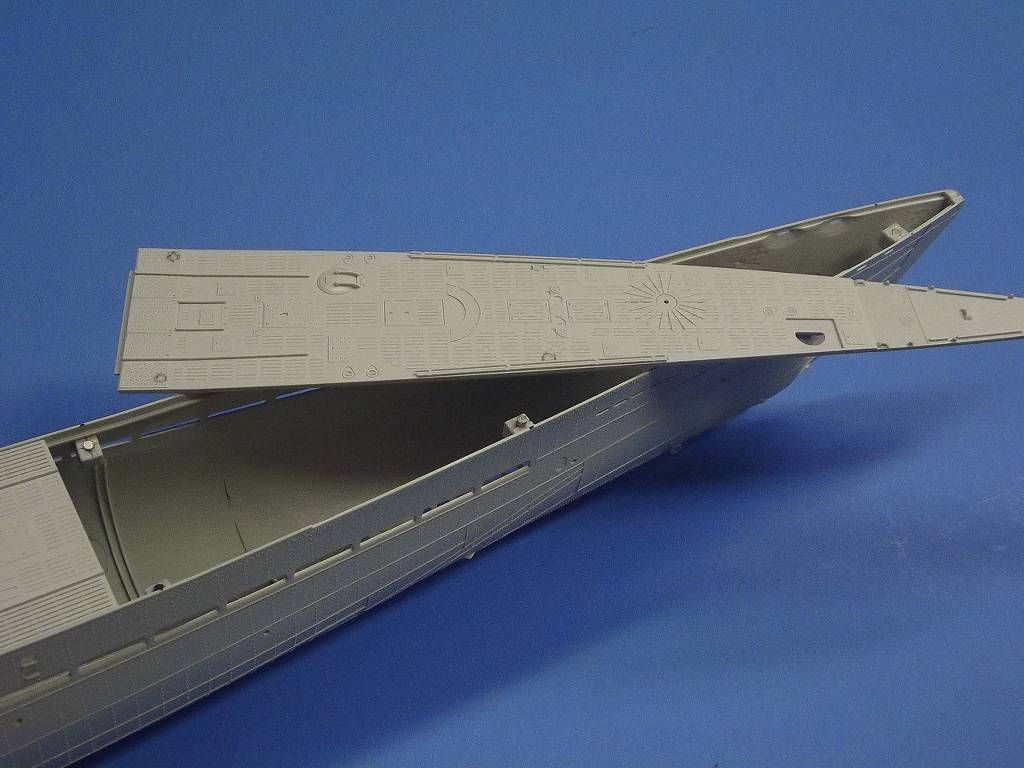
- I've got the WTC, linkages, and running lights all working, bullet-proof and water-tight. Want to move on to detail work now...you can see in the attached photos the current deck is flexing (it is held down to the hull magnetically).
- I do not want to start working on the detail work until I am sure of the rigidity of the deck (and conning tower attachment to the deck) to ensure the detail work stays affixed, does not flex, and I can remove the deck and conning tower as a solid component.
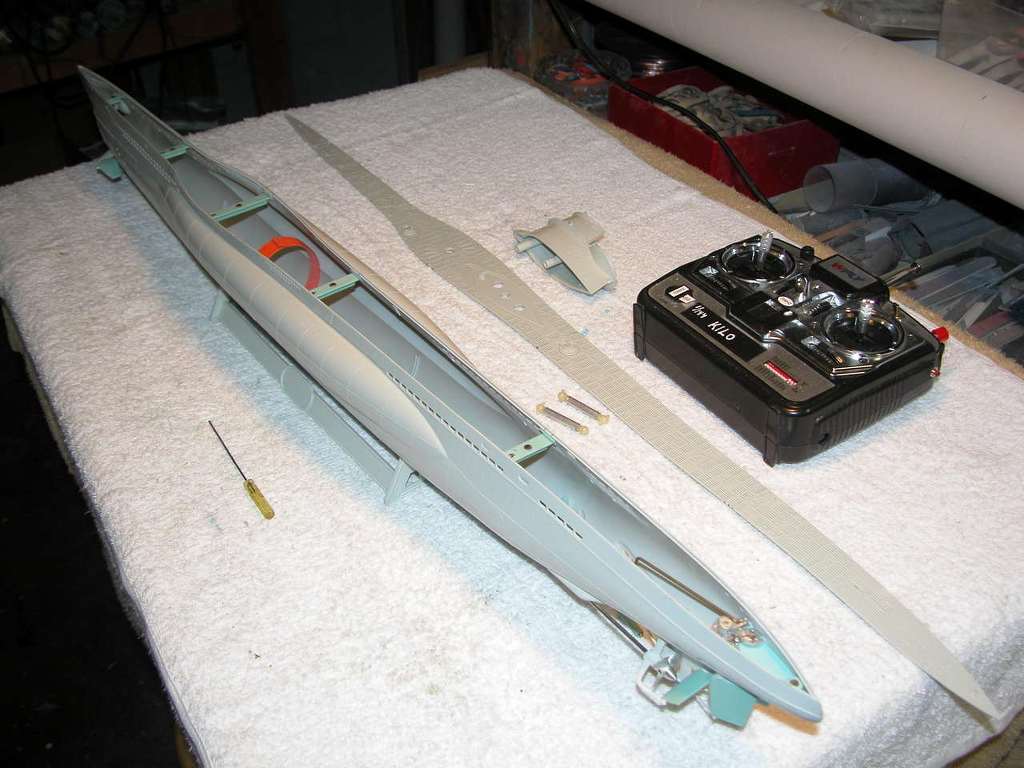
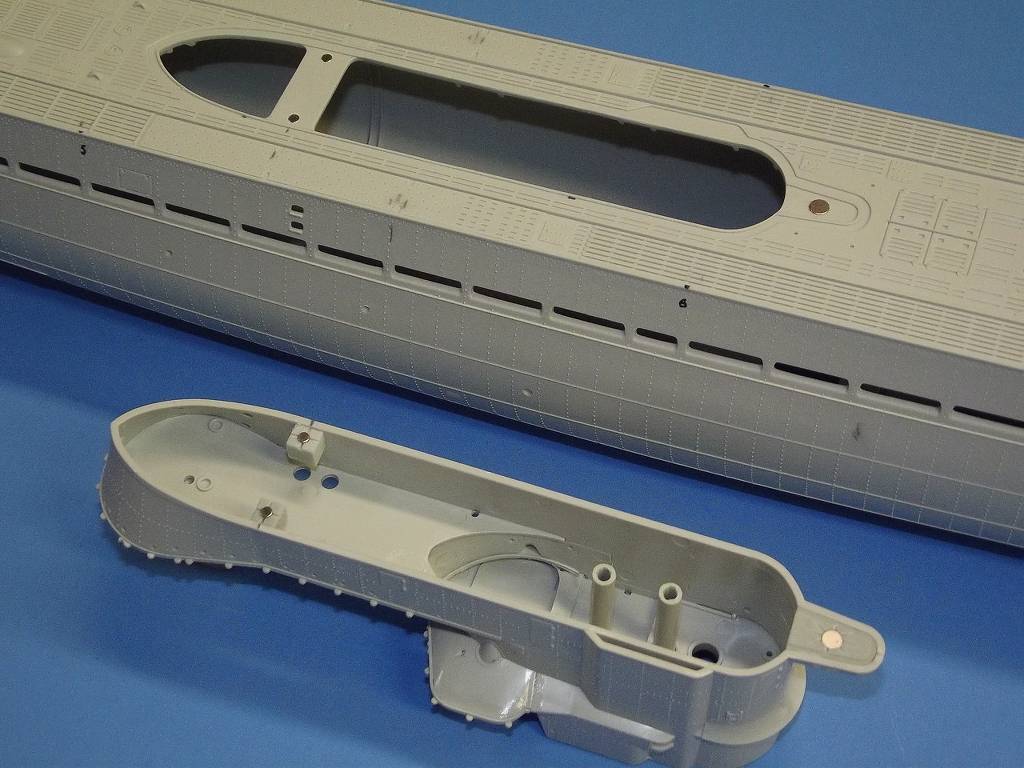
- The three photos show the model itself, the detail kit and the deck and conning tower in its current state. The boat is modeled after U-552; any insight on the specific configuration of the boat (pictures if possible) is also welcome to guide my detail work.
- Any ideas, proven solutions (and pictures!) are welcome.
Thanks in advance for the help! Mike
- I've got the WTC, linkages, and running lights all working, bullet-proof and water-tight. Want to move on to detail work now...you can see in the attached photos the current deck is flexing (it is held down to the hull magnetically).
- I do not want to start working on the detail work until I am sure of the rigidity of the deck (and conning tower attachment to the deck) to ensure the detail work stays affixed, does not flex, and I can remove the deck and conning tower as a solid component.
- The three photos show the model itself, the detail kit and the deck and conning tower in its current state. The boat is modeled after U-552; any insight on the specific configuration of the boat (pictures if possible) is also welcome to guide my detail work.
- Any ideas, proven solutions (and pictures!) are welcome.
Thanks in advance for the help! Mike


Comment