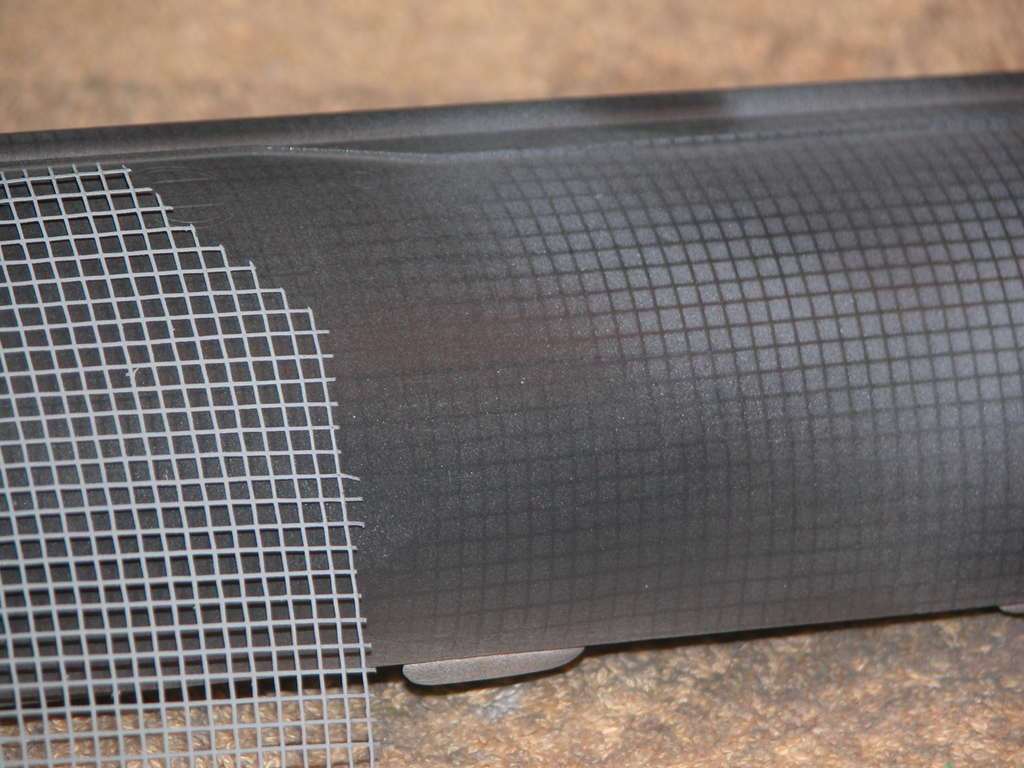
I can't see any reason why a shrouded scimitar wouldn't work. If you really want performance, a three-bladed power prop would move water like no tomorrow. Scimitars (from what I understand) are designed primarily for their sound characteristics versus performance. They look really cool, though....
If the prop will be hidden in the shroud and you don't care if someone peeks in and sees it, the three-bladed option would give you the best thrust.
-
Bob, I am not sure myself how that impeller is going to work. I was about to test my 1:96 scale Astute when I had a problem with the wiring in my WTC. I am replacing all those (Cheap) Tamiya wire connectors with Deans plugs. When they arrive and I can get them installed I will then be able to test out the 3D printed impeller system (at least on the surface) on my big Astute.
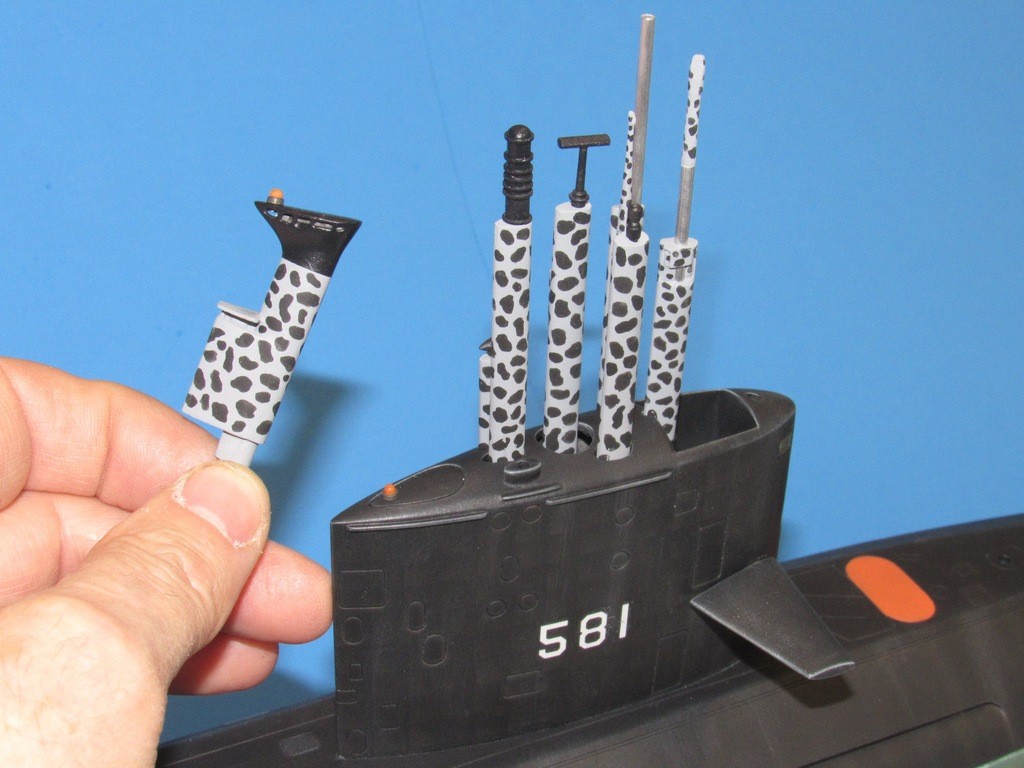
What conventional scimitar prop would you suggest I use on the smaller Astute that I am currently printing, and would it work inside just a plain shroud?
Rob
"Firemen can stand the heat"Last edited by rwtdiver; 04-14-2020, 05:20 PM.Leave a comment:
-
I'm really interested in finding out how the "stock" 3d printed impeller works. It could be that you might want to forgo it and go with a conventional scimitar prop. Those pumpjets don't necessarily scale well in terms of performance.Leave a comment:
-
As I stated above! It seems Fate and David M. really wanted me to have the 2.5" SD. I know David will get tired of me saying this! "Thank you one more time David"
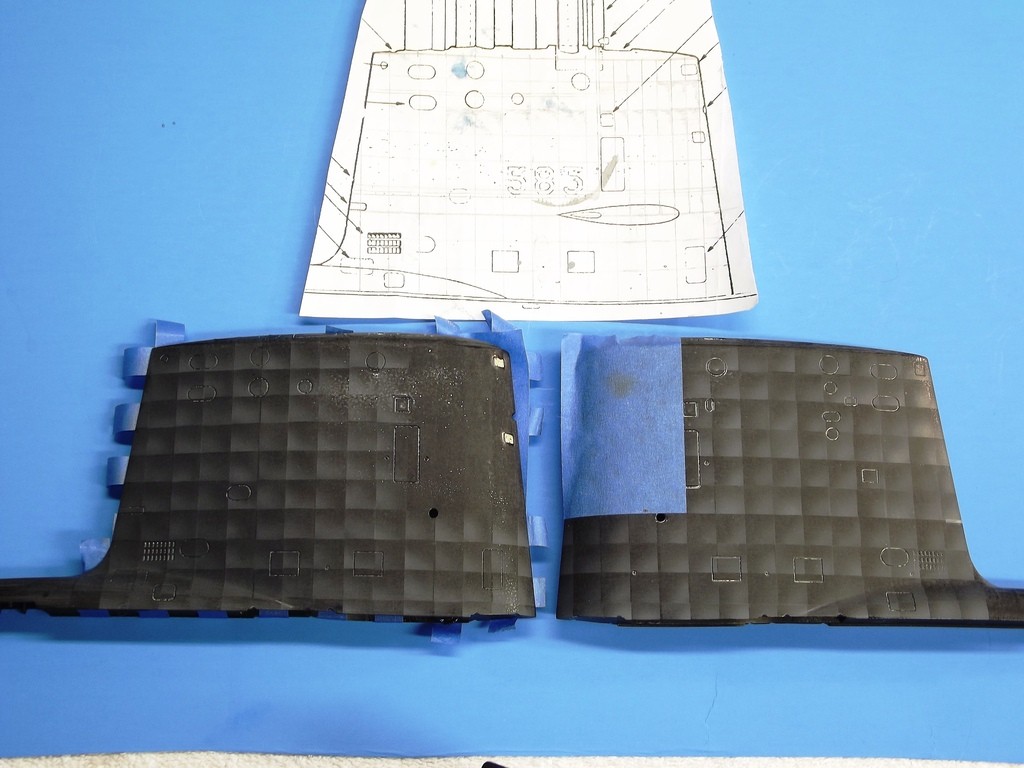
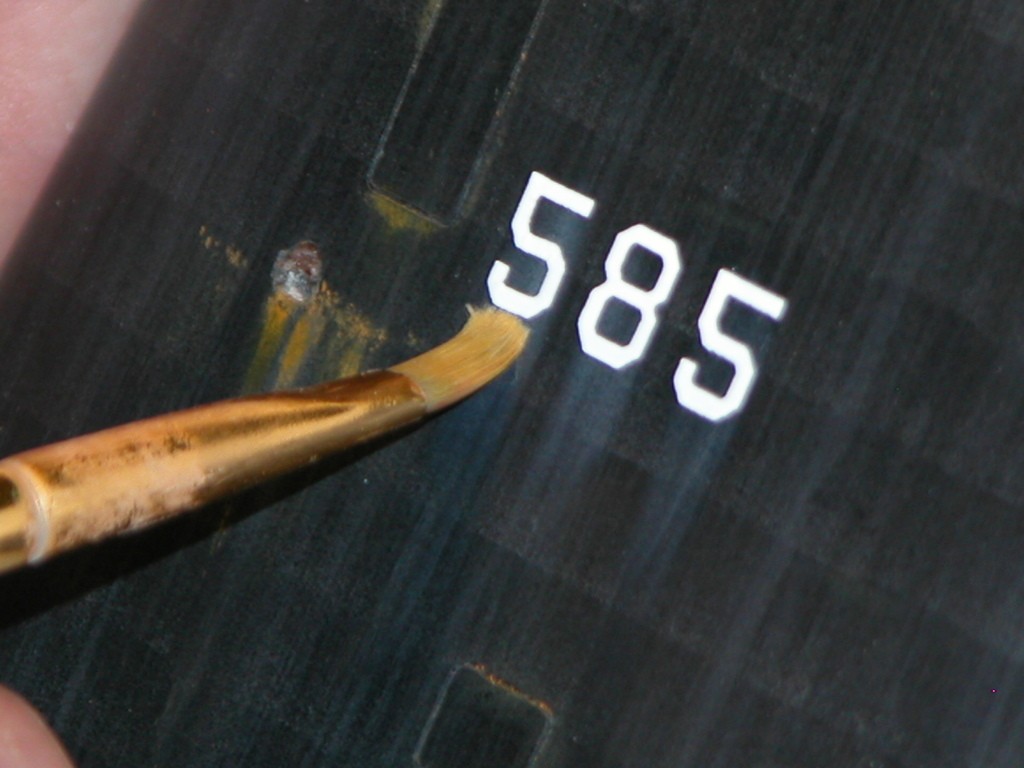
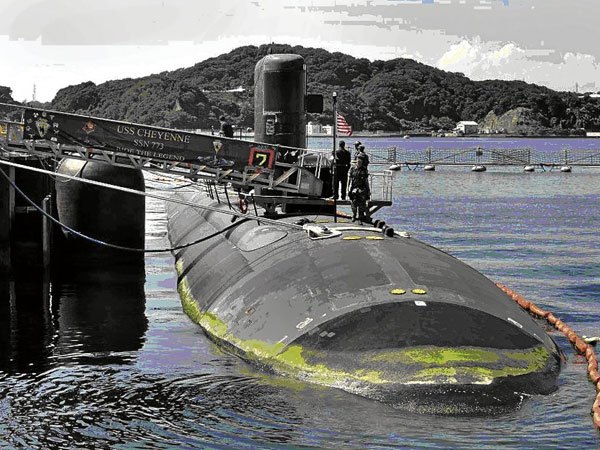
So I will move on and do my best to give this SD a good home on a 3D printed boat. After working with Bob Martin helping me to re-size the STL files on the two 3D print files on the Astute and the Redoutable. 83.33% seems to be a perfect fit for the 2.5" SD. I have printed up one of the lower baulk heads and a lower baulk head, and the fit is right on.
At the 83.33% the Astute will measure out to 820.19 mm (32.24") in length with a beam at 88.90 mm (3.50") The SD measures out to 584.30 mm (23") in length. I think it will be a good fit, and should make a really fine build. And what really makes this a great build is, It will static dive!!! (with help setting it up of course) Looking forward to this build! So with that in mind and 45.75 hours of print time on my Dremel it's a go!
Rob
"Fire men can stand the heat"
Leave a comment:
-
Just passing on the knowledge and kindness that others have extended to me over the decades. We are but custodians to the 'ways' of doing things: we learn, build on that knowledge, and finaly pass it on down the line.
You do good work, and you are a quick study. My pleasure, sir.
DavidLeave a comment:
-
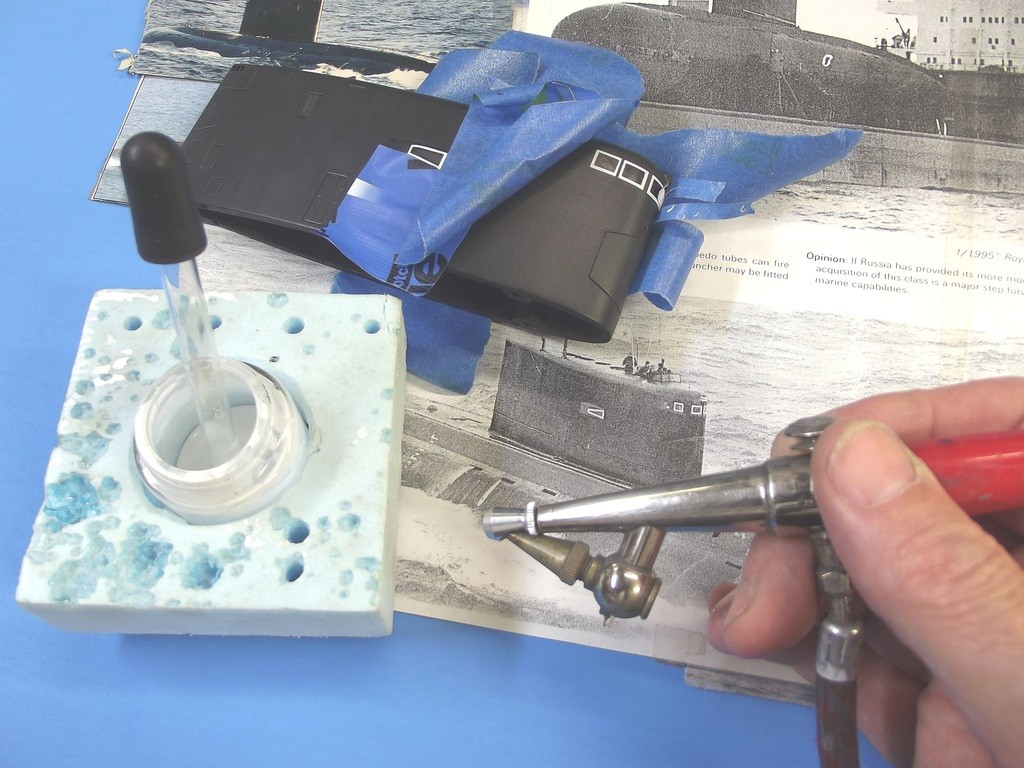
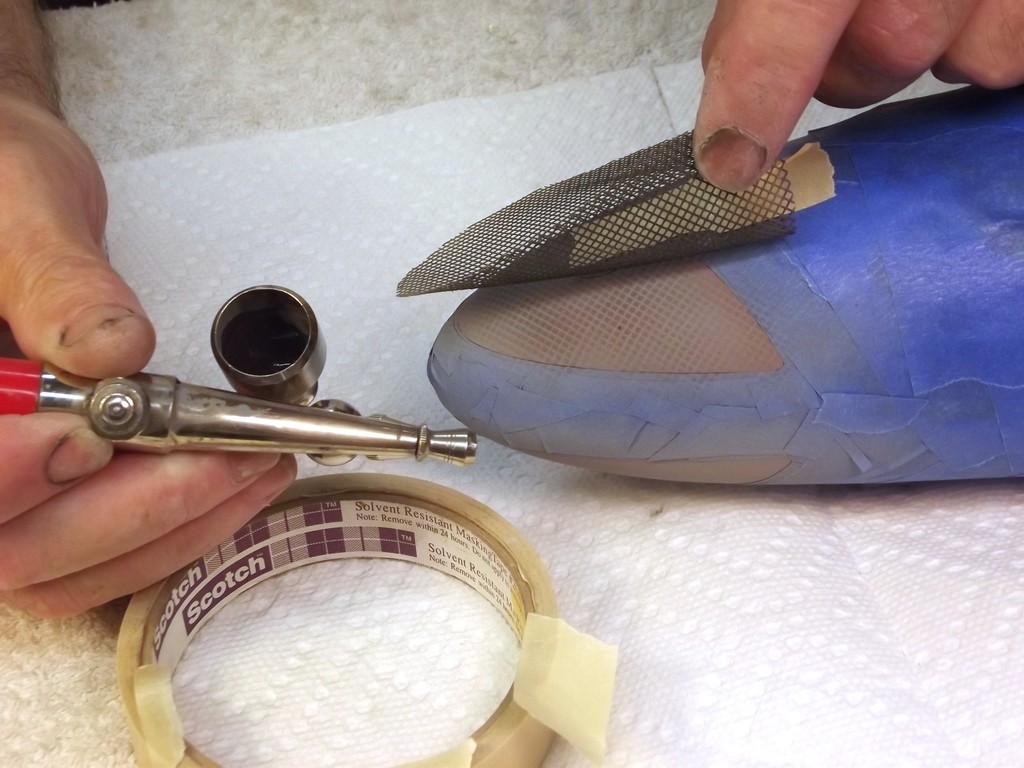
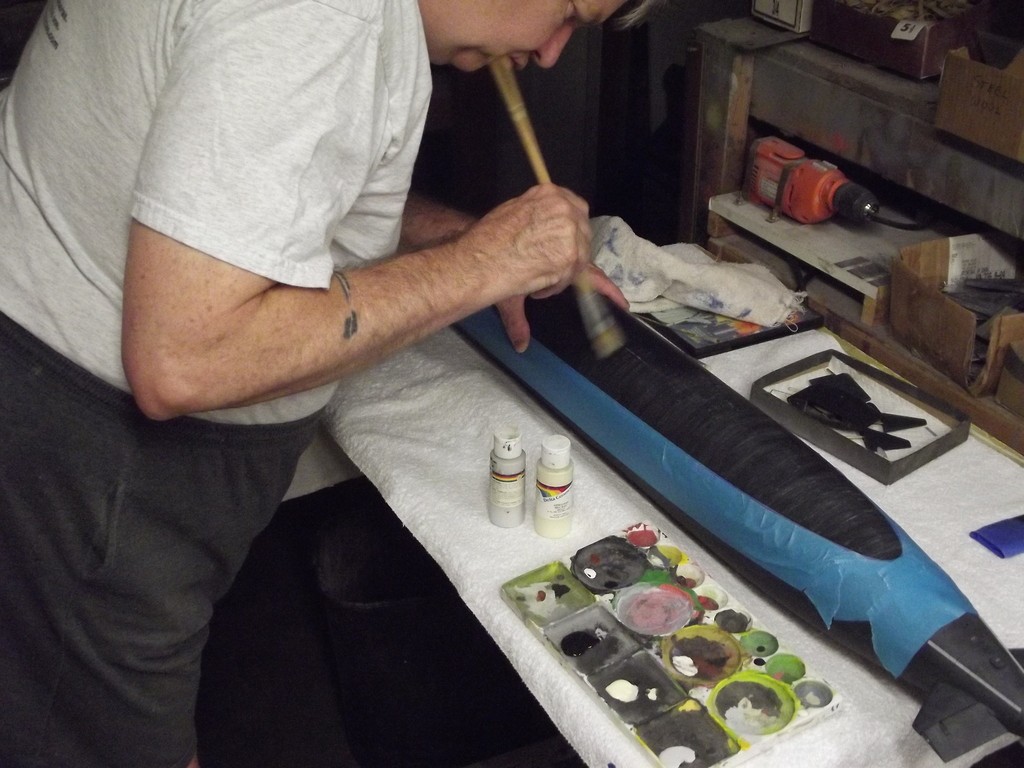
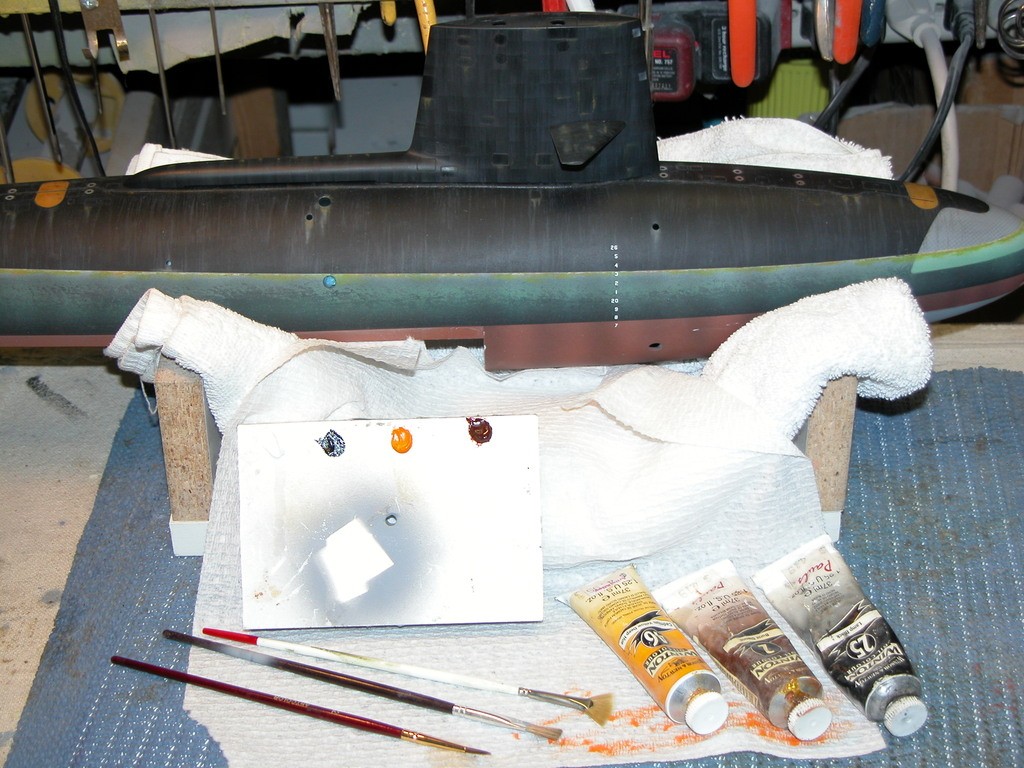
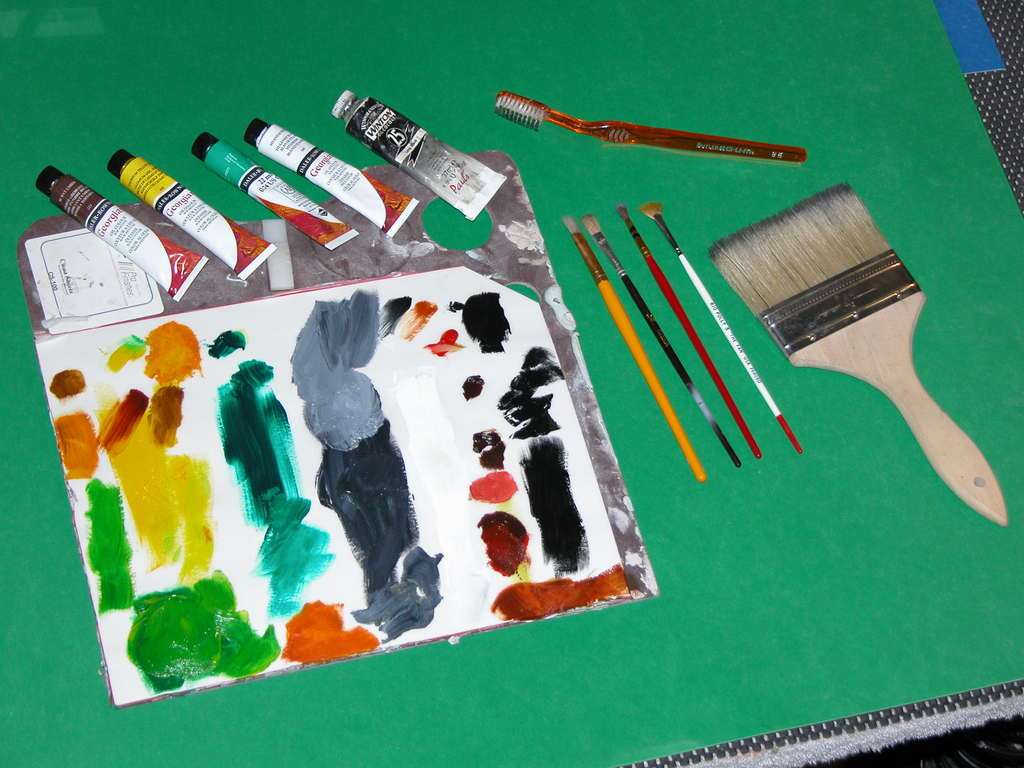
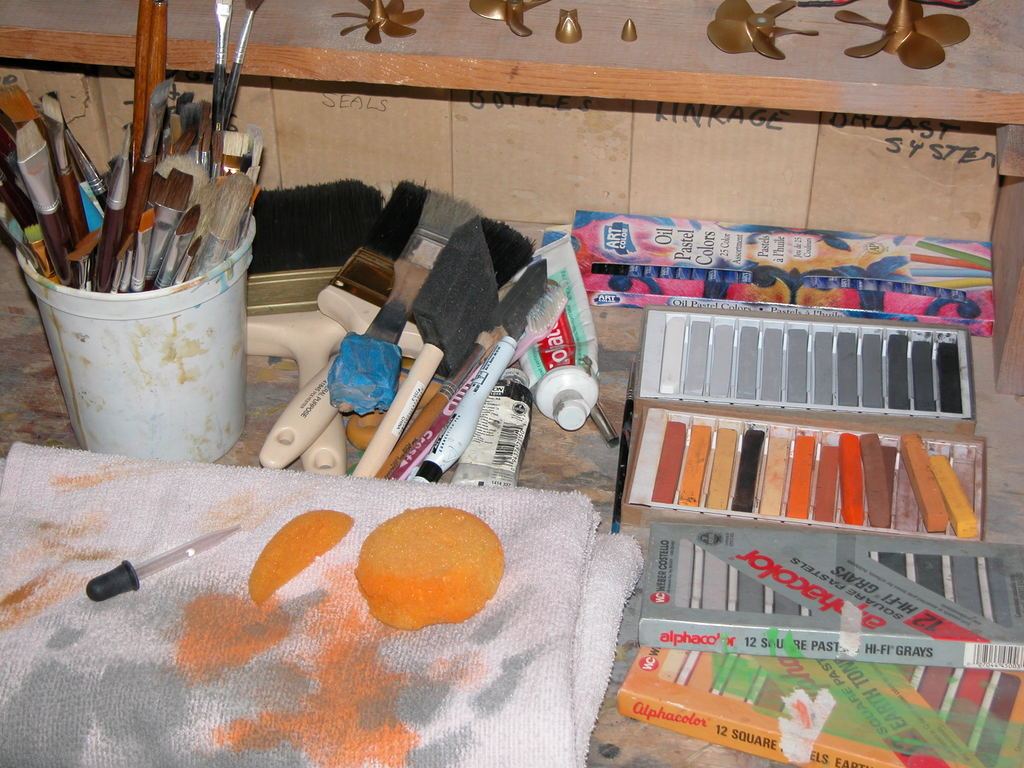
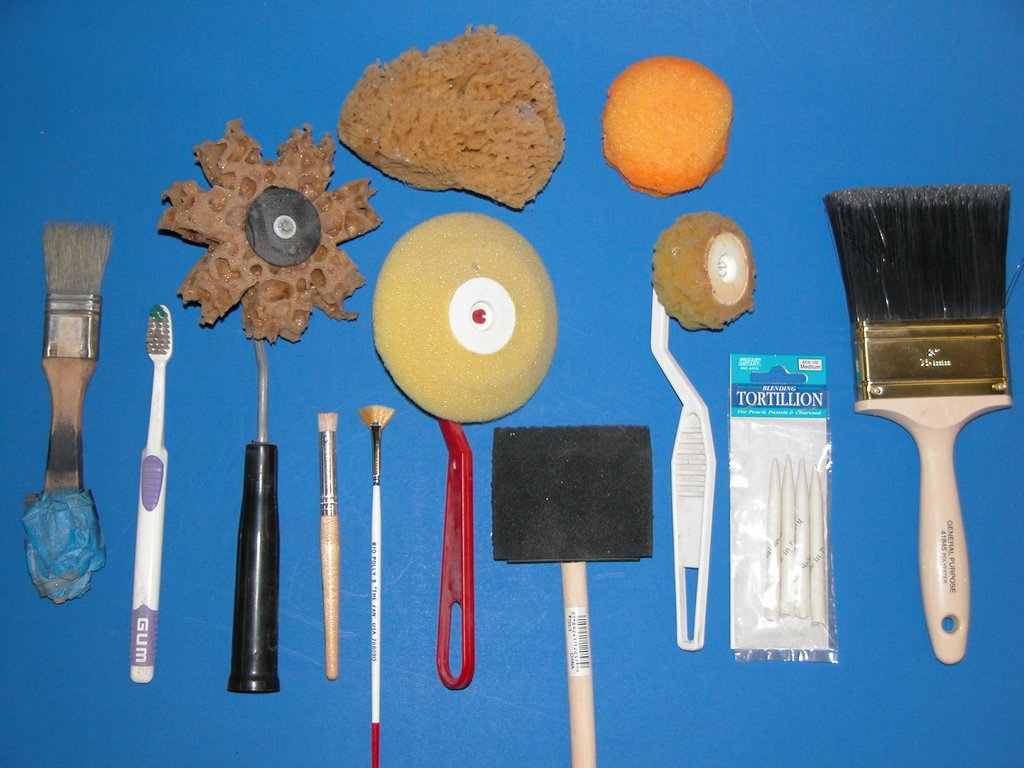
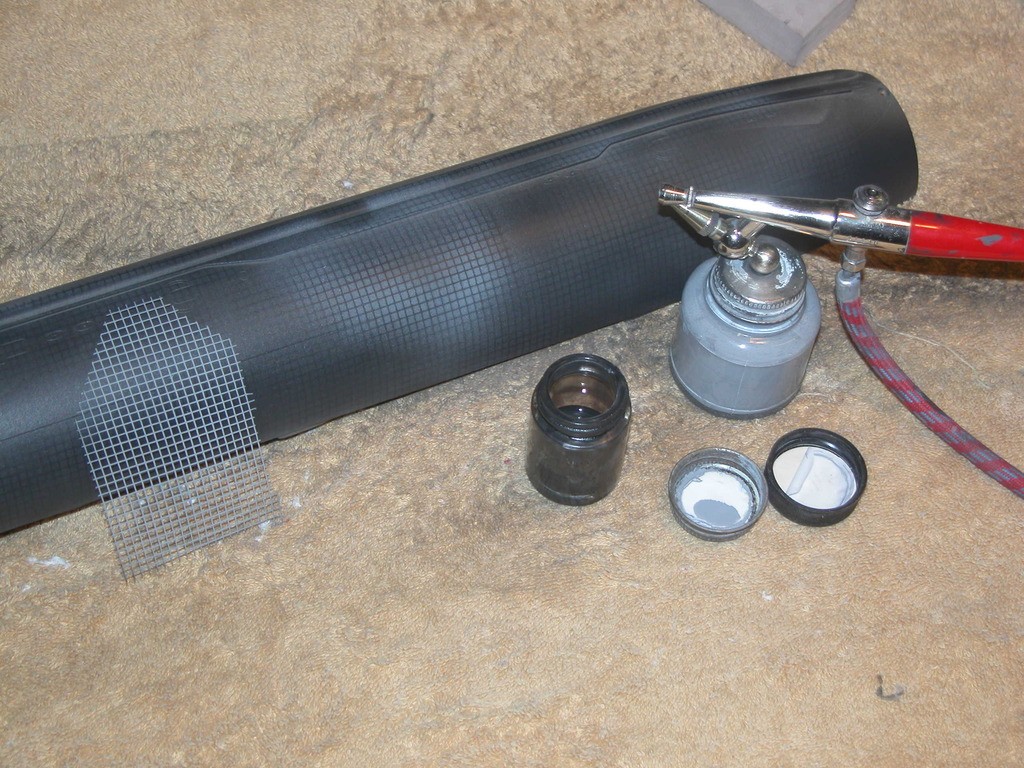
Thanks for all your input David! I really like what you are doing with brushes and the effect you get using them. I may invest in an airbrush down the road. Can't say it enough how much I appreciate all the photos you posted! I will certainly use them as a learning guide.
Just as a side note. I am going to get with Bob Martin, and have him help me size either the Astute or the Redoutable 3D files so that I can build one of these boats to adapt to the 2.5" Sub/Driver that FATE just seems to want me to have it! (Thank you very much David) You are a very kind and generous MAN!!
Rob
"Firemen can stand the heat"Leave a comment:
-
-
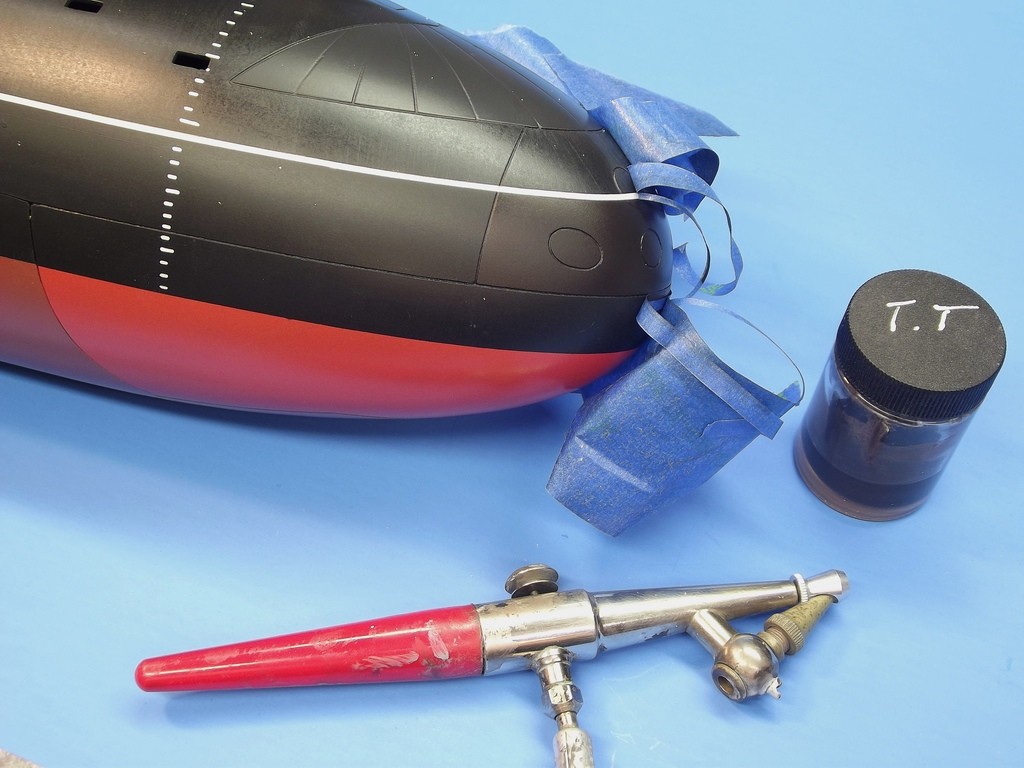
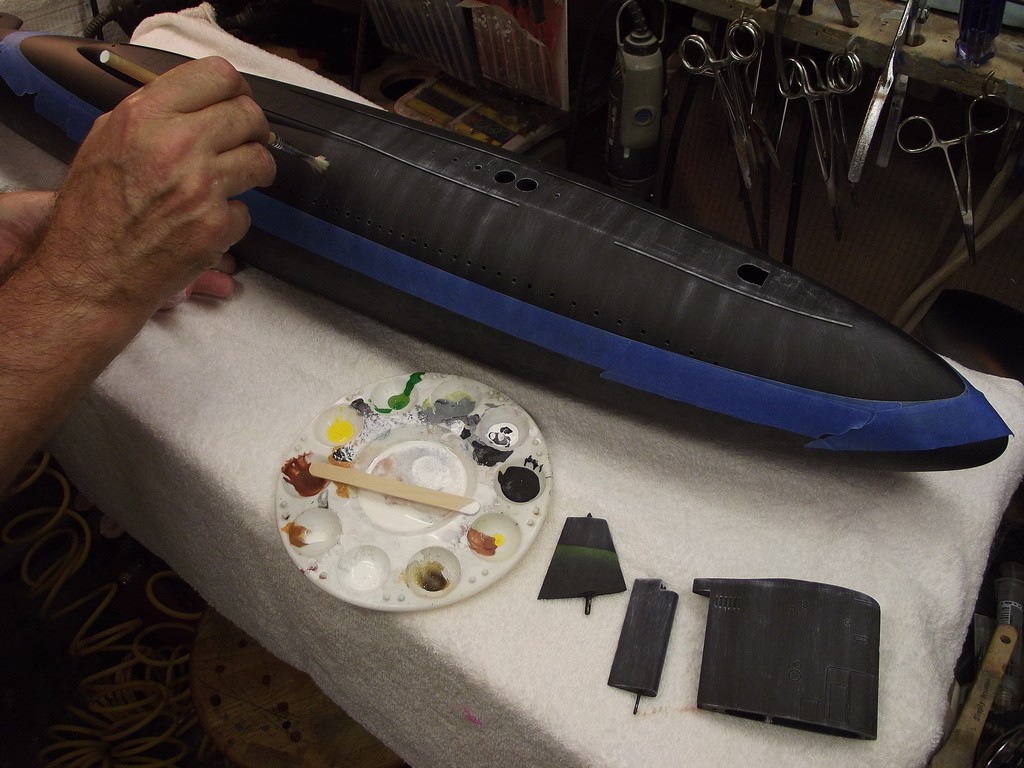
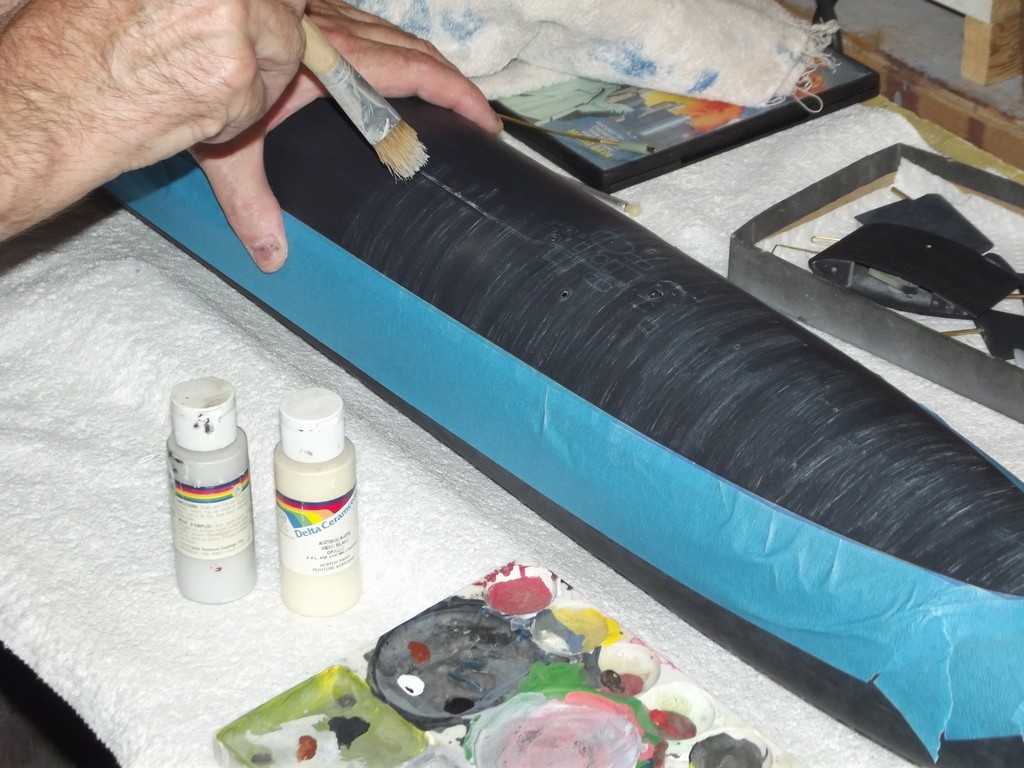
Though the prototype may be black, never paint a smaller version of that prototype (a model) true black. Make the model a very dark gray. This accounts for the 'scale effect' of distance between eye and subject caused by the diffusion of light through the fluid (air). The greater the distance between eye and subject the lighter the color appears.
DavidLeave a comment:
-
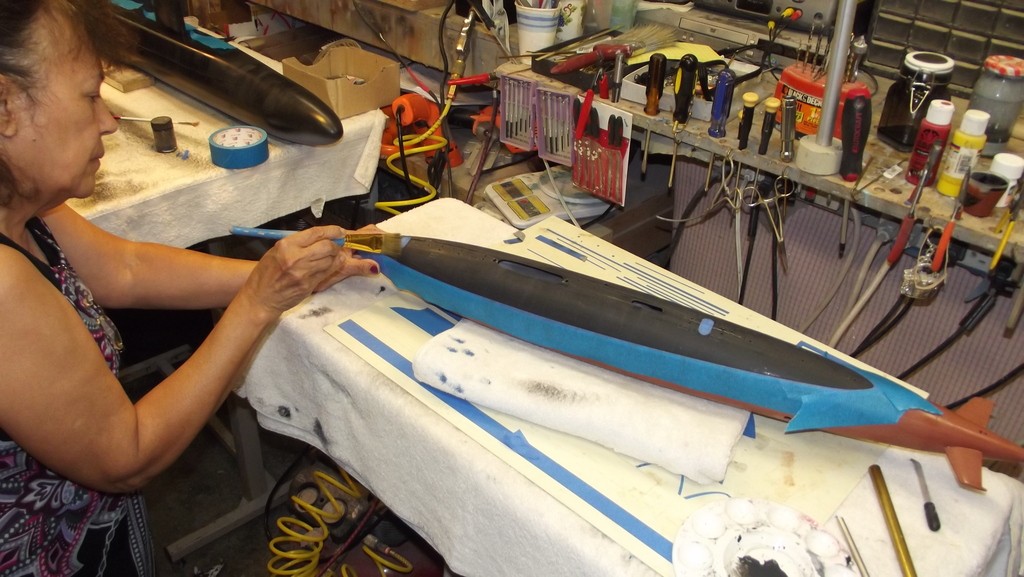
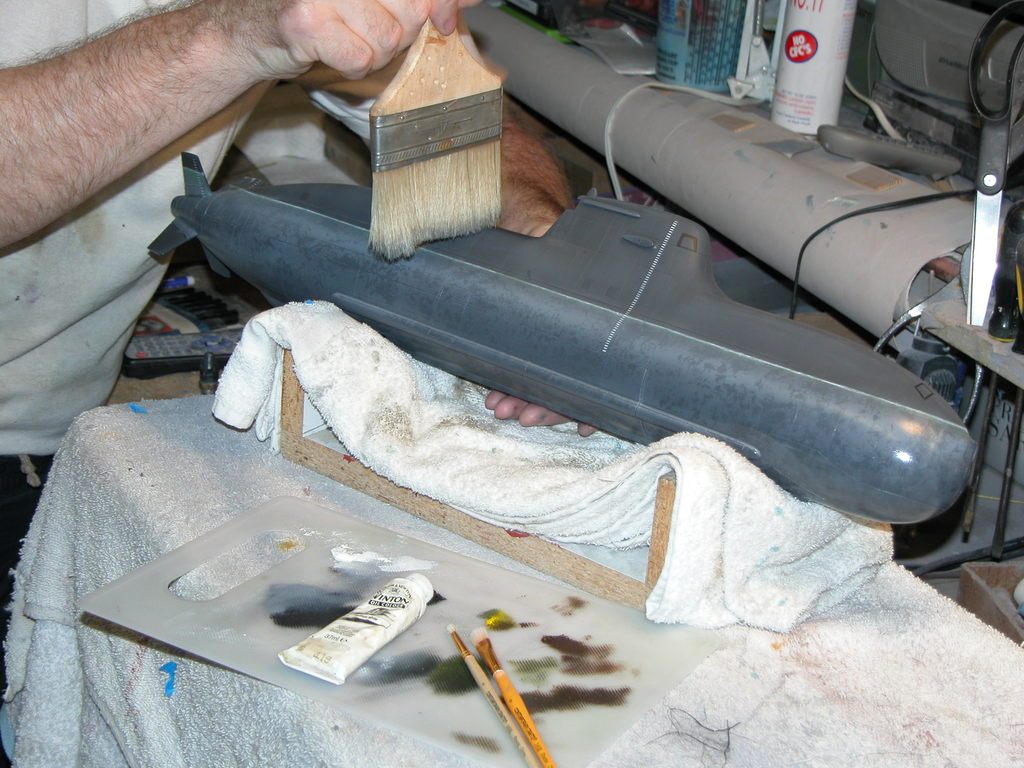
Oh, I hear you loud and clear!! Everything is complete except adding a clear lens to the starboard and port side of the sail. Then on to the final sanding. After going over many Astute photos (full scale) it seems flat black will be the base color for this boat as well! I may try my hand at some weathering. I got some great photos from David to use to pull up some inspiration from.
"Firemen can stand the heat"
Leave a comment:
-
Frustration is the burr up our butt that gets us up and off our butt.
DavidLeave a comment:
-
David,
Thank you very much for ounce again taking the time to answer my question! The photos are so very helpful, I don't know if I will ever have enough patience to learn and then apply myself to do anywhere close to the quality work that you do, Not only your finishing work, but also your fabrication work and the attention to detail that you apply to both. I know you did not learn this overnight and that you have many years of experience!
Bob Martin told me this hobby was not going to be easy! But coming off building and flying RC airplanes for 40 years, I thought hell, this Sub building hobby was going to be a piece of cake!
Boy! Am I eating crow now! I guess I am just frustrated right now!
Thanks again David!
Rob
"Firemen can stand the heat"Leave a comment:
-
You won't see much rust on a boat, particularly the rubber-clad ones of today. Your wreathing will center on two principle types: vertical streaking (rain water run-off depositing dust, paint flakes, milk, spiled paint, spilled lubricants, bird-****, and boot grim); and 'oil-canning' -- the shadow throwing of plate going concave between stringers and frames.
Air-gun? Only one choice: The Paasche H-Model, single-action. It's all the gun you will ever need! Install the #3 tip and you're set for life. Double-action guns are for no-talent pansies with pony-tails!


THIS is what I'm talk'n about!
GRP sonar domes usually oil-can over their geodesic support structure. You see this prominently on early Soviet era boats.


 Last edited by He Who Shall Not Be Named; 04-09-2020, 07:24 PM.
Leave a comment:
-
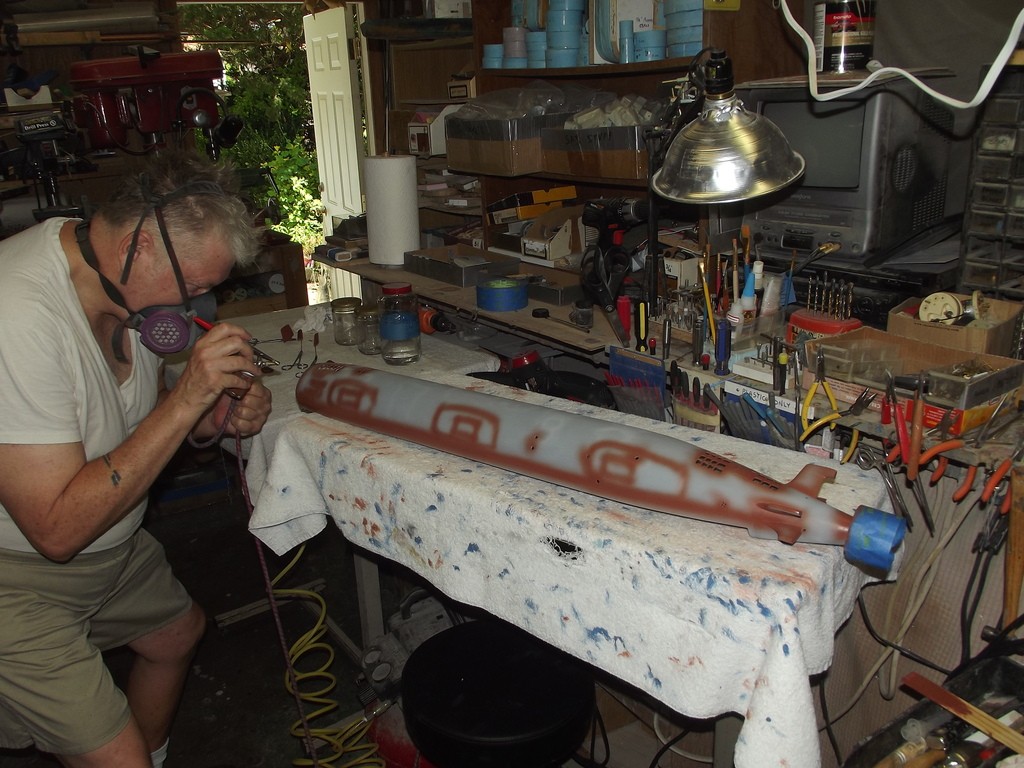
Getting closer to the end of my 3D printed Submarine projects (Astute & Redoutable) I just spent time in the pool setting up the weights and flotation on the Astute, and after about 2 hours in and out of the water a doz times I got the Astute right on the money!
A little more build work and it's off to the final finish work!
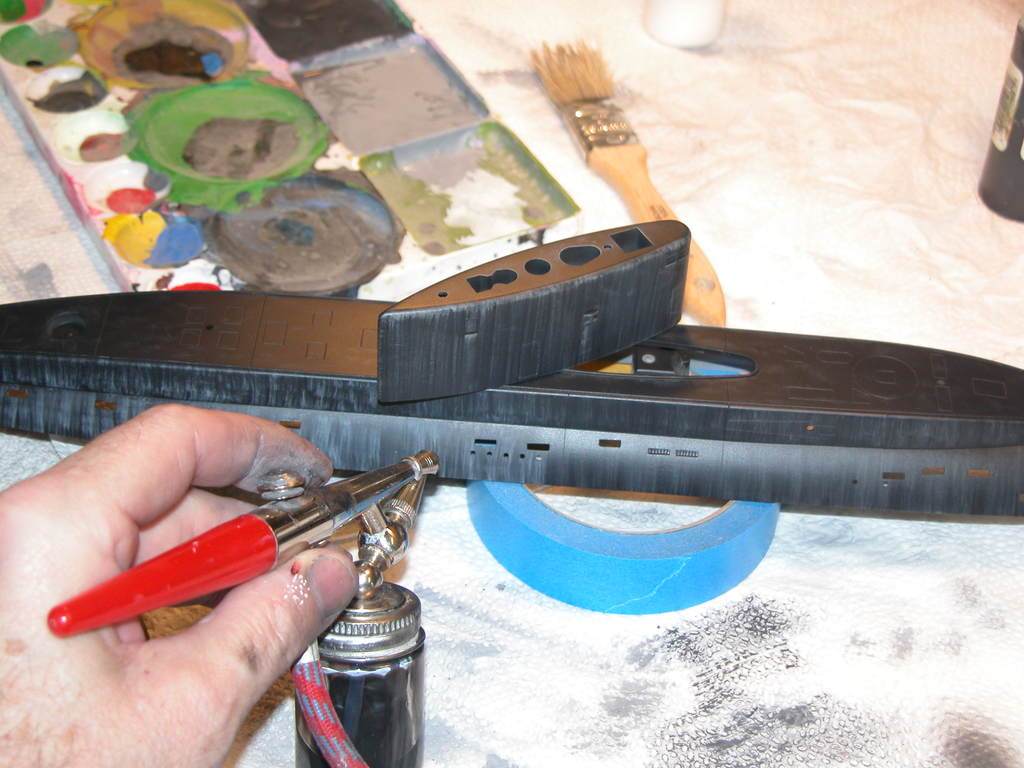
Question: I do not have an airbrush, (YET) But I do have a very fine fan brush. Has anyone used a fan brush to do the rusting and water marks on your subs?
Rob
"Firemen can stand the Heat"
Leave a comment:
-


Leave a comment: