DeBoers Seaview Restoration

Collapse
X
 
  • Time
  • Show
Clear All
new posts
  • Groot689
    Lieutenant Commander
    • Mar 2016
    • 135

    DeBoers Seaview Restoration

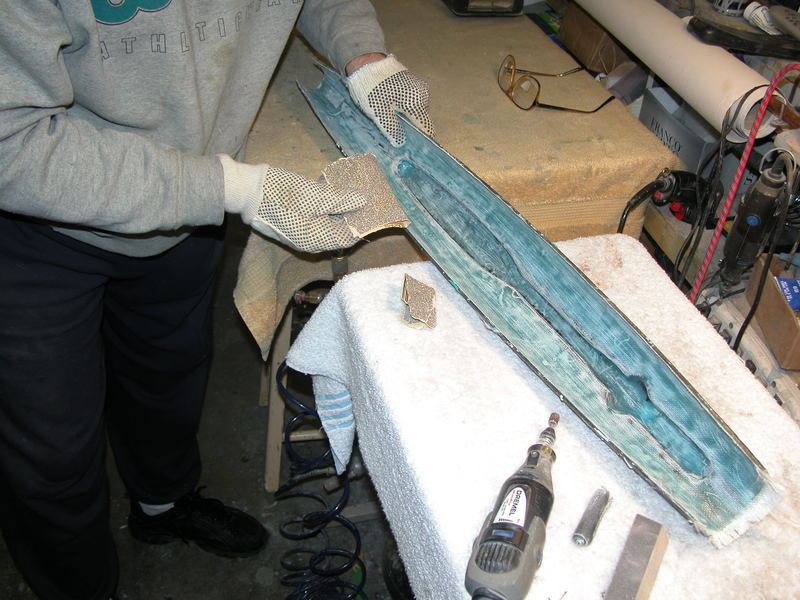
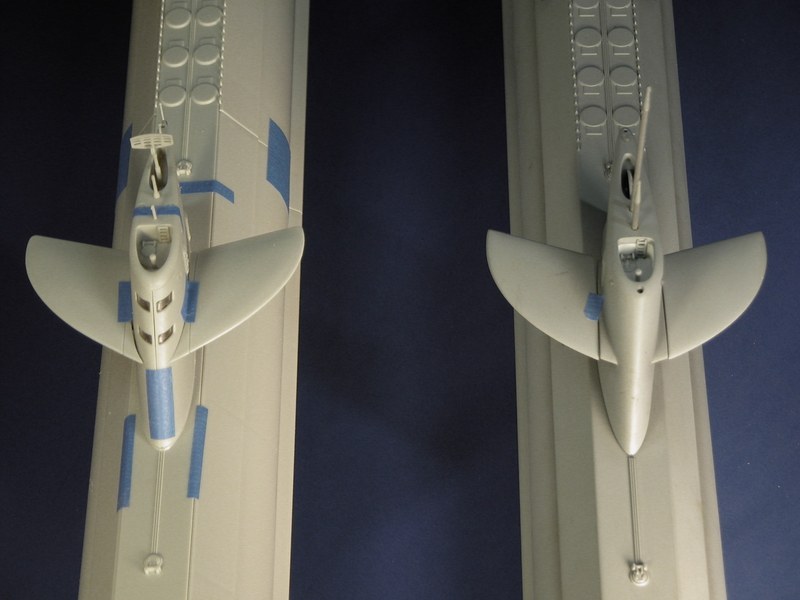
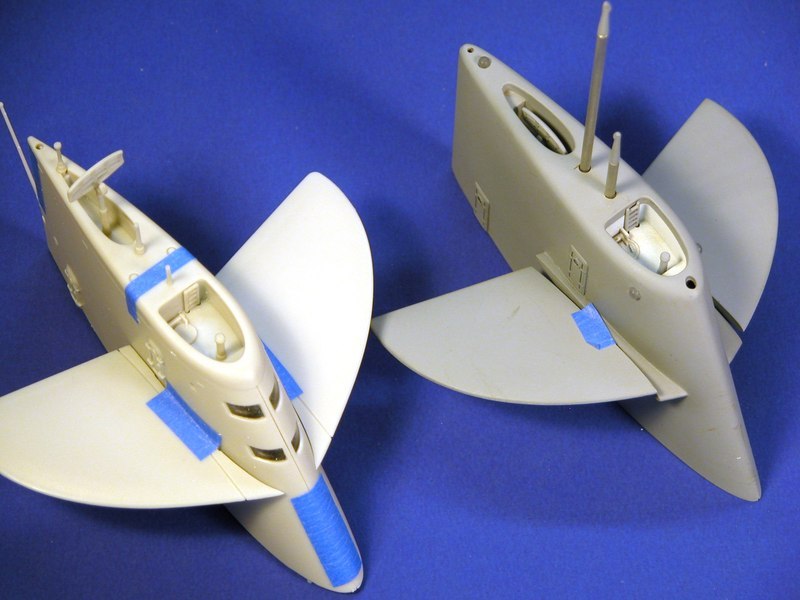
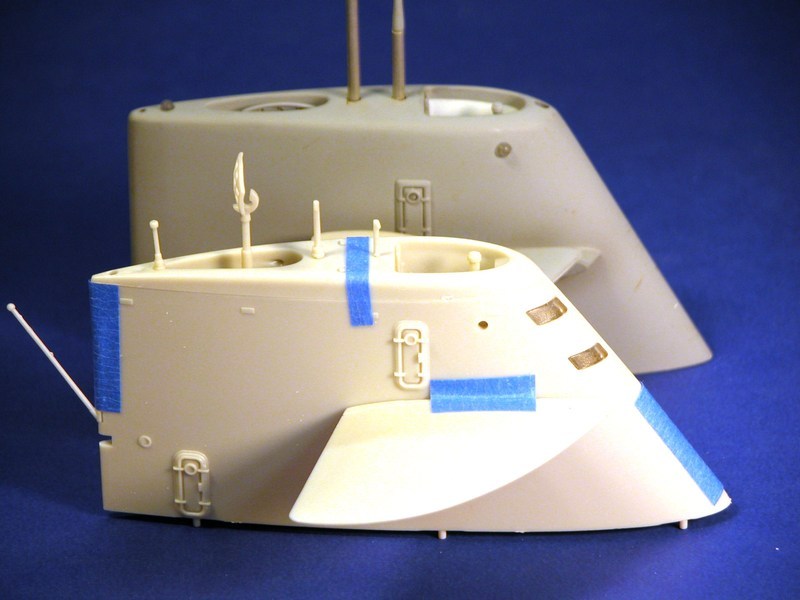
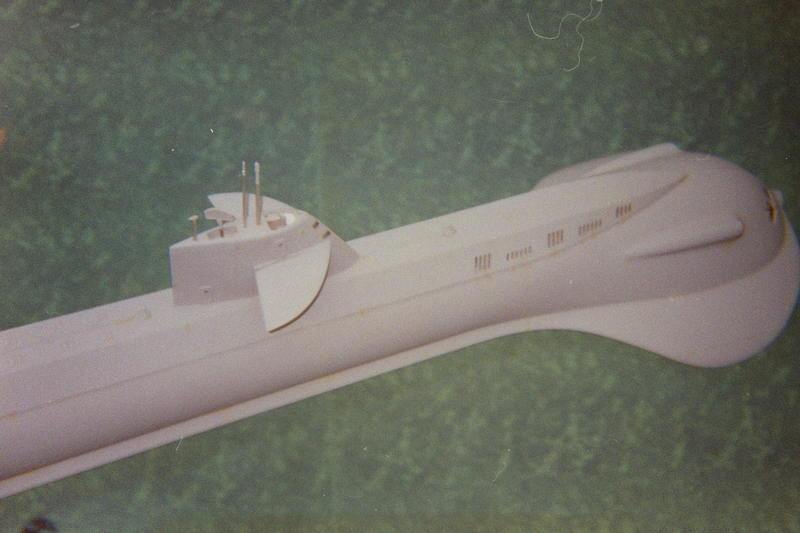
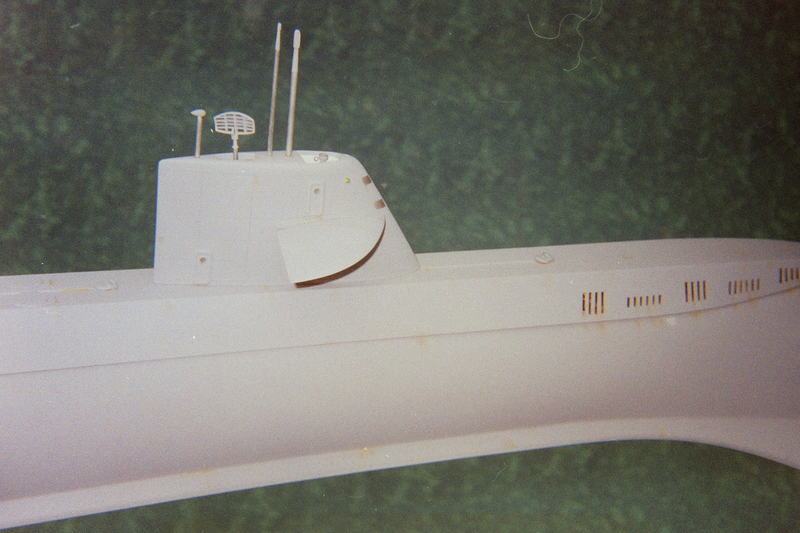
    By now its no secret that I am the proud owner of a used, somewhat battered static version of the DeBoers 57 inch Seaview submarine. I acquired this sub several years ago and despite its less than pristine condition, I was a proud owner....until UPS beat the crap out of it. It has been sitting in my workshop gathering dust until now. My goal is to restore this terrific sub to its former glory and add a few upgrades to the existing model. I am still a newbie when it comes to scale submarines and I have no immediate intentions of converting it to RC. However, I would like to add lighting along with additional details in the control room and flying sub bay and possibly other areas as well. I would like to invite members of the forum to provide their feedback as well as any suggestions as this project proceeds. My first step was to assess the damage done by UPS and determine the overall condition of the sub. Most of the damage is in the stern area. The previous owner installed control rods and clevises in the rudder and dive planes as well.
    Click image for larger version

Name:	IMG_0845.jpg
Views:	622
Size:	444.8 KB
ID:	130106
    Attached Files
  • Groot689
    Lieutenant Commander
    • Mar 2016
    • 135

    #2
    I have been in contact with Dennis at DeBoers Hulls and he is providing me with replacement parts including the light lens, stern fins, and control room window which is a huge help. The next step is to sand the hull, repair (replace) the stern fins and repair any cracks or surface issues to the hull.

    Comment

    • RCSubGuy
      Welcome to my underwater realm!
      • Aug 2009
      • 1768

      #3
      A beautiful boat once it's all finished, I'm sure! Best of luck in the restoration. Keep the pics coming!

      Comment

      • He Who Shall Not Be Named
        Moderator
        • Aug 2008
        • 12253

        #4
        More photos! I can't make bricks without clay.

        David
        Who is John Galt?

        Comment

        • Groot689
          Lieutenant Commander
          • Mar 2016
          • 135

          #5
          Aside from the obvious damage to the stern, some of my initial impressions focus on just about everything. I plan on stripping the model down to its bare hull since the finish is not good in a number of areas. Some spots along the hull need to be sanded to remove imperfections and errant glue for example. Replacing the crushed tail fins is obvious and removing the control rods/clevises is included in that step. The light bezels will probably have to be drilled out (see pic) since the previous owner epoxied them into the hull. I would like to install RE magnets to secure the flying sub bay door and detail that area if possible. Any good reference guides on how to do this? Additional hatch detail would be terrific (David?) but I haven't a clue as to how this could be accomplished. And as previously mentioned, the control windows have to go which Dennis is helping me with. Finally, I had thought about using fiber optic lighting and LED but I dont know if there are that many opportunities for adding lighting to the Seaview. Once again, additional reference material would be helpful. That's it for now. I will post more pics when I begin the teardown.
          Click image for larger version

Name:	IMG_0844.jpg
Views:	529
Size:	205.3 KB
ID:	130126
          Attached Files

          Comment

          • Subculture
            Admiral
            • Feb 2009
            • 2119

            #6
            Looking at the way the paint has failed, it looks to me like the builder didn't abrade the surface before hitting it with paint.

            Comment

            • Groot689
              Lieutenant Commander
              • Mar 2016
              • 135

              #7
              My Seaview restoration project is now officially underway now that I am in receipt of repair parts or components that are essential to move things forward. I have decided to start with the Seaview's sail for no particular reason except that my workbenches are currently tied up with other projects for the time being. In the first picture, you can see that there is damage to the sail skin where the dive planes broke off. The compartment that houses the radar broke as well AND most of the sail parts such as radio antenna, periscope, radar and sonar(?) are in desperate need of upgrades. I started by sanding off some of the surface primer and dirt etc, used glazing putty for small chips and repaired the radar compartment floor using silly putty, super glue and a long wooden dowel. Next, I secured a 5/32 brass tube inside the sail to mount the dive planes using Aves Apoxy Sculpt. The left dive plane does not match well with the fairing on the sail so extra material will be added to provide a better fit.

              Click image for larger version

Name:	IMG_1036.jpg
Views:	532
Size:	495.4 KB
ID:	131350
              Attached Files

              Comment

              • Groot689
                Lieutenant Commander
                • Mar 2016
                • 135

                #8
                I used a polishing brush attachment on my Dremel to clean out both compartments and sanded down the Aves which has hardened quite nicely overnight. David was exceedingly generous by providing me with some upgrade parts cast in white metal and will make excellent replacement/upgrades for the sail. I cleaned off any excess material and then mounted them to varying sizes of brass tubing.

                Click image for larger version

Name:	IMG_1039 (1).jpg
Views:	534
Size:	669.8 KB
ID:	131352

                Comment

                • Groot689
                  Lieutenant Commander
                  • Mar 2016
                  • 135

                  #9
                  My first obstacle (which will definitely NOT be the last!) pertains to the mounting of the sonar(?) and what appears to be a white running light on some versions of the Seaview. The Deboers Seaview apparently does not offer a sonar mount nor a white running light mounted in the top rear of the sail. Also, and maybe you can help me out here, the size and shape of the two compartments in the sail appear to be different in some versions of the Seaview. Can you all help me by confirming that the Seaview should have this sonar module and white running light mounted on the top of the sail?
                  Click image for larger version

Name:	IMG_1032.jpg
Views:	580
Size:	493.1 KB
ID:	131355
                  Attached Files

                  Comment

                  • He Who Shall Not Be Named
                    Moderator
                    • Aug 2008
                    • 12253

                    #10
                    Originally posted by Subculture
                    Looking at the way the paint has failed, it looks to me like the builder didn't abrade the surface before hitting it with paint.
                    A lot of that chipping may be originating from the kits GRP parts substrate, not the putty-filler-primer-paint-clear coat.

                    For a period of time Dennis was producing GRP parts where the gel-coat would chip off the underlying fiberglass laminate during assembly and/or during masking associated with painting and/or weathering. I assume that -- during this brief time in DeBoer manufacturing history -- Dennis failed to abrade off the wax surface of the gel-coat laid within the part making tool.

                    Most polyester laminating resins employ wax to assure a complete cure of the resins surface once catalyzed -- once laid down the wax would float to the surface and form a air-resin barrier that would permit complete exothermic heating of the resin by preventing loss of that heat to the atmosphere.

                    The wax had to be either abraded off or scrubbed off with a solvent before laying the next layer of material (be it more gel-coat or glass).


                    But, to Andy's point: As we don't know the competency of the original kit-assembler, Groot may indeed be dealing with failed primer-paint adhesion. Just throwing out another possible cause of the surface chipping.

                    (Don't hate me for being so ****ing smart!)

                    David
                    The Horrible
                    Who is John Galt?

                    Comment

                    • Groot689
                      Lieutenant Commander
                      • Mar 2016
                      • 135

                      #11
                      Also, and maybe you can help me out here, the size and shape of the two compartments in the sail appear to be different in some versions of the Seaview. Can you all help me by confirming that the Seaview should have this sonar module and white running light mounted on the top of the sail?
                      While I wait for feedback on my previous dilemma, I am plodding ahead on the sail by grinding down the existing doors and using a set of resin upgrades produced by David, the Horrible. What's there to lose? I have also added material to the left dive plane and the fitments is much better. So far so good. By the way, I am not sure the previous owner even applied a primer coat unless I have confused the grey top coat for primer (gasp!).
                      Click image for larger version

Name:	IMG_1045.jpg
Views:	519
Size:	406.7 KB
ID:	131359
                      Attached Files

                      Comment

                      • He Who Shall Not Be Named
                        Moderator
                        • Aug 2008
                        • 12253

                        #12
                        Originally posted by Groot689
                        My first obstacle (which will definitely NOT be the last!) pertains to the mounting of the sonar(?) and what appears to be a white running light on some versions of the Seaview. The Deboers Seaview apparently does not offer a sonar mount nor a white running light mounted in the top rear of the sail. Also, and maybe you can help me out here, the size and shape of the two compartments in the sail appear to be different in some versions of the Seaview. Can you all help me by confirming that the Seaview should have this sonar module and white running light mounted on the top of the sail?
                        Click image for larger version

Name:	IMG_1032.jpg
Views:	580
Size:	493.1 KB
ID:	131355
                        Sonar mount?

                        Garry Kerr has already done the definitive proper arrangement (and differences) of the TV and movie versions of the SEAVIEW. In small part his work influenced by the Knorowsky drawings lofted off the 17-foot miniatures while it was in my custody for restoration.


                        Here's what the sail should look like for the two versions (these are test-shots from the Moebius kit -- Garry was the lead researcher on both projects):


                        And the sail I came up with for the smaller DeBoer SEAVIEW:


                        David
                        Who is John Galt?

                        Comment

                        • Subculture
                          Admiral
                          • Feb 2009
                          • 2119

                          #13
                          Some polyester resins do come premixed with wax, however they're designed to be used as a final coat to seal off any tackiness. Gelcoat should be wax free, and remain tacky to enable a good bond with subsequent laminations. Some leave the gelcoat to cure for too long before adding subsequent layers, or sometimes you get trapped air between the gelcoat and laminate. Adding a layer of glass tissue before the chopped matt tends to reduce that last problem happening.

                          Comment

                          • Groot689
                            Lieutenant Commander
                            • Mar 2016
                            • 135

                            #14
                            Perfect. Thanks David, ah er your Highness. This is what I need. My life has meaning once again.

                            Comment

                            • He Who Shall Not Be Named
                              Moderator
                              • Aug 2008
                              • 12253

                              #15
                              Originally posted by Subculture
                              Some polyester resins do come premixed with wax, however they're designed to be used as a final coat to seal off any tackiness. Gelcoat should be wax free, and remain tacky to enable a good bond with subsequent laminations. Some leave the gelcoat to cure for too long before adding subsequent layers, or sometimes you get trapped air between the gelcoat and laminate. Adding a layer of glass tissue before the chopped matt tends to reduce that last problem happening.
                              I was thinking home-brewed gel-coat. Should have so stated. Sorry for the confusion.

                              David
                              Who is John Galt?

                              Comment

                              Working...