
 Tweet
Tweet
Hello again folks,
Not many reports from my way lately but that doesn’t mean I haven’t been busy with the Wolf. Most of my free time has been used by doing quite a bit of digital work on the computer and learning to use my new Corel vector drawing program. This has allowed me to start making up my future scribing templates and detail art that will comprise the photo etching for this project...more on that later though when it’s more applicable.
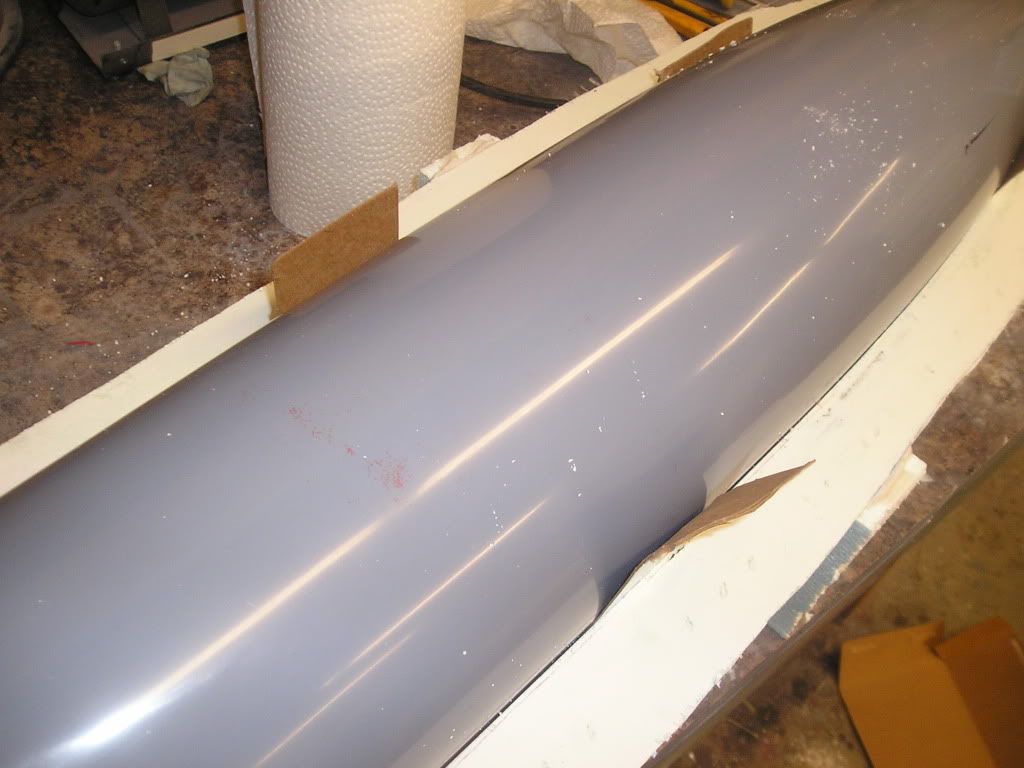
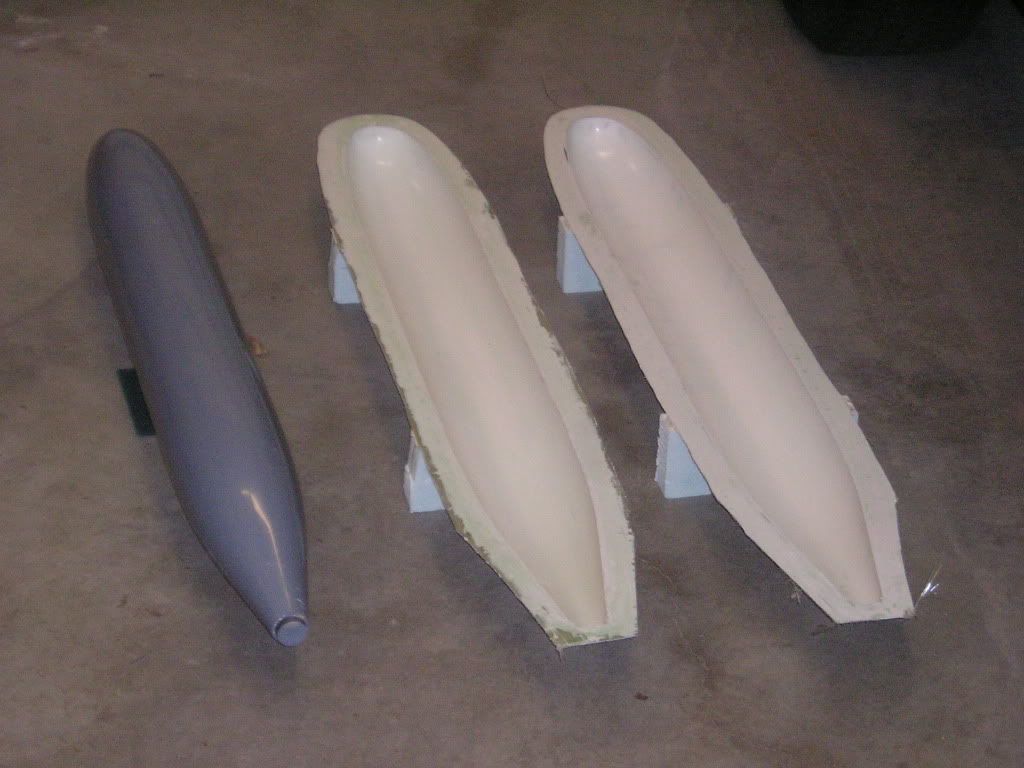
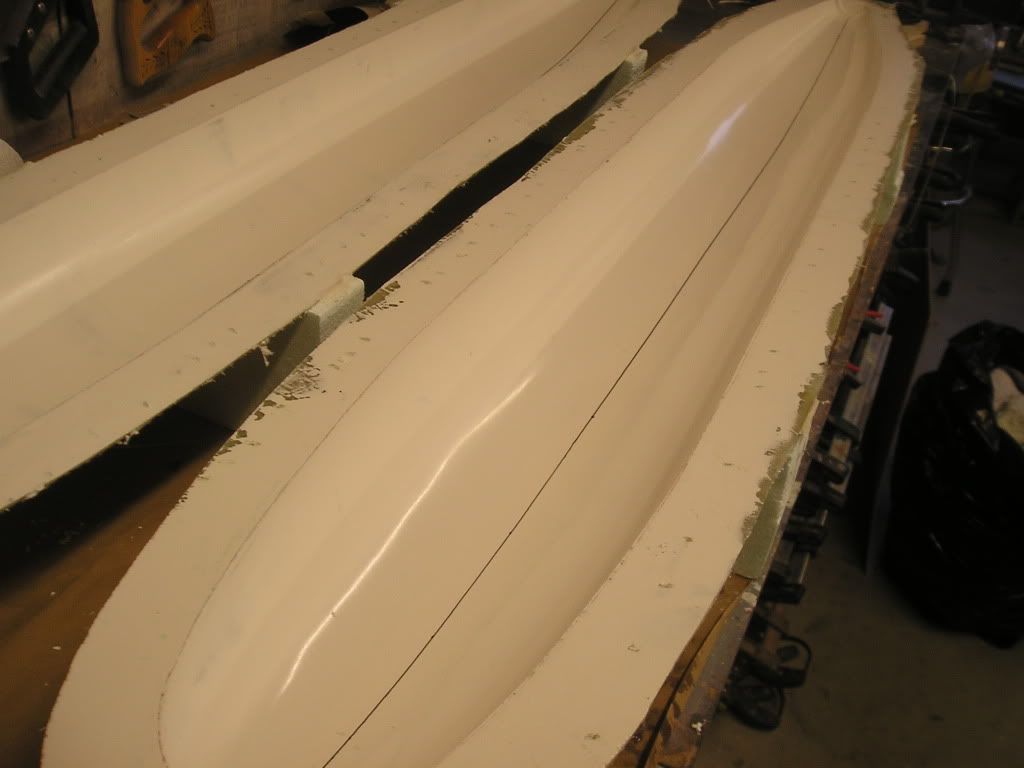
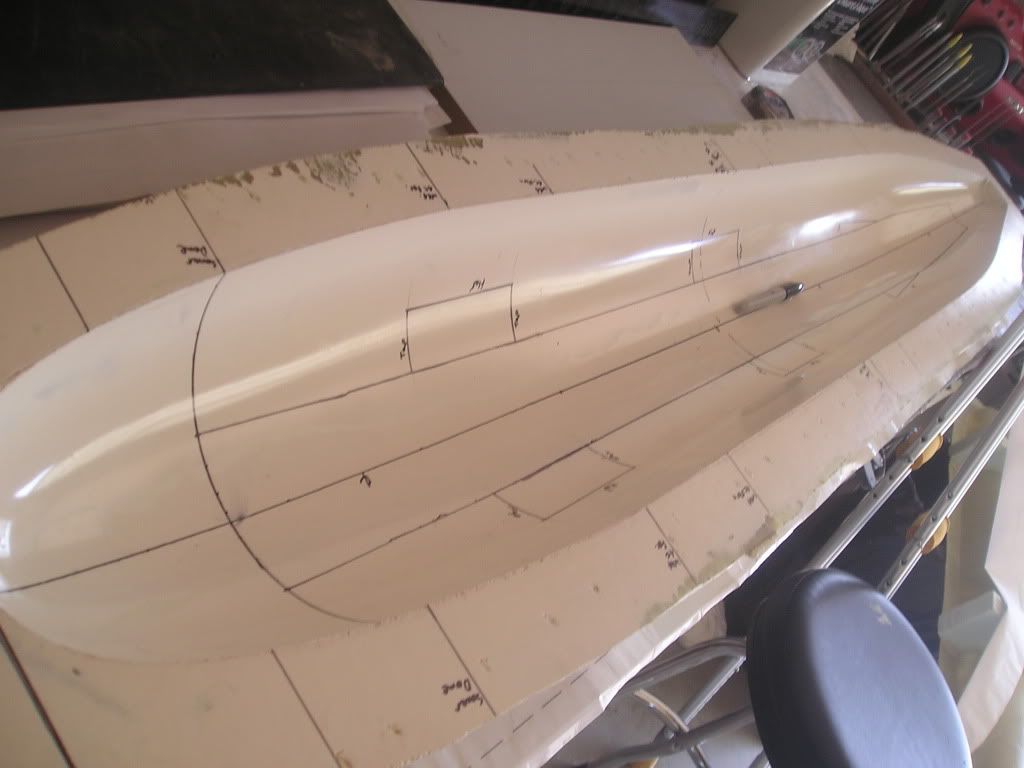
Currently, here are the results of the cured intermediate hull moulds. These were a real pleasure to release from the plug as there are no details to get stuck into anything. Basically, I was able to work a small gap between the hull and mould with my hands using pressure then forced a few strips of cereal box cardboard in as wedges. Long strips of this cardboard were then slipped in underneath the hull and worked its way forward. It worked like a real beauty! It always pays to have big boxes of Lucky Charms kicking around, although my wife isn’t fond of all the box-less cereal bags in the pantry lol!
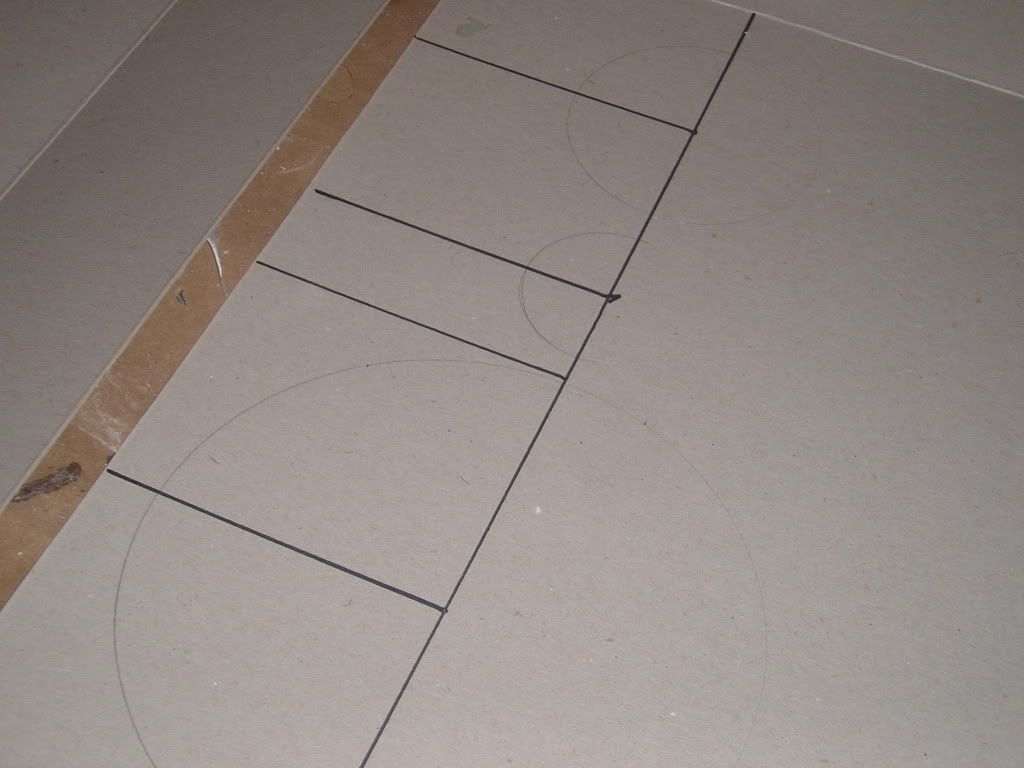
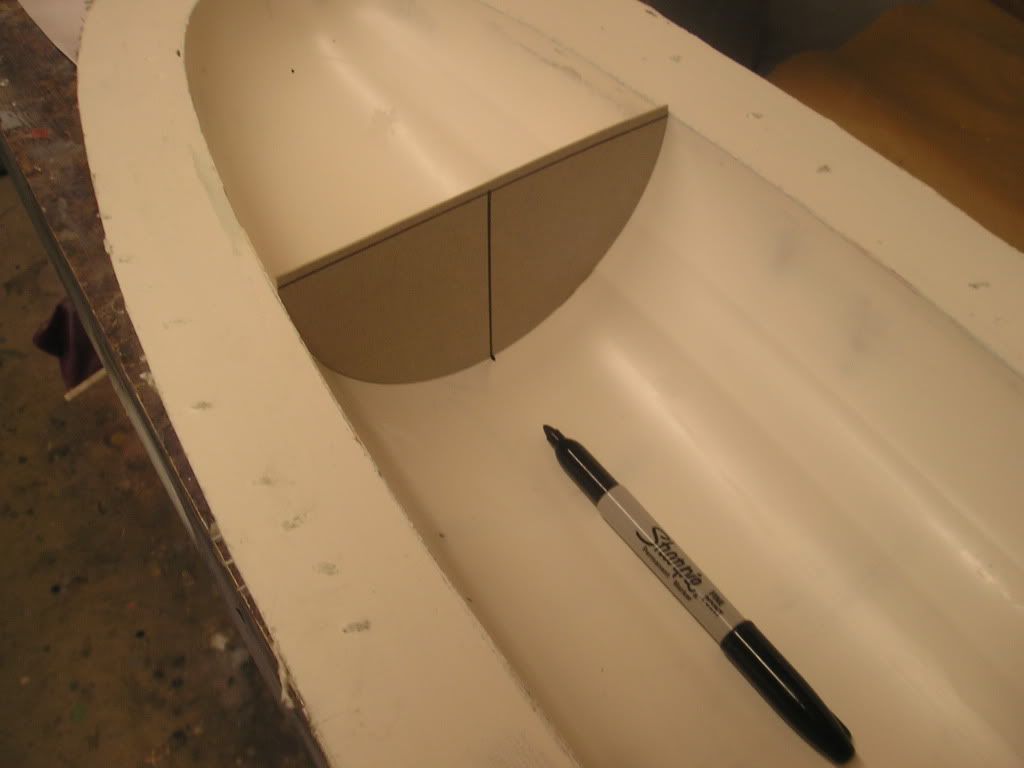
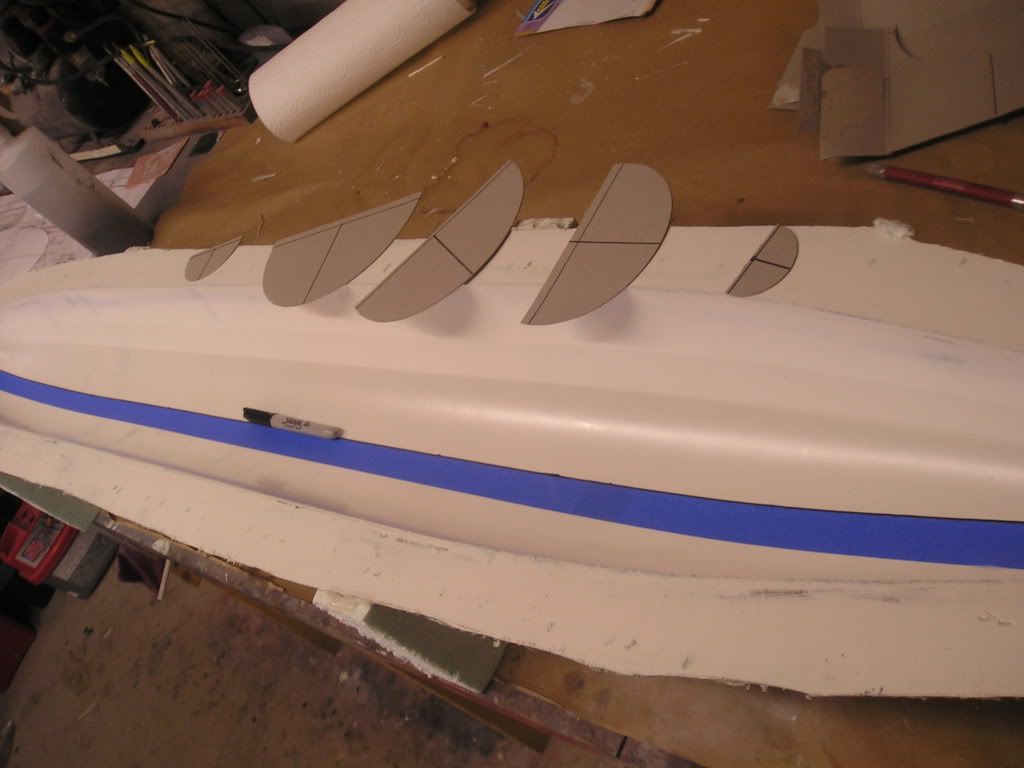
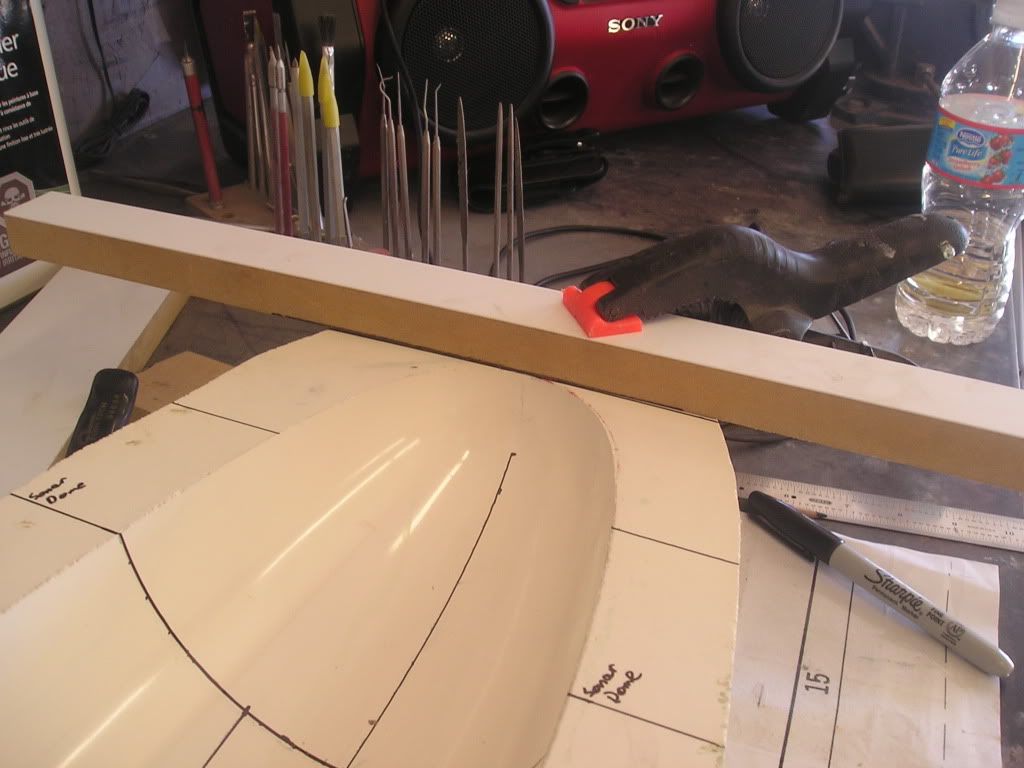
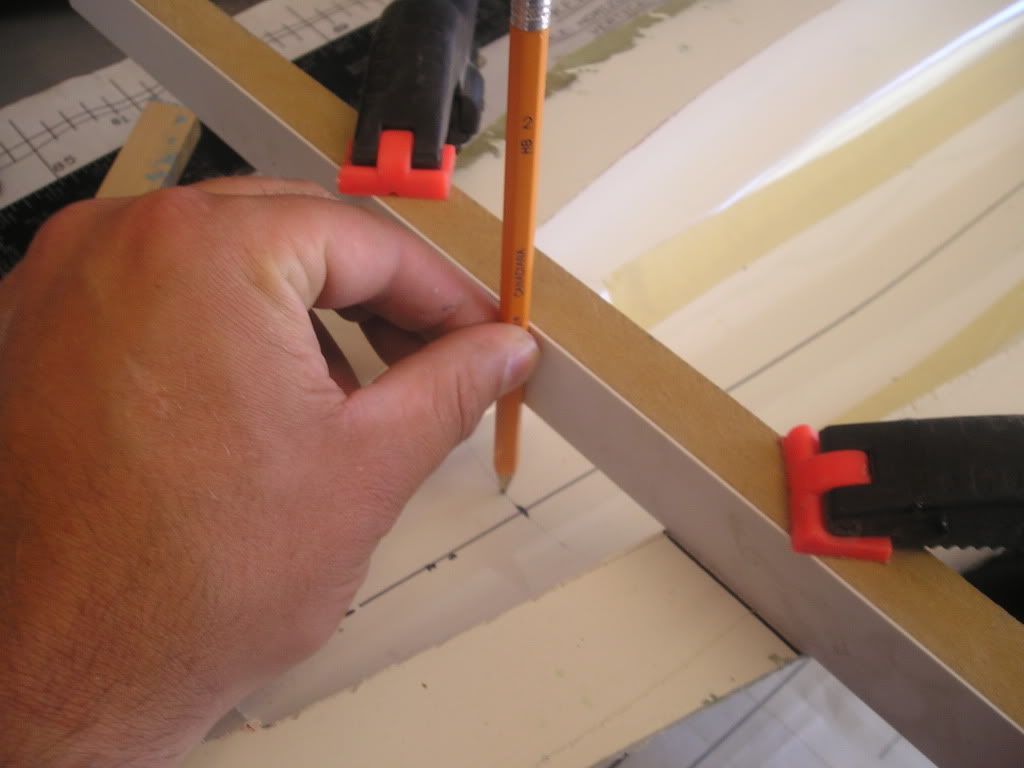
I need to do “negative” detailing in these female moulds and that means I have to mark things out so I know where to place my objects. Again more cereal box is used by drawing circles of appropriate diameter with perpendicular lines drawn on them. The long line across the top is used to align the template with the flange of the mound. The center line on the templates is used to mark the center of the bottom of the mould.
Tape is ran along my new marks and a final line is drawn long this to give me my center reference line.
Lot and lot and lots to come,
Joel
Not many reports from my way lately but that doesn’t mean I haven’t been busy with the Wolf. Most of my free time has been used by doing quite a bit of digital work on the computer and learning to use my new Corel vector drawing program. This has allowed me to start making up my future scribing templates and detail art that will comprise the photo etching for this project...more on that later though when it’s more applicable.
Currently, here are the results of the cured intermediate hull moulds. These were a real pleasure to release from the plug as there are no details to get stuck into anything. Basically, I was able to work a small gap between the hull and mould with my hands using pressure then forced a few strips of cereal box cardboard in as wedges. Long strips of this cardboard were then slipped in underneath the hull and worked its way forward. It worked like a real beauty! It always pays to have big boxes of Lucky Charms kicking around, although my wife isn’t fond of all the box-less cereal bags in the pantry lol!
I need to do “negative” detailing in these female moulds and that means I have to mark things out so I know where to place my objects. Again more cereal box is used by drawing circles of appropriate diameter with perpendicular lines drawn on them. The long line across the top is used to align the template with the flange of the mound. The center line on the templates is used to mark the center of the bottom of the mould.
Tape is ran along my new marks and a final line is drawn long this to give me my center reference line.
Lot and lot and lots to come,
Joel


Comment