Welcome to our forums. For the best in R/C submarine kits, components and accessories, be sure to visit the Nautilus Drydocks
If this is your first visit, be sure to
check out the FAQ by clicking the
link above. You may have to register
before you can post: click the register link above to proceed. To start viewing messages,
select the forum that you want to visit from the selection below.
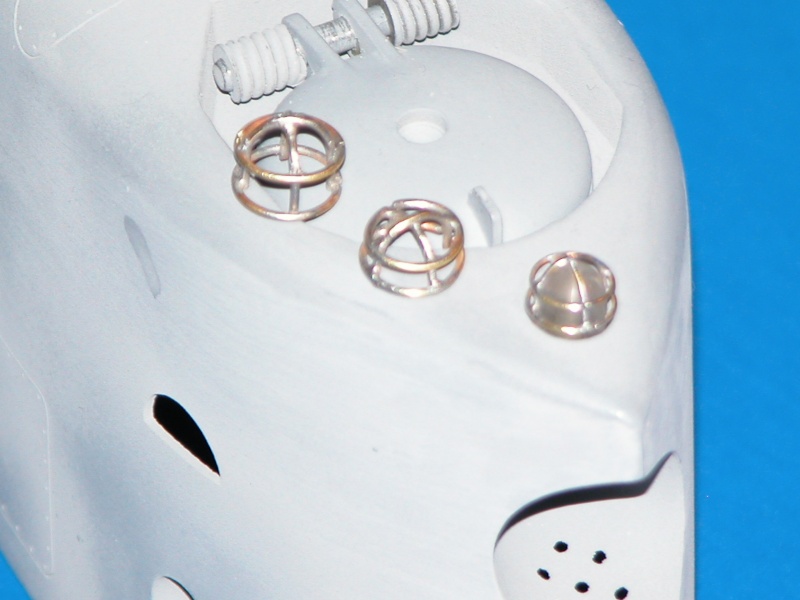
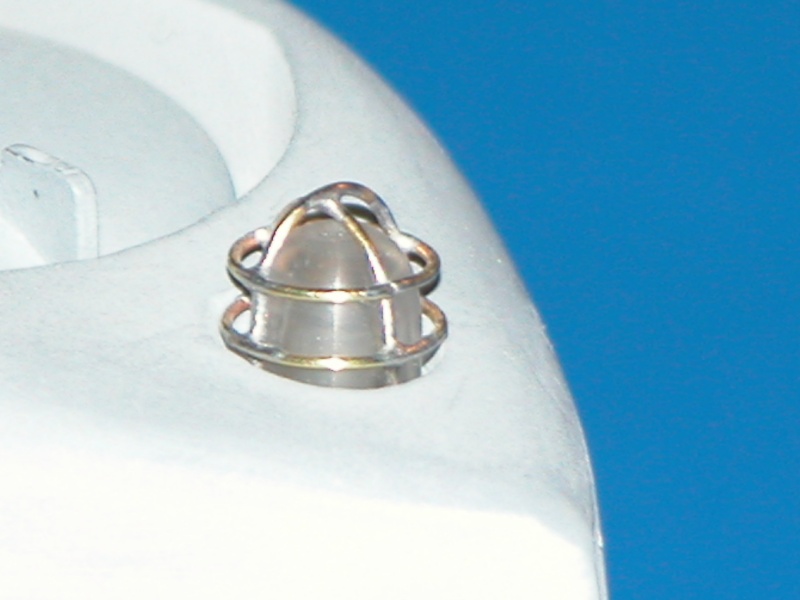
Scale wise I was not so happy......so I had another go at it.....0,2mm wire. Base just over 2mm. Looks more to scale now. Still needs some cleaning up.
One ready two to go.
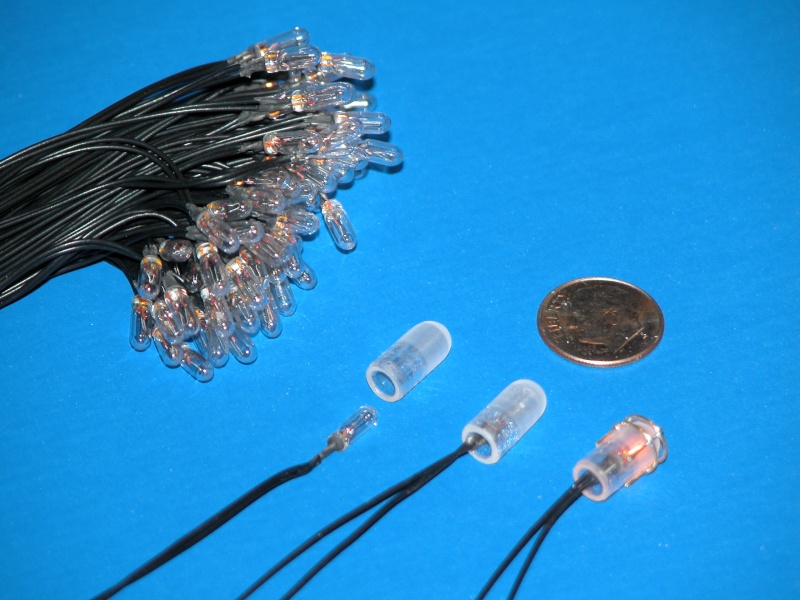
And NO I will not try to squeeze in a LED (although it's tempting)
Much better, Bart. What I do is simply wipe some medium-thick CA over the offending engraved work then hit it with some accelerator, File the hardened goo flush to the surface and scribe into this new substrate. Much easier than trying to keep the scratch-awl tip from wandering around as it encounters different materials with their associated properties of hardness a brittleness. You can still see the previous work through the semi-transparent goo so that will guide you without need of re-marking the work.
I have been doing some scribing practice on my master. As I have no idea how it supposed to look, can you please give some feedback. Lines to narrow, to wide, to deep,�.
I have the impression they are a tick to wide?
I like your handle on the scribe in pic 11. Verry nice improvisation. What is the harpoon looking tool lower number 15? Dremel makes some fine engraving bits. I do a lot of metal work engraving, with the motor, but for plastics, just chuck up in the hand drill. Scribe your lines, then you can follow up with the various bits for width and depth. Like you say, practice practice, it takes some finesse. Once you can use a tattoo machine without too many mistakes, your ready for engraving. I learned how to tattoo on oranges. "if you got ink in the meat, you ain't ready" is what Goldie told me.Dave, if you have one of thesepull the stick off the ball, or drill an appropriate hole in the stick ir other end and toss the masking tape handle on the tool. You can just get the ball end, only, at the craft shop, If you dont want to take a perfectly good honey dipper apart. Especially if it belongs to YOUR Honey. Mrs E
I have been doing some test for scribing. I used the needle of a pair of compasses, blunt the point (just a touch). It is ok��.here comes the but part.
The problem is that I have to go to deep to get the desired wideness of the grove. When I try to paint is the paint does not reach the bottom part of the grove. When I tried to scribe with a more blunt tool the grove looks like sh*t.
So I wanted to post here a question how to do it but then I hit the search button of the forum typed �scribing� and the first hit was this.
Originally posted by He Who Shall Not Be Named
Scribing stencils, and a pointed needle (re-worked needle-file) is all you need. The trick is to start with the sharp point and to then make the finishing passes with a blunt point with a shank of constant diameter. Practice, practice, practice.
M
It is all on the forum��So I have my starter tool just have to make my finish tool now.
Well, after a couple seconds of dreamig about it, I ordered a small hobby lathe, When the Queen finds out, I'll blame it on Sir Bart. "The Black Knight" Mabe if I take a couple of her wooden spoons and turn spindells on the handles, I can get an approval of justification.
Go ahead David I will take the heat.....I which I had done the same ....just finished cleaning the house, next up is the laundry.....5 years to go (but it was worth it).
I am thankful, that I manage to get out of laundry. I don't do it correctly, She says. I wash everything at once, her delicate things with my fishing shorts. I did it just one time and I have been forbidden to operate the machinery, for life. Cleaning the house however, is in my realm of job obligations. I make the biggest mess, so, you have to pay, to play.

Leave a comment: