-
Thanks greenman, your comments were very helpful, I'm sure I'll have more questions as I build the boat. I wear dolphins so I'm pretty much aware of how a real sub operates, the model is a whole different story. -
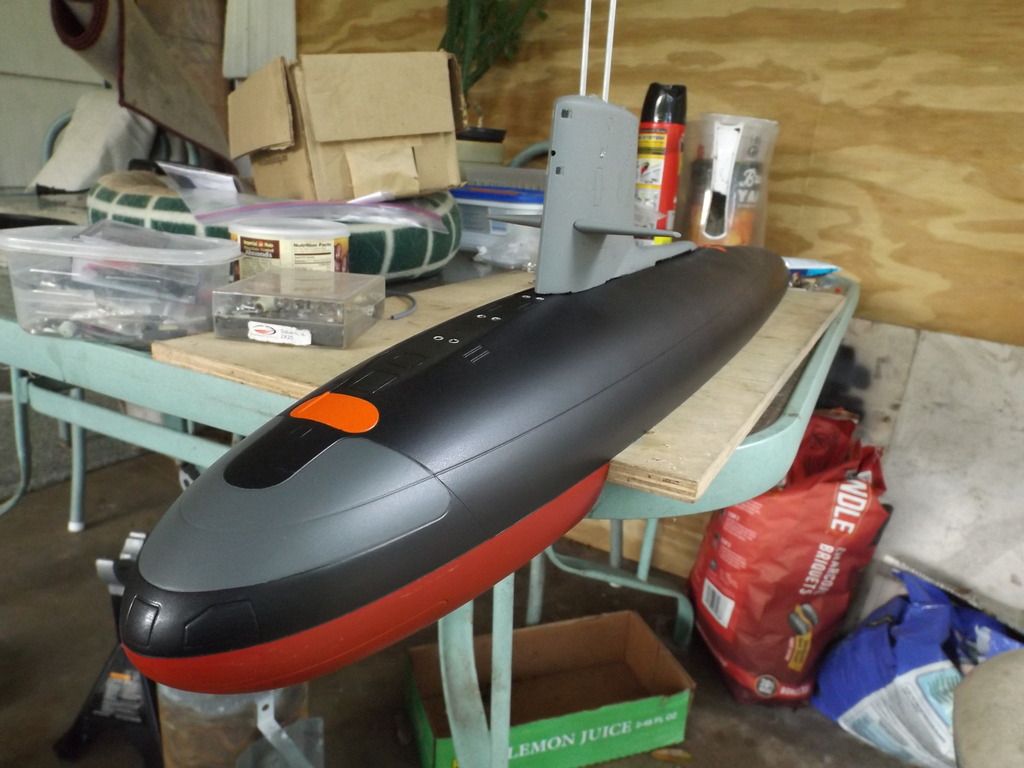
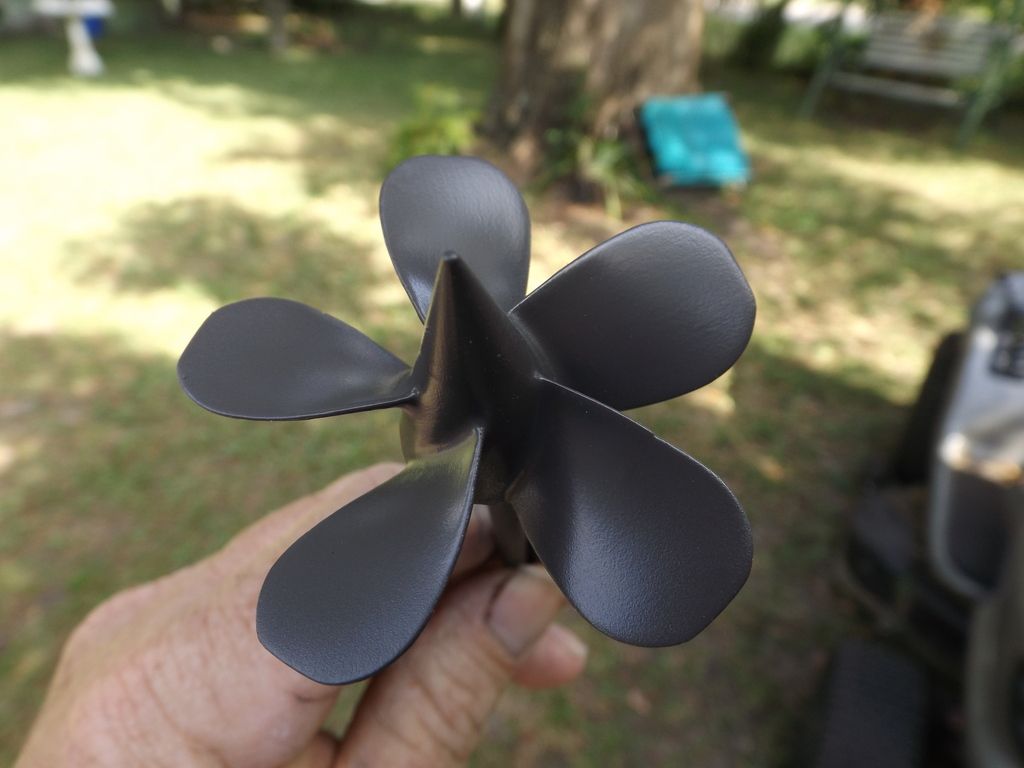
Tonight I weighed this boat and it tops out at 10 pounds dry. Thats more than expected, although I have been quite generous on the lead weight in the keel.Leave a comment:
-
Bubblehead. Welcome aboard. I would suggest that you wait on the paint until your all done building and fine tuning everything. That way you dont mess up the paint with all the handling and other activitys. As far as the holes in the bow are concerned....thats up to you. If you are not going to install a torpedo system, then I see no reason to cut the holes........unless you just want them there. On a real sub , the doors would be closed all the time anyway, unless you were just about to fire a torpedo, and then only the doors to the tubes that you were going to fire would be open. In other words you would probably never see a time when ALL the doors would be open. Thats just my take on it.Leave a comment:
-
-
I'm just getting started with the Skipjack in 1/72 scale. I've never made an rc sub though I did sail on a real boomer. I'm only going to use the basic operational kit, no ballast tanks or torpedoes, should I paint the model before or after completion, and are the holes in the bow still needed?
Leave a comment:
-
You are total rev-head Mark (NB: Rev-head. Australian term of endearment used to describe one whose head is full of high speed stuff).Leave a comment:
-
Thanks Gents..................and I use the term...............loosely. LOL! Not only is it Puuurty TOM, its also got a whole lot more Horse Power. I put quite a bit more weight in the bottom and corresponding foam in the top to compensate, trying to keep torque roll manageable. Gotta ease into the throttle on this one.Leave a comment:
-
Looks great Mark. I particularly like the prop colour (please note spell checker - that's the correct way to coloUr - you ****er).Leave a comment:
-
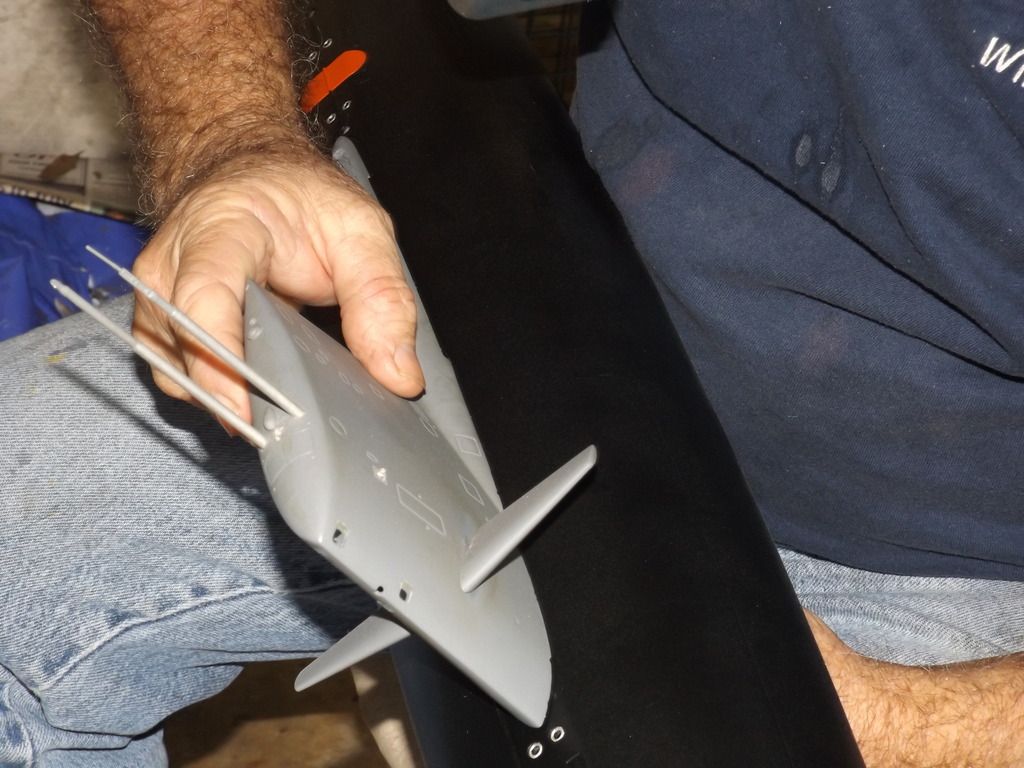
I didnt quite make it into the water today but I got a lot done. Sail remounted(took me an hour to find the screws). Snorkle remounted(took an hour to find the screws) Mounted the prop, using two set screws and one of the screws I drilled down into the shaft for good positive engagement. Dont forget the blue locktight.


 Last edited by greenman407; 10-25-2015, 07:03 PM.
Leave a comment:
-
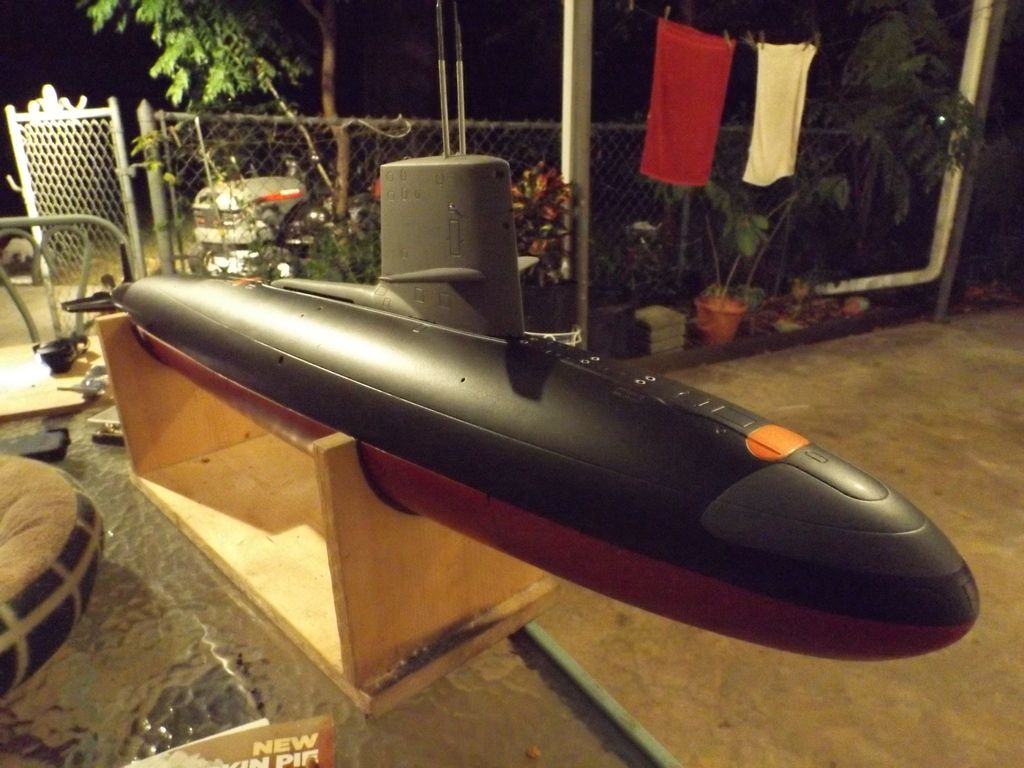
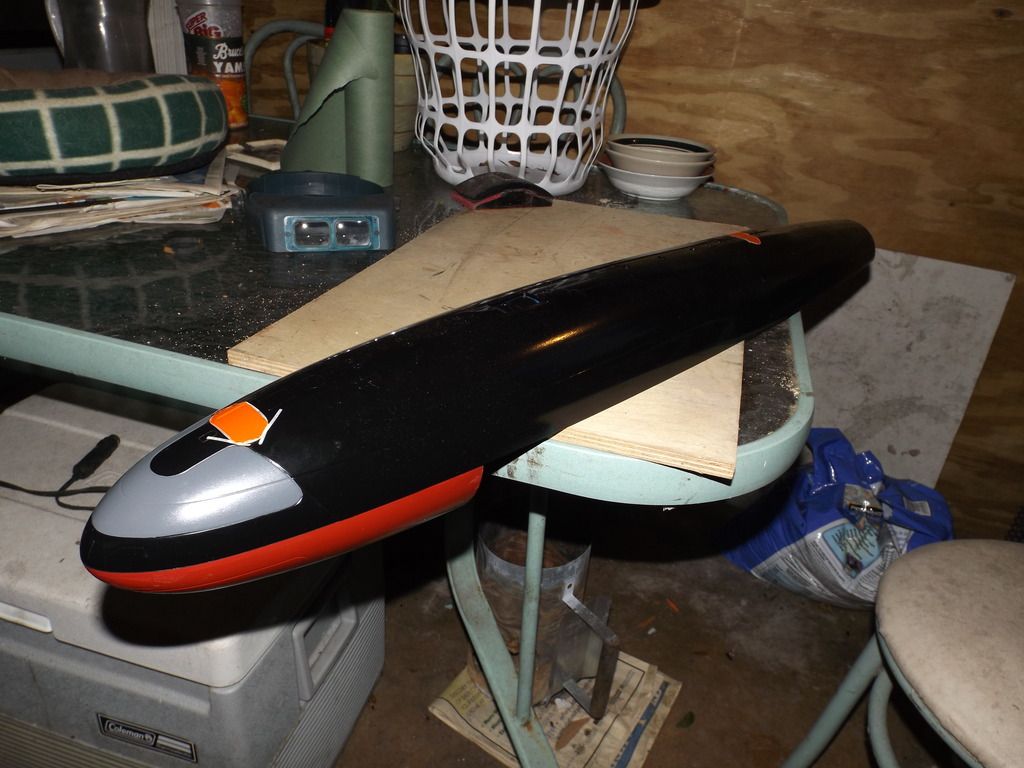
So today I was able to get some clear Flat on it. Tomorrow Im going to re-attach the snorkle valve, charge the battery and get it in the NEW kiddie pool for a float test. The OLD kiddie pool wasnt deep enough. This one is 10" deep to help me with submerged trim.Leave a comment:
-
Yep.......you definitely have it down pat. Too bad you live so Dern far away. I found a new color by Rustoleum. Its called "Anodized Bronze". I like it. Its closer to the color that I am looking for than "Coffee".

Leave a comment:
-
Escape buoy and circular item masking made easy:
MLeave a comment:
-
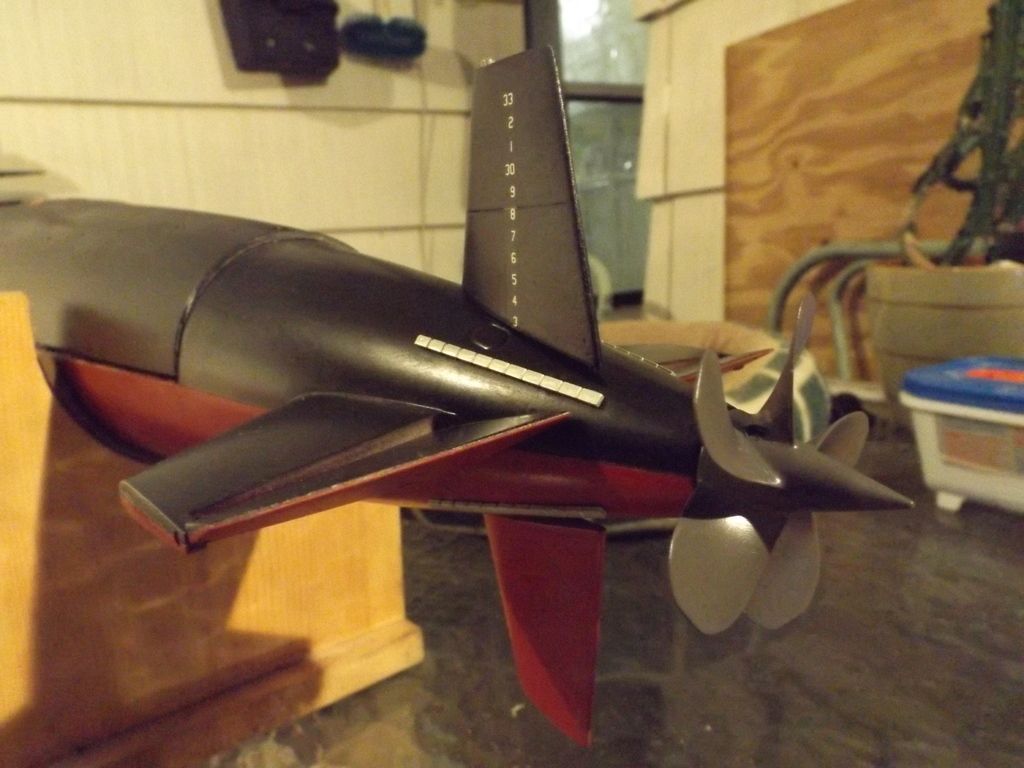
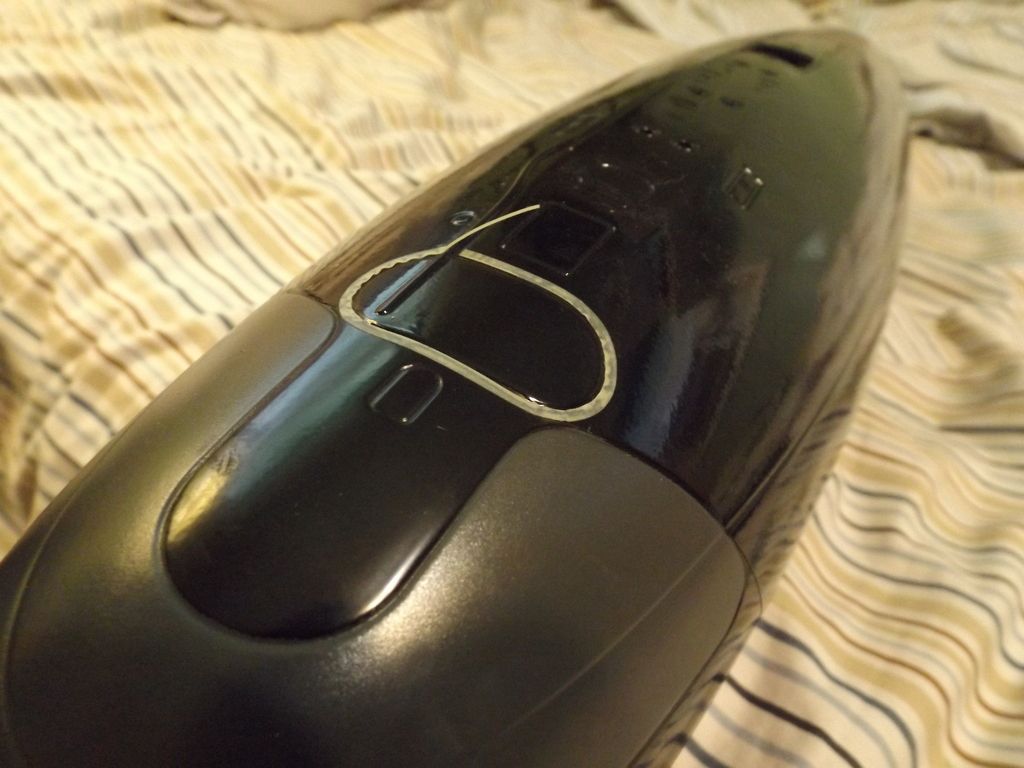
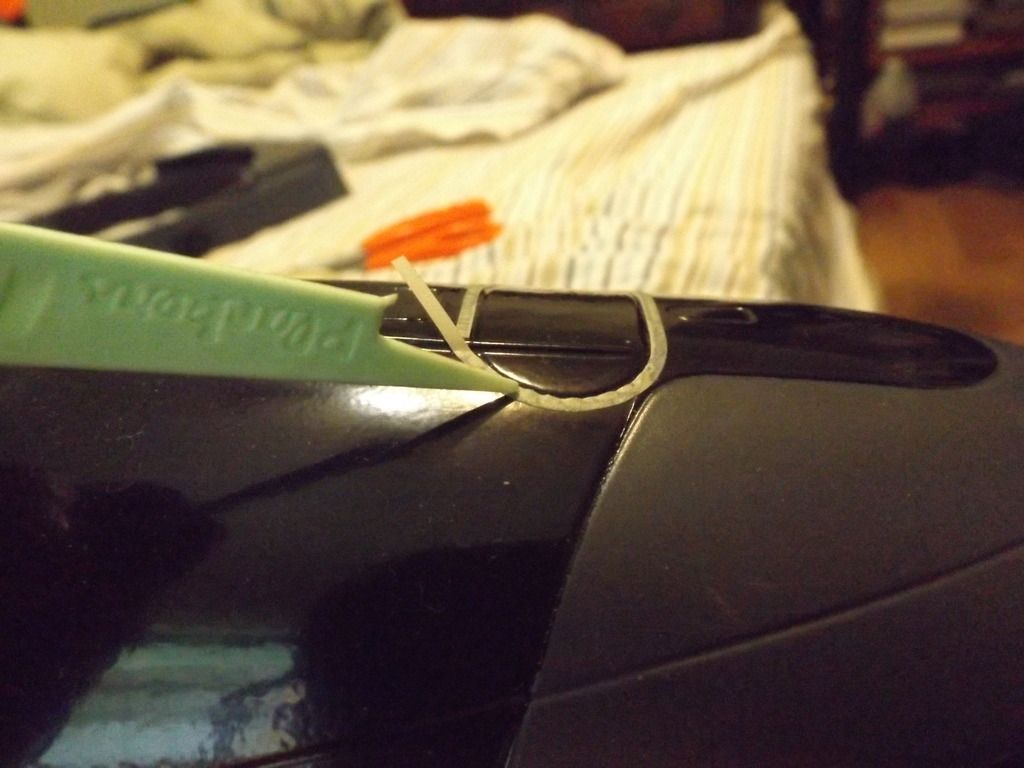
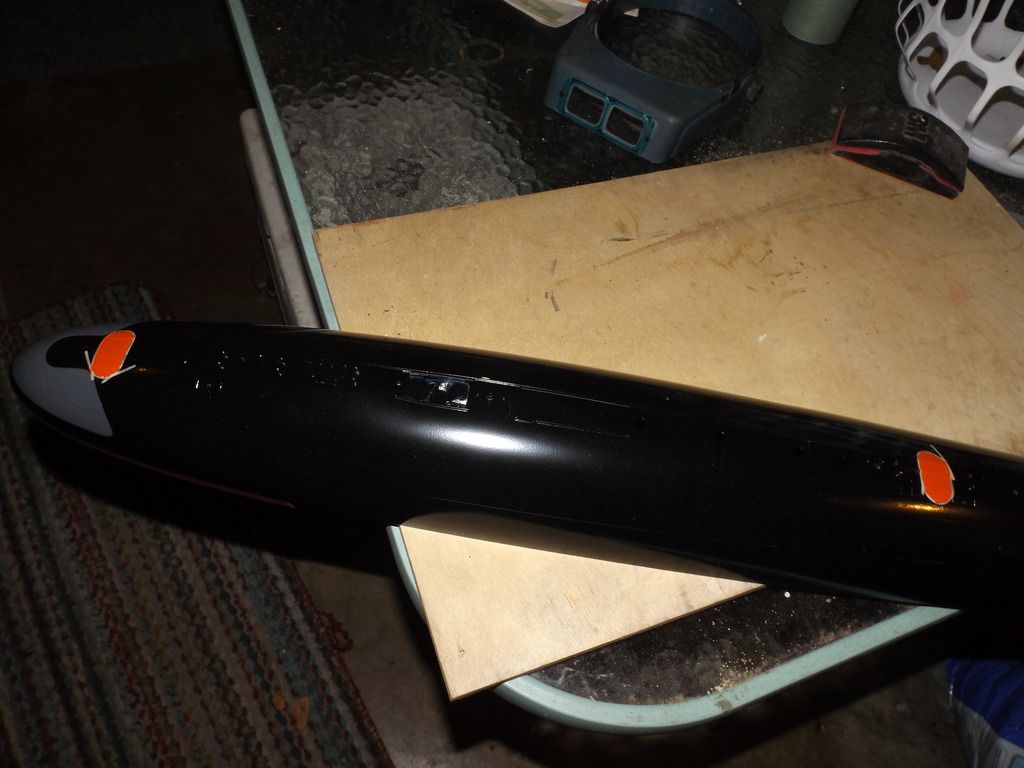
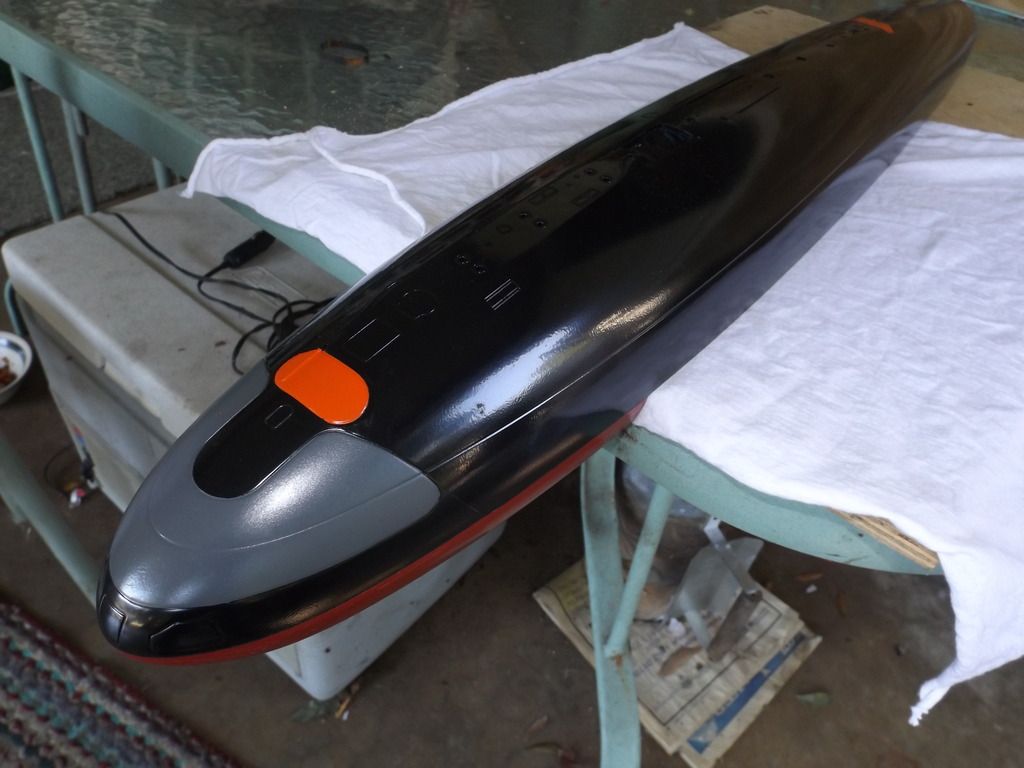
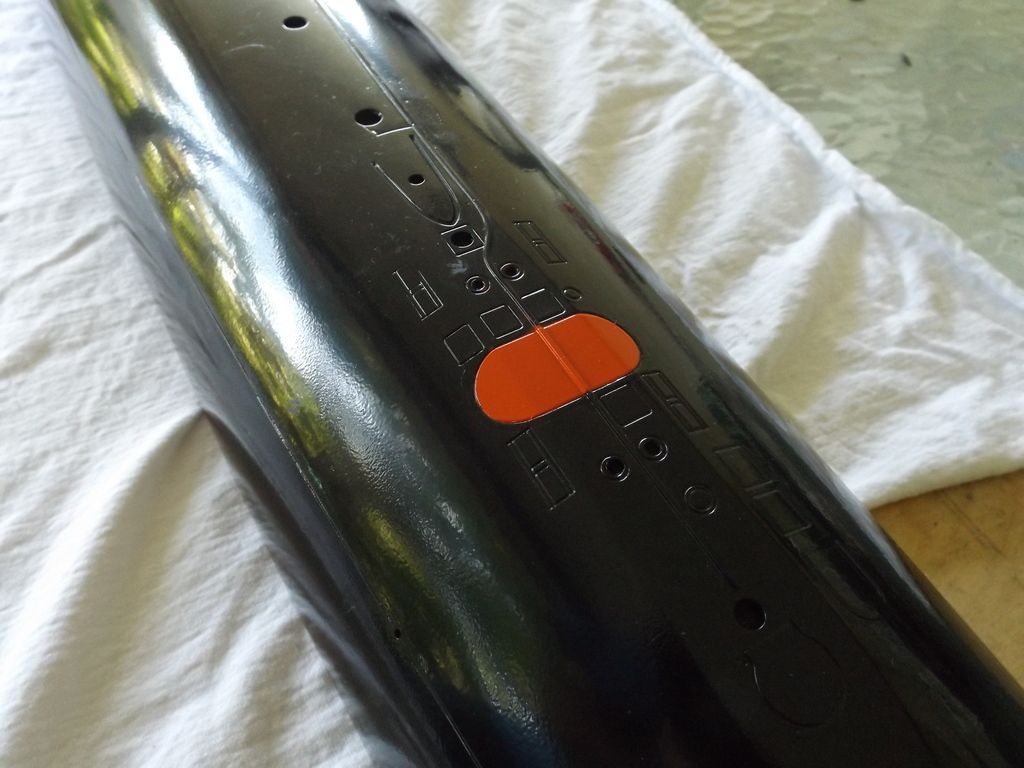
The Escape Buoy hatches were not the easiest part of this paint job for sure. I got a hold of some 1/16" masking tape and started forming it around the perimeter of the hatches. After numerous attempts, I developed a technique that worked out pretty well. Then I went back over them with a floss thingy end and burnished the tape down better. I selected the smallest airbrush tip that I had, sprayed out some Orange paint into a cup. Then I transferred that to the airbrush. It didn't take long.
The next day I removed the tape. Came out pretty well. As far as the Main Ballast Tank vents were concerned, Dave had suggested using some metal foil for modelers. I ordered it but after about 15 minutes, I ran out of patience.......I'm ashamed to say. I have since resorted to hand painting them. Using a tiny tipped brush, some close vision goggles and holding my breath to give as smooth a stroke as I could muster, I carefully put down some aluminum paint on them. They are drying at the moment. Ill need to go back with some black and touch up a few places but I think that it will be quite acceptable.

Leave a comment:


Leave a comment: