-
Who is John Galt? -
Hello all,
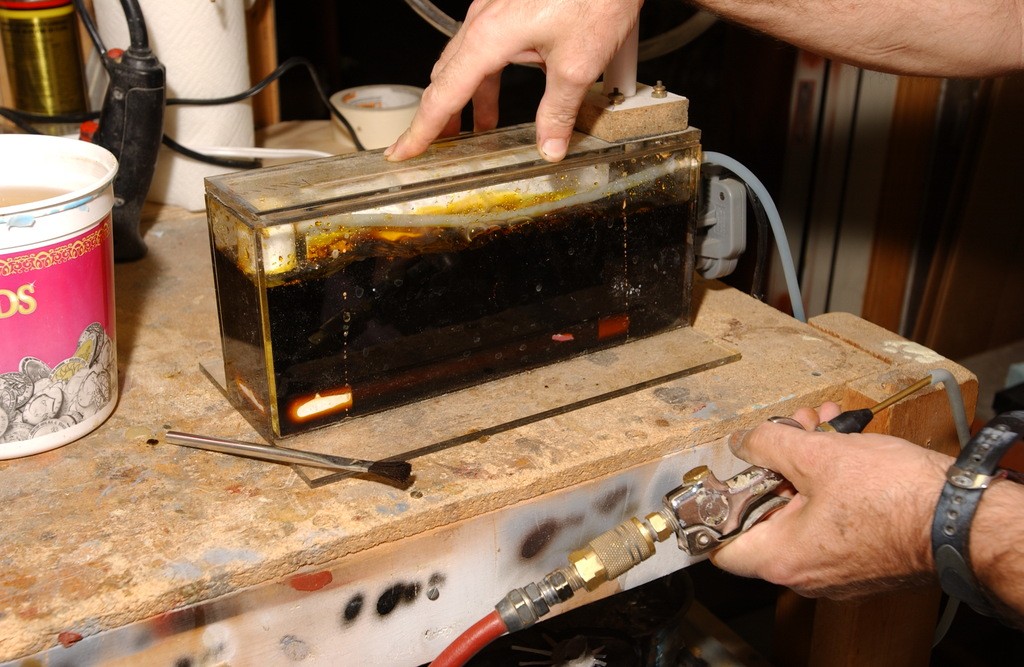
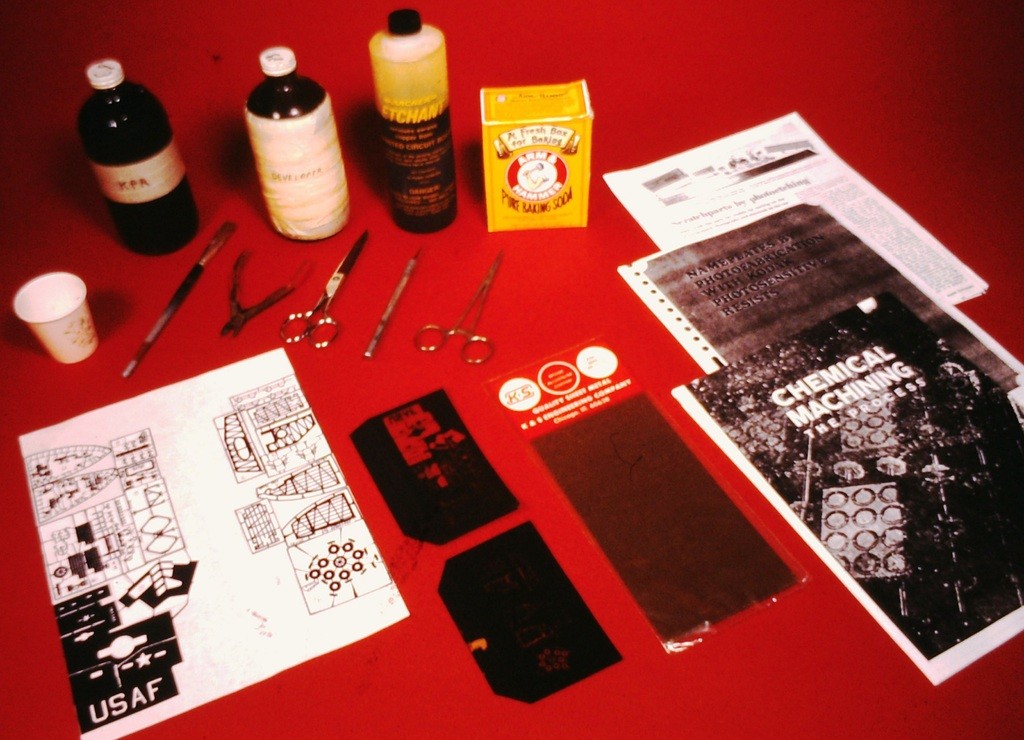
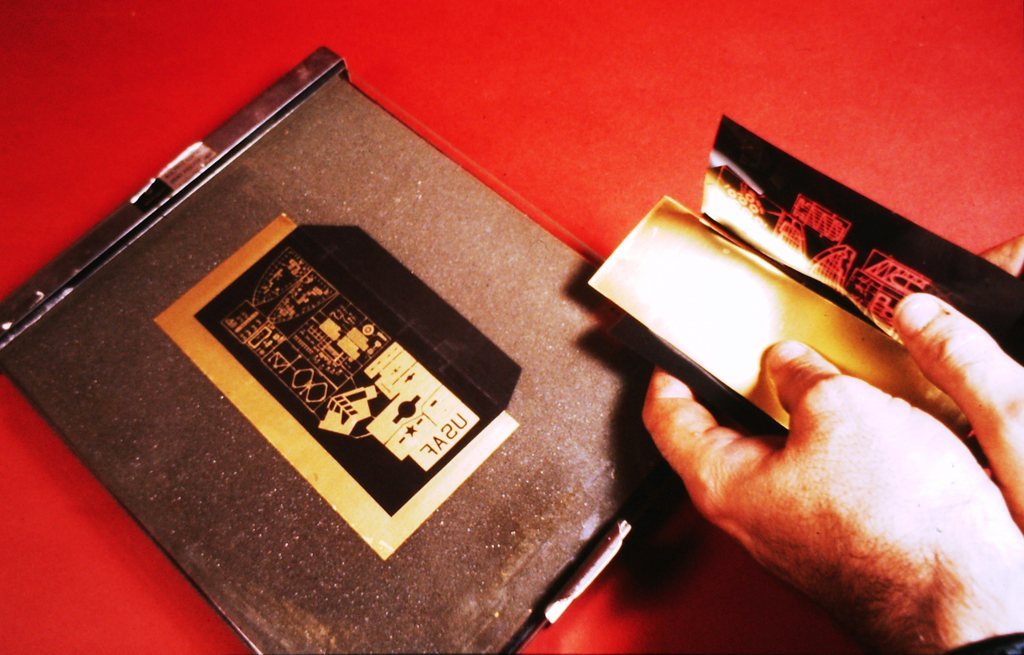
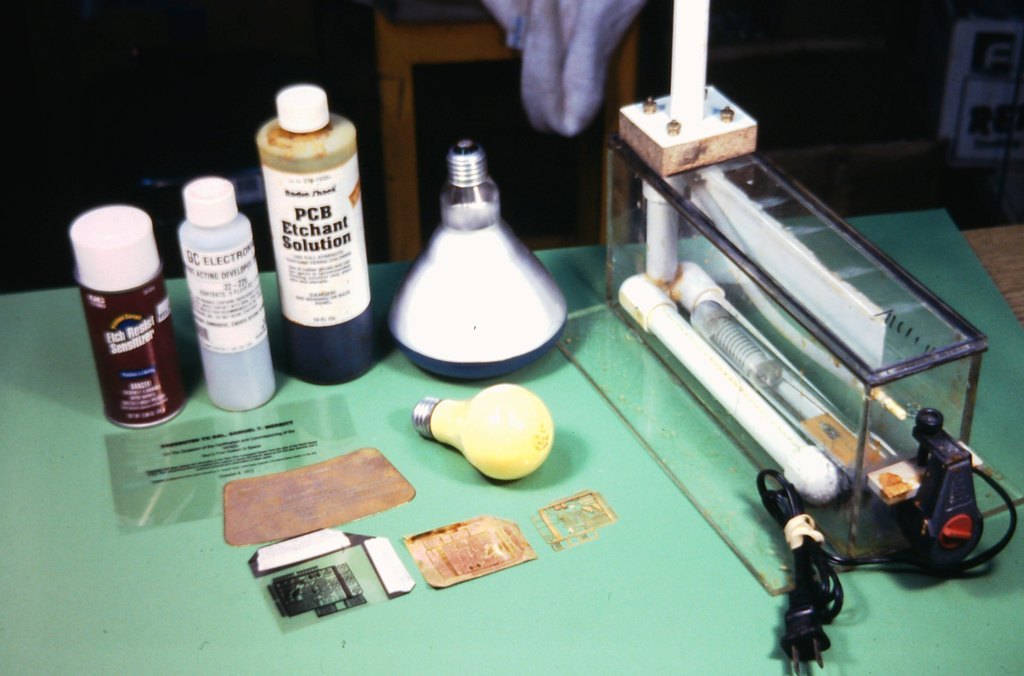
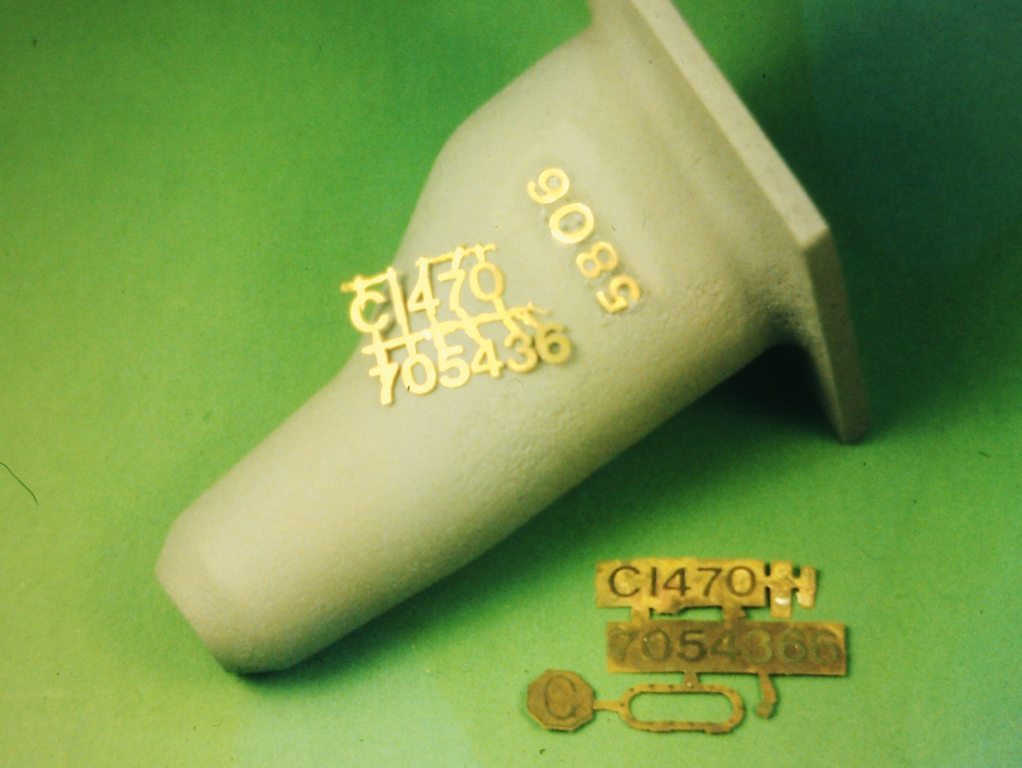
I've never done photo etching. One day I will.
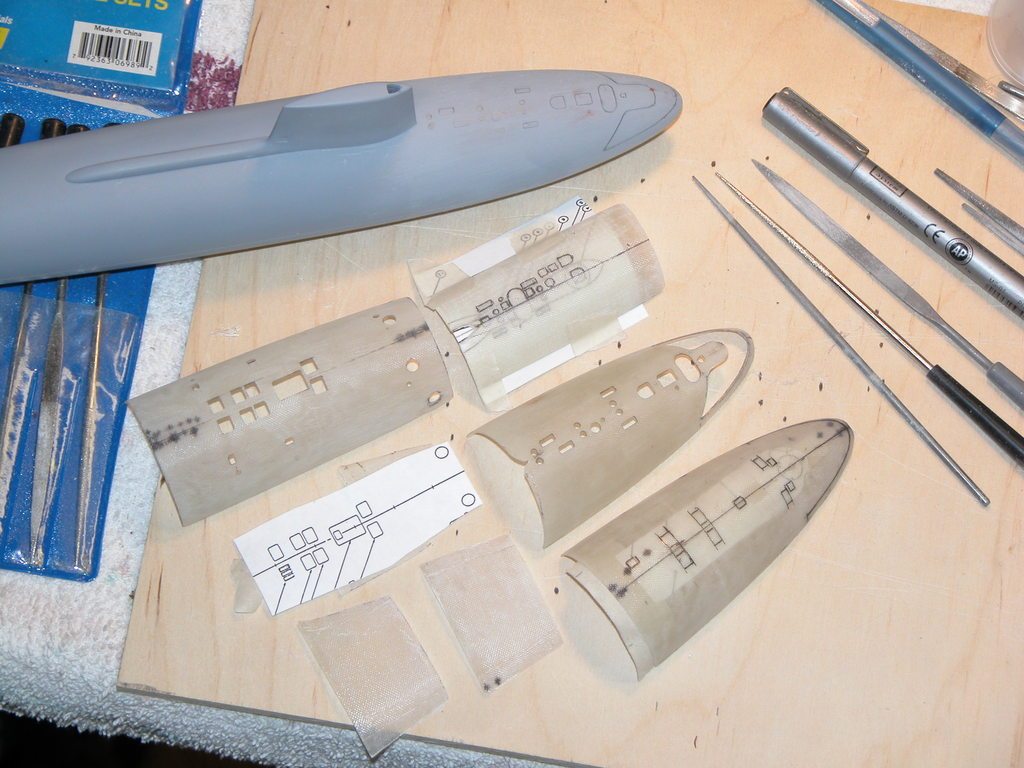
Still going through the slow process of finding the little imperfections in the hull and sanding and filling them out. However in the back of my mind I remembered that I needed to create the last set of pieces for appendages. The rear facing condenser scoops. There are four of these condensers, two on either side of the rear and lower hull. Again, like the forward facing scoops there are few really good close up picks available for me to pull detail from so I have had to get their overall design from a far from a few good but far off photos.
Once again I designed these scoops in Blender. You spend your time producing as accurate as possible one piece. then you just hit shift-D and you have a duplicate, then another and then another..
As far as I can tell there is a grill at the front. I don't know the precise details of it but have recessed the structure only a little. The back end of the scoop reduces and curves down to the center point quite rapidly. After duplicating four I then copied them to a separate file as they were originally build around the overall 667 model. Then send them to the printer. Initially I have found that it is easy to get the scale slightly out with any given print. I started by printing out at least two sets of four each in two slightly different scales in the aim that I'm going to get it right. After about the third go I got it right. I also needed to make sure that they aligned correctly with the model and also the side view drawing that I have been working off.
Of course when the print job is finished, the surface is quite rough and needs a fair amount of sanding. I combine this with spray primer. It requires several layers of primer and sanding. I also combine this with
filler especially in areas where the layering is quite noticeable. Gradually I worked my way down to finer and finer paper. It was a little tricky to spray and work around the grill.
Gradually after lots of layers we get down to 800, then 1200 wet and dry. Then a few coats of primer.
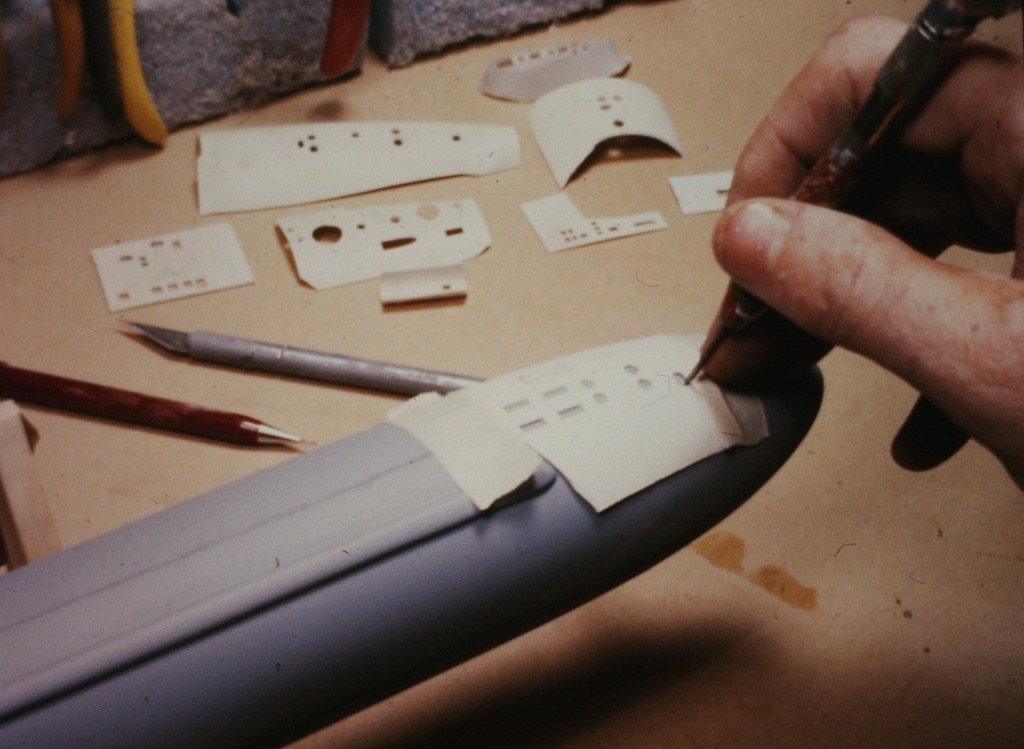
Like the forward facing scoops, I have decided to fix a small round brass piece on the underside of the condensers coops. This is so that you can have the scoop fixed really securely onto the hull. The round brass section simply gives more surface area to affix and helps the parts stay fixed on the model. I took the brass pieces off the masters from the forward facing scoops. This allows consistency across the parts.
Like the forward scoops, I have used styrene markers to position the scoops on the hull. So I took some 3mm styrene and cut out the profile of the scoop and then cut three more. Then I drilled out the holes that corresponded with the brass pieces that attach to the scoops. These styrene profiles will then be glued to the hull in the relevant locations. This will make it easy for the assembler to get the right spot on the hull.
More later,
David H
Comment
-
David,
Consider outsourcing the printing. Shapeways could have printed those for something around $10 or $15 with shipping, I bet. That would be in sintered nylon at high resolution. I use my FFM printers extensively, but for detail work, I farm it out.
I just picked up a small DLP resin printer that can print in exceptionally high resolution. Hopefully that will mitigate my need to farm out those projects..
BobComment
-
When you farm it out, you transition from Model-Builder to Customer-assembler. I have no argument with the speed, economy, and accuracy of the robot over the man -- the robots win on all points. I request that the man stop referring to himself as a model-builder when he steps aside and lets the robot do his work.
Today's Machinist is nothing more than a keyboard puncher, chip-sweeper, and bit-changer. Soon, all you have to know to be a 'model-builder' is how to send a file to Shapeways and wait for the overnight delivery by drone. You then assume the status of 'collector' of stuff.
Do the public schools still teach 'shop'?
R.U.R.; Skynet; Collosus-Guardian; the Krell; NOVAK; Machines Don't Care ���... the writing's on the wall boys and girls.
DavidLast edited by He Who Shall Not Be Named; 09-27-2019, 08:05 AM.Who is John Galt?Comment
-
David and I disagree on this point. There is skill in using a computer to create something. It is using the mind rather than hands (open your mind Quaid), but still a skill. Why not use technologies? It is just another tool, like a Dremel. You are still a model builder.If you can cut, drill, saw, hit things and swear a lot, you're well on the way to building a working model sub.Comment
-
Do they still teach black-history month every month of the school year? How many paragraphs does George Washington get in the History Books, compared to Lenin?
Society reaps what it sows. We're purposely 'educating' miss-informed, self-involved, un-coordinated, fat, useless citizens.
I've lived too long.
DavidWho is John Galt?Comment
-
In a feeble attempt to bridge the divide between the two schools of thought...
What if one were to learn & practice the craft aspects of this hobby and the skills to utilize modern robotic whizz-bangery. In concert. I mean... Virginia Class submarines don't even use periscopes any more, and their modern FCC can generate a solution in a fraction of the time it took back in the 80's. But to my knowledge, they still carry stopwatches and check the math because its good practice.
To veer off into oblivion - my dad has a Piper PA-12 Cub that he's owned since he was in his early 20's growing up in Alaska. It is as stick & rudder of an airplane as one can make it. We're talking OLD school, here. However, the FAA has mandated that by 2020, all aircraft will be required to have ADS-B OUT (essentially a new form of GPS-based transponder) equipment to fly in Class A, B and C airspace, plus Class E airspace above 10,000 feet but not below 2,500 feet. You�ll also need it within the 30nm �Mode C Veil� around Class B airports. For the purposes of this argument - that's basically everywhere you'd fly within the Continental United States. So his little fabric covered, seat of your pants, feel the wind through the stick & peddles airplane needs to be hooked up to an iPad interface that displays a moving map, artificial horizon, and gives real-time traffic conditions like you'd find in the cockpit of a Boeing 737 screaming along at 30,000' doing 500mph.
I know about breaking the view out the window down into sectors and doing regular scans for traffic, searching for a tiny dot that is another airplane and then doing the mental gymnastics & communication necessary to make sure you both stay well clear. I've also had a few instances where that's all had to happen right quick and in a big god**** hurry. It can be sobering. But with the ADS-B software and the iPad, I can augment my visual scan with a graphical readout that says THIS TRAFFIC IS EXACTLY HERE. AT THIS ALTITUDE. THIS DISTANCE. THIS SPEED. THIS TYPE. WATCH OUT, BUSTER.
Can you go the route of the lazy slob who only listens to the computer? Of course. And may god help you if you do. But you can also retain the fundamental skills that have made good aviators since the days of the Wright Brothers while embracing some modern technologies that allow you to "do what you do" even better than you could previously.
Dead men tell no tales...Comment
-
Growing up we owned a Piper Cub and a Cherokee. I still recall the call sign for the Cherokee, but not the Cub. My dad had a flight school in Santa Monica he ran on the weekends, Rocketdyne was his primary job.
Speaking of which, NASA and defense contractors are making components for engines using metal 3D printers. I guess if they can use it and still be building a space program, I guess we can too!
I hope no-one takes my disagreement with David as antagonistic or confrontational. I love David (not enough to take long showers with him) and if anything, I try to get a rise out of him. Sometimes it works, sometimes it doesn't. David will try to get me to get into the gutter on things to see if I will take his bait, sometimes I do and sometimes I don't.
At the end of the day. I admire the grumpy, lacking grace, stubborn, skinnier man (who has some talent in the sub modeling industry).
If you can cut, drill, saw, hit things and swear a lot, you're well on the way to building a working model sub.Comment
-
Hi guys,
Interesting reading the dialogue over the last week or two. As most of you know I am a high school teacher. I am what is known as a "TAS teacher" which is industrial arts. Yes it is alive , well at least here in New South Wales. However most of the projects kids do are simple wooden items like pencil boxes and stools. Every so often I take a Submarine to school to show the kiddies, especially the year 7's. First question they ask is "Where did you get that / How much was that?" They are gobsmacked when I tell them that I built it myself. I tell them that this is what you can make if you work for a year and don't do mine craft and fortnight.
Model making is something that is no even in the public consciousness. This is starting come back a little bit due to 3D printing and its direct application to model making however, we are virtually ignored by society and I could go on about our societies definition of "creativity," but I've done that before so I'll get on with my weekly installment.
Just got back from being up on the Gold Coast in Queensland for my sons soccer tournament, in which they came second last. Then five days of theme parks and big roller coasters. Still, the view from the apartment aint bad..
Previously I was talking about the rearward facing Condenser outlets. So after making the four styrene profiles that mark out the location of the outlet, I marked out their location on the rear hull. These outlets are in line with each other, like the forward scoops and fit one behind the other. The holes in the center are for the mounts that I mentioned earlier. I glued these down with superglue and then carefully filled around the rims with filler and lightly sanded back. This gradual radius should make it easier to pull them from the moulds once made.
After many more rounds of filler and sanding, filler and sanding, I was happy with the surface finish of the outlets. I then took the small little brass round fixtures that I had used on the masters of the forward facing scoops, found the center point of the back surface of the outlets and then drilled a small hole to fit the small spike on the underside of the brass parts that fit into the pieces. A spot of super glue has fixed these in place.
After this I then started looking at the arrangement of the mould. I decided to fix the outlets so that the part line would run down the axis of the mould. This meant that i would need to gouge a section into the
face of the mould board and slot the outlet pieces so that the part line runs down the axis of the unit. I have also angled the pieces and placed the front of the outlet at the top so that the grill detail is at the bottom. I mark out with a pen first, the location of the parts and then sprue, the funnel at the top of the sprue, followed by the vent lines and then in between these spots I drill the small registration holes. I have also placed a line across the bottom of the mould with a thin piece of balsa. This helps register the mould a bit better and means that there is lees likely hood of resin seeping downward and out of the gap between the moulds.
The Dremel is a really useful tool. Grinding out the profile with such a tool is really easy. I also had to recess that area around the brass extension piece.
The black lines show the vents and the funnel for the sprue. The registration holes are clear. Once the outlet pieces have been seated where they need to be the slowest part of the mould making happens. I go around the outside of the outlets with playdoh and a small flat blade and push the playdoh (purple) into the gaps around the outside of the parts. This ensures a flush surface up to the outlets. Then I take some paper clips and cut them to size before gluing them down to the board to create the air vent channels. I could use a sharp round tool like HWSNBN uses but I like having this all arranged before hand. There will be several paperclips used as I move the wire up to the top of the mould near the funnels, anticipating where air bubble may form and where an air vent would be ideal.
Once this is done I then make small balsa pieces that will act as the sprues that lead from the top of the mould down into the part. This will be topped off with playdoh pushed into the shape of a funnel. This will act as the reservoir that will hold any extra resin as the material works its way into the mould to compensate for bubble collapse. then box up the whole business and then pour the Silicon. I have found a new supplier from Melbourne, so to test I will do half of this mould with my trusty old Silastic 3481 base and then with the other half will use the new ' Mould 500 General purpose silicon'
Second half of the mould next week.
Until then.
David H
Comment
-
Maybe helpfulRegards GantuComment
-
Hello Gantu,
Thankyou for the images. They are epic. It�s a pity I couldn�t have seen them even a month ago as I am now half way through producing the hull moulds. Do you have any more image? They are great! Thankyou..
Dave hComment
-
Hello Dave,
i do found them in the www by research some ohter stuff i will try .
GantuRegards GantuComment


Comment