Walter type XVIIb scale 1:30

Collapse
X
 
  • Time
  • Show
Clear All
new posts
  • MFR1964
    Detail Nut of the First Order
    • Sep 2010
    • 1290

    Walter type XVIIb scale 1:30

    Since i've allready started with building this boat from scratch i'll fill you guys in at which point i'm now.
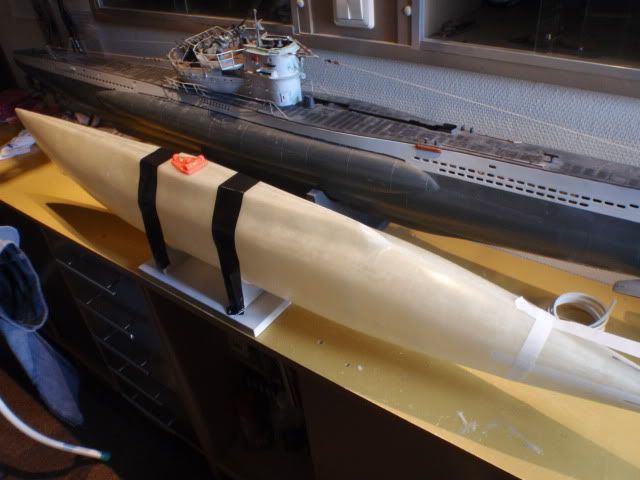
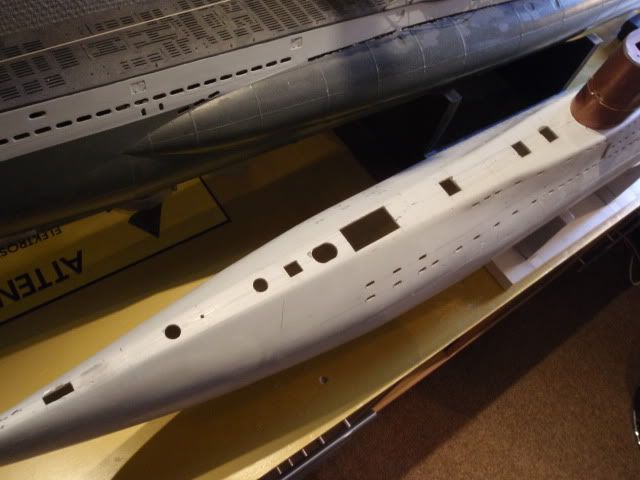
    Last year i've made the Walter V80 to gain some experience for building single drive subs, the aim was to use the V80 for building it's successor the Walter Type XVIIb.
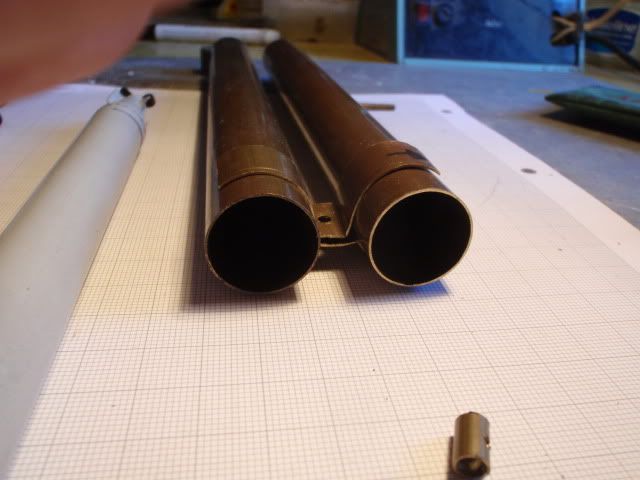
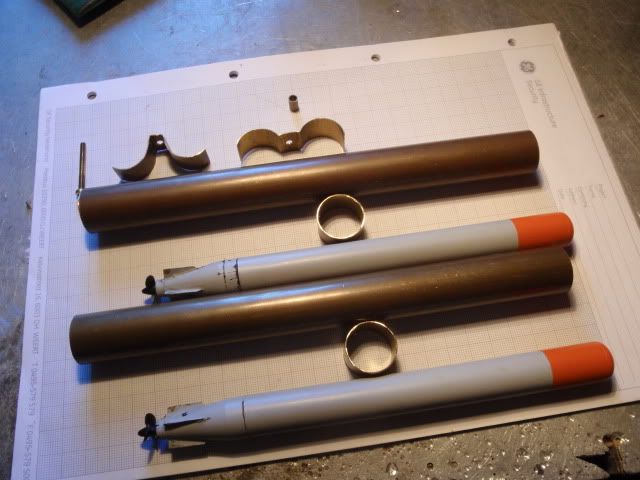
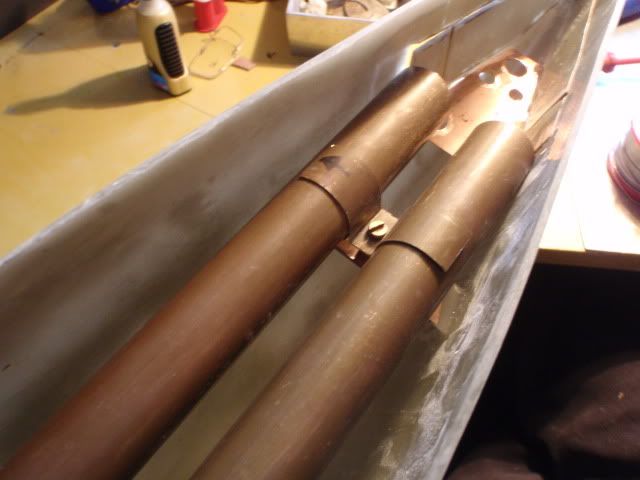
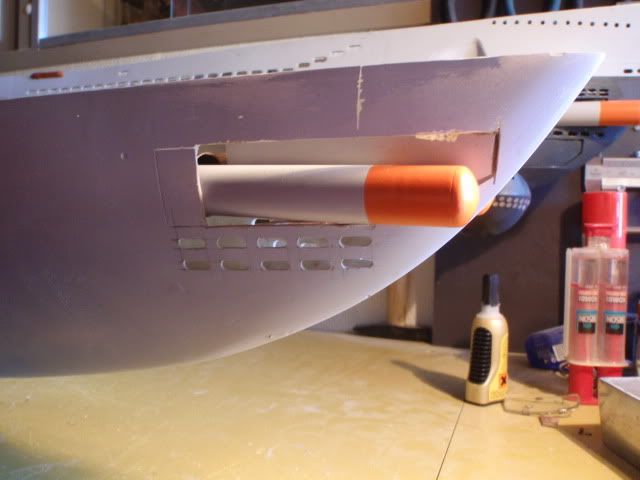
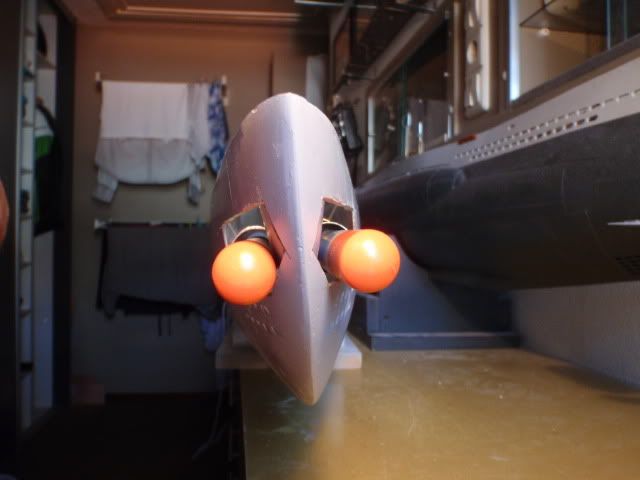
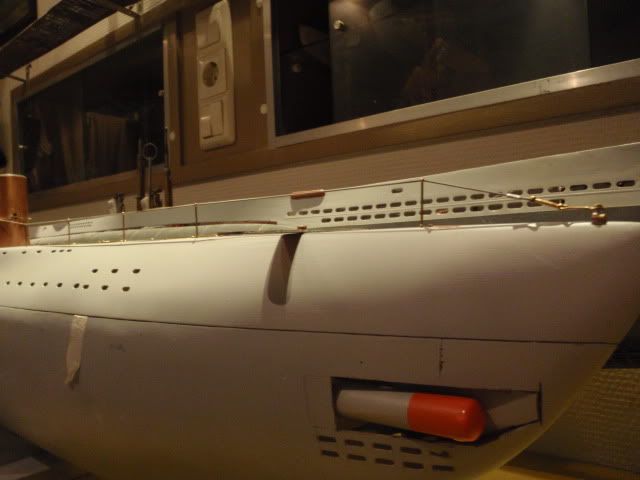
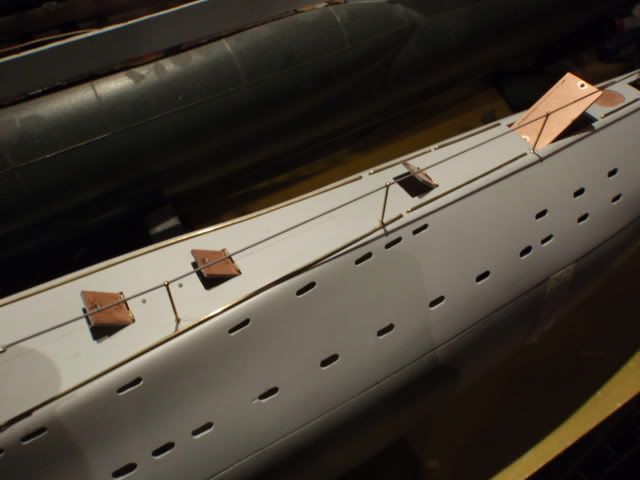
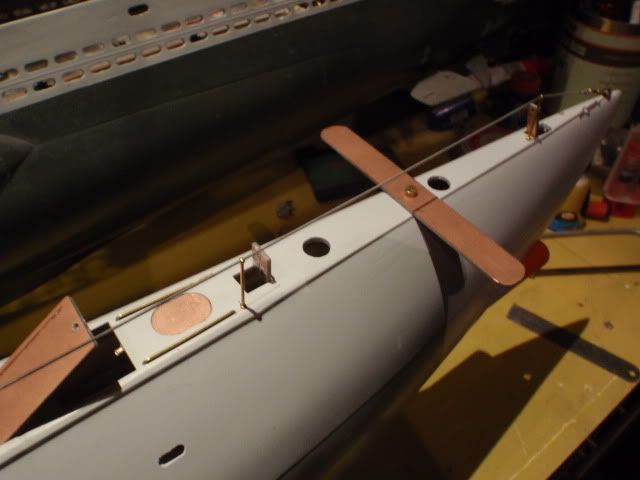
    Size about 1,5 mtrs, weight around 11 kg, automatic compressorsystem inside, working torpedotubes/hatches, working scope and snorkelmast as well as the moving antenna's, buildingtime about 2 years.
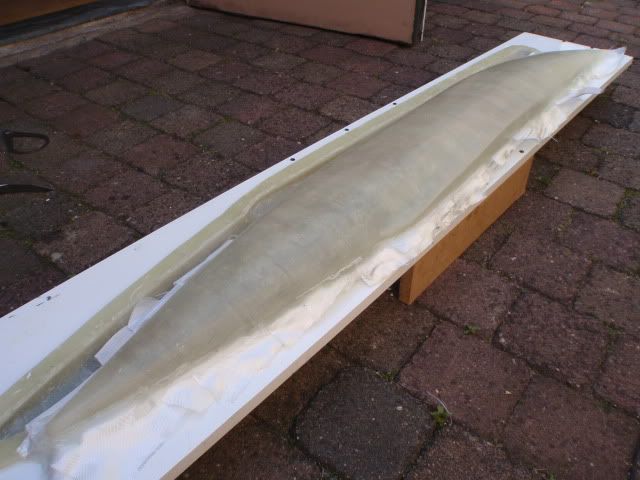
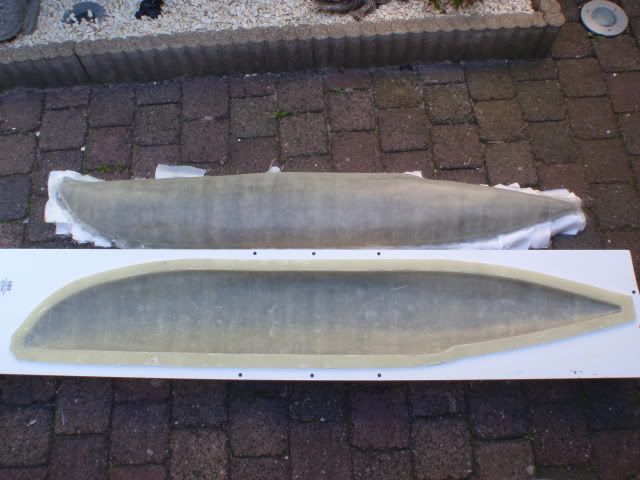
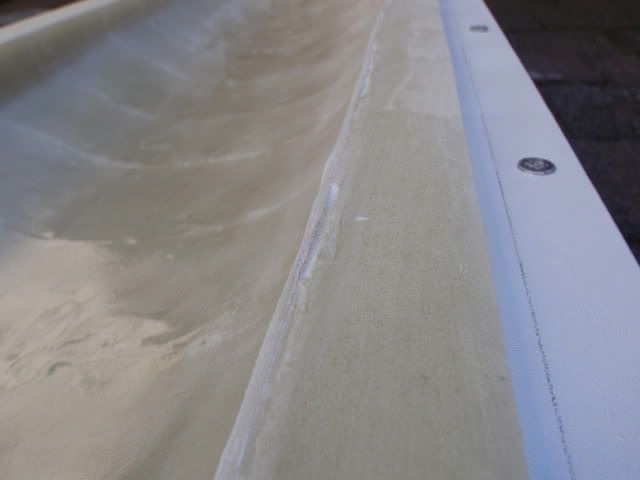
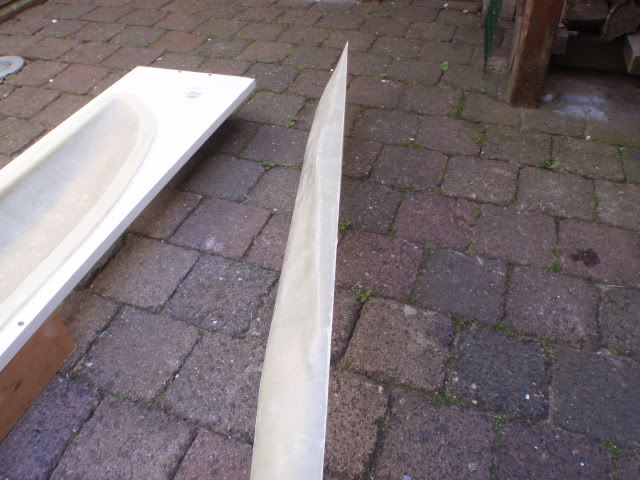
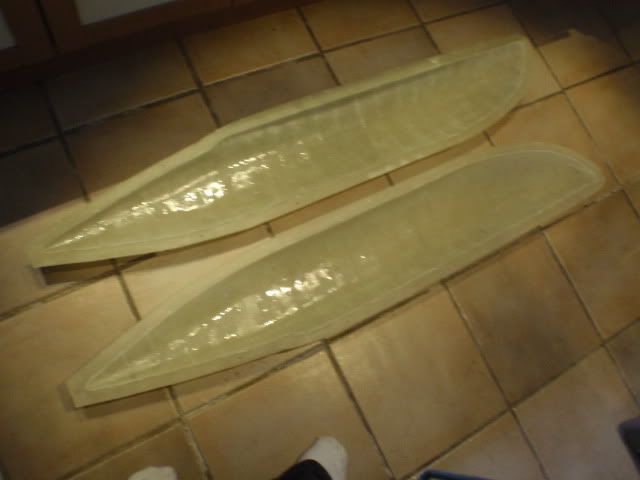
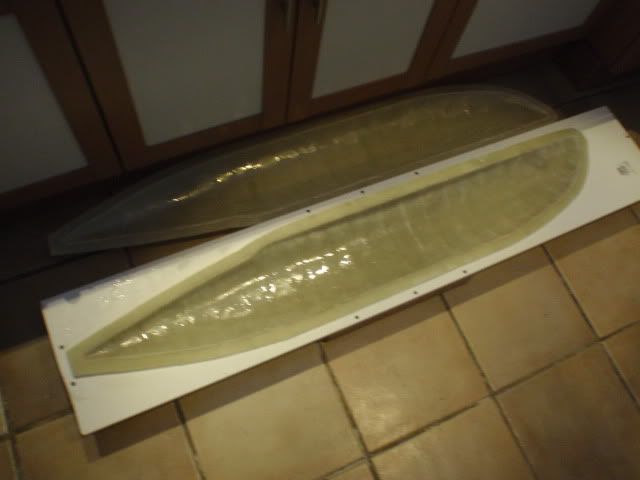
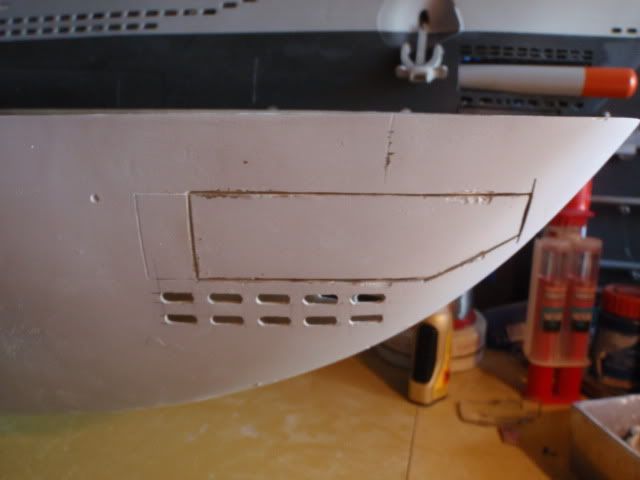
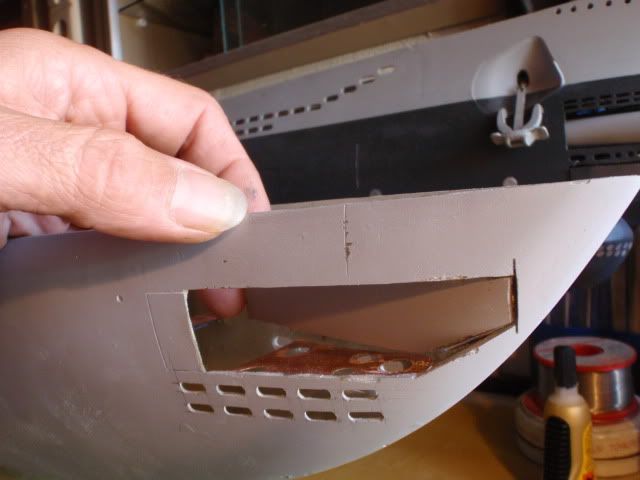
    It would be to much work to get all started from the beginning so i do it the easy way by showing some vids, they show the allready finished mould and the work on the conningtower.


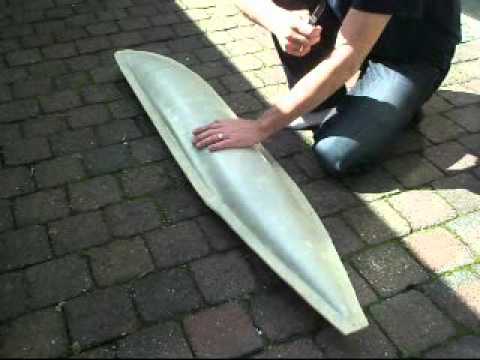
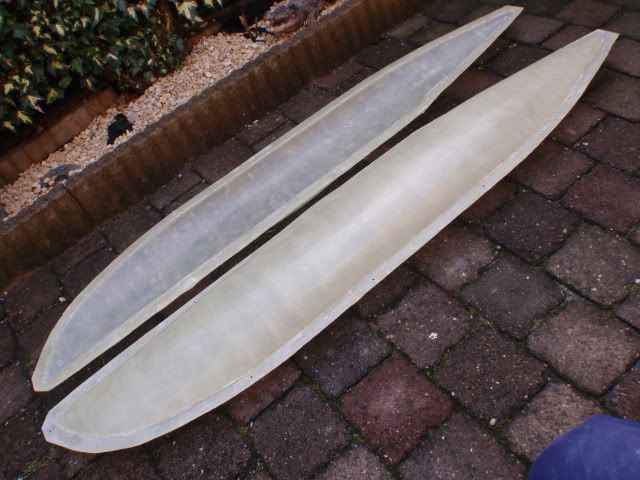
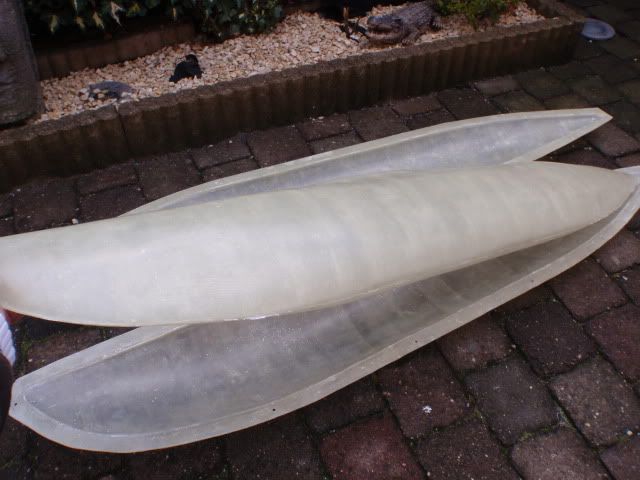
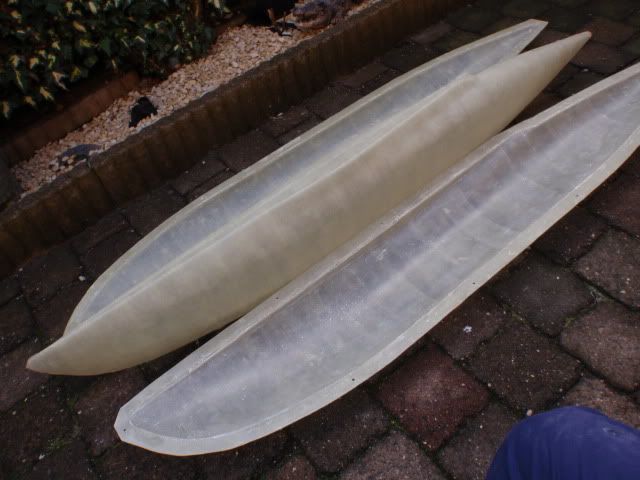
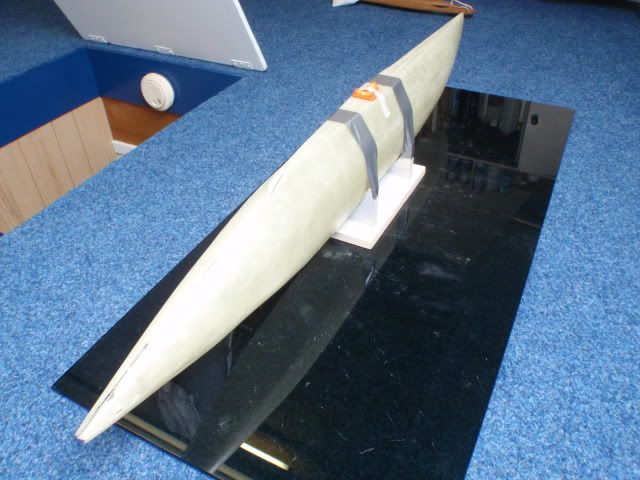
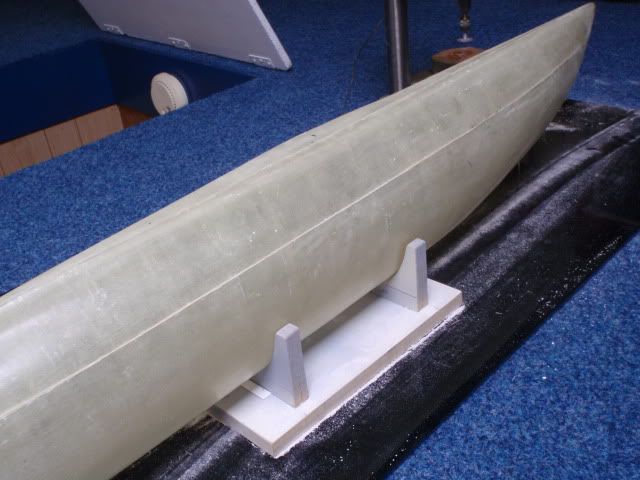
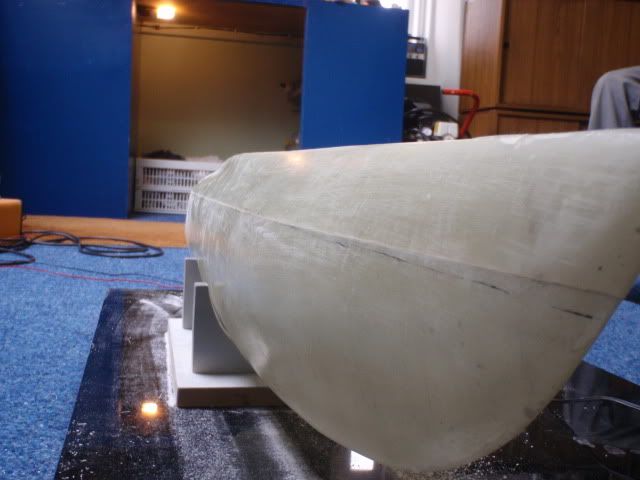
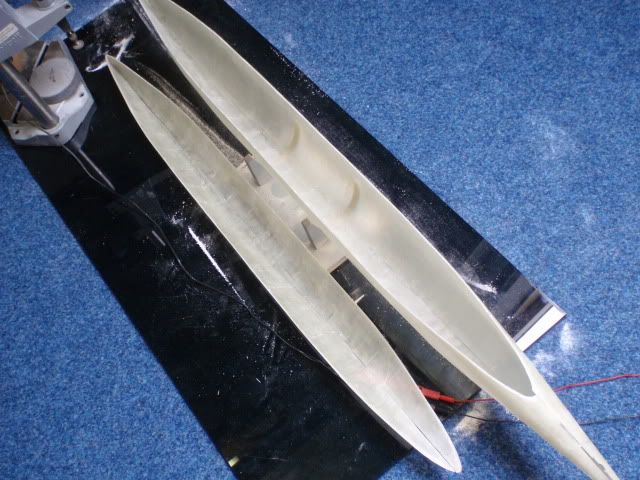
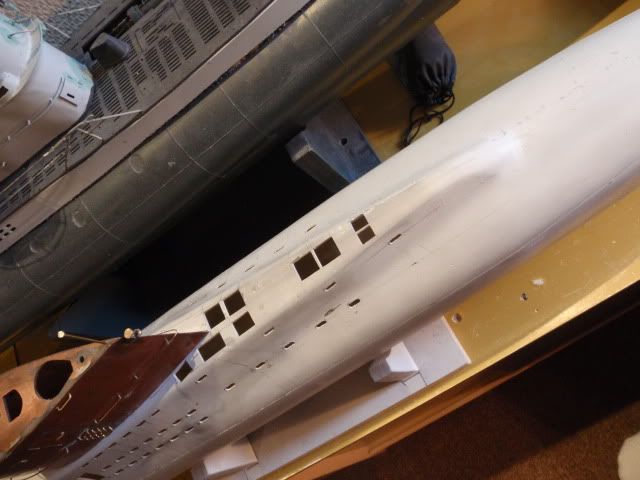
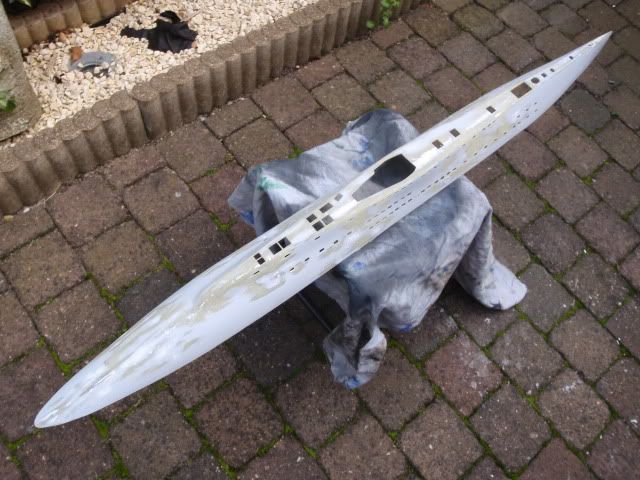
    This is the vid about the allready finished mould, i'm now in the process to build me a hull, hopefully this or next month she will be born.


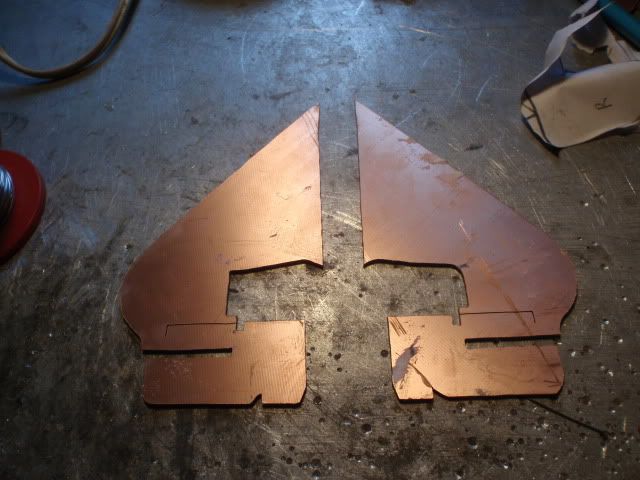
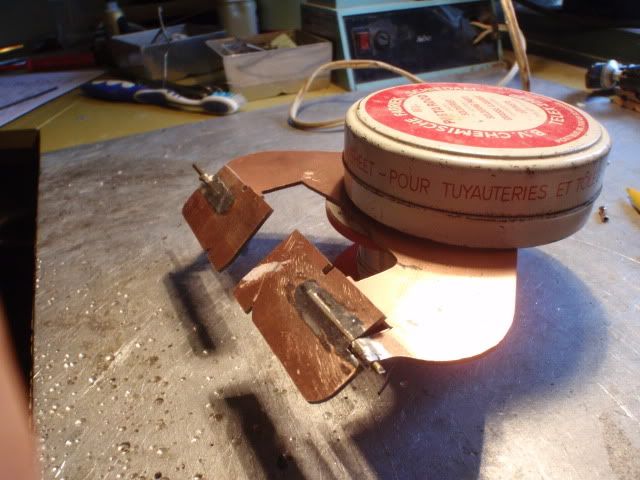
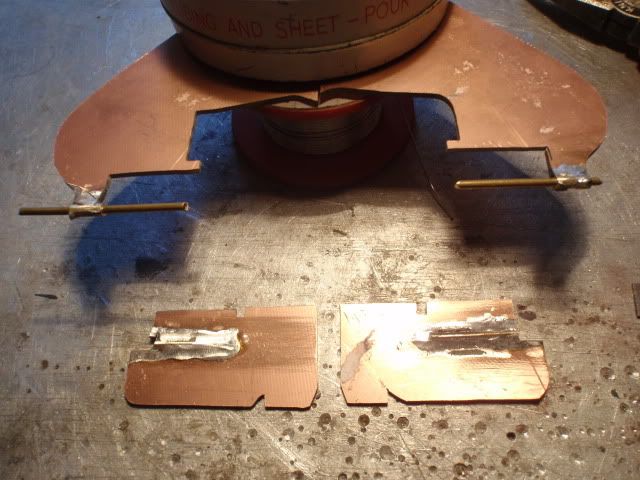
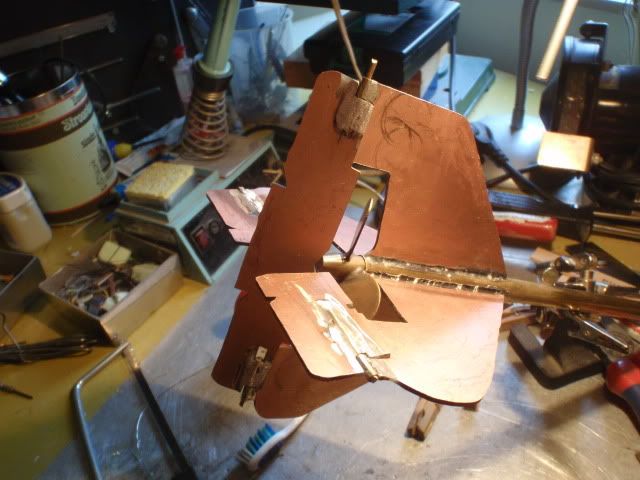
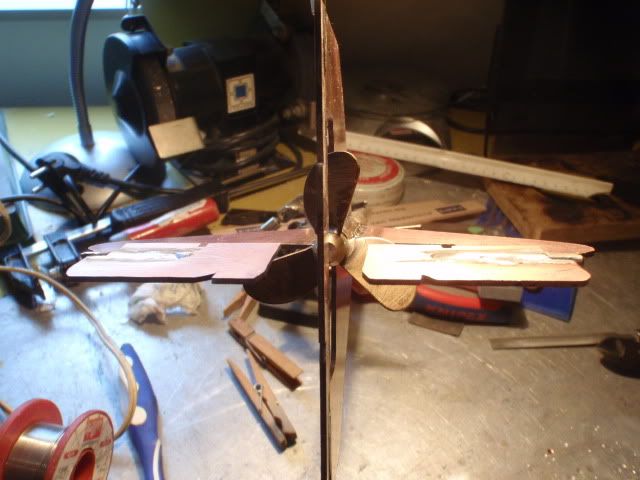
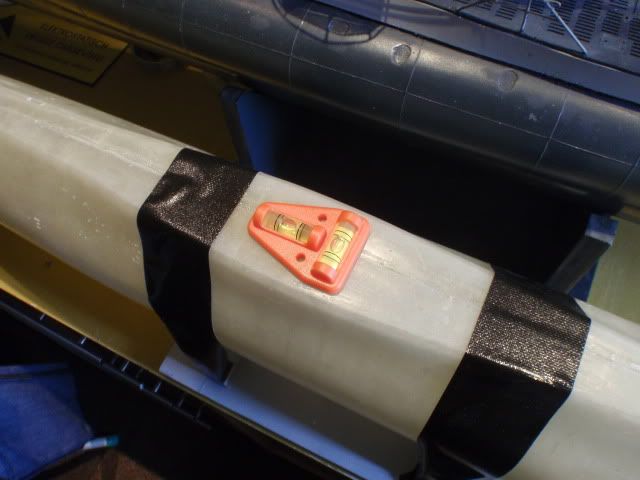
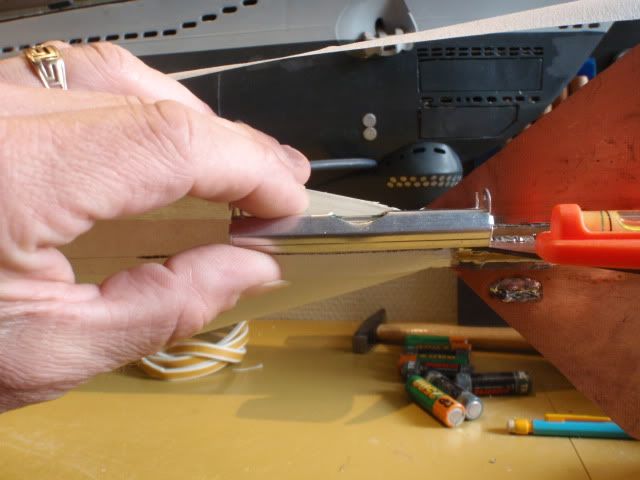
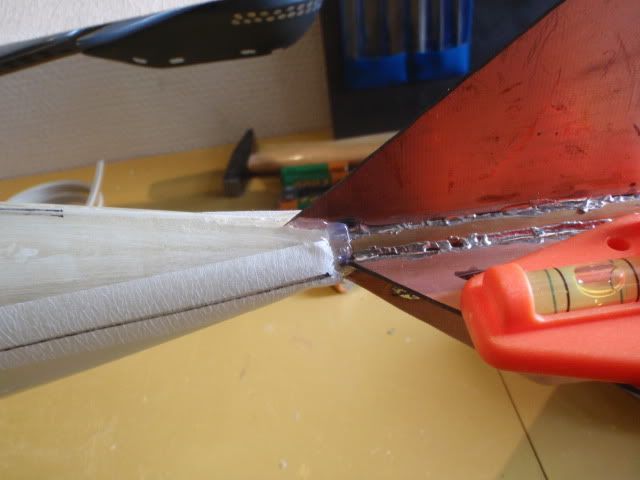
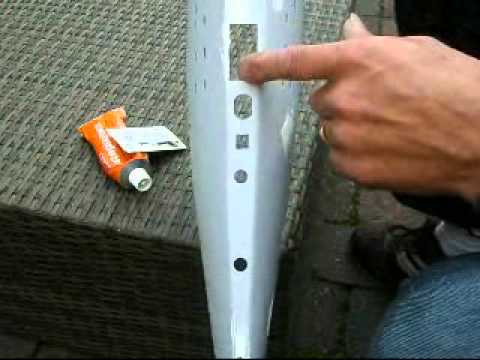
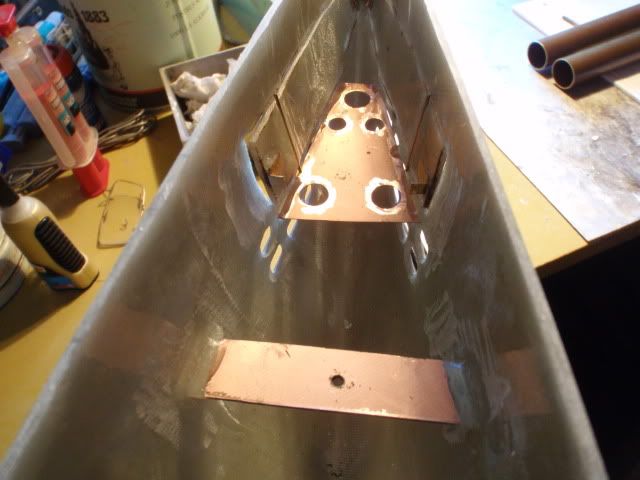
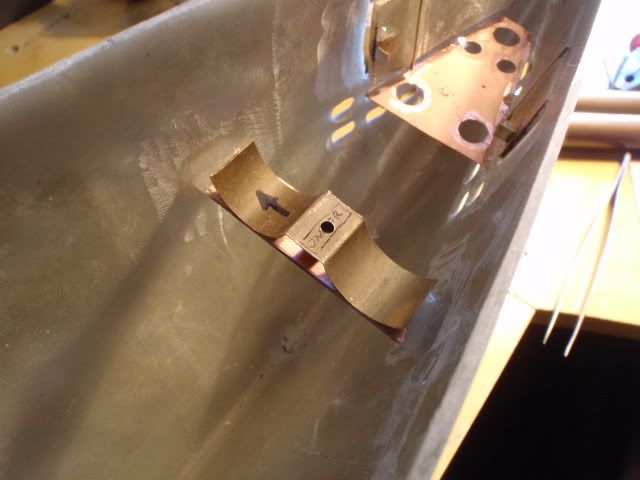
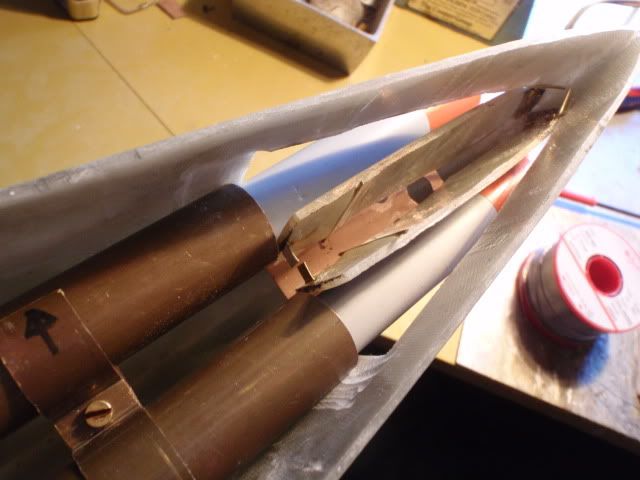
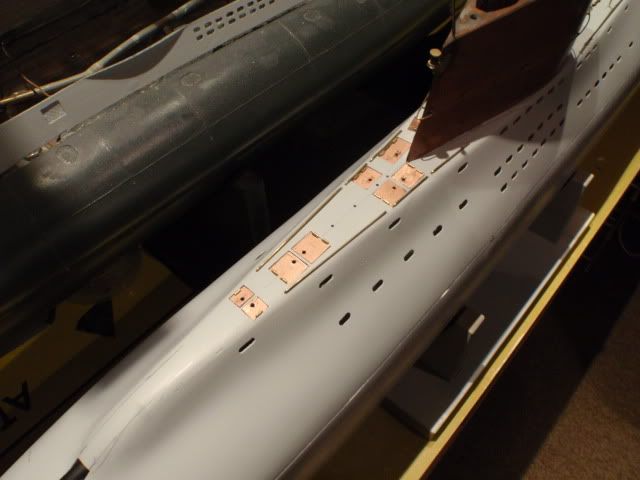
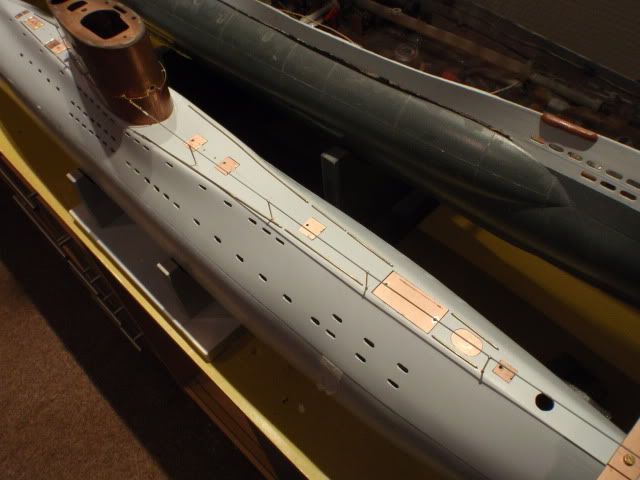
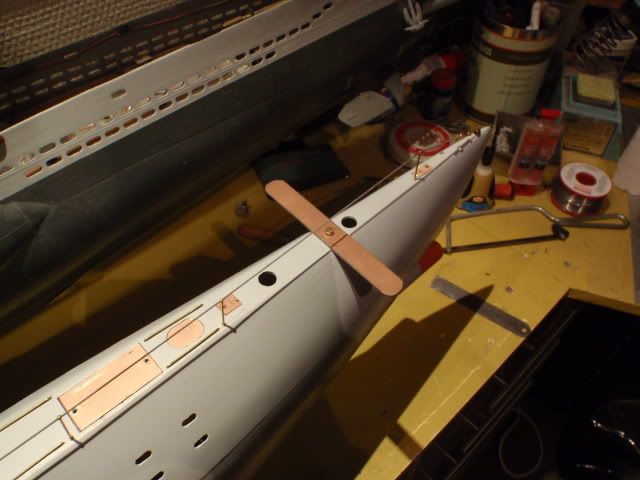
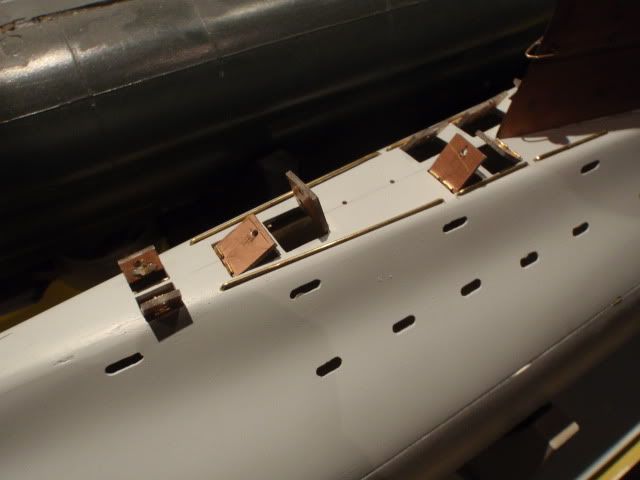
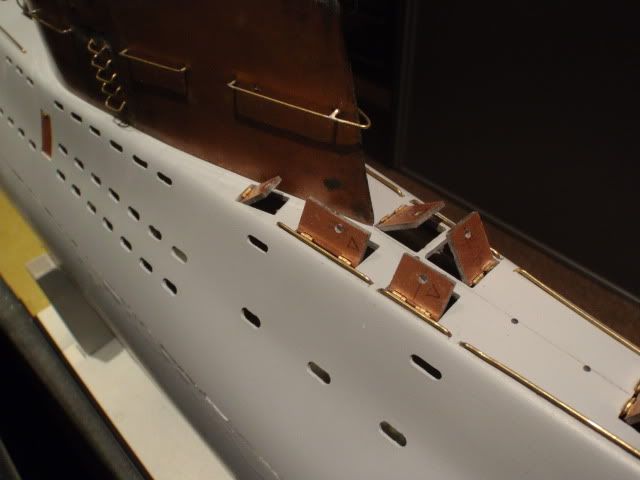
    At the end of this vid the progress on building the conningtower from thin copper sheet.

    Greetings Manfred.
    I went underground
  • SSBN659
    Commander
    • Feb 2009
    • 405

    #2
    Manfred,

    Just watched both your videos and took away several good tips for me to use. Your work is an inspiration. After you pull the glass and epoxy from the two halves of your mold, how do you join the two halves of your hull? The reason I ask is I'm working on a plug for an RC model right now and trying to decide whether to go with: 1. lost foam method; 2. silicone rubber mold; or 3. your fiberglass mold for my hull. I'm tempted to try your fiberglass mold.

    SSBN659

    Comment

    • oztruck
      Commander
      • May 2010
      • 317

      #3
      Welcome Manfred, looking forward to another fine build from you. Keep the photos coming.

      oztruck (Chris)

      Comment

      • MFR1964
        Detail Nut of the First Order
        • Sep 2010
        • 1290

        #4
        SSBN659,

        When i've got the two halves they will be glued together with 2K glue, just to keep them at their place, since this will be a dry hull i'll cut her at the waterline giving me the oppertunity to reinforce the seem from the inside with glasfibre cloth and epoxy.

        Lost foam method, i would use for only building one model, works fine.

        Making a rubber mold works fine on small models ( max 1 mtr), when you go bigger i would make a epoxy mold like i did for the type XVIIb.


        Chris,

        Thanks, there is still a lot of work to do, i guess it will take me two years to get her finished, i'm not in a hurry and want to have some extra gizmo's on this boat.

        Greetings Manfred.
        I went underground

        Comment

        • SSBN659
          Commander
          • Feb 2009
          • 405

          #5
          Thanks Manfred.

          SSBN659

          Comment

          • MFR1964
            Detail Nut of the First Order
            • Sep 2010
            • 1290

            #6
            It took me some weeks but i've got me a hull, pictures.


            Released one half from the mold, did the same with the other half.


            I only have to cut off the rim and flatsand the edges to make a nice fit to the mold.


            Cutted the rim with the dremel and flatsanded it with the aid of the mold.


            If done properly you get this as a result, a nice halve, ready to be joined with the other side, first do the other side offcourse.


            Once both halves were finished i replaced them back inside the molds for glueing them together.


            This time i wanted to try glueing with epoxy, waxed the rims and the inside of the molds, you only have to wait half a hour untill the epoxy gets sticky, then you can apply it to the halves, close up the mold, it will be centered by the bolts and nuts.


            Once the mold is locked, i left her for a few days for curing, just to be certain both halves will stick properly.
            Here i allready popped one side, it's easy stuff compared to releasing the plug i did before.


            Getting out the hull from the mold was easy, since she was waxed at the inside and on the rims.


            It took some months to get at this stage, but there she is, the hull, finally i can start with building the rudderpart, want to do that first before cutting her at the waterline.
            Since this will become a dry hull with lexan hatches the thickness is 4 mm below the waterline and 3 mm above the waterline, she has to be sturdy.

            Greetings Manfred.
            I went underground

            Comment

            • MFR1964
              Detail Nut of the First Order
              • Sep 2010
              • 1290

              #7
              Another update about the type XVIIb,


              The several stages of building the rudderpart, i've used circuitboard for building this, it's easy stuff to handle, and more important you can solder on it


              Used a laser to determen the middle of the hull and made it level around the two axes.


              By using hotglue and tape i could adjust the rearpart, so i could cut the slits out, where eventually the rearpart will fit in.
              She is also cutted open at the waterline, did that part together with a fellow subbuilder, it took more that 3 hours to fix that, next time some pics about that action.


              Greetings Manfred.
              I went underground

              Comment

              • MFR1964
                Detail Nut of the First Order
                • Sep 2010
                • 1290

                #8


                At first we placed her on a thick glass plate and adjusted her level.


                Measured where the waterline was and started cutting.


                We measured at a regular base if the disk was still on the same height.


                The seem is almost invisible, which means i have to use less filler.


                Opened up the hull to show the room inside, still have high hopes for adding the torpedosystem.


                With the use of some molds i cutted out the floodholes on the upperdeck.


                The front part of the deck with all the openings for the hatches, this week will be dedicated for cutting openings at the rear end.
                When finished i can start making me some hatches, from which most will be functional by using tiny hinges.

                Greetings Manfred.
                I went underground

                Comment

                • trout
                  Admiral
                  • Jul 2011
                  • 3545

                  #9
                  Nice work! Look forward to seeing this build!
                  Peace,
                  Tom
                  If you can cut, drill, saw, hit things and swear a lot, you're well on the way to building a working model sub.

                  Comment

                  • oztruck
                    Commander
                    • May 2010
                    • 317

                    #10
                    As always Manfred, an inspiration and good clean work. Keep the photos coming.

                    Cheers Chris

                    Comment

                    • MFR1964
                      Detail Nut of the First Order
                      • Sep 2010
                      • 1290

                      #11
                      Thanks Guys,

                      I'll inform you about the latest progress,


                      Made all openings on the rearpart of the deck.


                      Sanded down the upperdeck in preparation for this weekend, the weatherforcast is good, i hope to get her finished this weekend.
                      Once finished i can start with making the hatches and other stuff.

                      Greetings Manfred.
                      I went underground

                      Comment

                      • MFR1964
                        Detail Nut of the First Order
                        • Sep 2010
                        • 1290

                        #12
                        It was busy this weekend, but she ready to receive the hatches.


                        Greetings Manfred.
                        I went underground

                        Comment

                        • Slats
                          Vice Admiral
                          • Aug 2008
                          • 1776

                          #13
                          Manfred,
                          beautiful work.
                          J
                          John Slater

                          Sydney Australia

                          You would not steal a wallet so don't steal people's livelihood.
                          Think of that before your buy "cheap" pirated goods or download others work protected by copyright. Theft is theft.


                          sigpic

                          Comment

                          • MFR1964
                            Detail Nut of the First Order
                            • Sep 2010
                            • 1290

                            #14
                            Thanks John,

                            It is still a long way from completed but i struggle along, last week i did some work on the hatches for the upperdeck, each time you have to take care that it will fit the opening exactly, it's secure work and to break the week i did some work on the torpedo hatches and tubes.


                            A dryfitt with the clamps, made from the same tube as the torpedo tubes.


                            These are all main components to build me the launchsystem, i decided to use the electric torps from the type VII, so i can use them for both subs.
                            The rings you see are the baseplates which will be mounted on the front bulkhead, i can slide in the tubes and lock them with a screw, at the front i'll lock them with the shaped brackets.


                            To locate the right position for the torpedo doors i had to make the floodholes first, measured up the doors and cutted them out with the dremel.


                            Added the hinges and now they can be opened, next step was to build some brackets inside the boat.


                            The front one is used to cover up the opening once you open the doors, the rear one is used for placing the clamp which will hold both tubes at their places.


                            Added the lower clamp.


                            Placed both tubes and secured them with the upper clamp, still have to make some vent holes inside the tubes.


                            A dryfitt to see if the torps will fit through the opening of the torpedo doors.


                            Both doors can be opened at the same time, so i can choose between a snapshot or both at the same time.
                            Now i know the lenght of the tubes, i can determen the place of the front bulkhead, first i have to make me a jigg that represents the bulkhead and fit it in, once the fit is right i can make me some real copper one's.


                            Greetings Manfred.
                            I went underground

                            Comment

                            • MFR1964
                              Detail Nut of the First Order
                              • Sep 2010
                              • 1290

                              #15
                              Made some good progress on the hatches, also made the basic form for the strange stabilisingwing and added some stanchions.


                              All hatches placed complete with hinges, still had the old drillingmold from the type VIIC and added some stanchions.


                              The strange wing is used for stabilising the boat at slow speed, once at high speed she will be turned onto the deck.


                              All hatches are functional, i intend to use the biggest one for hiding the lockingmechanism for securing the toppart.
                              I went underground

                              Comment

                              Working...