

She collected too much dust all those months, today i started cutting some foam, first i've got to finish that damned tail, to be continued.
-
I went underground -
I just caught on to this thread. Great work Manfred!IT TAKES GREAT INTELLIGENCE TO FAKE SUCH STUPIDITY!Comment
-
Thanks Mark,
It's still a lot of work, but i'm reloaded by building the zippy 212, now it's back to the cave and tackle the tailpart, it will take some time to get it fixed, hope to show some pics at the end of the week.
Manfred.I went undergroundComment
-
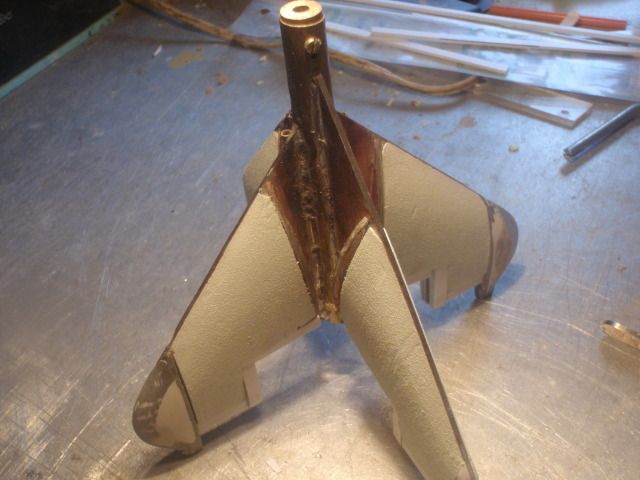
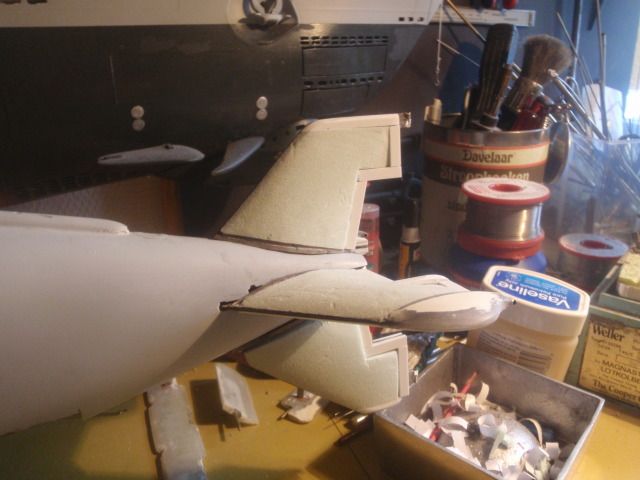
This week i've done some work on the tailpart, i allready 'invented' the foam filling to make my wing profiles, now it's time to get me foam all around and get her ready for the next stage, pictures.
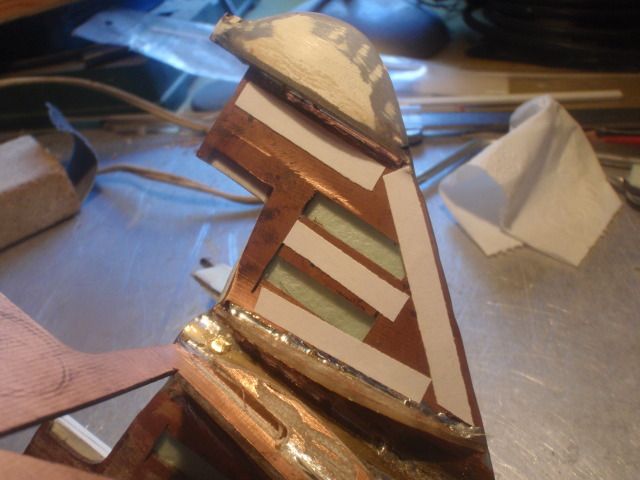
I've used some tape which is sticky at both sides, this will allow the foam to stick just enough to shape and laminated by epoxy, after that i can cut it free.
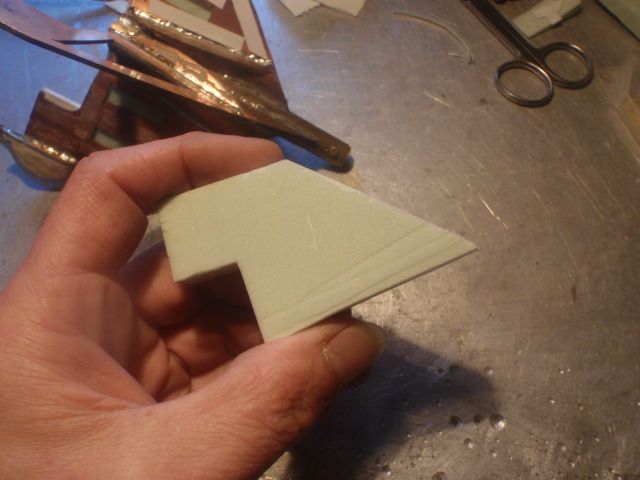
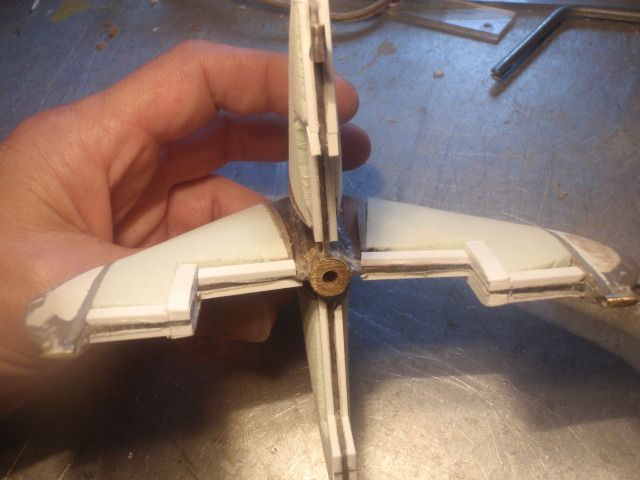
Some pre formed foam in the shape of the stabilisor.
Glued on the wing, next step is to shape the profile to follow the contours on the wing, i first cut this piece in half, and cut with a knive the almost rough contours.
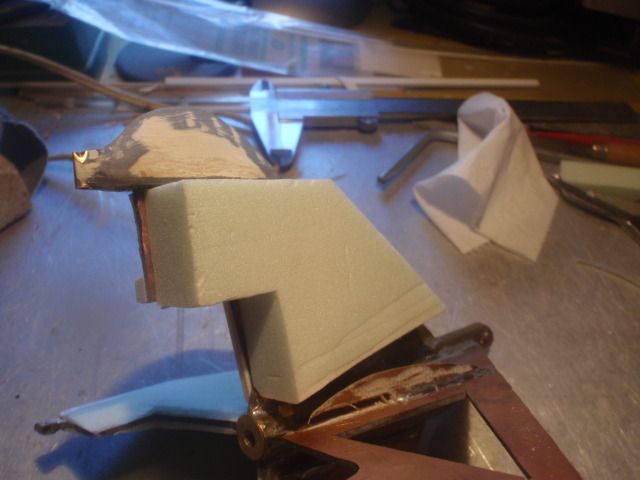
By using a sanding block grit 150 i will get me the final shape of the wing.
I have to repeat this process at each wingpart, this week i'm slowly working around the tail part.
By using some styrene strips i get a sharp edge at the back of the tail part, by using these strips i will also get me a surface to glue the profiles.
As you can see, i still have to do three parts to end the first stage.
Manfred.I went undergroundComment
-
Its going to be beautifulIT TAKES GREAT INTELLIGENCE TO FAKE SUCH STUPIDITY!Comment
-
Thanks Mark,
When finished i've got me a unique Walter boat, BETTER THAN THAT AWFULL SKIPJACK!!!!!, Phew, that's better, now back to the work i've done this week.
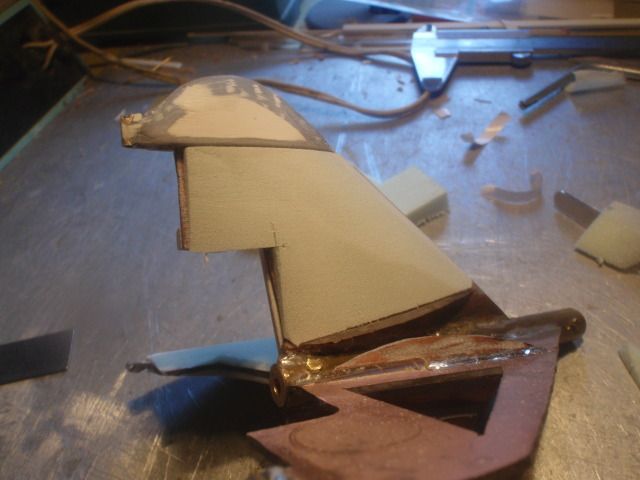
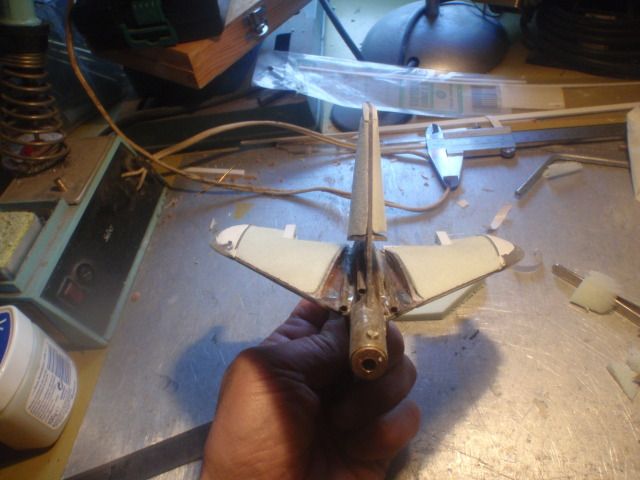
The tailpart is cladded all around with styrodure foam, placed styrene around all endparts and started messing with the wallfiller, pictures.
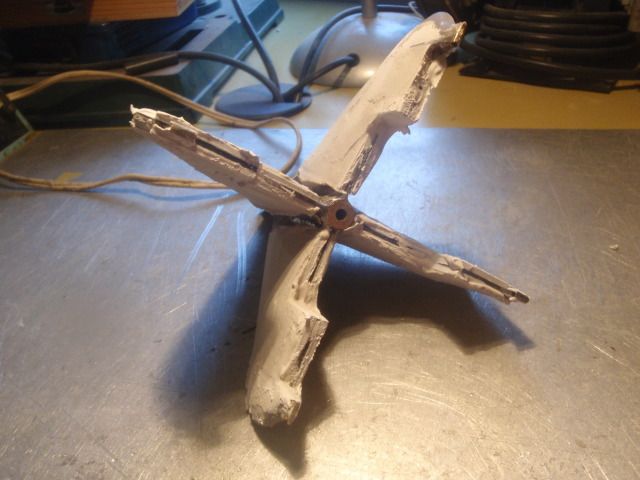
In this position it's looking more like the rearpart of a rocket, the trick with the styrodure worked well, it will give a good base to play around with the wallfiller.

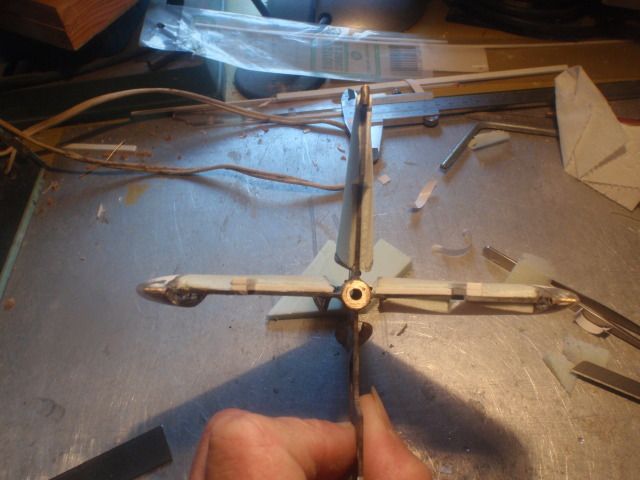
More tricky part was, adding the styrene strips at the right positions, had to vary the thickness due to the end use.

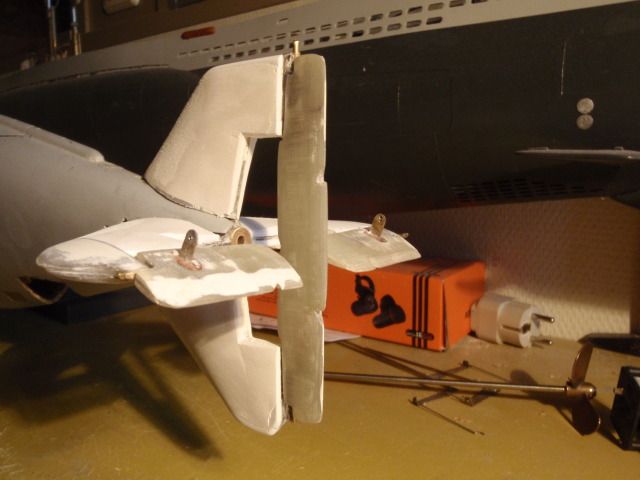
Couldn't resist to try it at the stern, this way i can see if it still will fit with the hull, and gives me a idea of the end shape.

Now it's becoming messy, added the first layer of wallfiller, now i have to sand it down to the near final shape, add another couple of layers to get me the final shape, it will take the rest of the week to get this finished.
When finished i can start with adding the epoxy skin, i more or less will follow the procedure of making a lost mold, the endresult will be some hollow epoxy skin which allows me to hide all mechanics out of sight.
Manfred.I went undergroundComment
-
I cant wait to see it all sanded down and pretty.IT TAKES GREAT INTELLIGENCE TO FAKE SUCH STUPIDITY!Comment
-
Some more news from the sanding front, the layers of wallfiller are added and sanded down.
There's nothing more to show, except the profiles are smooth and curved, most of the gaps are filled and sanded down.
Now the funpart, next week i'm going to add the epoxy skin, my guess, it will take two layers of woven cloth to get me a lightweight and strong enough skin, it will take some time, but i'm getting there.
Manfred.I went undergroundComment
-
I can think of no submarine with so complicated a stabilizer and control surface arrangement, Manfred. You are fearless! And those fairings for the primary and trim bell-cranks and pushrods ... what a mechanic's nightmare! I'm really enjoying this thread. Keep at it, buddy.
The ass-end of the 17's are the heart and soul of those boats.
DavidWho is John Galt?Comment
-
Thanks David,
I knew it would become a difficult task, allready had my share with the rear of the V80, but i want to build this part as close as possible to the original, i agree with you that the rearpart is a eye catcher on the type XVII, the fairings themselfs, which will cover all steeringrods take most of my time.
Still have to think how to produce the hollow humbs which cover the last part of the rods, one step at the time.
Manfred.I went undergroundComment
-
The hollow hubs you refer to are the part of the linkage fairings that attache directly to the control surfaces and sleeve into the standing part of the fairing attached to the stabilizer? If so, annealed sheet copper beat to shape over a hardwood form maybe? Vacuformed parts seems a viable fabrication process here too.
DavidWho is John Galt?Comment
-
I really don't know, copper cladding has crossed my mind, but the vacuforming can also be a good candidate, i know one thing for sure i have to build it into two parts, the hump itself and the part which will slide into the hump.
Manfred.I went undergroundComment
-
It's busy at the shop, each day this week i was able to lay down some layers, each part has a layer of two, giving enough strenght to the skin.
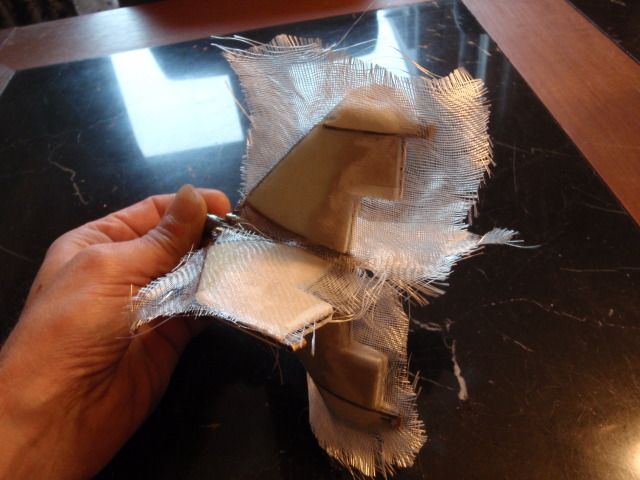
After laying down the first layers you get this, the styrodureparts are covered by the GRP skin.
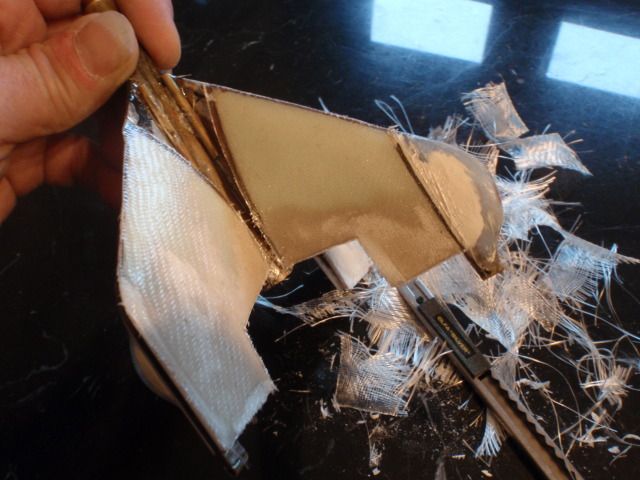
I had to do this after each layer, trimming down the edges, after this was done i could add the next layer.
Next step is, filling and sanding the skin to get it smooth, after that i'll cut open the parts which will hide the steeringrods, so, fingers crossed that it will work.
Manfred.I went undergroundComment
-
Finished up the skin on the tailpart, before cutting it open i've filled and sanded it first, the profile has more strenght with the styrodure inside, it took two layers of filler to get it right, also gave it a shot of primer, pictures.
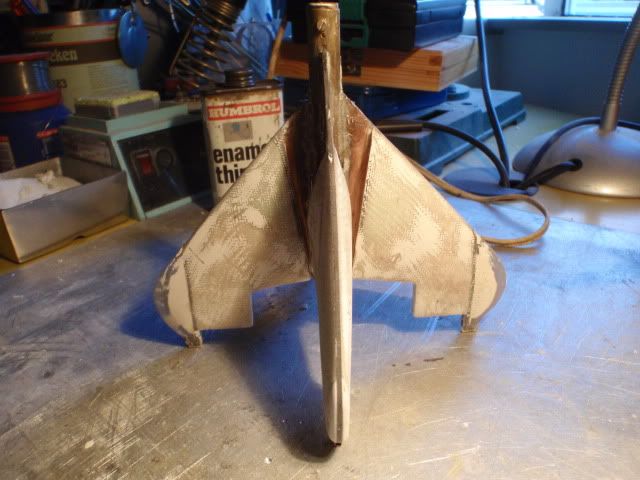
The first result after some layers of filler and sanding.
Carefully i cutted open the needed profiles and hollowed them out, i decided to leave the other parts alone, there is still foam inside, this way i won't get a airbubble problem inside the tailpart.
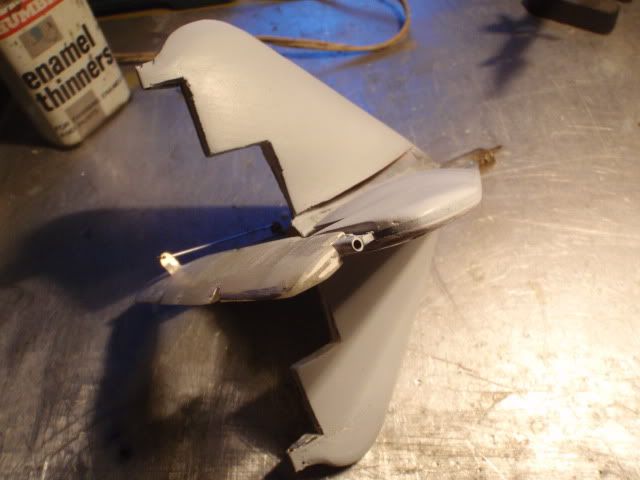
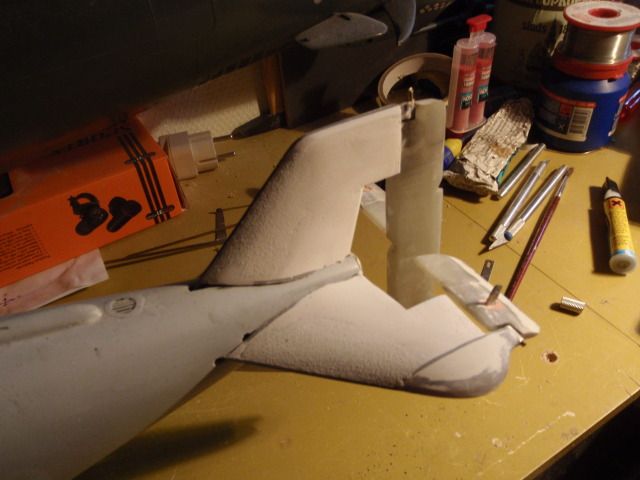
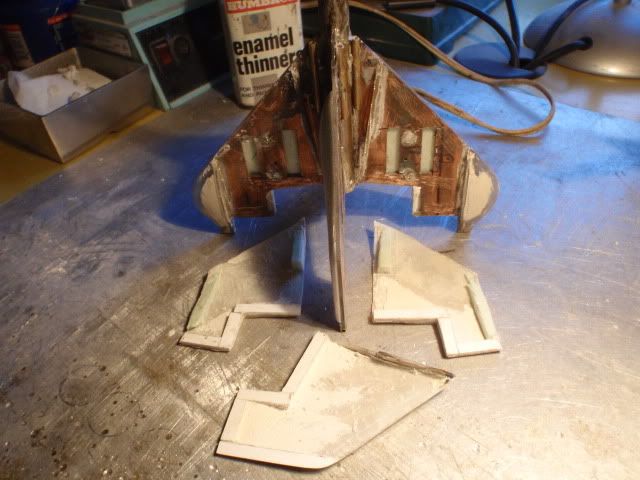
Gave it a layer of primer, just to see if there is some more work to do on the tailpart, first added the dive planes to see if there were any problems with fitting them.
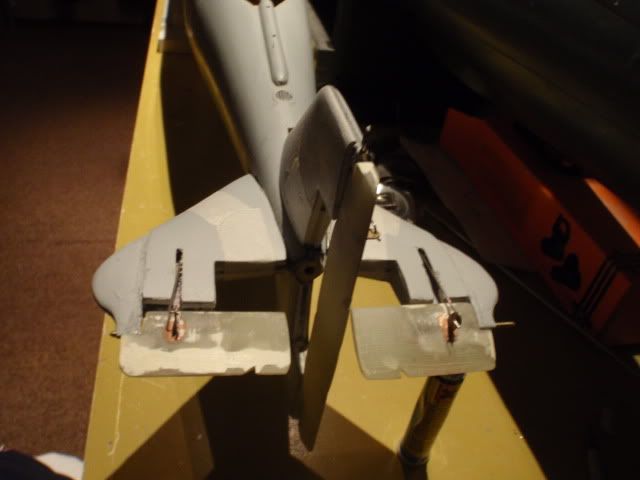
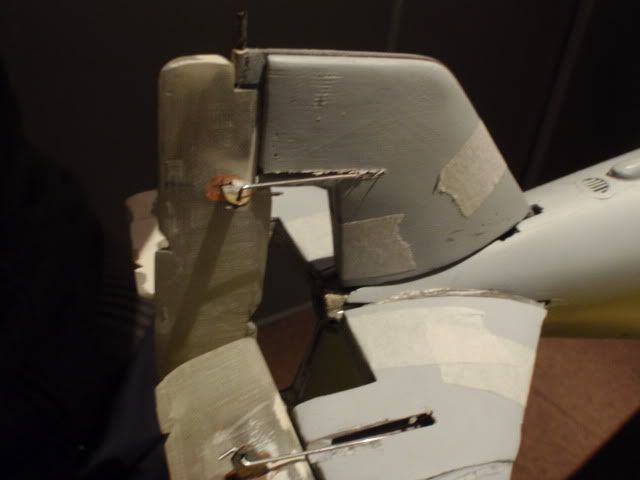
Cutted the slits into the skin and added both the rudder and diveplanes, made a test to see if all things work, believe me it does, still have to make a short vid to show it.
I decided to leave the covers alone for this time, they will be reproduced by vacu forming, have to build my own rigg for that, these days i'm digging inside the hull to get me the frames which will hold all servo's, i'll keep you guys updated.
Manfred.I went undergroundComment
-
awsome..like all your other work i have seen..Comment


Comment