
 Tweet
Tweet
My apologies for any breaching etiquette for the forum for a non rc post/thread...
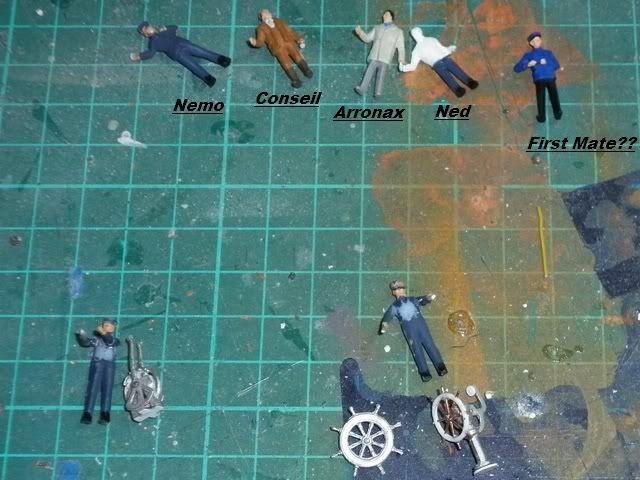
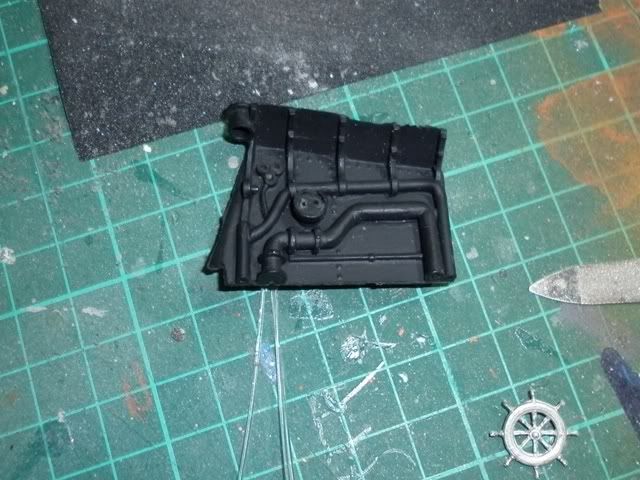
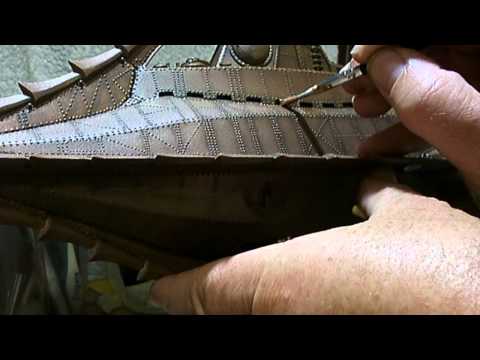
I just thought I would post up a thread on how I did my static 1/69th scale Nautilus I got from Nautilus Drydocks that I did when I was recovering at home from a sporting injury a couple of years back. I have already put up some pictures of the completed model but I thought those here would enjoy how I got to the finished model. This has always been a model desaire for me since I was a kid and saw the movie back in the sixties after my mother took me to see it one day instead of going to school. I did look at the total immersion version but the idea of getting what I was lead to believe a possible knock off of the Brodeen kit put me off. Also I�m kicking myself a little because I didn�t take a picture of the parts before any assembly� Sorry about that. I decided from the outset that I was going to do as much to this build as I could e.g. adding some lighting, some people, a detailed salon interior behind the two big observation windows and adding a motor to animate the propeller. The salon would prove to be by far the biggest challenge as it needed to be entirely made from scratch. The model is sold as a 1/69th scale for accurate over all lenght, which I was told by Bob @ Drydocks, figures in that scale look a bit large. Due mainly to Disney doing the usual cheats on making the interior sets. I don't think they were cheats as such, just necessities for being able to film with the size limitations of equipment from the times. I tried various scales but in the end went for a line of HO railway figures. For those that don�t know the main kit parts are molded in a very nice dark grey resin and the only interior extras the kit comes with is a basic wheel house interior, consisting of left and right walls, white metal parts for the wheel, binnacle, dive plane controls and a clear length of plastic tube for the depth tube indicator. The detailed walls for the wheelhouse though not screen accurate are still pretty good for its scale. When I dry fitted the wheel house parts I thought they looked a bit out of scale so I rebuilt the wheel,binnacle and dive plane controls and added some additional detail with the chain cog but I couldn't get the scale look with the chain so I left that out. I also added some fiber optics to the wheelhouse gauges as I had planned for this to be a fully lighted display piece...

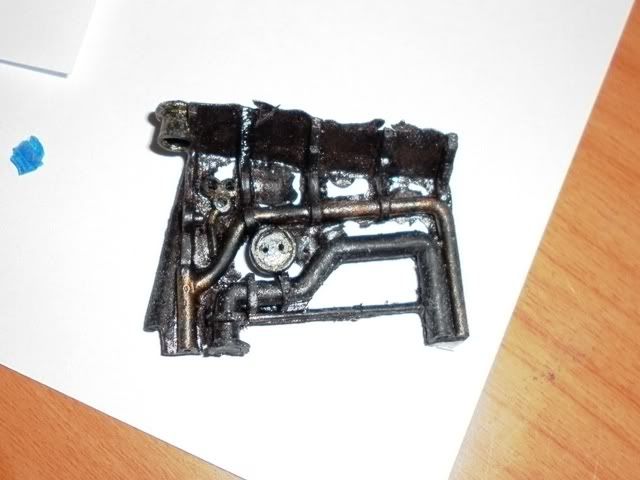
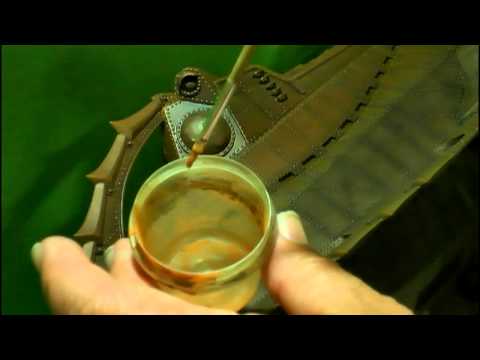
After adding the gauge lights I decided to paint up the wall pieces. I had already gone out to a LHS and purchased about 6 different shades in metallic for the build. However I had through my own doing, a near disaster that almost reduced me to tears of anguish, rage & despair. After spending over an hour painting up the right wall piece via hand brushing instead of airbrushing (1st mistake), the colour that I chose I didn't like (2nd mistake). So I grabbed some eco-friendly water clean-up paint remover, which has worked a treat before on my styrene kits, (3rd mistake- not testing it on resin). It turned the piece into and soft rubbery piece of yuck!!! All the thinner wall & ceiling sections had either melted away or just curled up and broke away from the larger pipe sections as it dried. However from despair came inspiration, of sorts With No11 exacto, sandpaper, files, plasticard, white glue and filler in hand I began a desperate salvage of the piece along with some added detail to boot.
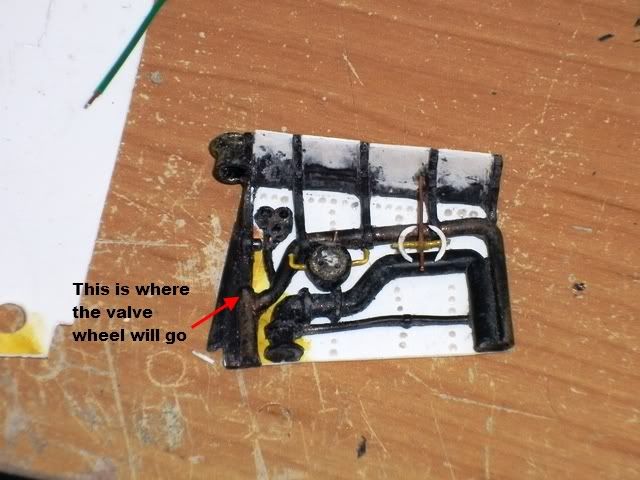
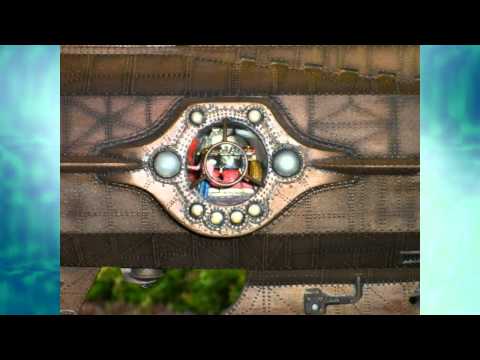
Things that I added where the valve wheel under the 3 dials, the small bobbing lever on top of the atomic clock and some small right angle pieces of wire for added detail around said clock. I also added the double bow gauge at the back end of the wall near the map table. Not to mention redoing the fibre optics due to the addition of the plasticard wall sections to replace the damaged ones. Over all I was pretty stoked with my repair and once it was in place along with the completed port wall piece, to which I also added a valve wheel, it looked damn fine if I do say so myself. Except for painting the map table and adding the ballast control lever & windows I had pretty much kitted out the wheelhouse assembly including adding another valve wheel to the opposite wall.

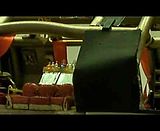
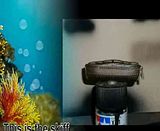
I tried a couple of different lighting ideas for the wheel house gauges with various green leds
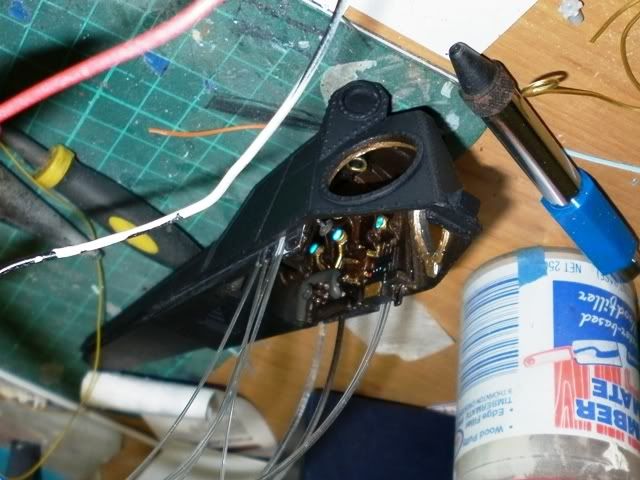
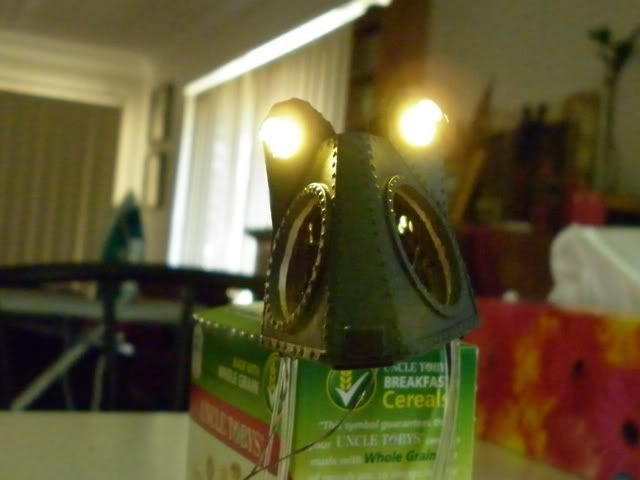
but none gave me what I wanted or seemed to have the wrong luminescence or hue as above. In the film the dials all have a green glow around the edges so I glued the fibres with the pva and added the green wash letting it settle around the edges the result though not entirely accurate came out ok for me. Next on the to do list was lighting the alligator eyes. This was done with micro leds which I up to then had not used a lot but those that I had seemed to give me a better scale effect. Also I could recess them farther back again helping me, I hoped, with the scale effect and it did just that. Let me say that attacking the model with a dremel was from begining to end a heart starter.
More to follow...
I just thought I would post up a thread on how I did my static 1/69th scale Nautilus I got from Nautilus Drydocks that I did when I was recovering at home from a sporting injury a couple of years back. I have already put up some pictures of the completed model but I thought those here would enjoy how I got to the finished model. This has always been a model desaire for me since I was a kid and saw the movie back in the sixties after my mother took me to see it one day instead of going to school. I did look at the total immersion version but the idea of getting what I was lead to believe a possible knock off of the Brodeen kit put me off. Also I�m kicking myself a little because I didn�t take a picture of the parts before any assembly� Sorry about that. I decided from the outset that I was going to do as much to this build as I could e.g. adding some lighting, some people, a detailed salon interior behind the two big observation windows and adding a motor to animate the propeller. The salon would prove to be by far the biggest challenge as it needed to be entirely made from scratch. The model is sold as a 1/69th scale for accurate over all lenght, which I was told by Bob @ Drydocks, figures in that scale look a bit large. Due mainly to Disney doing the usual cheats on making the interior sets. I don't think they were cheats as such, just necessities for being able to film with the size limitations of equipment from the times. I tried various scales but in the end went for a line of HO railway figures. For those that don�t know the main kit parts are molded in a very nice dark grey resin and the only interior extras the kit comes with is a basic wheel house interior, consisting of left and right walls, white metal parts for the wheel, binnacle, dive plane controls and a clear length of plastic tube for the depth tube indicator. The detailed walls for the wheelhouse though not screen accurate are still pretty good for its scale. When I dry fitted the wheel house parts I thought they looked a bit out of scale so I rebuilt the wheel,binnacle and dive plane controls and added some additional detail with the chain cog but I couldn't get the scale look with the chain so I left that out. I also added some fiber optics to the wheelhouse gauges as I had planned for this to be a fully lighted display piece...


After adding the gauge lights I decided to paint up the wall pieces. I had already gone out to a LHS and purchased about 6 different shades in metallic for the build. However I had through my own doing, a near disaster that almost reduced me to tears of anguish, rage & despair. After spending over an hour painting up the right wall piece via hand brushing instead of airbrushing (1st mistake), the colour that I chose I didn't like (2nd mistake). So I grabbed some eco-friendly water clean-up paint remover, which has worked a treat before on my styrene kits, (3rd mistake- not testing it on resin). It turned the piece into and soft rubbery piece of yuck!!! All the thinner wall & ceiling sections had either melted away or just curled up and broke away from the larger pipe sections as it dried. However from despair came inspiration, of sorts With No11 exacto, sandpaper, files, plasticard, white glue and filler in hand I began a desperate salvage of the piece along with some added detail to boot.


Things that I added where the valve wheel under the 3 dials, the small bobbing lever on top of the atomic clock and some small right angle pieces of wire for added detail around said clock. I also added the double bow gauge at the back end of the wall near the map table. Not to mention redoing the fibre optics due to the addition of the plasticard wall sections to replace the damaged ones. Over all I was pretty stoked with my repair and once it was in place along with the completed port wall piece, to which I also added a valve wheel, it looked damn fine if I do say so myself. Except for painting the map table and adding the ballast control lever & windows I had pretty much kitted out the wheelhouse assembly including adding another valve wheel to the opposite wall.

I tried a couple of different lighting ideas for the wheel house gauges with various green leds

but none gave me what I wanted or seemed to have the wrong luminescence or hue as above. In the film the dials all have a green glow around the edges so I glued the fibres with the pva and added the green wash letting it settle around the edges the result though not entirely accurate came out ok for me. Next on the to do list was lighting the alligator eyes. This was done with micro leds which I up to then had not used a lot but those that I had seemed to give me a better scale effect. Also I could recess them farther back again helping me, I hoped, with the scale effect and it did just that. Let me say that attacking the model with a dremel was from begining to end a heart starter.

More to follow...


Comment