A Moebius Skipjack from the land of OZ...

Collapse
X
 
  • Time
  • Show
Clear All
new posts
  • alad61
    Commander
    • Jan 2012
    • 476

    A Moebius Skipjack from the land of OZ...

    As I stated in Marks Skipjack thread I received mine, along with all the required additions last week... Since Mark has posted pictures of the model kit out of the box, the instruction, decals etc I won't clutter the place with more of the same. For me this will be a fairly straight up assembly project. Why...? Well to be honest, there ain't much extra to do on the thing. David and those folks at Moebius did a you beaut rip snorta of a model kit!! That is why. For many reasons a lot of styrene kits need after market parts to get them right. Others just need them for that extra bling but not this one.

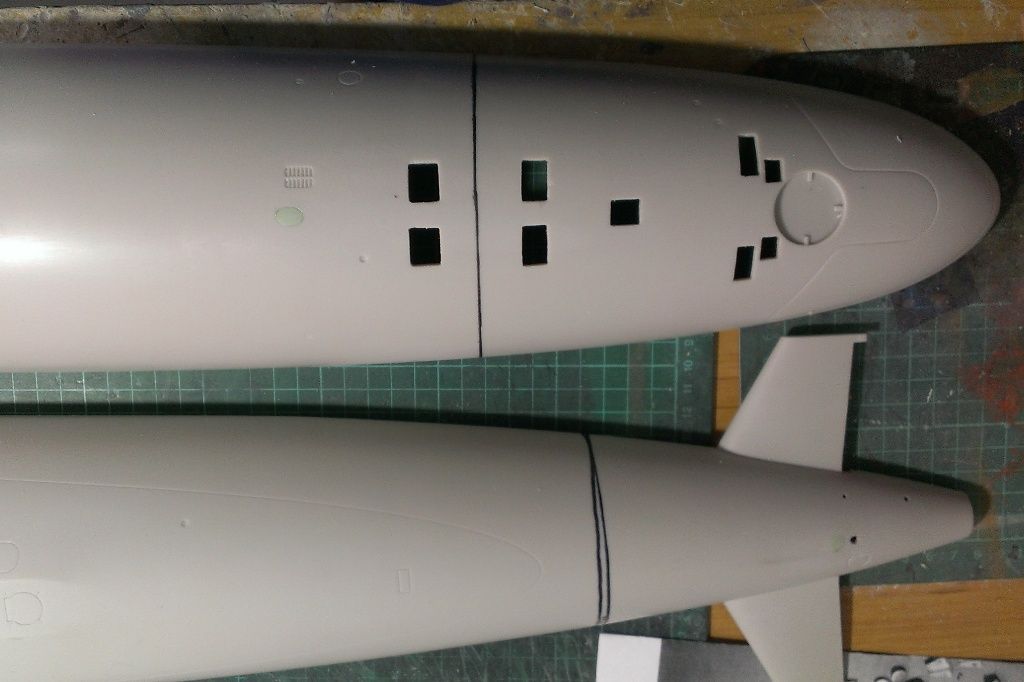
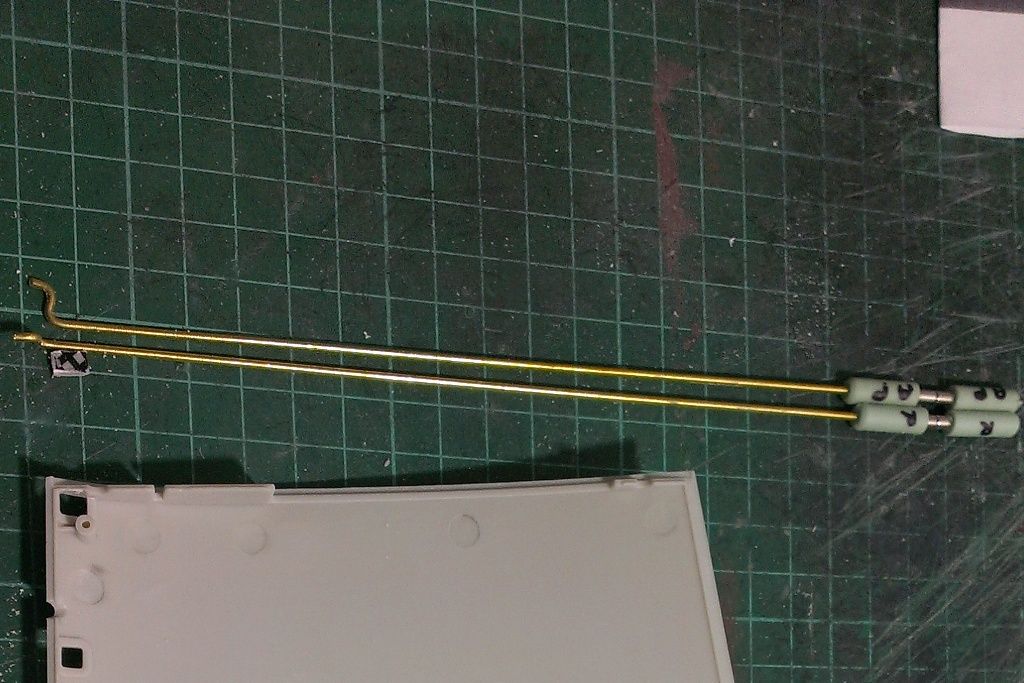
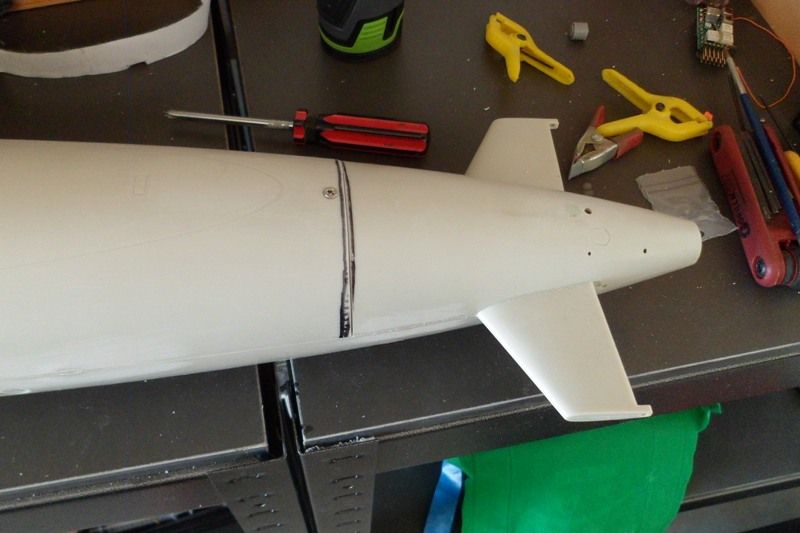
    To be honest I very nearly shelved the project to start my TOS 1/350 'E' from round 2 but the allure of another sub one out. Also the fact that it took almost 5 months to do my 1/350 refit with lights additional interior detail and all the aztek paneling done by hand/airbrush. But I dally and dither so back to subject... Saturday was a day of finalizing the purchase of extras e.g. push rods, prop shaft, receiver, battery etc. Then it was wash and clean time for the parts bot from Davids fittings kit and the model proper. For the resins I use a general purpose thinner and then a wash in warm water with a cream cleanser with the aid of a toothbrush and scourer. The styrene parts get the same minus the gp thinners. Then all the parts are layed out to dry over night and with the weather we have been having down here this summer, over night is over kill!
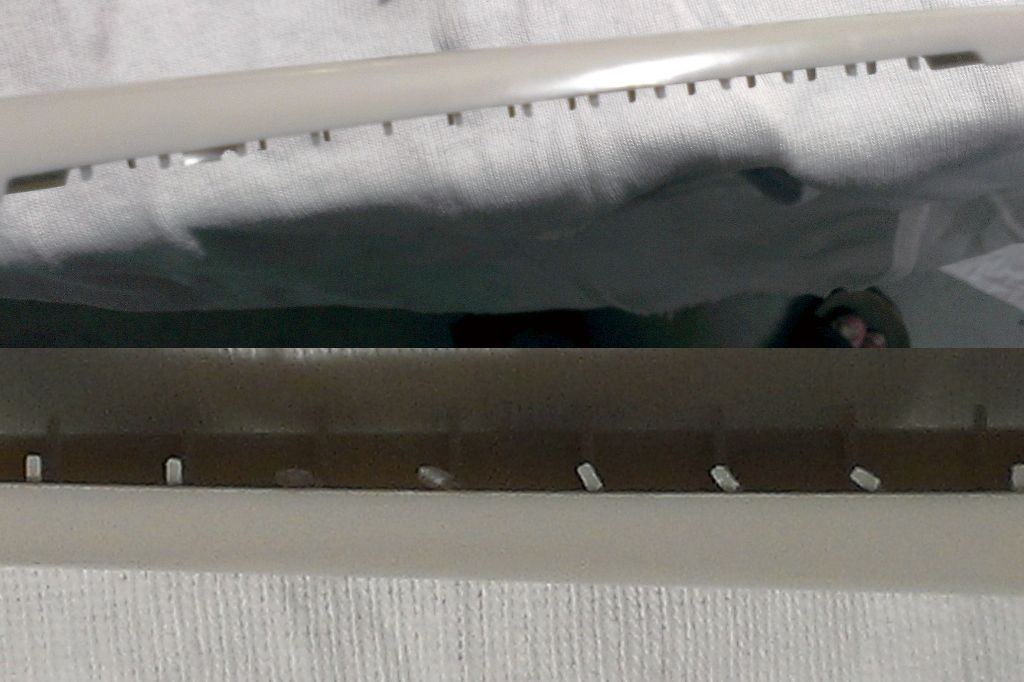
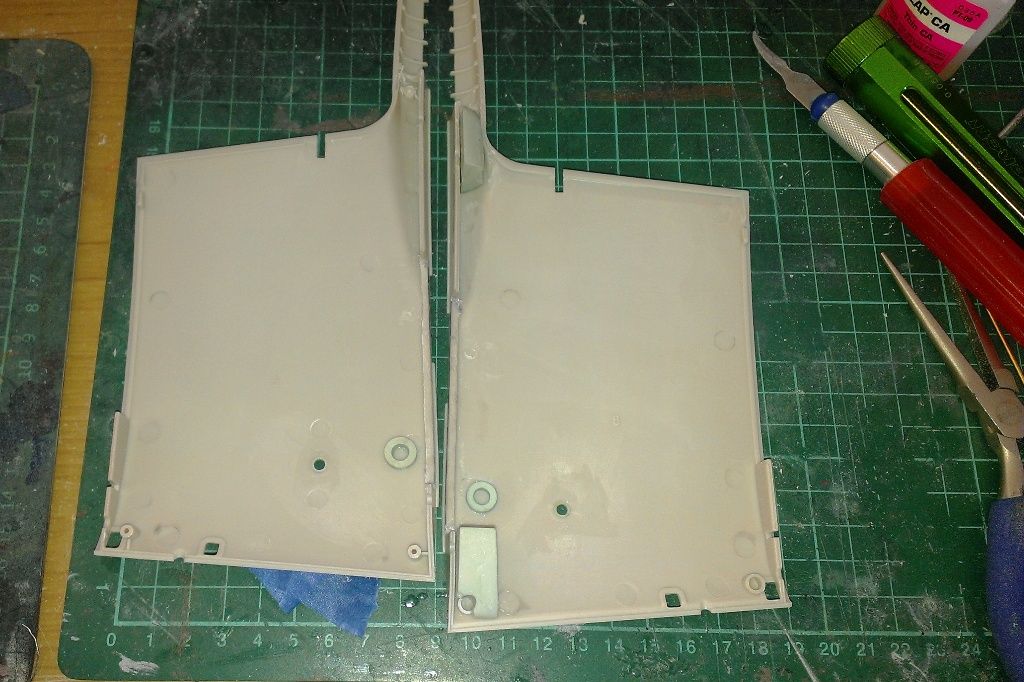
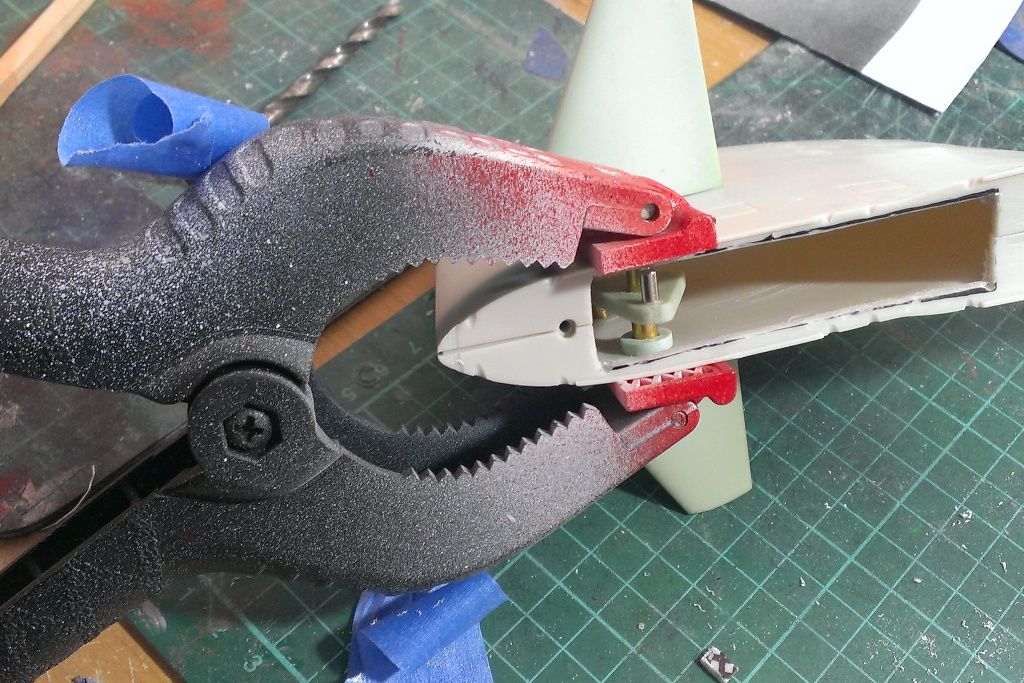
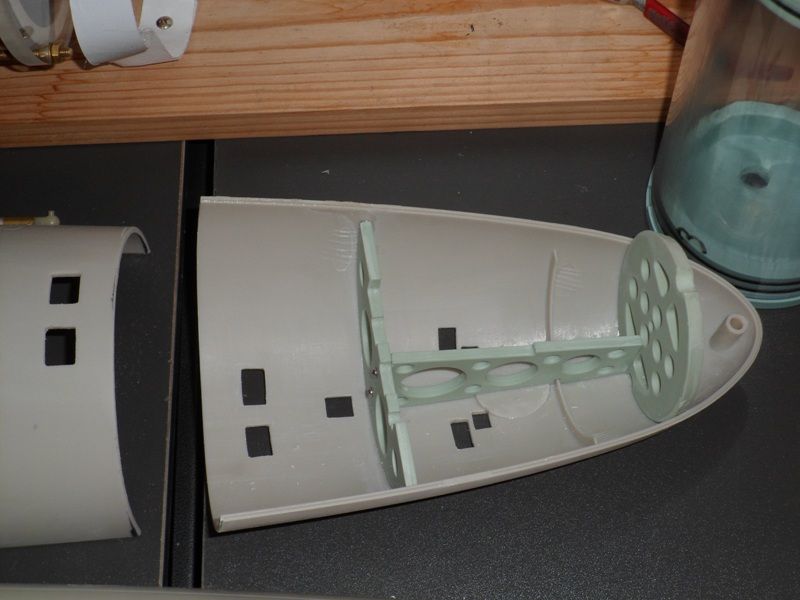
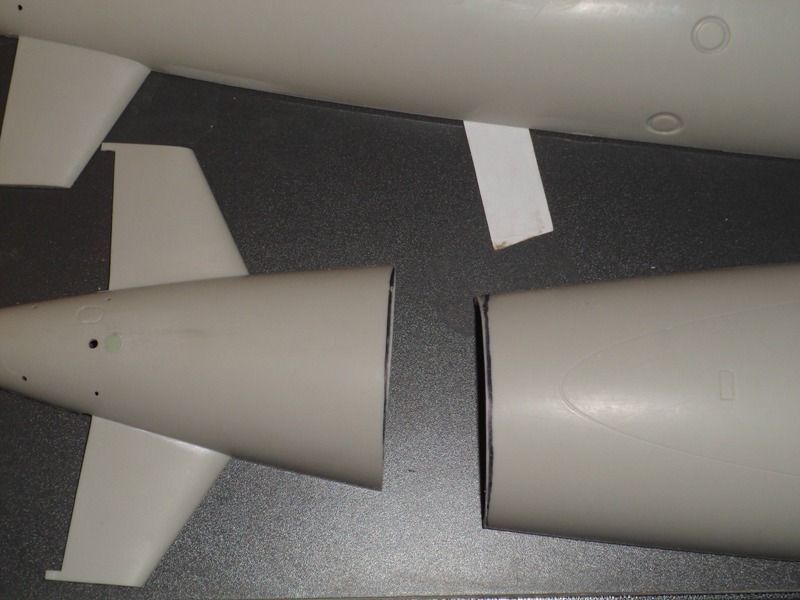
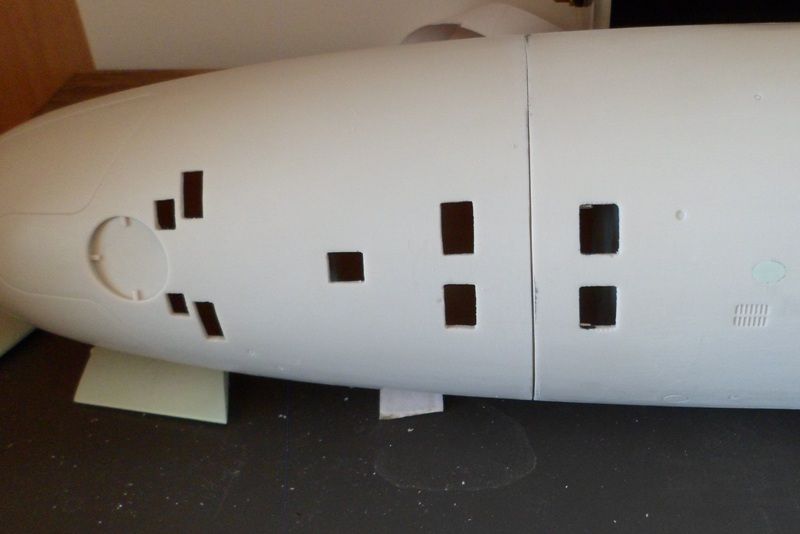
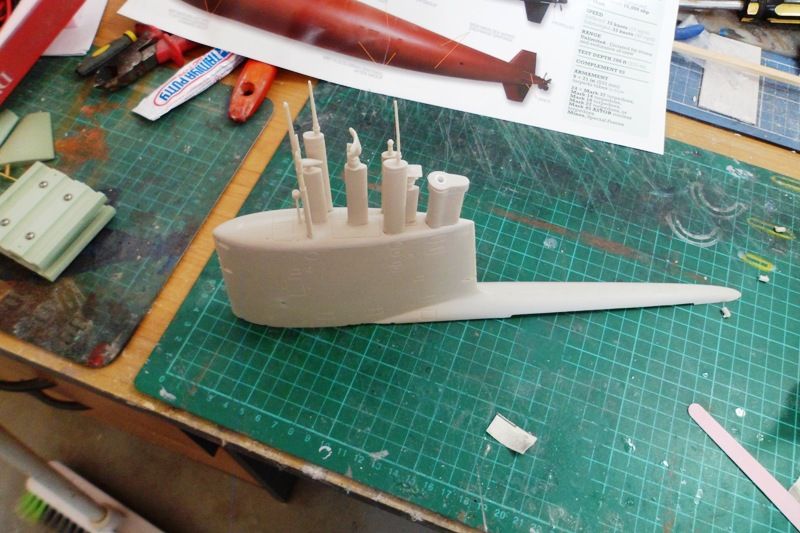
    Sadly before I began washing things I needed to do some repair work to the model as some of the exhaust fairing ribs were damaged in transit

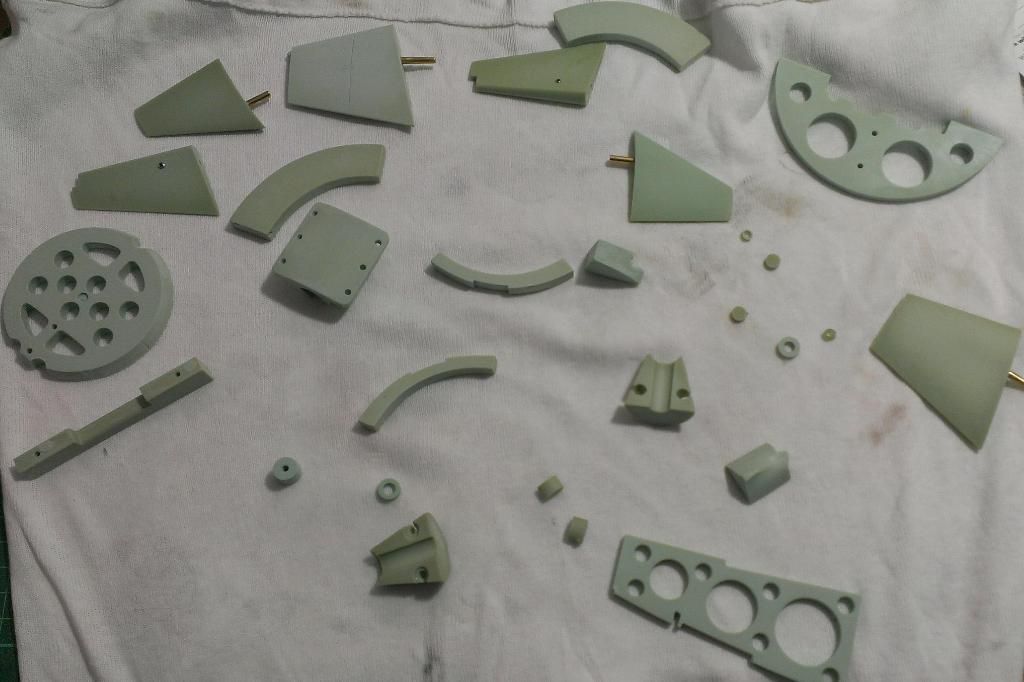
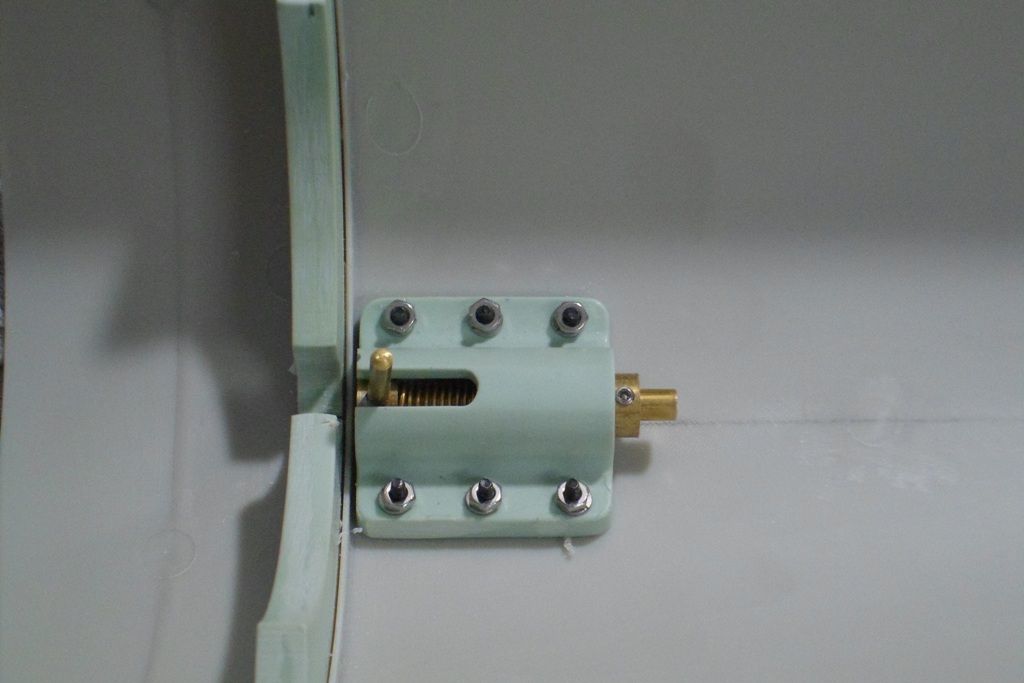
    By the way David Kudos on the fittings kit too...

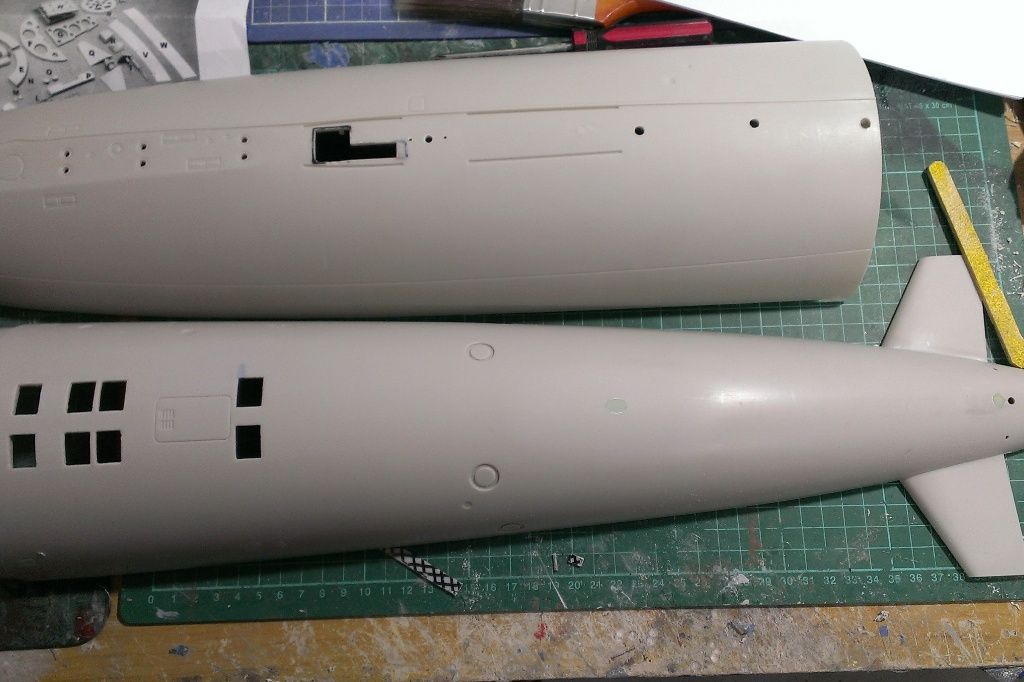
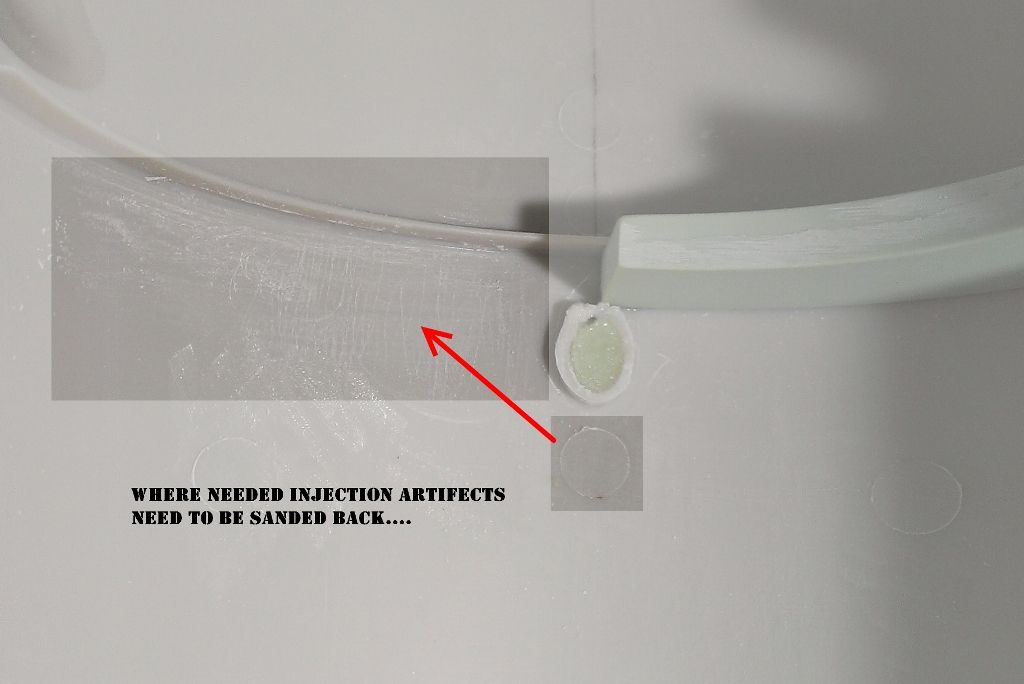
    I forgot to take some pics of the styrene washing process. I will say I was surprised at how much mold release agent was still on the styrene parts, so they took some cleaning to get the water to flow down the hull as a sheet rather than rivulets on speed.
    Cheers,
    Alec.


    Reality is but a dream...
    But to dream is a reality

  • alad61
    Commander
    • Jan 2012
    • 476

    #2
    Apparently my first post was to wordy so I'll continue here...

    So far I have been using the Skipjack instructions Pt one I downloaded from Caswells but that only covers off the assembly up to point. to finish off I will be using the link that David posted in a thread showing what Herrmill posted on another site to finish off the SD assembly etc. To date I have put in around 20 hours on it so far and I have only just got to the point of gluing the lower and upper hulls proper.

    I began as per instructions with plugging the stand mount points and redoing the rudder bearing holes as well as opening up the holes for the sail plane gears, top side breather vents, mounting the prop retainer blocks and sas snorkle mount holes


    Then it was onto the push rods and prop shaft followed by the sail assembly stages...

    Here I took a detour from Davids instructions for positioning the sails lower gear bearing mounts. Basicaly I didn't like the idea of tacking, breaking and re-tacking the bearing mounts till they were in the right spot. Instead I grabbed one of my big clamps and used that to 'pinch the two hull ahves together this gave me two hands to tweek and fudge the parts positions till I got them how I wanted. Then it was a simple matter of tack gluing the mounts in place releasing the clamp and adding more ca to finish them in place. Also a little extra filing and shaping of the plane mount/gear piece was needed to get a smooth fluid movement.


    Once that was done I then glued in place the sail mounting blocks after some cosmetic work to get the sail to go together nicely. Once they were in place I ground out the channel in the rear block so now the sail is ready to glue together as per instructions. before I start gluing styrene together I wanted to finish adding all the SD mounts and shock absorber. but first I had to clean the inside of the hull a bit as there are a few injection artifacts that need to go so parts sit better to the hull.

    Then it was on to mounting the shock absorber. One very important thing to remember with styrene is that it love a biting bit so pilot holes are a MUST and extra care is needed for things like counter sinking. For that I have a slightly dull bit that I work both in forward and reverse with the drill to grind out the hole and just remember to let the weight of the tool do the work not additional ham fisted pressure or you will carve out a crater!

    and sealing in the mounting screws with ca and backing soda. I have found the best way to get a good finish with ca and soda is to hit it with a sanding stick/block almost straight away before they have fully catalyzed. If you leave it to long then it will be much more harder than the styrene which could lead to damaging and over sanding the styrene. giving you more work to fix later. So for the six mount screws I did them with the ca, soda and sanding one at a time. Below show the first three done with the others to follow.
    Cheers,
    Alec.


    Reality is but a dream...
    But to dream is a reality

    Comment

    • greenman407
      Admiral
      • Feb 2009
      • 7530

      #3
      OH YES! Ill definitely be cheating by taking a peek at your thread, for sure. Dont let the "Teacher" catch us.BLUSHER
      IT TAKES GREAT INTELLIGENCE TO FAKE SUCH STUPIDITY!

      Comment

      • trout
        Admiral
        • Jul 2011
        • 3545

        #4
        Thank you both for blazing the path. Alec, great postings!
        If you can cut, drill, saw, hit things and swear a lot, you're well on the way to building a working model sub.

        Comment

        • He Who Shall Not Be Named
          Moderator
          • Aug 2008
          • 12256

          #5
          Good work, Alec! Is it wet yet?
          Who is John Galt?

          Comment

          • alad61
            Commander
            • Jan 2012
            • 476

            #6
            Originally posted by He Who Shall Not Be Named
            Good work, Alec! Is it wet yet?
            Thanks gentlmen. Is it wet yet?!! Only with drops of perspiration. He's on his favoriteIf I'm good and all goes to plan it should see the first tub testing by Sunday night...
            Cheers,
            Alec.


            Reality is but a dream...
            But to dream is a reality

            Comment

            • Tugfan
              Lieutenant Commander
              • Nov 2010
              • 178

              #7
              Merriman, knock it off you crackhead.
              Last edited by Tugfan; 01-12-2013, 11:04 AM.

              Comment

              • alad61
                Commander
                • Jan 2012
                • 476

                #8
                Last two nights saw the complete glueing the top and bottom hull halves, fit and test the sas inlet assembly, assemble the sail after checking the float had free movment and then gluing the top on, minus the masts. I sell test fitted the ad so I could measure and finsh the prop shaft. Tonight I should have the torpedo foundations inplace and the hulls cut and assembled for the z joins. The only frustrating thingat the moment is our freakish summer temps & humidity are playing hell with my plastic weld, which is almost drying/ evaporating on the brush straight from the bottle and the ca is not kicking off as quick either. I get round that by breathing on it,like when you clean your glasses. Just don't breath in over your work!!! Other than that baking soda is the only accelerate I use.

                Btw I am loving the sd Shock absorber too.
                Last edited by alad61; 01-11-2013, 11:09 AM.
                Cheers,
                Alec.


                Reality is but a dream...
                But to dream is a reality

                Comment

                • alad61
                  Commander
                  • Jan 2012
                  • 476

                  #9
                  Originally posted by Tugfan
                  Knock it off you crackhead.
                  Mmm I' been called many things... But crackhead has never been one of them befor. So Tugfan I assume it is a compliment??:wink: So thanks & stay tuned...
                  Cheers,
                  Alec.


                  Reality is but a dream...
                  But to dream is a reality

                  Comment

                  • alad61
                    Commander
                    • Jan 2012
                    • 476

                    #10
                    Some times things do go to plan!!

                    What I had set out to do last night I did. Sometime I amaze even myself... Except doing a post from my smart phone during a lunch break.Swearing Smiley so I need go back and edit the previous couple of posts... But as today is Saturday I am on my pc with all the big screen and spell check help

                    Last night got me to a point that was about a day ahead of my plans. I installed the torpedo foundations then cut and prepped them for the flanges also done was the screw block on the aft flange.


                    This morning I checked the fitting of the Zed cut hull. Not to shabby if I do say so...


                    After gluing and clamping the flanges I di some work on the sail. The previous night I glued on the top piece of the sail and realized that I hadn't removed the large flat piece at the bow of the sail. This required a bit of careful work with a long 3/8th drill bit and my variable 2 speed little cordless drill. The reason for removing the area concerned was to try and eliminate any area where air might get trapped. The other thing I did that is not to scale was to add a tube through the large snorkel mast piece to allow air to vent from the sail better. My original idea was to remove the large round section and replace it with a length of plastruct tube to suit. However I erred on the side of caution and went for a slightly smaller diameter piece. That way I didn't completely destroy the original kit part and I still had my vent hole.


                    This morning I finished off the masts for the sail. I know there might be a bit of drag with the whole array exposed but I like the look. Also where I mostly patrol is not that clear so at periscope depth the array should cut a viable wake much like my akula does.


                    This afternoon I will be laying the first primer coat and then I start on the sub-driver but as Sandy wants to go and see 'Hitchcock' tonight my time table might slip a bit...
                    Cheers,
                    Alec.


                    Reality is but a dream...
                    But to dream is a reality

                    Comment

                    • Tugfan
                      Lieutenant Commander
                      • Nov 2010
                      • 178

                      #11
                      Sorry, that was meant for Merriman. Scuba Diving

                      Comment

                      • He Who Shall Not Be Named
                        Moderator
                        • Aug 2008
                        • 12256

                        #12
                        shields .... Up!
                        Who is John Galt?

                        Comment

                        • alad61
                          Commander
                          • Jan 2012
                          • 476

                          #13
                          I had good progress over the weekend. I got two coats of primer filler on the hull all I need do now his a final once over for any areas to touch up for fillers befor a final primer coat. I finished off the electronics and fittings and put it in the tub. The first thing to address is the units balance and c.o.g as the brawn and brain end is to heavy so I just need to add a bit more weight to the battery side. My theory is a ballanced as will make it easier to set the balance and trim of the boat. Even though I couldn't get the ad completly underwateer I tested the sas... Which worked like a charm!! Infact the suction was so good it started pulling water through the switch mounting on the forward bulkhead, nothing some etc can't fix. I'll try to get some pics up later on my work so far.
                          Cheers,
                          Alec.


                          Reality is but a dream...
                          But to dream is a reality

                          Comment

                          • He Who Shall Not Be Named
                            Moderator
                            • Aug 2008
                            • 12256

                            #14
                            Typical de-water time off the snorkel is about a minute. And using SD air you should get 2/3's of the water out within ninety-seconds.

                            Yeah, Get the c.g. about the center of the ballast tank then trim from there. Good plan, Alec

                            And where, on this model, will you be sticking the salon? (No body likes a show-off!).

                            David
                            Who is John Galt?

                            Comment

                            • alad61
                              Commander
                              • Jan 2012
                              • 476

                              #15
                              Sadly no salon... But I seriously considered coverting it to a consept Seaview, much along the lines of the sub on the cover of Theodore Stirgens novel from VTTBOTS.
                              Cheers,
                              Alec.


                              Reality is but a dream...
                              But to dream is a reality

                              Comment

                              Working...