-
Tis true... and I know how that ended!! LOL
Tom as much as I like the rails as dressing the hull I came to realize after all the handling of the hull this week end I reckon leaving them on is fraught with disaster...
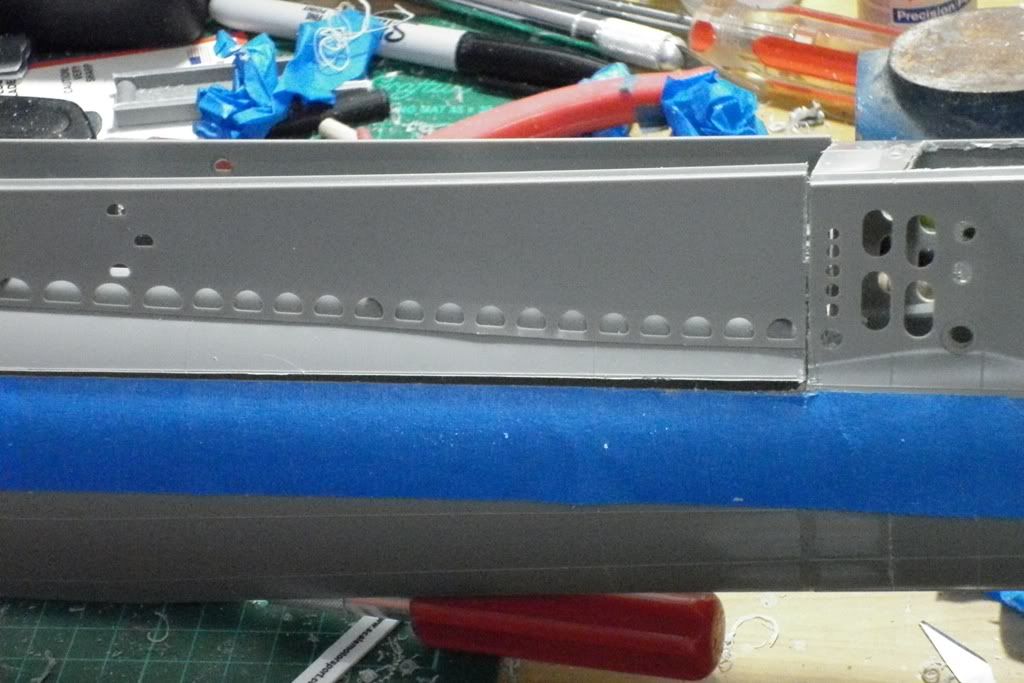
As for this weekend... It saw me take the knife to the hull with some reasonably good success too!! Studiously avoiding the mini buzz saw on the moto-tool I scribed the hull split. The first coarse of action was to lay down about 5 layers of tape as a guide. I then used the sharp side of my No11 to carefully follow the edge of the tape a couple of times to score it. Then I used the reverse side of the knife tip to scribe the cut going slowly and keeping the blade as 90 degrees to the hull as possible. Over all it took just on 2 hours to complete the task with the exacto. for the front and aft vertical cuts I used my razor saw. I have to admit that even though I was expecting the forward and aft sections of the hull to spring up a bit it was still a bit of an OMG feeling for a second or two... Apart from one section I need to fill the cot on the whole is pretty good with an average of just over 1/32 of a gap along the hull when the forward and rear sections are held down. The added bonus is that the cut is below the waterline and with the hull eventually to be painted black it should all be good...
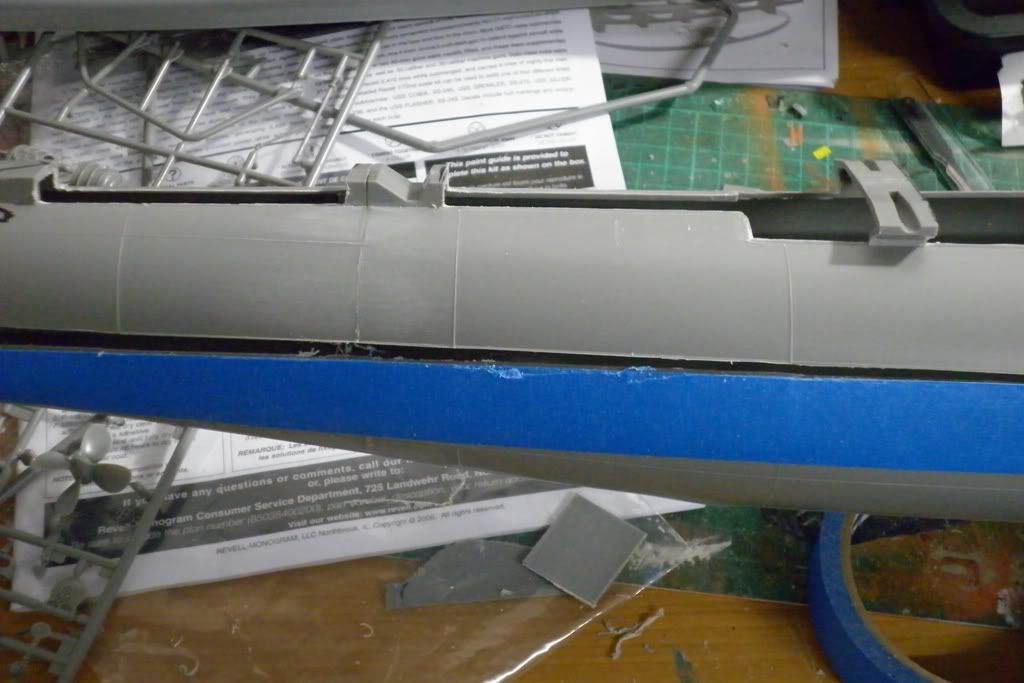
Rather than use filler to bring the cuts closer on the aft section I added some plasticard fillet which I lathered in liquid glue to soften it and when it was sanded and trimmed there is virtually no groove to be filled.:wink: I did the same up at the bow where the superstructure meets the cable tow. I also set a screw in place on the upper aft superstructure much like the Seaview to hold it all down and I did what David did in his cabal reprt with the skeg foundation by holding it in place with screws. The last thing was to use the kit propeller pieces to act as templates to drill out the shaft foundation holes.
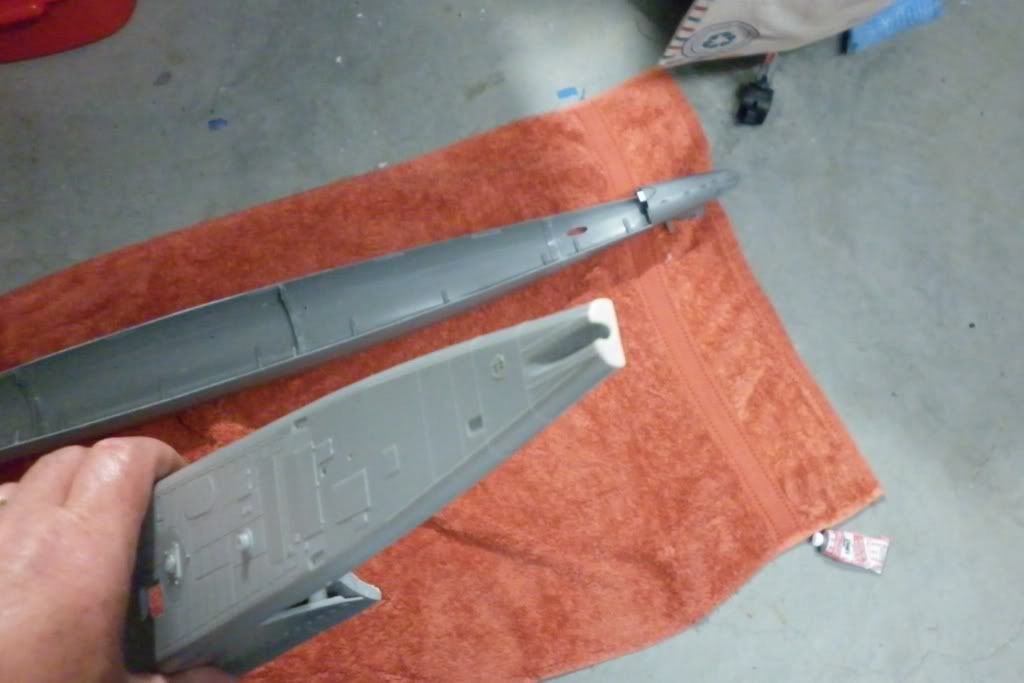
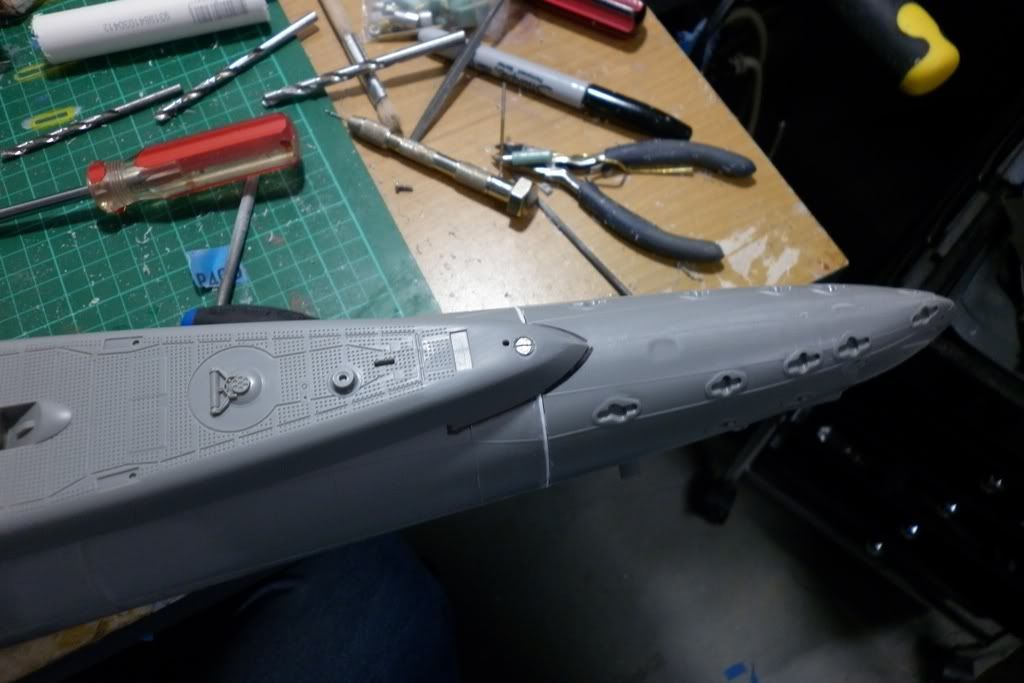
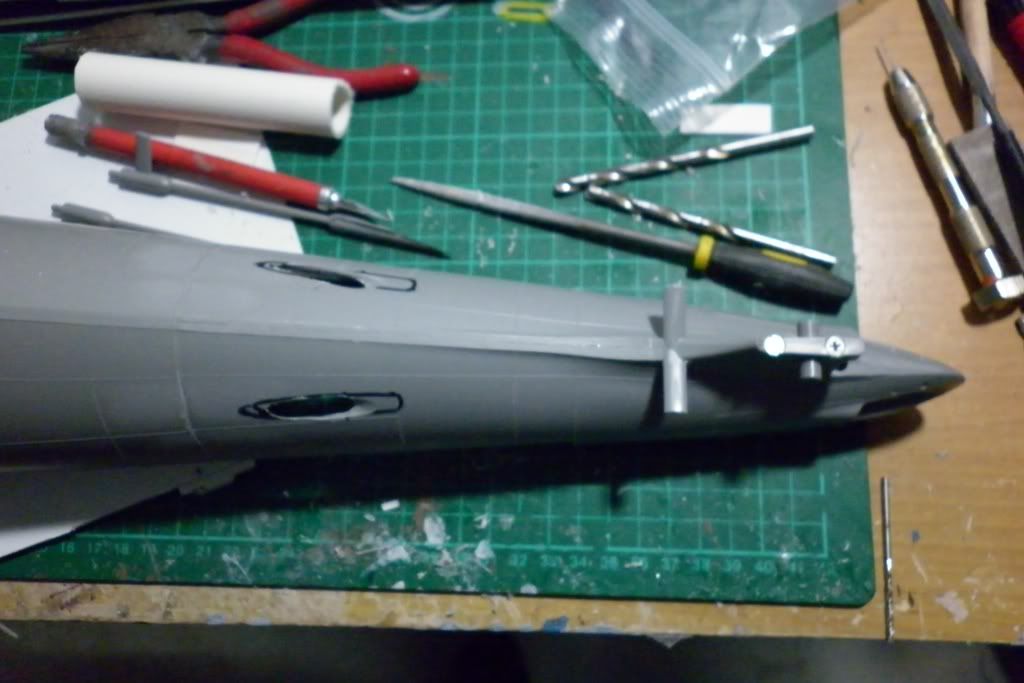
The rest of the week will be working on the seams etc. Something that never occured to me when I ordered all the stuff from Caswells was to add on the DVD set. But I am finding Davids cabal reports and other posts here very usefull and I reckon I'm just clever enough to do the job with out the DVD set... Maybe...The Titanic :wink:Leave a comment:
-
Yep, I remember cutting my hull and the Song "The First Cut is the Deepest" kept running in my head.....
There were so many changes on the Gatos, How crazy accurate do you want to go? What time frame? Wartime vs. Post WWII?
The railings did appear to be removable, but I have not seen a picture with one without them. There was a picture of a Gato emergency surfacing somewhere, I should look at that again, if I can find it......
Here is a section of the Balao detail plans for the railings
And things like making the Jackstaff raise and lower, that is a detail I will not do.
So, it is up to you. We will help which ever way you go. I like David's idea of not using the railings, but I am crazy and going to put them on (working on a way to make it removable, if wanted). You decide the details you want and I (and others) will help dig up what I (we) can.
Peace,
TomLast edited by trout; 04-27-2012, 12:16 PM.Leave a comment:
-
Stop *****ing and cut that sucker! You jump out of perfectly good airplanes! ... this should be childs-play for you.
Nothing on deck but the fixed cleats, closed-chock at the stern, deck gun, and jumper-antenna foundations. Fill the square holes in the deck where the stancions went.
David,Last edited by He Who Shall Not Be Named; 04-27-2012, 10:15 AM.Leave a comment:
-
Just a thought... As this will done as a mission or at sea boat just what was and wasn't seen on the decks? I imagine a bit of stuff such as rails etc would have been stowed in the various lockers but what about other rigging etc?Leave a comment:
-
Well Im not sure how much further I can go with the build now. At least till the sd, fittings kit, template etc turn up, which should be around the 10th or so in May. I have been following Davids cabal reports as far as sitting the hull up. About the only thing left at this point is splitting the hull and gluing on the superstructure and filling any imperfections. Mmm that really contradicts my first sentence. :biggrin: Sorry for the "usual suspects" photo line up. I just want to chronicle as much as I can in case some one spots a goof or a way I can improve things.
Something I do with breaking kits out of boxes is to go through the pieces and sprues, bags or box looking for those pieces that break away during shipping etc. once collected and checked I use a glad zip-lock bag to keep them in as well as others that fall off the sprues during normal handling. and for larger kits like this one I then place them in a plastic tub for easy access. The tub also double as a wash basin for the parts too.
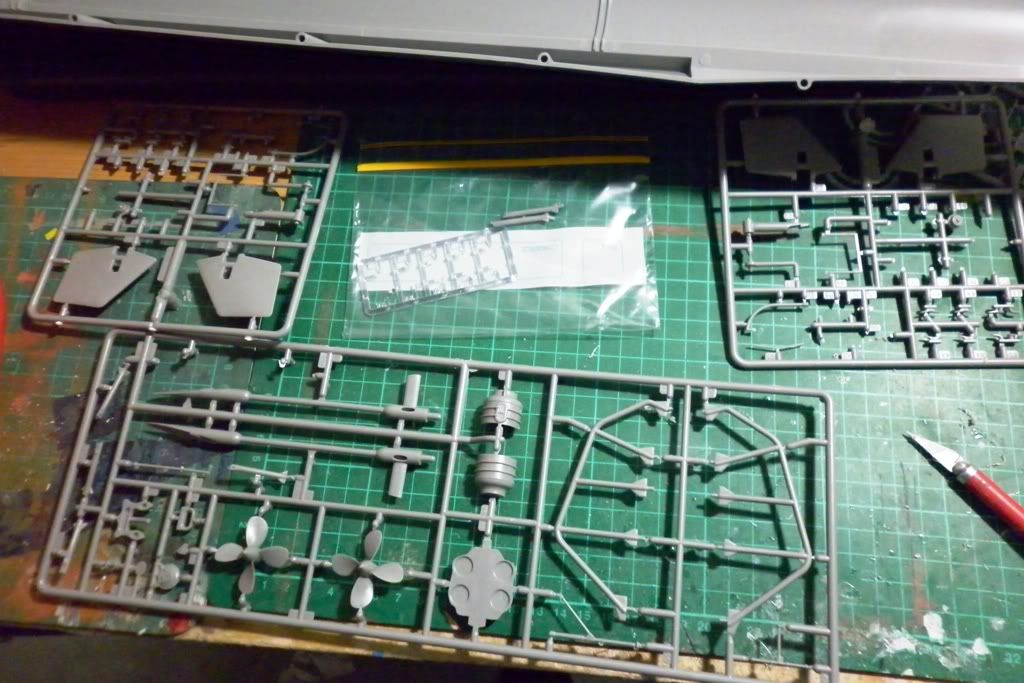
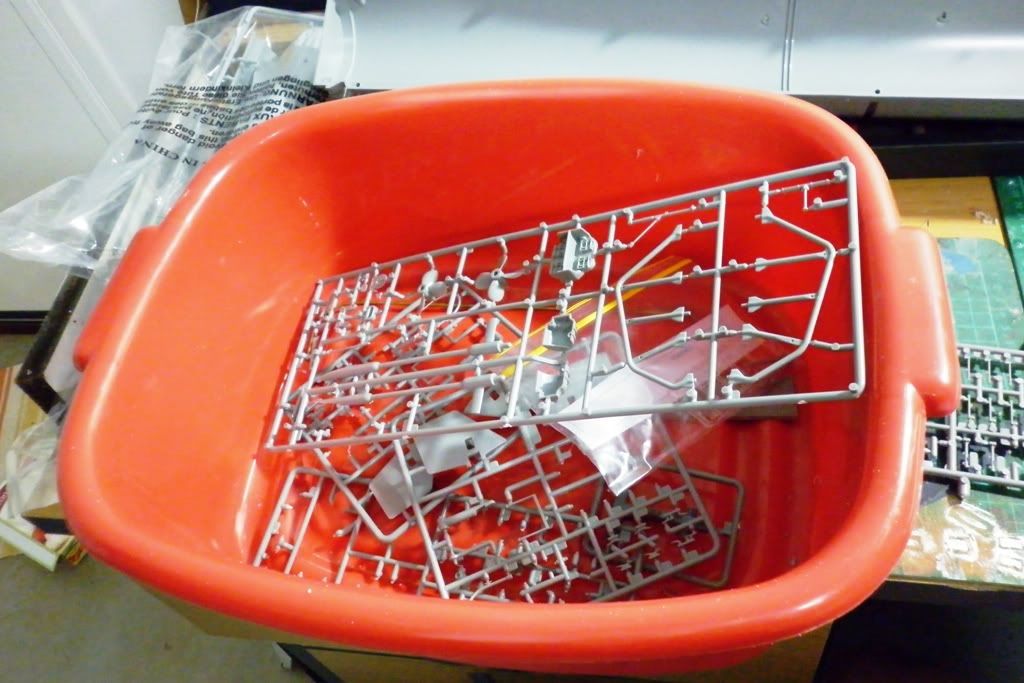
Keeping as close to Davids reports as possible I cleaned out the rear hull piece to make sure nothing would obstruct any moving parts later and I also trimmed back the bow plane bearing sleeves as suggested by the report too.
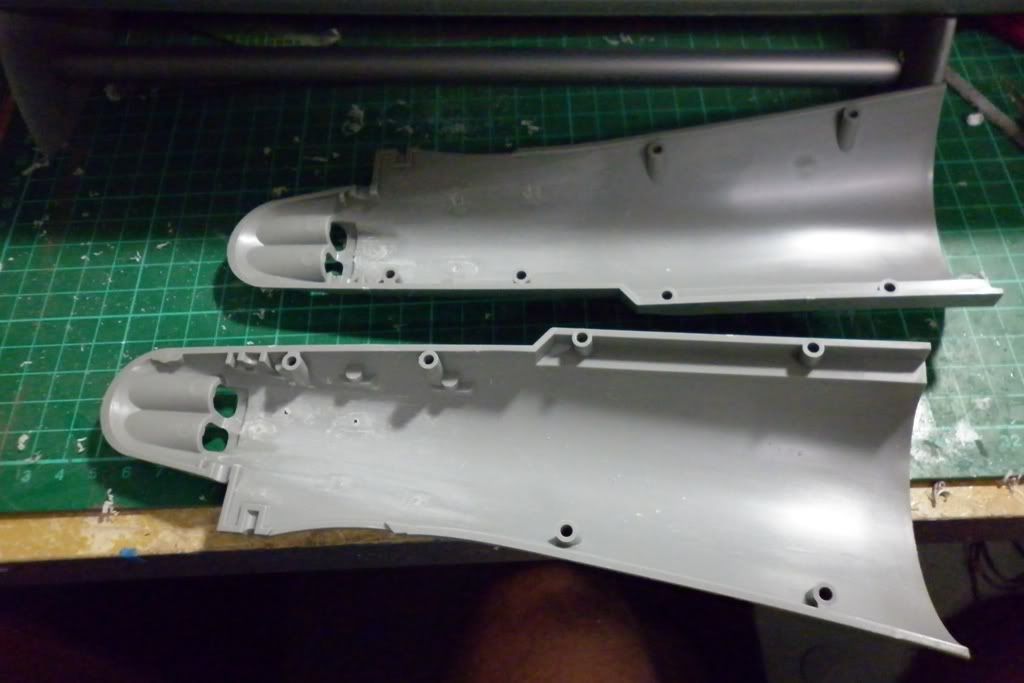
Then it was all glued together and left overnight before I marked out all the areas to be cut away... I should note here, before someone points it out, that I had not put in the hull foundation supports till after all the cutting out was done. They are now installed glued and tape applied to pull in the hull. When it came to gluing the hull I tend to work in stages. I glued all the pins with a slower setting solvent and I then work on the hull seam with the pro-weld a few inches at a time and hold them tight till little nodules of melted plastic are squeezed out of the seam. Once the whole piece is done this way I let it dry and sand back the glue join. Again its a slow process but quite often you can have a join that needs little or no filler.
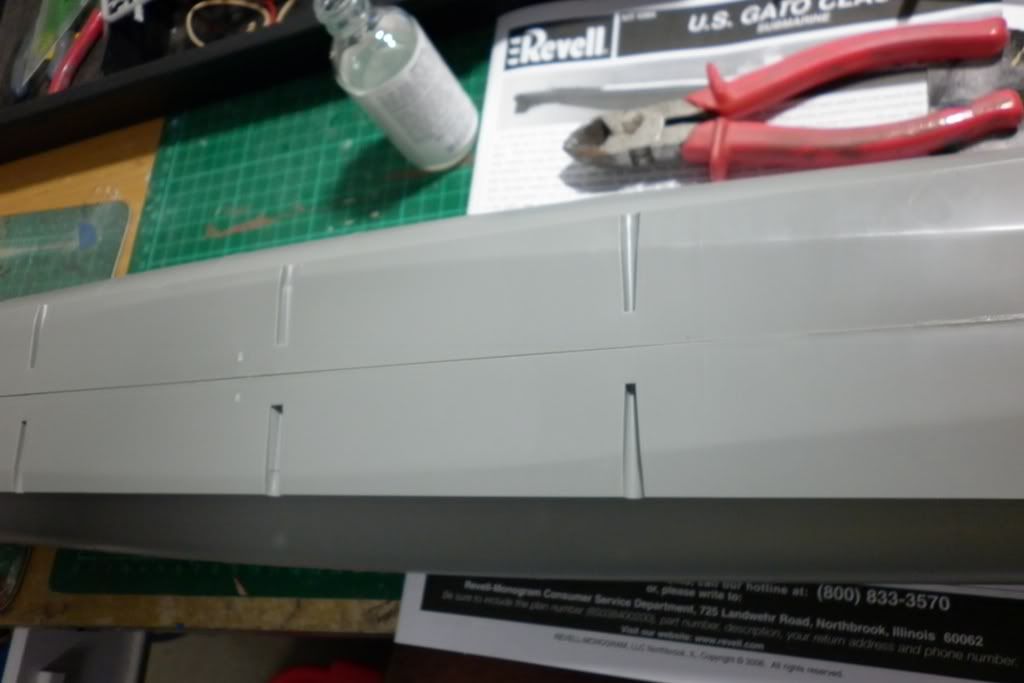
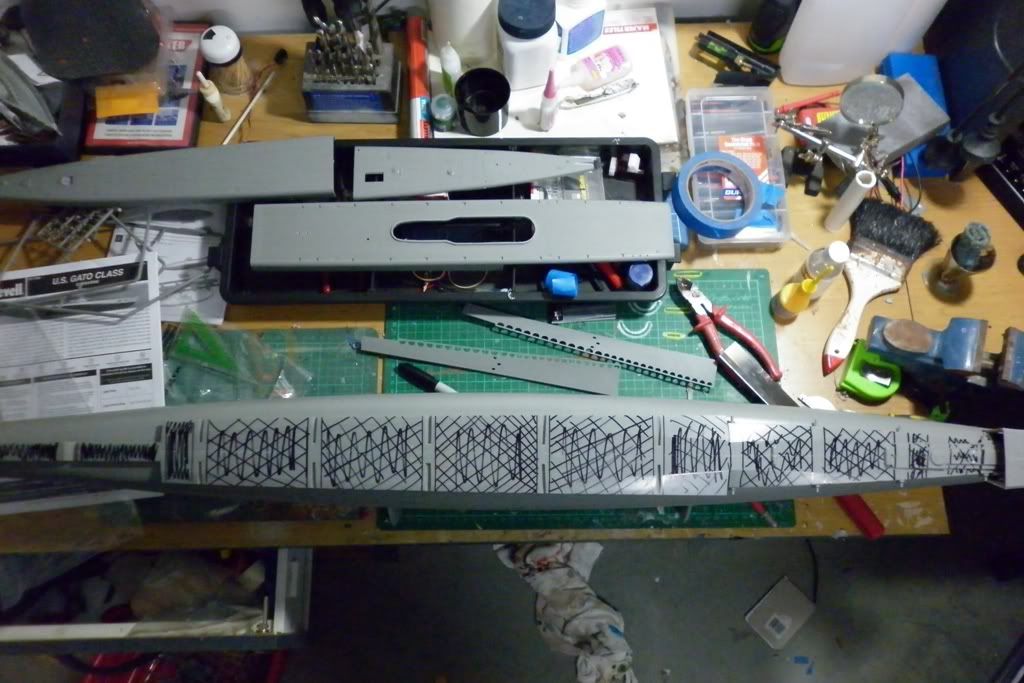
This picture is after an hour cutting out the waste sections by hand. The only time I used the moto-tool was on the bow piece and to remove the blank end sections on the main hull pieces. Everything els was removed by using a razor saw and No11 knife to scribe and remove the cut outs. Old fashioned I know but it's what I am comfortable with. In fact that's how I will be splitting the hull!!
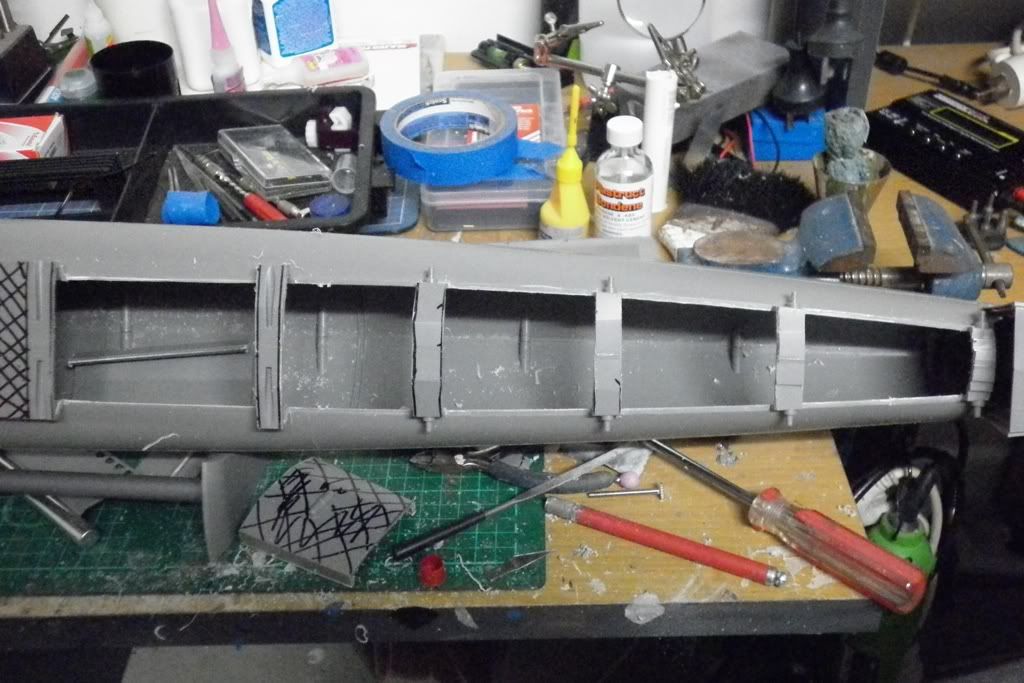
With all that cut away plastic I didn't see the sense in carving up one of my thicker plasticard sheets to stabilize the joins int the superstructure deck. Another trick I picked up was to keep all the shavings from the scribbing as they can be used to fill any miss matched seams and then melted inplace with the liquid glue. That way you get a cohesive fill rather than an adhesive one form super glue and backing powder.
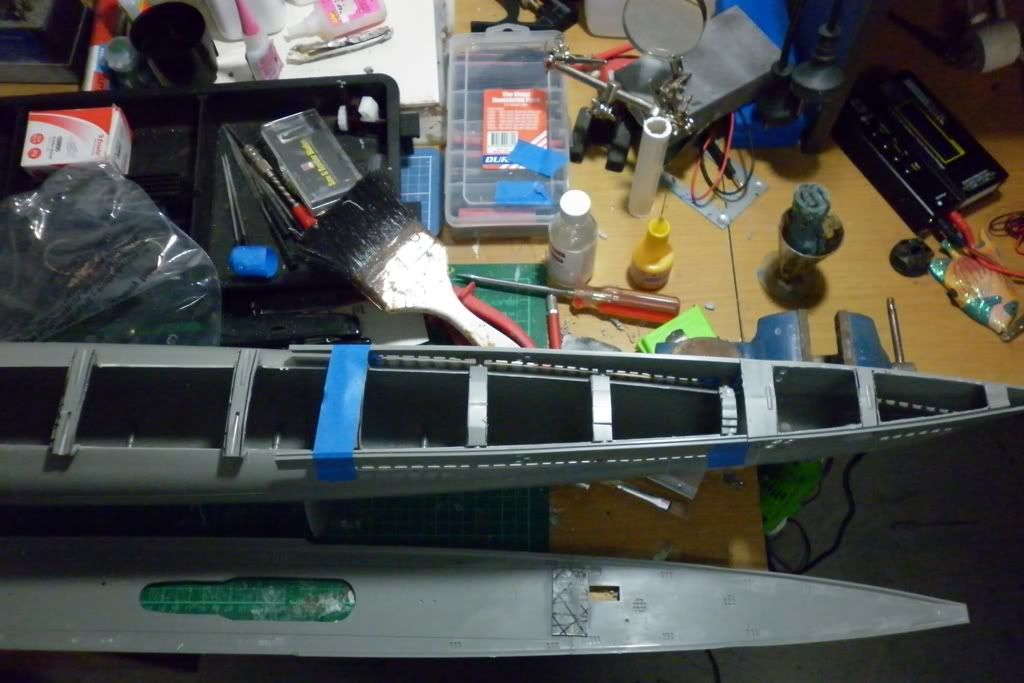
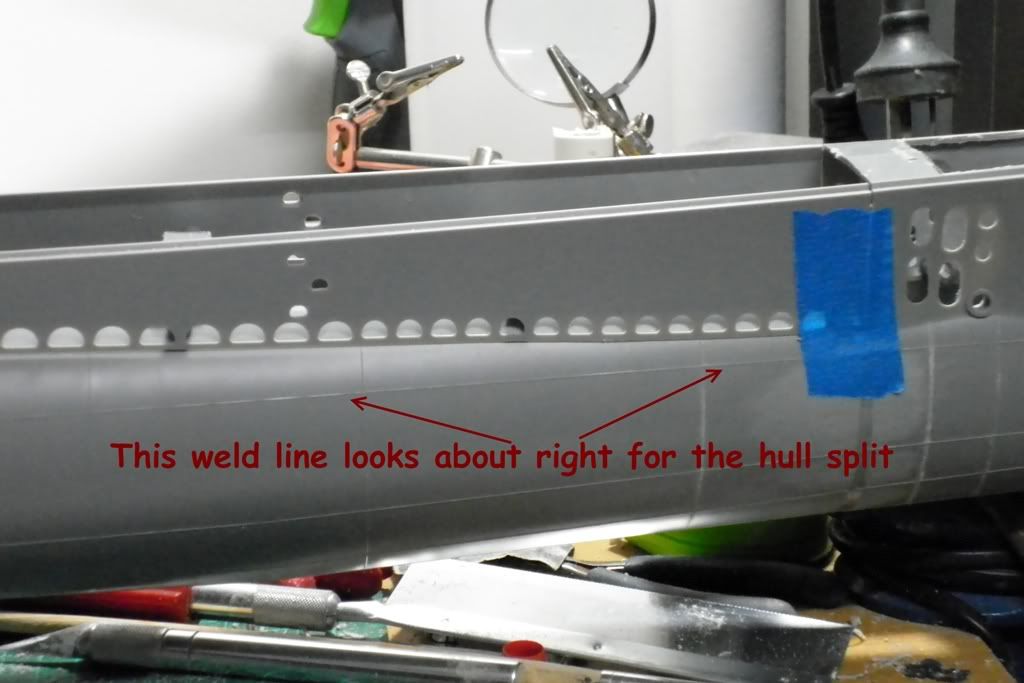
I'll be honest and say that I'm rather nervous about splitting the hull as it's a long cut and it'll be a world of hurt if I screw it up!!!Leave a comment:
-
Thanks Tom & David.
I'veseen some boats with weathering somewhat "over stated" but it is easy to do, over state that is.... Tom I know what you mean about being a klutz... I debated about how far to go with the conning tower sub assembly. As for the rest of the boat any final weathering and parts detail will be after it's been trimmed & ballasted.Leave a comment:
-
This is fun watching your assembly. Even though these are kits and you would think they all will look alike, I love how each one takes on the unique characteristics of the builder. Really look forward to your finished sub. Keep up the great work. I will add one comment that David shared with me (and for me proved good advice). Be careful how much you detail now (adding railings, guns, etc.) because in the hull building and testing of my Gato, I banged, dropped, knocked, snagged, and manhandled my Conning tower and upper deck. I would have doubled my frustration with repairing my additional breaks. You might not be a klutz like me and this might not apply to you, but I offer it anyways.Leave a comment:
-
You're doing fine. Boats back from a war-patrol were indeed rather ratty looking.
DavidLeave a comment:
-
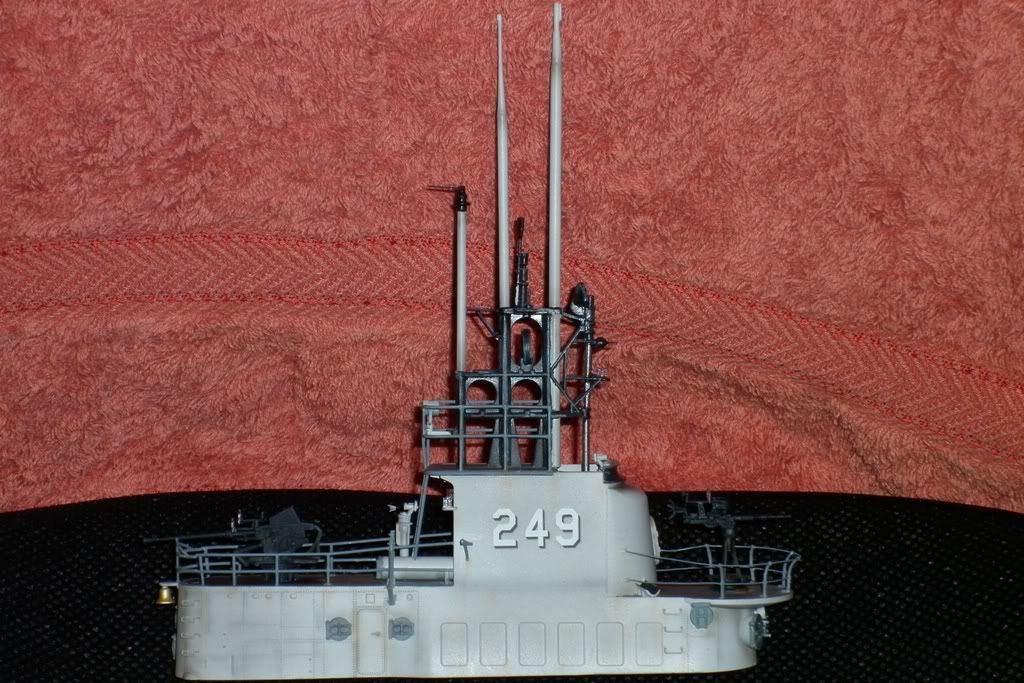
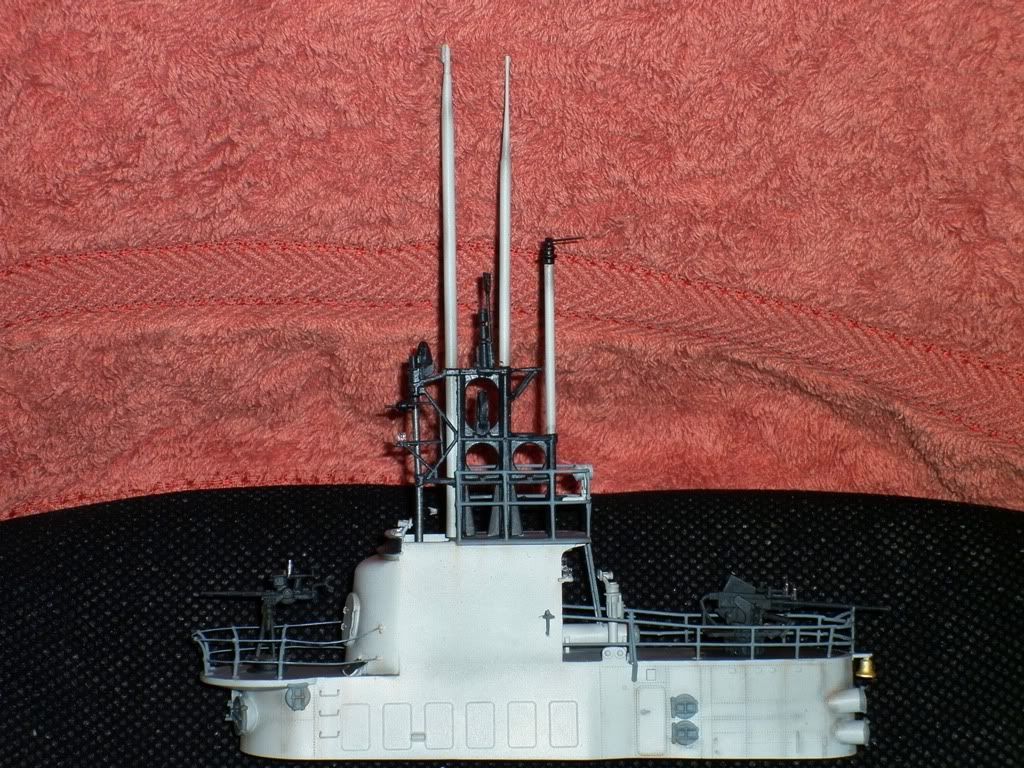
A couple of hours a night to weather the tower and with today and I finished the guns and glued them to the tower decks, I also finished the 40mm cannon too. So It's now in storage waiting for the main hull and superstructure to be done. I decided to go with assembling the model based on the USS Flasher. I've been researching a bit of history about a couple of the fleet subs and the Flasher seemed like a good choice to me out of what marking Revell supplied. For the weathering I airbrushed a thin coat of tamiya smoke aver the bolt/rivets, those panes on the sides and weld lines along with most of the recessed areas for some depth and I then misted over the light grey to blend it in before adding the pastel for the rust streaking before giving it several coats of dull-coat. All the lamps and clear sights were added last after the dull coat. With the sights normaly I would use 1200 wet n dry to very gently rub them and then do several layers of lightly dry brushed black with a soft flat brush to pick out the raised relief, but I reckon they'll be some of the first casualties from handling the boat in and out of the water plus the dull coat would have spoiled the look making them frosty.
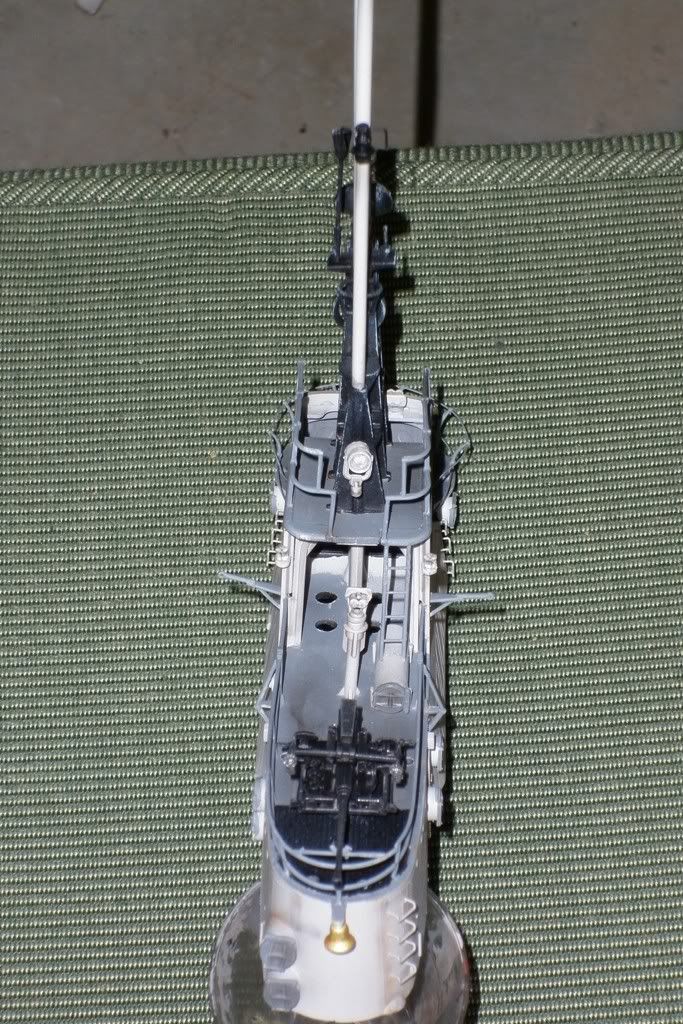
I also added extra holes for any trapped air to escape as this picture shows. There are also some along the rear deck edge as well as through the floor behind the bulk head to access the forward machine gun.
Not being much of an expert on these subs I am working with the colour scheme Revell supplied but even they contradict themselves... The instructions for the tower super structure has those parts painted light grey but the silhouette in the back of the book shows the tower being black? Which I went with as I like the contrast if nothing else. Though I reckon in this scale the straight semi-gloss black looks a bit stark. So I drybrushed some like grey on it which came out a bit heavy even after a coat of smoke it was still a bit harsh and looks like a buch of sea gull crapped all over it... For the guns I started out with the black then dry brushed them with a brown/grey and then a lighter dry brush of a battle ship grey (no seagull poo stains for them) before I airbrushed a wash of tamiya smoke and finished of with a little bit of rust from my pastels before a couple of liberal airbrushings of dull coat applied undiluted.
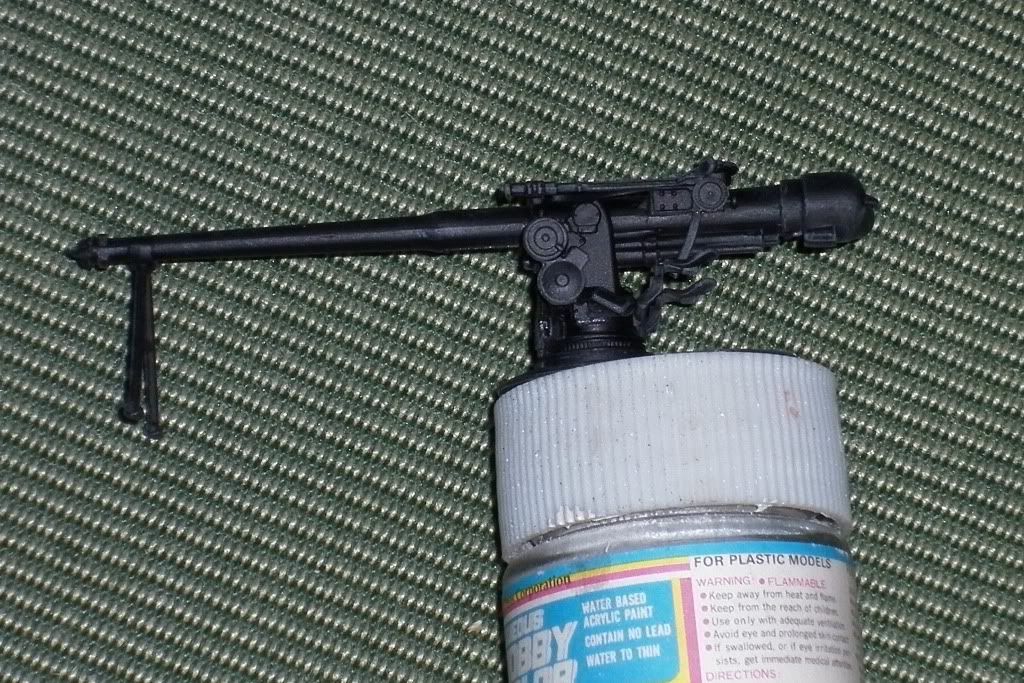
Please note I am aware that the American subs were maintained more regularly than the German U-boats but I am detailing mine as though it has completed a full 75 day plus tour at sea. I am going to try not to get to heavy handed and keep it blended and subtle but no doubt I'll upset the more purist out there.Leave a comment:
-
But wait it is one more Revell Gato...!!!
Yes folks yet another individual is building a Revell Gato!!
Whilst waiting on the new motor bulk head from David for my Seaview and also the financial institutions to let me spend my own damn money in particular Skill Moneybookers... Anyway I decided to start on my Gato... A little over a week ago I downloaded all the cabel reports that David did some time back and have been studying them keenly. Though I feel confident about doing the main hull assembly and splitting I decided that the instructions accompanying the fittings kit would be a more concise how to guide. I will say what most have already said... Revell have done a fantastic kit. I'm not sure how many kits they would've churned of the molds but I was suitably impressed with how clean this kit basically is. There is minimal flash and all the fine detail looks pretty clean n crisp. Unlike some other brands of mass churned styrene kits. As for the styrene itself it is a really good constancy, not to soft and not so hard that it almost shatters when you snip it from the sprue!! There is a fair bit of mold release on some of the bigger parts but nothing a good clean won't fix.
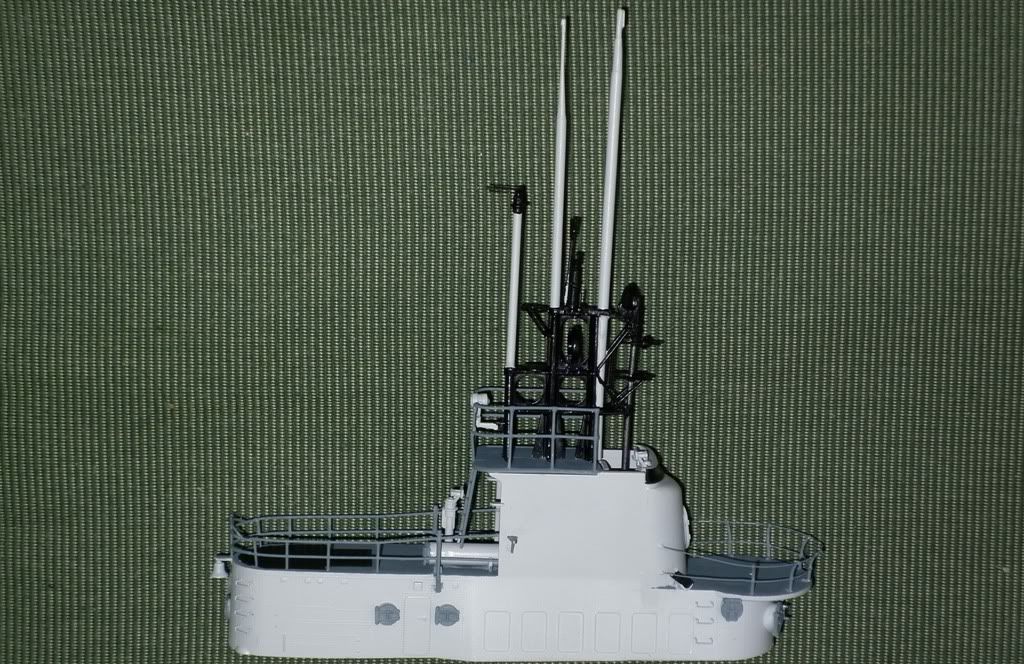
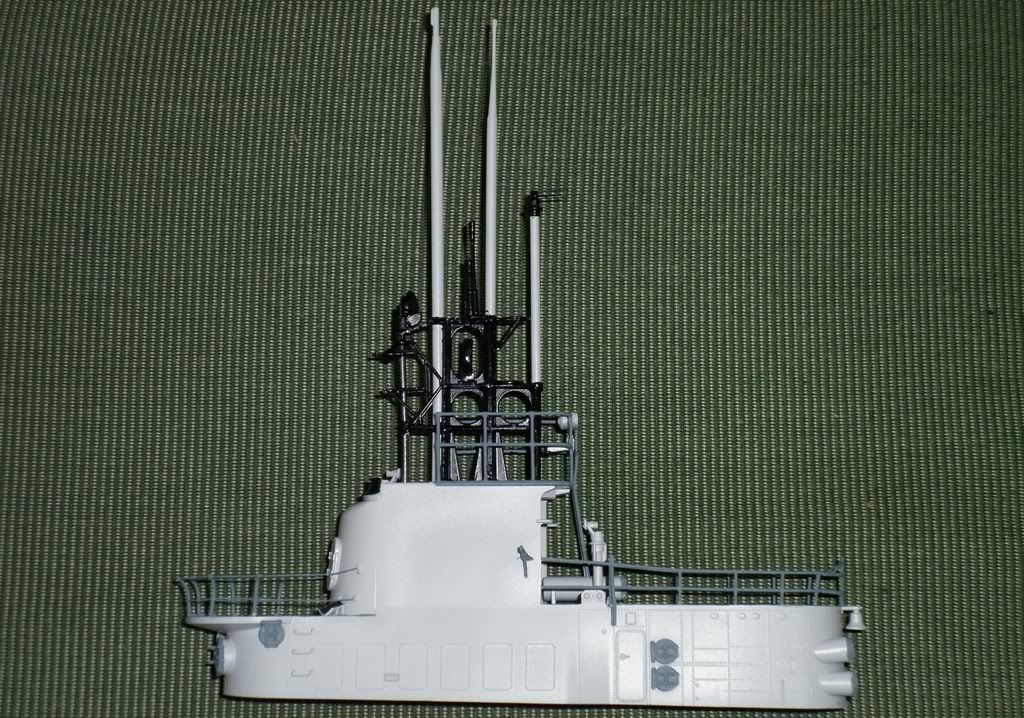
Looking at all the pieces, the manual and Davids reports I decided that I would start with the sub assemblies that wouldn't interfere/interact with the conversion part. So the conning tower was the first cab off the rank and I'll follow this with the deck guns. Already I had to rebuild it a bit due to the reason of running a lpb/snort system. So I rejigged the front periscope a bit. I filled down the front of the molded scope shaft and then using a round rats tail file and drill I adapted it to take some styrene tube to which I added some small brass tube and then glued on the periscope lens housing I cut off the kit piece. Once in place I will runn some brass tube up into the base of the scope tube that will be connected to the lpb. I tried to keep the sizing in scale but I also wanted to make sure I had a decent tube cavity for air flow too.
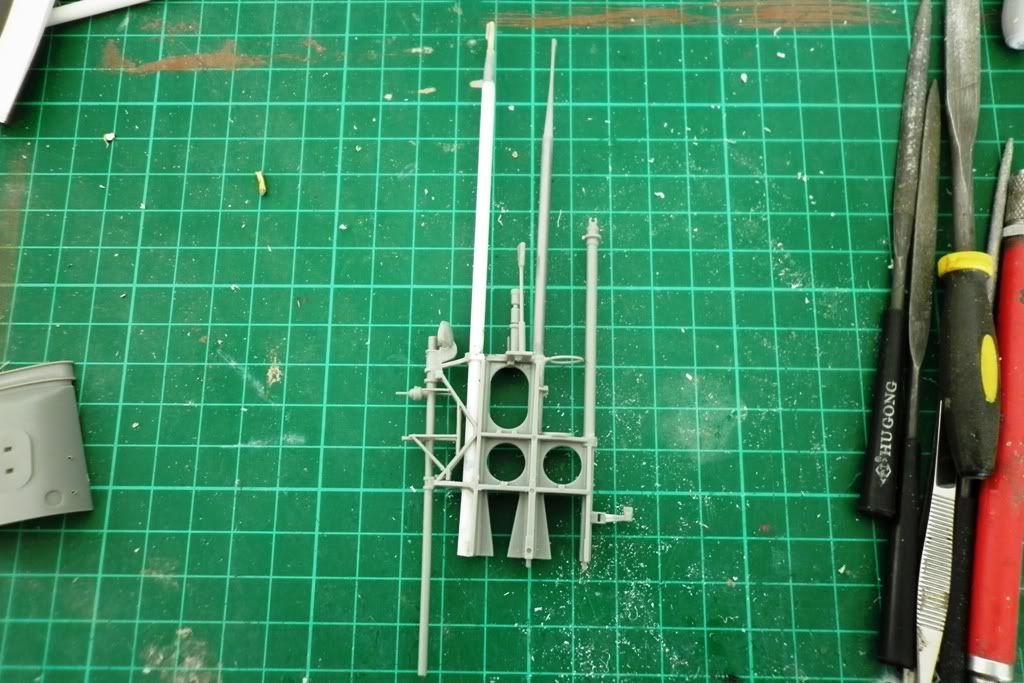
Then I spent the rest of the day building up the conning tower proper. I went with thin wire on the front rails as David did in one of his reports and it sure does look better than the over sizeds cotton thread they supplied. All that I need to do is weather it up some and add the running lights and then I'll start on the guns.
Leave a comment: