
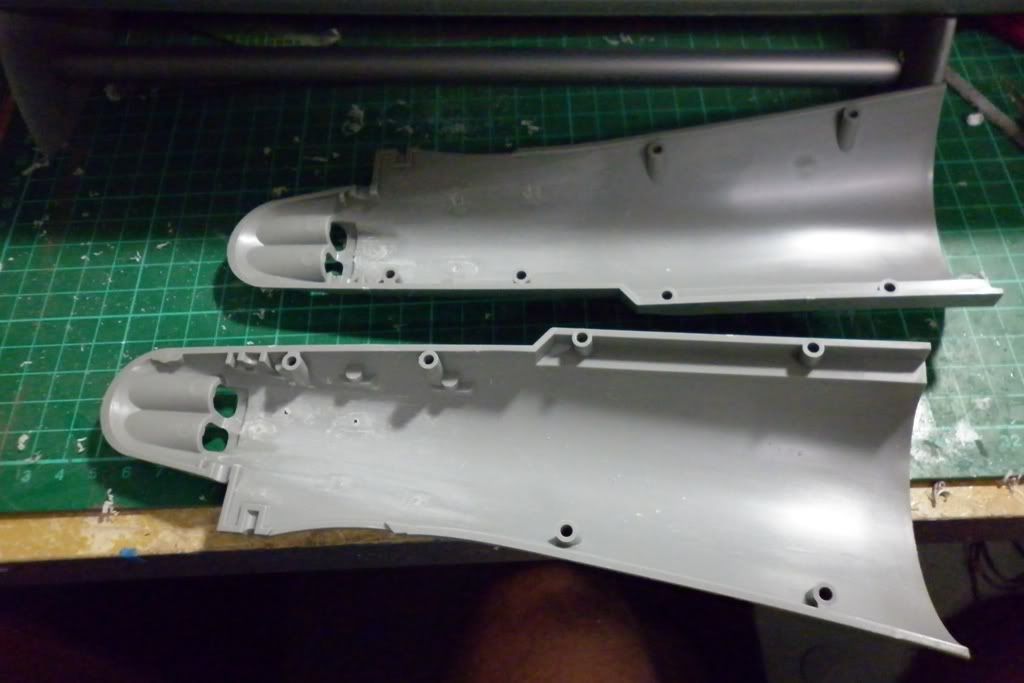
Yes folks yet another individual is building a Revell Gato!!
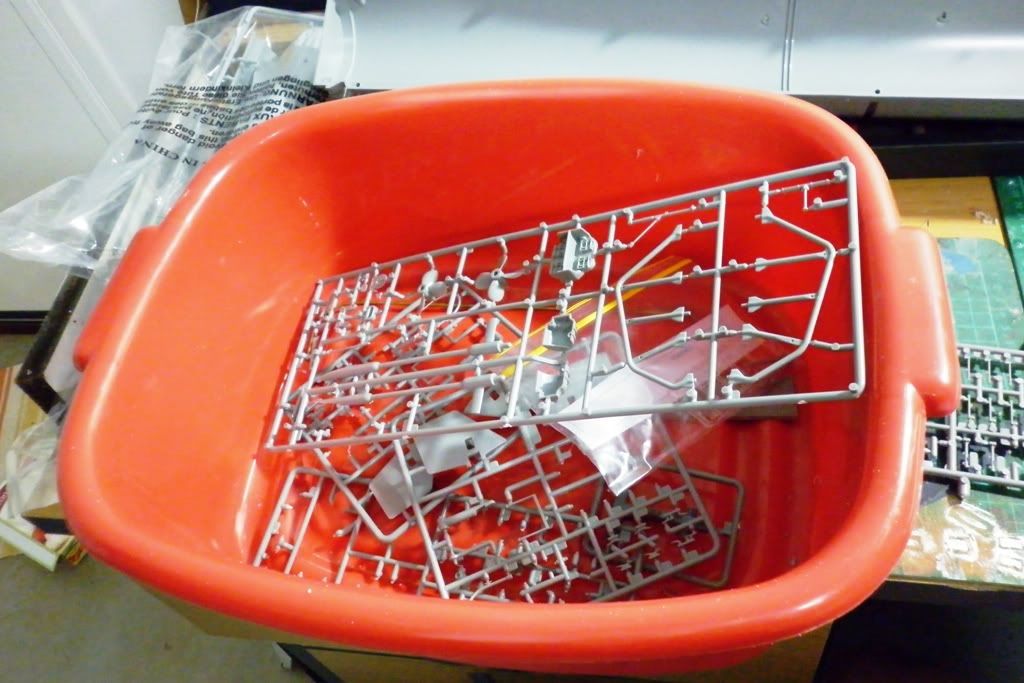
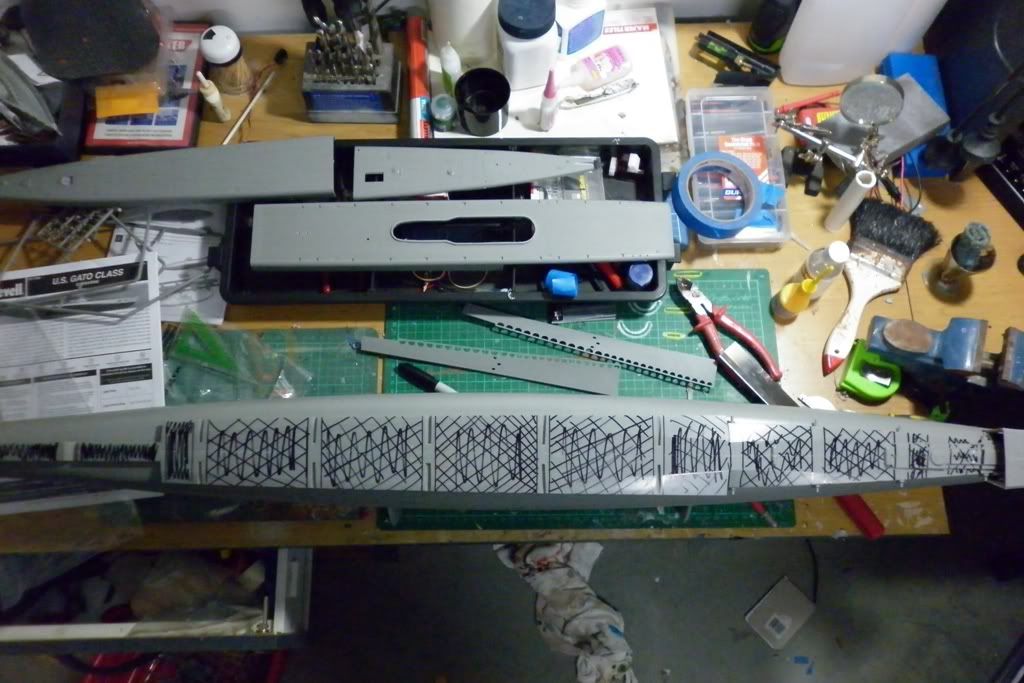
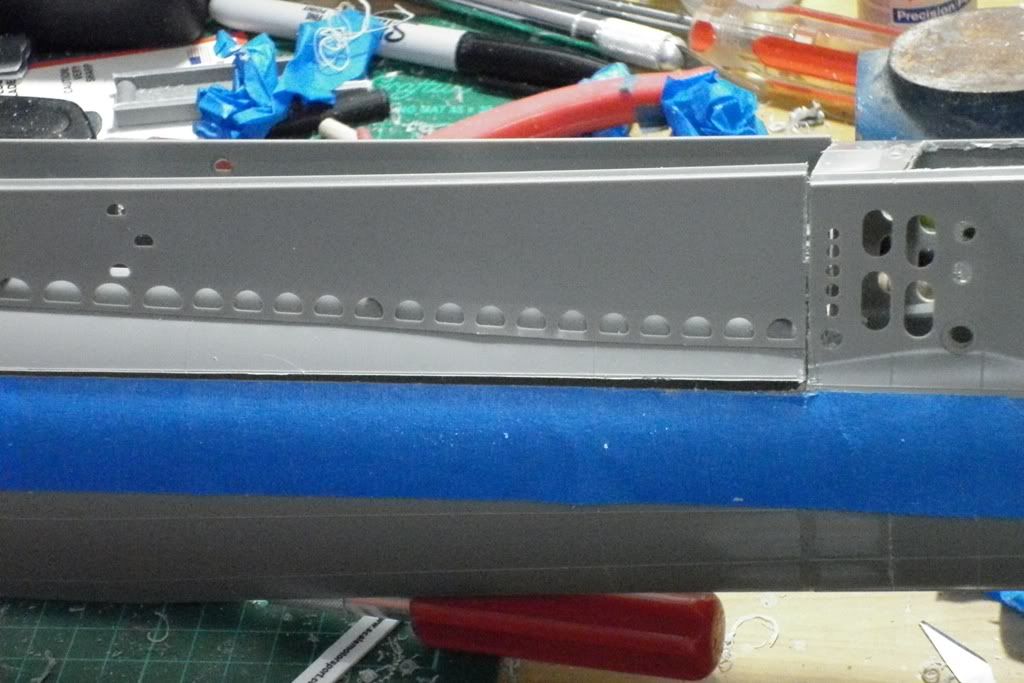
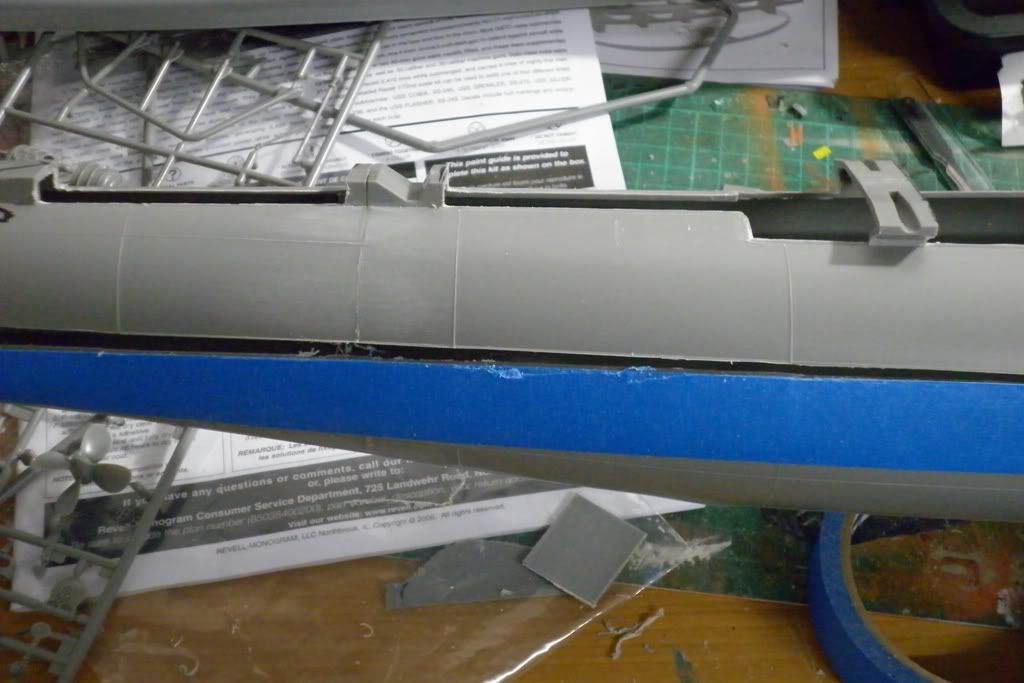
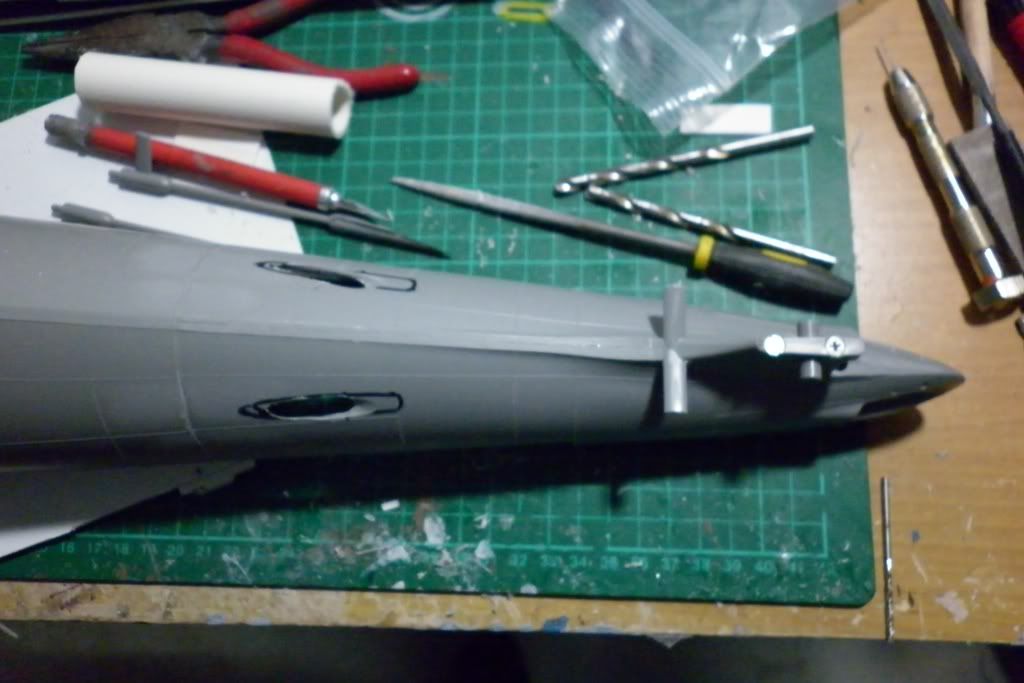
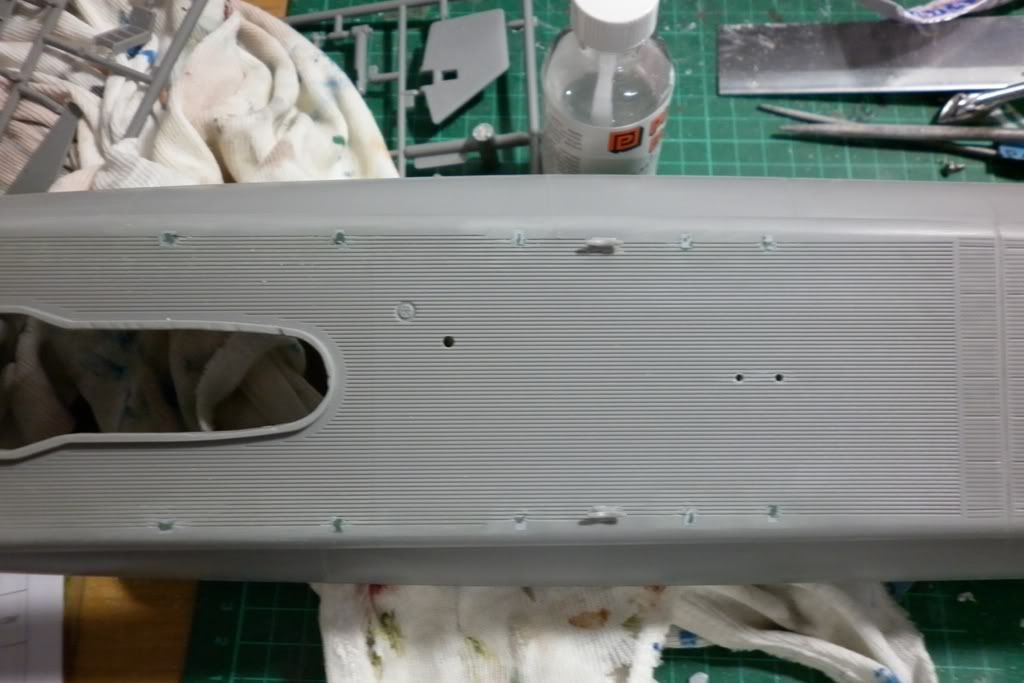
Whilst waiting on the new motor bulk head from David for my Seaview and also the financial institutions to let me spend my own damn money in particular Skill Moneybookers... Anyway I decided to start on my Gato... A little over a week ago I downloaded all the cabel reports that David did some time back and have been studying them keenly. Though I feel confident about doing the main hull assembly and splitting I decided that the instructions accompanying the fittings kit would be a more concise how to guide. I will say what most have already said... Revell have done a fantastic kit. I'm not sure how many kits they would've churned of the molds but I was suitably impressed with how clean this kit basically is. There is minimal flash and all the fine detail looks pretty clean n crisp. Unlike some other brands of mass churned styrene kits. As for the styrene itself it is a really good constancy, not to soft and not so hard that it almost shatters when you snip it from the sprue!! There is a fair bit of mold release on some of the bigger parts but nothing a good clean won't fix.
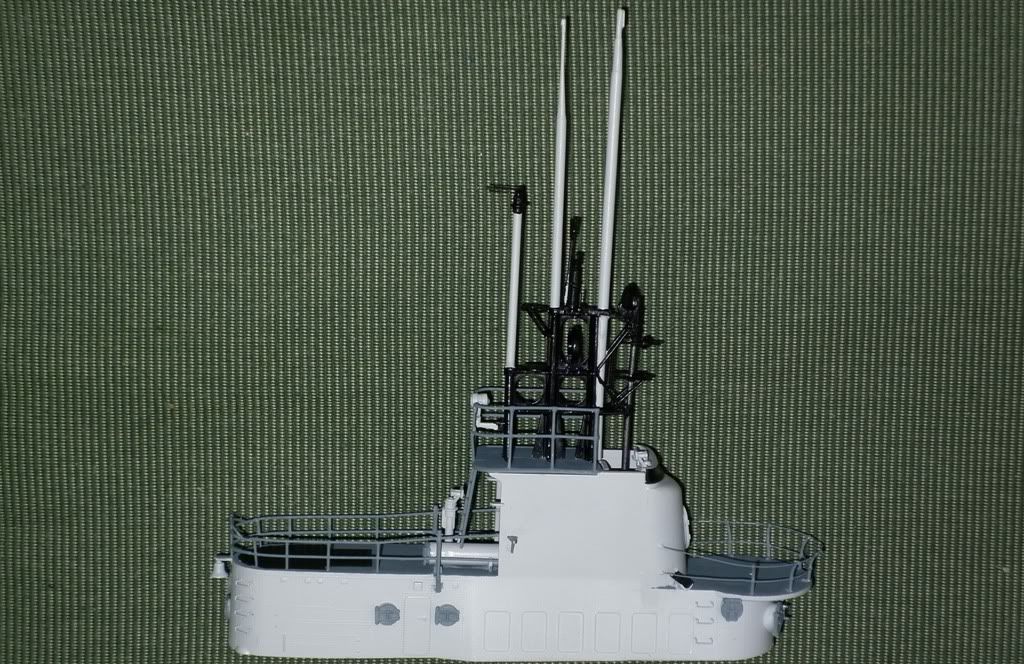
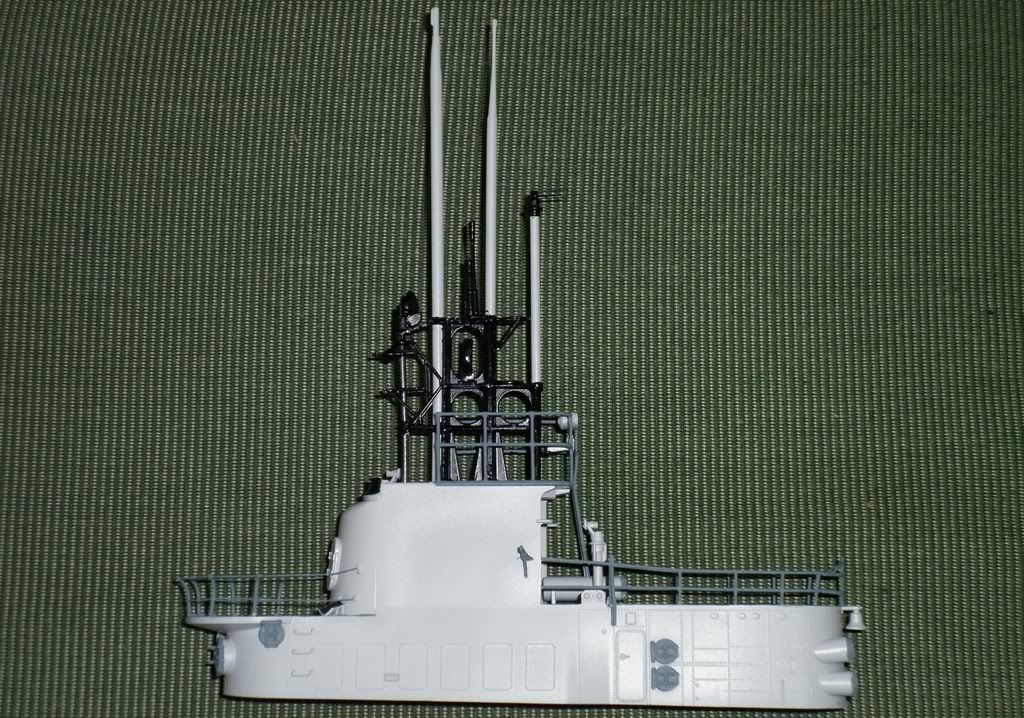
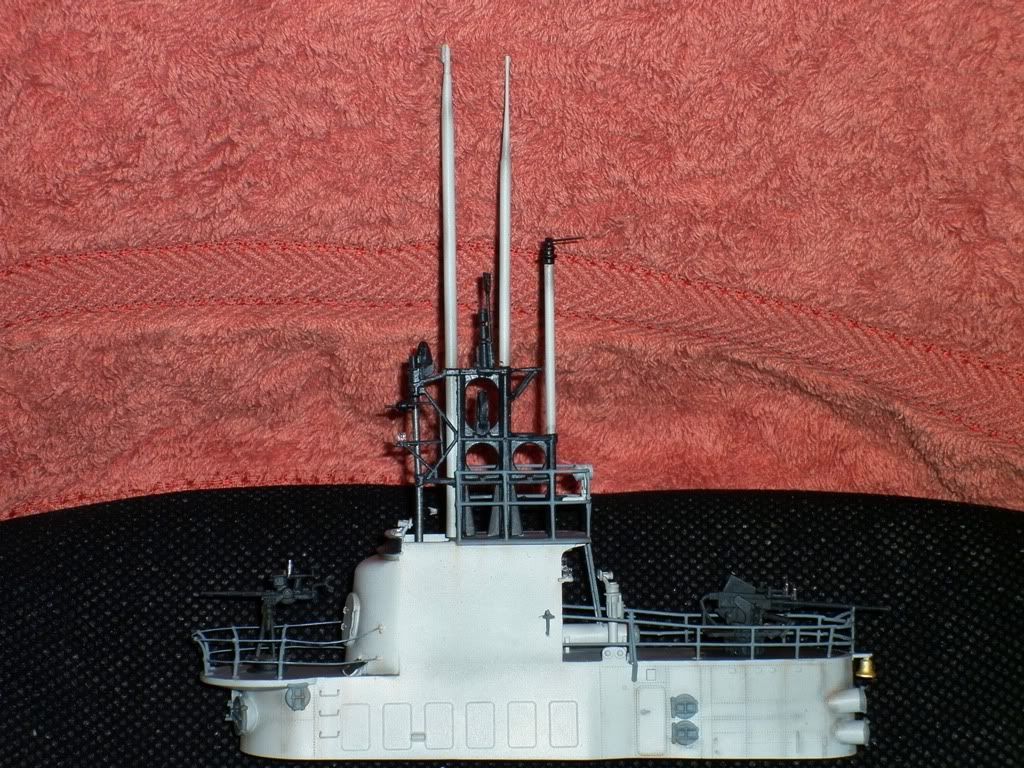
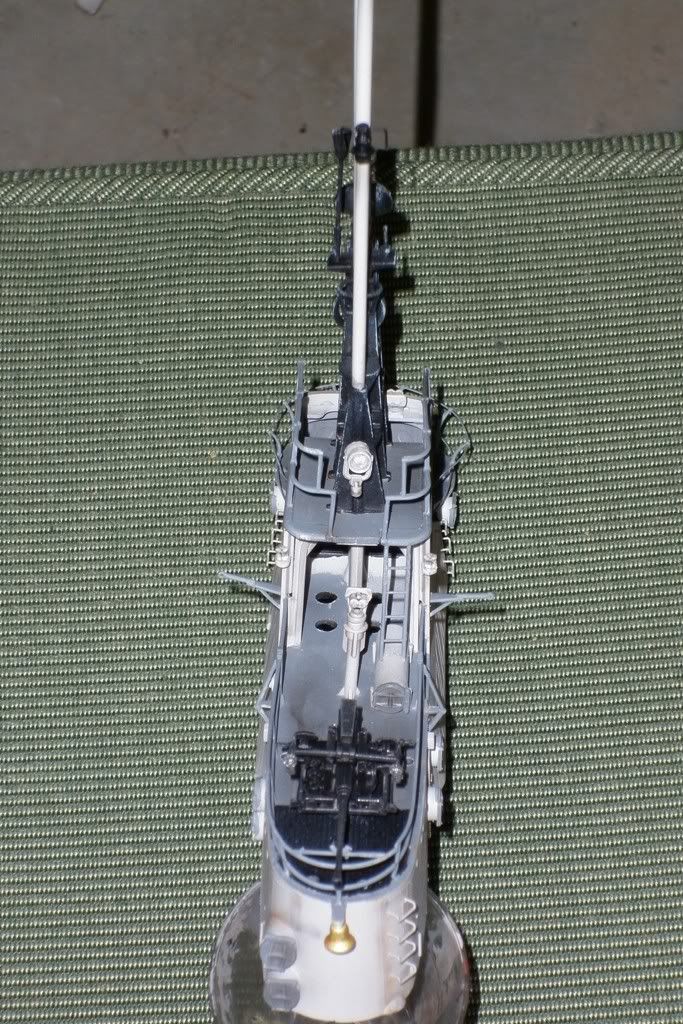
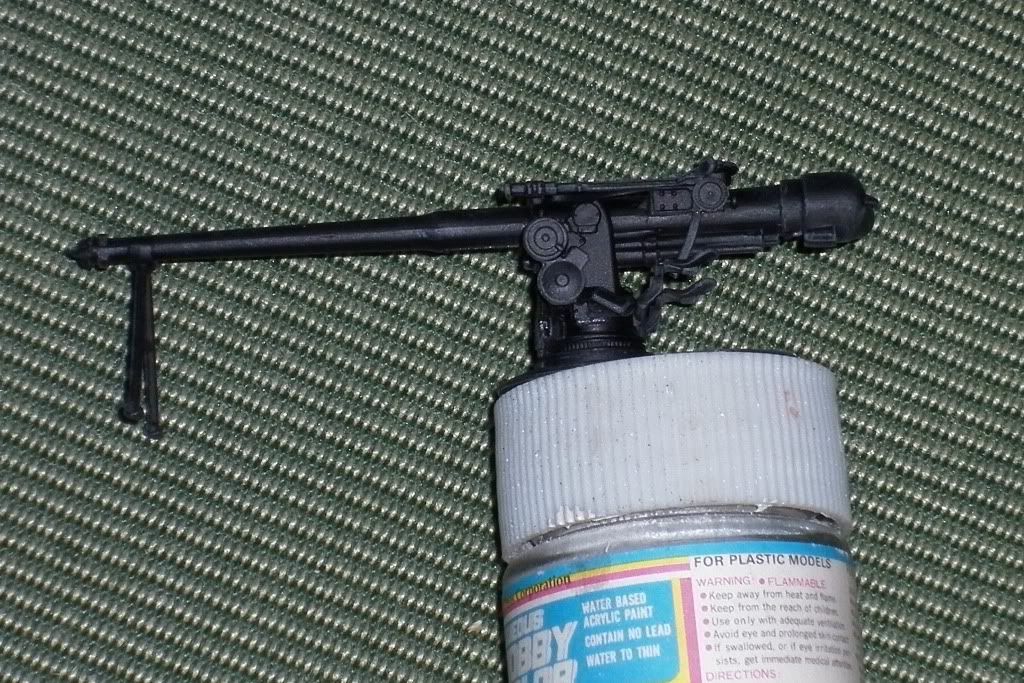
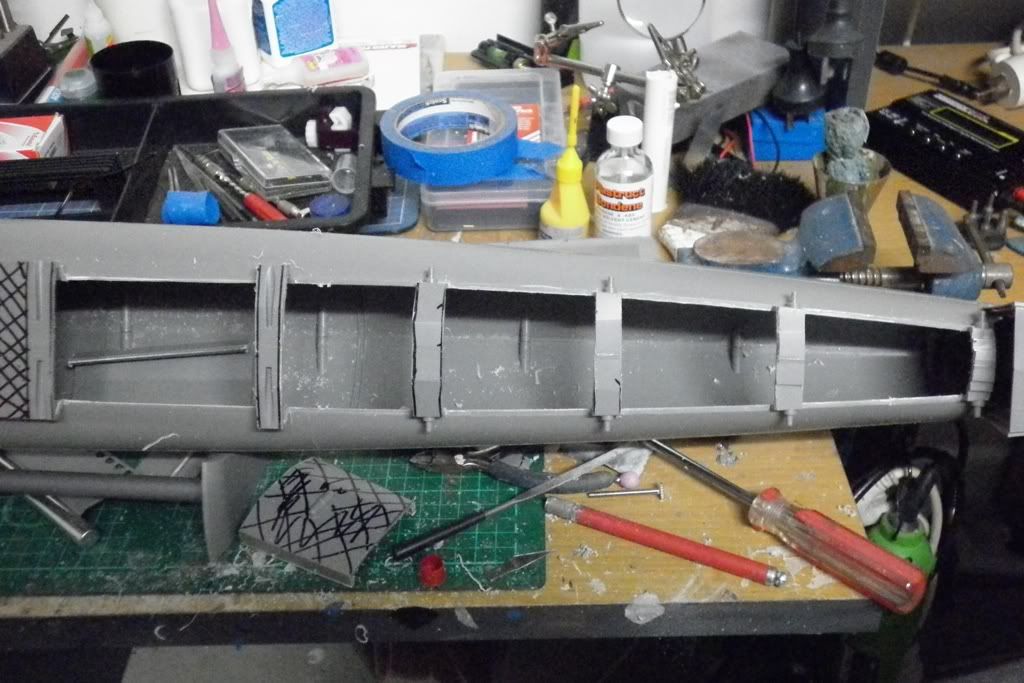
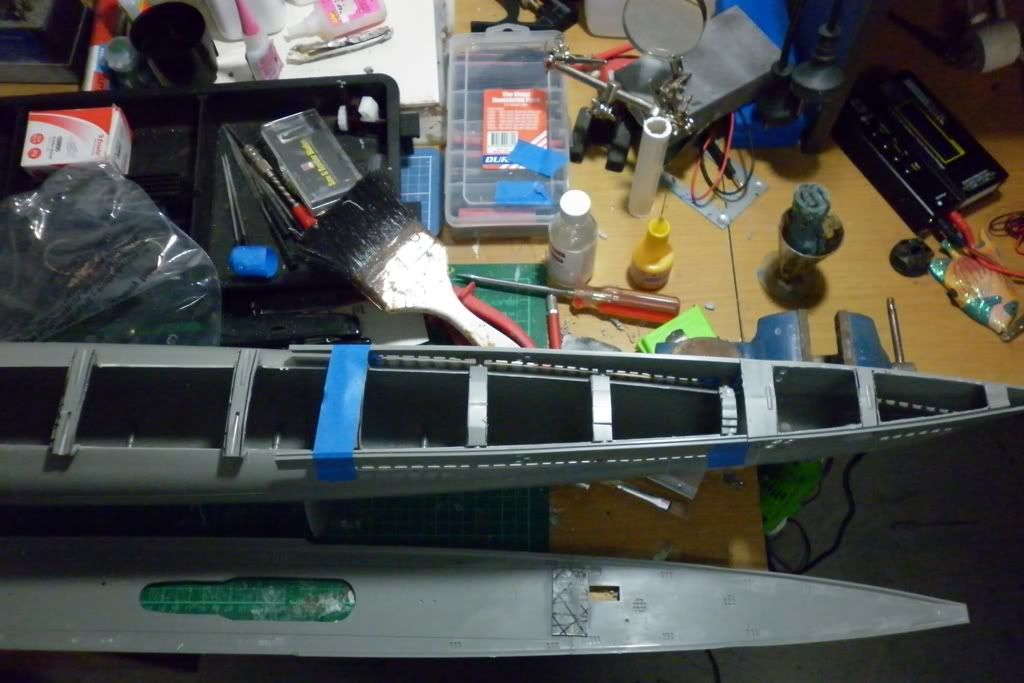
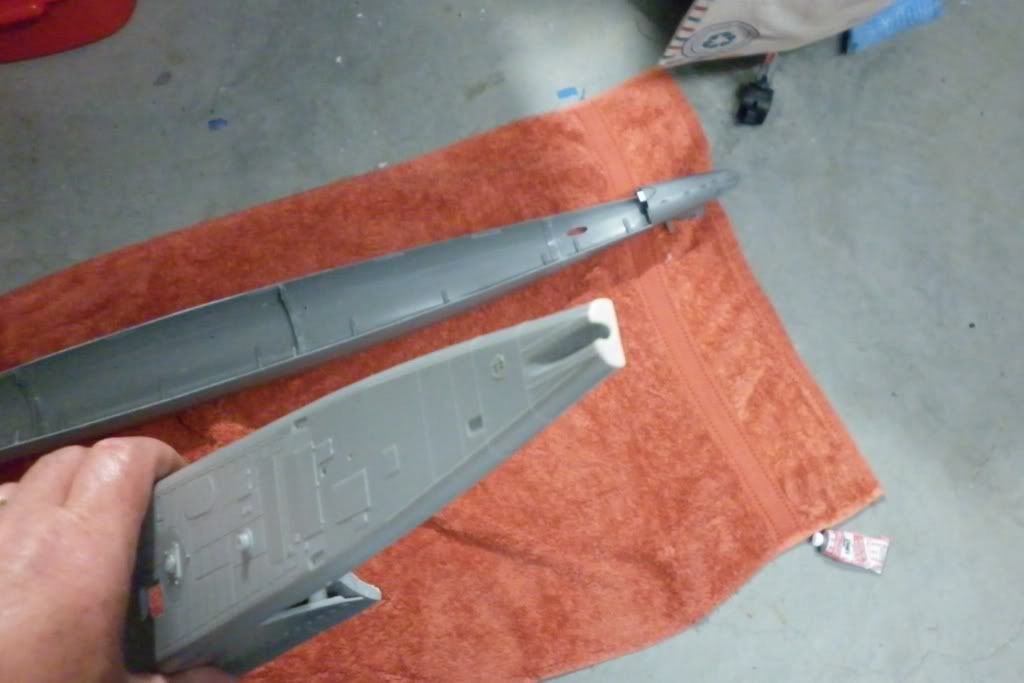
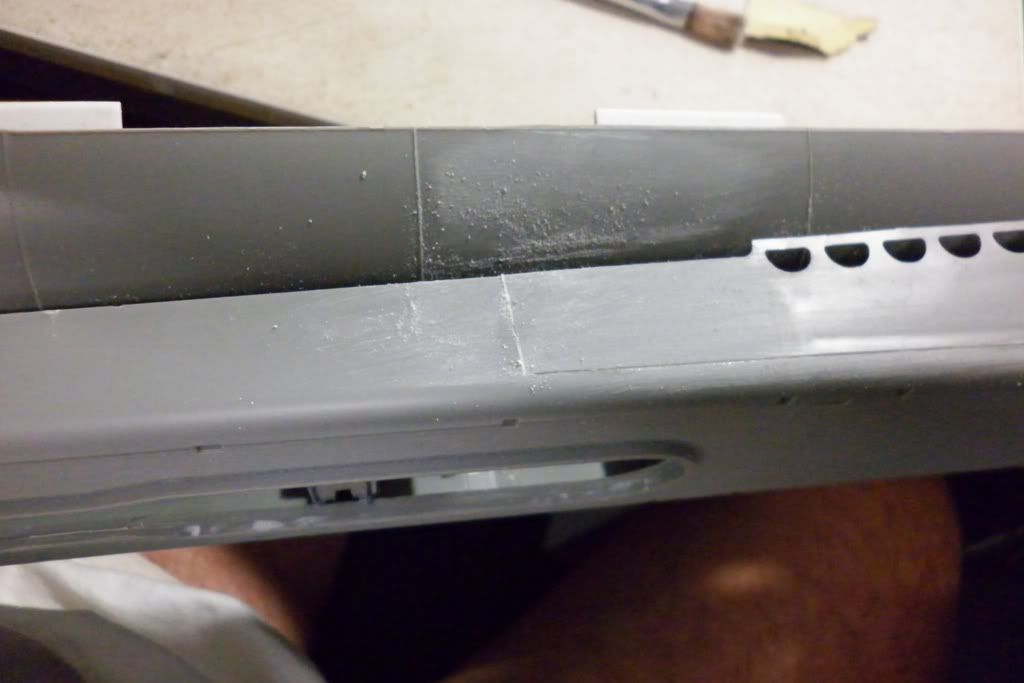
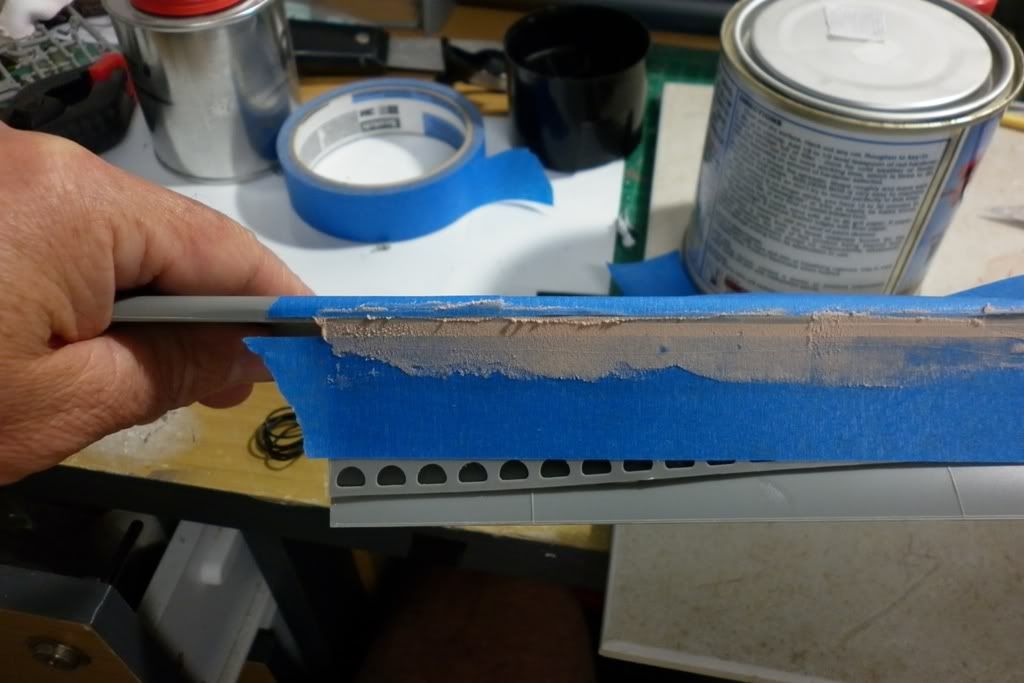
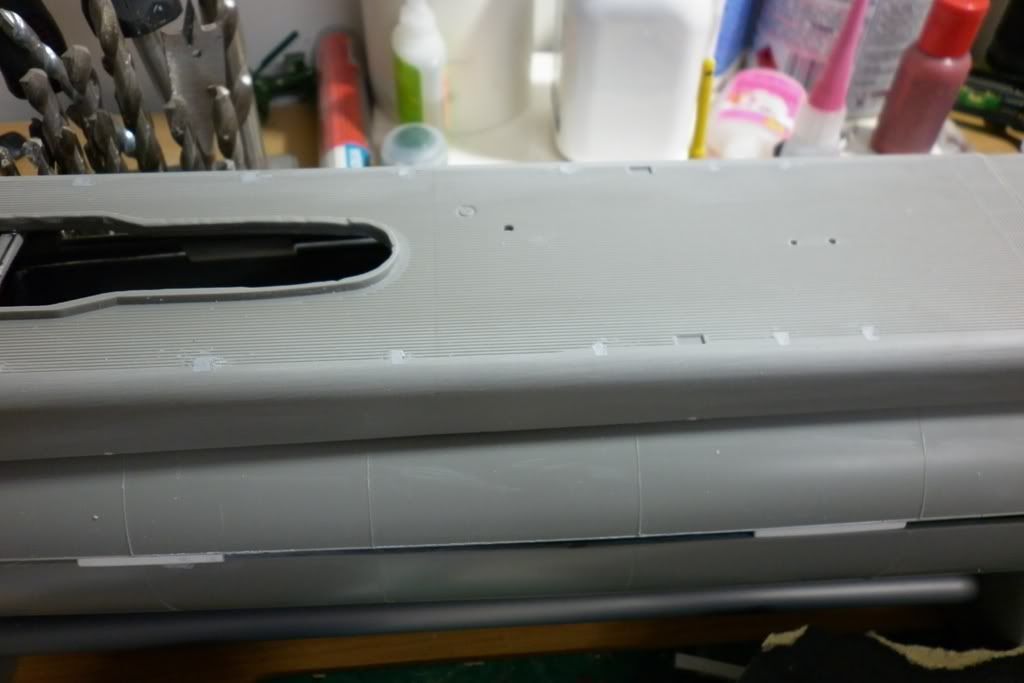
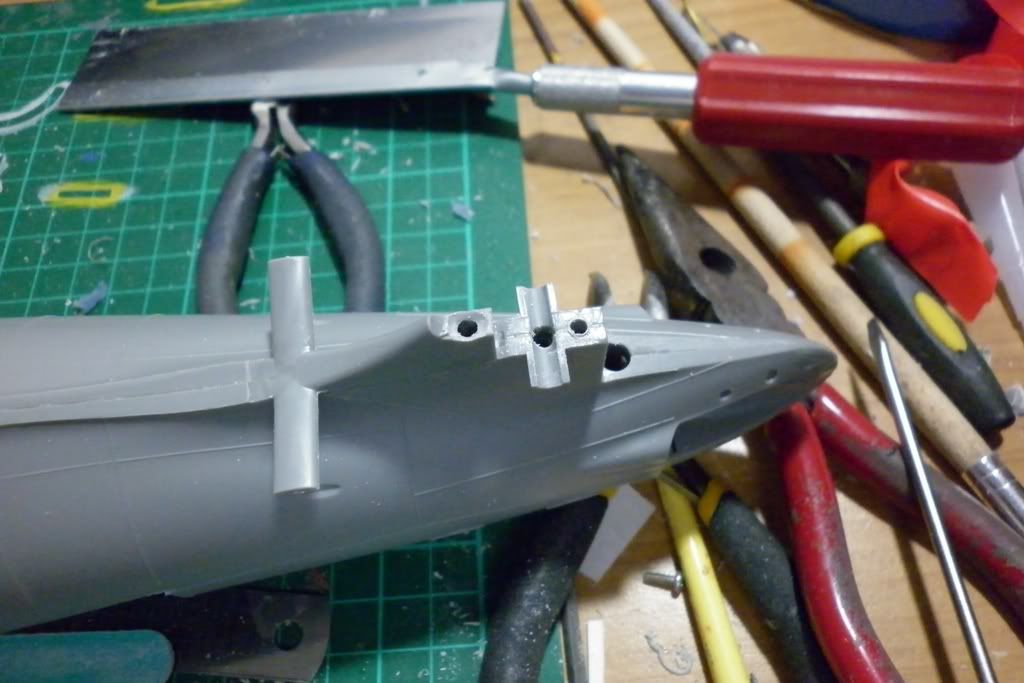
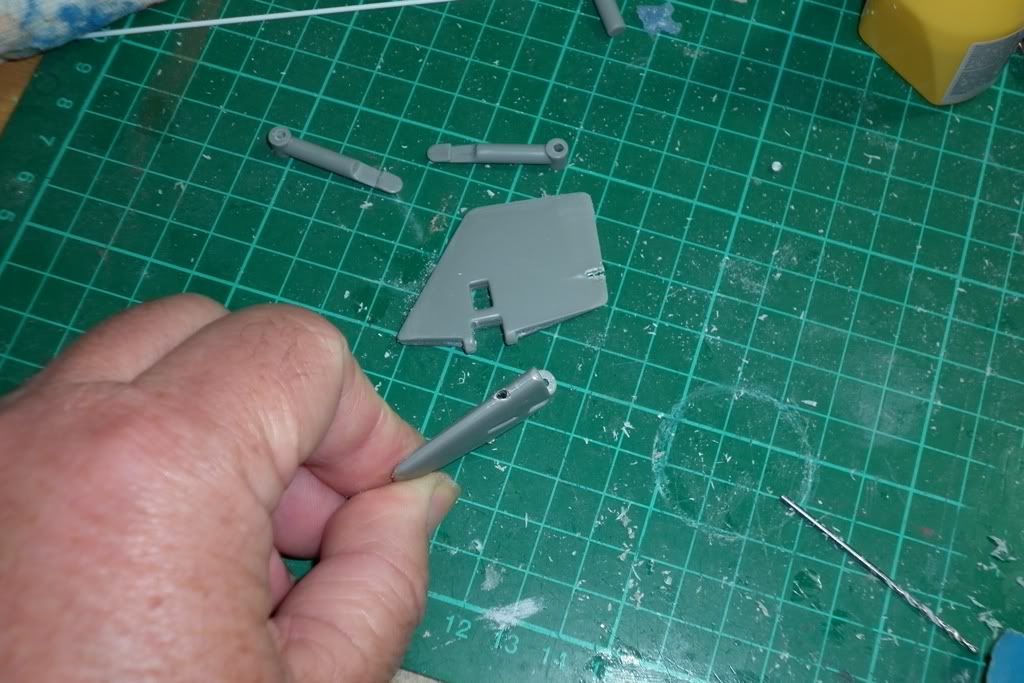
Looking at all the pieces, the manual and Davids reports I decided that I would start with the sub assemblies that wouldn't interfere/interact with the conversion part. So the conning tower was the first cab off the rank and I'll follow this with the deck guns. Already I had to rebuild it a bit due to the reason of running a lpb/snort system. So I rejigged the front periscope a bit. I filled down the front of the molded scope shaft and then using a round rats tail file and drill I adapted it to take some styrene tube to which I added some small brass tube and then glued on the periscope lens housing I cut off the kit piece. Once in place I will runn some brass tube up into the base of the scope tube that will be connected to the lpb. I tried to keep the sizing in scale but I also wanted to make sure I had a decent tube cavity for air flow too.
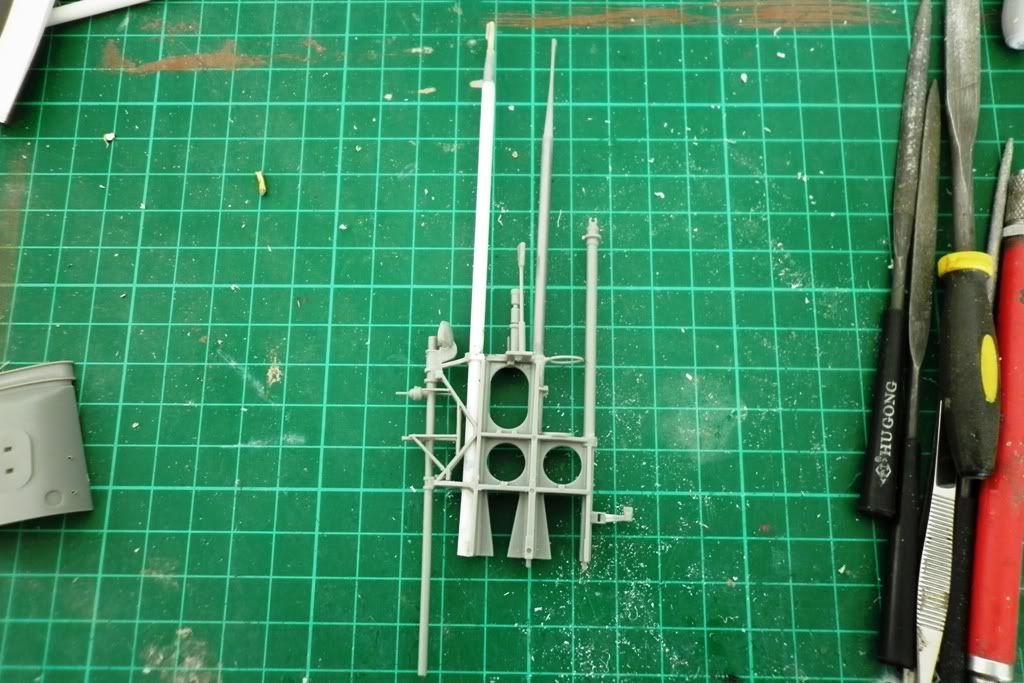
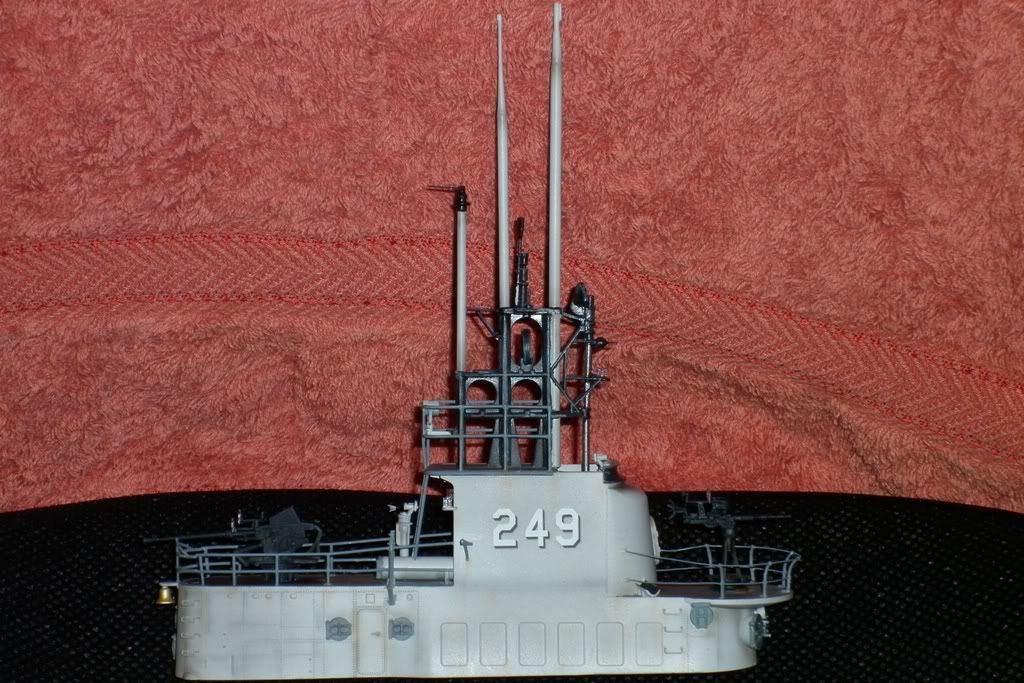
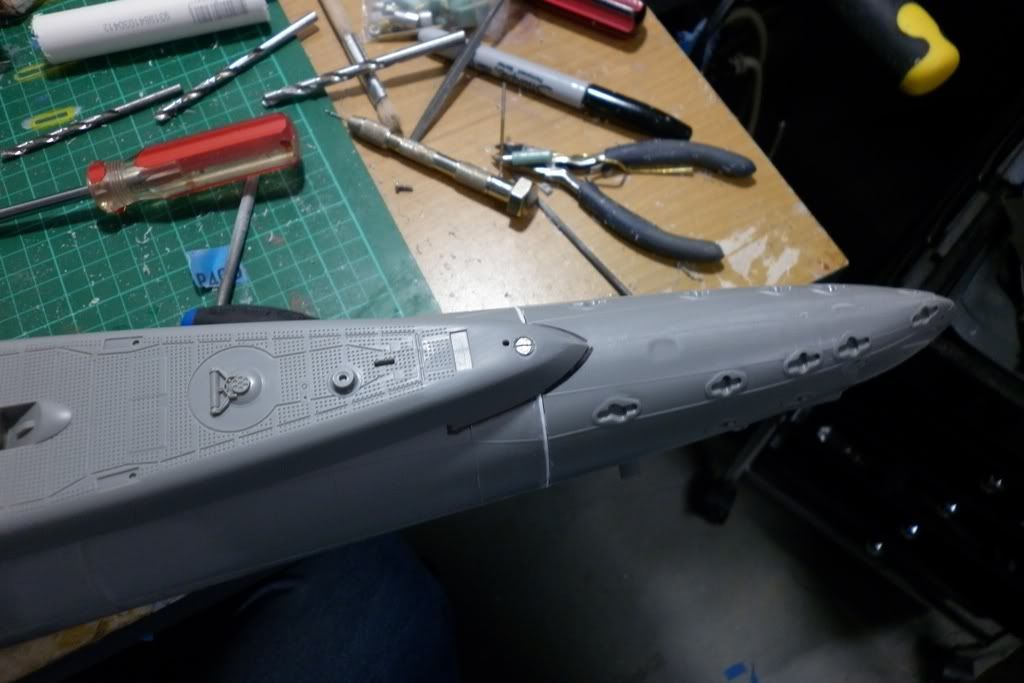
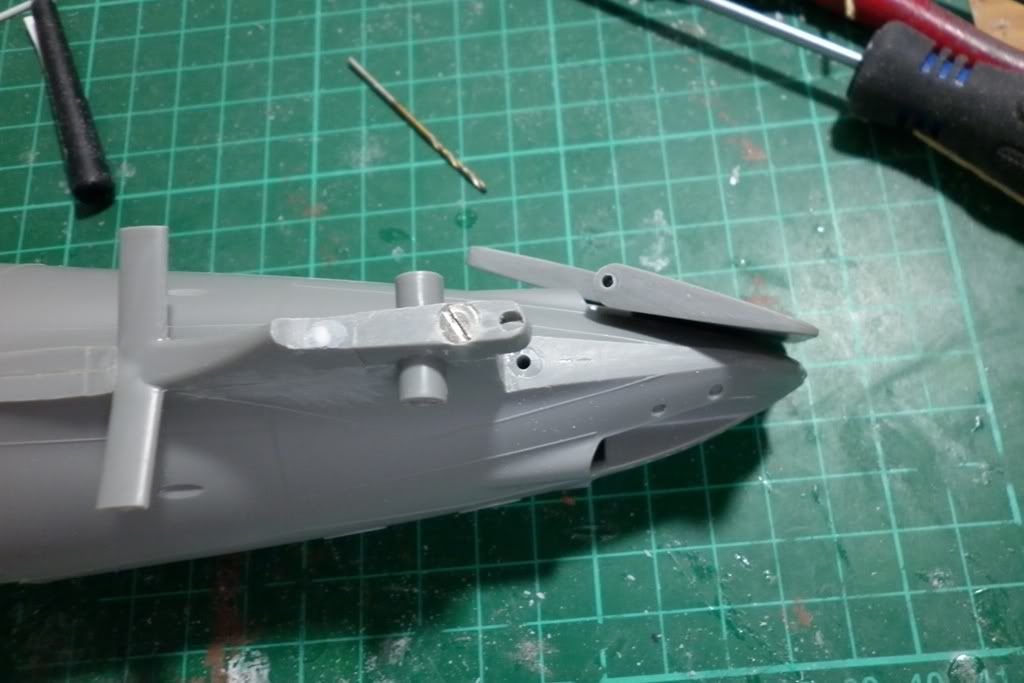
Then I spent the rest of the day building up the conning tower proper. I went with thin wire on the front rails as David did in one of his reports and it sure does look better than the over sizeds cotton thread they supplied. All that I need to do is weather it up some and add the running lights and then I'll start on the guns.
Whilst waiting on the new motor bulk head from David for my Seaview and also the financial institutions to let me spend my own damn money in particular Skill Moneybookers... Anyway I decided to start on my Gato... A little over a week ago I downloaded all the cabel reports that David did some time back and have been studying them keenly. Though I feel confident about doing the main hull assembly and splitting I decided that the instructions accompanying the fittings kit would be a more concise how to guide. I will say what most have already said... Revell have done a fantastic kit. I'm not sure how many kits they would've churned of the molds but I was suitably impressed with how clean this kit basically is. There is minimal flash and all the fine detail looks pretty clean n crisp. Unlike some other brands of mass churned styrene kits. As for the styrene itself it is a really good constancy, not to soft and not so hard that it almost shatters when you snip it from the sprue!! There is a fair bit of mold release on some of the bigger parts but nothing a good clean won't fix.
Looking at all the pieces, the manual and Davids reports I decided that I would start with the sub assemblies that wouldn't interfere/interact with the conversion part. So the conning tower was the first cab off the rank and I'll follow this with the deck guns. Already I had to rebuild it a bit due to the reason of running a lpb/snort system. So I rejigged the front periscope a bit. I filled down the front of the molded scope shaft and then using a round rats tail file and drill I adapted it to take some styrene tube to which I added some small brass tube and then glued on the periscope lens housing I cut off the kit piece. Once in place I will runn some brass tube up into the base of the scope tube that will be connected to the lpb. I tried to keep the sizing in scale but I also wanted to make sure I had a decent tube cavity for air flow too.
Then I spent the rest of the day building up the conning tower proper. I went with thin wire on the front rails as David did in one of his reports and it sure does look better than the over sizeds cotton thread they supplied. All that I need to do is weather it up some and add the running lights and then I'll start on the guns.


Comment