
Hello all, I have been ghosting around these halls for a while now reading, researching and generally being amazed. I had been looking at the hobby/sport of rc submarines since I stumbled on a you-tube video some years back. At the time though I was heavily involved in other sporting adventures that precluded the funds to enter this hobby. However a sporting injury which forced me to readjust my life as I had known it opened up the opportunity for a new venture. Also my wife has pretty much dis-avowed the return to my former extreme sports... So being a 50 year old Sci-Fi fan I just had to start off with the Seaview kit complete from Caswells with the D&E Miniatures parts required. Now I may be new to the RC Sub world but I have been building models of various mediums for just over 40 years so I'm not completely unfamiliar with a modeling bench.
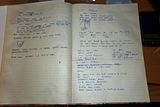
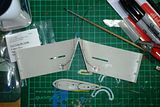
So after receiving the kit from Mike & the crew at Caswells, thanks again guys, I checked it all over to ensure it was all there and then spent the better part of the next five week nights watching the DVDs at least four times before I began on the build. From the DVDs I stated making notes and drawing in a journal I keep for projects that will be more than straight from the box. At first I was feeling more than a tad daunted about tackling this project but the DVDs, my notes and a desire to fill a childhood dream have pretty much hit those daemons for a six. In keeping with the DVDs I tackled the sail assembly first. I should mention also that I have already build one of the first seaviews released as a static diorama and scored a third place in a state expo/exhibition with it in 2009. However with this one, apart from being an rc version I will be making up the 17 foot version and adding additional detail such as the photo etched parts from Paragrafix and some extra lighting that wasn't on the static model. I don't plan to use all the control room pieces just the forward observation section. The rest I hope to add to the movie version out later. As for the diving bell and mini sub, they will go into the bits box and the flying sub I will mod up to represent those from The City Beneath The Sea.


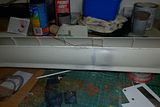
After the sail I worked on the thruster and rear hull sub assemblies after another DVD review and more notes followed by a deep breath and moto tool in hand began work on them over the next couple of nights before I worked on the rear hull assembly. Once I had the thruster assemblies glued in place I worked on the seams and joins with combinations of ca liquid & gel, baking powder and two pack filler. When all the parts were glued, filled, sanded and dry I marked out the area to remove for the limber hole pieces from the pe set.


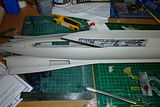
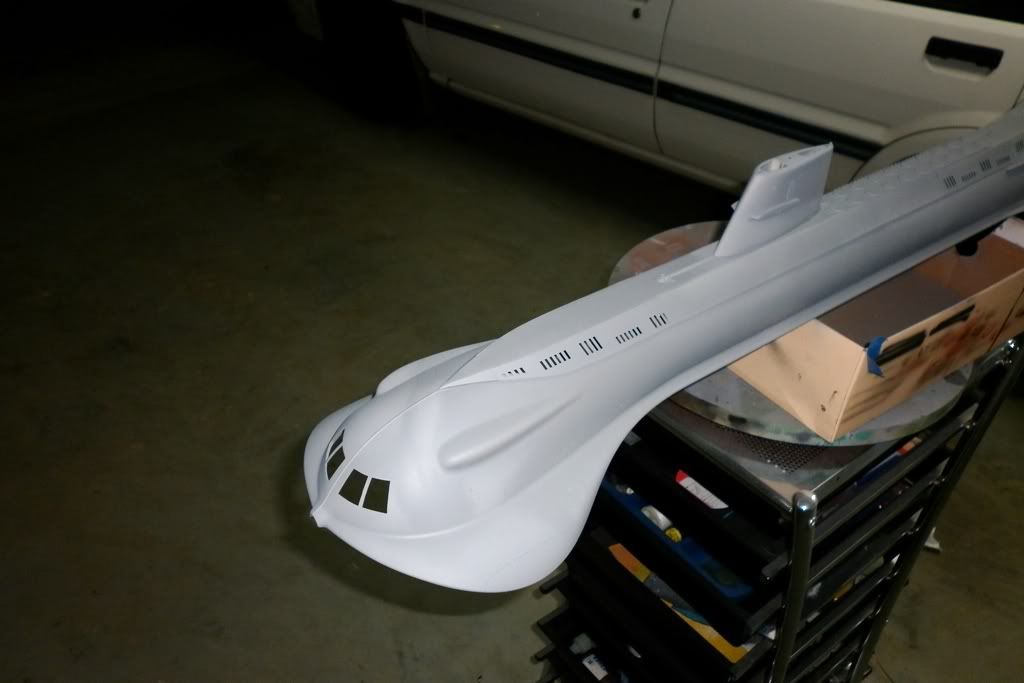
Where I am at now is having assembled all the major hull pieces and am now tackling the respective seams and joins. Sadly this kit has some alignment issues between left and right hull pieces especially the front ones and the window piece. They all snap fitted together well but the right side isn't as true as the left which isn't a big problem per sae just annoying as it will require more filling & sanding than I had with the first one. Oh well those are the quirks sometimes encounter with styrene kits I guess.
Cheers and a presumptive thanks at being allowed to be part bof the RC sub world.
Alec.
Reality is but a dream...
But to dream is a reality...
So after receiving the kit from Mike & the crew at Caswells, thanks again guys, I checked it all over to ensure it was all there and then spent the better part of the next five week nights watching the DVDs at least four times before I began on the build. From the DVDs I stated making notes and drawing in a journal I keep for projects that will be more than straight from the box. At first I was feeling more than a tad daunted about tackling this project but the DVDs, my notes and a desire to fill a childhood dream have pretty much hit those daemons for a six. In keeping with the DVDs I tackled the sail assembly first. I should mention also that I have already build one of the first seaviews released as a static diorama and scored a third place in a state expo/exhibition with it in 2009. However with this one, apart from being an rc version I will be making up the 17 foot version and adding additional detail such as the photo etched parts from Paragrafix and some extra lighting that wasn't on the static model. I don't plan to use all the control room pieces just the forward observation section. The rest I hope to add to the movie version out later. As for the diving bell and mini sub, they will go into the bits box and the flying sub I will mod up to represent those from The City Beneath The Sea.


After the sail I worked on the thruster and rear hull sub assemblies after another DVD review and more notes followed by a deep breath and moto tool in hand began work on them over the next couple of nights before I worked on the rear hull assembly. Once I had the thruster assemblies glued in place I worked on the seams and joins with combinations of ca liquid & gel, baking powder and two pack filler. When all the parts were glued, filled, sanded and dry I marked out the area to remove for the limber hole pieces from the pe set.


Where I am at now is having assembled all the major hull pieces and am now tackling the respective seams and joins. Sadly this kit has some alignment issues between left and right hull pieces especially the front ones and the window piece. They all snap fitted together well but the right side isn't as true as the left which isn't a big problem per sae just annoying as it will require more filling & sanding than I had with the first one. Oh well those are the quirks sometimes encounter with styrene kits I guess.
Cheers and a presumptive thanks at being allowed to be part bof the RC sub world.
Alec.
Reality is but a dream...
But to dream is a reality...


Comment